
Siren’s Watch
Seas of Titan
Enemies Encountered
- Hive: Thralls, Acolytes, Knights
- Sub-Boss (Knight): Ubara, Hive Prince
Objectives
- Secure shipyard command center (continued).
- Destroy Hive spawn pods.
- Secure shipyard command center (continued).
- Rendezvous with Zavala.
Important Allies
- Sloane
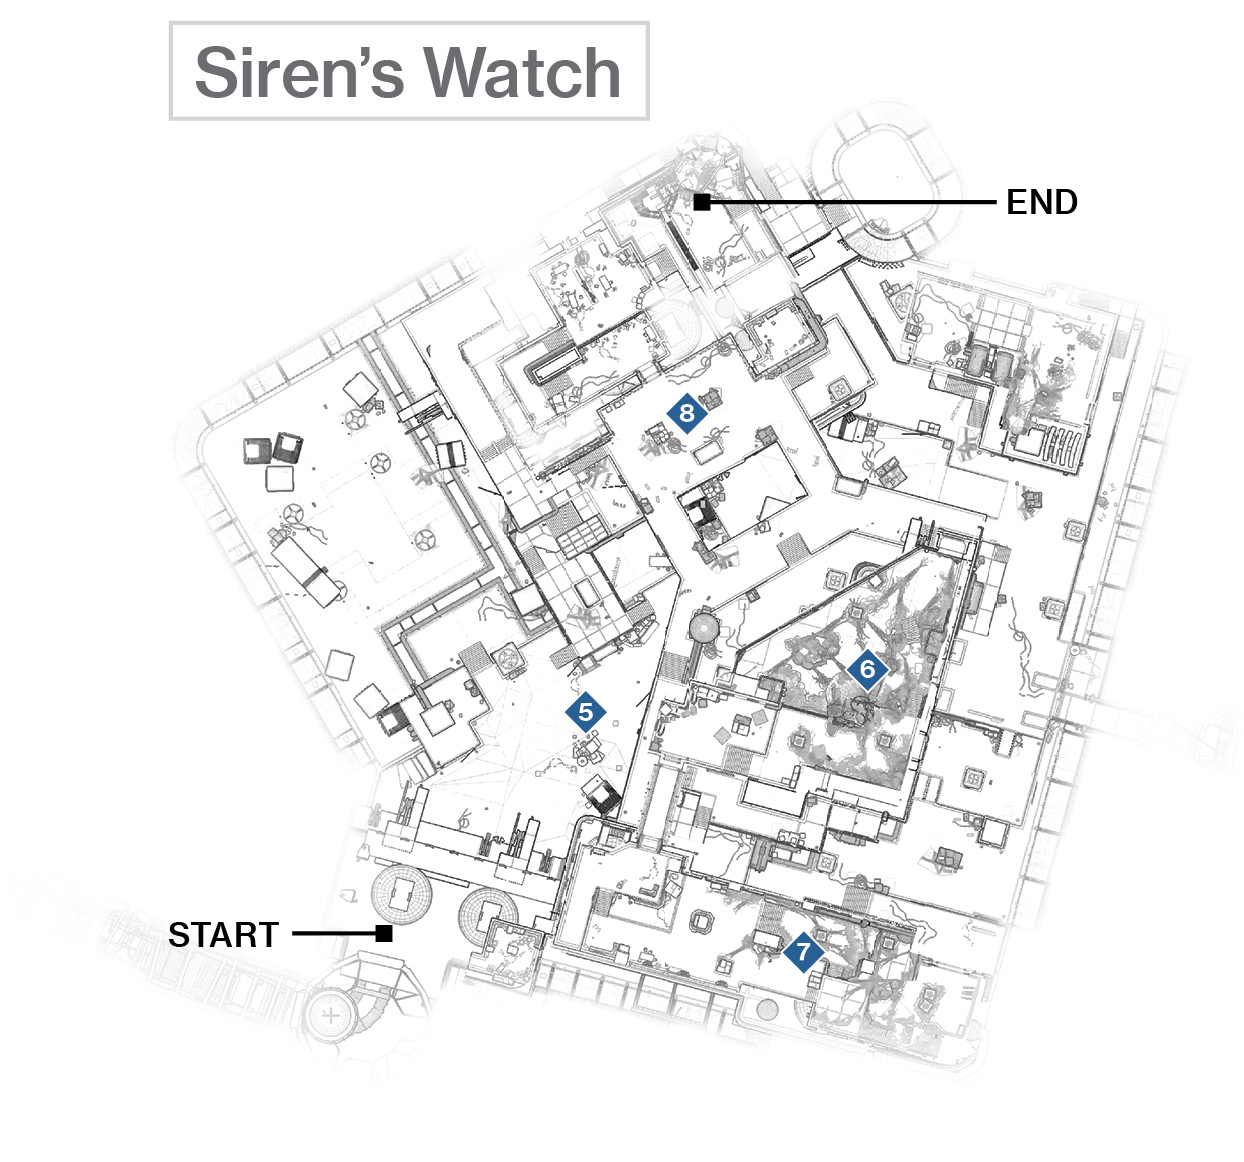
 Main Cargo Bay (Exterior)
Super: Optional
Grenades: Recommended
Surprisingly, your first action as you step onto the rig isn’t mowing down Hive deviants. Instead, it’s acquiring a grenade launcher. Open the door, and there’s little time to be bewildered by the sheer size of the Base structure. A cluster of around eight Thralls is streaming down the exterior gantry steps ahead and left of you. A quick and single grenade strike can defeat them. But if you’re not that fast, just back up into the chamber you came from and tag them as they charge, before they arrive at your door.
Take a moment to check the vicinity. You see a large open platform to your left, stairs and gantries ahead and left, and the main Hive forces directly ahead of you, between the two giant metal structures. This is where you should head; you can investigate the side walkway, but the enemies on Siren’s
Watch still require you to defeat them. Your assault on the main thoroughfare may begin with more Thralls, followed by a battle against around eight Acolytes and two Knights. The Knights arrive one at a time unless you’re charging the area in a foolhardy move begging for you to be overrun. When Ghost recommends scoping out the rest of the area, find the open door leading to an interior “nest” chamber filled with revolting Hive sacs. This is across from a small Comm Tower building with “02” on the side of it. Use that and the pallet of loose luggage at the foot of it as landmarks.
 Spawn Pod Chamber
Super: Recommended
Grenades: Recommended
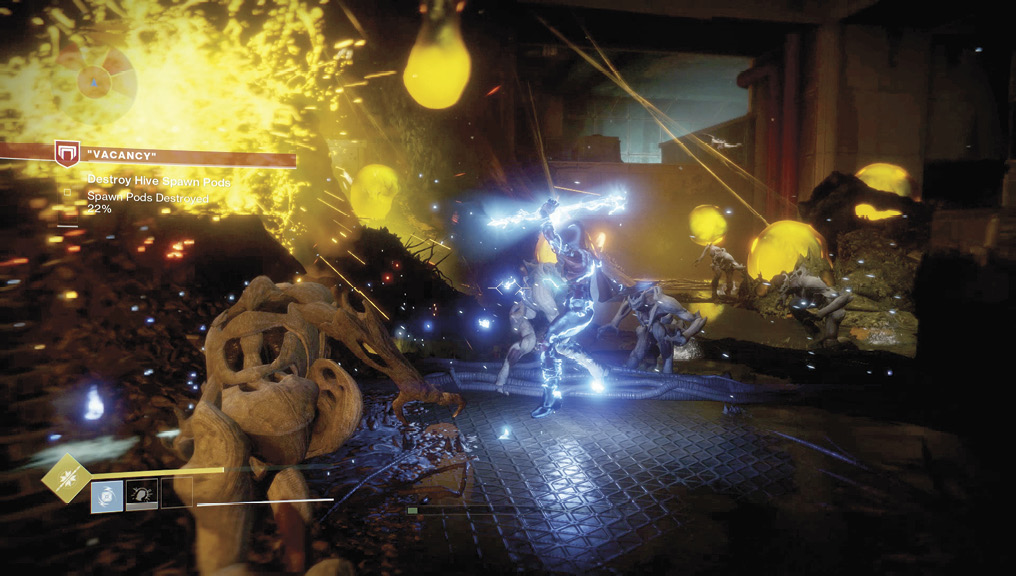
Regardless of which lower entrance you entered this chamber from, the plan is still the same: Sloane wants you to destroy the revolting, giant yellow egg sacs dotted around the chamber. There is also a large contingent of Hive to worry about, with Thralls on the lower level, around eight Acolytes on the stairs, and one or two Knights on the upper platform and exit. You have several options here:
Produce your grenade launcher and lay waste to most of the foes in this chamber from the entrance door. Follow up with precise ranged-fire bursts at the stragglers and sacs. Then, slowly and methodically clear the lower ground, climbing the interior steps when few threats remain, and clear the area competently.
Use a different Power weapon, such as the shotgun, to inflict large close-combat damage as quickly as possible. However, this weapon should be focused on enemies (not the sacs) due to its limited ammunition. The shotgun offers impressive damage, but this plan is a little more dangerous.
Standing outside and tagging the sacs, then delivering more gunfire and melee attacks to any foe heading to intercept you is another great idea. You can out-manuever enemy attacks by backing up or strafing in the exterior area rather than being constricted inside the nest pod chamber.
Grenades are also an option, but using them on clusters of foes makes more sense than wasting them on the sacs, which don’t fight back! Your Super is also a viable option, though you may want to save it for the next chamber beyond this one because there are additional foes to face. Still, it’s worth considering if you’re having trouble clearing the room.
 Computer Room
Super: Optional
Grenades: Recommended
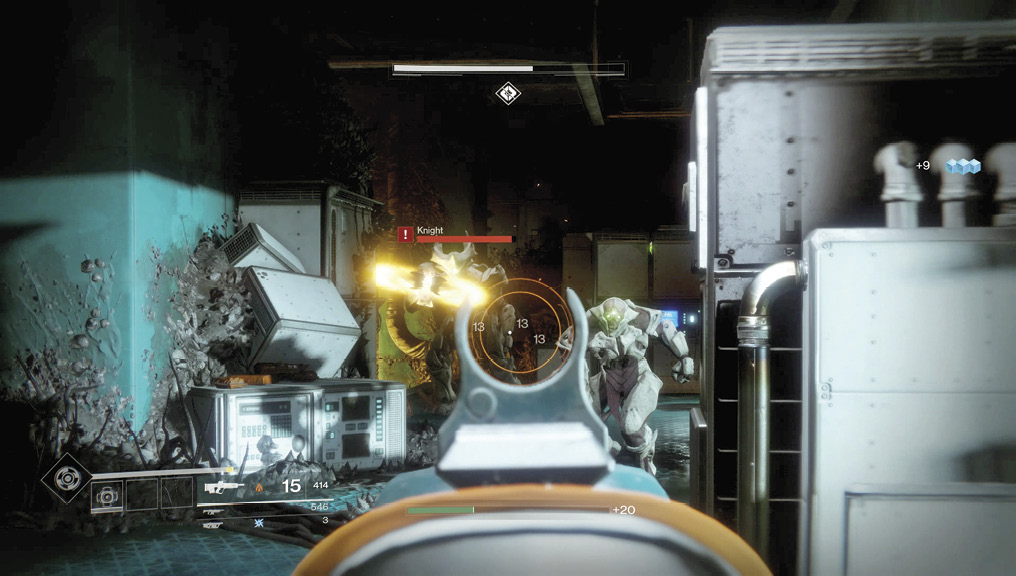
Ascend the spawn pod chamber, cross a short connecting tube tunnel, and turn left as you enter a computer room with a large window. Ignore the view and concentrate on demolishing the Hive forces here. Start with the nearby Acolytes before defeating the Knight. This is a good spot for a grenade if you want a quick clear-out. The action continues outside up a ramped cargo bay with a Knight and around six Acolytes, which leads around to the main spawn pod chamber doorway. You’ve completed a circuit and removed considerable Hive forces along the way.
 Command Center Climb
Super: Recommended
Grenades: Recommended
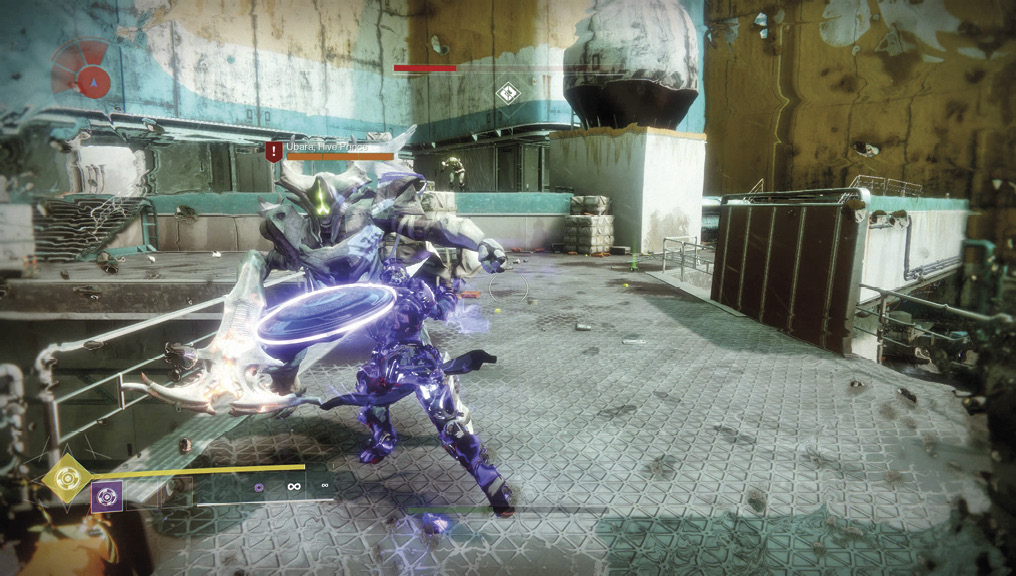
Now that you’re back at the Comm Tower 02 exterior, head to the pallet of luggage and use it as cover, firing at Acolytes along the way. Look ahead with the spawn pod chamber door to your left. The command center is above and right of you, where additional Acolytes are appearing from. Make slow and steady progress up the metal steps to the low roof attached to the Comm Tower 02, and hide behind the AC units as you clear this metal flat roof of foes.
Leap the gap to the upper metal steps left of the two large light orange pipes. They lead up to an open roof platform with a large square-shaped hole leading down to the initial thoroughfare you traversed before you entered the spawn pod chamber. On this roof is the last major battle you’ll face, with an initial eight Acolytes and a Knight to defeat. Use the cover opportunities and force yourself up to this roof platform; attacking from below limits your opportunities for takedowns. When this first wave of foes subsides, another eight Acolytes and the Sub-Boss Ubara, Hive Prince (Knight) arrive!
Sub-Boss: This battle is violent but relatively straightforward as long as you’re spatially aware of how you can reach this upper roof platform. (You can also use the stairs on the opposite side near the entrance you first came from, where the Thralls charged down from.) The main fracas occurs in the area around the square-shaped platform hole. Just cover either side of it. As Ubara, Hive Prince arrives, sprint to the raised section of roof and clear it of a few Acolytes so you have a slight height advantage. If you have a Super, use it. If you have a grenade, throw it (ideally at the Sub-Boss). Otherwise, make nearby Acolytes your first target, then Ubara, who takes about three times as much damage compared to a regular Knight before he falls.
With the battle over, go to the command center door, open it using Ghost, and head through to a gantry way and a meeting with Zavala himself. The mission concludes, and you can now meet and greet Sloane in person.