
Destiny 2 Guide Strikes Savathun’s Song
Chasm of Screams
Restricted Zone
Enemies Encountered
- Hive: Cursed Thralls
- Boss: Dark Heart (Shrieker), Acolytes, Knights, Thralls, Ogres
Objectives
- Find the source.
- Destroy the Dark Heart.
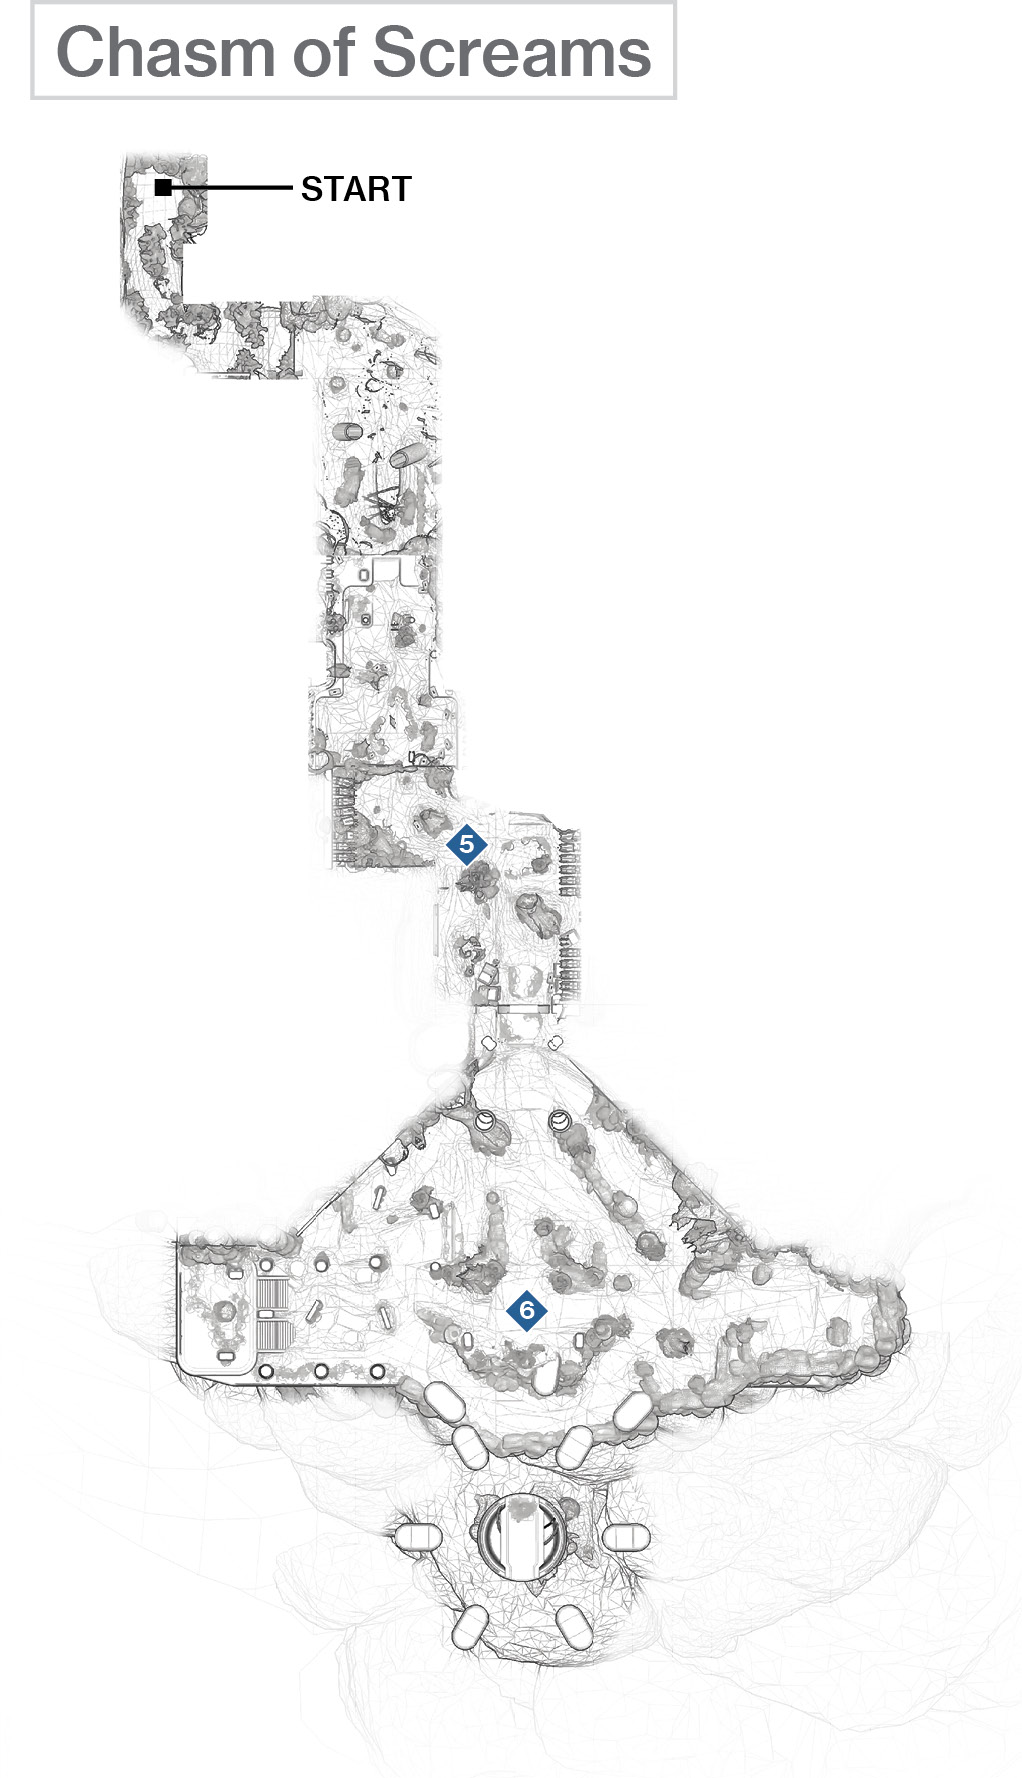
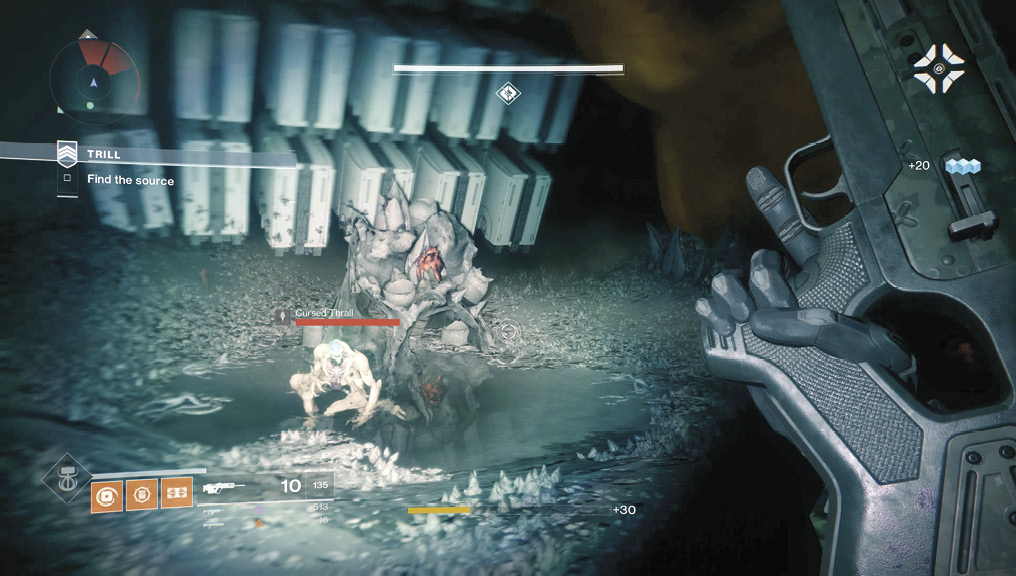
 Hive Burrows
Super: Optional (one player)
Grenades: Optional (one player)
Tear through the Hive tunnels, backing up as you spot Cursed Thralls running your way. There is a horde of them, so don’t race too quickly into their explosive ranks. Instead, back up a little, and tackle the ones closest to you. Take your time; you want all three of your team’s Super attacks and grenades to be functional for the final confrontation.
 Chamber of the Dark Heart
Super: Recommended
Grenades: Recommended
Variations: Three appearing Ogres, toughened foes and Boss.
Boss Weak Spot: Central “eye.”
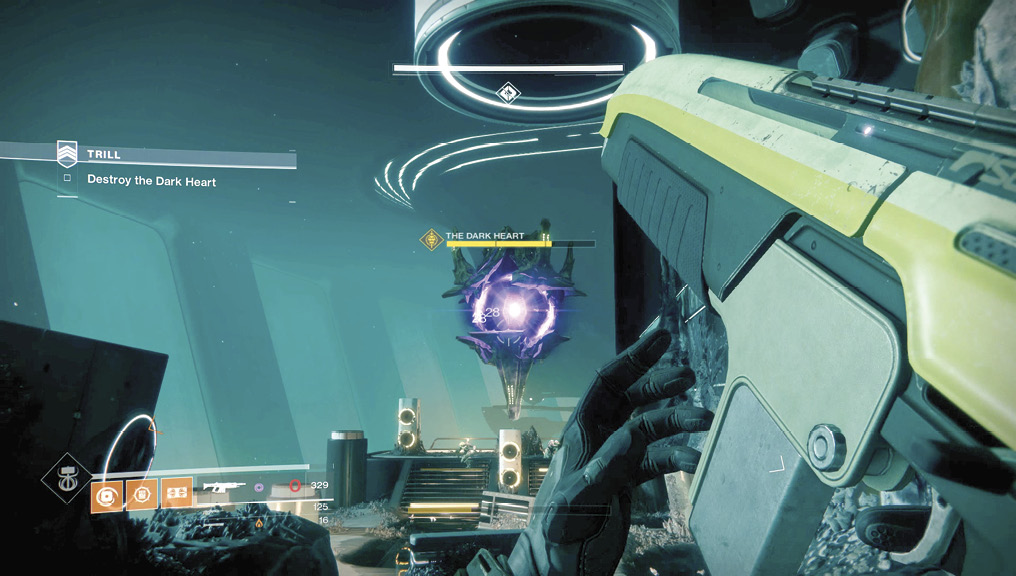
Enter the final chamber, and make a quick sweep if you’re unfamiliar with the area. There’s a sheer and deadly drop with floating platforms along the eastern (far) side, a large multi-tiered balcony platform with a huge crystal, and numerous Hive entrances in the western perimeter wall.
When you’re ready and your team has spread out into position with a good view of the large crystal, have one teammate smash it open to reveal a giant Shrieker known as the Dark Heart. You’re here to destroy it.
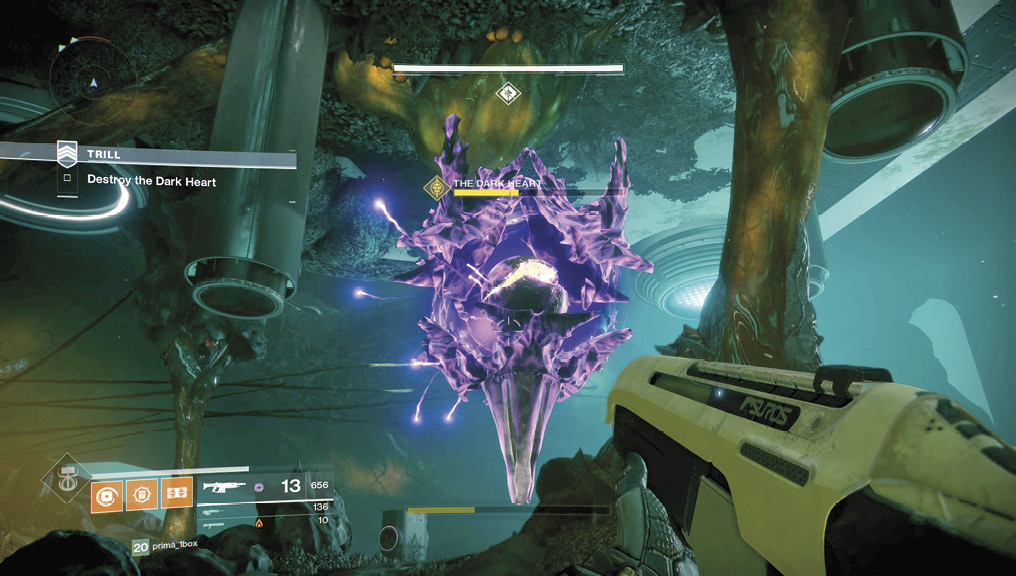
Not dying usually occurs if your teammates know exactly what job they have to do (in addition to killing the Dark Heart). First, split up so the Boss and any incoming Hive foes have to work harder to take you down. Have one teammate whose sole responsibility is destroying the Dark Heart, breaking off from combat only when Hive infantry are on them or the Dark Heart becomes invulnerable. A second teammate should focus on the Dark Heart but actively remove enemy threats as they arise. The third teammate should be shooting at the Dark Heart but focusing mainly on the Hive enemies, letting others know where there are too many to deal with.
This is the player who should be familiar with when and where foes appear. He or she can lob in a grenade to damage multiple foes as they arrive, before they spread out.
First, though, you should be trying to whittle down the first third of the Dark Heart’s energy. Strike the eye (in particular, the jagged groove across the eye). Keep this up for as long as you can, even if you’re being struck by Hive infantry, until the eye closes up and the Dark Heart floats to one edge of the battle area. Then, deal with a sudden influx of Acolytes and Knights.
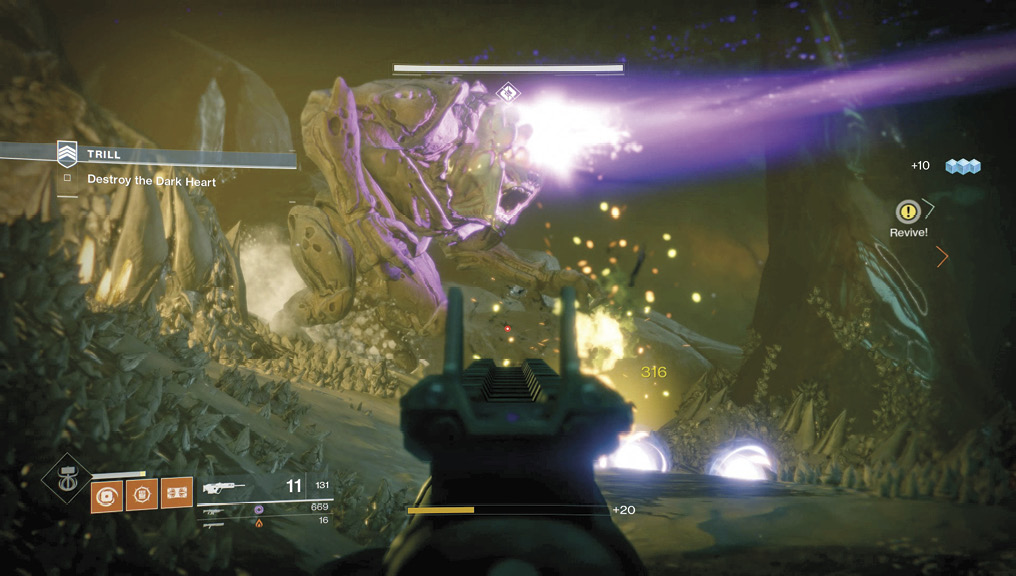
When the Dark Heart opens up again, it floats to the opposite (higher) end of the balcony, and an almost constant stream of Acolytes becomes a problem. With one teammate trained on that eye and two others switching from eye destruction to Hive infantry takedowns, make slow but steady progress removing more Boss health. Keep moving and keep jumping in and out of cover to avoid the Shrieker energy bolts and (later) some void energy balls that the Dark Heart spits out in all directions. Save your Super until the arrival of two or three Ogres. These beasts can really cause you problems, but tackling them in record time and with perfect Super takedowns allows you to quickly focus your attention back on the Boss. Or, shoot them from two or three different directions so they can’t blast you all.
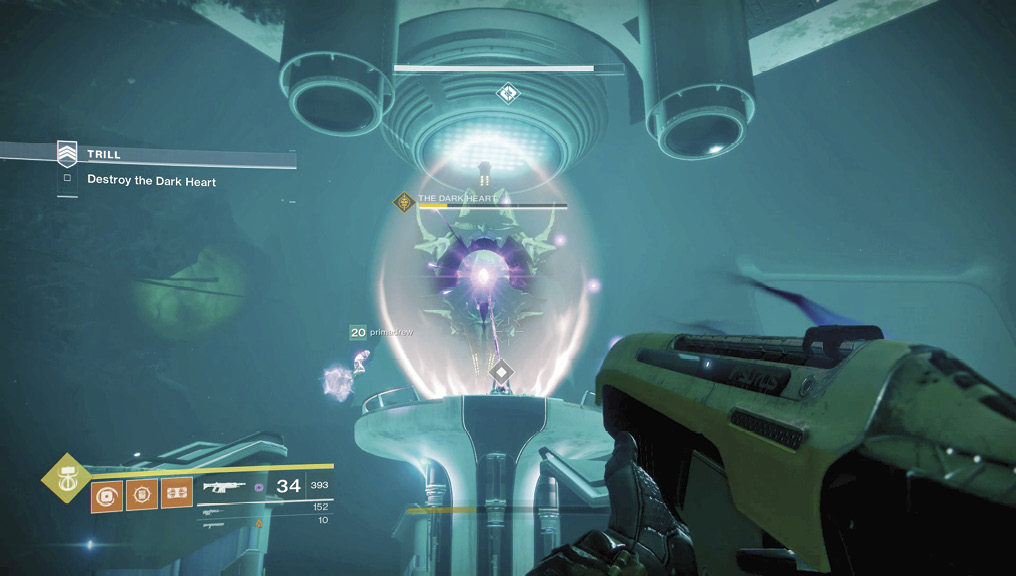
By now, you should be familiar with stepping out of cover, blasting that Dark Heart’s eye, and stepping back into cover before you’re battered by its homing energy bolts. But once two-thirds of its health is lost, it teleports to the top of the floating platform with revolving ramps around it. Two or three Void Wizards also make an appearance. This is another ritual, and it’s stopped in the same manner. With two teammates each tackling the Wizards, one of you must grab the void charge on the main balcony before leaping up onto the suspended and rotating ramps and central floating platform. Slot the charge in, enabling the Dark Heart to be hurt. Shrug off fire and focus on stopping the ritual, even if it means you die.
The final minutes of the battle involve you removing any remaining Wizards, then battling the Dark Heart in a real war of attrition, staying in cover and blasting the Shrieker before diving back into cover. Watch for Cursed Thralls during this time; back up so you’re not struck as they explode. Launch any remaining Supers you can before this fearsome eyeball blinks its last.