
Other Gear and Vehicles
You’ve already received a briefing on a Guardian’s Abilities, weapons, and armor. Now, it’s time to check in with the secondary gear you can accrue for your Titan, Hunter, or Warlock, as well as customizable options and the vehicles you’re able to control.
Armor and Weapon Perks and Mods
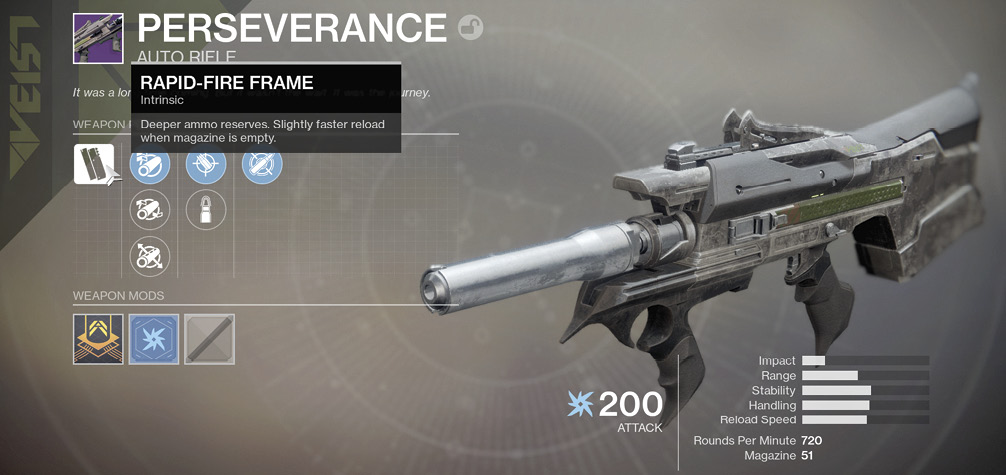
We’ve established that a gear piece’s Rarity rating typically indicates the number of Perks and Mod slots it offers. Now, you will learn what Perks and Mods do.
Perks
Perks are existing qualities that help define a weapon or piece of armor. They cannot be removed, but some Perks on high-level gear can be adjusted to grant different benefits.
Weapon Perks
Every weapon that you find features at least one Perk. It might be a boost to range or stability—of course, it might cause your enemies to explode each time you execute a Precision Kill. A high-quality weapon usually features at least one variable Perk that you can use to adjust performance. Essentially, Perks define what makes a weapon the right (or wrong) fit for your playstyle.
Aside from those found on Exotic items, weapon Perks typically fall into one of the following categories:
Intrinsic: This Perk is generally determined by a weapon’s frame. It can’t be changed, and its effects are automatically factored into the weapon’s stats. Essentially, it’s used to convey a weapon’s basic performance at a glance. For example, the Aggressive Frame Perk indicates a high-damage, high-recoil weapon. However, each Exotic weapon features an Intrinsic Perk that grants one or more unique effects.
Sight/Scope: These Perks generally affect stats like range, handling, and zoom.
Barrel: These Perks typically affect stats like stability, handling, and range.
Magazine: These Perks can affect nearly any weapon stat. Magazine size is obviously a common option, but reload speed, ammo capacity, and rate of fire are also frequent offerings. They can also add special properties to each bullet fired.
Battery: These Perks generally appear on fusion rifles. Like their ballistic counterparts, Battery Perks can affect nearly any weapon stat—magazine size, reload speed, stability, and so on.
Trait: These Perks typically provide a weapon with special bonuses that aren’t directly related to stats. For example, SnapshotSights allows for a quick transition between hip firing and aiming down sights, whereas Firmly Planted increases accuracy, stability, and handling when the wielder is crouched. Of course, Exotic Traits offer some especially potent effects.
Armor Perks
In contrast to weapon Perks, armor Perks are fairly straightforward. These only appear on higher-quality armor pieces. Essentially, they determine your balance of Resilience, Mobility, and Recovery. These Perks generally fall into one of two categories:
Intrinsic: These Perks determine an armor piece’s base Attributes. Each Class-specific variant offers a different combination of Resilience, Mobility, and Recovery.
Trait: These Perks further enhance an armor piece’s Attributes. They’re almost always variable, allowing for basic adjustments to individual armor pieces.
Mods
Mods can be used to change or enhance the qualities of most high-level gear items. Some Mods are purely cosmetic, but many provide benefits that can significantly improve your combat proficiency.
Weapon Mods
Weapon Mods only come in three varieties: Mods that change the damage type (Arc/Solar/Void) of high-quality Energy and Power weapons, Shaders that change a weapon’s color scheme, and item-specific Weapon Ornaments that can be used to change the appearance of the related Exotic weapons.
Armor Mods
While weapon modification can be very useful, armor Mods play a far more noticeable role in combat.
Most of the armor Mods you acquire will come from decrypting Bright engrams or trading with Banshee-44, and you’d do well to hang on to as many as possible.
Armor Mods can affect everything from how often you can use various Abilities to how well your weapon performs in the field.
Of course, high-quality armor pieces also support Shaders, allowing you to mix and match your way to that perfect look.
Shaders
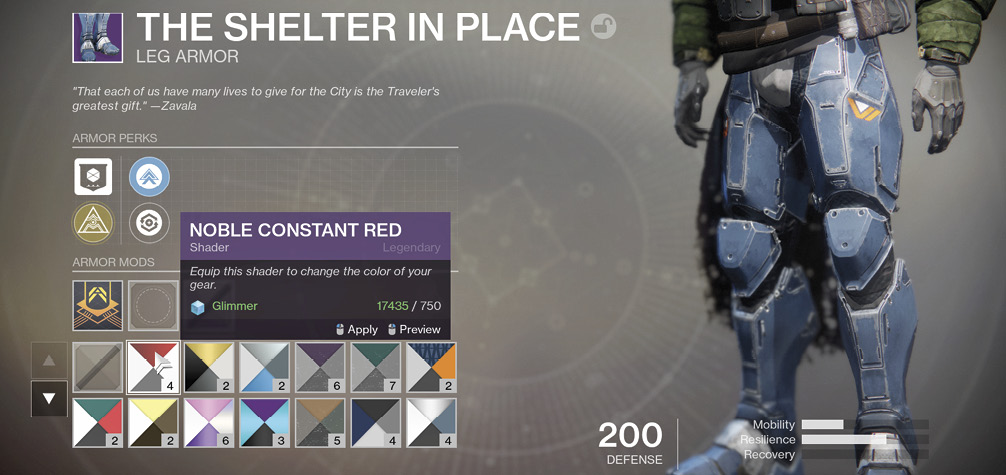
Found in chests, given as rewards, and traded by vendors, these items change the color scheme of your visible equipment, though the exact equipment parts that change color will vary. This is an optional activity. When you find a Shader that pleases you, select it to preview what colors it will change your equipment to. Then, you can create more uniform looks, eventually color-coding all of your weapons, armor, and vehicles. Or, you can shade each piece of equipment differently; it is entirely up to you.
Currency: Glimmer
This cube-like matter is the official currency and used in almost all purchases. You earn it by defeating particularly troublesome enemy types (Elites and Bosses), trading with vendors, inspecting loot caches, winning Crucible matches, harvesting resource materials, and completing certain missions and activities. Start finding Glimmer at the earliest possible moment; it’s needed to buy gear as you level up.
Currency: Legendary Shard
Salvaged from Legendary or Exotic gear, the Legendary Shard is quite the commodity. While new uses are sure to be revealed in the future, for now, Legendary Shards are primarily used to purchase Exotic gear from Xur.
Currency: Bright Dust
Obtained by dismantling items acquired via Bright engrams, Bright Dust is an Eververse-specific currency.
Emotes
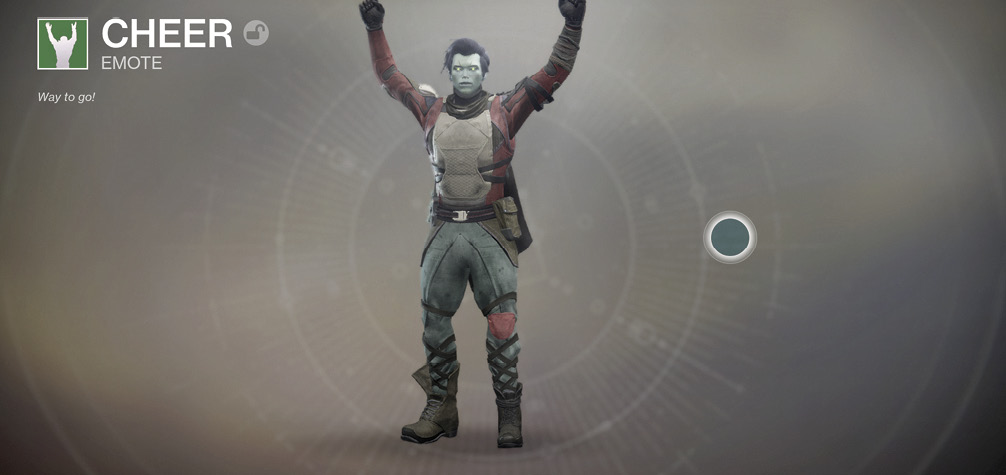
Emotes are actions that you can perform to denote a particular emotion, useful when attempting to convey a message to a teammate when talking isn’t an option. Your Guardian has three Emotes to try out, and more can be purchased or awarded after the game launch. Check your Settings Menu to find out how to perform an Emote.
Ghosts
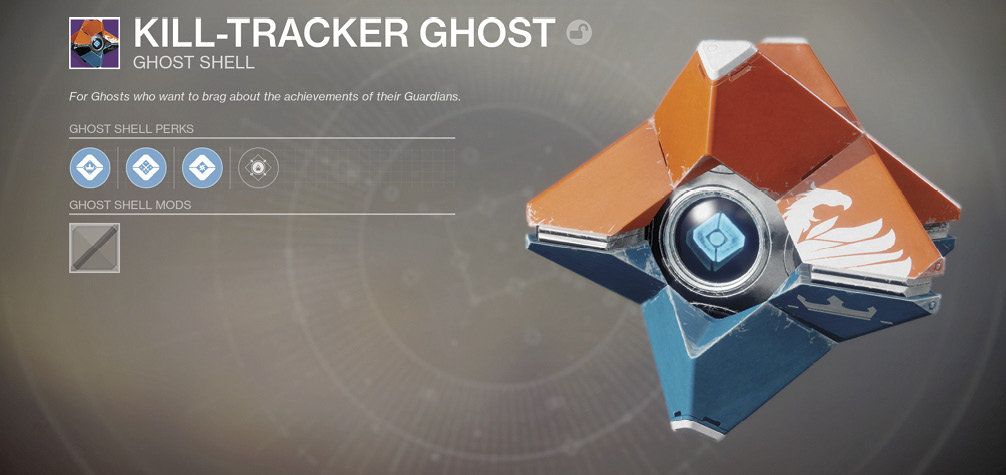
Though your Ghost is your permanent companion, this small floating drone with a flashlight and scanning capabilities can also be outfitted with different shells (as seen in your Character Menu). Such items can be more than cosmetic (and can be further changed with Shaders); some Ghost shells may grant perks or additional rewards for completing certain activities.
Ships
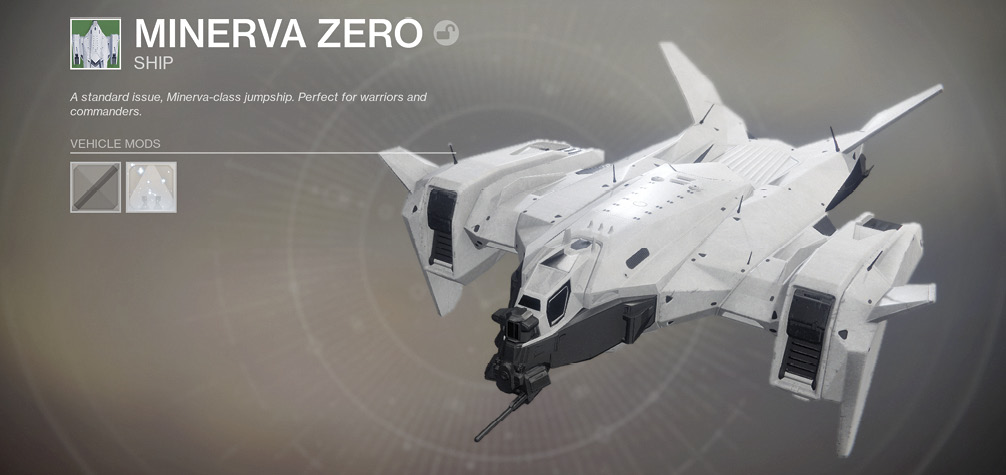
Known also as jumpships, these space vehicles allow transportation between the Orbital Regions of the solar system. To engage your ship, access this menu, locate the Region you want to visit, and check the overview map for the nearest Landing Zone (or “LZ”) to your target Sector. Additional Landing Zones become available as you complete more Campaign Missions. Ships can be color-coded to your liking using Shaders. You can purchase additional ship types from Amanda Holliday at the Tower after you complete the Campaign.
Sparrows
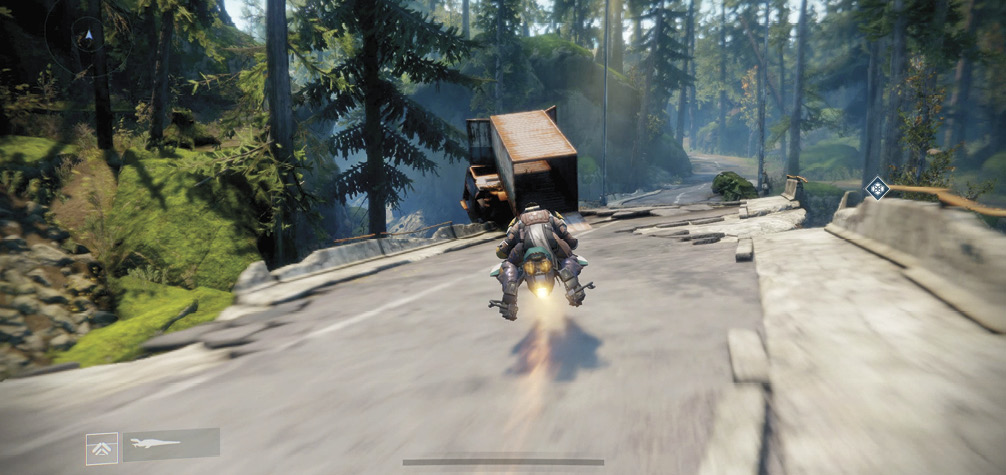
Sparrows are land vehicles designed for quicker access between Sectors, which become accessible once you complete the Campaign. They have no offensive capabilities (aside from ramming enemies) and can be flipped over if you’re driving erratically. They have a boost to enable even quicker travel. They can be color-coded using Shaders. Once you complete the Campaign, you can purchase additional Sparrow types from Amanda Holliday at the Tower.
Other Vehicles
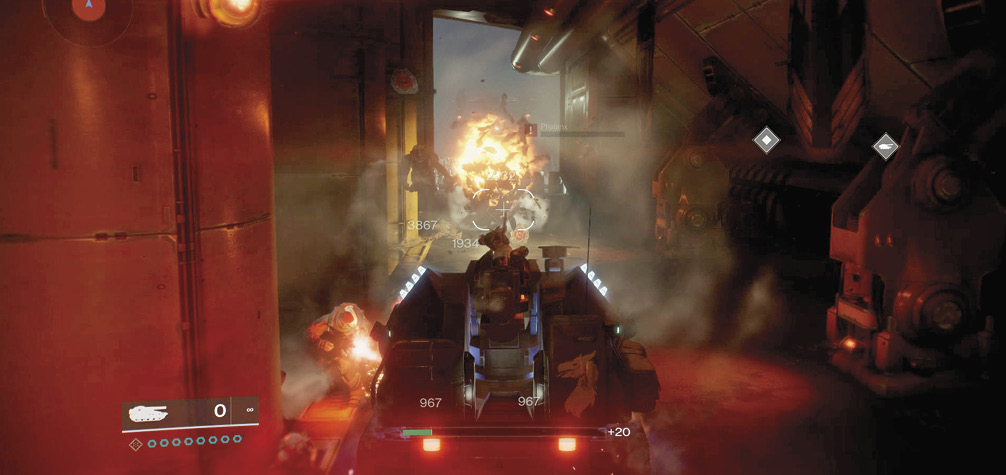
In addition to your ship and Sparrow, there are other vehicles you’re able to drive or pilot during the course of your exploration. These are as follows:
Pikes: Fallen land vehicles piloted by a Dreg. Pike Gangs are found randomly in some Public Sectors as part of a Secret Public Event. Remove the Dreg from the Pike to use it (and its forward-firing cannons) yourself.
Interceptor: Cabal land vehicle piloted by a Psion. Interceptors are found randomly in some Cabal-dominated Public Sectors as part of a Secret Public Event. Defeat the Psion, and hop on the Interceptor. It has a tougher armor than a Pike but is a little bulkier. You’re able to drive an Interceptor during an Adventure, too.
Construction APC: A yellow personnel carrier found on Titan and used during Campaign Mission: Utopia. Consult that mission for further information.
Drake Tank: A heavy tank dropped into play during Campaign Mission: Payback. Consult that mission for further information.