
Destiny 2 Guide World Quests Io World Quest: King’s Shadow
Mission 4: The Army
Starting Location
Recommended Power
- 130+
Prerequisite
- Complete World Quest step “Asher’s Theory.”
Reward
- Echo Patterns +1
Description
- We’ve detected the Taken Boss Knight around the area. He’s likely trying to find a way to teleport his army to other worlds. Stop his ambitions!
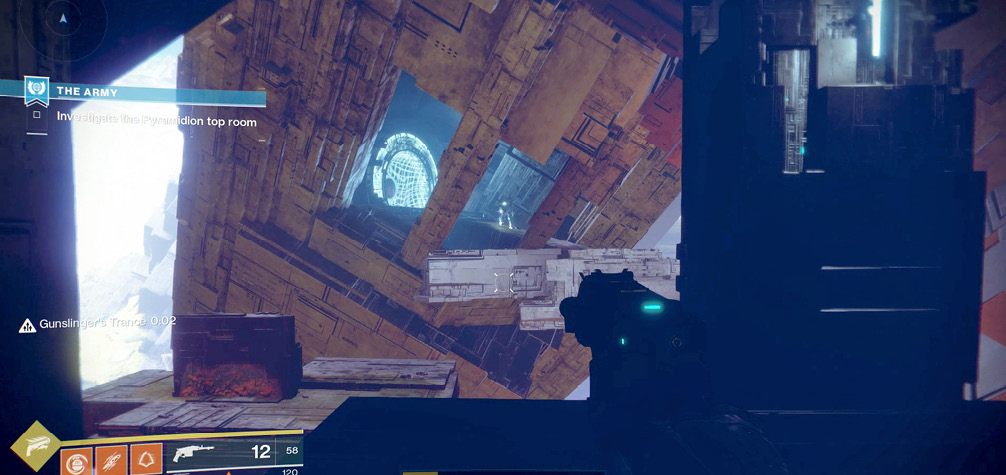
 From Asher Mir, head to the flag atop the Vex architectural protrusion toward the middle of this Sector. Some jumping is required to reach it, but that’s nothing compared to the climb to come! Ignore the Vex in the sunken part of the main Pyramidion entrance. Instead, start climbing up the super-structure, jumping up the narrow ledges above and to the north of the sunken area. You’re heading in the right direction when you encounter a Taken Hobgoblin on the ledge ahead of you; drop it.
Jump across two floating square-shaped platforms, and continue up the exterior of the Pyramidion structure. Head around and upward, blasting an appearing Taken Phalanx and passing within the outer walls. You’re still outside the structure, but you should see a circular Vex portal across a floating stepping stone platform. Deal with the Taken Hobgoblin guarding the portal before leaping across and entering it.
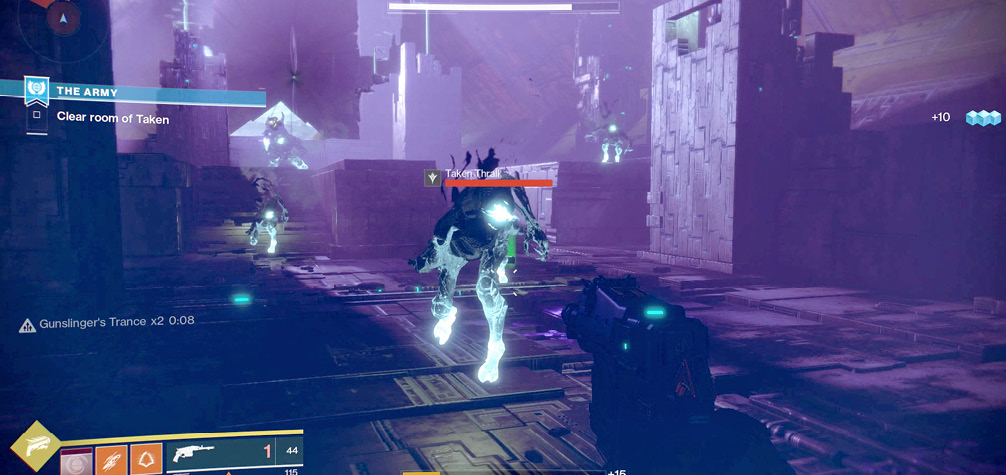
 You appear inside a purple-hued chamber. Be ready for a lengthy battle as an army of Taken is summoned. Start by dropping the Goblins, then a Hobgoblin (at range), and then Phalanxes. Taken Thralls then appear, then Goblins before they link to a Centurion. Expect additional Thralls, Hobgoblins, and a couple of cloaking Minotaurs to waylay your plans. Staying at the entrance to this chamber is wise; there’s plenty of cover and time to react to the Thralls as they charge. Once you’ve cleared the room, the Boss Knight disappears.
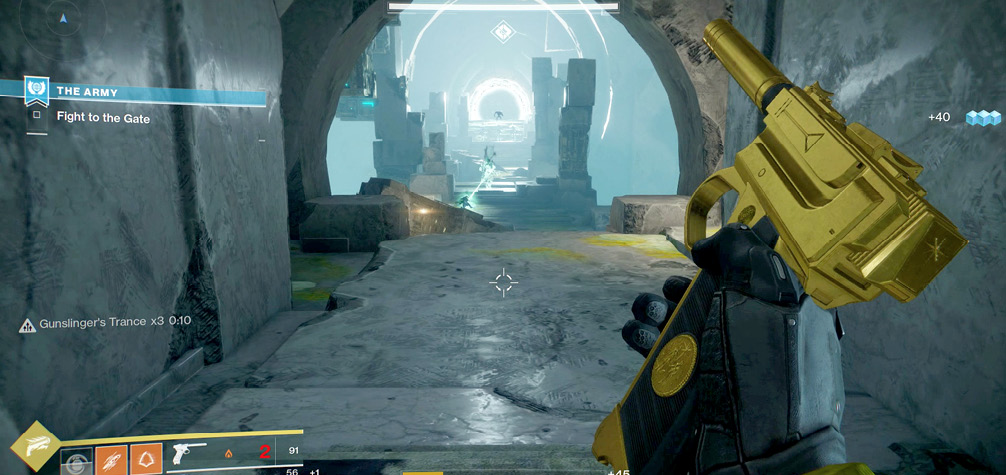
 Make a long controlled drop back down to the ground level of The Rupture, then head south to the entrance to The Endless Gate. There’s minor Vex resistance before you enter, but the action heats up as you wind through the entrance corridor to a pair of circular chambers. Vex Minotaurs and Goblins are battling Taken Thralls and a Wizard. Feel free to let combat play out, but concentrate on the Thralls and removing the Wizard threat (usually with a Void Shield) when you can.
Enter the main chasm chamber of this Sector. There’s time to drop a collection of charging Taken Thralls from distance. As you move slowly forward, snipe at a couple of Taken Goblins. At the start of a block bridge, tackle some Taken Hobgoblins before they snipe you. There’s one on either side of the bridge span, along with a Taken Minotaur and Phalanxes on the far side.
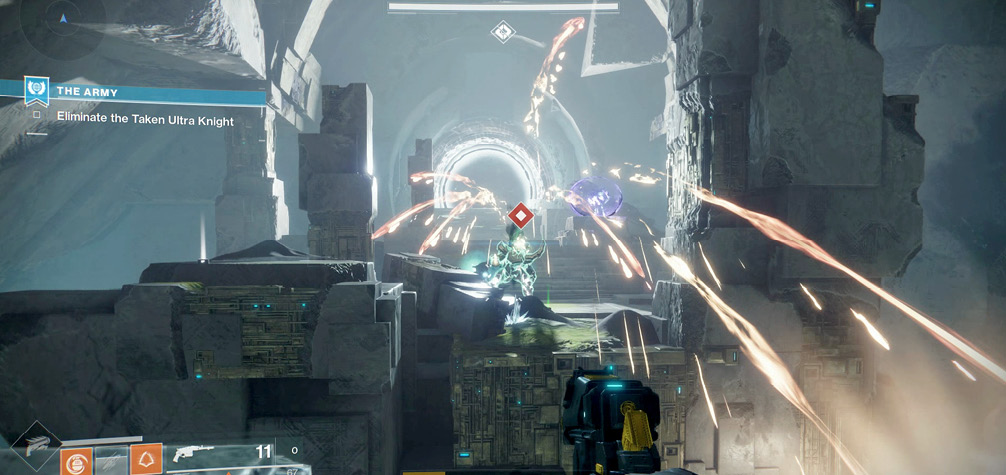
 The Boss Knight is being kept invulnerable by Taken Goblins. Remove them first, then focus all your firepower on the Knight.
A Super is great to use here, along with grenades and harsh language. The initial assault is good to try at close range, but once you remove the Goblins, jump back over the bridge span. The Knight summons around four Acolyte Eyes to shoot at you, so tag these from range.
Use the lip of the stone steps on the near side of the bridge as cover, then let rip at the Knight. After dispatching the Acolyte Eyes, watch for Hobgoblins that appear. Dodge the fiery Scorch Cannon-like projectiles and Void Energy blasts from the Boss Knight, which are reasonably easy to dodge at this range. The gap in the bridge prevents the Boss Knight and his minions from swarming you.
As you take his health down past two-thirds, he summons a Hobgoblin and a couple of Goblins. Shoot the Goblins first so they don’t link to the Knight. Combat continues with periodic intrusions of more Hobgoblins and Goblins, so remain steady with your plan of attack. Lob in grenades whenever you can. If ranged combat isn’t working for you, try leaping to the far-left corner near the pulsating warpgate at the end of the bridge. Take out some minions, and then leap back again.
When the Knight is almost dead, it tends to summon a Centurion and a pair of Phalanxes on the near side of the bridge, so prepare for that. When the Boss Knight finally falls, leap across, mopping up any stragglers. Fire at the rift inside the warpgate to end the Taken intrusion once and for all. This mission concludes.