Destiny 2 Guide Director Titan
Siren’s Watch
Sector Notes:
Adventure:Thief of Thieves
Lost Sectors: 1
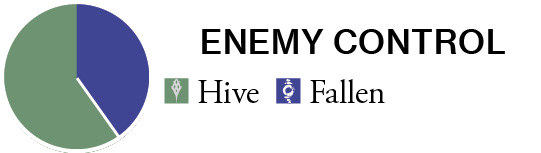
Enemy Clusters: Fallen: 4
Enemy Clusters: Hive: 4
Enemy Chests: Available
Landing Zone: Available
Material Nodes: Available
Patrol Beacons: 7
Public Event (Full): 1
Public Event (Secret): 4
Region Chests: 3
Scannable Objects: 5
Vendor: Sloane
World Quest: O Captain
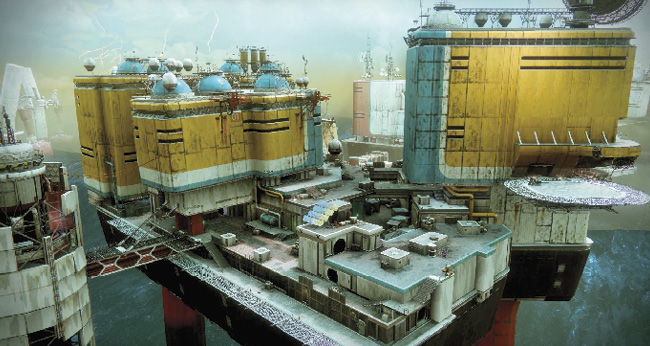
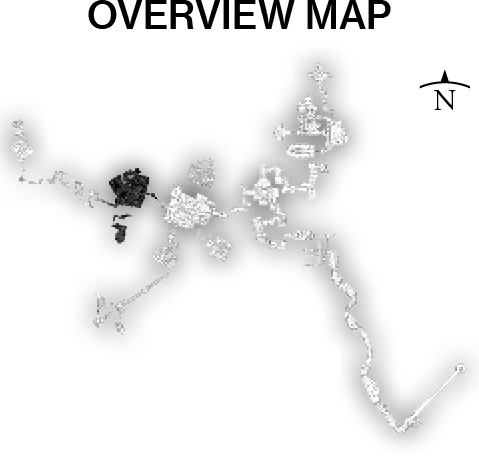
One of the main rigs of Titan, this Sector can be a confusing maze of exterior corridors and interior chambers, as well as Hive infestations and Fallen clusters to deal with. Think of the Sector as having two main levels. There’s a “ground” level around a central interior “nest” where the main Hive presence is located. There’s also an “upper” level of mainly exterior platforms and rooftops leading to the Command Center (and Sloane the Fleet Tactician) in the northern part of the map, where the Landing Zone is established. But there are still small interiors on the ground level to inspect for collectibles, along with an easily overlooked Lost Sector to find.
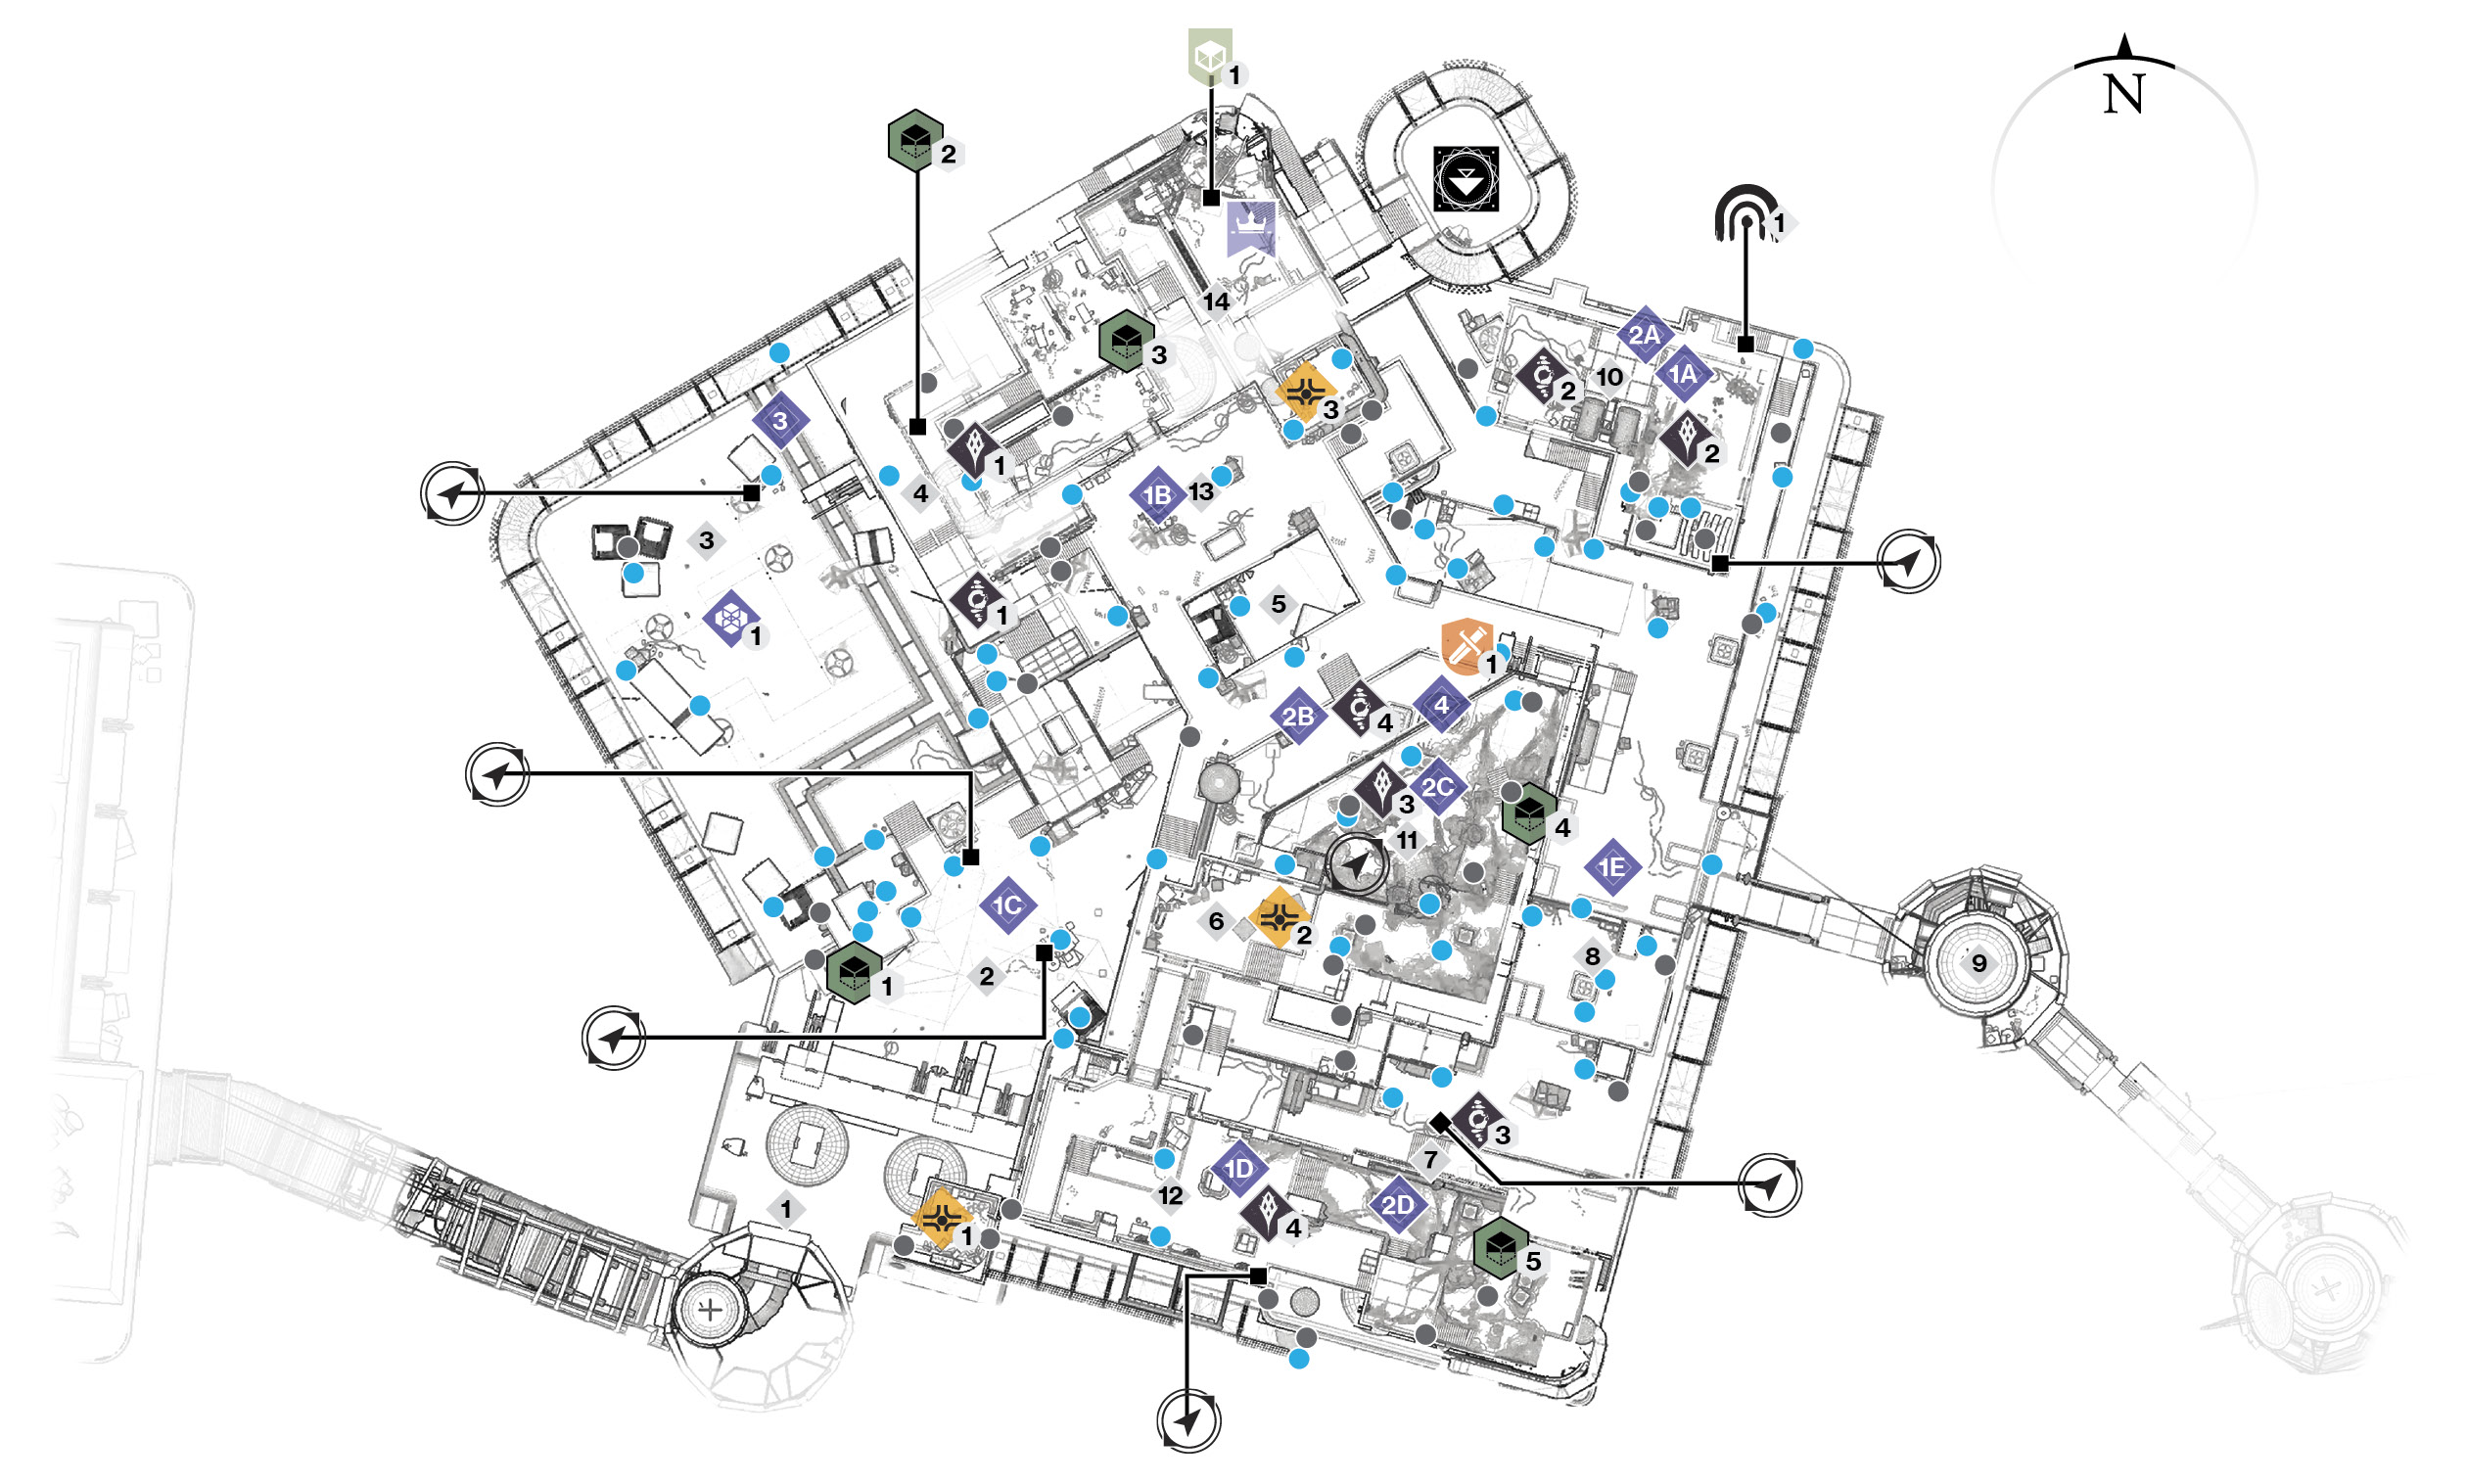
Areas of Interest
 Bridge to Sinking Docks
The covered yellow tube-like bridge with the worryingly large broken section to jump across allows access back to the Sinking Docks. This is usually the way you enter Siren’s Watch for the first time during the Campaign Mission: Hope.
 Exterior Forecourt
A flat expanse of ground with scattered crates and a number of directions to investigate.
 Open Cargo Platform (Exterior)
This entire area is completely open to the elements, with dotted cargo containers around the perimeter that you can use for cover, as well as quick access eastward into the Interior Cargo Room.
 Interior Cargo Room (Ground Floor Interior)
This chamber with two entrances (south to the main cargo thoroughfare (#5) and west to the open cargo platform (#3)) has Acolytes guarding a scannable object. This room layout is not shown on the guide map (it is underneath the staircase you can see on this map).
 Main Thoroughfare (Exterior)
This area features scattered cargo crates and is the main ground-level exterior route between the forecourt and the northeastern corner of the Sector where Comms Tower 02 (#10) is located. Unlike the Campaign, there are very few foes to thwart your progress, just some Shanks and Dregs at the northeast end of the route. This layout is not fully shown on the guide map (it is underneath the Command Center platform (#13) you can see on this map).
 Terminal Side Chamber (Interior)
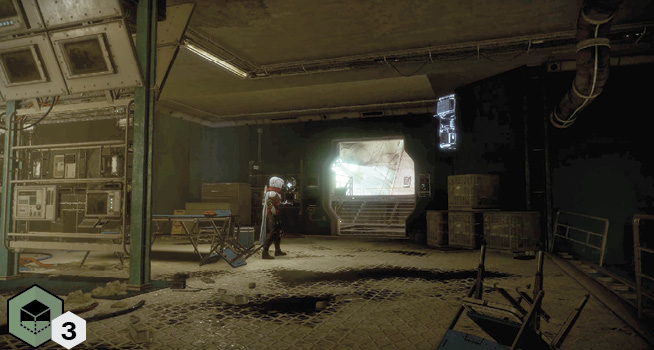
This room is accessed from the outside via the metal steps and low gantry platform and Side Walkway running east to west from Areas of Interest #2 to #7. The wall structure (but not the interior) is shown on the guide map, as it is directly below the Spawn Pod Chamber exit to the Computer Room. Offering quick access into the Spawn Pod Chamber itself, this small room has an even smaller antechamber where the remains of a skeleton clutch a “help” sign. There’s a Region Chest up for grabs in here, too.
 Side Walkway (Exterior)
There is an exterior walkway and a gantry just above it that follow the perimeter of the Spawn Pod Chamber in the middle of this Sector. To the south and upstairs (usually accessed via the Spawn Pod Chamber) is the Computer Room. This room’s exit is at the far eastern corner of this area. Expect a few Fallen roaming this area, as it connects to the long stepped area and wraps around to the Comms Tower 02. Note an often-ignored path to a tiny antechamber, where Region Chest #1 is located.
 Stepped Cargo Area (Exterior)
The eastern edge of this Siren’s Watch rig connects from the Side Walkway (to the south; #7) to the Comms Tower 02 (to the north; #10). It offers quick access to the Rig Sector, and it has less traffic than the main thoroughfare (#5).
 Gantry Towers to The Rig (Exterior)
Head east toward two connected gantry towers, and you access the next Sector on Titan: the Rig. Just look for the two towers between the rig islands.
 Comms Tower 02 (Exterior and Interior)
This area offers a great deal of investigative opportunities. First, there is a Lost Sector on the northeast gantryway. Second, you can leap to the roof of this area, and then you can jump across heading west, landing on the Command Center exterior platforms (#13). Back at ground level, the entrance to the Spawn Pod Chamber is just south of the Comms Tower. There are also a couple of interior rooms accessed at the east and west sides of the building, with Hive foes inside. Finally, on the western edge of this area, below the LZ platform, is an open door into a tiny room with a Region Chest (#3).
 Spawn Pod Chamber (Interior)
A mess of Hive secretions, and a mass of Hive activity, this is the central interior chamber of this Sector. It is on three tiered levels and also features a scannable item. Entrances and exits are via the southwest corner (#6), north end (#10), and an upper interior corridor (from #12).
 Computer Room (Interior)
This links to the Spawn Pod Chamber (#11) and the outside Side Walkway (#7). It features a relatively intact computer room with a light blue floor. Further east, the room dissolves into an orange-lit nightmare of Hive secretions, Thralls, and the Side Walkway exit.
 Command Room Platform (Exterior)
This relatively flat upper area above the main thoroughfare (#5) features crates, a raised platform to the southeast above the Spawn Pod Chamber, and a number of Fallen foes. It’s also the entrance (in the north wall) to the Command Room itself. Access here by the gantry stairs to the southwest, or by jumping from the Comms Tower roof (northeast).
 Command Room (Interior)
Head up into here to visit Sloane, start the World Quest (from Sloane), and access a scannable object. This northern interior, linked to the exterior LZ, is the highest point on Siren’s Watch.
Adventures

Access this Adventure on the upper Command Room platform opposite the room door, near some metal steps to the raised area (exterior).
Lost Sectors
 Methane Flush
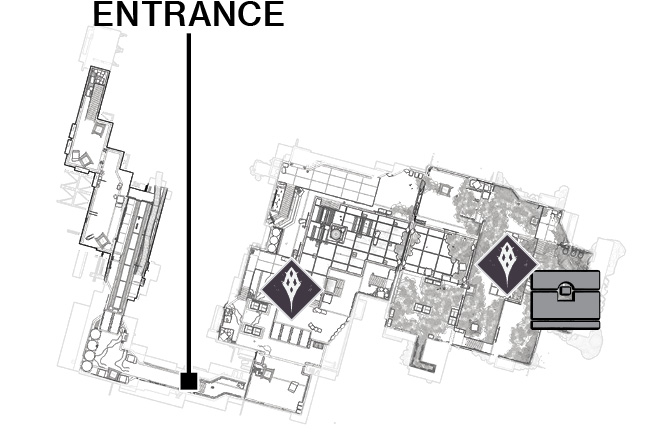
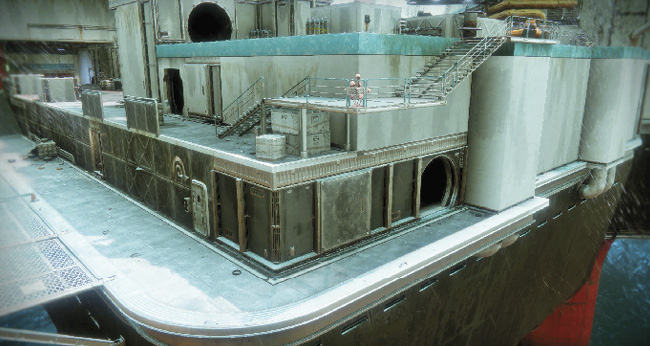
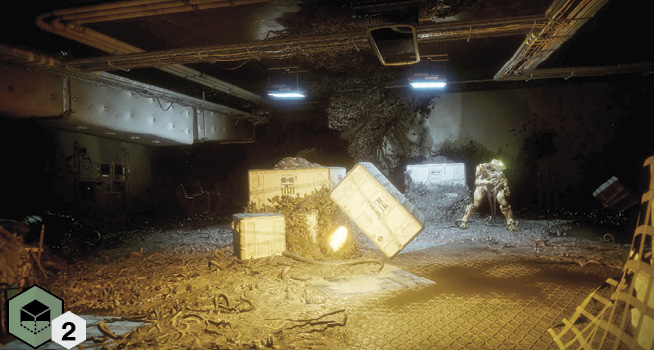
Deeper down in the superstructure of Siren’s Watch is a series of storage and cargo bays, partly eaten away by Hive activity. Here, you’ll find a large number of foes, including Knights, Acolytes, and two screaming Shriekers. The biggest problem is the Sub-Boss Wizard; he must be stopped before you can claim the chest contents.
Siren’s Watch
| Guide Name | Sub-Boss | Reward | |
|---|---|---|---|
|
1 |
Methane Flush |
Wizard |
Boss Chest |
Patrols
 Siren’s Watch (7)
There are six other Patrol beacons you can locate and start a (random) Patrol from. Leave and return to this Sector to reveal additional beacons.
Landing Zones
 Available LZ
Once you’ve completed the Campaign Mission on this Sector (Campaign Mission: Hope), the LZ is established on the platform attached to the Command Center where Sloane is located.
World Quests
 O Captain
Once certain prerequisites have been made, start this quest spanning the length and breadth of Titan by speaking to Sloane.
Enemy Clusters

Check the exterior gantry stairs and open cargo platform for Dregs, Shanks, and Vandals.

Dregs and Shanks are the main problem foes in and around (and on the roof of) the Comms Tower 02. Note that the nearby interior of the tower houses Hive foes.

The usual Fallen infantry are roaming and sniping along the southeastern Side Walkway and tiered cargo area; expect Dregs and Vandals, along with Shanks.

Up on the Command Room platform upper level, Vandals and Dregs are the foes to contend with.
 Hive
Hive
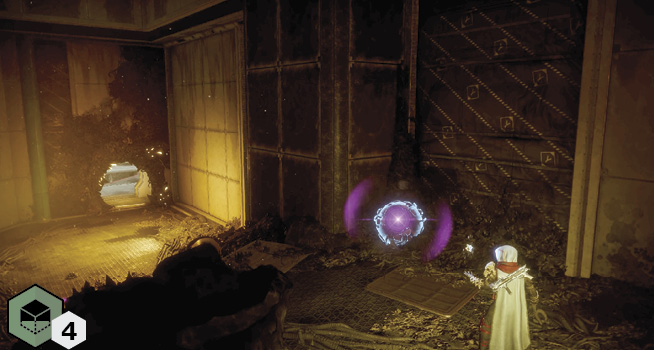
The lower chamber to the east of the open cargo platform houses a cluster of Acolytes guarding a scannable object.
 Hive
Hive
Acolytes and a Knight are the problem foes inside the Comms Tower 02 room.
 Hive
Hive
Acolytes and a Hive Wizard are active within the Spawn Pod Chamber.
 Hive
Hive
The Computer Room houses Acolytes and a Knight, with Thralls darting about the eastern secretion-filled area.
Vendors
 Sloane
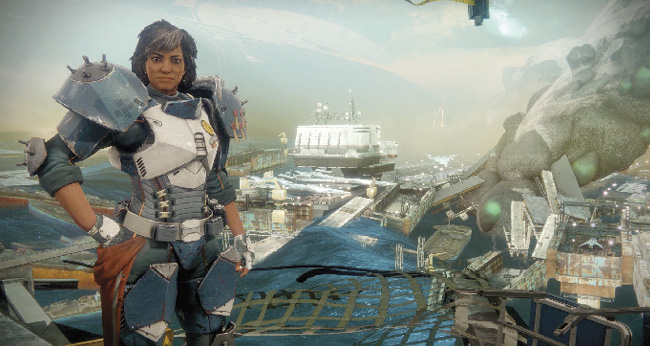
Sloane is the Fleet technician and an impressive ally. She takes any Tokens that you find across Titan. Bring her these in groups of 10, five, or one. In return, you’ll receive an increase in your Reputation with her, allowing you to purchase unique Titan armor and weaponry. Sloane also decrypts engrams.
Public Events
 Public Events (Full)
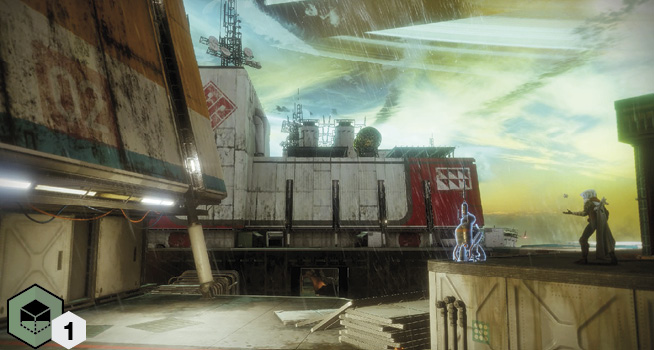
Weapons Exchange: Fallen forces are attempting to command the open platform area (west) and have dropped in an Arsenal Walker. Destroy it, ideally with the Scorch Cannons you can unlock.
| Event Number | Event Type | Target | Other Enemies | Reward |
|---|---|---|---|---|
|
1 |
Weapons Exchange (Arsenal Walker) |
Fallen Arsenal Walker |
Dregs, Vandals, Shanks, Marauders, Captain |
Boss Chest |
 Public Events (Secret)
HVT #1: A toughened Sub-Boss Fallen Captain drops in at one of the five marked locations on the guide map (1A, 1B, 1C, 1D, or 1E).
HVT #2: A devious Sub-Boss Hive Knight has landed somewhere in this Sector. Battle him close to where he appears (2A, 2B, 2C, or 2D).
HVT #3: A Hive Knight summons a horde of Thrall, then lurks in the northeastern corner of the open cargo platform.
Scavengers: When Fallen scavengers arrive at the Spawn Pod Chamber, all hell breaks loose, and you’re here to help mop up the mayhem. Expect large numbers of Hive and Fallen foes inside the Spawn Pod Chamber. Two Servitors guard a Fallen treasure chest while attacking nearby Hive. Defeat the Servitors and the chest unlocks.
| Event Number | Event Type | Target | Other Enemies | Reward |
|---|---|---|---|---|
|
1 |
High-Value Target |
Fallen Captain |
None |
Boss Chest |
|
2 |
High-Value Target |
Hive Knight |
None |
Boss Chest |
|
3 |
HVT (Tactician) |
Hive Knight |
Hive Thrall |
Boss Chest |
|
4 |
Scavengers |
Spawn Pod Chamber |
Fallen and Hive foes |
Random Loot |
Region Chests
 Region Chest 1
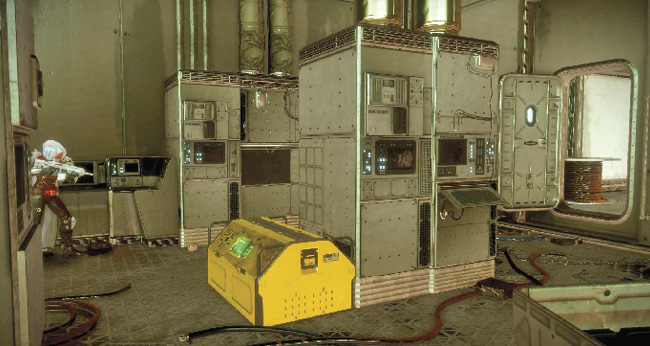
Inside a tiny maintenance room accessed via a U-shaped route down the Side Walkway to the very southern exterior of the Sector.
 Region Chest 2
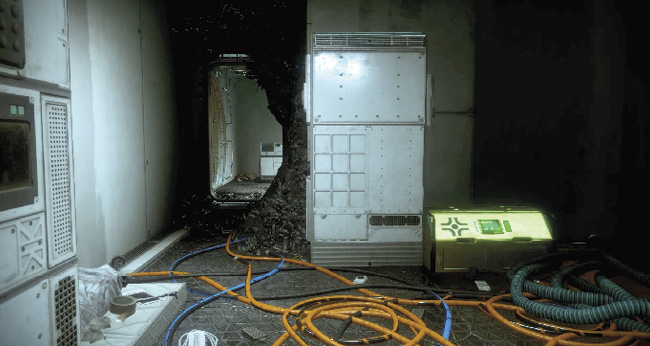
Inside the Terminal Side Chamber (lower area) off the Spawn Pod Chamber.
 Region Chest 3
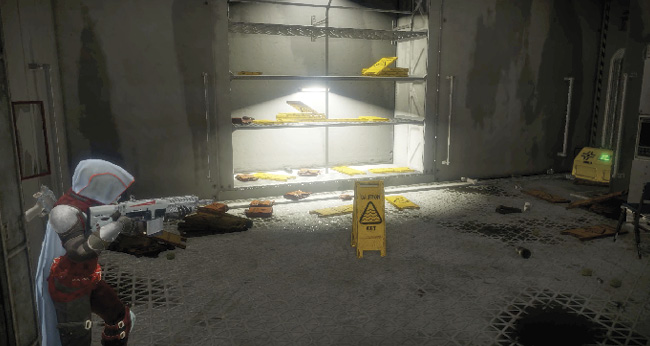
Inside a small maintenance room (just above ground level) accessed from the dead-end path (exterior) just west of the Comms Tower 02 area.
Scannable Objects