
Navigation
Exploring the Regions of the European Dead Zone, Titan, Nessus, and Io requires you to observe and investigate the world around you. Therefore, it is important to know all of the different environmental factors before you start investigating them. Pay particular attention to the available Loot Caches (AKA chests) and strange scannable lore objects that Ghost can interact with.
Know Your Environment
Aside from perfecting your running, sprinting, and jumping (as well as driving), you should also be aware of the main environmental areas of interest and hazards. This section details the most important ones.
Sectors: Each World or Region is divided into different Sectors. The largest of these are Public Sectors, but there are a few other types.
Public Sector: A large Sector that is completely accessible to all Guardians. Expect most, if not all, activities to be available here. These offer roads to adjacent Sectors and are high-traffic areas.
Lost Sector: A small subterranean dungeon-like Sector with a few enemy clusters to fight and a Elite to face. Slay the Elite, and they drop a key to a specific chest contained within these Sectors (and only these Sectors). Occasionally, Lost Sectors link to other Public Sectors, but they are mainly dead ends.
Activity Sector: A medium-to-small sized Sector that may be partially or completely inaccessible during normal “social” circumstances. This Sector opens up during a particular mission or activity, so consult the Director to find out when this is.
Social Sector: The Farm and the Tower are the only two Social Sectors, where you have a large number of friendly Guardians and vendors, and your camera switches from first to third person. Head here to preen, fiddle, and tweak your Guardian, as well as access your vault and trading equipment.
Each Sector may link to another via one or more roads, or via a Landing Zone if they are self-contained. Certain Sectors are accessible all the time, while others are partially or fully inaccessible unless a mission or activity is occurring. A wide variety of activities take place within each Sector. The Director chapter details all of them.
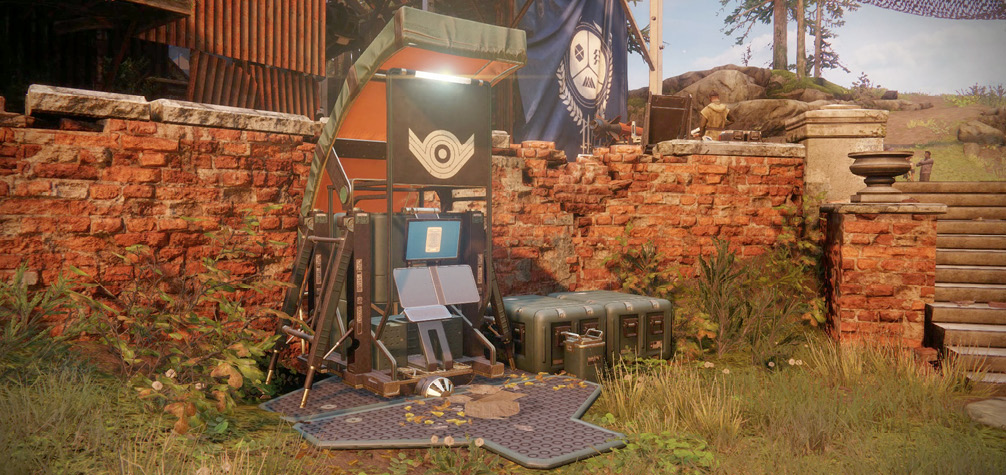
Vaults: Vaults are located in both of the Social Sectors. As you might expect, they store items or equipment that you don’t want to currently use. Store items in a vault if you aren’t high enough level to use it yet and want to free up an item slot in your Character Menu. Keep items that you don’t want to dismantle but are saving for other purposes. Share items with your other Guardians (that you yourself create). Don’t ignore vaults; they are extremely handy.
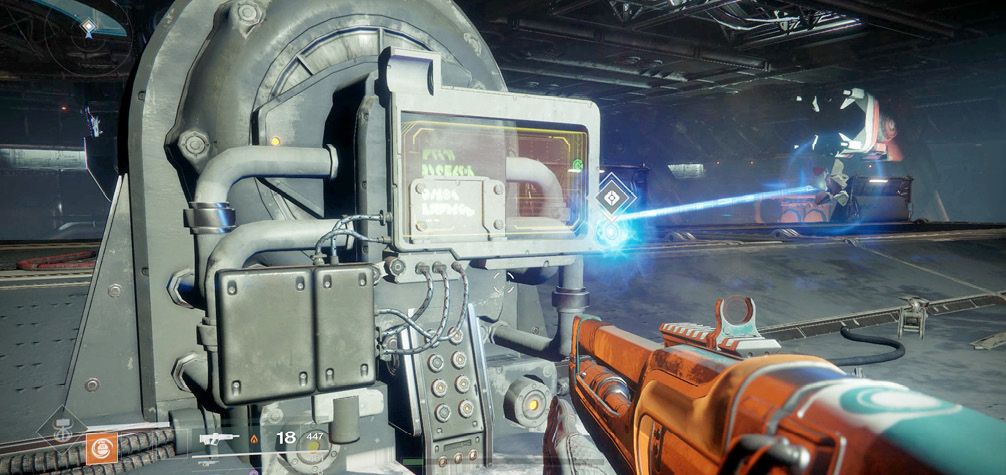
Ghost Interactions: If a bridge needs extending or a light switch needs fiddling with, Ghost is here to help.
Simply step up to any device (be it a transmat or a computer terminal), and if a context-sensitive prompt appears, use Ghost to access it. Unless the prompt
tells you explicitly not to press a button, press it every time! However, you may want to survey an area or replenish your Abilities beforehand.
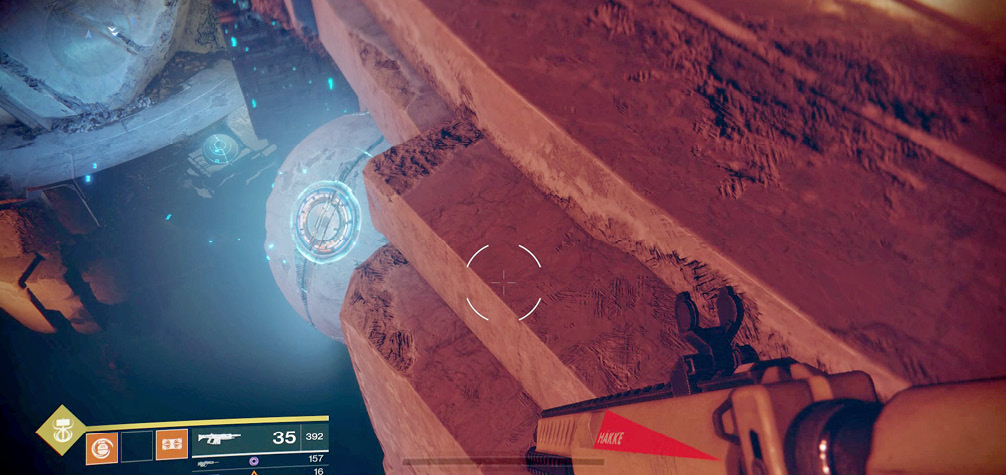
Energy Catapults: The planetoid of Nessus has glowing embedded globes that bounce you from lower to upper areas that are too high to jump to. Look out for these, and land on them to first activate them.
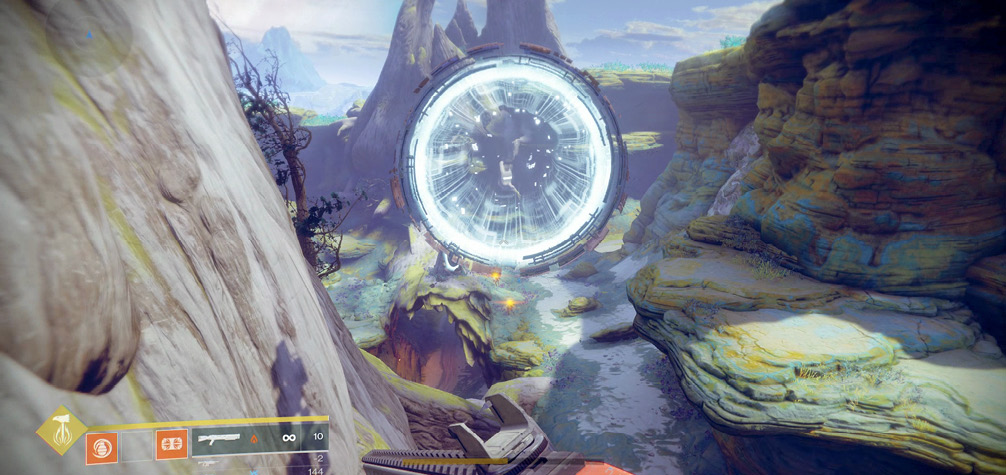
Launchers: If you spot strange glowing rings floating in the air, these are strange Vex cannons that propel you in a roughly horizontal boost across a Sector. They are always used as part of a Secret Public Event (flagged in the Director chapter).
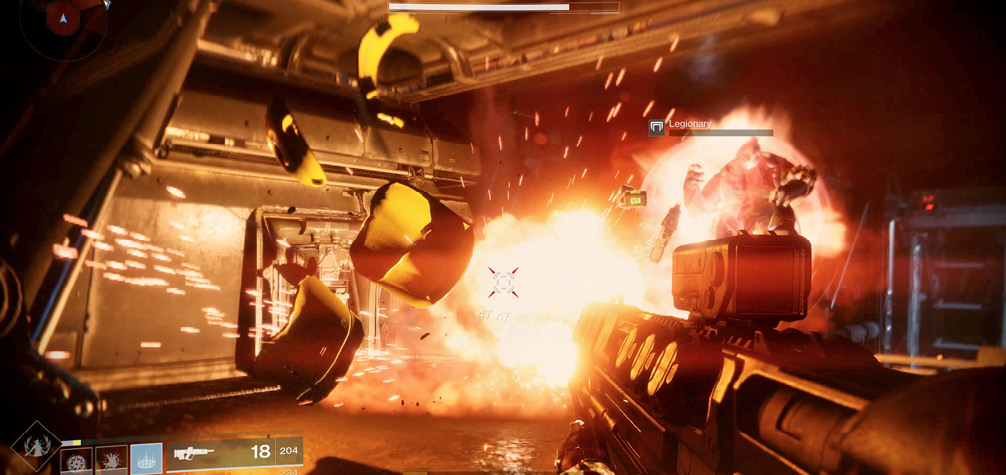
Barrels and Canisters: Be on the lookout for red barrels with a glowing light on them, as well as larger yellow canisters. These are explosive, and you can shoot them to cause area-of-effect damage after they detonate. This helps soften up enemies before you finish them with other attacks. Of course, this can also harm you, so clear an area of these if you’re thinking of hiding near one.
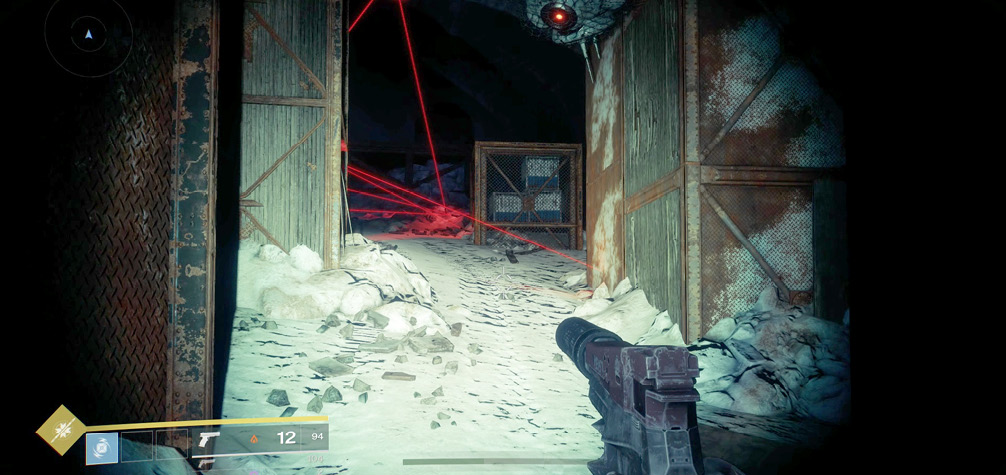
Laser Traps: Mainly part of the Fallen’s repertoire of defenses, these are laser beams emanating from an explosive tube, positioned at one end of the trap. Simply look for the tube, and shoot it. Be wary of setting off a chain reaction, and keep away from the clusters of traps so you aren’t caught in the explosion. Walk into one of these lasers, and the trap triggers, wounding you.
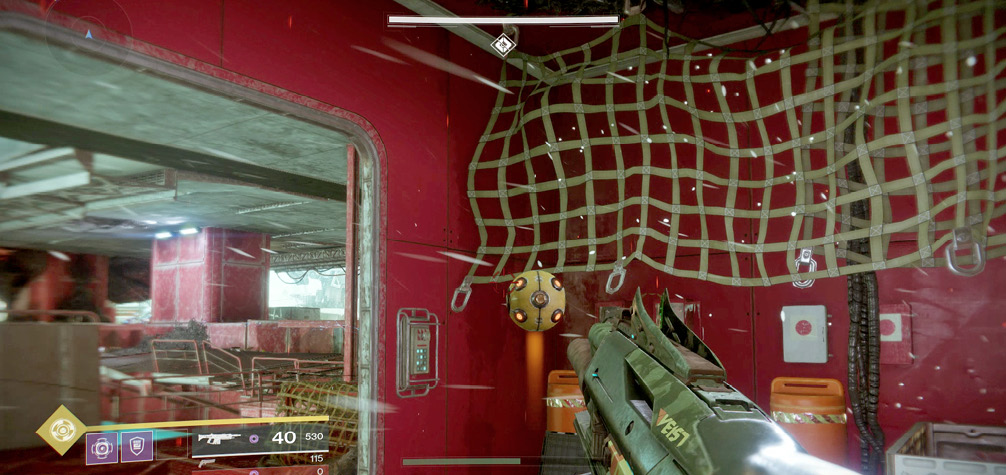
Motion Traps: Both the Fallen and the Taken have occasional motion traps. Placed in the ground, these orbs are activated by your nearby movement. They lift up and explode into a large globe-like trap that can wound and slow you down if you step near or into it. Avoid it, or shoot the trap before the globe is triggered.
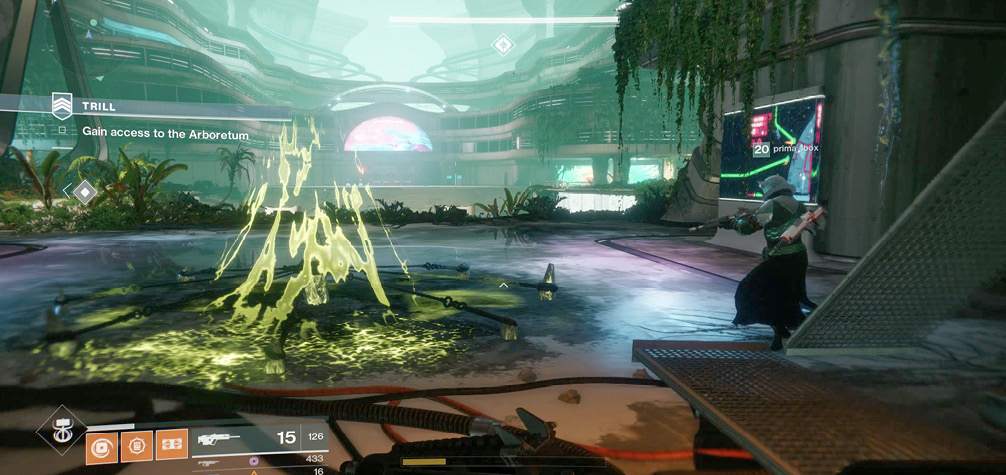
Hive Traps: Sometimes known as “anchor” traps, these nasty devices litter certain parts of Titan, and they slow you down and wound you if you step into one. Shoot them from range to neutralize them.
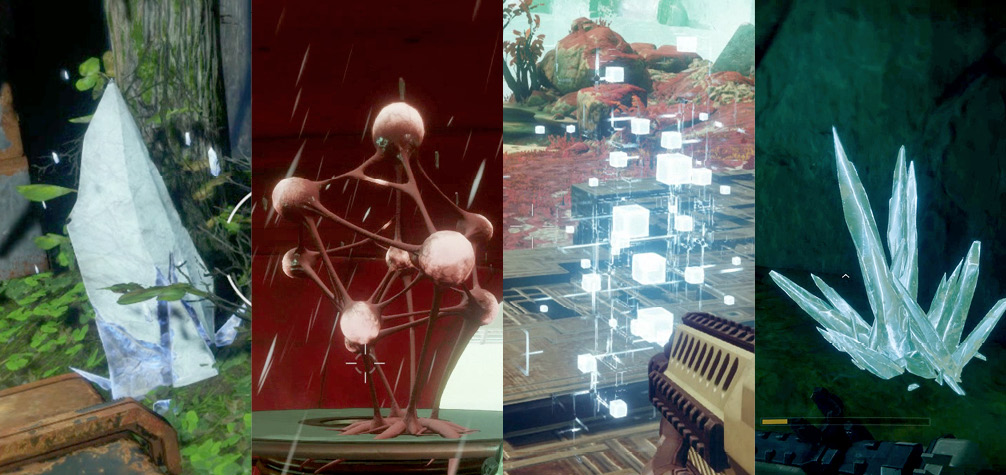
Resource Materials: Each of the four World Regions has a specific resource that you can gather. Simply approach the “node,” which is usually a strange mineral or plant growing across the Public Sectors, Lost Sectors, or Activity Sectors. Harvest the material from it, along with a small amount of Glimmer. Each Region has the following material type:
EDZ: Dusklight Shard
Titan: Alkane Dust
Nessus: Microphasic Datalattice
Io: Phaseglass Needle
These raw materials are prized by local vendors, so try to collect every resource you find. When you visit an interested vendor, hand the materials over to gain Reputation and (eventually) a suitable reward for all of your hard work.
Radiolarian Fluid: The white fluid found across the Nessus Region, from the waterfalls to the lakes and streams, is dangerous to the touch and should not be stood on. This is Radiolarian Fluid, the by-product and lifeblood of the Vex. Avoid it.
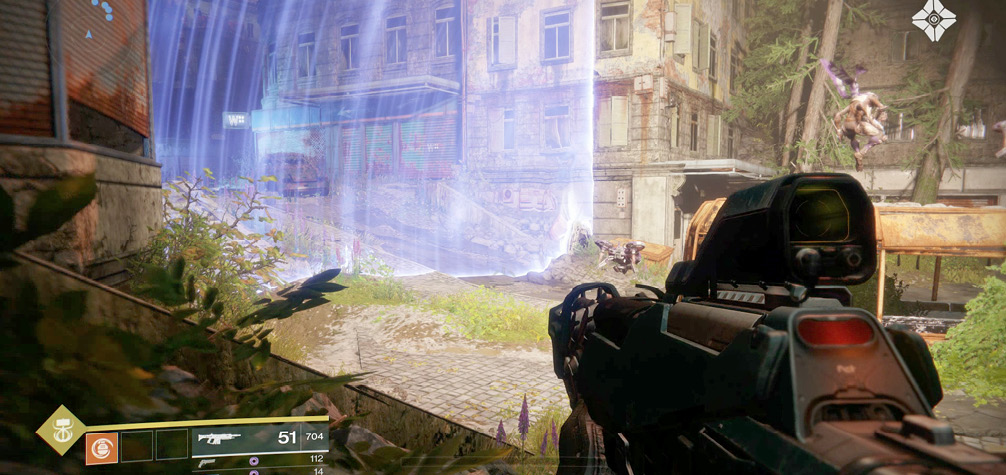
Barriers: Throughout the Director chapter of this guide, whenever a Sector has an area that cannot be explored during normal circumstances (i.e., outside of a mission), expect it to be sealed with a barrier, usually a blue energy wall. There are also other types of barriers, but each serves the same purpose: it prevents you from exploring areas that are designated as mission-specific.
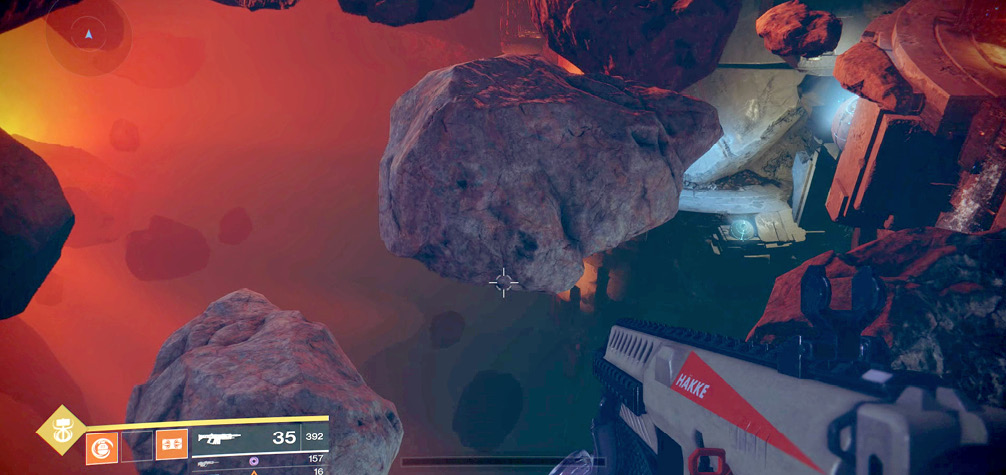
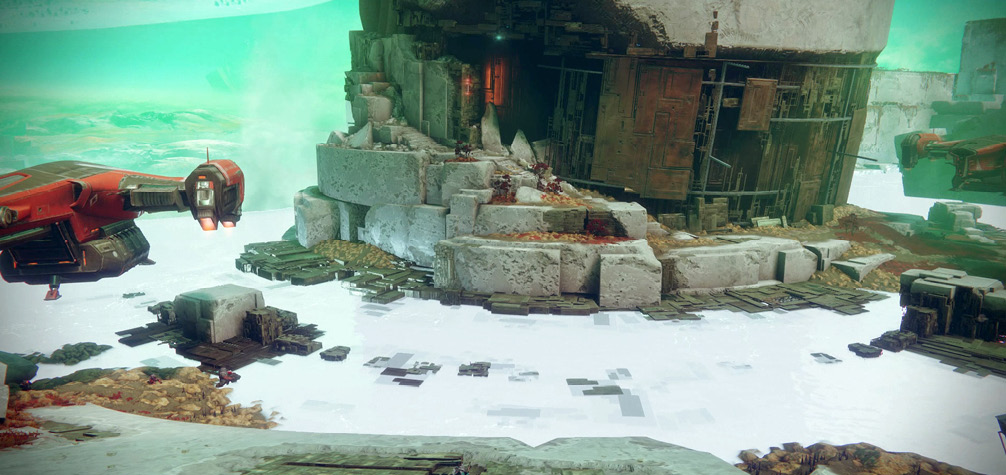
Sheer Drops: Peer down between solid platform gaps. Can you see the ground below? Or is it a vague mist, a sea of methane, or an inky void of darkness? Those areas are sheer drops; don’t fall down those.
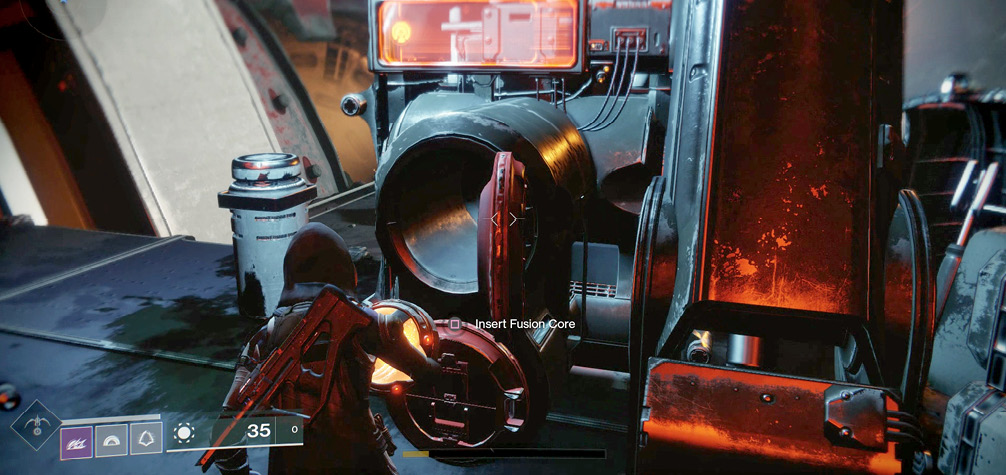
Cores and Core Gathering: At certain points during missions, you may be called upon to grab an orb-like core and then deposit it in a nearby receptacle. Note that your view changes to third-person perspective. You’re slightly tougher during this time because you cannot fire weapons (the core requires both hands to carry). Plan your route ahead of time, and bring friends to cover you, if possible.
Loot Caches (Chests)
One of the key ways of improving your Guardian is the looting of equipment from chests that you find by different means. Expect to gather Glimmer, engrams, weapons and armor, and other items and equipment when you find one of these. Here are the different types of Loot Caches (AKA chests).
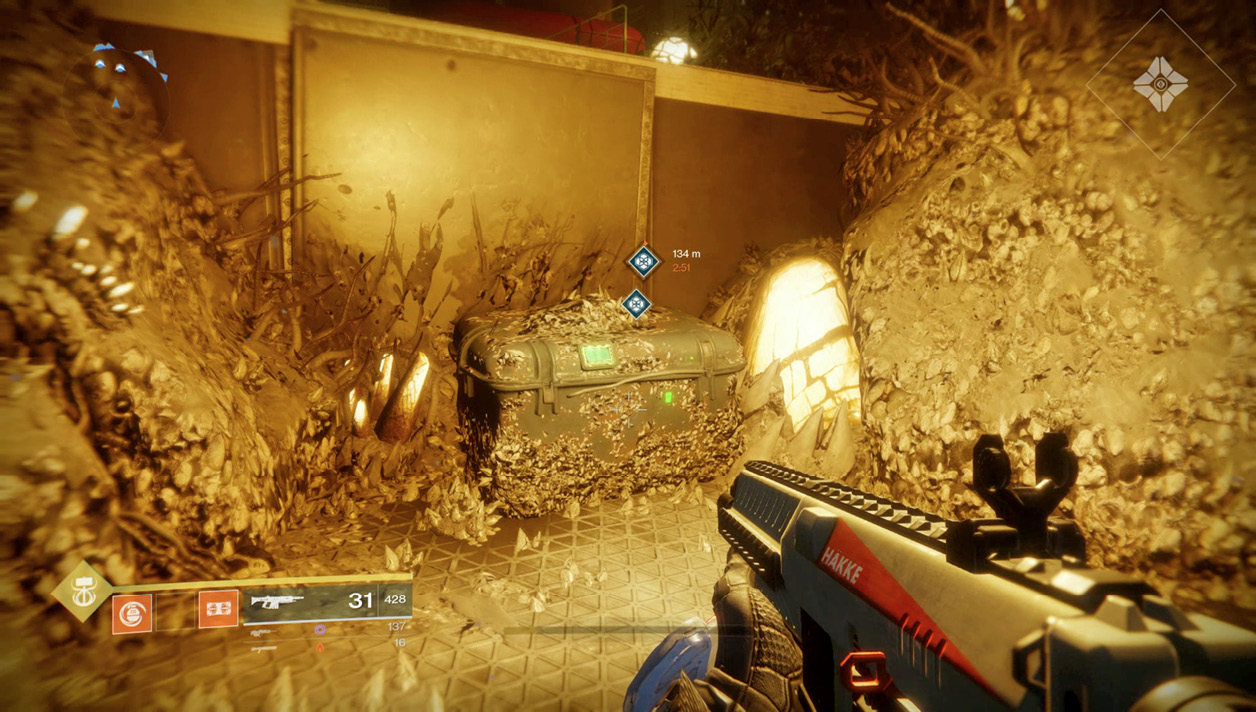
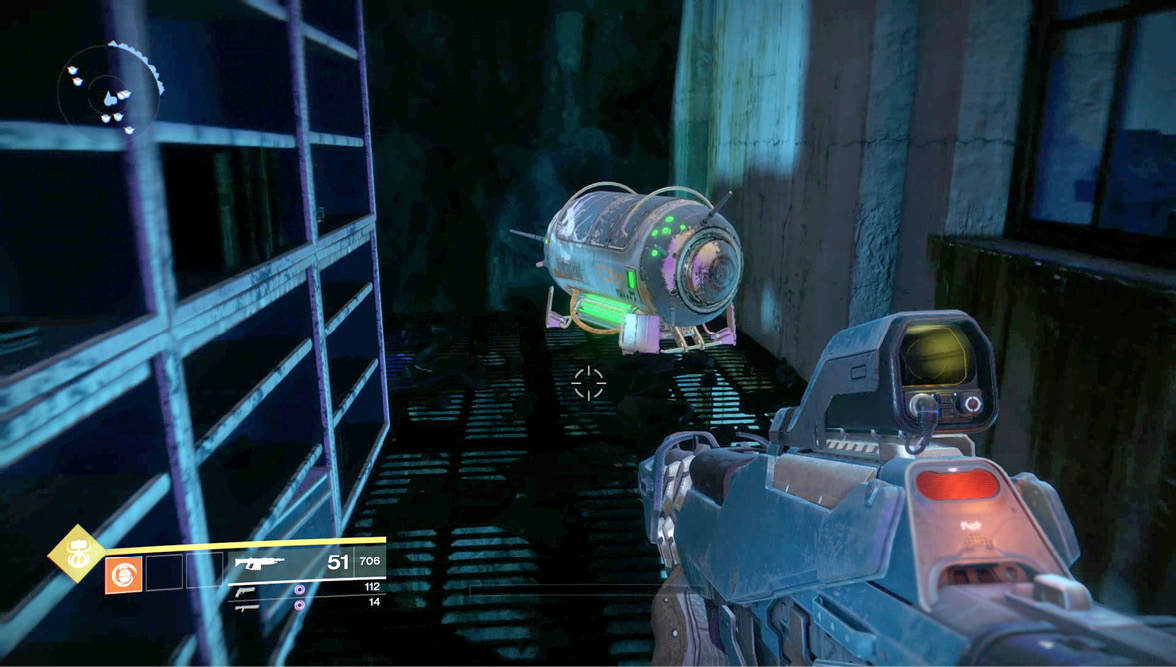
Enemy Chest: These chests are the most plentiful across the four World Regions. They are stashes collected by a particular enemy, so a cache may have a particular look to it (examples of Fallen and Hive chests are shown). The guide’s Director chapter tracks the expected location of all Enemy Chests. However, only very few of these are active at any one time, so they won’t appear in every location. A single Enemy Chest also becomes active and is awarded as a prize once you complete a Patrol. Enemy Chest locations are tracked in the Director chapter of this guide.
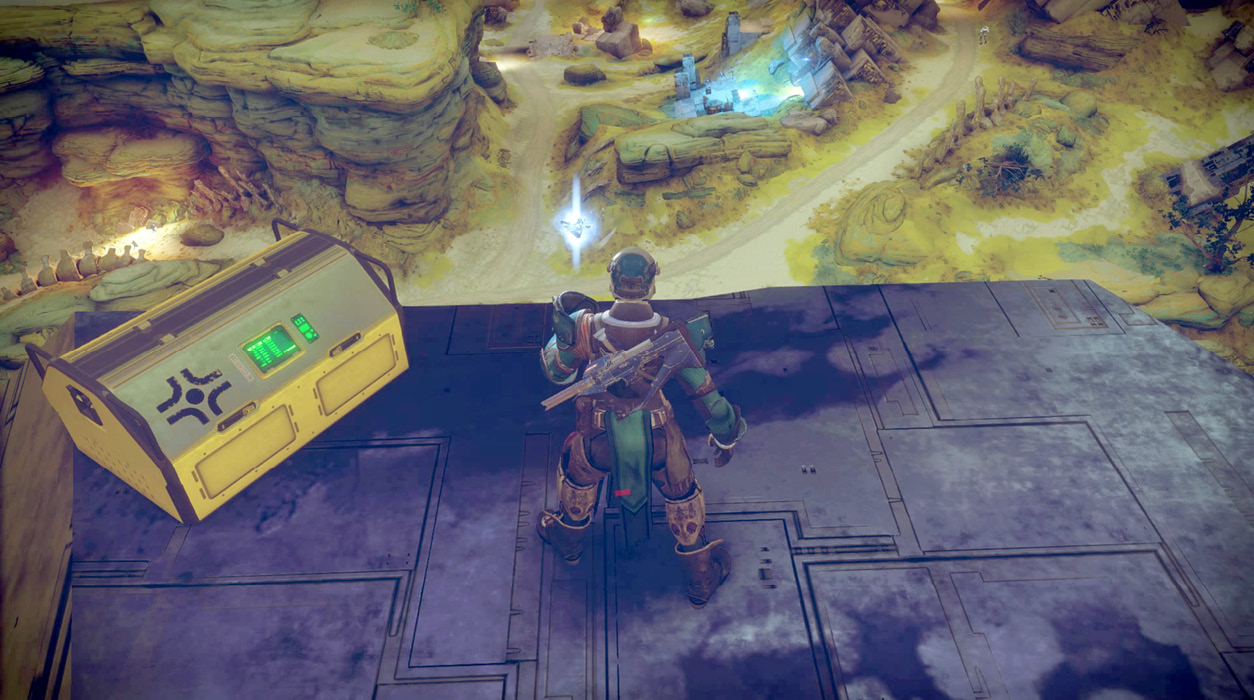
Region Chest: These gold-colored chests are scattered across every Public Sector, hidden away cunningly and requiring a modicum of searching to find. Expect higher-value items (compared to a Enemy Chest) when you open one. They can only be accessed once by your Guardian. If you need some additional equipment, this is a quick and easy way to find some. Region Chest locations are tracked in the Director chapter of this guide.
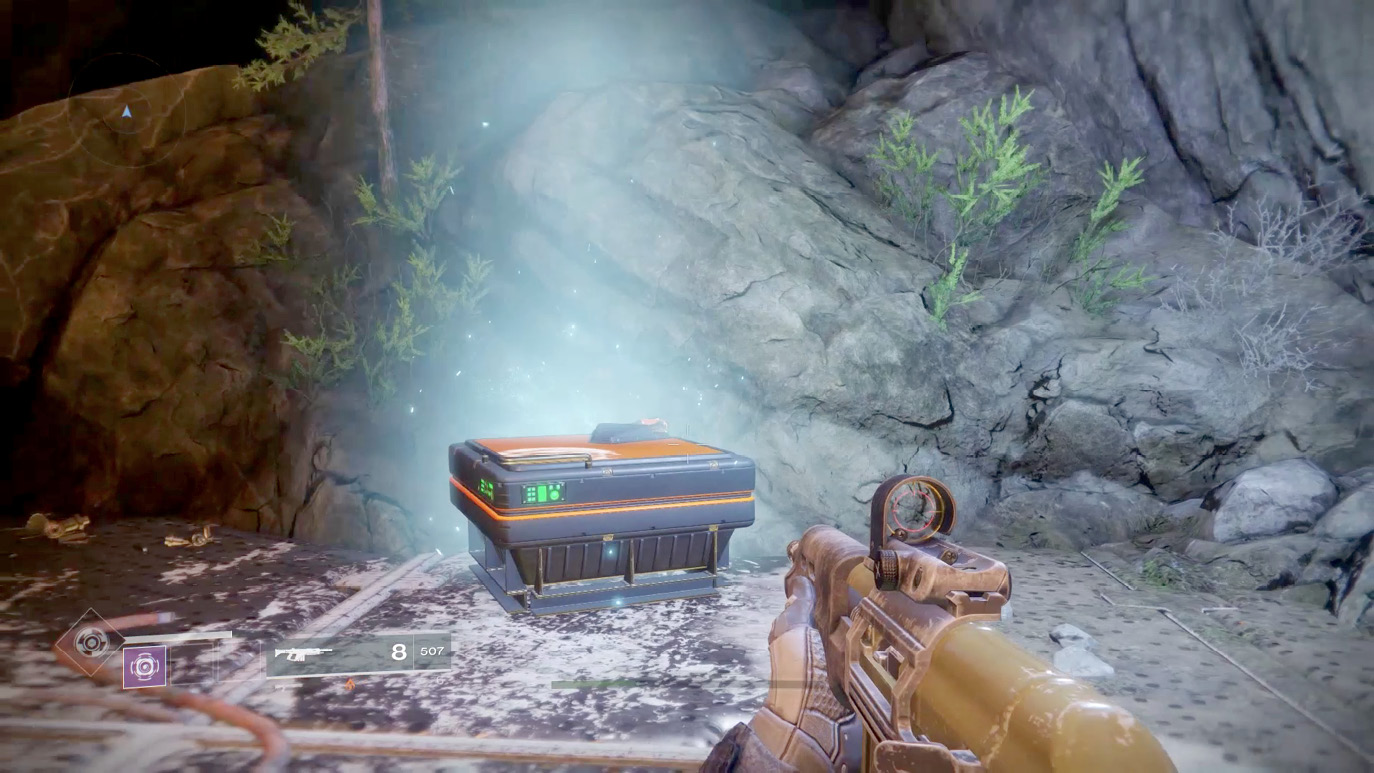
Lost Sector Chest: These locked chests are specifically located inside a Lost Sector. To open one, you must first defeat the Elite enemy (and optionally, his minions) within the Lost Sector. After that, the key is looted, and you can open the chest. They can be looted multiple times (if you complete a foe removal sweep of the Lost Sector), though the quality of the items isn’t as valuable after the first looting. Expect weekly resetting loots for this chest type. Lost Sector Chest locations are tracked in the Director chapter of this guide.
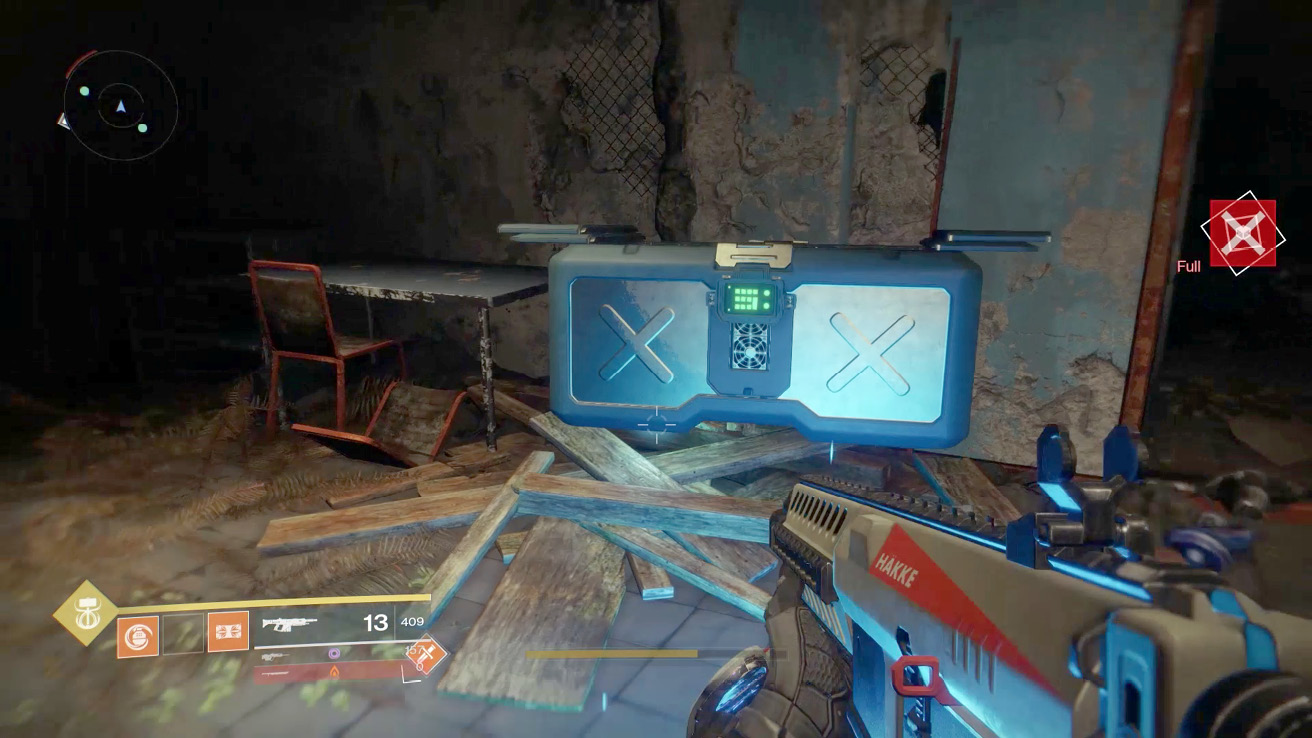
Elite (and Boss) Chest: Some Majors that periodically appear in Public Sectors (due to a Secret Public Event) drop a Loot Cache. These hold valuable items, which you can grab at the conclusion of the event. This type of chest also appears when you’ve slain a particularly troublesome foe, usually at the end of a mission (like an Adventure or a Strike). Grab what you can from it before the mission concludes.
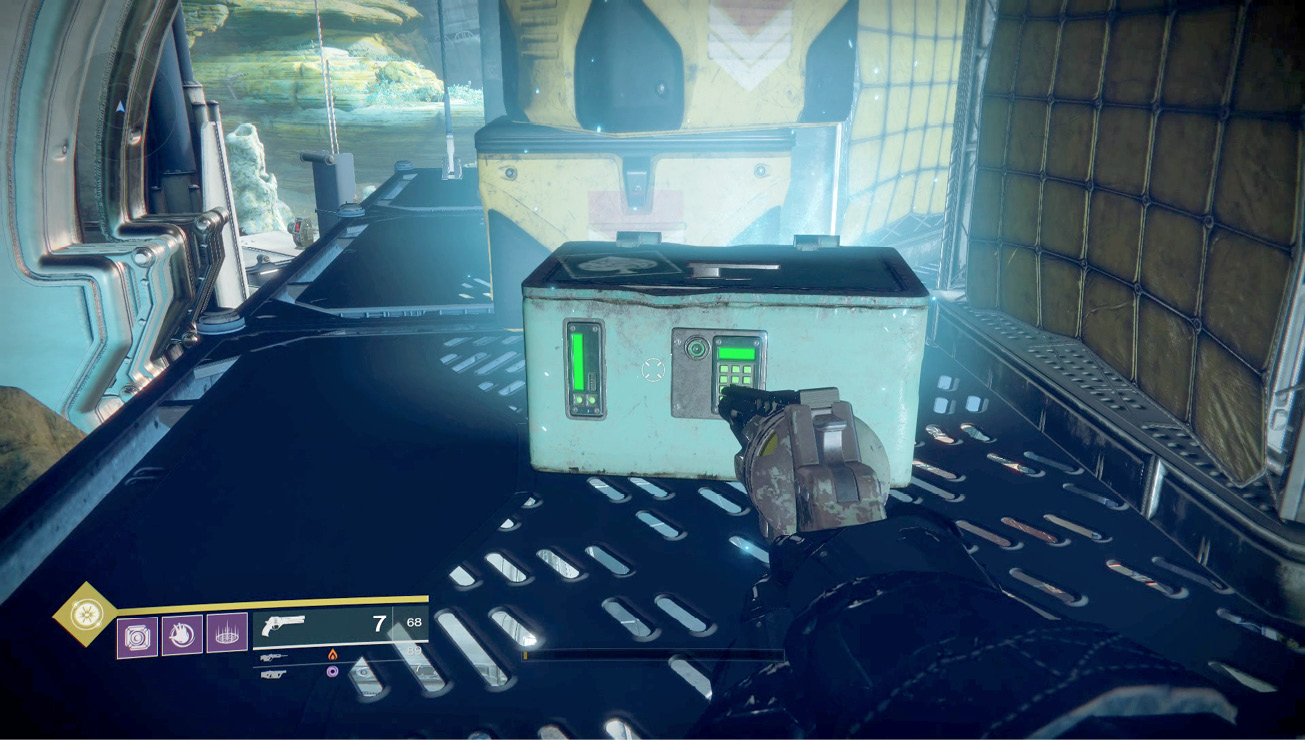
Treasure Chest: Once you’ve completed the Campaign Missions and have obtained access to the Tower, you can visit Cayde-6. Under certain conditions, he offers you treasure maps to a number of chest locations within a Region. There are multiple chest locations, and each is static. The number of chests that you receive from Cayde-6 depends on what Bungie allows. Find a chest through the clues Cayde-6 gives you, and return with the items. This is endgame content, which is self-explanatory when you speak to Cayde-6 and is not included in this guide.
Scannable Objects (Lore Objects)
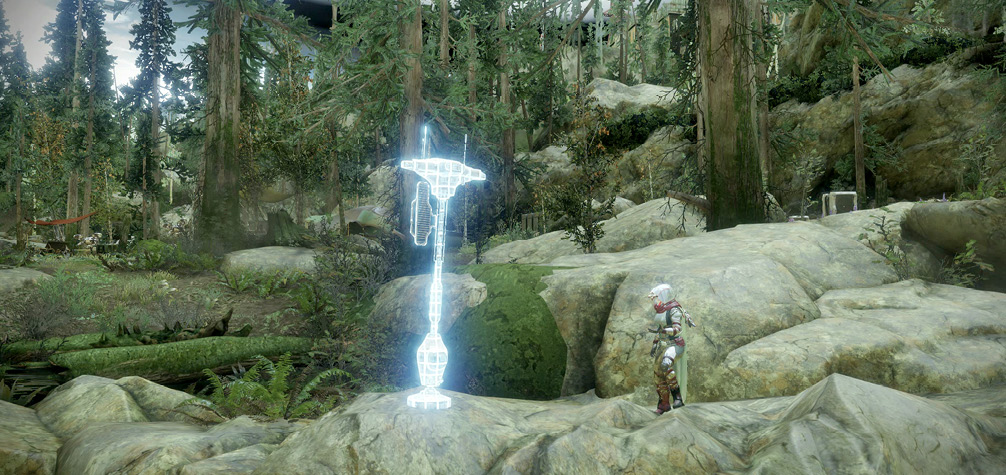
Across every Public Sector and some Activity Sectors in every Region (and both Social Sectors) are a wide variety of interesting, odd, and downright weird objects. Some look like scenery, while others appear to be out-of-place floating rift orbs. These are lore objects, also called scannable objects, and you use Ghost to interact with them to “find” each one. There are dozens of these to find. Use your Ghost to scan an area, and any of these objects are highlighted in the static. Be sure to do this everywhere you are exploring. Clues to the whereabouts of scannable objects are mentioned in the Director chapter of this guide.