Destiny 2 Guide Director European Dead Zone
Sunken Isles
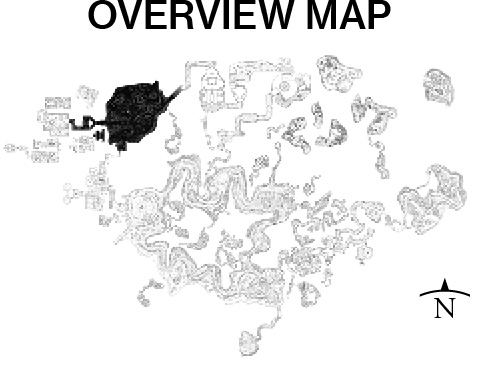
Sector Notes:
Adventure: No Safe Distance
Adventure: Red Legion, Black Oil
Lost Sectors: 2
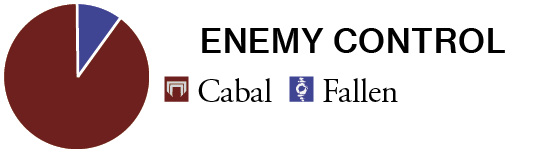
Enemy Clusters: Cabal: 10
Enemy Clusters: Fallen: 1
Enemy Chests: Available
Landing Zone: Available
Material Nodes: Available
Patrol Beacons: 7
Public Event (Full): 2
Public Event (Secret): 8
Region Chests: 3
Scannable Objects: 3
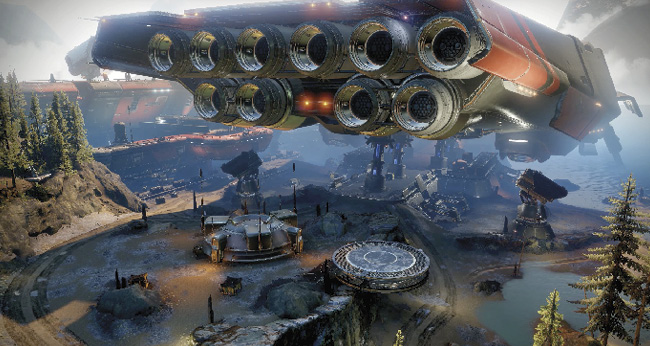
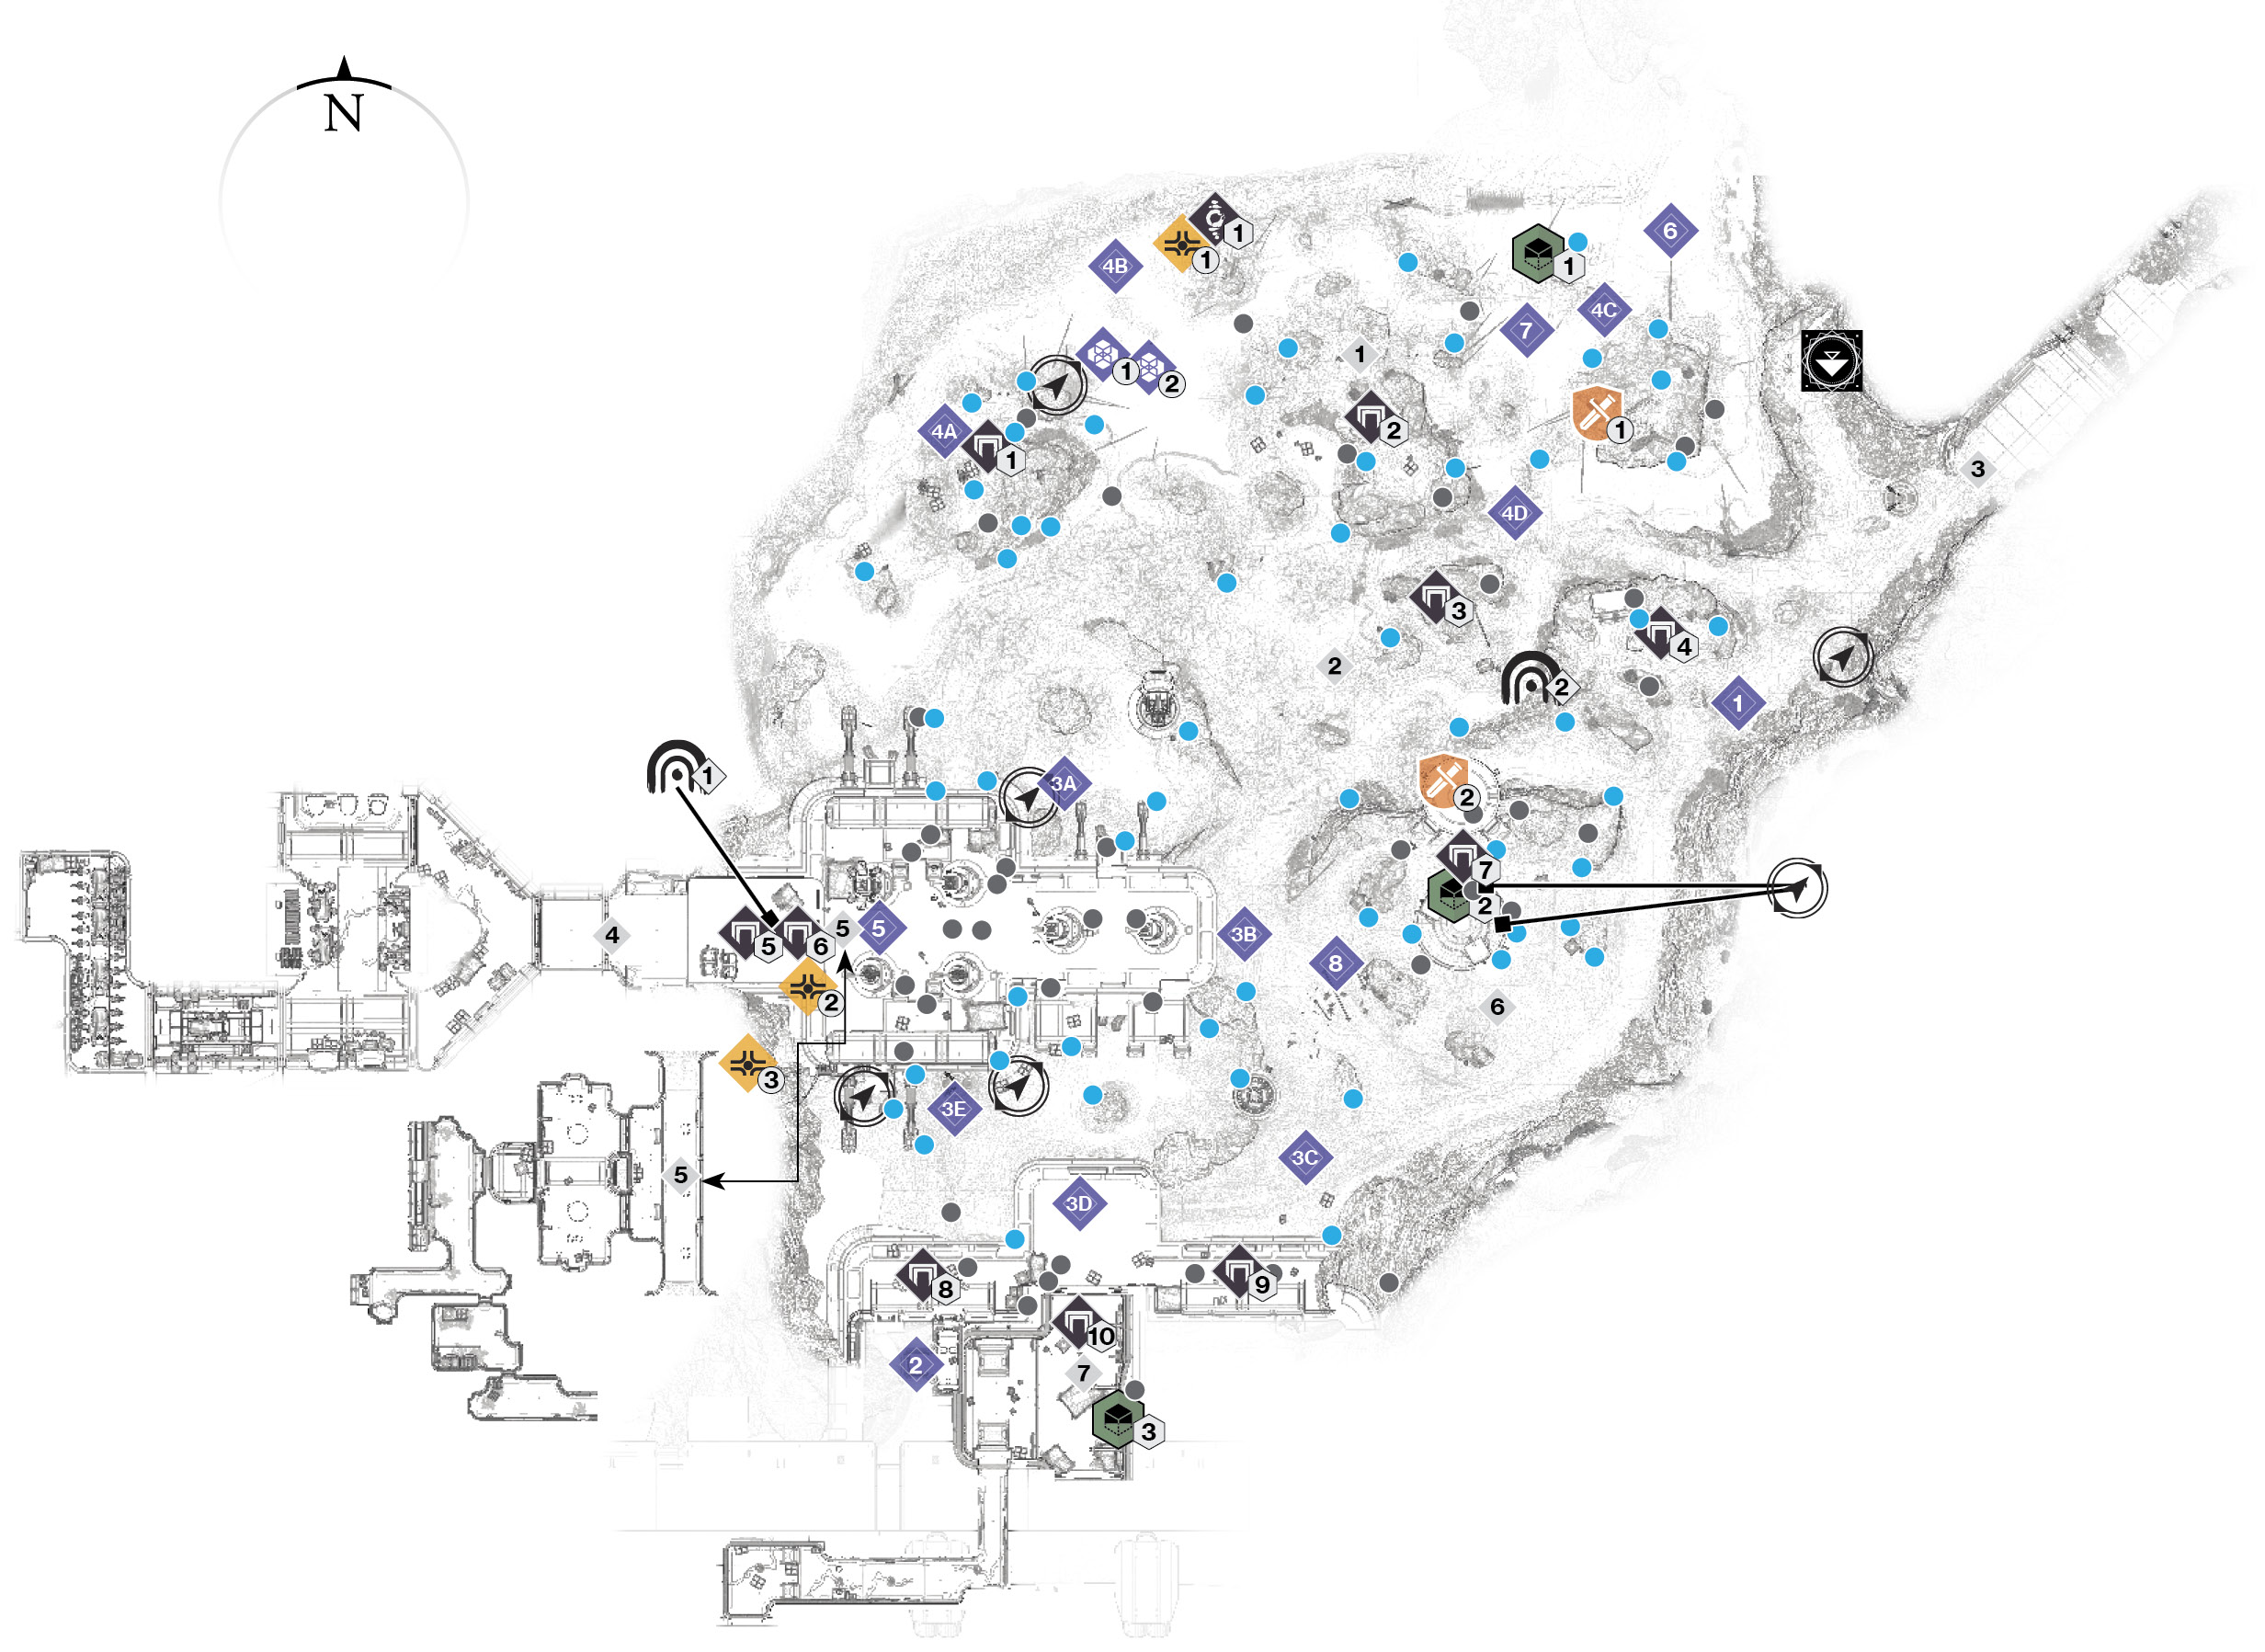
A mighty Red Legion Carrier is docked in this lakefront Sector, on the northwestern edge of the EDZ. This massive ship can be disabled (during Campaign Mission: Payback), but under most other circumstances, it is here to show the immense power the Cabal possesses. The Sunken Isles the Sector is named after are clustered throughout the north and central part of the Sector, close to a northwest access point from the Tunnels. Further south, the Cabal presence is more significantly felt, with the Carrier Bay offering access to the west into the Legion’s Hold Sector. Under the bay is a tunnel that leads to a Lost Sector (the other is a rock opening in the eastern part of the outdoors). To the south is a large Cabal structure and cargo bay leading to the aptly named Legion’s Anchor Sector, a good way to get back to the Firebase Hades Sector. Finally, note the Landing Zone, if you need to get here in a hurry.
Areas of Interest
 North Islands
The north perimeter has a line of logs, branches, and reeds to signify that progress beyond this point isn’t possible. Instead, inspect the scattered islands for foes and collectibles, and wait for a Public Event in the largest expanse of shallow water.
 Central Islands
Expect intermittent violence from the various clusters of Cabal that are patrolling the Central Islands, with a circular vehicle route to the north and south.
 The Tunnels Entrance (Northeast)
This is one way to arrive: take the Tunnels Sector from the Gulch, and you eventually emerge at this point. This is one of two possible exits to other EDZ Sectors.
 Carrier Bay (Transport) Entrance (West)
Normally accessible during the Campaign and a Strike, this giant ramp is very well-guarded by Cabal. It leads to a dead end (the Legion’s Hold Sector).
 Carrier Bay Tunnel and Lost Sector
This underpass offers quick access to and from the northern and southern parts of this Sector, which is helpful when encountering a foe some distance away. Leap to the Cabal-controlled underground platform along the western side of the tunnel, and you can access an entrance corridor down to one of the Lost Sectors.
 Control Pod and Landing Pad (Southeast)
A circular landing pad and control pod structure dominate the southeastern exterior of Sunken Isles. Here, Cabal foes are positioned, and a Skirmish may break out. Farther west is the Carrier Bay entrance, along with the south exit from the Carrier Bay Tunnel.
 Cargo Bay (South)
Always guarded by a variety of Cabal infantry, this sizable cargo bay offers a duct-sized access route back to Legion’s Anchor Sector, enabling you to complete a full loop of the EDZ in either direction.
Adventures

Commence this Adventure by locating the starting point on the northeastern island.

This starts when you access the marker under the landing pad, in the central-eastern part of the map.
Lost Sectors
 Skydock IV
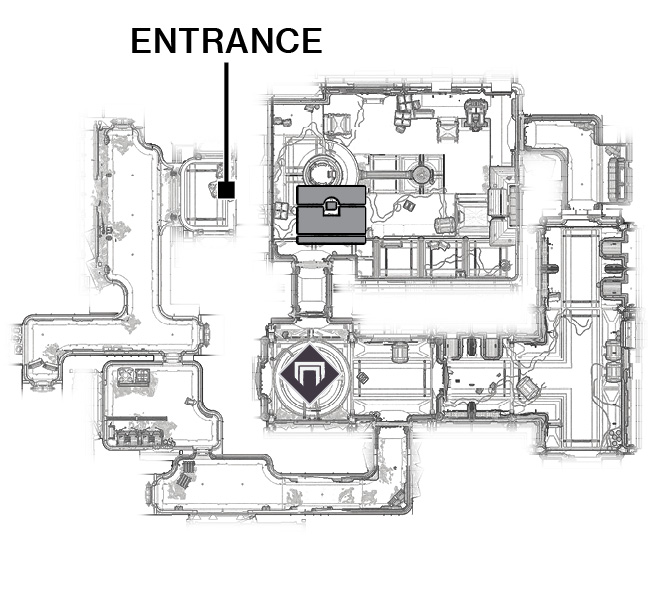

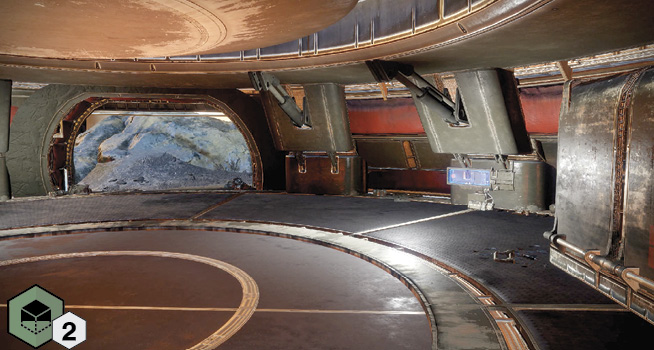
Enter from the Carrier Bay Tunnel. After some corridor navigation, Cabal infantry battling, and a drop down a tube-like hole, you reach a two-tiered generator room that Cabal forces and a Sub-Boss Centurion guard. Note the exit up on the platform level so you don’t need to retrace your steps after the Boss Chest is purloined.
 The Quarry
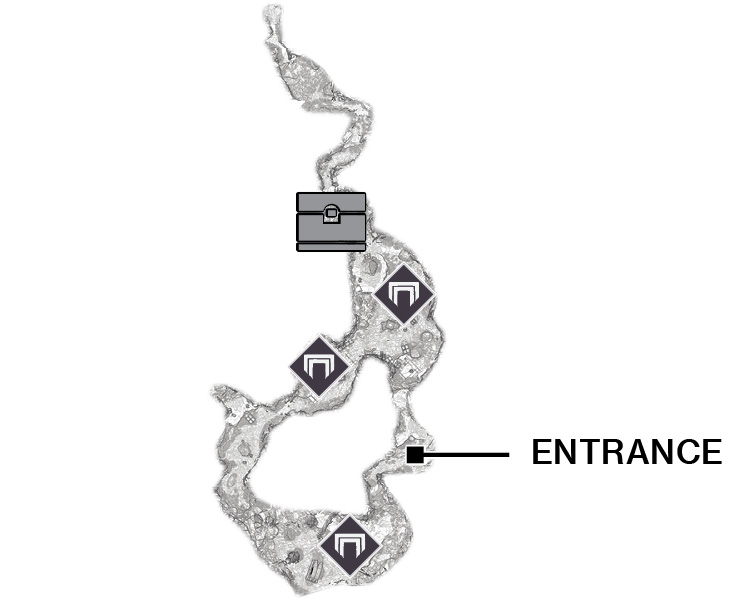

Enter the slit in the rocky outcrop on the east side of the sector, and begin to explore a tunnel that widens into a series of four adjacent caverns. The last of these caverns has a toughened Cabal Centurion and his minions, infantry you’ve been ridding the caverns of along the way.
Sunken Isles
| No. | Guide Name | Sub-Boss | Reward |
|---|---|---|---|
|
1 |
Skydock IV |
Cabal Centurion |
Boss Chest |
|
2 |
The Quarry |
Cabal Centurion |
Boss Chest |
Enemy Clusters
 Cabal
Cabal
The northwest island, almost due north of the Carrier Bay Tunnel, is guarded by Psions and Legionaries.
 Cabal
Cabal
Legionaries and Incendiors are attempting to maintain domination of the largest inlet island.
 Cabal
Cabal
This rocky outcrop (across from the Lost Sector graffiti hint) has Legionaries and usually a Centurion to worry about.
 Cabal
Cabal
A rock outcrop above the Lost Sector entrance, with views of the Tunnels entrance and inlet islands, has a few Legionaries and Psions to worry about.
 Cabal
Cabal
A fearsome display of power greets you on the Carrier Bay ramp itself, which leads to the Legion’s Hold Sector. Expect Legionaries, Phalanxes, Psions, Incendiors, and a possible Centurion incursion.
 Cabal
Cabal
Legionaries and Phalanxes are active in the Carrier Bay Tunnel along the raised western side (underground), at the entrance to the Lost Sector.
 Cabal
Cabal
The control pod area (with the landing pad and circular construction) houses some minor infantry when a Skirmish isn’t active. Expect Legionaries and Psions.
 Cabal
Cabal
A small pack of War Beasts roams the right side of the raised entrance into the Cargo Bay when the High-Value Target is active. Note the small T-shaped corridor where the HVT likes to hide. Normally, expect Legionaries and Psions here.
 Cabal
Cabal
Legionaries and Psions are behind the crates to the left of the raised entrance into the Cargo Bay.
 Cabal
Cabal
Legionaries and Phalanxes are active in the Carrier Bay Tunne A small group of infantry (Legionaries) guards the Cargo Bay that leads to the Legion’s Anchor Sector. l along the raised western side (underground), at the entrance to the Lost Sector.

A particularly vicious Vandal with Shanks is guarding a lone Region Chest on a small island along the northern watery border.
Region Chests
 Region Chest 1
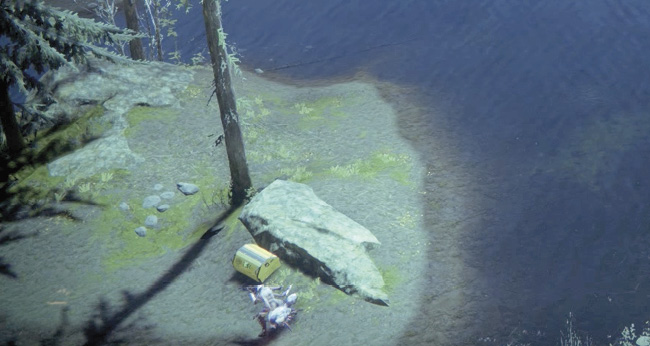
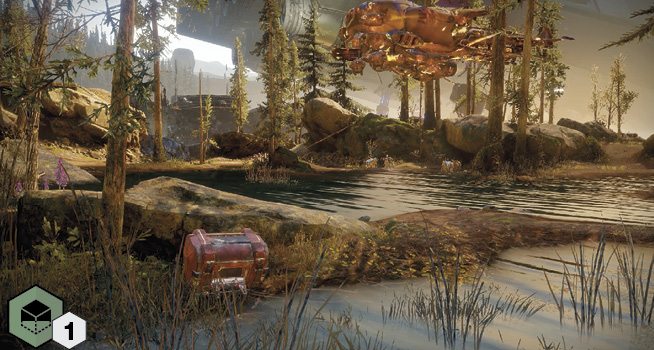
Sitting on the northernmost island and guarded by a nasty Reaver Vandal with a Shank backup. Don’t underestimate this foe!
 Region Chest 2

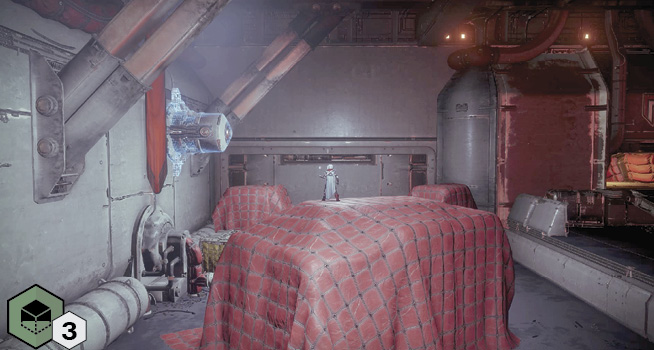
Check the underground entrance to the Lost Sector. On the tunnel platform, the chest is behind some cargo scenery.
 Region Chest 3

Difficult to spot, this is lodged at the very back of the rocky terrain to the south side of the main carrier ramp.
Public Events
 Public Events (Full)
Injection Rig: The Injection Rig lands at the point shown on the map in the large shallow water area north of the Carrier. Expect a hard fight with a Sub-Boss Psion to defeat multiple times, Gladiators toward the end of the battle, and a Centurion (in addition to normal Cabal forces) during the last wave.
Weapons Exchange: Fallen forces are attempting to attack the North Islands area and have dropped in an Walker. Destroy it, ideally with the Scorch Cannons you can unlock.
| No. | Event Type | Target | Other Enemies | Reward |
|---|---|---|---|---|
|
1 |
Injection Rig |
Psion Sub-Boss |
Cabal forces |
Boss Chest |
|
2 |
Weapons Exchange (Walker) |
Fallen Walker |
Dregs, Vandals, Shanks, Marauders, Captain |
Boss Chest |
 Public Events (Secret)
Ambush: You’re attacked by a Sub-Boss Centurion on the outer road.
HVT #1: This is a hiding sub-boss Incendior that sends out his pack of War Beasts before making an appearance. He hides in the small corridor alcove to the north of the main Cargo Bay entrance.
HVT #2: A toughened sub-boss Psion drops in at one of the five marked locations on the guide map (3A, 3B, 3C, 3D, or 3E).
HVT #3: A devious Reaver Captain has landed somewhere in the North Islands. Battle him close to where he appears (4A, 4B, 4C, or 4D).
Interceptor and Pike Gang: These events are both easily concluded by destroying these foes.
Refinery: This involves destroying the single Fallen extraction site shown around the map.
Skirmish: Repel enemy threats in the small hillock of dirt ground between the Cargo Bay (south) and the landing pad hill (northeast). Fallen are landing at the latter location. Expect a steady stream of infantry on both sides, with the most difficult foe being a Centurion.
| Event Number | Event Type | Target | Other Enemies | Reward |
|---|---|---|---|---|
|
1 |
Ambush |
Cabal Sub-Boss Centurion |
None |
Boss Chest |
|
2 |
HVT (Tactician) |
Cabal Sub-Boss Incendior |
War Beasts |
Boss Chest |
|
3 |
High-Value Target |
Cabal Sub-Boss Psion |
None |
Boss Chest |
|
4 |
High-Value Target |
Fallen Captain |
None |
Boss Chest |
|
5 |
Interceptor Gang |
Up to three Psion pilots |
— |
Interceptors if they weren’t destroyed |
|
6 |
Pike Gang |
Three to four Dreg Pike Riders |
— |
Any Pikes you didn’t destroy |
|
7 |
Refinery |
Fallen Extractor |
Fallen forces |
Glimmer, Boss Chest |
|
8 |
Skirmish |
Cabal ground forces and Fallen dropships |
Random Loot |
— |
Landing Zone
 Sunken Isles LZ
This puts you slightly away from the thick of the action, near the dotted islands half-submerged in lake water and close to the Tunnels entrance.
Patrols
 Sunken Isles (7)
There are seven Patrol beacons you can access here, though up to four are active at any one time. Once the first are completed, you can return to Sunken Isles to have the other locations appear.
Scannable Objects