
Destiny 2 Guide Campaign Spark—Pt. 1
Blackened Forest
Restricted Zone
Objectives
- Go to the Shard (continued).
- Traverse the Forest.
- Defeat the Fallen.
Enemies Encountered
- Fallen: Dregs, Marauders, Wretches, Captain
- Sub-Boss: Rankkov the Survivor
New Actions to Learn
- Loot Chests
- Switching Equipped Weapons
- Abilities: Grenades
- Abilities: Jumping
- Abilities: Super
- Orbs of Light
- Gaining Levels
- Gathering Resource Materials
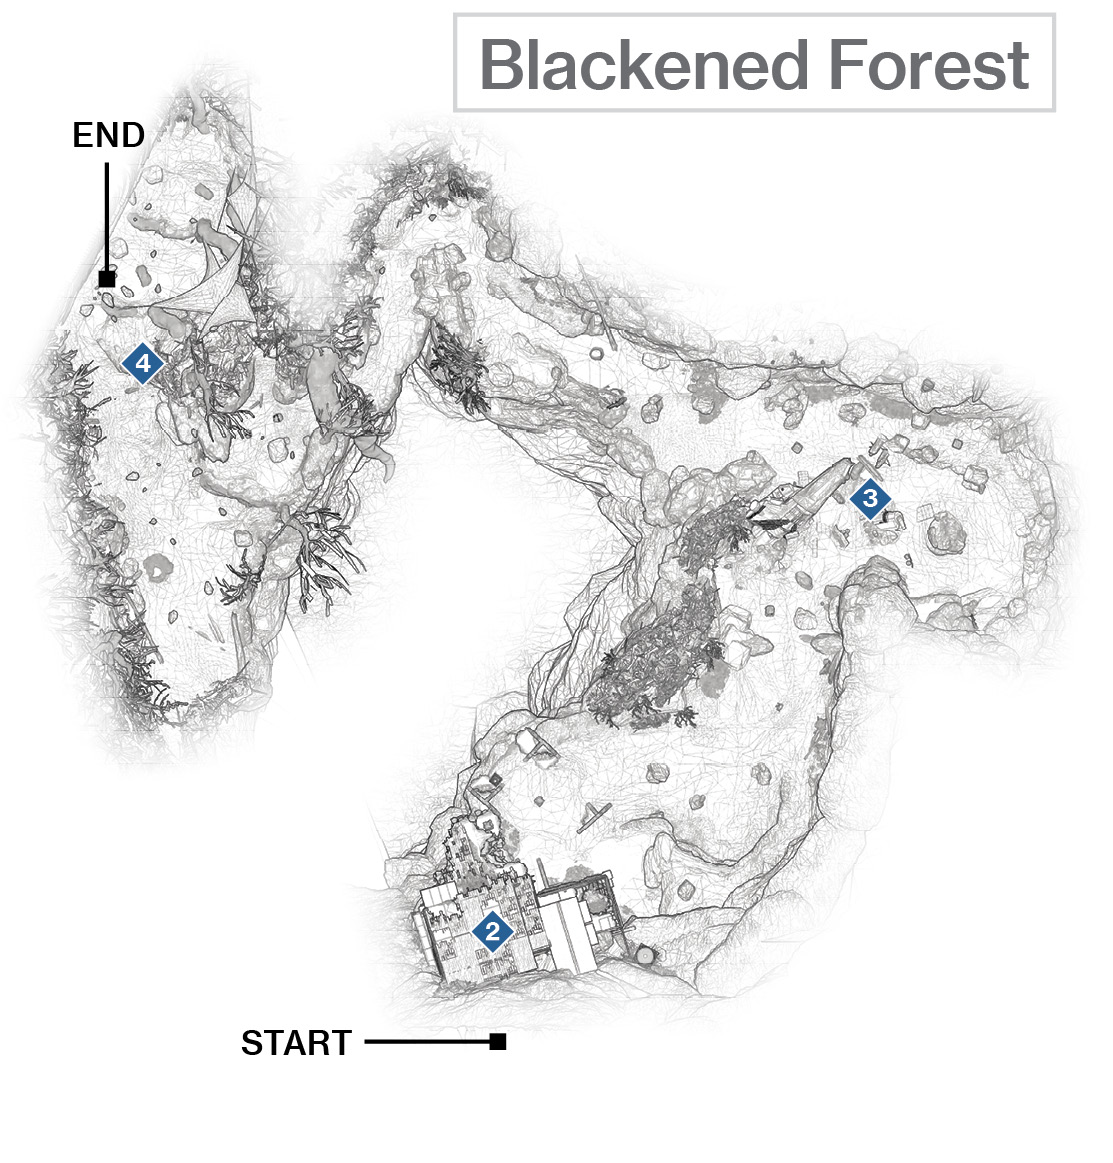
 Abandoned Mine
Super: Not available
Grenades: Not available
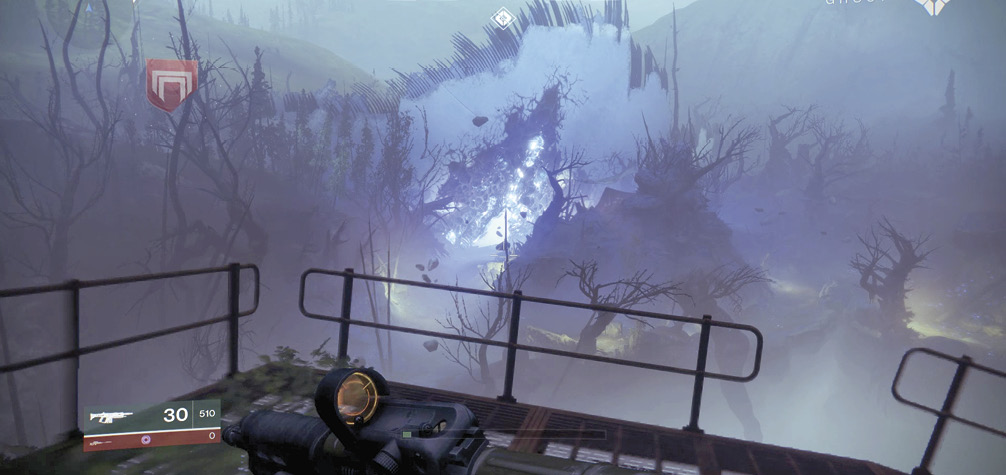
The tunnel opens up into a mine cavern and out into the remains of an old corrugated metal mine structure, now choked with brambles and undergrowth. Immediately ahead of you is a Loot Chest. It contains a new weapon and is one of the many different types of chests available if you know where to find them! You may receive a weapon from this chest that is the same type as one you are already carrying, so weapon comparing at this time is a good idea. Then, climb the steps to reach a rickety balcony overlooking the Dark Forest. In the distance is the Shard of the Traveler that you seek.
 The Dark Forest: Crash Site
Super: Not available
Grenades: Not available
Drop down the rickety mine building’s broken balcony to the forest floor below and head slightly downhill, slowing as you reach a small fire. Ahead and left is a Cabal Ship, and a cluster of Fallen Dregs pours out of the ground like ants as you head toward it.
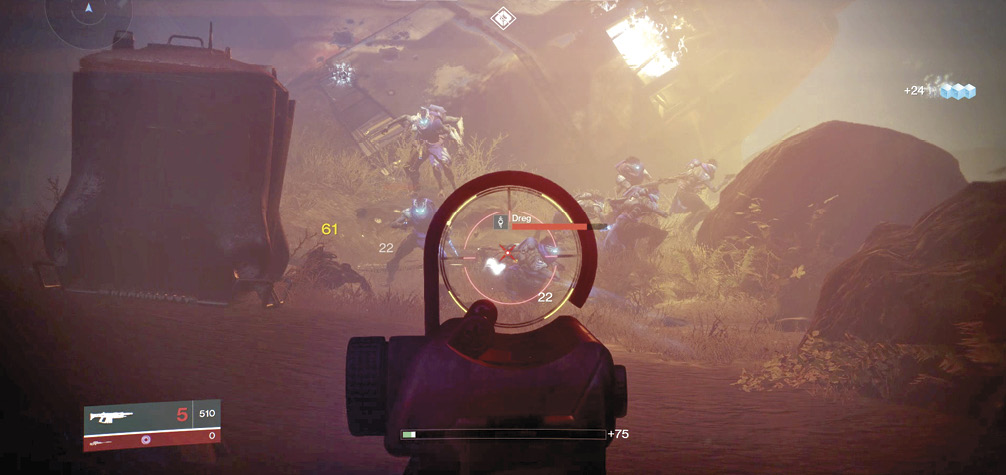
At this point, it’s worth remembering you’re outnumbered. Although the enemies are not really a threat on their own, in a group, they can be trouble for the overconfident. (Not to mention there’s a Marauder lurking among the rocks and wreckage ahead.)
Therefore, remain at range and tag all the Dregs that you can with headshots as they disembark from the front of the ship. Note any that are scampering to the left; advance and remove them first, then turn right to the main path into the crash site and watch for incoming grenades. Use trees and boulders for cover, and aim and shoot the heads of all Dregs in the vicinity. Take it slowly and methodically so you’re not overwhelmed. If a Dreg is close, turn and charge, then melee attack it to death with a single blow.
There’s a Marauder lurking among the wreckage, too, so listen for his gurgling and back up so you aren’t stabbed to death. Look for where Dreg grenades are being lobbed from and tackle the foes from range, or charge them and execute with melee attacks. There are around 15 Dregs to defeat in this general vicinity. Don’t forget to use your radar to determine where the stragglers are.
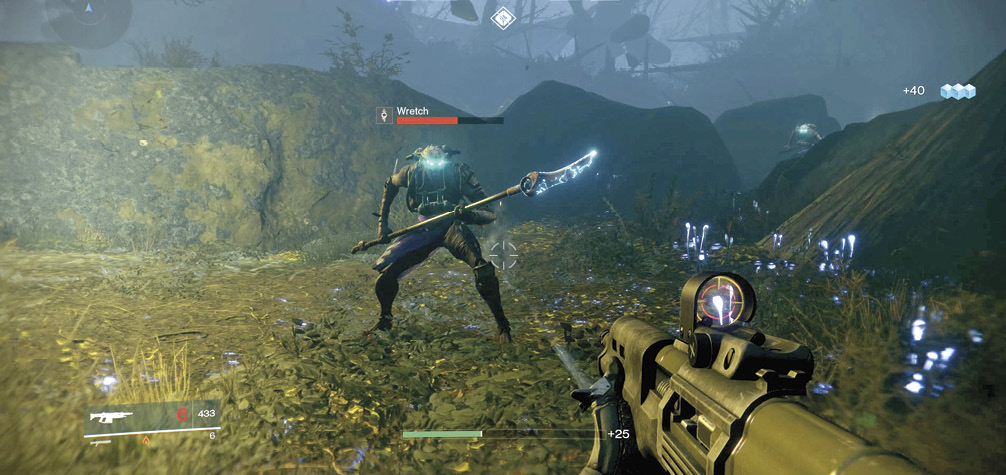
Continue deeper into the forest, making steady but cautious progress up a ravine with boulders on either side and Dregs on and around these boulders. Tackle them proficiently; you don’t want to be struck from behind. This is especially true farther along the ravine when you’re attacked by a cluster of Wretches, Dreg-like Fallen with impressive close-combat staves. Stay back and let the eight Wretches come to you, aiming for their heads and dropping them way before they reach close-combat range. Then, continue around the corner, passing the glowing fungi, toward a massive tree root.
Watch out for a Fallen Marauder’s close-combat knife attacks. Strafe to avoid being struck by that, and back up as a couple of Dregs and Wretches add to the fracas. Remove the foes closest to you first, retreating back around the boulder corner if necessary. Then, select your favored Marauder-killing weapon and remove the cloak of this semi-transparent foe, aiming at the head and removing this threat entirely. A charge and melee strike to finish is also optional and worthwhile if you’re emptying a clip and don’t want to be caught reloading or changing weapons.
 The Dark Forest: Shard Site
Super: Thoroughly recommended (when available)
Grenades: Not available
Captains Battle: Head up the grassy gully, methodically dispatching the Dregs. Don’t become transfixed by the massive glowing Shard wall as you reach the Shard site itself, as the place is teeming with Fallen, including a couple of Captains. Make quick work of them, matching your Energy weapon to their shield type, and mop up any stragglers. When Ghost indicates it is time to get your light back, the combat shifts to a final confrontation; with a Fallen Captain named Rankkov the Survivor. Let’s try to make this his last battle, shall we?
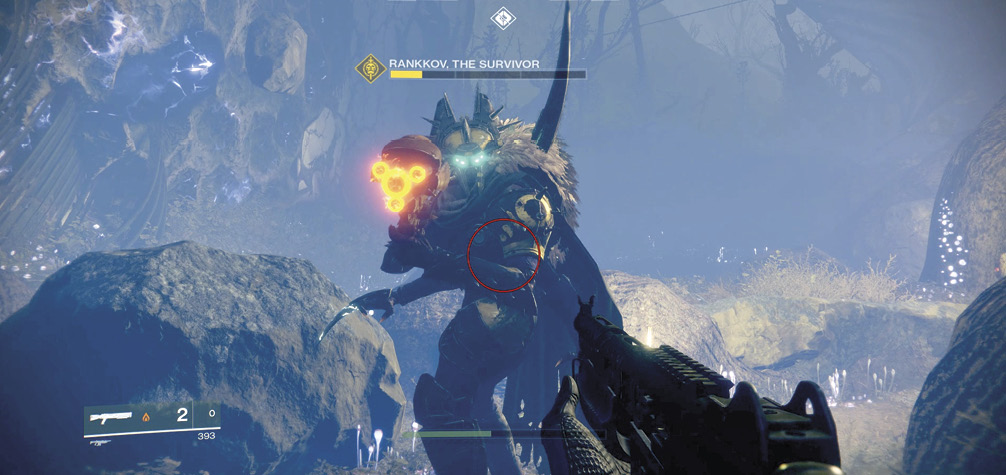
Sub-Boss Rankkov the Survivor: Normal Combat (Optional): There are columns of Boundless Light dotted around the arena, so using normal combat means to dispose of Rankkov is not necessary. However, if you must, try the following tactics:
The Captain is much tougher than your previous foes, and he may carry a Scorch Cannon that can kill you in two or three direct hits, so remain in cover! Make a series of precision hits to the Captain’s head until the first third of his health is gone and he changes position.
Move away from the raised mound of boulders where Rankkov teleports to. Drop into cover, and pepper away at his head with precision shots until he loses around two-thirds of his health and teleports to the central ground area. During this time, if you’re struck from the flanks by lesser foes, quickly turn and remove the Dreg and Wretch threats before returning to concentrate on the Captain. Then finish him using similar tactics; stepping out from cover, hitting him with precision strikes in the head, and stepping in again.
Rankkov the Survivor: Boundless Light Combat (Recommended): Ghost indicates that this is time to get your light back, and a quick check of the Character Menu and your Super Subclass Menu reveals that one of your Guardian’s Supers is now active! Not only that, but your Guardian’s initial grenade ability and jumping ability are also unlocked. This means you have considerably more potency in your attacks from this point on. Time to show the Fallen how impressive you’ve become!
Check the area for the columns of light, and step into them to instantly fill your Super and grenade. The latter isn’t really needed, as you have pretty much unlimited Super abilities, so launch it at once and start to demolish the hapless Dregs and Wretches in the vicinity. But make sure your main focus is repeated pounding into the hide of Rankkov! The type of Super depends on your Guardian class.
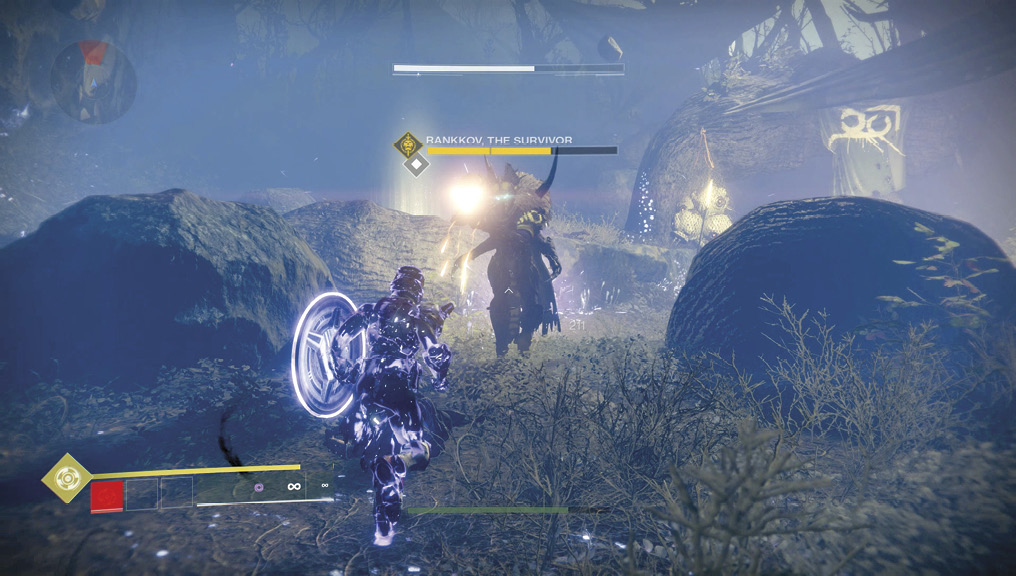
 Titans unlock the Sentinel Shield Super, the Magnetic Grenade, and the High Lift Jump from the Sentinel Titan Subclass.
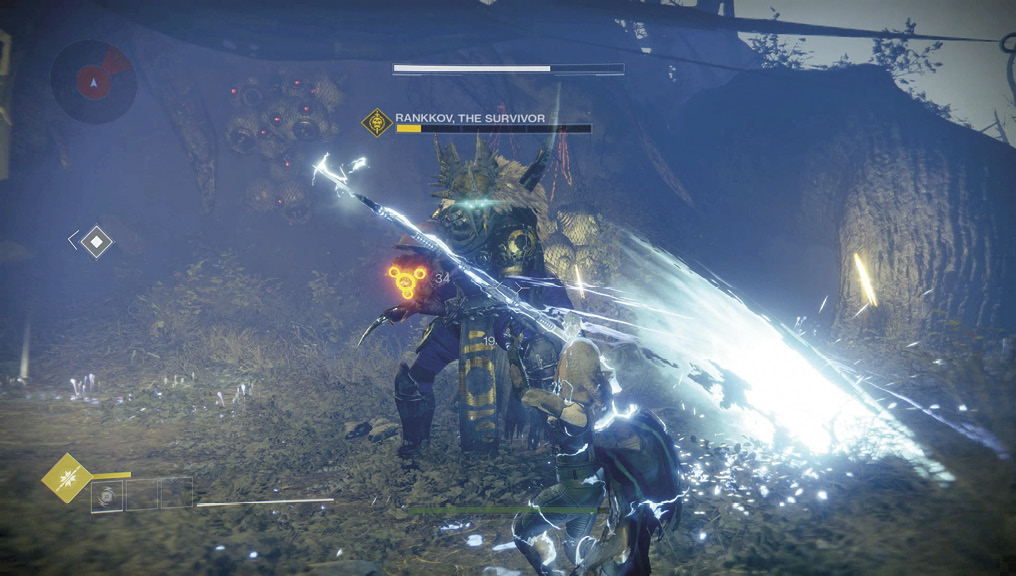
 Hunters unlock the Arc Staff Super, the Skip Grenade, and the High Jump from the Arcstrider Hunter Subclass.
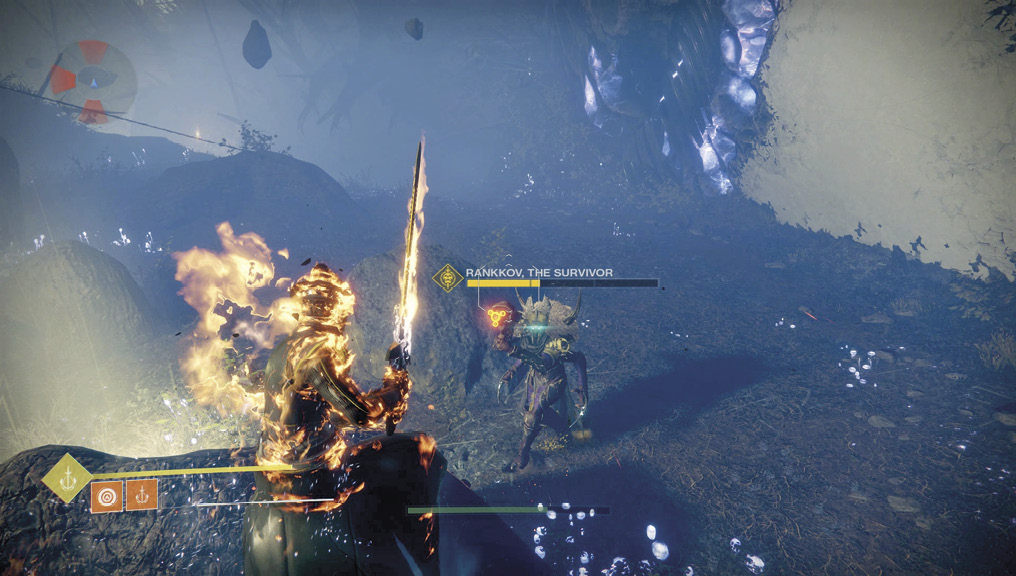
 Warlocks unlock the Daybreak Super, the Solar Grenade, and the Strafe Glide Jump from the Dawnblade Warlock Subclass.
Combat now becomes a maelstrom of Supers, directed into the hides of at least 40 Fallen that appear in waves. Dregs, Wretches, Marauders, and finally the Sub-Boss Captain Rankkov should all feel your wrath. This is the ideal time to perfect your Super: learn how to react both on the ground and in the air. Learn whether your Super has combos and alternate strikes, and how easily it cuts through enemies. Columns of Boundless Light mean that as soon as one Super is finished, you simply need to jump into another light column and start the Super again. You can certainly waste ammunition strafing at Fallen, or lobbing a grenade if you’re low on health and rushing to another Column of Light, but culling 90 percent or more of the foes with your Super is the only way to competently complete this mission!
Even the toughened shield and hide of the Rankkov the Survivor cannot withstand your Super attack! Complete the mission, usually increasing your level to 2, which unlocks stronger gear, new abilities, and access to harder missions. The mission ends, and you’re transported back to Orbit.