
Destiny 2 Guide Campaign Payback
The Tunnels
European Dead Zone
Enemies Encountered
- Cabal: Psions, Phalanxes, Legionaries, Centurions, Interceptors, Interceptor Pilots, Thresher, Incendiors, Goliath Tank, War Beasts
Objectives
- Enter the Cabal base and hunt down the Viper.
- Advance to the Cabal carrier located in their shipyards.
New Actions to Learn
- Drake Tank Driving: General Maneuvers
- Drake Tank Driving: Offensive Capabilities
- Drake Tank Driving: Locking on to Targets
- Drake Tank Driving: Locking on to Missiles
- Drake Tank Driving: Zooming in on Targets
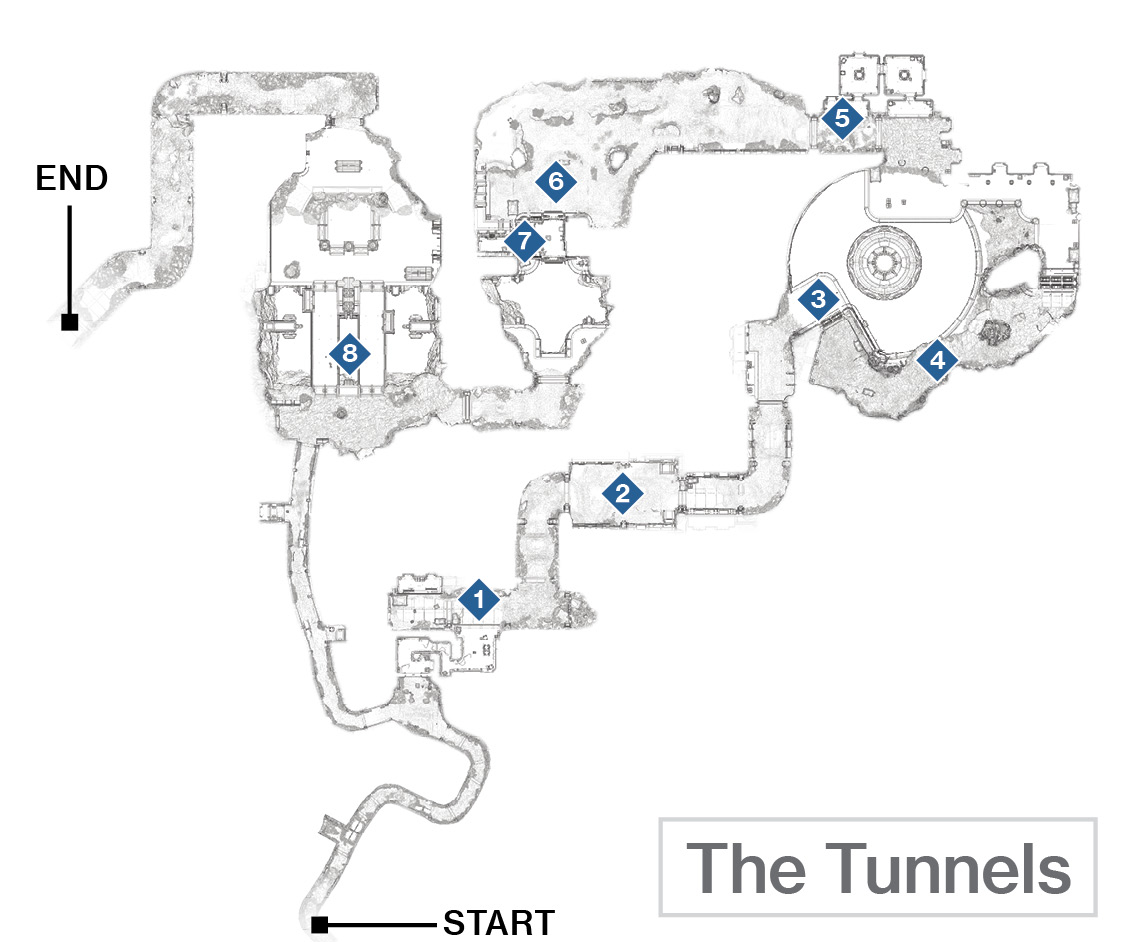
 Cabal Tunnels to Tank Acquisition
Super: Optional
Grenades: Optional
You begin in the Gulch (EDZ), entering a large tunnel structure carved out of the hillside by the Red Legion forces. Continue down the tunnel until you see an opening to your right; it’s a rocky cavern with a small Cabal chamber, guarded by two Psions and a Phalanx. Two Legionaries also appear.
Make short work of this infantry, throwing your Super or grenade into the combat if you want (since you’re about to drive a tank, you can afford to use up these powers). Otherwise, use the rocks as cover.
Watch for another Phalanx in the connecting chamber to a massive tunnel structure. It’s so massive, in fact, that Amanda Holliday’s ship arrives and deposits a Drake tank. You are firmly encouraged to enter and drive this vehicle for the remainder of this mission.
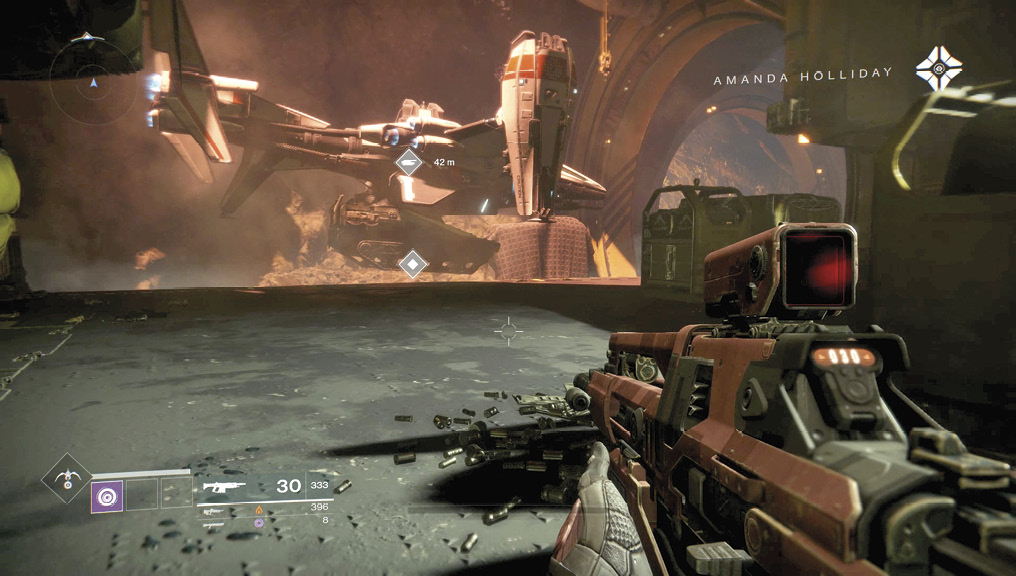
 Tunnels of Terror
Super: Not recommended
Grenades: Not recommended
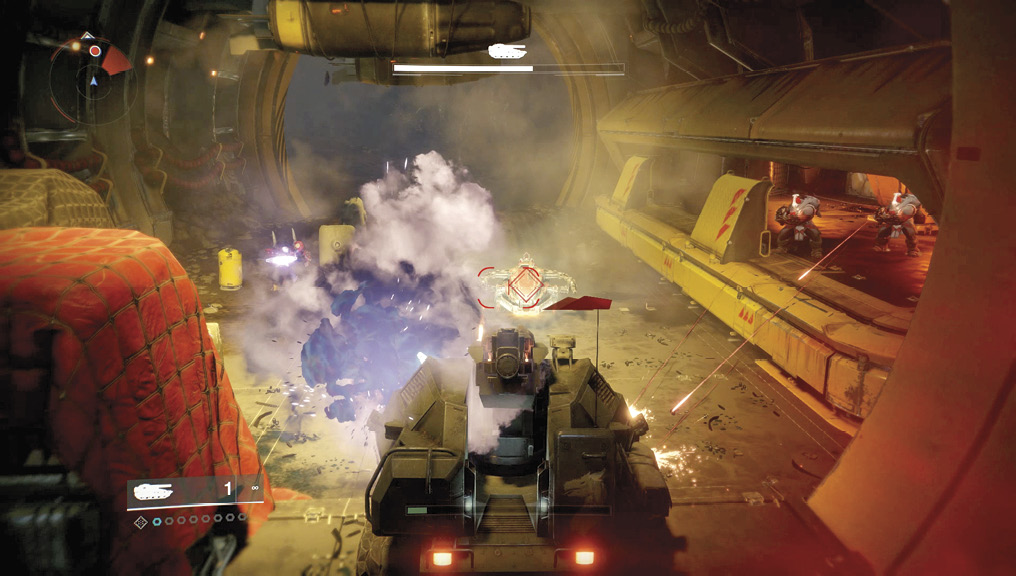
Start up the tank, learning the basic maneuvers (the independent turret, the missile launcher and main turret cannons, locking on to enemies, and zooming in on targets) before trundling into the tunnel. As you go, make sure you observe and react to the following:
Main cannon: This fires a single shell that explodes with a wide area of effect. Use this on clusters of foes, hardened targets like vehicles or more impressive enemies (like Centurions), scenery you want to destroy, and enemy vehicles you encounter. The damage is impressive, but the firing is slow. For accurate attacks, fire when the target reticle turns red.
Missile launcher: You can fire a cluster of up to seven missiles. These have the advantage of swerving around cover to strike foes and are also great for removing clusters of infantry. The main reason to use missiles is to hold down the firing button so your missiles lock on to a target, usually guaranteeing a strike.
This is especially useful if your target moves quickly, like an enemy Interceptor or Thresher vehicle. The missiles can also lock on to incoming missiles (usually from Threshers), negating the enemy’s most devastating attack. Use this lock-on feature, or face a fiery tank that you must extricate yourself from. Finally, note that the blue circles under the tank icon (in the bottom-left part of your HUD) indicate the number of missiles that are ready to fire.
Cabal infantry: They prove no match for your vehicle; shoot them, run them over, or ignore them and continue along the tunnel structure.
Cabal barricades: You can run over these shield-like barricades without damaging your tank. Sometimes, enemies hide behind them; shoot at the barricades or ignore them as you continue forward.
Explosive barrels: Dotted about some corridors are yellow explosive barrels, which very lightly damage your tank if you run them over. This isn’t something to worry about unnecessarily, and you can shoot these barrels from a distance; any foes caught by the blast are damaged. However, your tank weaponry is much more potent than barrel explosions!
Roof artillery shells: You can aim your cannon or missiles at the trios of Cabal shells stacked on the roof, dropping them on foes underneath, if you want.
Begin your progress through the tunnels, continuously blasting anything vaguely related to the Cabal. Lay waste as the tunnel widens then narrows as you encounter your first Cabal Interceptor. Aim for the Interceptor Pilot to quickly stop the vehicle; the Psion driving the vehicle is a lot less tough than the Interceptor itself.
 Cabal Cavern Climb
Super: Not recommended
Grenades: Not recommended
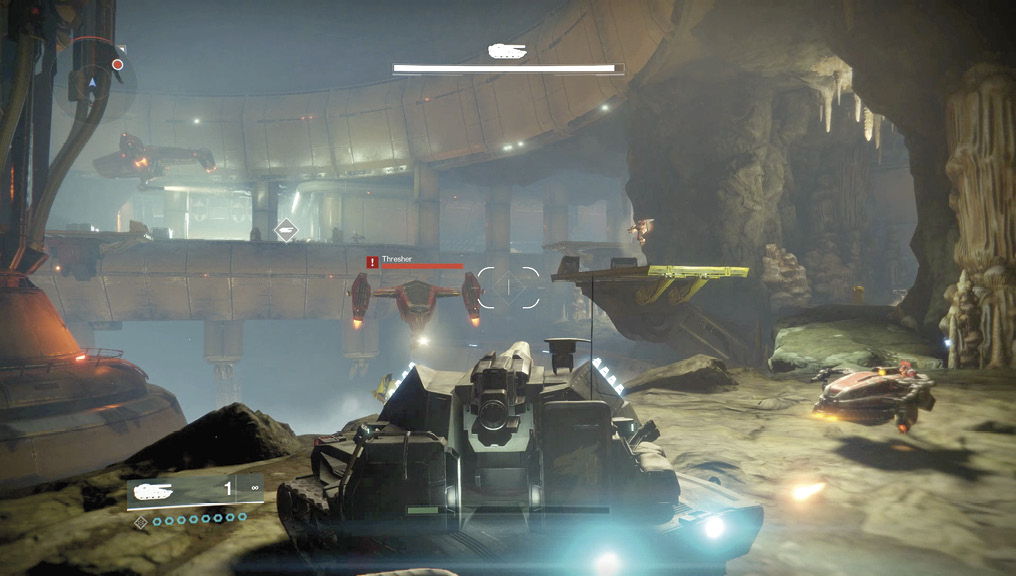
When you reach the first tank summoning point, before the tunnel opens up into a gigantic cavern, get out of the vehicle (without blocking the road) and summon a new Drake tank if the first one has taken any damage. There’s no need to continue on with a damaged tank! Then, slow down as a Cabal Thresher hovers into view. It begins launching missiles, which you need to lock on to before releasing your own missile barrage to negate this attack. At the same time, use your main cannon to blast the Thresher into fiery pieces. You can also target the Psions on the far platform, blasting them with missiles so they don’t snipe you, though the damage inflicted is minimal.
 Swing right, mowing down a squad of Phalanxes with ease, rounding the corner, then backing up as a Thresher and Interceptor attack simultaneously. Lock on to the Thresher’s missiles and neutralize them while you aim at the Interceptor Pilot, blasting that Psion and stopping the ground vehicle. Then, aim all your firepower at the Thresher.
Head around the gigantic natural rock pillar, firing at Centurions, Phalanxes, and another Interceptor as you go, and any Psions you see on the platforms away from the road you’re on. Pass (or use) another tank summoning point. Head up the slope, training all weapons on the infantry cluster to the left. Turn left, staying at the far end of the road ledge as it narrows so you can easily and methodically destroy the Thresher, a couple of Centurions, and other ground forces. Then, head around, sharply turning right and delivering overwhelming firepower at an Interceptor and a few more Cabal infantry. Park at the next tank summoning point, but not before you remove the Cabal Centurion standing just inside the horizontal opening that leads to the door override.
 Door Override
Super: Recommended
Grenades: Recommended
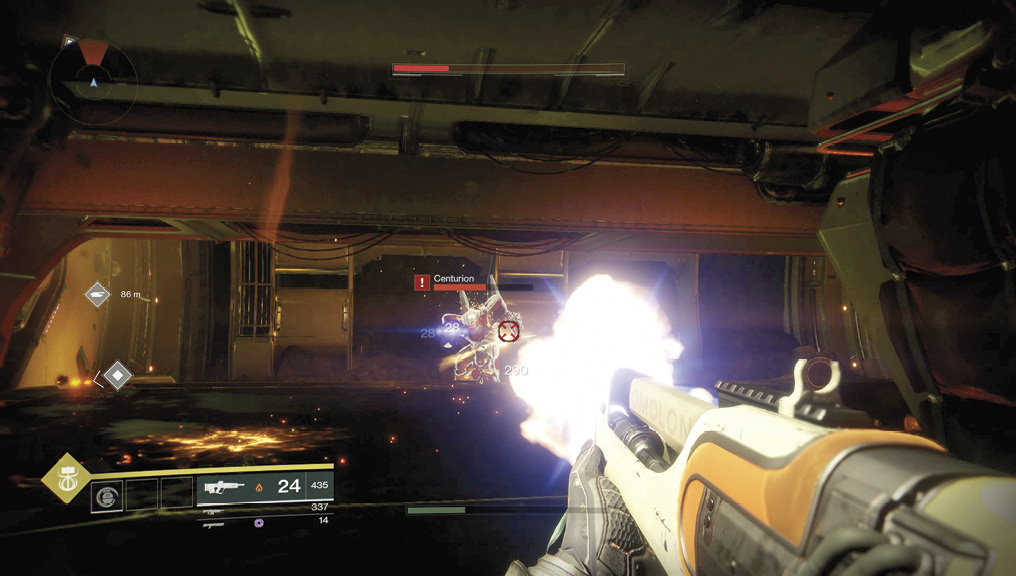
Get out of your tank only after you’ve waited until no additional enemies are in the connecting chamber between you and the door override. Remember that you can always return to the tank and lay waste to other enemies you find inside, though it’s easier to tackle the couple of Legionaries in the usual manner. Head into the roughly cube-shaped chamber, and turn left. The door lights turn to green, and it opens. Expect two Phalanxes to face inside a second identically sized chamber, along with two Psions and an Incendior you can explode easily.
Once in the second room, turn left and walk to the open door of a third room that a Centurion guards. Drop a grenade, rake his Solar Shield, and drop him. Using your Super just as you attack the Phalanxes (so it runs out after the Centurion is defeated) is a good idea. Then, dash out to the giant blast door and the hologram unlock area, using Ghost to open the tunnel door. Head back to your tank or the nearest tank summoning point, and proceed through this door.
 An Enemy Tank
Super: Not recommended
Grenades: Not recommended
Warning!: Restricted Zone
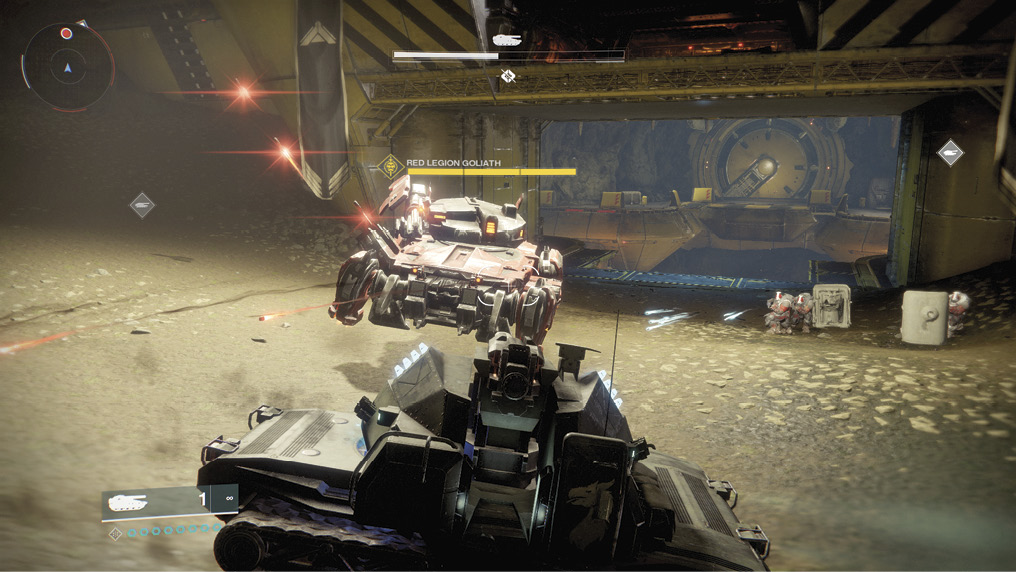
You’re entering a Restricted Zone, and there’s an enemy tank at the end of the rocky tunnel you’re trundling through. Exercise more caution than you may have attempted up to this point. Slow down, and drop roof shells on the two Psions standing on the low ridge ahead and left of you (or just blast them). Back up and tackle the two Interceptors before you reach the corner of the tunnel. Trundle forward, aiming at the two Centurions along the outer (right side) corner, staying to the right as you spot an enemy Goliath tank. Two more Interceptors flank it!
Sub-Boss: The odds are no longer in your favor; you cannot stand and go toe-to-toe with the Goliath, exchanging missile and cannon barrages, as it is tougher than your Drake tank. You can’t stop and start or head across the uneven ground because getting stuck means you’re a sitting target.
If your tank catches fire, retreat, optionally getting into one of the Interceptors you’re previous fought, and head back to the tank summoning point to start again. Do not attempt to head forward on foot because you’re easily overwhelmed, and the enemy tank must be defeated, too.
Instead, retreat back along the tunnel before the two natural pillars, and clear the area of Interceptors if they are close by. Trundle forward and inflict a massive barrage of well-aimed tank fire into the enemy tank. Stop so its return fire hits one of the pillars (hide behind one of them), then reverse back out of the enemy tank’s range. Do this two or three more times, and you’ll destroy it. Then, head back to the blast door, summon a brand-new tank, and drive it toward a retracted bridge, destroying the Cabal infantry guarding the entrance to the control room on the right side of it.
 Bridge Control Room
Super: Recommended
Grenades: Recommended
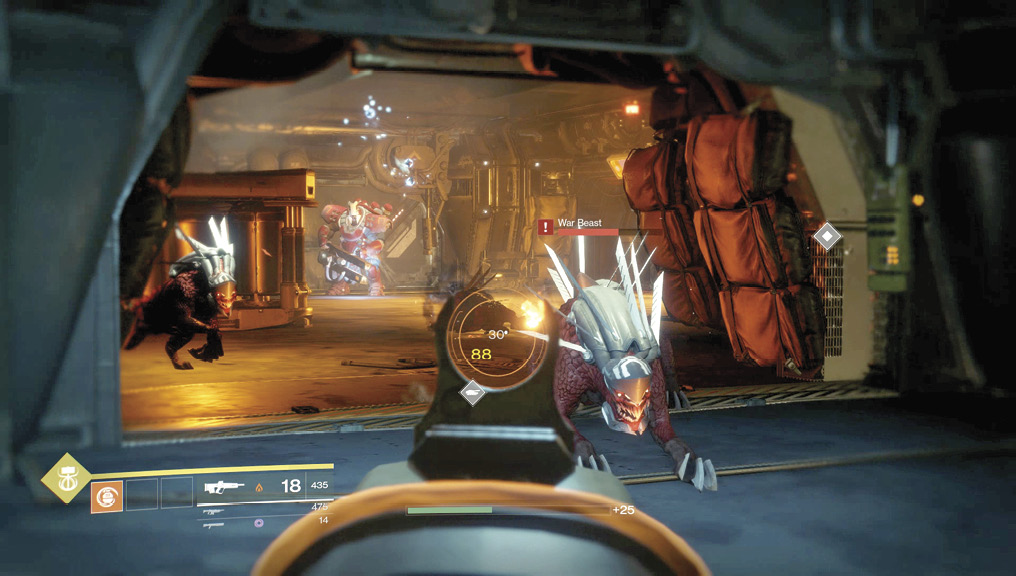
Use your Drake tank or an Interceptor to clear the dirt ground to the right of the retracted bridge of Cabal Phalanxes and other infantry. Bound up the control room ramp on foot, and make short work of the three Legionaries and a Psion behind you. Clear this room first before venturing into the subsequent room via the green-lit door; inside the second upper chamber is a pack of War Beasts and a meaty-looking Cabal Centurion.
The Centurion fires its weapon with alarming regularity, and two hits from this can kill you. It also has backpack rockets but usually doesn’t employ them in these close quarters. Stay at the entrance door or the central cover block, and lob in a grenade before following up with precision headshots. A grenade launcher is also an option. Better yet, save your Super and easily drop this behemoth! Otherwise, tag the Centurion with sidestepping and accurate headshots without being struck. This foe guards the bridge controls; activate the bridge, and quickly return to the tank.
 Battle of Bridge Cavern
Super: Not recommended
Grenades: Not recommended
Warning!: Restricted Zone
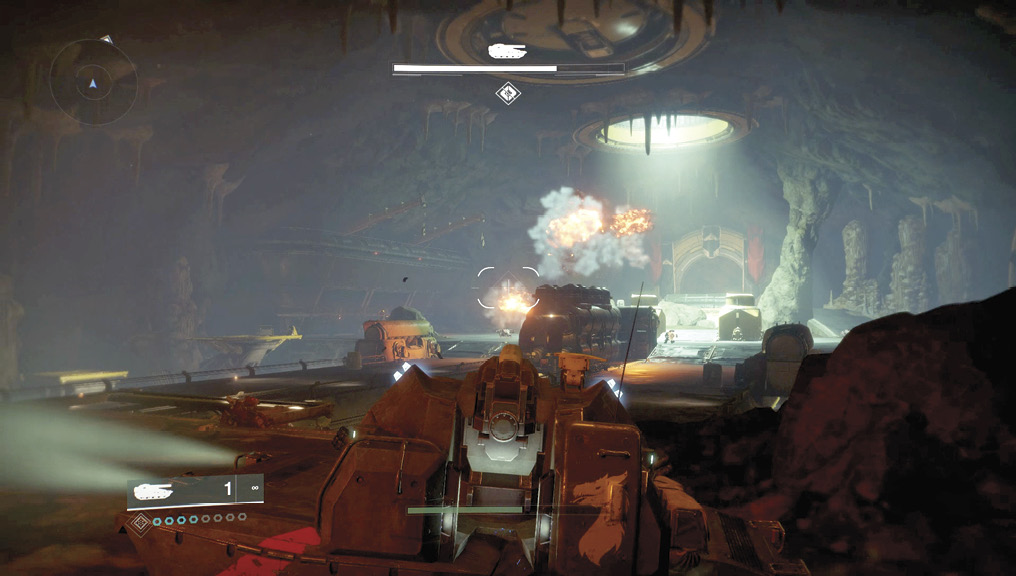
Drive across the bridge; you may want to lock on to the Psions behind cover on the opposite side, and train your main cannon on an incoming Interceptor. Run over the War Beasts, and don’t spend time making precision maneuvers on the bridge because you can easily drive off to your doom. Instead, cross to the tunnel entrance, up through a connecting tunnel with a tank summoning point, and into a huge cavern with two parallel bridges, one of which you must cross to the other side.
Start by mauling the Cabal Infantry (an Interceptor, Phalanxes, Centurions, and a Centurion) on the near side of the bridge, as well as Psions and Centurions on the far yellow platforms. This keeps you from getting annoyed by other enemies as you attack the real menace guarding this cavern: two enemy tanks.
Sub-Bosses: Two Goliath tanks are parked on the opposite side of the bridge to you. Trundling over the bridge to meet them is exceedingly unwise, as they can easily overwhelm your tank with their fire. Instead, slow down and hide behind the initial large rock and the rock pillar on the entrance side of the cavern. Use this scenery to protect you. Then, edge out, zoom in on either of the tanks, lock on to any incoming missiles (from either tank), and let rip with your main cannon. Trundle to one of the two cover points previously mentioned. Move between these points, concentrating on one tank at a time, until you neutralize the first and then the second enemy tank. The rock pillar between the entrances of both bridges is particularly good to hide behind (letting the enemy’s attacks hit it), but you must keep moving.Another option is to slowly creep out from the entrance until you can target the tank
on the right side of the far part of the cavern, and concentrate your firepower solely on it. As long as you don’t drive past the rocks you’re using as cover, you can peep in and out of the entrance, avoiding the first tank’s barrage. Then, move to the pillar and assault the other tank on the far-left side of the cavern.
You may need to remove an Interceptor or two on the opposite side of the bridge; do this by zooming in before firing to ensure accuracy.
With both tanks defeated, make short work of a Thresher that flies in before crossing either of the bridges. One of the tanks may have retreated to the exit area, but that’s no matter. You can use either of the exit ramps as cover (so the Goliath’s main cannon hits the top of the ramp, and not you) and lay waste to the second tank. Mop up a few infantry stragglers, then head out of the tunnels and into the EDZ Sector known as the Sunken Isles.