Destiny 2 Guide Director European Dead Zone
Outskirts

Sector Notes:
Lost Sectors: 3
Enemy Clusters: Fallen: 3
Enemy Chests: Available
Material Nodes: Available
Patrol Beacons: 9
Public Event (Full): 3
Public Event (Secret): 3
Region Chests: 5
Scannable Objects: 5
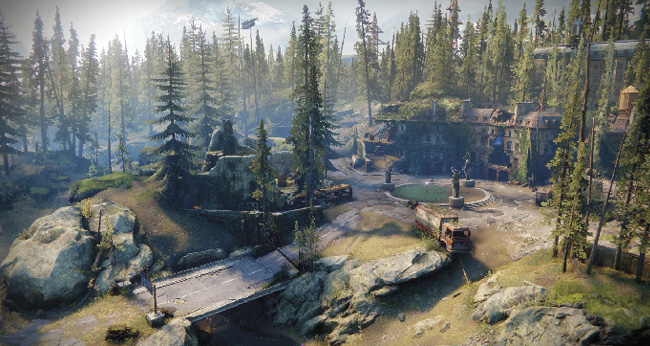
The ruins of an old town, linked to the Trostland Sector to the east, cover part of this junction Sector, where roads from more remote EDZ locations converge in all four compass directions. Fallen have made their presence felt here. Away from the central plaza is a beach dotted with foes, some hidden caves (and Lost Sectors), and a wooded area to the northwest where more pockets of Fallen resistance can be found. Expect to encounter three Lost Sectors (one with two entrances) here, along with intermittent Public Events (as you engage Spider Tanks or large Servitors), Skirmishes against the Cabal, and an encounter with a notorious Dreg Pike gang.
Areas of Interest
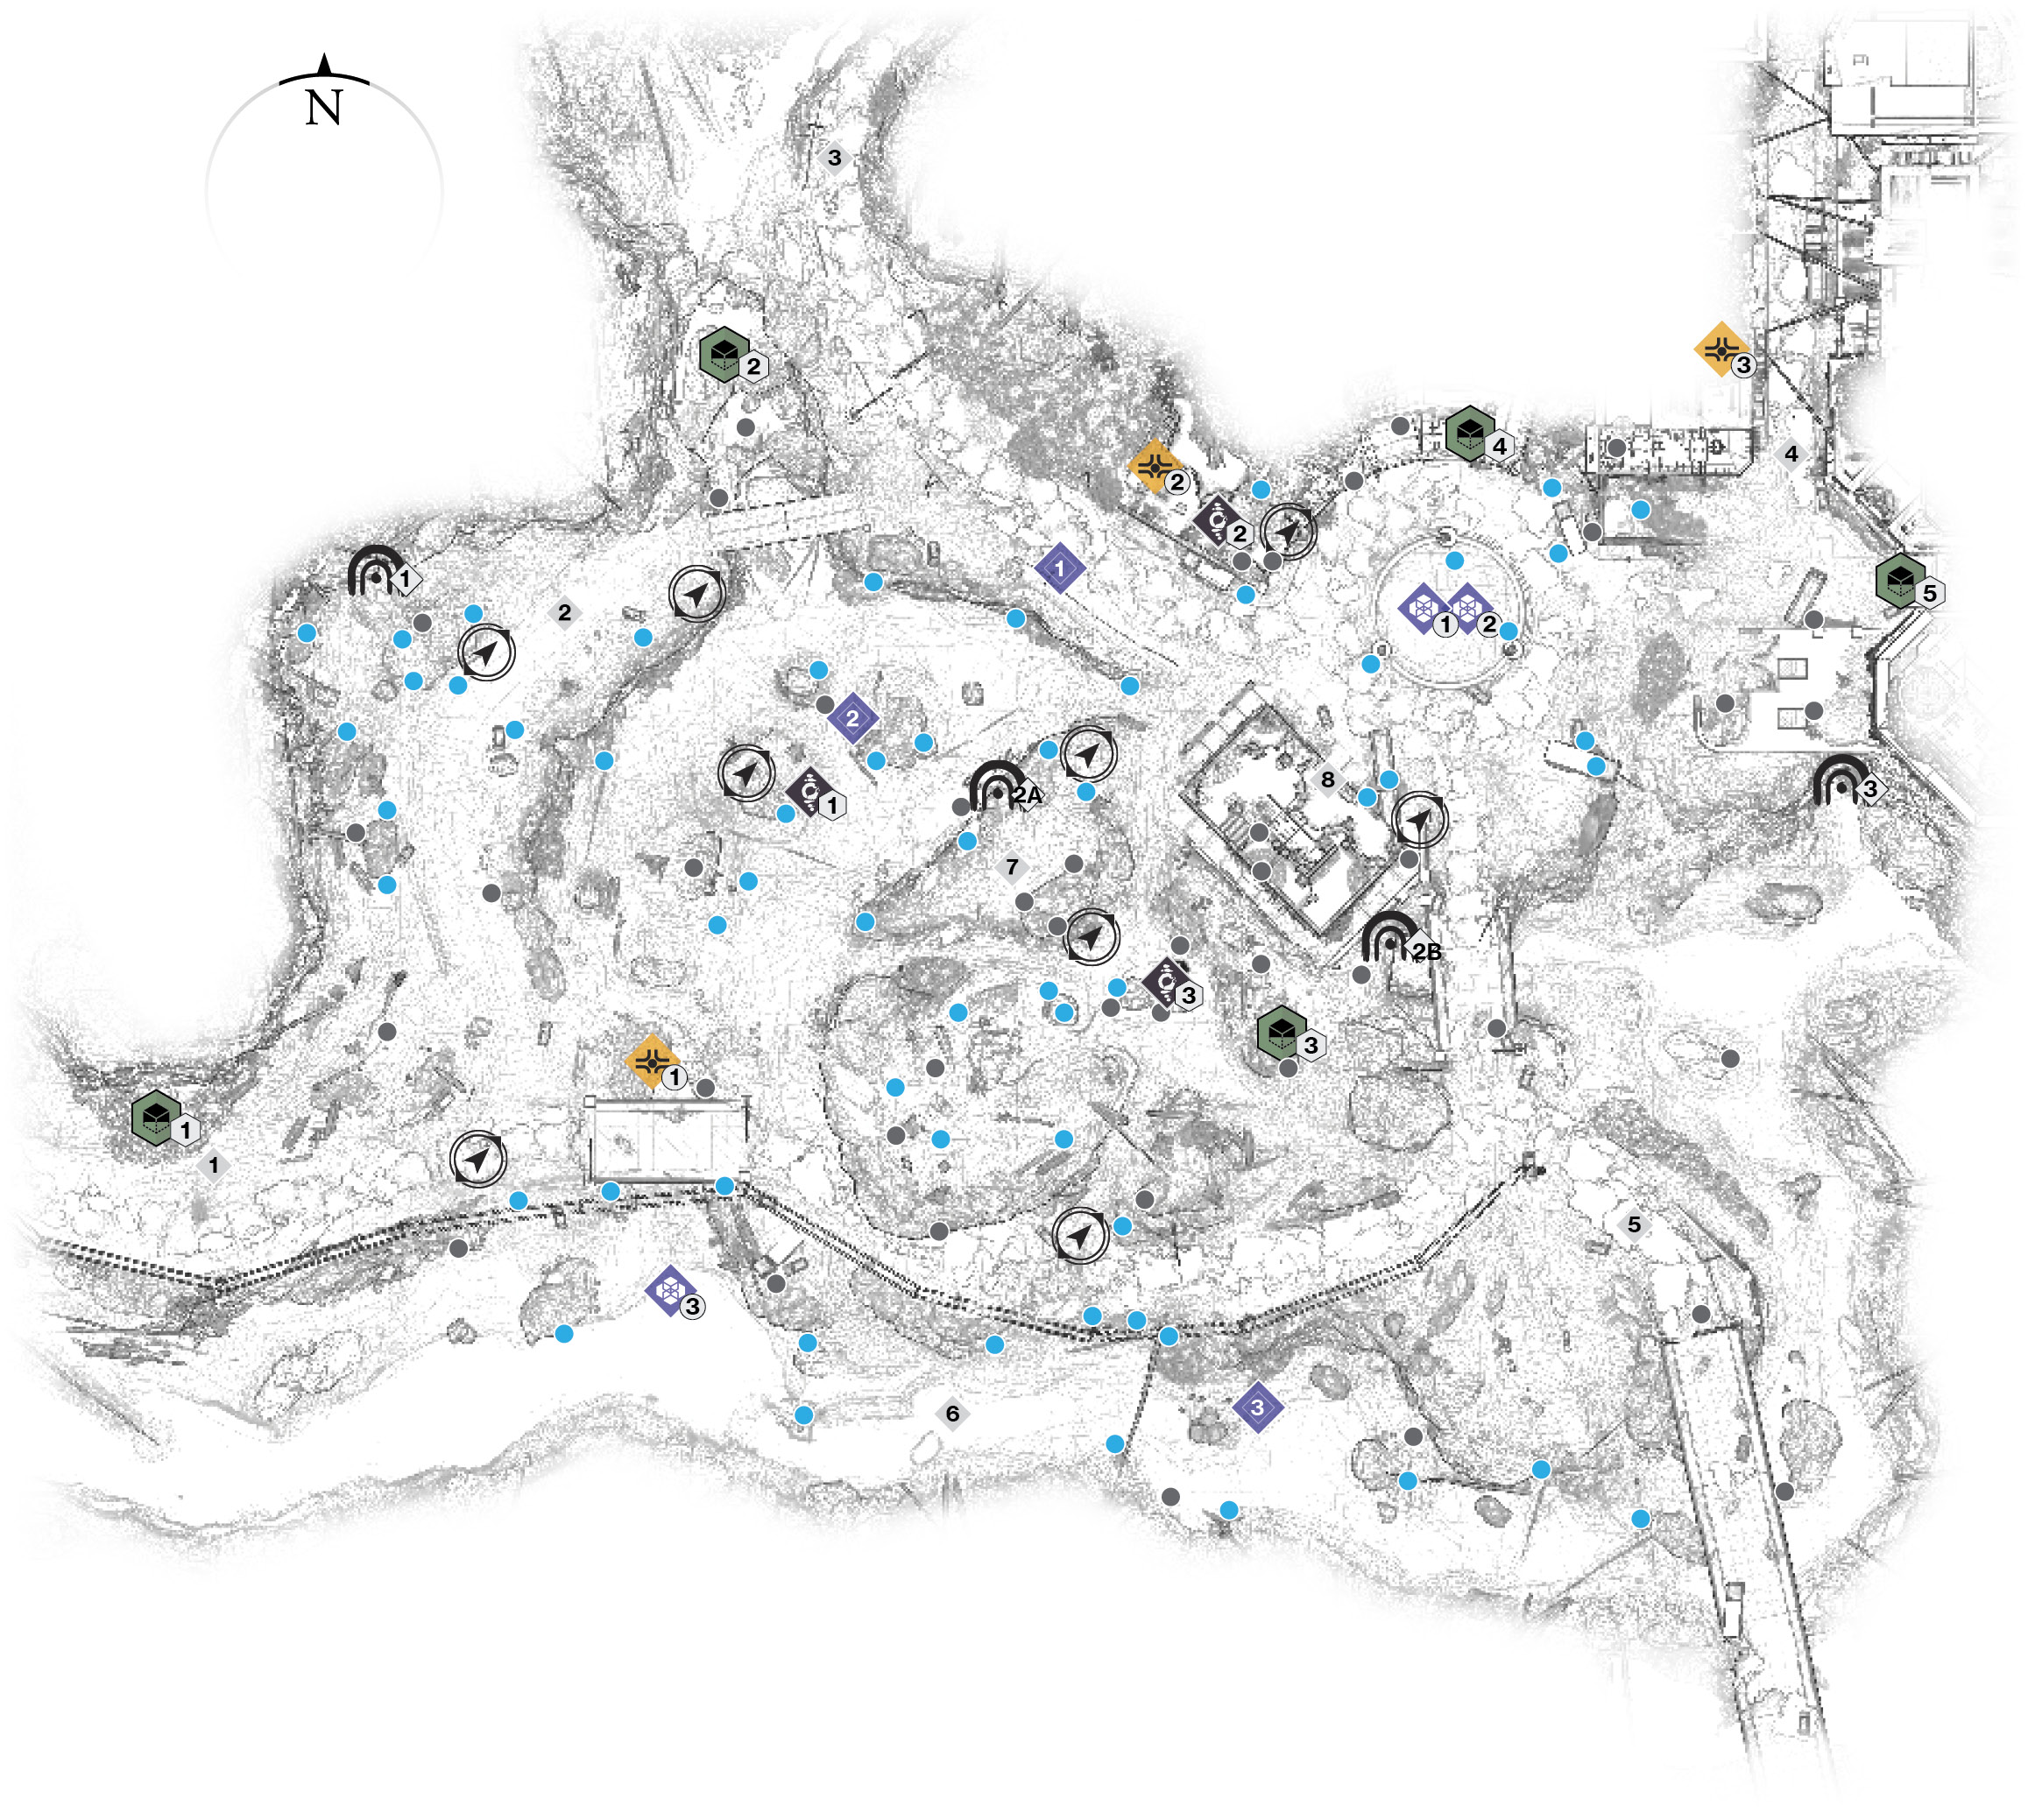
 Road to Winding Cove (West)
The access road to the Winding Cove has minimal threats. You can approach it via the road, the beach to the south, or a trail from Lost Sector 1, to the north. Have you ridden your Sparrow all the way up a fallen log without falling off?
 High Hills (Northwest)
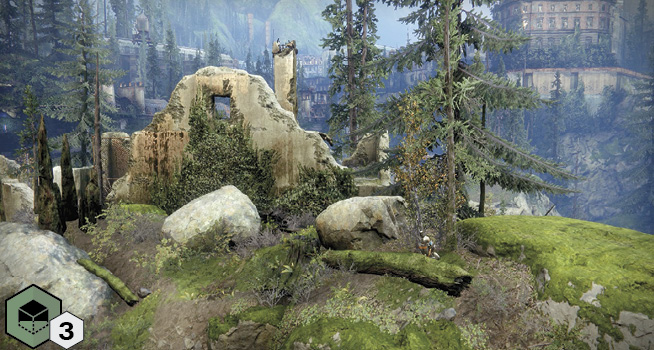
The main circular road bisects this wooded area with numerous boulders and a small contingent of Fallen (mainly Vandals and Shanks) to tackle. The waterfall to the northeast holds some items of interest, and there’s also a Lost Sector here to find.
 Road to The Sludge (North)
If you find yourself racing up this hill, usually away from the main plaza or lower pond area, you’ll end up at the Sludge, which has a Cabal presence to contend with.
 Road to Trostland (Northeast)
Access this road from the plaza area (passing a store interior where you can find a Region Chest), and head up this U-shaped road with ruined buildings on either side of it. Note the pedestrian shortcut on the right side of this exit road.
 Road to Sojourner’s Camp (Southeast)
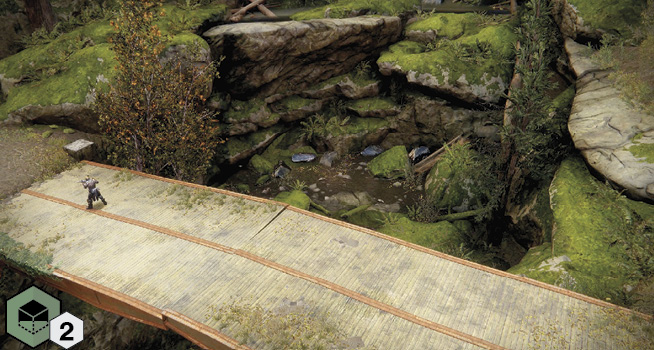
The road south is over a bridge that you can drop off, landing on the beach area where minor battles with Fallen are possible. Note the two nearby Lost Sector entrances to the north.
 Southern Beach
Later Public Events cause havoc on this stretch of sand, which has dotted rocks and boulders and features minor Fallen incursions toward the eastern edge.
 Fallen Hilltop
The area directly above Lost Sector 2 (with the circular drain hole you can see down and up from the interior) always has Fallen to face: Dregs, Vandals, Shanks, and a Captain who usually moves about in the lower pond to the northeast. Head here for the shortcut to and from the Sludge or Winding Cove.
 Fountain Plaza
The majority of the fighting, especially when your first Public Event commences, is done in the main plaza. The area consists of a large circular fountain, a curved section of old apartment housing (which has Fallen to face), a store front to the northeast with a small interior to explore, and a three-story ruin near a rusting bus where Fallen (Dregs, Vandals, Marauders, and a Captain) reside.
Lost Sectors
 The Drain
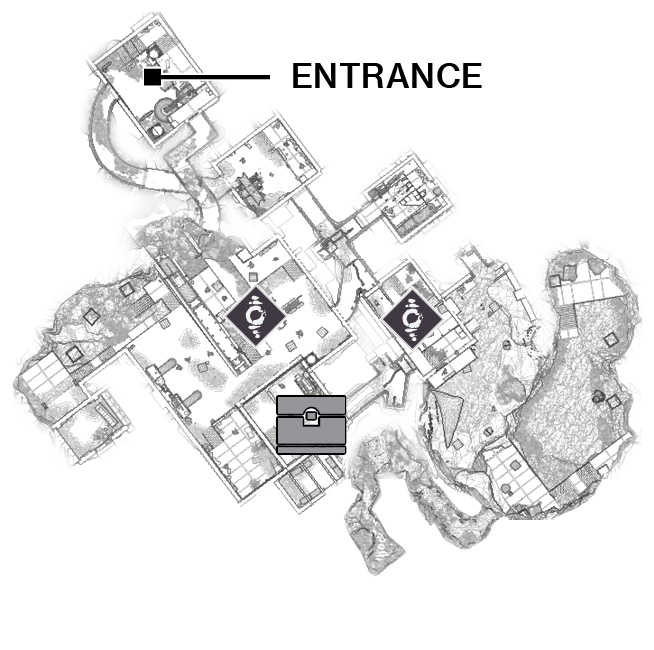

Access this in the high wooded hills northeast of the low pond and west of the waterfall. Inside is a compact grotto with ledges and a secondary cavern to explore. Fallen Dregs, Vandals, and a few Shanks are your main concerns.
 Whispered Falls
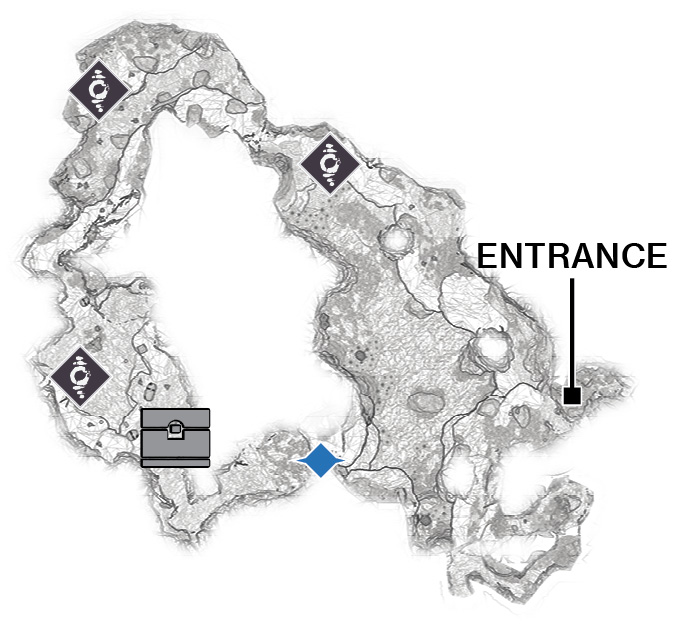

This Lost Sector is centrally located, with the distinction of having two separate entrances on the waterlogged pond or beach either side of the hilltop area. Take either entrance; with careful exploration, you can find passages down to a series of water treatment rooms where the Fallen, led by a toughened Captain, are residing.
 Scavenger’s Den
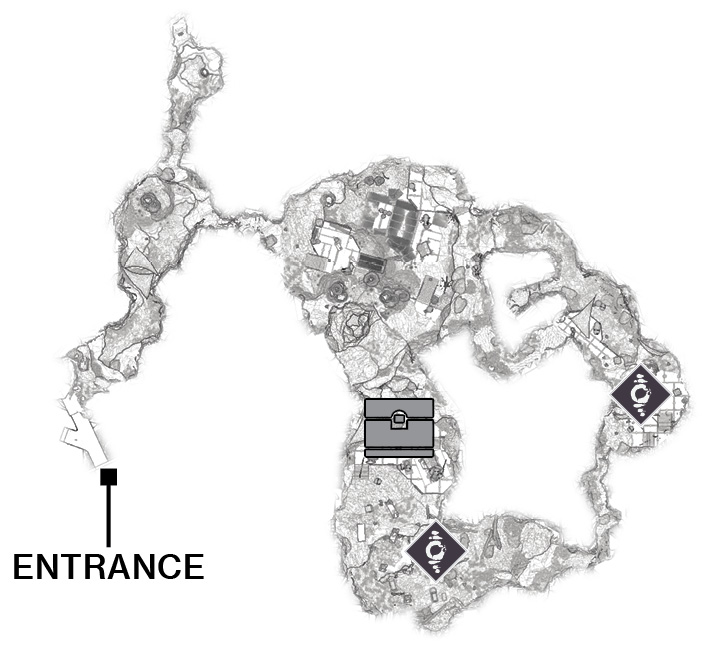

Find the entrance at sea level at the far eastern edge of the beach, south of the road to Town. Enter a series of caverns with evidence of a main Fallen command post, which ends in a sunlit grotto where a ruined human structure has fallen through into the cavern. Here, you’ll find the Boss Chest and a Fallen Captain to tackle.
Outskirts
| Name | Sub-Boss | Reward | |
|---|---|---|---|
|
1 |
The Drain |
Fallen Captain |
Boss Chest |
|
2 |
Whispered Falls |
Fallen Captain |
Boss Chest |
|
3 |
Scavenger’s Den |
Fallen Captain |
Boss Chest |
Patrols
 Outskirts (9)
There are a large number of Patrol beacons dotted around this Sector, though only three or four are active at a time.
Region Chests
 Region Chest 1

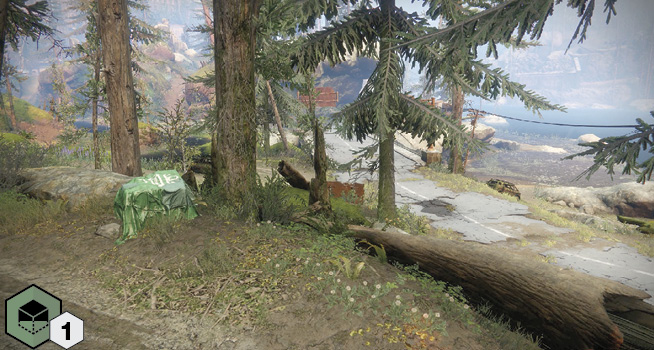
Underground, inside a cave, accessed under the south bridge from the beach.
 Region Chest 2

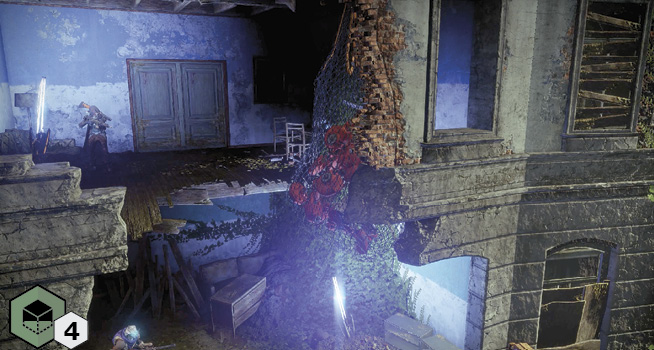
On the ruined wooden top floor of the partly demolished apartment structure teeming with Fallen, northwest of the plaza.
 Region Chest 3

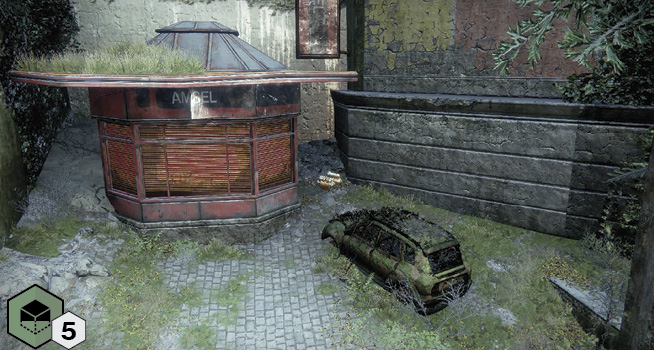
Located in a back room that’s easily overlooked, inside the storefront area by the road to Trostland.
Enemy Clusters

Dregs, Vandals, Shanks, and a Fallen Captain lurk in this shallow pond between the two road bridges (north and south), one of the entrances to Lost Sector 2, and the hilltop (Enemy Cluster 3). Later on, when random Secret Public Events begin, a Skirmish with high-ranking Cabal turns this area into a bloodbath.

Although there’s a Vandal sniper on the open ruins to the east of here, and Marauders and Dregs in the open storefront near the road to Trostland, the majority of the foes congregate here, by the road (Dregs and Vandals are your main threats). Also expect a number of Fallen in the ruined building directly south of here (including Marauders and a Captain).

Scurrying around the Hilltop area are Dregs, Vandals, and sometimes Shanks. This is a good spot for Fallen target practice, or if you feel the need to run foes over with your Sparrow or stolen Pike.
Public Events
 Public Events (Full)
There are three randomly occurring Public Events, with the plaza spawning either the Servitor Resupply or the Weapons Exchange combat opportunities. The third event takes place on the beach.
Servitor Resupply: This takes place at the plaza. There are plenty of Fallen foes to tackle, multiple waves of lesser Servitors, and the usual Fallen adversaries to ignore so you aren’t overwhelmed.
Weapons Exchange (both variants): Fallen forces are attempting to bolster one of the two indicated map areas (the plaza or beach), and they have dropped in an Walker. Destroy it, ideally with the Scorch Cannons you can unlock.
| Event Number | Event Type | Target | Other Enemies | Reward |
|---|---|---|---|---|
|
1 |
Servitor Resupply |
Fallen Servitor |
Shanks, Dregs, Vandals, Servitors |
Boss Chest |
|
2 |
Weapons Exchange (Walker) |
Fallen Walker |
Dregs, Vandals, Shanks, Marauders, Captain |
Boss Chest |
|
3 |
Weapons Exchange (Walker) |
Fallen Walker |
Dregs, Vandals, Shanks, Marauders, Captain |
Boss Chest |
 Public Events (Secret)
Pike Gang: The Pike Gang takes a counterclockwise route around the main circular road in this Sector. Shoot the rider with accurate headshots so you can utilize the Pikes, not destroy them.
Skirmishes: The two Skirmishes take place in different locations, but the battles are similar, involving a full-on war between Cabal and Fallen forces. Expect all major enemy types to arrive: not only the infantry you’re used to battling, but also Cabal Centurions, as well as Fallen Captains and Servitors!
| Event Number | Event Type | Target | Other Enemies | Reward |
|---|---|---|---|---|
|
1 |
Pike Gang |
Four Dreg Pike Riders (around the main road) |
— |
Any Pikes you didn’t destroy |
|
2 |
Skirmish |
Fallen and Cabal dropships (Caution! High-ranking foes!) |
— |
Random Loot |
|
3 |
Skirmish |
Fallen and Cabal dropships (Caution! High-ranking foes!) |
— |
Random Loot |
Scannable Objects