
Giant’s Scar
Sector Notes:
Adventure: Road Rage
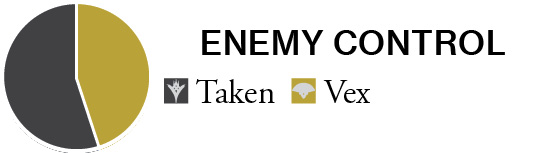
Enemy Clusters: Taken: 5
Enemy Clusters: Vex: 4
Enemy Chests: Available
Landing Zone: Available
Material Nodes: Available
Patrol Beacons: 9
Public Event (Full): 2
Public Event (Secret): 6
Region Chests: 3
Scannable Objects: 5
Partially Inaccessible
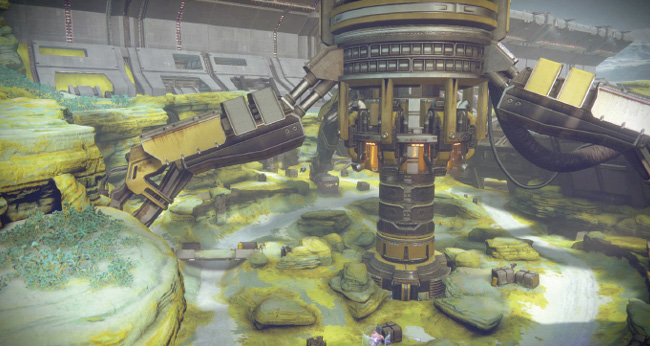
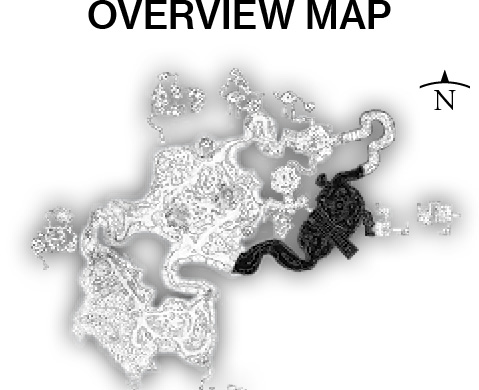
The remains of a Cabal mining operation exist in this Sector, formerly a natural rock formation known as Giant’s Scar. Bisecting the two boulder-laden valley floors is a long mining operations center, with pedestrian and vehicular access to and from each main area. The majority of the battling occurs at the drill site, a roughly circular arena-like valley with a massive central mining drill. Around the perimeter are various exits to small caves and other Sectors. Note that the area below the massive central drill is inaccessible unless Campaign Mission: Fury is underway.
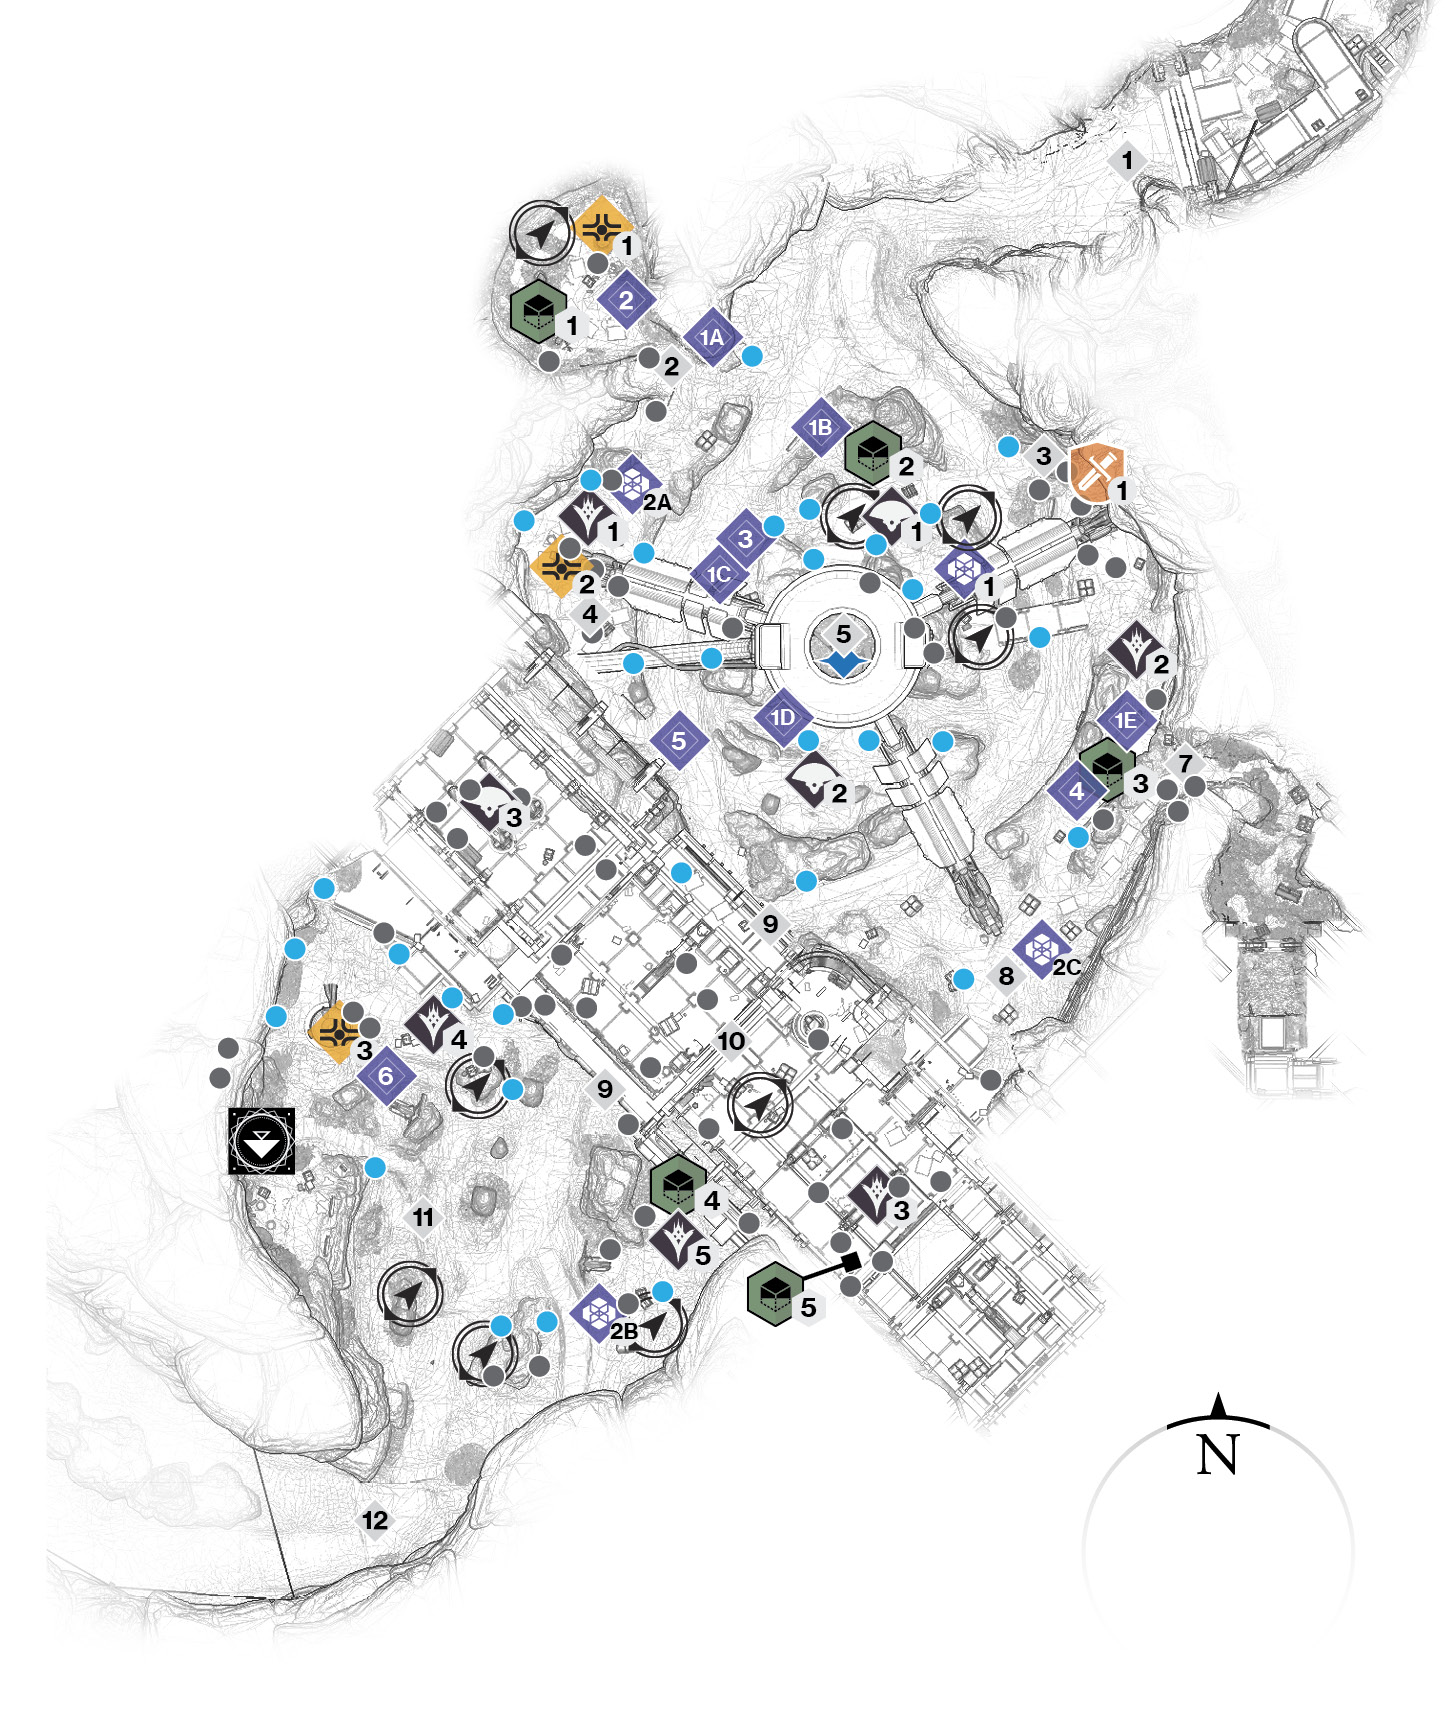
Areas of Interest
 Exit to Terrabase Charon (North)
A very long and winding tunnel allows you to navigate the northern part of Echo Mesa, should you want a lengthier trip back to Lost Oasis via Terrabase Charon.
 Small Cave (North)
A small crack in the canyon wall allows you into a tiny cave with a couple of collectibles, a possible Secret Public Event High-Value Target, and a Patrol beacon.
 Small Cave (Northeast)
A small cave is sometimes worth hiding in or checking for regular chests. This one is across from the Hydra at Enemy Cluster (Vex) #1.
 Drill Control Hut (Northwest)
Taken are controlling access to this hut. The area is raised above the main path, making it worth considering as a defensive position. Note the Region Chest above your head.
 Giant’s Scar: Drill Site
This massive northern area is the epicenter of the battle between Vex and Taken, so expect conflict at all times. There’s a main circular road around the central drill. The drill itself can’t be moved unless the Campaign Mission: Fury is active.
 Entrance to Warmind Vault JYS-2 (Inaccessible)
This is inaccessible unless the mission is active. Under the massive drill bit is a tunnel with debris strewn about, along with access down into the Warmind Vault itself.
 Entrance to Excavation Site II
Take this route during the Campaign Mission, or if you want to tackle more Taken in a confined space (Excavation Site II). The entrance is atop a small (and usually empty) cave directly below it.
 Secondary Path
Taken congregate around this cluster of crates and a path up to the Excavation Site II entrance.
 Vehicle Access Road
This offers quick access (usually via Sparrow) between the north and south areas.
 Mining Control Center
A long interior structure offers windowed views of the drill site. There are pedestrian exits to the west (south side) and east (north side). The interior has enemies battling it out.
 South Area
This is usually the area you first encounter, and it’s where the Landing Zone is located. Pockets of Taken are active in this area. Note the large cylindrical tower to the north. Is there something on top of it?
 Exit to Lost Oasis
The quickest way between Giant’s Scar and the Rupture is to take the large south exit back to Lost Oasis. This is a frequently used thoroughfare.
Adventures

Access this Adventure at the base of one of the drill support pillars in the northeast corner of the map.
Region Chests
 Region Chest 1
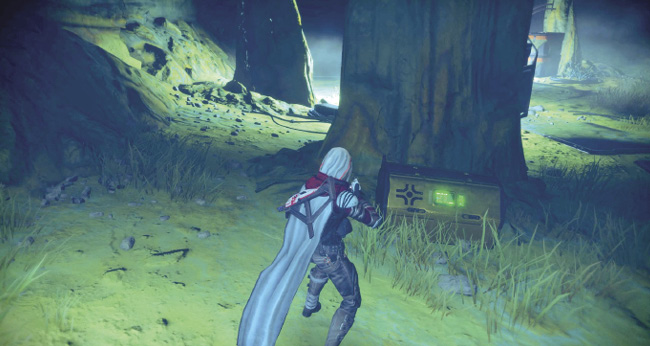
Inside the small northwest cave, behind the far right natural cave pillar. Don’t open a regular chest instead!
 Region Chest 2
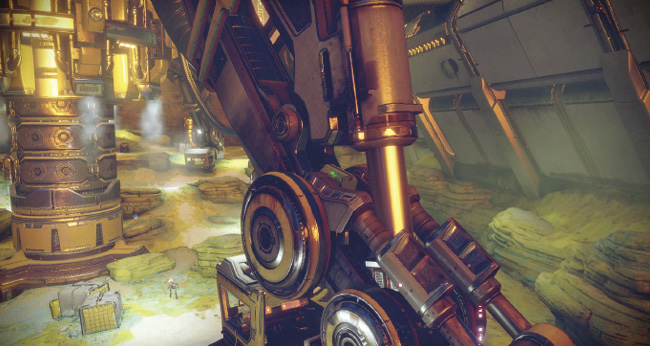
Tucked on the drill support arm above the control hut. Deft jumping is required to access this chest.
 Region Chest 3
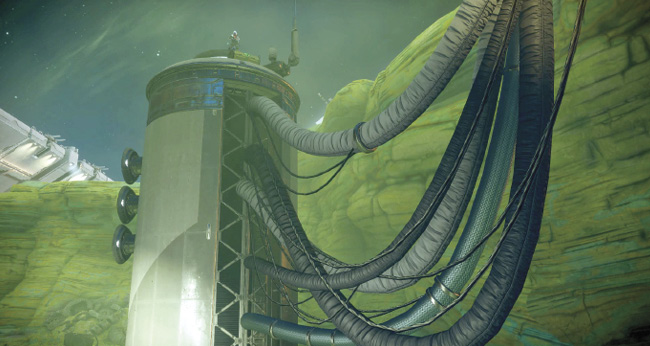
Sitting atop the large cylindrical tower outside the pedestrian entrance to the mining control center. Use the connecting pipes to leap up to the top of the cylinder.
Campaign Mission

This mission is the only time you’re allowed access into the underground tunnel off the drill site (Area of Interest #6). Also, the vehicular entrance under the mine control center (Area of Interest #9) is closed (mission only).
Enemy Clusters
 Taken
Taken
A group of Taken is guarding the control hut that lifts the massive drill from the central mining area. Expect a Phalanx, Knight, and some other Taken infantry.
 Taken
Taken
Several Taken are attempting to storm the west bridge and being stopped by Vex forces. Expect Taken Phalanxes and Knights, along with lesser foes.
 Taken
Taken
A Taken Knight and some underlings are guarding the interior of the control room.
 Taken
Taken
The entrance to the mine control center (southwest side) has a few Taken, including a Phalanx, for you to worry about. Note that there are many more foes if the Campaign Mission: Fury is active.
 Taken
Taken
Expect additional Taken to warp in via a rift in this general area. Aside from Thralls, there’s likely a Centurion here, so watch your step.
 Vex
Vex
A Vex Hydra is located in the northern part of this mining area, with a Minotaur and Goblins guarding the bridge to the west. Expect them to attack nearby Taken hostiles.
 Vex
Vex
The trails in the southern part of the mining facility have a couple of Minotaurs and Goblins, but these foes are preoccupied with Taken foes in other parts of the arena.
 Vex
Vex
Harpies and a cluster of Goblins are battling the Taken to the southeast, inside the mining control center. As you head in from the western stepped pedestrian entrance, expect three Goblins to the left of you.
Landing Zones
 Giant’s Scar LZ
Should you want to access the entirety of Giant’s Scar with relative swiftness, the LZ is located on the western side of the initial rock gorge.
Patrols
 Giant’s Scar (9)
There are nine Patrol beacons located throughout this Sector. As always, only around four are active at a time.
Scannable Objects
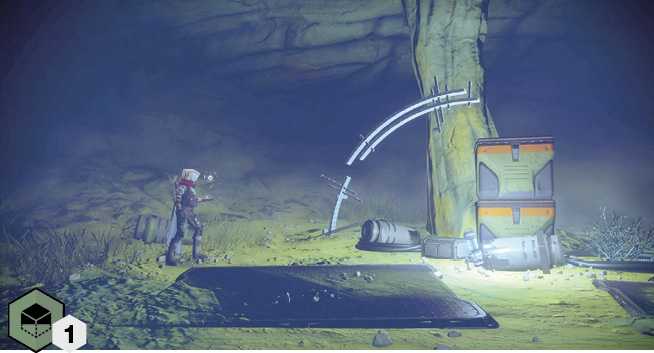
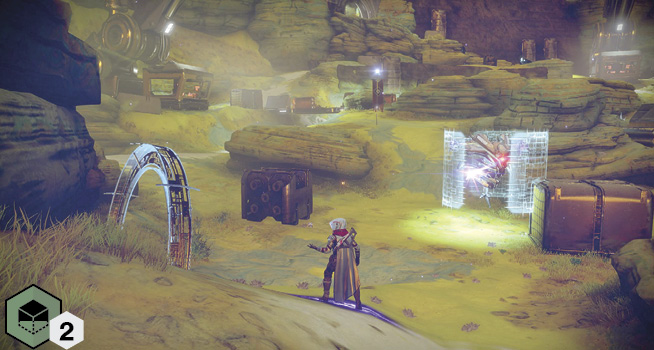
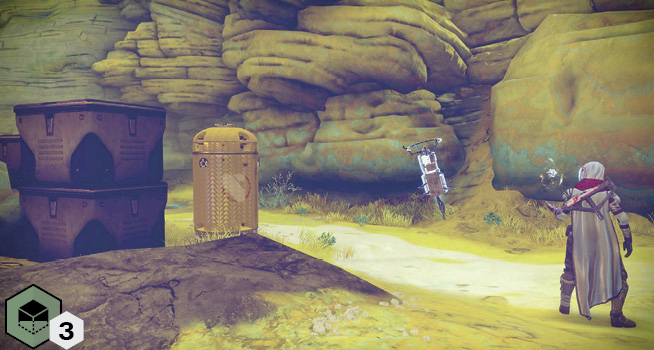
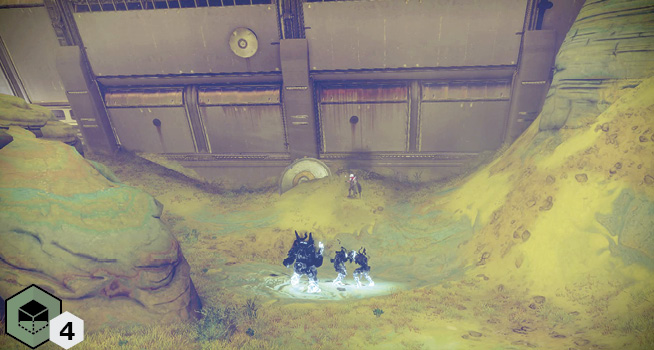
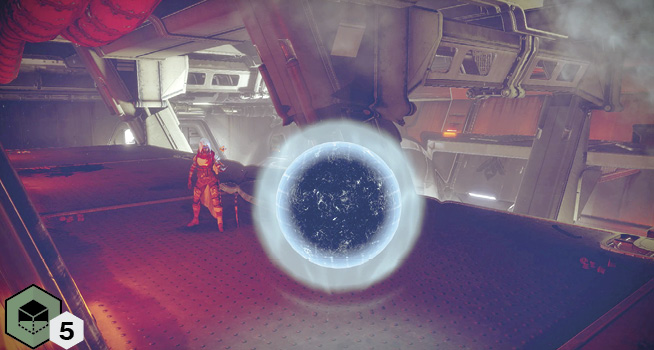
Public Events
 Public Events (Full)
Spire Integration: Vex are attempting to fortify their underground structures. To complete this event, simply hold off waves of Vex at each of the 10 integration points (which appear anywhere in the indicated guide map area).
Taken Blight: Your job is to destroy the Blight’s integrity until the Blight explodes and then regenerates at a second position. Repeat the demolishing of the Blight, then move to a third regeneration (2A, 2B, and 2C locations on the guide map). Make sure to engage multiple Guardians in removing both Taken foes and Blight integrity, or this is impossible to finish.
| Event Number | Event Type | Target | Other Enemies | Reward |
|---|---|---|---|---|
|
1 |
Spire Integration |
Integration points (10) |
Vex infantry |
Boss Chest |
|
2 |
Taken Blight |
Blight integrity |
Taken infantry |
Boss Chest |
 Public Events (Secret)
HVT #1: A Vex Storm Minotaur appears somewhere on the indicated guide map route (1A, 1B, 1C, 1D, or 1E). Neutralize it at once!
HVT (Tactician): A Taken Wizard appears in the vicinity of the cave and sometimes moves to the control cabin area. Defeat it immediately!
Jailbreak: A Blighted Taken Centurion or Knight is being held in an energy cell. Tackle the Vex Goblins and Guard Minotaur. Then, the cell disappears, leaving you to deal with the Centurion!
Skirmish: A clash between the Vex and Taken occurs along the sunken drill site area southwest of the drill, by the control center building.
Skirmish: A battle between the Vex and Taken begins in the rocky area by the pedestrian entrance southwest of the control center building, and it continues part of the way into the structure.
| Event Number | Event Type | Target | Other Enemies | Reward |
|---|---|---|---|---|
|
1 |
High-Value Target |
Storm Minotaur |
Vex infantry |
Boss Chest |
|
2 |
HVT (Tactician) |
Tortured Wizard |
Taken infantry |
Boss Chest |
|
3 |
Jailbreak |
Blighted Taken Centurion or Knight |
Vex guards, Hydra |
Boss Chest |
|
4 |
Jailbreak |
Blighted Taken Centurion or Knight |
Vex guards |
Boss Chest |
|
5 |
Skirmish |
Vex versus Taken |
Warning! Copious enemies! |
Random Loot |
|
6 |
Skirmish |
Vex versus Taken |
Warning! Copious enemies! |
Random Loot |