
Sunside (1st Mission)
The Almighty
Enemies Encountered
- Cabal: Legionaries, War Beasts, Incendiors, Gladiators, Psions
- Cabal: Sub-Boss: Centurion
Objectives
- Follow the fuel streams to the Almighty’s weapons systems (continued).
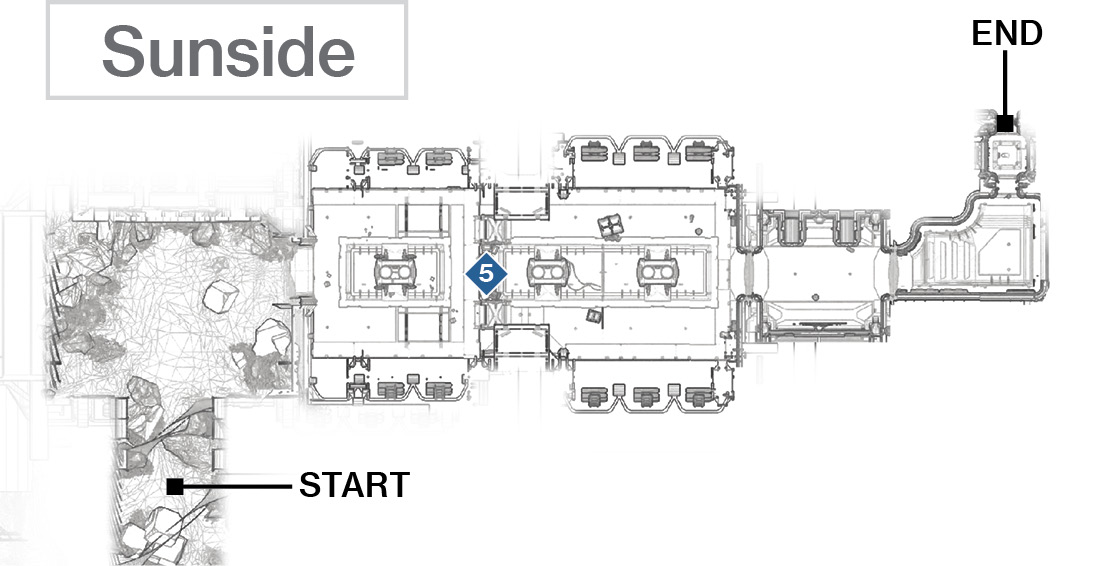
 Cargo Corridor 1
Super: Optional
Grenades: Optional
Venture into a darkened rubble-filled chamber with a door up and right of you. Step to it, and it opens, revealing a Legionary and War Beast ambush. Step back and down so you have enough time to rake the War Beasts, then finish the Legionary before proceeding into the cargo corridor. Note the small platform ledges on each side of this relatively narrow corridor; tackle a couple of Legionaries and a Incendior, but don’t rush forward because there’s a Gladiator to deal with. Shoot him from range, ideally dropping him before he can cleave you.
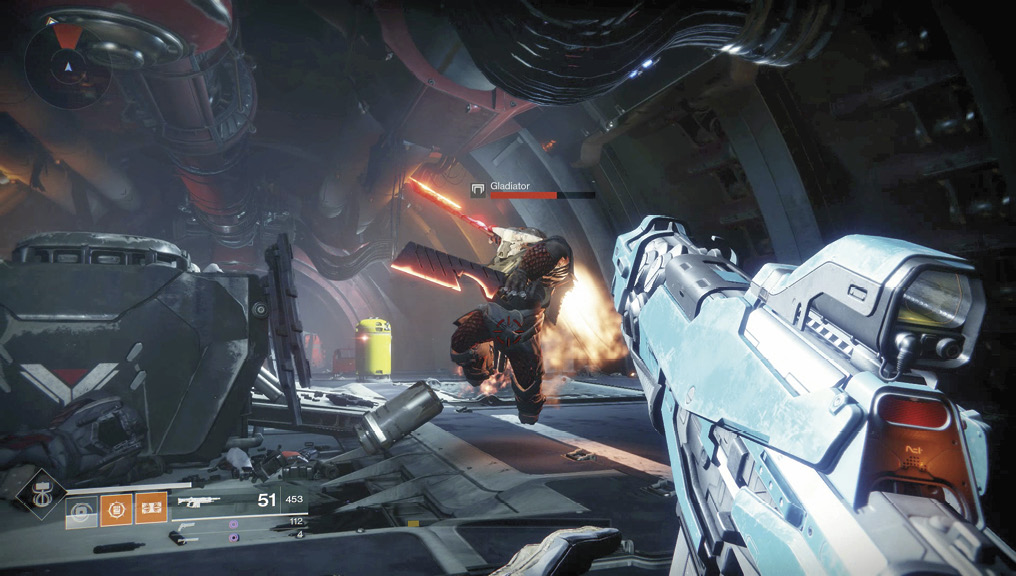
Only then should you head down the shallow ramp, using the two central generators as cover and removing the remaining Incendior and a couple of Legionaries. Yellow explosive canisters are also helpful to shoot here.
Continue down the corridor to the window at the far end, showing the monumental power of the Red Legion’s ship. You’re now expected to head outside, with the full rays of the sun burning through your armor, and maneuver across the ship’s superstructure.
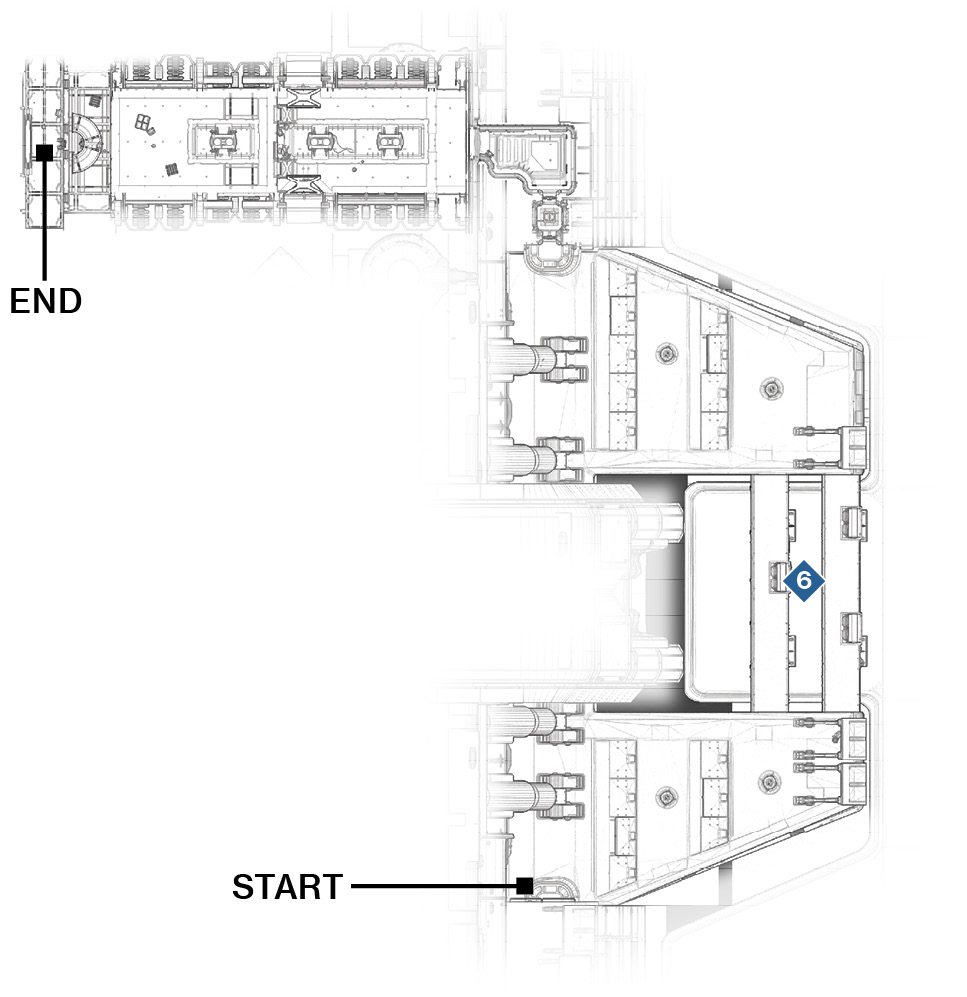
 Exterior Superstructure
Super: Optional
Grenades: Recommended
Warning!: Restricted Zone
Sprint down the shallow and searing slope of the super-structure, stepping into the shadow of the scenery and heat shields to avoid being fried. Rush to the two larger shields, where you must engage (or ignore) a couple of Legionaries. Once you’re in shadow, start the fight.
To your right are two parallel bridge spans. From your elevated cover, shoot the Legionary duos on either span (or both), using grenades if necessary, then sprint across to the shadow of a large shield on the opposite side. Venture back up the slope, stepping into cover as you engage Legionaries streaming down from the exit door. Stay cool, and aim at their heads as you push forward. Stop at cover, ideally at the area in the middle where the heat shield and dome-shaped section of the ship are located.
Let the enemy come to you, using the dome to run around for additional cover (from both enemy fire and the heat). Then, sprint and jump onto the small platform with the exit door, running inside and out of immediate danger.
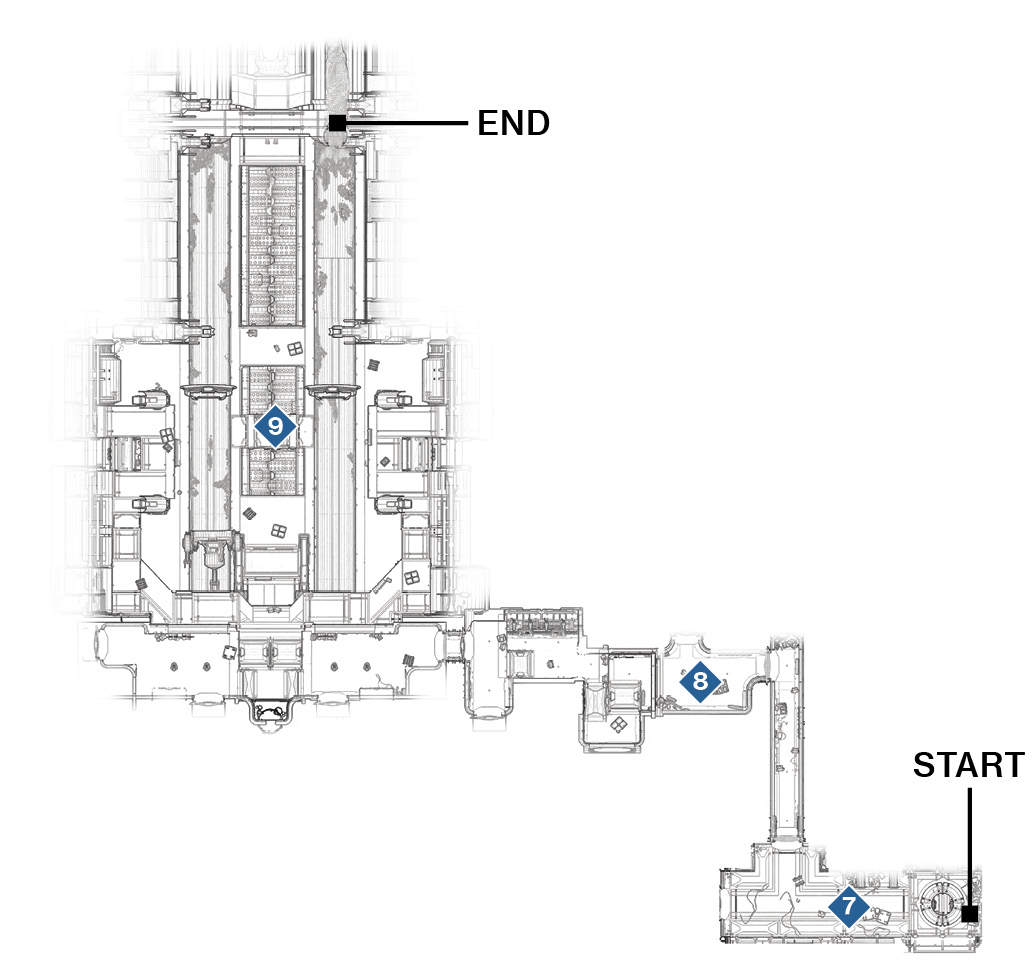
 Cargo Corridor 2
Super: Recommended
Grenades: Recommended
Warning!: Restricted Zone
Enter a similar cargo corridor to the one previously accessed, though you’re approaching from the lower ground end. Leap to the raised area halfway along the corridor, and watch three Gladiators drop into view, along with a trio of War Beasts, two Incendiors, and a couple of Psions along the back platform. The Gladiators are a real concern; blast any explosive canisters to weaken them, then train your weapons on the closest Gladiator, backing up where necessary. You can jump to a small high platform on either wall, but these foes can follow you there. It’s better to leap atop the generators in the middle of the corridor, and dodge while you drop the Gladiators. Or, use your Super and kill all three easily. Stay at the lower end of the corridor where the Psions can’t snipe you.
Deal with the Psions last. Shoot the canister on their platform as you boost up and tackle them at close quarters so you’re not sniping them from range (which takes too long). Then, climb the curved platforms around the massive chain to exit the chamber.
Another option is to charge immediately to the far end of the corridor, removing both Psions and then firing down on the Gladiators, War Beasts, and Incendiors from there or the chain platforms. Or, simply escape without clearing the room, but that’s more dangerous.
 Cargo Corridor 3
Super: Optional
Grenades: Recommended
Warning!: Restricted Zone
At the top of the curved gantry platforms is access to a red-hued corridor entrance. Meet two Legionaries, a Phalanx, and a Gladiator here, using the scattered cover opportunities at the corridor entrance. Grenades or shotguns to drop the Gladiator are good ideas.
Then, step to the corridor entrance, aiming at the Phalanx’s shield, and back up as another Gladiator comes charging down. Deal with him, then Legionaries and another Phalanx and two Legionaries, making sure you don’t push down the corridor too quickly.
 Main Grinder Chamber
Super: Recommended
Grenades: Recommended
Warning!: Restricted Zone
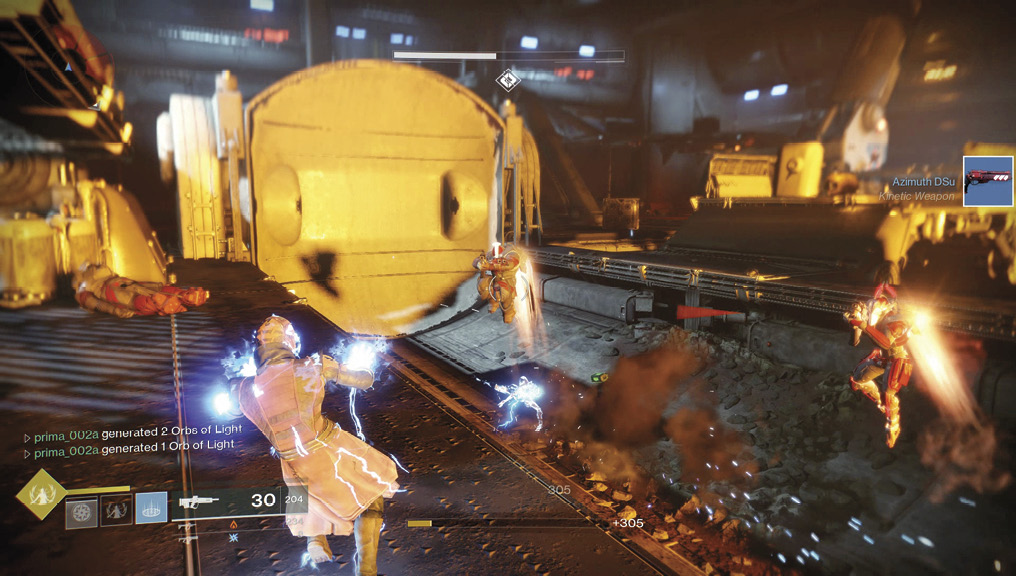
After some corridor and ramp maneuvering, you arrive at the huge main grinding chamber, with ore tubes linking this location to the weapons systems of the ship itself. From here, you can easily ignore all enemies and jump to the central part of the chamber (avoiding the grinder). Sprint along to the exit gravity tube ahead and to your right.
Sub-Boss: A more proficient use of your time is to clear the area first. Cabal forces are on the lower sections of metal flooring on either side of the grinder, so approach via the ramps. The recommended route is down the left gantry ramp, dropping through the hole in the lower gantry platform to floor level. Remove immediate Legionary threats, then destroy a couple more Legionaries, an Incendior, and a named Centurion emerging from a doorway in the far-left corner of this area. Remain steadfast, and drop the Centurion so you can turn and dedicate your subsequent ammunition to shooting incoming Legionaries and Psions using their jetpacks. Use the console wall and support pillars as cover. Then, you can tag Psions across the chamber from this cover, hitting them in the head before jumping over to finish any stragglers. Expect around a dozen Psions in and around the curved sunken gravity tube entrance, and then exit.