
Destiny 2 Guide Director Titan
The Rig
Sector Notes:
Adventure:Siren Song
Adventure:Bad Neighbors
Adventure:Deathless
Lost Sectors: 2
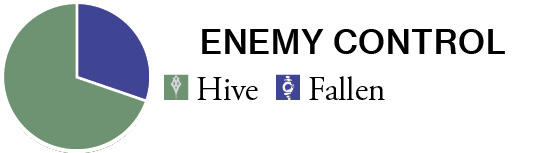
Enemy Clusters: Fallen: 3
Enemy Clusters: Hive: 4
Chests: Available
Landing Zone: Available
Material Nodes: Available
Patrol Beacons: 9
Public Event (Full): 2
Public Event (Secret): 4
Region Chests: 3
Scannable Objects: 5
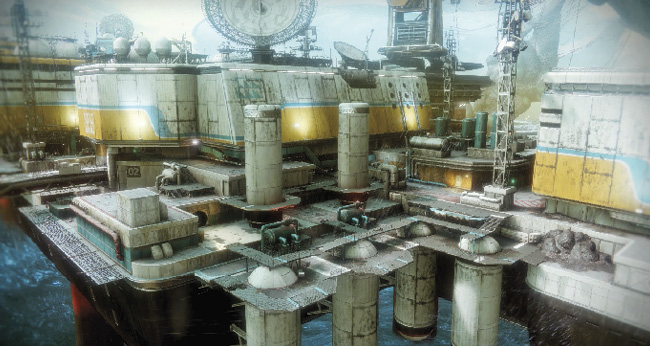
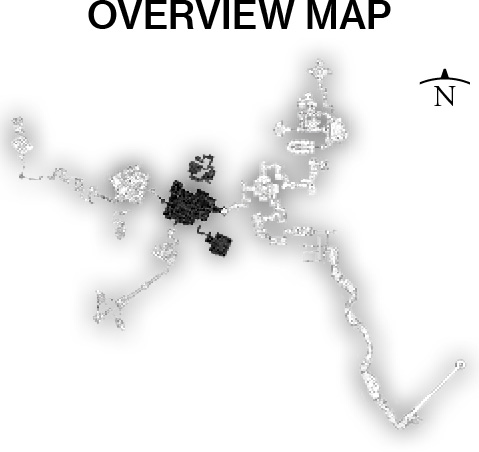
This gigantic platform around a central (and Hive-filled) chamber is the hub of the rig islands on Titan. Here, you can reach the Festering Halls to the east, Siren’s Watch and the Sinking Docks to the west, and the Solarium Sector to the south. Recent Hive activity has intensified in the area as incursions from other dimensions threaten both Guardians, and pockets of Fallen also on this rig. Expect a constant battle between both enemy groups as you continue to explore, and watch for some precariously positioned collectibles and entrances.
Areas of Interest
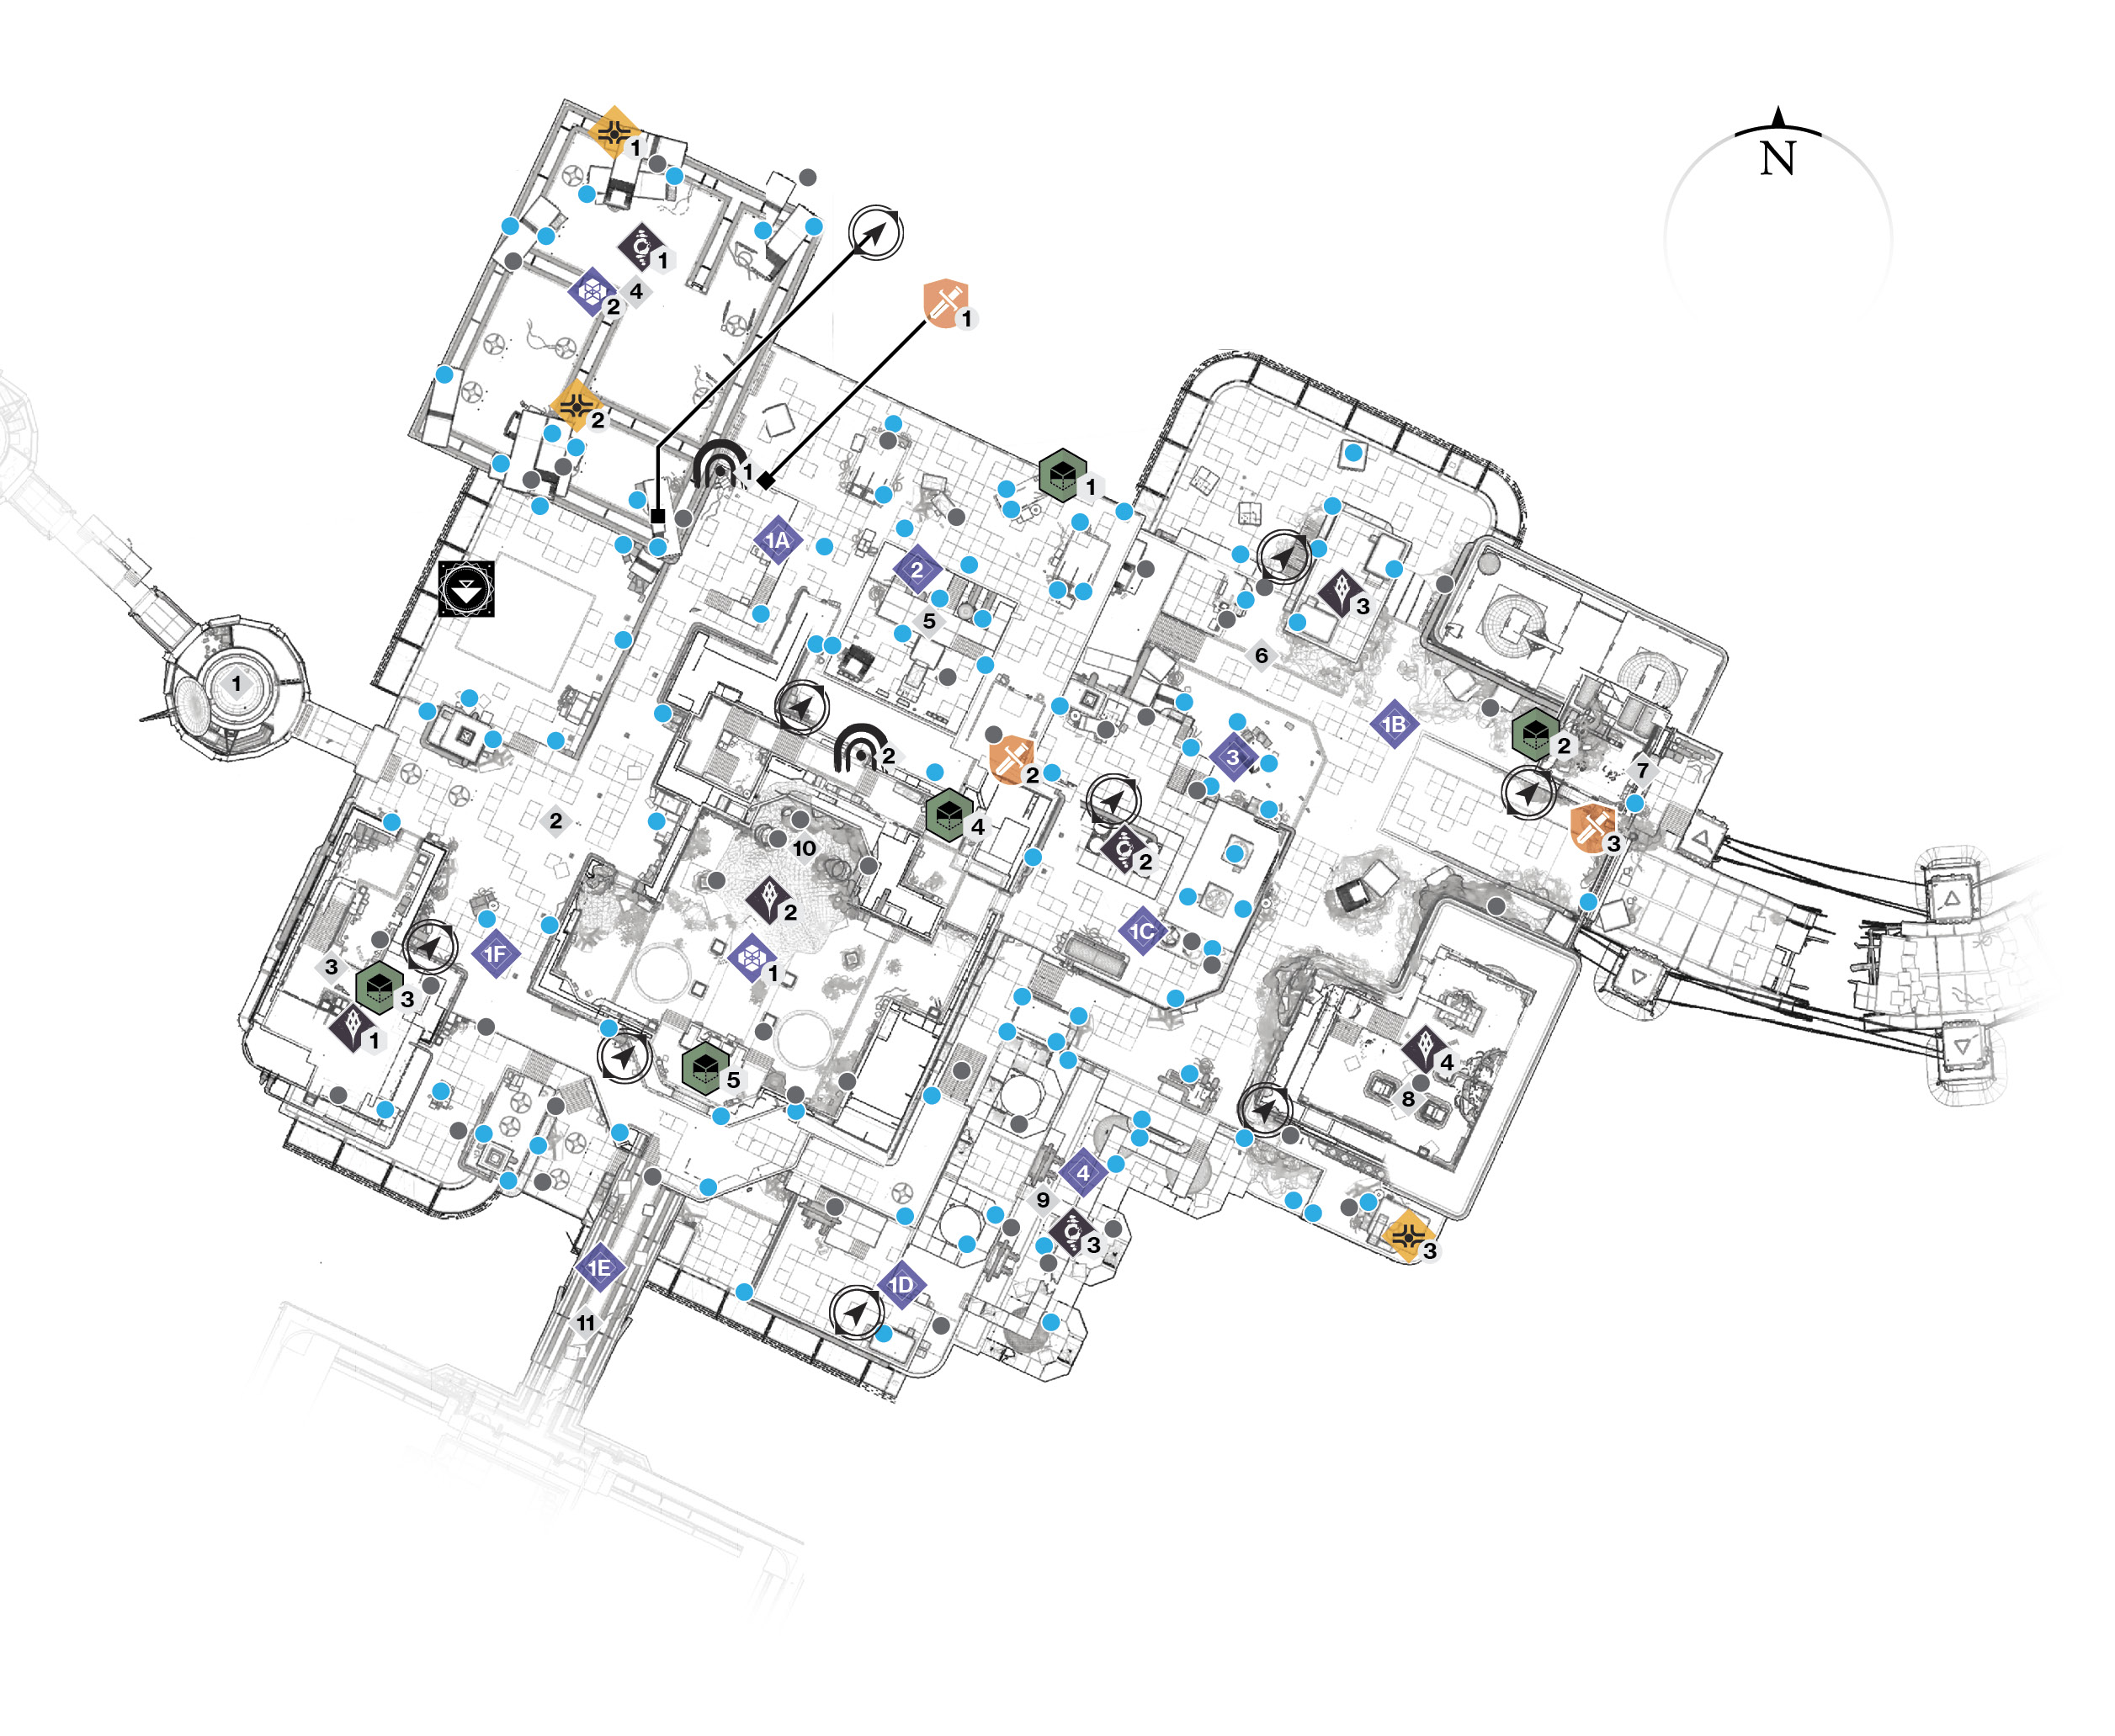
 Gantry Towers to Siren’s Watch (Exterior)
Note the two cylindrical towers marked “01” and “02”; use these landmarks to navigate your way to and from Siren’s Watch to the west.
 West Thoroughfare (Exterior)
This T-junction offers quick access around the perimeter of the Rig Sector to the north decks, the south Computer Room, and Bridge to the Tidal Anchor. Or, use a circular doorway to the southeast to go into the Hive Chamber. You can also head back to Siren’s Watch, if you want.
 Computer Room and Storage (Interior)
A two-floor, L-shaped room with computer banks, scattered storage scenery, and unpleasant Hive foes to slay. This offers an alternate route around the Sector’s southwestern perimeter.
 Upper Deck Platform (Exterior)
This raised deck platform to the north of the Landing Zone offers good hiding potential, especially during the Public Event that sometimes spawns here. Note that the Region Chest and Lost Sector entrance are directly below the platform, requiring some deft jumping to reach them from the northeastern corner of the map.
 North Thoroughfare (Exterior)
A covered deck running from the Upper Deck Platform (North) to the Northeast Courtyard. Note there’s a very narrow lip ledge directly under this thoroughfare, entered via the protruding deck to the northeast, which allows access to a Lost Sector and Region Chest. In the middle of the thoroughfare are metal steps down to a small courtyard, which is usually filled with foes. This offers access to the other Lost Sector, as well as the Hive Chamber (Area of Interest #10).
 Northeast Courtyard (Exterior)
This open area usually features warring incursions between Hive and Fallen forces, which take place on the exterior of the superstructure. The main north thoroughfare reaches this point, with a long ramp down to the exit bridge to the Solarium Sector (to the east) and a courtyard with a small building to the north (usually with Hive on top of it). The Fallen are swarming around a cluster of fuel tanks and rooftop AC units just south of the Hive.
 Exit to Solarium Bridge (Interior and Exterior)
Pass the Patrol and Adventure beacons, and weave through a small interior bridge control room to reach a large but partially destroyed bridge that links the Rig to the Solarium (and the Festering Halls). This bridge is used frequently, so note the slightly indirect route through the small room to reach it.
 Control Room and Storage (Interior)
The eastern perimeter has a small control building that you can enter, offering a respite from the battle raging in the Northeast Courtyard. That is, once you clear this two-room interior of a Knight and Acolytes.
 Low Gantry Vats (Exterior)
Small cylindrical vats are sitting below some metal gantries in the southeastern part of this Sector. This offers quick jumping access around the perimeter of the map, though there are higher decks and stairs adjacent to this area, too. Expect a modicum of Fallen resistance, with more if a Skirmish is active.
 Hive Chamber (Interior)
With access doors from all directions (north, south, east, and west), the central chamber is a waterlogged mess of Hive secretions and foes. The room glows orange, and a fearsome rift sometimes opens up, summoning additional foes and deadly Hive Wizards. This is an area to be wary of, but it’s one with access to both a Lost Sector and collectibles.
 Lower South Perimeter and Bridge (Exterior and Interior)
The most obvious landmark here is the bridge (with cargo on it) that links the Rig to a rig to the south (Tidal Anchor Sector). There’s also a balcony and access into the Hive Chamber (to the north), along with a lower deck enabling you to quickly head west to east or vice versa. Cross the bridge, and you enter a connecting ramp room and gantry area covered in Hive secretions. Just follow the gantry to the Tidal Anchor.
Patrols
 The Rig (9)
There are nine Patrols across the Rig Sector. Once you complete the first set of Patrols, leave here and then return, and more beacons should appear.
Lost Sectors
 Cargo Bay 3
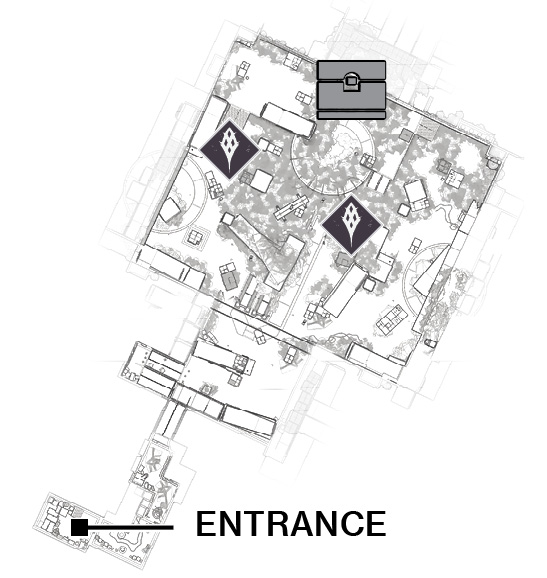
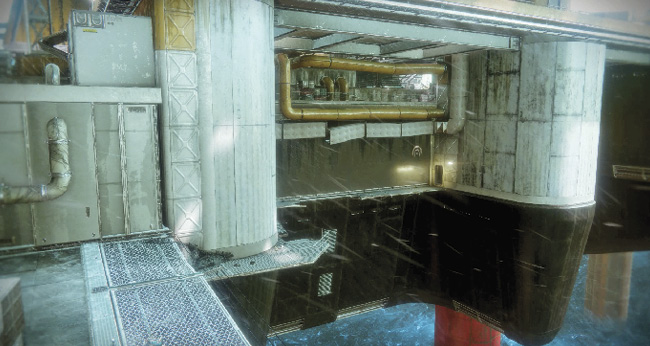
Accessing this entrance is tricky because it’s directly below the Upper Deck Platform. It requires you to move around the lip of a very narrow gantry ledge and across to a broken gantry from the jutting lower platform area in the northeast area of the map. Look west to spot the entrance. Don’t forget to check the Region Chest just beyond the entrance doorway, continuing along the gantry. Then, head down an interior stairwell to a huge lower cargo bay. You’ll need the room to avoid the piercing gaze of Golmuut the Ogre and his Knight and Acolyte minions!
 DS Quarters-2
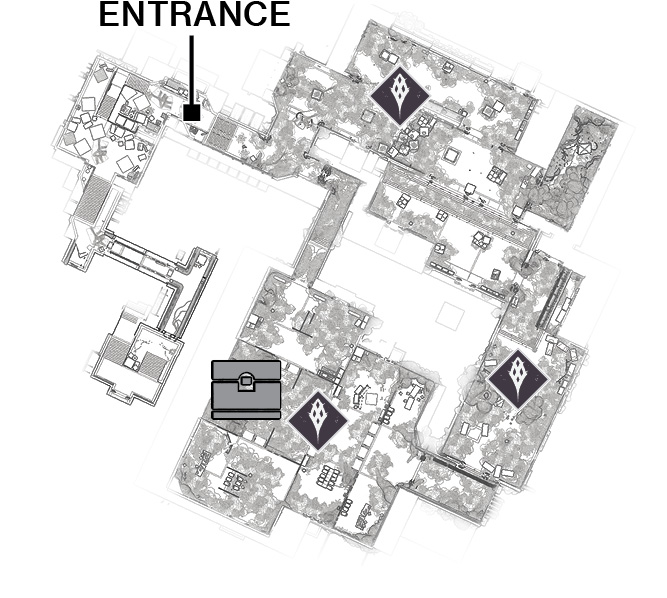
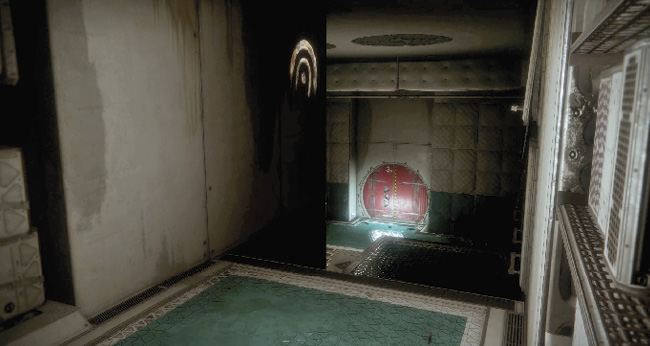
Enter this from the north wall of the main central chamber, accessed via the Hive Chamber itself or the northern thoroughfare (the lower platform area near the metal gantry stairs). After a descent, you reach the frightening, Hive-filled catacombs that used to be Cargo Bay 7 and the main mess hall. Now it’s just a mess; wade through the Hive infantry (especially Thralls) to a final confrontation with Thann’Hul, a sub-boss Knight.
The Rig
| Guide Name | Sub-Boss | Reward | |
|---|---|---|---|
|
1 |
Cargo Bay 3 |
Hive Ogre |
Boss Chest |
|
2 |
DS Quarters-2 |
Hive Knight |
Boss Chest |
Region Chests
 Region Chest 1
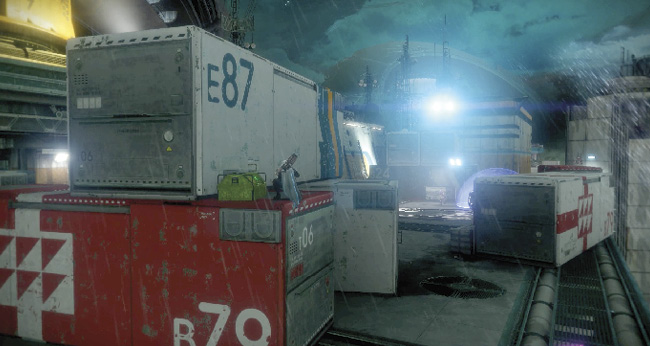
Sat on the edge of a cargo container in the northern corner of the Upper Deck Platform.
 Region Chest 2
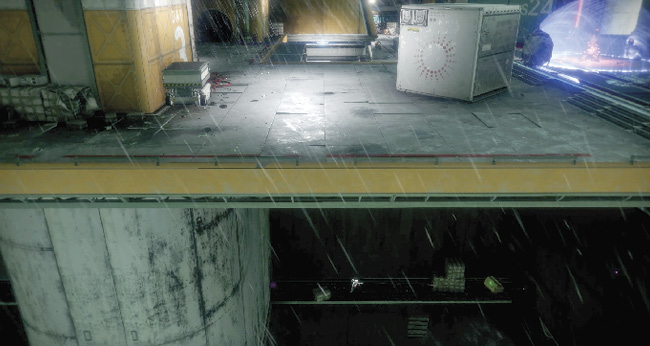
Directly below the Upper Deck Platform, through the doorway entrance to Lost Sector #1. Accessed via the Lower Deck Platform to the northeast, northwest of Hive Enemy Cluster #3.
 Region Chest 3
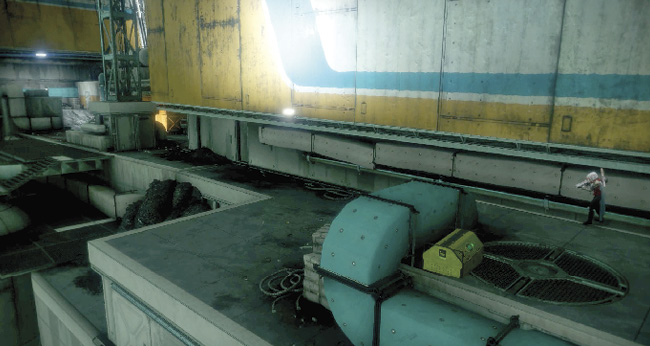
On top of a small hut building in the northeast corner of the map.
Public Events
 Public Events (Full)
Witches’ Ritual: Defeat the Wizards as priority targets while capturing the Hex Circles that appear in this chamber. Continue until you face and defeat the Abyssal Sorcerer, a Boss Wizard.
Weapons Exchange: Fallen forces are attempting to bolster the northern cargo deck area and have dropped in an Arsenal Walker. Destroy it, ideally with the Scorch Cannons you can unlock.
| Event Number | Event Type | Target | Other Enemies | Reward |
|---|---|---|---|---|
|
1 |
Witches’ Ritual |
Boss Ritual Wizard |
Sub-Boss Ritual Wizards, Hive infantry |
Boss Chest |
|
2 |
Weapons Exchange (Arsenal Walker) |
Fallen Arsenal Walker |
Dregs, Vandals, Shanks, Marauders, Captain |
Boss Chest |
 Public Events (Secret)
HVT #1: A toughened sub-boss Fallen Captain drops in at one of the six marked locations on the guide map (1A, 1B, 1C, 1D, 1E, or 1F).
Scavengers (both battles): A Servitor and Fallen infantry appear at the indicated location, bolstering other Fallen foes in the vicinity and attacking Hive (or you, if you’re close). Defeat them.
Skirmish: Repel enemy threats in the northern covered cargo deck area near the metal stairs and landing by the entrance to Lost Sector #2. Fallen are landing at the latter location. Expect a steady stream of infantry on both sides.
Skirmish: This takes place on the gas storage gantryway, with Fallen appearing (including Captains) and being repelled by Hive forces (including Knights). Watch or take a stand; it’s your call.
| Event Number | Event Type | Target | Other Enemies | Reward |
|---|---|---|---|---|
|
1 |
High-Value Target |
Fallen Captain |
Dregs, Marauders, Shanks |
Boss Chest |
|
2 |
Scavengers |
Sub-Boss Servitor |
— |
Fallen Infantry Random Loot |
|
3 |
Scavengers |
Sub-Boss Servitor |
— |
Fallen Infantry Random Loot |
|
4 |
Skirmish |
Fallen and Hive ground forces |
— |
Random Loot |
Enemy Clusters
 Hive
Hive
The interior of the L-shaped Computer Room usually has Acolytes and a Knight.
 Hive
Hive
There are usually a Knight and several Acolytes in the Hive Chamber, which increases to Wizards, Thralls, and additional Knights and Acolytes if the Public Event is underway. This is the largest concentration of Hive forces in the Sector.
 Hive
Hive
The Northeast Courtyard usually has Acolytes and a Wizard.
 Hive
Hive
Expect a Knight commanding a small squad of Acolytes inside the interior of this command and storage room.

The high deck platform has your expected cluster of Fallen infantry: Dregs, Vandals, and Shanks are active.

Expect Dregs and Vandals to be battling across the courtyard against the Hive.

Several Vandals and Dregs are likely to be roaming the vat gantries, and many more arrive if a Skirmish is underway.
Scannable Objects
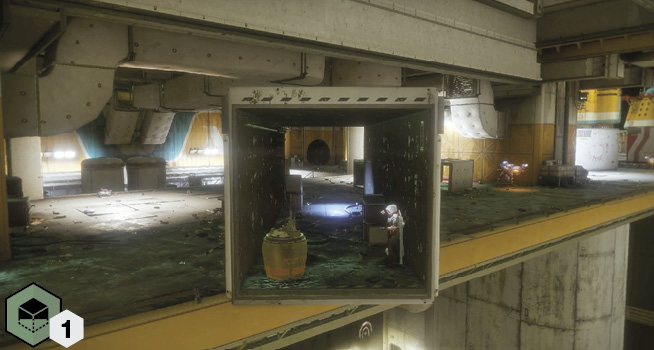
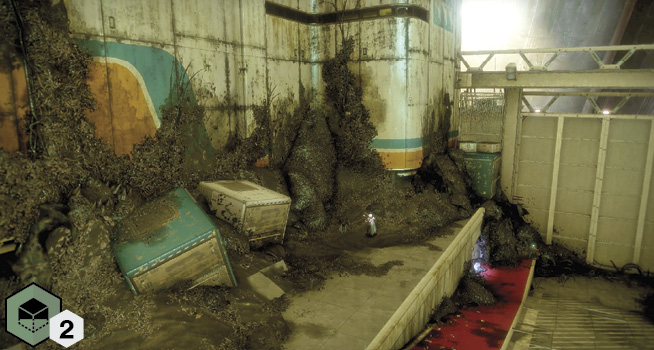
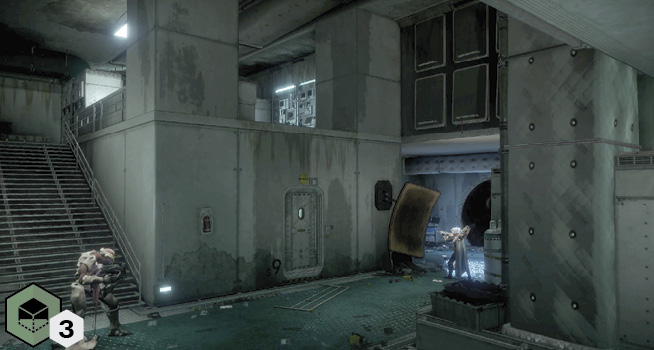
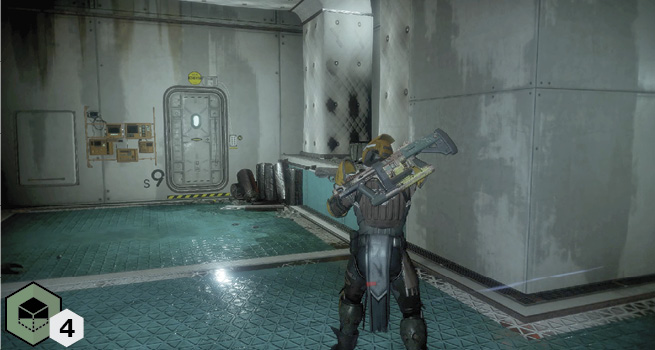
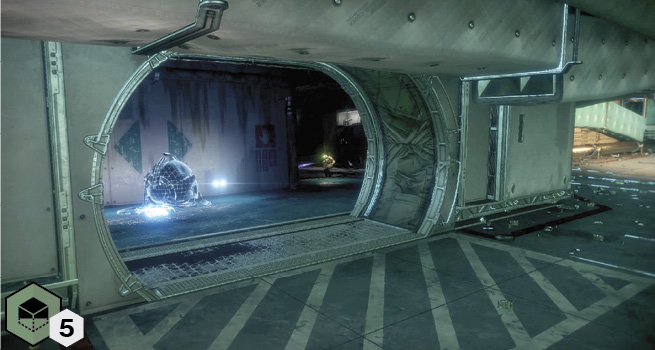
Adventures

Access this from the end of an upper deck thoroughfare, in the northern part of the Sector.

This is positioned by a wall, just east of the northern thoroughfare, on the upper level by the fuel tank cluster.

This is at the bottom of the courtyard ramp, by the exit room to the bridge to Solarium.
Landing Zones
 The Rig LZ
Instant access to this Sector is available from Orbit; you land on the cargo deck just north of the entrance from Siren’s Watch.