Destiny 2 Guide Director Titan
Sinking Docks

Sector Notes:
Enemy Clusters: Hive: 5
Material Nodes: Available
Scannable Objects: 5
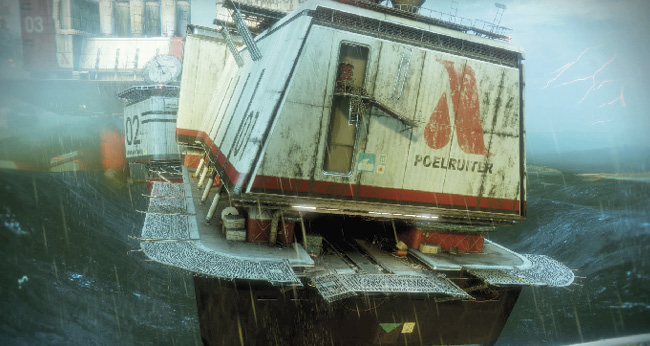
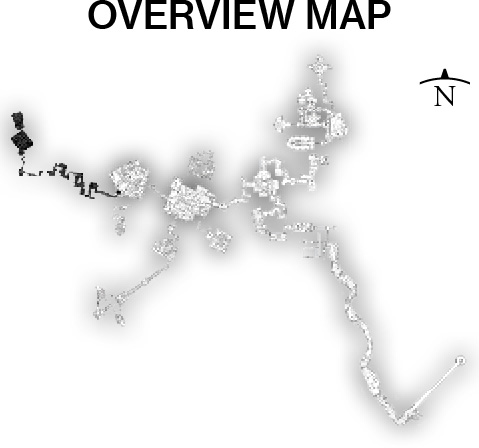
Sinking Docks is the first-seen (but not often explored) initial series of rig superstructures on the seas of Titan. It is the first set of rig islands you must navigate during Campaign Mission: Hope, but once you have secured this moon, there’s little need to return here, unless you’re hunting for Hive and the three collectible objects. Sinking Docks is then accessed via Siren’s Watch, using the alarmingly dilapidated covered bridge.
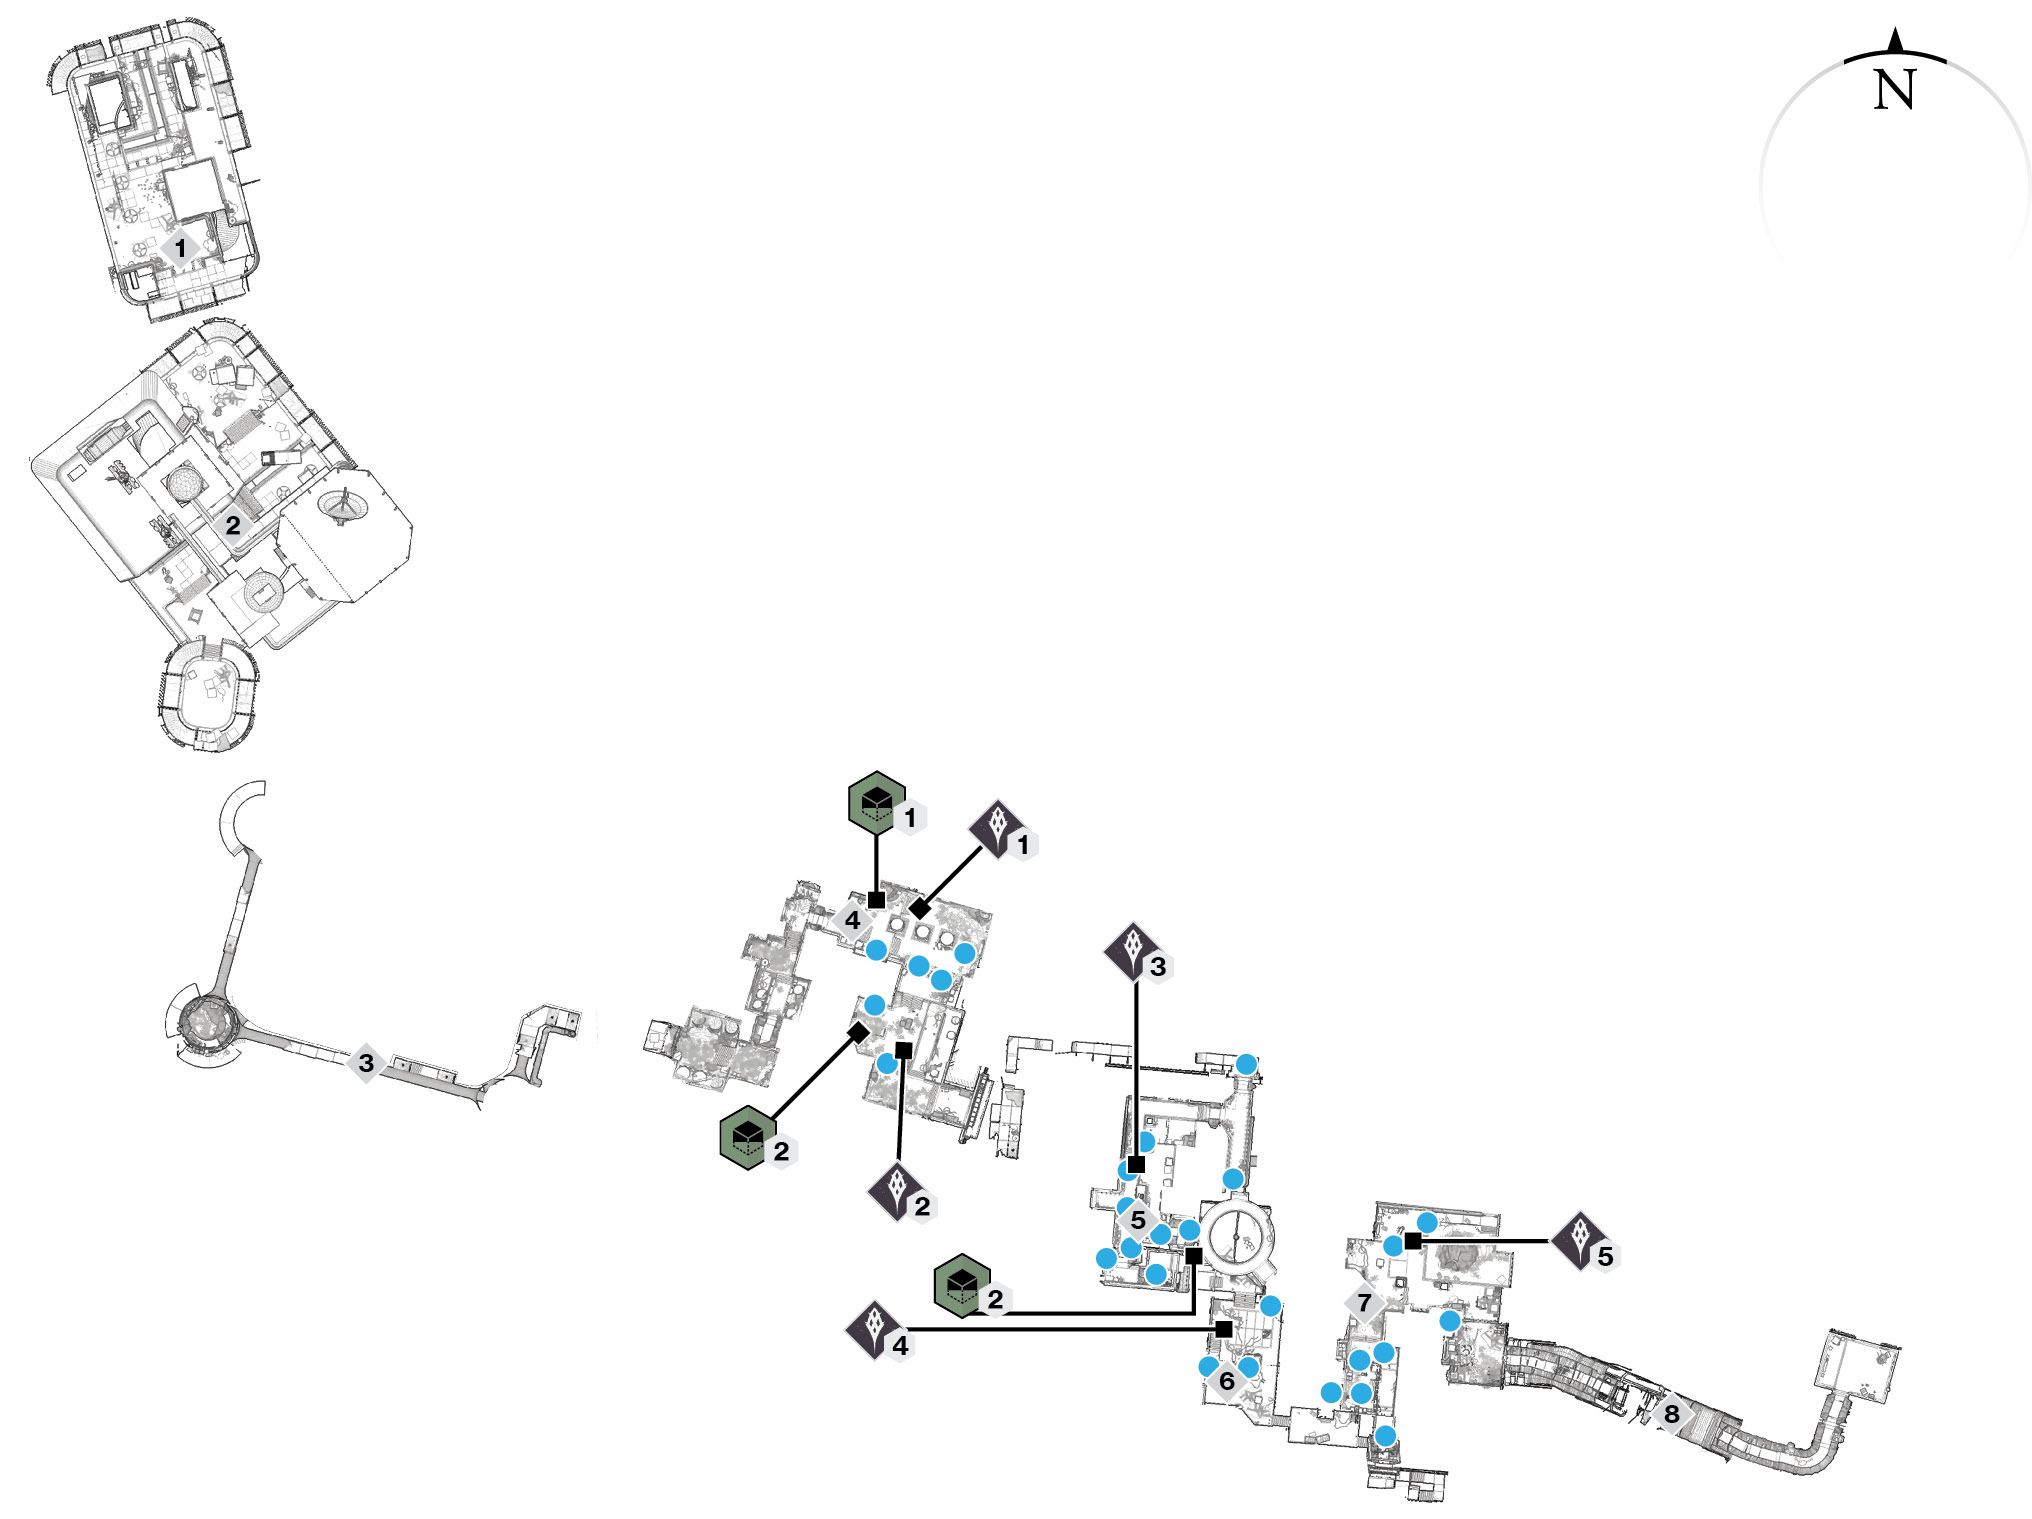
Areas of Interest
 Rig: Poelruiter (Entrance)
This is the initial rig you maneuver across during the Campaign Mission. There’s nothing but wind and the splash of liquid methane if you return here.
 Rig: 02 Stormvogel
This is the second main rig to navigate across, with no interiors to access. Though you can reach it after the mission, it is simply a stepping stone.
 Pipe Platforms
A set of pipe platforms on the underside of an inaccessible rig island allows you to practice your jumping, or die in the process!
 Rig: Kemphaan
This is the first rig you can enter the interior of, which is a series of small chambers and corridors that the Hive are using as a disgusting nest. There are Thralls, Acolytes, and a Knight to concern yourself with, and limited maneuverability. Don’t leave the area without checking the two scannable objects.
 Rig: Poelruiter (Bay 03 Northwest)
After a series of precise jumps from the Kemphaan rig to the interior door of Poelruiter, you can enter “Bay 03” and battle Acolytes and Thralls in the computer room. This leads to a circular fan you can drop through (it is spinning during the mission and must be shot to deactivate it). There’s also a side chamber you can use to maneuver down to the next area, but only if the mission is inactive.
 Rig: Poelruiter (Bay 03 South)
This exterior of the superstructure is a cargo area with a roaming Wizard and Acolytes to worry about. Note the scannable object (a computer terminal) in the vicinity, along with a precarious gantryway staircase you must carefully climb to reach the last part of this rig.
 Rig: Poelruiter (Bay 03 East)
A U-shaped cargo bay and site of your first main Hive nest, guarded by Acolytes and a Knight.
 Covered Bridge to Siren’s Watch (East)
Carefully move and leap across the gap in the gantry of this covered bridge, which links the Sinking Docks and Siren’s Watch Sectors.
Campaign Missions

The entirety of this Sector is first navigated from west to east during the Campaign Mission. Afterward, it is fully accessible. That includes a small additional corridor just southwest of the large circular fan, so you can access the western side of this map without trying to ascend between the fan blades.
Enemy Clusters
 Hive
Hive
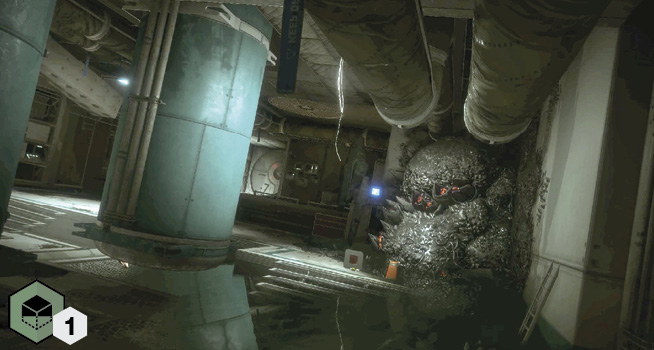
Expect Acolytes in the darkness of the corridor where the three vertical pipes are located.
 Hive
Hive
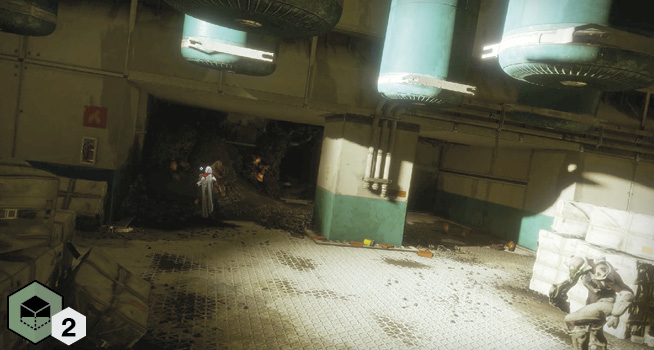
A Knight and Acolytes are guarding the scannable object in this cargo area.
 Hive
Hive
Thralls and Cursed Thralls can cause you problems in this enclosed space, so prepare to backpedal to avoid being overwhelmed.
 Hive
Hive
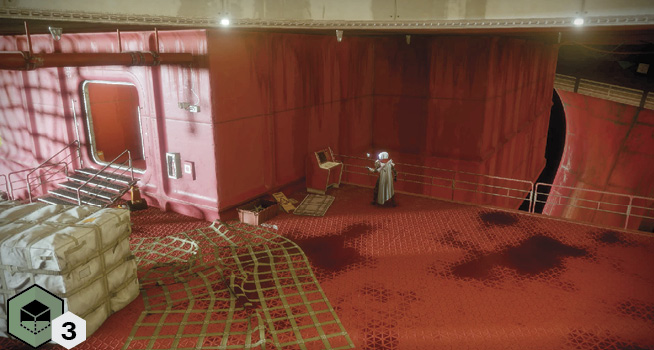
The exterior red gantry features a Hive Wizard and some Acolyte underlings.
 Hive
Hive
A Knight and Acolytes are guarding the nest chamber on the eastern side of the main rig.
Scannable Objects