
Destiny 2 Guide Campaign Combustion
Salt Mines (3rd Mission)
Restricted Zone
Enemies Encountered
- Fallen: Vandals, Dregs, Wretches, Servitors, Boss: Leech Servitor, Shanks
Objectives
- Call the elevator.
- Restore power.
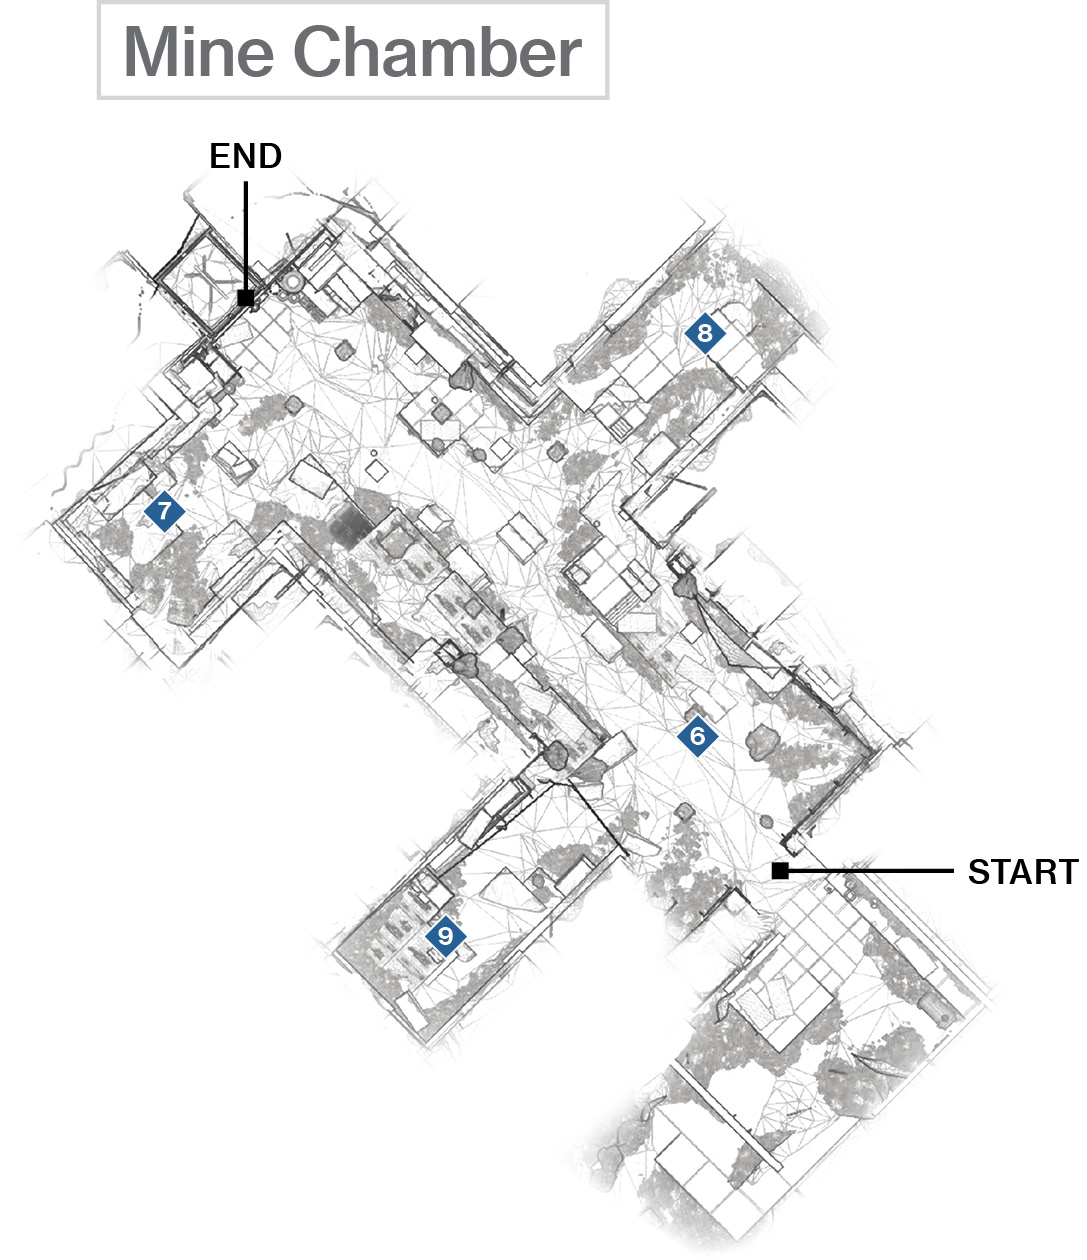
 Main Quarry
Super: Recommended
Grenades: Recommended
Warning!: Restricted Zone
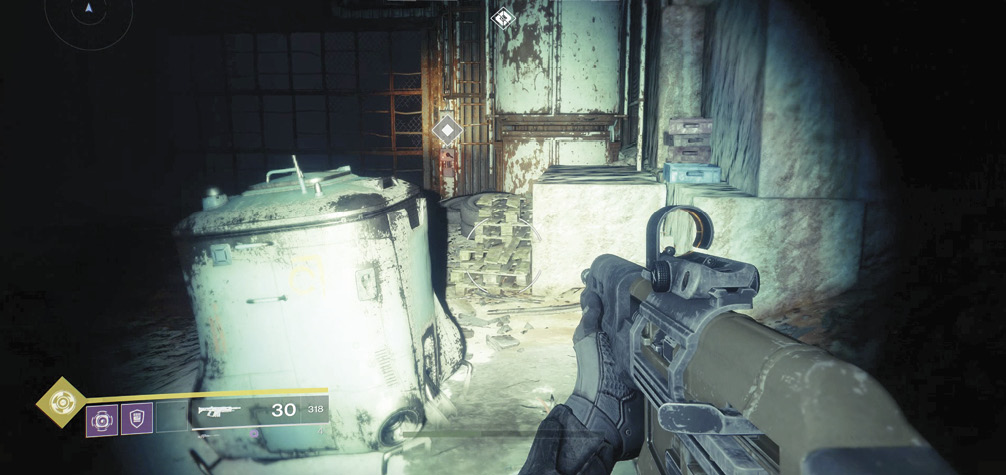
The previous laser trap tunnel wasn’t a Restricted Zone. However, as darkness clouds your vision, know that you’re in for some trouble as you advance down a high-ceiling main quarry, splashing through some shallow water to reach and call the elevator. The power is out. But the Fallen are most definitely in!
This quarry has a central lower ground area and three equidistant side slopes, two on one side and one in the middle on the other. Though you can dash around, taking up cover and using jumps to reach enemies you want to slay before scurrying back to replenish your health and gather dropped ammo, there’s a slightly safer and more methodical approach.
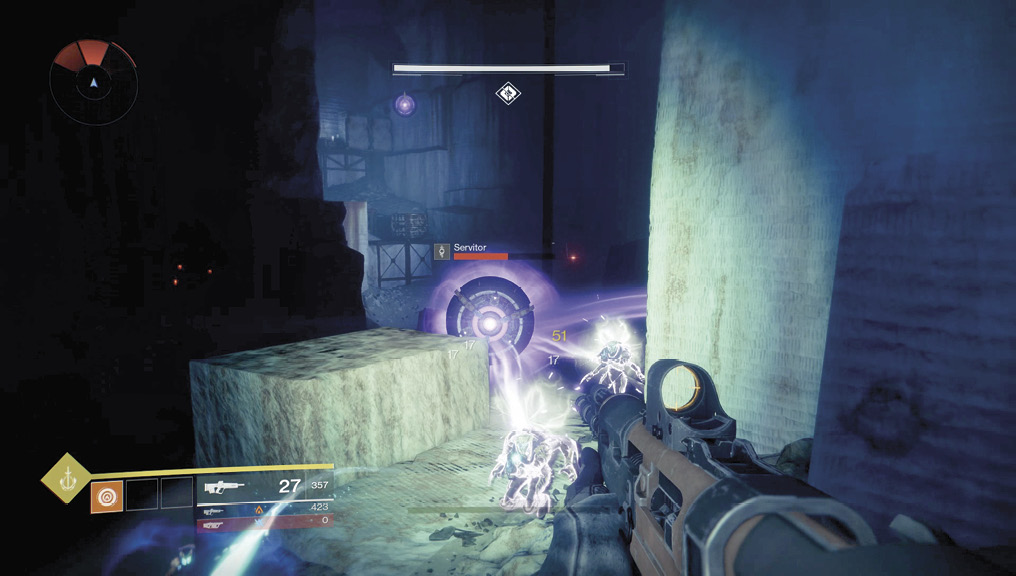
 Start by heading up the slope just to the side of the powered-down elevator. From here, you can spot a Vandal and Servitor appearing across the quarry chamber at Location 8, and drop them with accurate sniper rifle fire (if you’re quick). But don’t worry too much about them at the moment. Instead, back up, using the blocks of stone and height as cover, and shoot at the Dregs and Vandals below you in the waterlogged main area. Tag any of the strewn red explosive barrels to soften them up. If a grenade comes flying at you, sidestep it and shoot the Dreg responsible. Stay in and around this slope, and engage the first Servitor as soon as possible.
These giant floating globe-like drones aren’t particularly adept at delivering killing blows, but they can provide immunity to Vandals and Dregs that are near them. When your first Servitor floats in, make it a priority target. Destroy it quickly, perhaps with a grenade (as you’re close enough for it to be effective) before finishing the infantry it was protecting. Remain in the side slope vicinity, whittling down the enemy Dregs and Vandals. Soften up Vandals and then melee attack them if they’re close. You may discover groups of Dregs and Vandals on the platform between here and Side Slope 6, but don’t worry about them now (unless you can lob a grenade to wound multiple foes).
 When there are little to no threats near the elevator, sprint over to the middle slope where the Servitor and possibly two or three Vandals are. Maneuver all the way to the platform at the top so you have the cover to hide from this enemy fire. You can now demolish the Vandals, the Servitor, and any foes on the platform diagonally across from you on the opposite side of the main thoroughfare. Stay in this excellent cover until little or no threats present themselves. Then, scoot over to the third side slope.
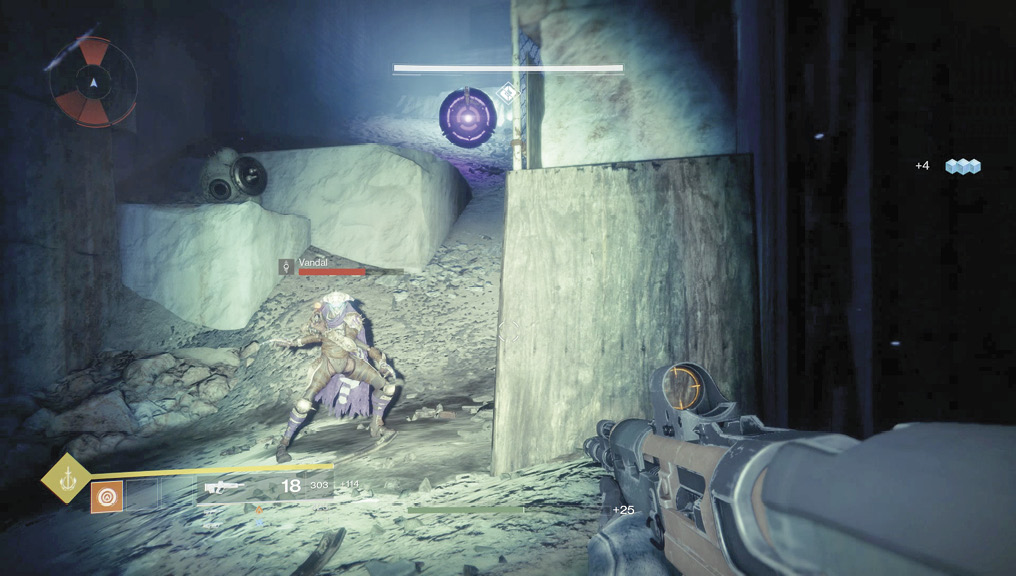
 When half of the quarry area is more or less devoid of Fallen, move across to the entrance area where you entered. Make short work of the eight or so Dregs before turning your attention to the Servitor on the last side slope. Ensure that this is your final foe. If you charge up to the very top of the slope, the Servitor moves down, allowing you to shoot it in its “eye” easily and quickly. Use the blocks of stone and corner of the gantry area as cover.
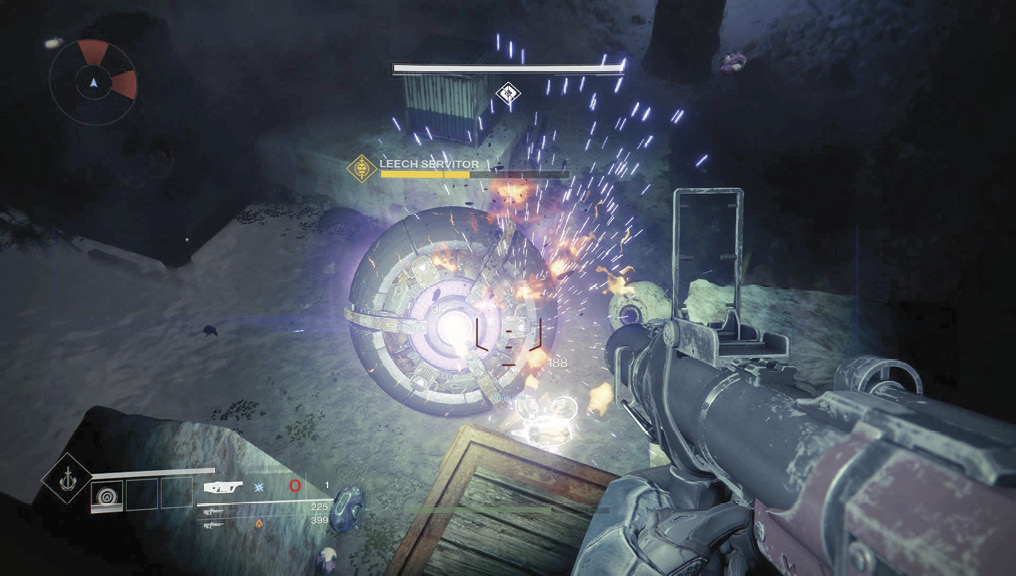
End Combat Boss: The reason for defeating all of the Fallen infantry before both Servitors becomes clear. As soon as the last Servitor explodes (whether or not there are other enemies to face), a massive Leech Servitor appears, with even more damaging eye attacks and the usual ability to “nourish” the remaining enemies. These are Shanks and (later) the more dangerous Resilient Shanks (toughened variants), as well as any Vandals and Dregs you may have mistakenly left alive before destroying both Servitors.
Remain in and around Side Slope Location 9 as the Leech Servitor appears at the far end. Concentrate on shooting its central eye with your favored ranged weapon (a Sniper Rifle is ideal), switching quickly to remove Shank threats that get too close. Be patient and whittle down the Leech Servitor. It has a massive constitution, and the longer you leave it alive, the more Shanks there are to cause trouble. Focus on the Leech Servitor, damaging Shanks only if they encroach on you or you need more ammunition (which they drop). Continue the bombardment until the Leech Servitor finally yields. Then, mop up any remaining Shanks.
With the Fallen forces defeated, the power to the elevator is restored now the Servitors aren’t disrupting the electrical circuits. Simply enter the open elevator, and ride it up. Along the way, expect additional Fallen to arrive. These optional targets are a good way to hone your long-range headshots as you pass by gantries and chambers with Dregs and Vandals. Any Shanks at close quarters are a priority, as they can harm you more easily. Don’t ignore these enemies, either; they could drop an item you need, although you’d have to visit the Postmaster to obtain it.
The elevator arrives atop the mine, allowing access to an exterior area. Head down the grassy cliff path to finally rendezvous with Hawthorne and conclude this mission.