
Destiny 2 Guide World Quests Io World Quest: King’s Shadow
Mission 2: The Conversion
Starting Location
Recommended Power
- 130+
Prerequisite
- Complete World Quest step “The Hunt.”
Reward
- Echo Patterns +1
Description
- We tracked the Taken teleportation signatures to a location around Giant’s Scar. We need to find out why the Taken are so interested in capturing Vex and where they’re being held.
 Move through the Sectors, dealing with the regular entities that inhabit these locations until you reach the mission flag under the Giant’s Scar wall control structure. Venture up and into the structure, battling Taken Acolytes and Taken Phalanxes as you enter. Battle additional foes in the ramped
area; Vex Goblins are engaged in combat here, so sweep the area and defeat everything.Then, head up the ramp, battle a Taken Centurion and Phalanxes attacking Vex Harpies, and then investigate the area.
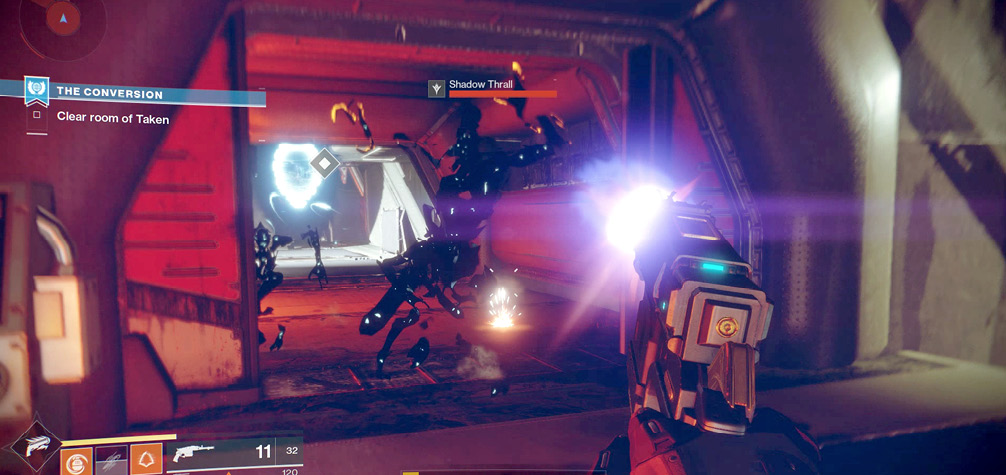
Move into the second part of the storage room, blasting two Taken Knights at range, along with a couple of Taken Acolytes. Leap to the upper corner platform and access the door to an area of this structure normally off-limits. Back up as Taken Thralls charge you. Shoot them, following the distortions into the small cargo area. A Wizard warps away, leaving you time to scan the area. The stain of the Taken teleport gives you a clue to where you must head next.
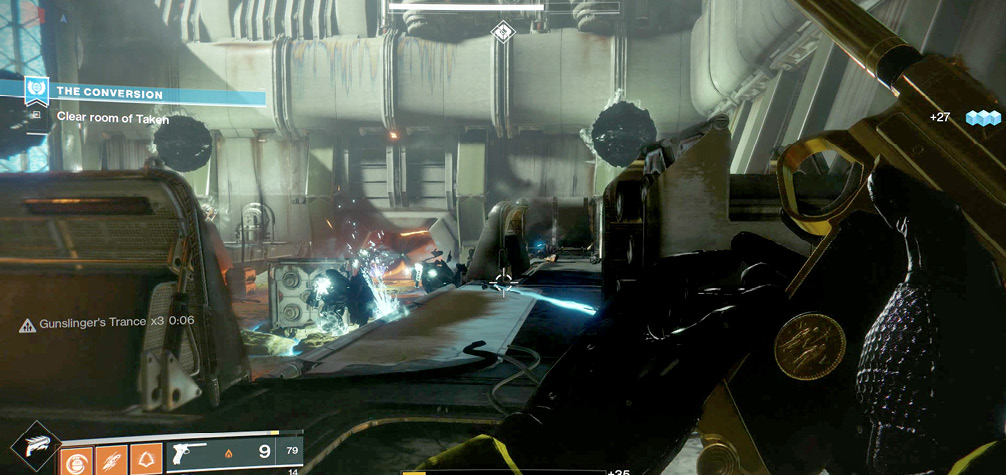
 Exit into the drill arena and head up the earth ramp on the west side, dropping three Thralls at the entrance to Excavation Site II. Then, head down to the first cargo bay. Start to clear the room of Taken, though it’s wise to remain at the entrance and tag the Vex Goblins and Hobgoblin near the floating rift globe. Turn your attention to the Phalanxes and Knights in the sunken main corridor area. Afterward, there are several motionless Vex, but it’s not necessary to slay them.
Instead, shoot the small rift globe blocking your exit, and head up the ramped corridor. Shoot the larger globe in the connecting storage area and the transformed Vex: Goblins and a Hobgoblin, along with some charging Thralls. Then, continue up the ramp.
The next chamber has a sizable number of threats: a Wizard, Centurion,
Taken Minotaur, and Hobgoblin, each being kept almost invulnerable by an energy link from a Taken Goblin. Slay the Goblin, then the other foe, and work your way through these hostiles, one duo at a time. Blast the small rift globe blocking your progress before heading up the connecting corridor to the main control room.
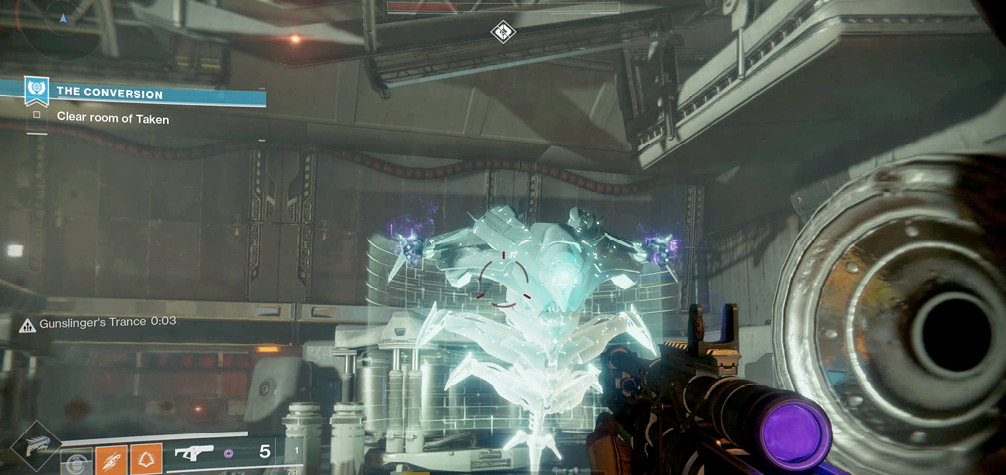
 Here, you must battle a Taken Boss Knight. All should go well if you batter it with your preferred ranged weaponry. However, after a third of its health is lost, some Goblins and a Hydra are converted into Taken and must be stopped. Use the same takedown plans as you would when battling a Vex Hydra, but remove the Goblins first so they can’t link to the Hydra. Use cover, and shoot between the rotating Hydra shield. Be patient as more Goblins appear; defeat them first and any Hobgoblins trying to snipe you before turning on the Hydra again.
Perfect this technique; once you rid the room of the Taken Hydra, it appears again (with Goblins and a Hobgoblin). Circle the perimeter of the room so you can get a better shot on your foes, and look for the different rotating shield arrangement around both Hydras. When the second is slain, access the terminal to remove the barrier. Make a controlled drop down to the entrance chamber, and exit back out to the drill site to conclude this mission.