
Destiny 2 Guide Campaign Utopia
Festering Halls
Seas of Titan
Enemies Encountered
- Hive: Thralls, Acolytes, Knights, Wizards, Shriekers, Cursed Thralls
- Hive: Sub-Boss: Garmurg (Ogre)
Objectives
- Find an access terminal (continued).
- Find a CPU.
- Escape!
New Actions to Learn
- Gathering Cores
- Driving: Construction APC
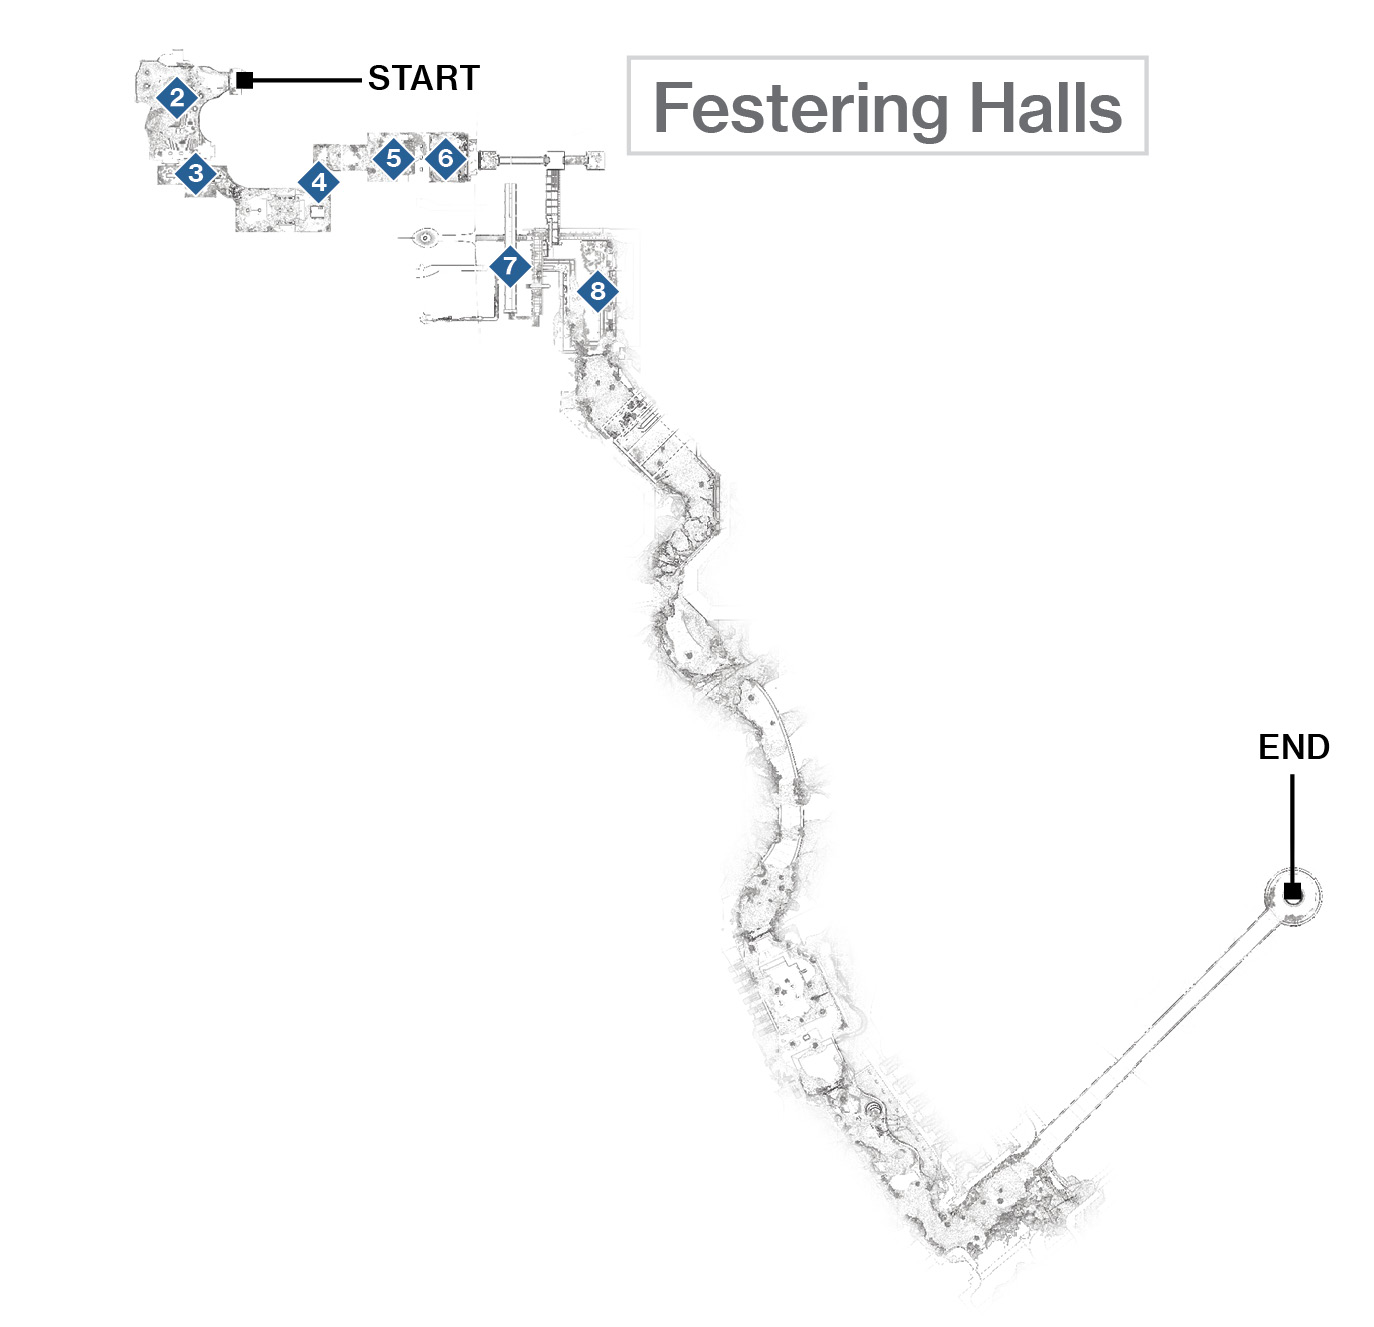
 Festering Halls Forecourts and Lobby
Super: Optional
Grenades: Optional
Warning!: Restricted Zone
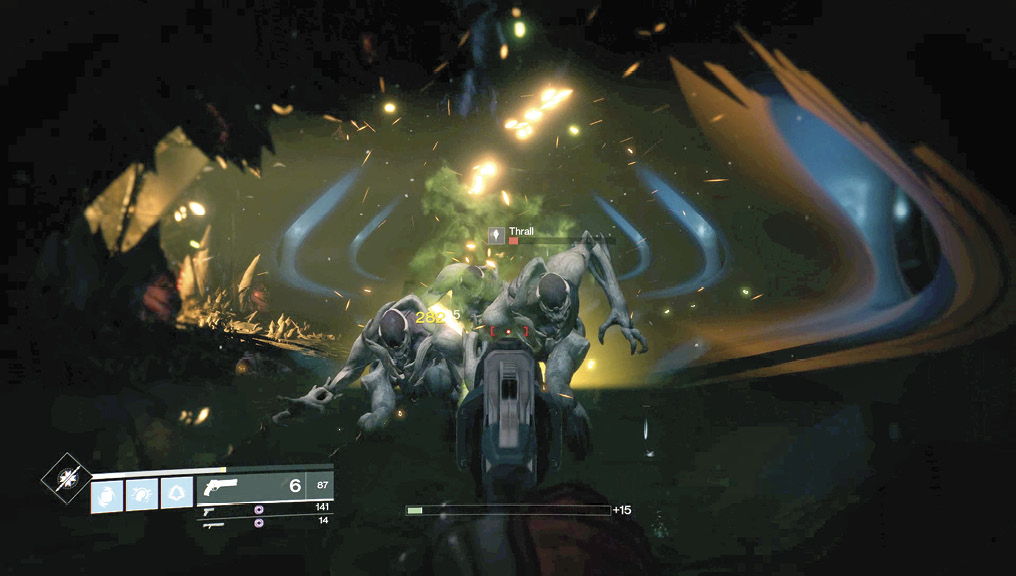
At the screened terminal by the oval-shaped door, plug in Ghost, and wait for the entrance to slide open. Drop down into the dark and sunken inner forecourt, with evidence of Hive nest-building in the vicinity. Don’t venture up the wide set of steps that spans the entrance until you’ve dealt with around a dozen Thralls that charge you. Stay mobile, and back up while blasting their heads.
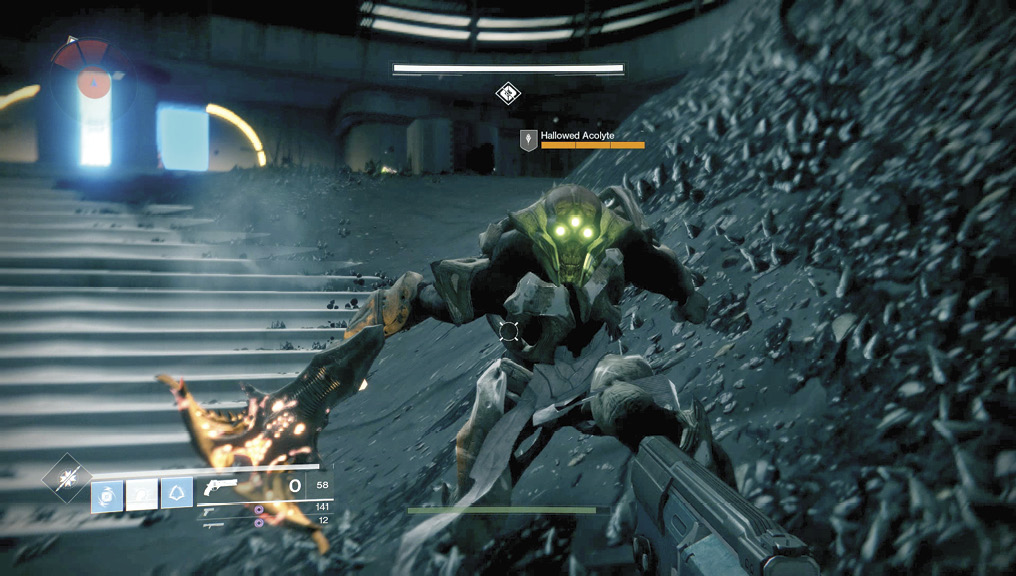
The four Acolytes that subsequently appear (and a Knight) are easily dealt with if you’re not dodging Thralls trying to maul you. One of the Acolytes is a toughened Revenant Acolyte variant and should be a priority target, along with the Knight. It dies with a headshot or two just like its lesser brethren.
If you’re concerned about giving the enemy the advantage of attacking from the top of the steps, rush the far-left side until you’re at the same height. Use the pillar as cover before mowing down your foes. Strafing and accurate headshots easily deliver killing blows to the Hive, no matter where you are.
 One of the Acolytes may have retreated into a darkened adjacent lobby. Don’t follow it in until you’ve neutralized previous foes, as this lobby area has two additional Acolytes and a Wizard. Solar Energy weapon at the ready, concentrate your firepower on the Wizard first. Circle-strafe around the central pillar for cover, and remove the Wizard as a threat before the Acolytes fall to your hands (or guns).
 The only way is down, dropping through the floor the Hive have eaten away at to a lower corridor with a Knight at the far end. Venture too far, and you reach a corridor lit with an orange glow. A half-dozen Thralls are charging your way and a Shrieker is ready to rake you with multiple void projectiles, along with another four to six Thralls. Step back, and tackle each foe type one at a time. Drop the Knight before reaching the start of the orange corridor. Then, step back and shoot the Thralls before they reach you. This only leaves the Shrieker.
Step out from left to right by the corridor entrance (where the wires are hanging down), deliver serious damage into the Shrieker, and retreat back if Thralls arrive. Strafe right, then left as you whittle down the Shrieker’s energy.
 Main Hall
Super: Recommended
Grenades: Recommended
Warning!: Restricted Zone
Turn right at the location of the deceased Shrieker, and look down. Below is a main hall, now covered in grotesque Hive nesting materials. Before you descend down there, drop the four Acolytes. Then, watch for a couple of Cursed Thralls. When you reach the slight hump in the middle of the hall, look to the right and catch them before they explode at your feet. Around
four more Acolytes are milling around their nests, with a ramp on the right leading to a raised corridor where three Knights reside.
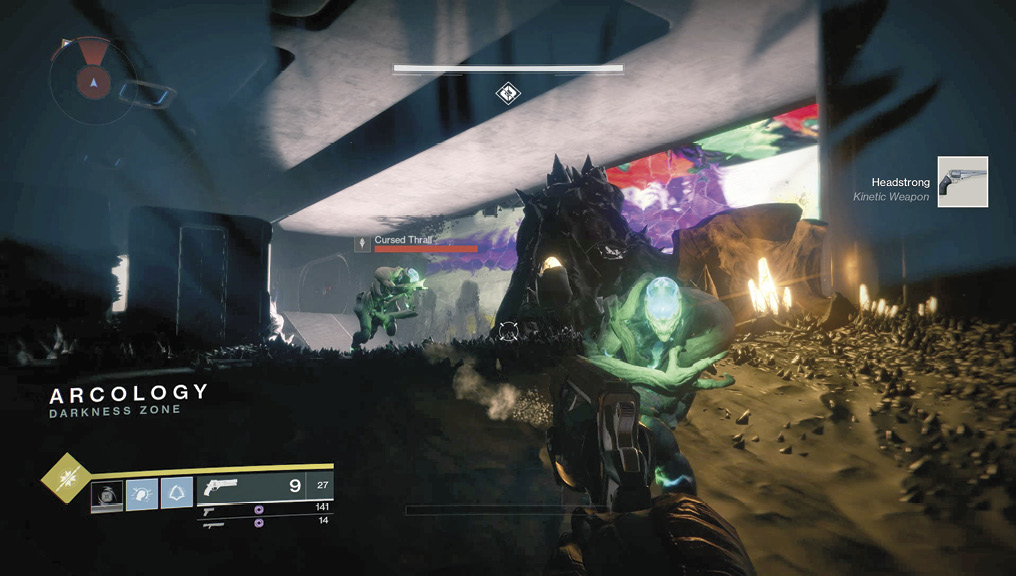
You can use the revolting secretion scenery to hide behind, taking long-range headshot opportunities at the Acolytes and Knights as they present themselves. Check left and right to ensure no foes are incoming on your flanks. The biggest problem is the barrage of projectiles from the Knights’ weaponry, which can badly wound you in seconds. It’s a good idea to charge up the right ramp onto the raised corridor with a pillar for cover, and dart left and right while targeting headshots on the remaining foes from mid to closer ranges. Or, lay waste to everyone using your Super. You may want to keep your Super handy for the next fight, however!
 Main Hall Sub-Boss
Super: Optional
Grenades: Optional
Warning!: Restricted Zone
Sub-Boss: Take a moment before dropping down from the raised corridor where you fought the Knights. There’s a particularly ferocious foe you may not have encountered before, a named Sub-Boss Ogre, Garmurg! Though its powerful close-combat ground slam can seriously damage you, the massive beam of energy from its almost-continuous eye blast can kill you in a couple of seconds. This foe is also joined by around four to six Thralls, making combat even trickier.
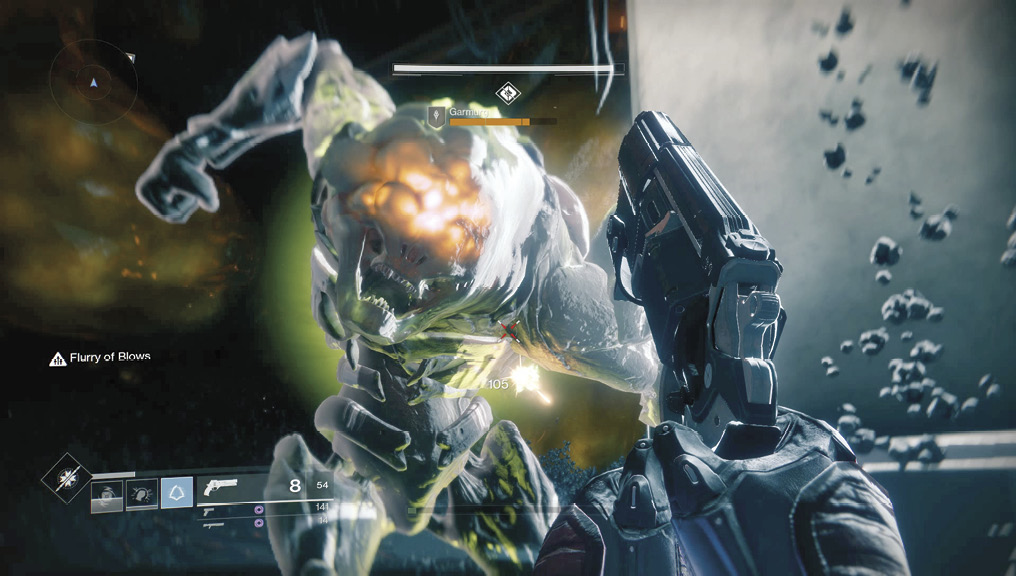
However, if you sidestep left around the main (gigantic) pillar and quickly deal with the Thralls, you can use this vertical cover, sidestepping out to shoot Garmurg in the “head” before seeking cover to replenish the damage you took. Try for some free hits as the Ogre climbs out of its hole. Keep circling the pillar and attempting direct and strong hits on the head until the Ogre falls, or just flee the chamber and drop into the shaft ahead. This is feasible without needing to use your Super, although that’s also a good idea.
 Festering Halls Descent (to Core Chamber)
Super: Not recommended
Grenades: Not recommended
After the Ogre, peer down the shaft it climbed up from, then leap to the far wall, dropping down and use your Movement Mode just before you land on the narrow platform at the door entrance below. Head down the connecting corridor to another shaft and execute the same jump, boosting just before you land on another tiny platform at a doorway. Traverse another short corridor to a third shaft. This one has a low railing and a blinking light illuminating a narrow ledge opposite the entrance. Carefully step to the lit ledge, turn around, look down, and fall off, using your Movement Mode to land carefully on the orange-lit ledge and lowest doorway.
Enter a maintenance corridor with evidence of Hive activity. Shoot the secretion preventing you from descending down, then drop into a sloped maintenance corridor. Shoot or melee the grating at the far end, then maneuver into a long duct. Ready yourself for a couple of Thralls when the lighting turns from orange to grayish-blue. Continue down the corridor, drop down again, and proceed a second time to a dark and waterlogged canal-like corridor with more Thralls and a Hive opening to your left.
Melee strike the secretions and follow the narrow Hive tunnel that opens to another maintenance duct, allowing you to drop down and shuffle toward a blue light. Drop down yet again (crouching and sliding is necessary) to a pipe duct leading to an open floor grating.
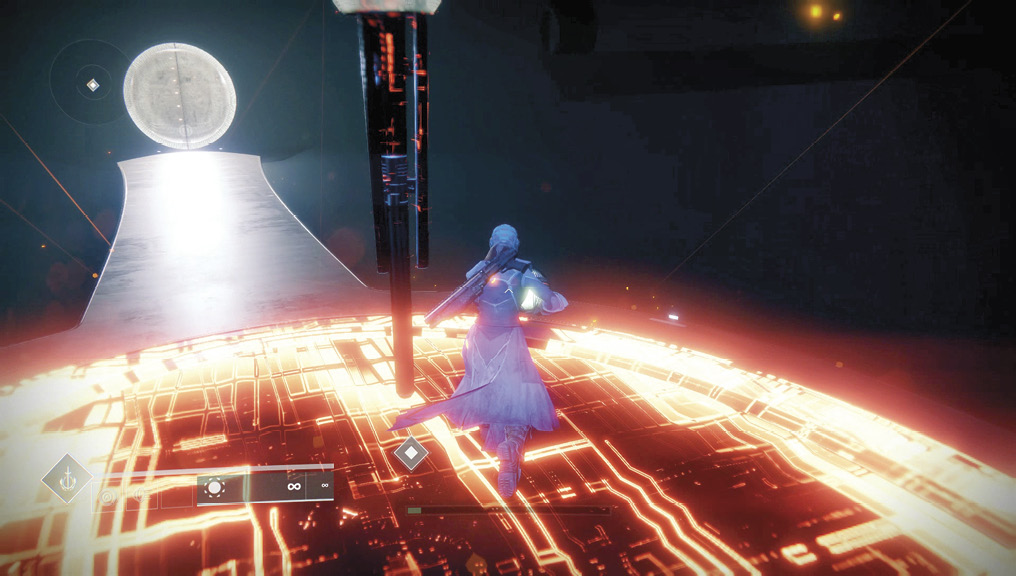
Drop through the floor grating, and land in the Festering Halls core chamber. A bottomless chasm surrounds you, so carefully maneuver to the quantic core repository, then gather it up. Hive forces are woken at this point, and because you need both hands to carry the core, you have little choice but to depart through the circular doorway. Time to escape!
 Festering Halls Escape
Super: Not recommended
Grenades: Not recommended
Vehicle Available: Construction APC
Warning!: Restricted Zone
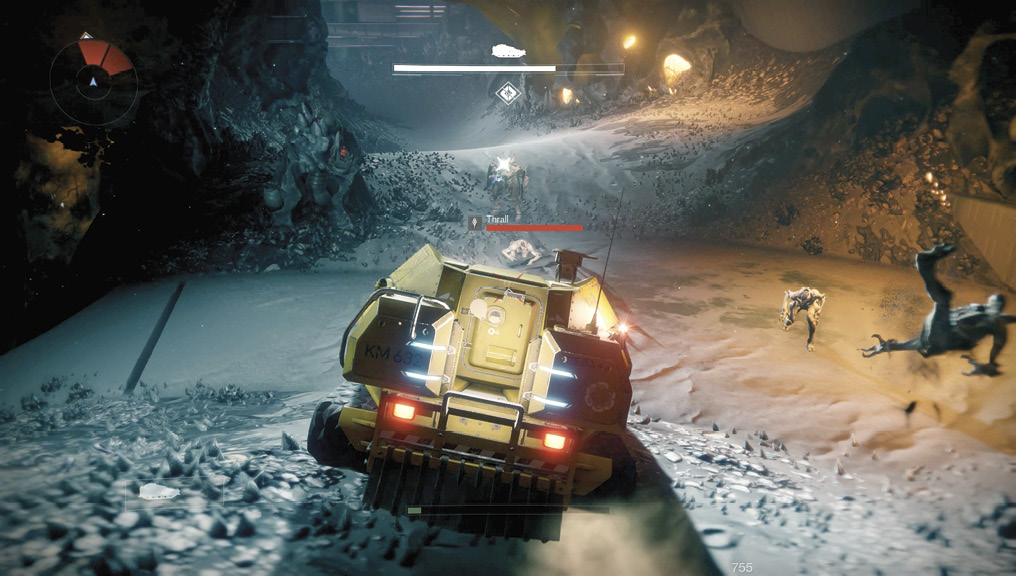
Dash up the stairs away from the Acolytes, and access one of the parked APCs. Your escape is now much less fraught but just as entertaining. The APC has no offensive capabilities in terms of weaponry, just good old-fashioned ramming and crashing! Keep an eye on the damage your vehicle is taking (at the top of your HUD), and accelerate hard. Crash through the Hive columns blocking your path, and drive into a massive cavern. This is one of many Hive tunnels that you must traverse, so simply run over the foes and keep your momentum going. You don’t want to stop to try to kill everything, as that heightens the chance that your APC will take catastrophic damage.
Instead, press forward, hitting Acolytes, Knights, Thralls, and Cursed Thralls with the front of your vehicle, along with any nests you don’t want to avoid. Of the foes attempting to slow you, the damage from the Cursed Thrall’s explosion can be of moderate concern, so avoid it, swerving into as few Cursed Thralls as possible. Head through tunnels, across a bridge, and into a hallway, knocking down Cursed Thralls. The main hall also holds a Shrieker, which is only a concern if you’re crazy enough to get out of your vehicle to mop up stragglers by hand. Then, it’s back into a Hive tunnel before finally exiting to an elevated roadway, where Amanda Holliday arrives to extricate you just in time.