
Destiny 2 Guide Campaign Unbroken
Legion’s Watch
European Dead Zone
Enemies Encountered
- Cabal: Legionaries, War Beasts, Gladiators, Psions
- Cabal Sub-Boss: Blood Guard (Incendior), Blood Guard (Legionary), Blood Guard (Centurion)
- Cabal Boss: Thumos the Unbroken
- Cabal Sub-Boss: Blood Guard (Legionary Commander)
Objectives
- Head into Legion’s Watch
- Take Thumos’ command codes.
- Kill Thumos.
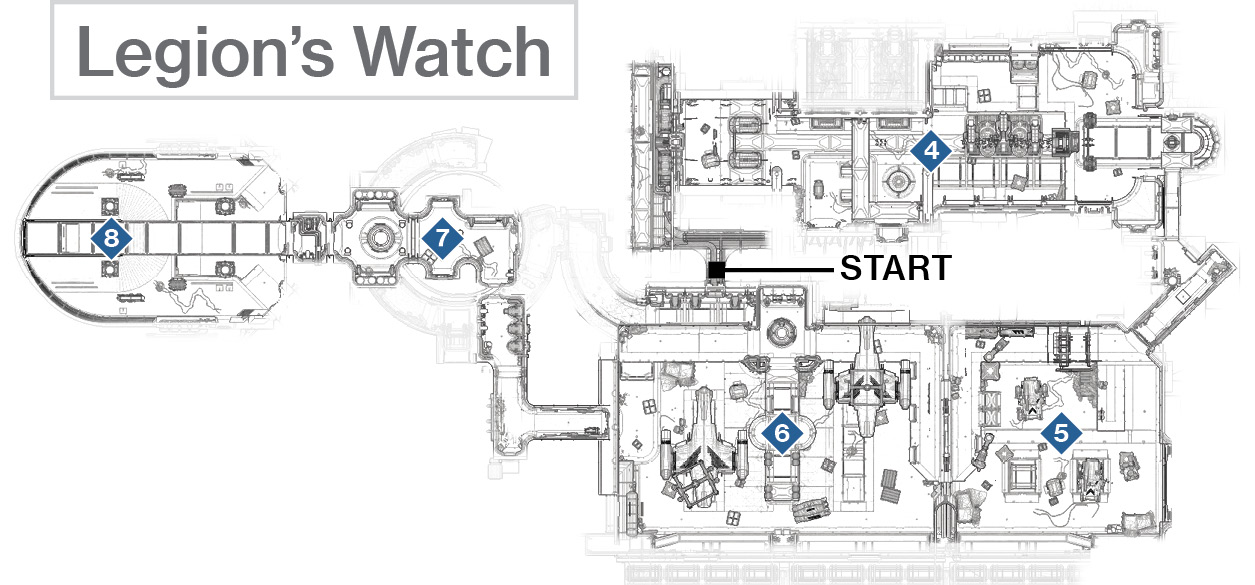
 Machine Room Assault
Super: Optional
Grenades: Optional
Follow the winding docking passageway up to an open door, behind which is a Legionary and three War Beasts. Quickly react to deal with this threat (backing up and firing).
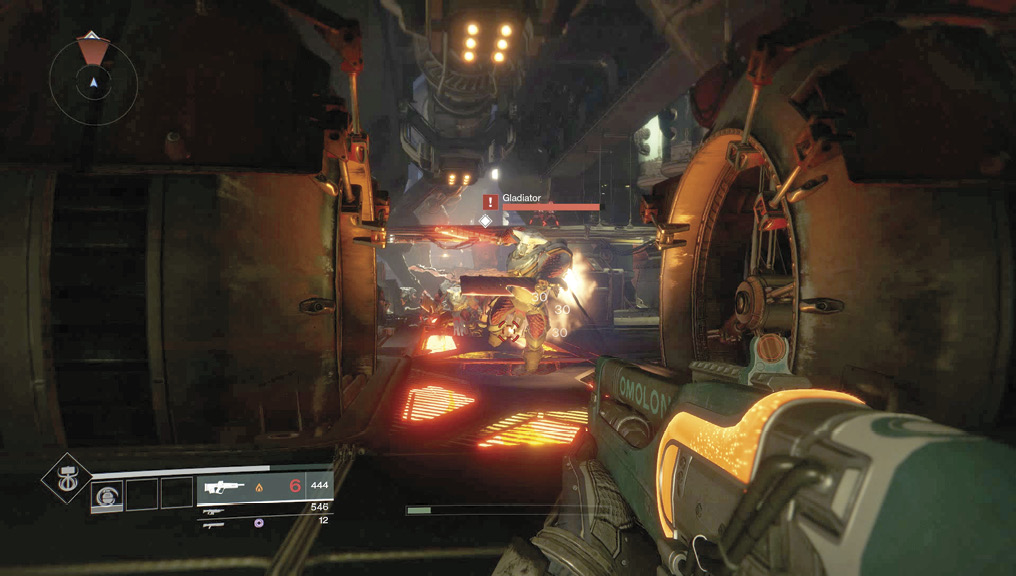
Then, look up and left, shooting out a ventilation grating before jumping up into a conduit.
Head up and left, landing on a large pipe and continuing through the conduit until you can shoot (or punch) out another grating, this time on your right side. Drop down to a Cabal bay teeming with foes, including a couple of deadly Gladiators.
Shoot the two Gladiators in the head immediately. Drop one before either reaches you, then flee the vicinity. Either go around the machinery to either of the perimeter edges of the room, or jump and land atop the smaller machinery scenery below the open grating you dropped through. You could jump back through the grating and attack from above, too. Standing and fighting gets you killed. A Super can save you here.
With the Gladiators defeated, head between the machinery, ideally along the right side so you can stay in partial cover and tag the Psions on the floor and gantry platform ahead of you. Expect around six Psions and four Legionaries; if the Psions retreat, shoot them in their jetpacks.
Edge farther into the bay, looking for the Phalanxes and Legionaries to the right of the pistons on the ground floor. Drop the two Phalanxes from range,
then the two Legionaries. Don’t venture too far forward too quickly: the far end of the room has a Sub-Boss, and two corner alcoves above you may be hiding a Psion that can snipe you easily.
Clear the alcoves by jumping and demolishing the Psions there, or lob up a grenade (or fire a grenade launcher, or use long-range weaponry). Then, land in the dead-end far area, dealing with additional Psions, a few Legionaries, and a named Sub-Boss—one of the fabled Blood Guards!
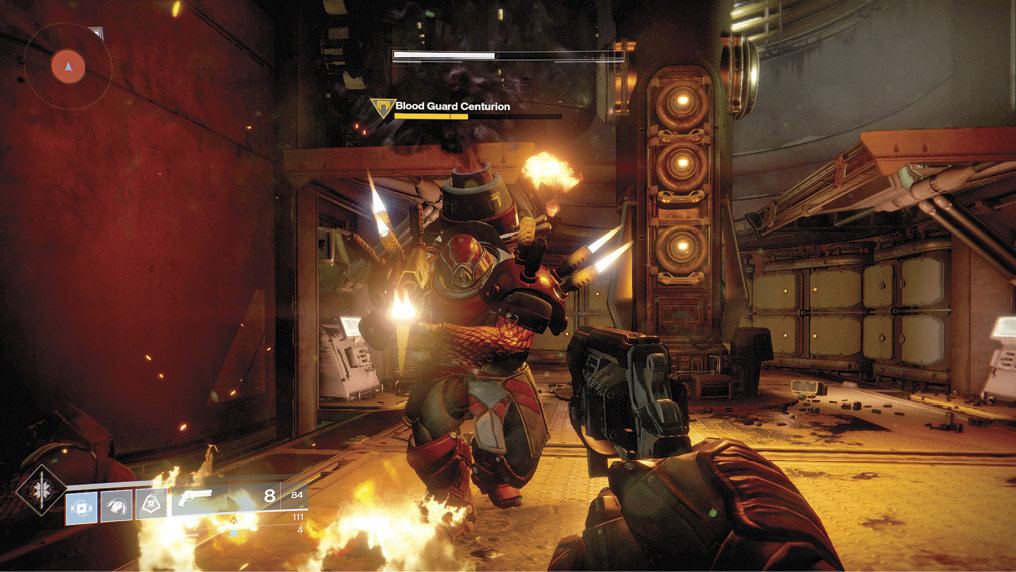
Sub-Boss: This foe is a large Incendior with a tough Void Shield. In all other respects, treat him the same as the Sub-Boss you faced back when you were infiltrating the command ship back on Earth (Mission 1; Pashk the Searing Will). Make the Sub-Boss a priority target. With the shield removed, shoot his head or fuel tanks. You can face him at close range, sidestepping his flamethrower and using the central pillar at the back of the chamber as cover. Alternately, you can fire on his minions from either of the upper side alcoves. Or, you can retreat back to the pistons, deal with Legionaries and Psions one or two at a time, then jump back and engage the Sub-Boss.
 Docking Bay Assault: Hangar 1
Super: Recommended
Grenades: Recommended
After the Sub-Boss falls, leap to the small ledge above where you fought him, head up the narrow corridor ramp. Break open a grating, and maneuver through a door and into the main cargo bay for the Cabal in the EDZ. You have incoming heavy firepower in the shape of Amanda Holliday’s ship, which provides additional takedowns, as there’s a small army of foes to face. You must head through two docking bay hangars. Begin by dropping the Psion and two Legionaries at the platform console, then look left and down, blasting Cabal Psions and Legionaries on the bay floor below. The three Psions are particularly important to dispatch. Stay on the near side of the bay and drop them, firing at any that try to flee with their jetpacks active. Fail to stop the Psions, and they hide and whittle away at your energy as you progress to tackle tougher enemies.
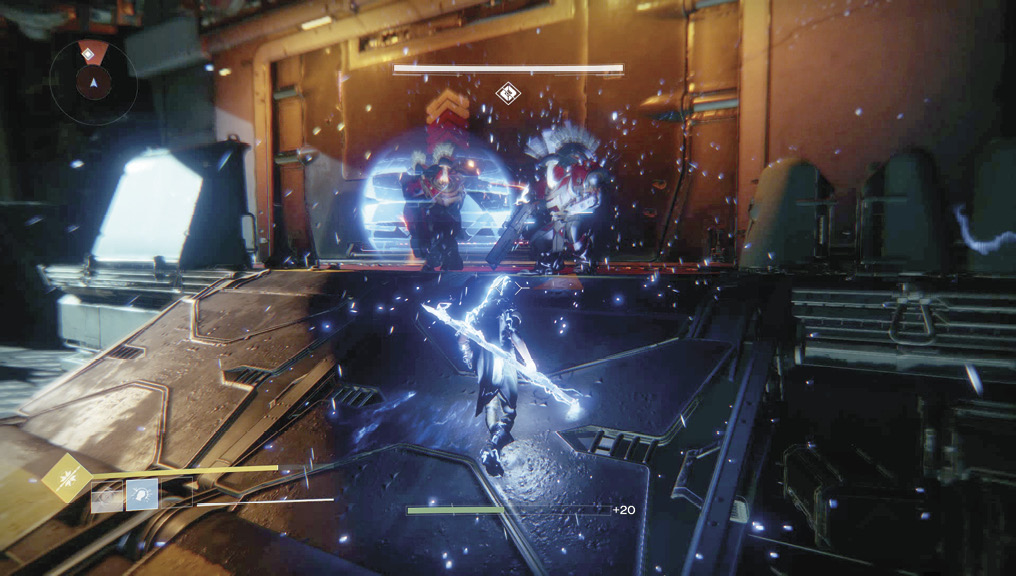
Sub-Bosses: Remain on the near ramp, and remove additional Psion and Legionary threats (around three Psions and a couple of Legionaries). The reason not to rush through this hangar becomes apparent as you reach the bay door with the hologram lock. Before using Ghost to hack it, you need to face down two Sub-Boss Legionaries. These Blood Guard foes act similarly to Kreth the Living Skyfire (back in Mission 1); they usually have Arc Shields and tougher armor than regular Legionaries. Concentrate on one Sub-Boss at a time. Use your Super, if you must.
 Docking Bay Assault: Hangar 2
Super: Recommended
Grenades: Recommended
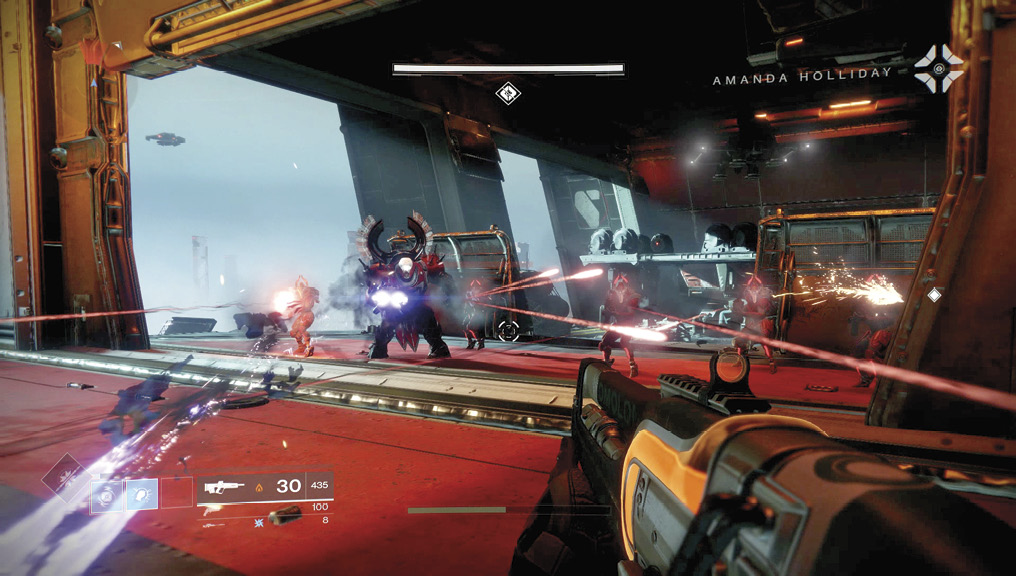
Sub-Boss: As soon as you open the door, there’s a Sub-Boss Centurion to worry about. He has a Solar Shield, so concentrate on him while Holliday drops by to soften up the majority of the targets in the second hangar. You can remain low down on the ramp back in the first hangar so enemy fire can’t strike you, then head up and defeat four Psions on the initial platform area. Progress into the second hangar, and use the platform barriers as cover, raining death down on various Cabal infantry (Psions, Legionaries, and Phalanxes) as Holliday helps with some barrages of her own. Stay on the initial platform so you can methodically deal with foes as you see them, from closest to farthest. If you rush into the hangar, the Sub-Boss at the far end will waylay you. Having to deal with him and the other infantry you’ve ignored makes the fight more difficult.
Slowly work your way right along the raised platform to the upper gantry that spans the middle of the hangar. The foes congregate under and around the gantry. Once you’ve dispatched the Psions guarding it, firing out and down from the alcove along the right wall (with the circular metal center and consoles along the perimeter) is helpful. Always remember to defeat Phalanxes, the Psions, then Legionaries whenever possible, due to the deescalating threats they pose.
Sub-Boss: A named Blood Guard Legionary (usually with Arc Shields), just like the two jokers you encountered previously, guards the far end of the second hangar. With Holliday’s barrages dropping his lesser Legionary brethren, you can cut down his shield. Then, shoot his head or jetpack, using the ramp, the top of the parked Thresher, and crates as cover.
 Bridging Corridors
Super: Not recommended
Grenades: Not recommended
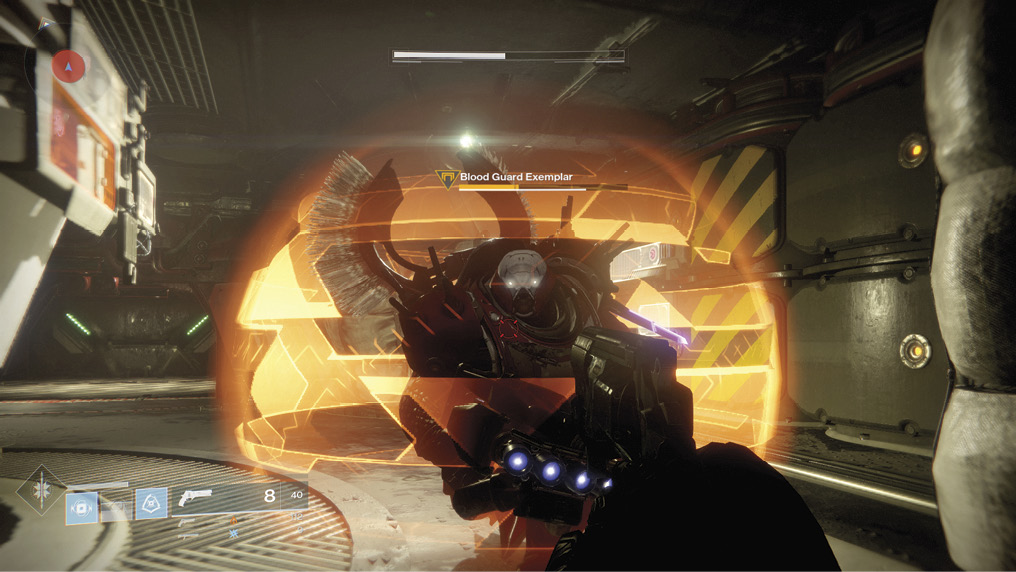
Sub-Boss:Head up the interior ramp from the hangar exit, turning right and melee striking, then firing at around four Psions and a Legionary in the corridor ahead. Step through a narrower door, turning left into an insulated corridor, but don’t sprint in here. Stay behind cover at the corner and remove the Psions and Legionary threats. The reason is yet another Sub-Boss, a Blood Guard Centurion with a Solar Shield. Fortunately, you have a circular central section of this corridor to maneuver around and use as cover as you avoid the Centurion’s projectiles and remove his energy. The compact corridor means rushing in with a shotgun is hugely helpful, though your usual takedown tactics apply, too.
 Thumos the Unbroken
Super: Recommended
Grenades: Recommended
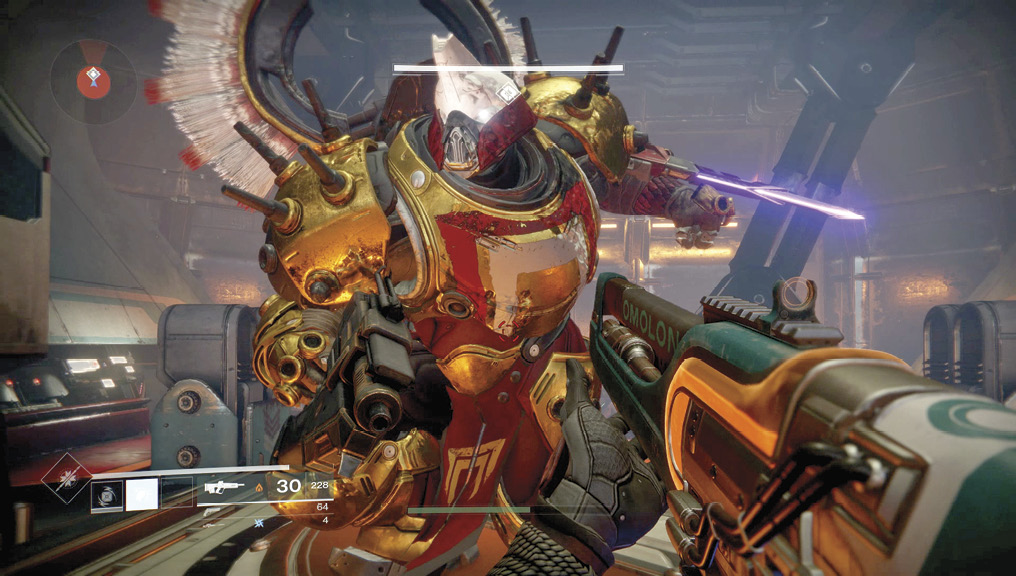
Boss:Advance into the large bridge room of the carrier, and back away from the console as Thumos and two Sub-Boss Legionaries) appear. Your plan is to defeat Thumos, but this takes a lot longer than previous Cabal Boss takedowns because of the reinforcements that arrive throughout the fight. Here’s what to look out for.
Sub-Bosses: Thumos arrives with two Commander Legionaries. These Sub-Bosses have Arc Shields and should be prioritized so you aren’t dodging all three foes’ weaponry.
Use the giant ramp pillars, console stacks, and raised platforms on either side of the central ramp as cover, and tackle each Commander Legionary one at a time. This is a good point to use both your grenade and Super, so it recharges and you can use it again toward the end of the entire battle. Use the entire perimeter of the room, and jump away from the Commander Legionaries if they charge after you reduce their energy to under a third. With both Sub-Bosses neutralized, pick some cover to sidestep back and forth from, and fire rapid headshots into Thumos until a third of his energy is gone.
Thumos: With no other foes getting in your way, start to battle Thumos, treating him as a battle-hardened Centurion. Though he has no Energy Shield, he makes up for it with a nasty vibro-sword, jetpack, and rifle (although he isn’t vicious with the rifle at range). When he unsheathes his sword, back away, as melee combat with him usually results in your death. Instead, move back, keeping him at distance while peppering his head with your favored weapon. Keep this up until the next wave of foes arrives, usually when Thumos is at around two-thirds energy.
Cabal infantry: Thumos summons three to four Psions and a couple of Legionaries. He tends to hover above the platform he ascended from, shooting at you. Remain behind either large ramp pillar, and drop the Cabal infantry with methodical precision. Then, tackle Thumos again, using the same tactics. You can run onto the main central ramp to gain unobstructed views of this foe, leaping over his head as he charges you. Perfect your “flying and firing” at his head so you’re damaging him all the time, no matter what maneuver you’re trying. Thumos sometimes switches to a void beam rifle during this battle, but that’s reasonably easy to shrug off or avoid.
More Cabal infantry: With around a third energy left, Thumos summons a small pack of around six War Beasts, a trio of Psions, and (once the War Beasts are defeated) a Gladiator to really cause you problems. Shoot all but a couple of the War Beasts, using your Movement Mode to avoid being mauled and staying behind either ramp column so Thumos can’t hit you. Tackle the Psions so there are as few foes as possible when the Gladiator appears. Then, make the Gladiator a priority target, staying active and using the stacked consoles and entire perimeter to backpedal around. Drop the Gladiator with headshots before he can kill you at melee range. If the Gladiator is getting too close, move across the chamber.
Final fight: With only Thumos left, the battle becomes a bit easier. This Boss isn’t as vicious or maneuverable as his underlings. He’s tough, though, so continue to strike him in the head with ranged shots. Watch for his jumping, which is more pronounced than in previous bouts (he lands on the side console and moves to different parts of the chamber). However, with continuous firing and perhaps a second Super, Thumos soon becomes “broken.” The keys are acquired, and the mission concludes.