
Match Types
 Quickplay Playlist
“Take risks and learn the art of war. But you have one focus: the enemy must fall.”
—Lord Shaxx
Clash
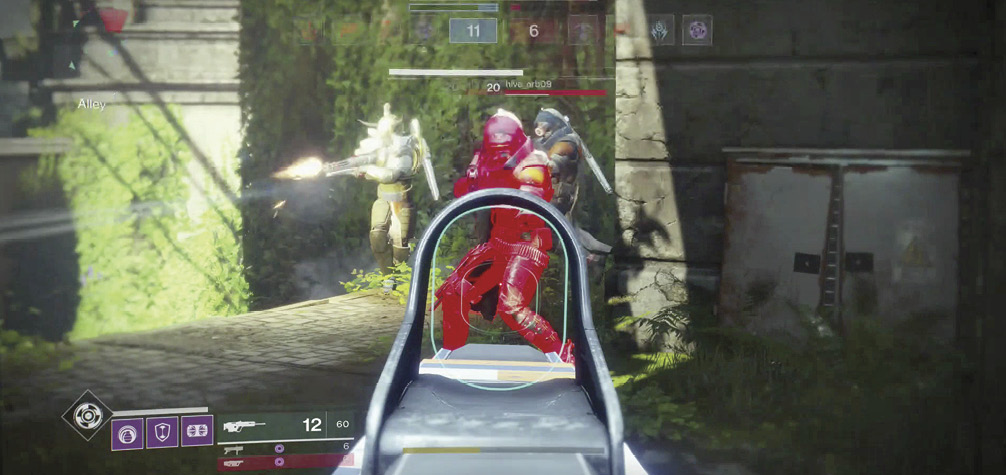
Objective
Clash follows a classic team deathmatch format. Put simply, the first team to score 75 kills wins the match.
Scoring
Clash is a straightforward eight-minute contest of combat proficiency. A team’s score increases each time one or more of its members has a hand in defeating an enemy Guardian.
The match is awarded to the first team that scores 75 kills or to the team with the highest score when the eight-minute time limit expires.
Power Ammo
In Clash, the map contains three Power Ammo spawn points: one on each side of the map, and one in a neutral location.
- The neutral crate becomes available 20 seconds into the match. Once collected, this Power Ammo does not respawn.
- The two remaining crates appear 90 seconds into the match. At these locations, it takes 90 seconds for a Power Ammo crate to respawn between uses.
Basic Tips: Clash
Clash is about as straightforward as PvP gets, making it a great entry point for the uninitiated. Even so, there a few pieces of advice new players might consider.
Keep track of Power Ammo spawns. A game of Clash typically opens with a mad dash to the first available Power Ammo crate. Apart from that, Power Ammo strategies can vary from match to match. Is the opposition pushing into your side of the map? Is a teammate spending the entire match camping near a Power Ammo spawn point? Has a Power Ammo crate gone uncollected for a suspiciously long time? The way Power Ammo is treated can tell you a lot about the strategies in play, so adjust your tactics accordingly.
Efficiency is paramount. Clash’s simple ruleset doesn’t allow for much wiggle room. If you’re losing more gunfights than you’re winning, you’re almost certainly hurting your team. Don’t hesitate to retreat when things go south. Standing firm in the face of overwhelming odds may bring you a sense of personal satisfaction, but it’s unlikely to yield any tangible benefits.
Stay loose. Clash is most definitely a team game, but not everyone treats it as such. Teammates can have wildly different playstyles and skill levels, and adjusting your tactics to fit them is one of the best things you can do to maximize your performance.
Control
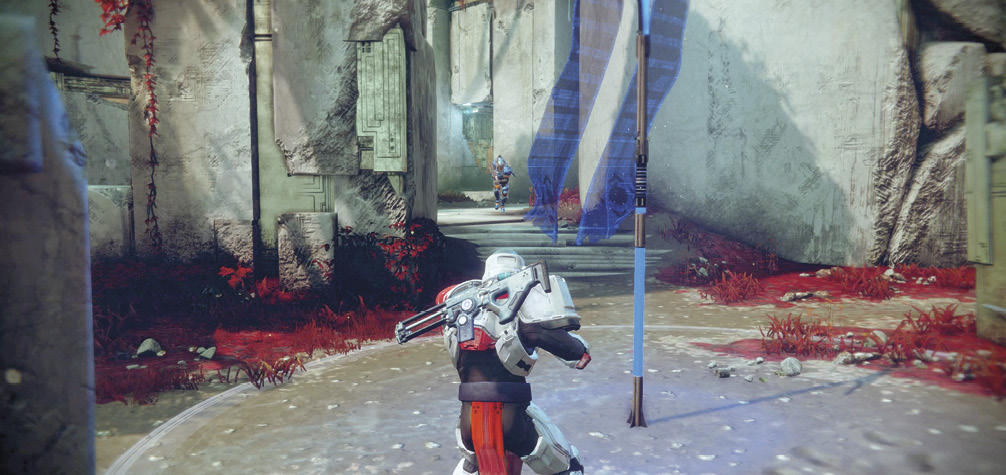
Objective
Control uses a modified team deathmatch ruleset that awards bonus points based on location-based objectives. Teams fight to claim and hold up to three strategic battle zones. The number of points rewarded for defeating an enemy Guardian varies based on the number of zones held by each team.
Scoring
In Control, a team can increase its score by claiming Capture Points and defeating enemy Guardians. However, bonus points are awarded based on the number of zones held by each team. Essentially:
- Defeating an enemy Guardian grants a base score of +1.
- Claiming a zone’s Capture Point grants +1.
- The Zone Advantage bonus grants an extra +1 per kill when a team holds the majority of zones.
- The Power Play bonus grants an extra +2 per kill when a team holds all three zones.
This means that, depending on the number of zones your team holds, defeating one Guardian can add anywhere from +1 to +3 to your score.
The match goes to the first team to score 100 points, or to the team with the highest score when the eight-minute time limit expires.
Power Ammo
In Control, the stage contains two Power Ammo spawn points: one on each side of the map. Both Power Ammo crates become available 90 seconds into the match. Once collected, it takes Power Ammo 90 seconds to respawn.
Control Zones
The map features three Control zones: A, B, and C. Each team begins the match with one zone under its control (A or C, depending on a team’s starting location). Zone B starts off as neutral territory.
To capture a zone, simply stay within the borders of its Capture Point until it’s awarded to your team. This process takes about 10 seconds, regardless of how many allied Guardians are present. A Capture Point cannot change hands while two rival Guardians are present.
Basic Tips: Control
Because it blends two very different objectives, Control supports a wide variety of tactics. The most effective strategies will vary from match to match, but there a few basic tips new players might fight useful.
Make every capture a solo capture. Capture Points tend to be in exposed areas, and claiming one is meant to be a risky endeavor. There’s no benefit to doubling up with a teammate—the process won’t go any faster, nor will additional points be awarded. Now, this isn’t to say that teammates shouldn’t support each other. It’s just that a second Guardian would be far more useful covering the area from a nearby vantage point.
Do the math. The scoring system is fairly streamlined, so make sure you weigh the risks and rewards of claiming a Capture Point. A quick zone grab might put +1 on the scoreboard, but your gain becomes a net loss if your opponents are able to defeat you and retake the Capture Point. On the other hand, simply trading kills with an enemy Guardian can lead to big gains when your team has a Zone Advantage.
Choose the right grenade for the job. Seeker grenades and grenades that feature persistent/pulsing effects are particularly effective in Control. Hindering an opponent’s attempt to capture a zone (if only for a few seconds) can give you an edge in zone defense.
Keep tabs on your teammates. Teamwork is always recommended, but Control is arguably the most strategically complex game mode in Quickplay. Take note of the Capture Points your allies prioritize, and adjust your tactics accordingly. No matter how skilled you are, you’re bound to benefit from working alongside your teammates.
Supremacy
Objective
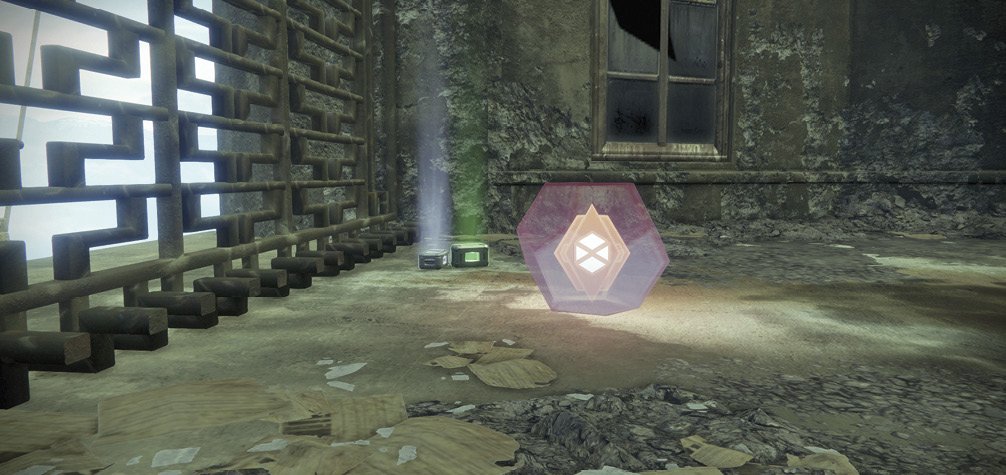
In Supremacy, a Crest is produced each time a Guardian falls in battle. The goal is to ensure that your team collects more enemy Crests than the opposing team.
Scoring
In Supremacy, scoring is a two-part process. First, your team must defeat an enemy Guardian. Then, a member of your team must collect the resulting Crest. Put simply:
- Collecting an enemy (red) Crest adds +1 to your team score.
- Collecting an ally (blue) Crest yields no points, but it does prevent the opposing team from scoring.
The match goes to the first team to collect 50 enemy Crests, or to the team with the highest score when the eight-minute time limit expires.
Power Ammo
In Supremacy, the map contains three Power Ammo spawn points. Locations and spawn rates are identical to those featured in Clash (assuming the map supports both match types).
- The neutral crate becomes available 20 seconds into the match. Once collected, this Power Ammo does not respawn.
- The two remaining crates appear 90 seconds into the match. At these locations, it takes 90 seconds for a Power Ammo crate to respawn between uses.
 Competitive Playlist
“Stakes are high, and coordination with your teammates is vital. Leave personal glory behind, and together you’ll crush the enemy.”
—Lord Shaxx
Countdown
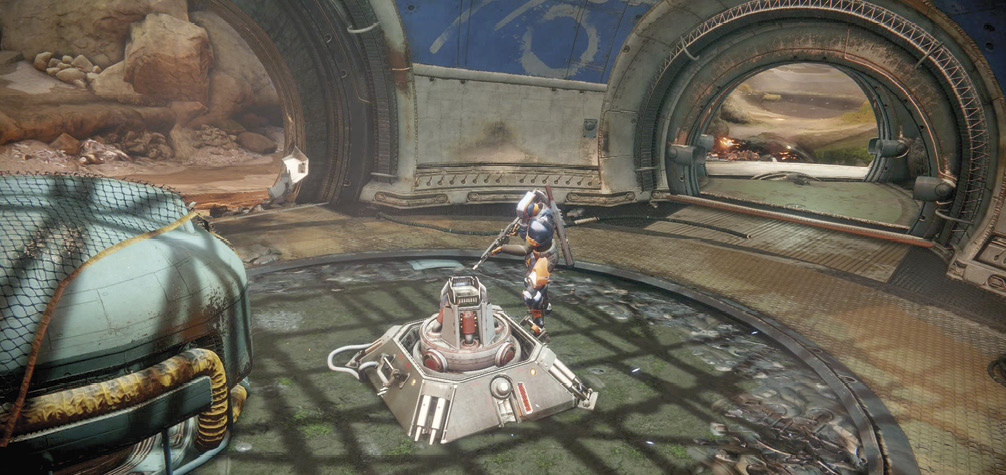
Objective
In Countdown, the map contains two charges. One team is tasked with detonating a charges of their choice, and the other team must prevent this from happening.
Countdown is a round-based match type. When a team fulfills (or fails to fulfill) its objective, the round ends. The teams then switch roles, and a new round begins. The first team to win six rounds of Countdown is declared the winner of the match.
Scoring
In Countdown, the only way to increase your team’s score is to win a round. Although each team is assigned a primary objective when a round begins, you’ll always have at least two paths to victory.
The attacking team (“Set the Charge”) can:
- Arm a charge within the two-minute time limit and prevent the opposing team from defusing it.
- Eliminate all members of the opposing team.
The defending team (“Defend the Charges”) can:
- Prevent the opposing team from setting a charge within the two-minute time limit.
- Defuse a set charge.
When one of these conditions has been met, the round is rewarded to the appropriate team.
Power Ammo
In Countdown, a stage always contains two Power Ammo spawn points: one on each side of the map. Power Ammo becomes available at both of the designated locations 30 seconds into the match. Once collected, it takes 30 seconds for a crate of Power Ammo to respawn.
Setting and Defusing Charges
Setting and defusing a charge is just a matter of moving within range and interacting with the object; the process is as simple as following an onscreen prompt. Of course, “simple” does not equate to “easy.” When it comes to handling charges, new players should note the following:
- Once a round starts, the attacking team has 2 minutes to set a charge (or eliminate the opposition).
- It takes about 3 seconds to set a bomb.
- It takes more than 5 seconds to defuse a charge.
- When a charge is set, the clock stops and the map’s remaining charge is taken out of play.
- Once set, it takes around 40 seconds for a charge to detonate. During this time, the opposing team can attempt to defuse it.
Lives and Revives
Countdown doesn’t feature the unlimited (and automatic) respawns found in Quickplay match types. Instead, each combatant begins a round with one life and one Revive Token that can be used to resurrect a slain teammate. Note that while the Crucible HUD displays available “Revives” as a team resource, each Guardian is responsible for his or her own Token.
A Revive Token is consumed upon use, but it’s also lost if the Guardian holding it is killed. This means that a given team can use a maximum of three Revive Tokens over the course of a round—the first death a team suffers always results in the loss of an unused Token.
A slain Guardian cannot be revived until 20 seconds after the time of death. It takes roughly 1.5 seconds to revive a valid target (although taking fire will prolong the process).
Basic Tips: Countdown
Countdown is a fast-paced game mode, and effective strategies tend to change with the ebb and flow of each round. However, there are a few basic tips that should help new players get off on the right foot.
Equip a scout rifle. Team-firing is always a worthy focus, but it’s rarely more important than in Countdown. The combination of time constraints, limited lives, and location-based objectives turns every encounter into a high-stakes affair. A good long-range weapon makes it much easier to support your allies.
Agree on an objective. When your team is attacking make sure everyone knows which charge is the preferred target. If the target changes, ensure that everyone is kept up to date. Remember that setting one charge takes the other out of play.
Don’t leave a job half-done. When your team is on defense, eliminating the opposition only ends the round if a charge hasn’t yet been set. A detonation will cost you the round, whether or not your opponents are alive to celebrate. Keep your mind on the task at hand.
Use it or lose it. A well-spent Revive Token can change the course of a battle; an unspent Token offers no benefit. While there’s nothing wrong with prioritizing skillful allies, enemy positions should be your chief concern. If you find yourself in a position to safely resurrect a fallen teammate, it’s generally best to do so.
Survival
Objective
In Survival, each team has a shared pool of eight lives. Each death a team suffers removes one life from the pool. Outlast and/or outperform the opposing team to win a round; the first team to win four rounds is declared the winner of the match.
Scoring
In Survival, the only way to increase your team’s score is to win a round. You can accomplish this in one of three ways:
- Defeat enemy Guardians until the opposing team is eliminated. To do this, your team must defeat a total of 12 opponents (four starting lives and eight more in the shared pool).
- End the round with more lives than the opposing team. Each round has a base time limit of three minutes. If time runs out while the teams are tied, the round enters a one-minute overtime phase.
- Claim the tie-breaker Capture Point. This can only be done when a round moves into overtime.
If an overtime phase ends in a tie, both teams forfeit the round. Scores remain unchanged, and the match proceeds to the next round.
Power Ammo
In Survival, the stage contains a single Power Ammo spawn point located in a relatively neutral area. Once collected, it takes the Power Ammo crate 75 seconds to respawn.
Overtime
A Survival round has three minutes of regulation play. If both teams have the same number of remaining lives when the clock runs out, the round moves into overtime. An additional minute is added to the clock, all remaining lives are removed from team pools, and a special tie-breaker Capture Point appears somewhere on the stage (typically in a neutral location near the center of the map).
To win in overtime, you must eliminate the opposing team or claim the tie-breaker Capture Point.
Lives and Respawns
The nature of a shared life pool means that team respawns are handled on a first-come, first-served basis. When a Guardian is defeated, one life is immediately removed from his or her team pool. After 10 seconds, the fallen Guardian automatically respawns somewhere on the map.
If a life pool is empty at the time of a Guardian’s defeat, the combatant is “knocked out” and unable to return for the duration of the round.
Basic Tips: Survival
Survival may lack a bit of Countdown’s urgency, but things tend to happen very quickly. Experienced players are sure to develop their own preferences over time, but there are a few things that new combatants can do to improve their chances of victory.
Equip an auto rifle. Survival tends to take place on more compact maps, and the flexibility of a mid-range rifle is bound to prove useful. Unless your build relies on a specific Kinetic/Energy weapon combo, consider pairing a good auto rifle with whatever’s most appropriate for the specific map.
Save your Super. This may go without saying, but a fully charged Super Ability is a valuable commodity. Use it only when it’s likely to affect the outcome of a round.
Secure the Power Ammo. The map contains only one Power Ammo spawn point, so this location tends to be heavily monitored and hotly contested. Whether you intend to collect Power Ammo or use it as bait, coordinate with your team to minimize the chances of the ammo falling into enemy hands.