
Excavation Site II
Restricted Zone
Enemies Encountered
- Taken: Centurions, Goblins, Phalanxes, Minotaurs, Wizards, Psions
- Vex: Harpies, Hydra
Objectives
- Locate the Warmind Vault (continued).
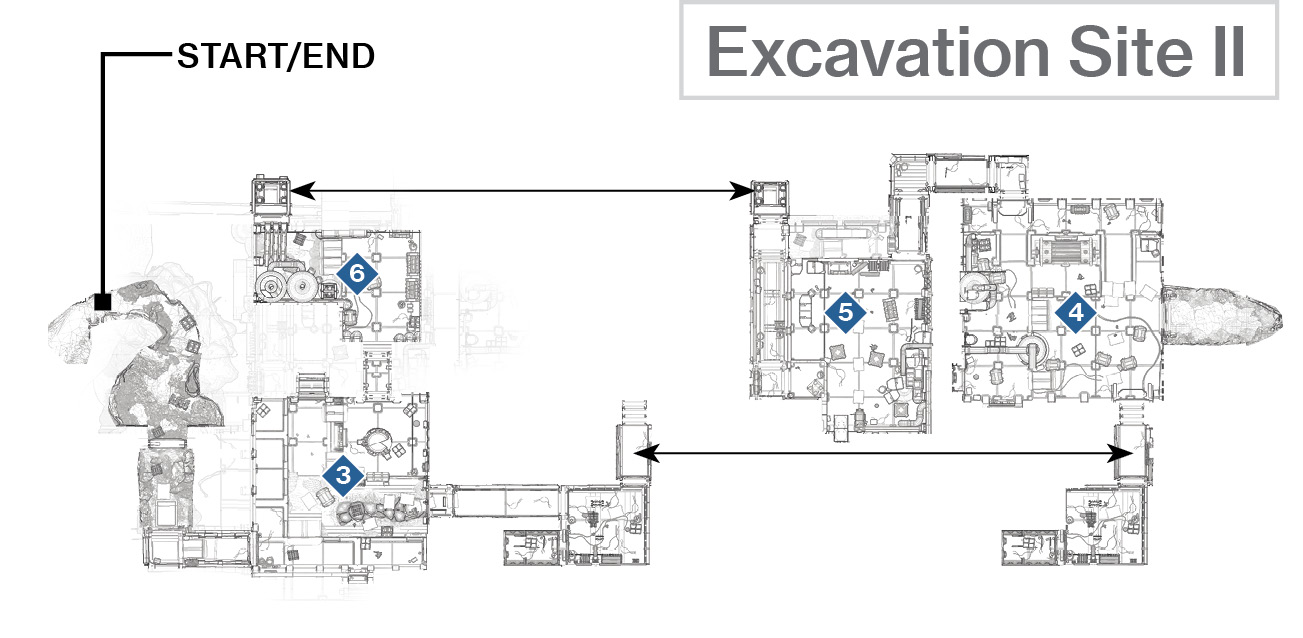
 Storage Rooms
Super: Optional
Grenades: Optional
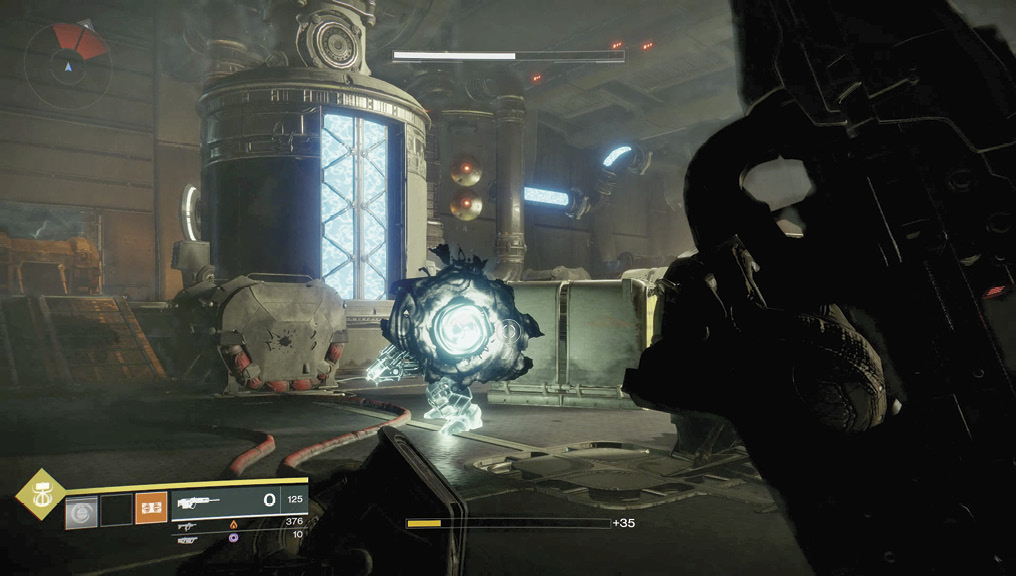
Head down the rocky tunnel into the bunker, making your way into a storage room with a large black cylindrical tower in the far-left corner. Of greater interest is a small band of Taken—a Centurion and three Taken Goblins. These Goblins are much like their Vex counterparts but can warp small distances, meaning that constant readjusting in your aim is necessary. Also, you strike them in the head rather than the lower torso. Use the metal fence sections as cover, and drop them with regular gunfire. Save your best weaponry for future combat.
With the room secure, check it for a scannable object, then depart via the orange ramped corridor up to a warping Taken Phalanx. Drop it before it can bring out its shield. Then, head into the subsequent chamber.
 The next storage chamber has a few more Taken threats; a Centurion, two Phalanxes attacking from your left flank, and two Goblins on the slightly raised area across from an L-shaped thoroughfare. Drop the Goblins first if possible so they don’t link to the other foes and give them energy. Then, use the copious cover to bring down the larger enemies one at a time. Put some distance or cover between you and the Phalanxes so their shield blast doesn’t impede you. Note that you return to this chamber later into the mission.
 Override Terminal Room
Super: Recommended
Grenades: Recommended
Warning!: Restricted Zone
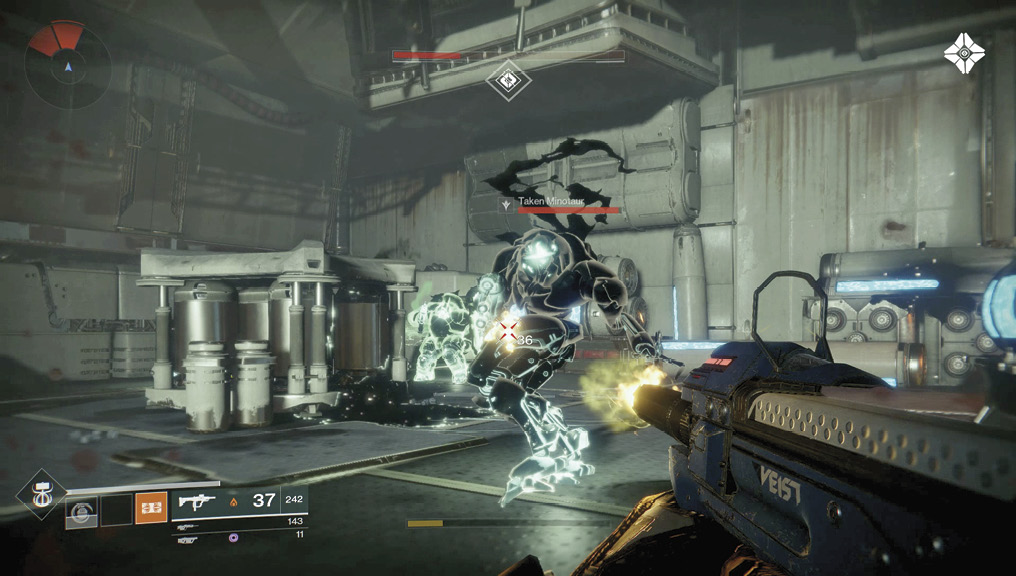
Wind your way up another orange tunnel and into the terminal room. Here, you must defeat any Taken hostiles before accessing the override terminal for the drill. It’s quite easy to die here. The action begins when you spot something shimmering, the telltale sign of a Taken Minotaur in the vicinity. Deal with it quickly, then resist the temptation to panic as a couple of Phalanxes, then Taken Goblins and up to three more Taken Minotaurs, and four or five additional Phalanxes all arrive in two or three more waves. Now that you know the anticipated foes you’ll face, it’s time to do something about them.
Taken Minotaurs are slightly easier to tackle, assuming you can spot their shimmering invisible forms and blast them (in the central “eye head”) while nimbly sidestepping their ferocious flame bolt projectile. Finish them with a melee strike if necessary.
Your close proximity to all foes in this chamber means shotguns are a good choice. Taken Minotaurs also like to teleport short distances, so quick reactions are key when pursuing and dropping them.
Taken Phalanxes are a bigger problem, as their shield is impenetrable when it’s raised, and it only takes a second for them to fire a devastating energy bolt from it. It’s a good idea to keep moving, using the cover and making a “circle” maneuver around the perimeter of the room. Leap up to the terminal console platform ahead and slightly left (as you enter this room) to gain a breather and fire down on the foes. Use the previous Taken Phalanx killing techniques (shooting the exposed areas their shield doesn’t cover, or waiting until the shield has fired, stepping out of cover, and aiming at the head), and exercise patience. Rushing in usually gets you killed, unless you’re launching your Super, which is also recommended when combat gets too crazy.
Taken Goblins are a real menace, as they heal and make both Phalanxes and Minotaurs almost invulnerable. Trace any “green glowing” enemies back to this foe, and blast them. Tackle Taken Goblins as soon as they warp in so they don’t have chance to link to their tougher brethren.
Keep this plan up until the last of the Taken (usually a Minotaur) yields. You can then leap to the ledge and access the wall terminal to override the drill controls. Turn right, run along the narrow orange corridor, and drop down (with a second jump to slow your descent).
 The Exit
Super: Optional
Grenades: Recommended
Warning!: Restricted Zone
Enter a new storage area with a rock floor. Amid the orange light and blue energy windows of the scenery, there’s a Taken Wizard.
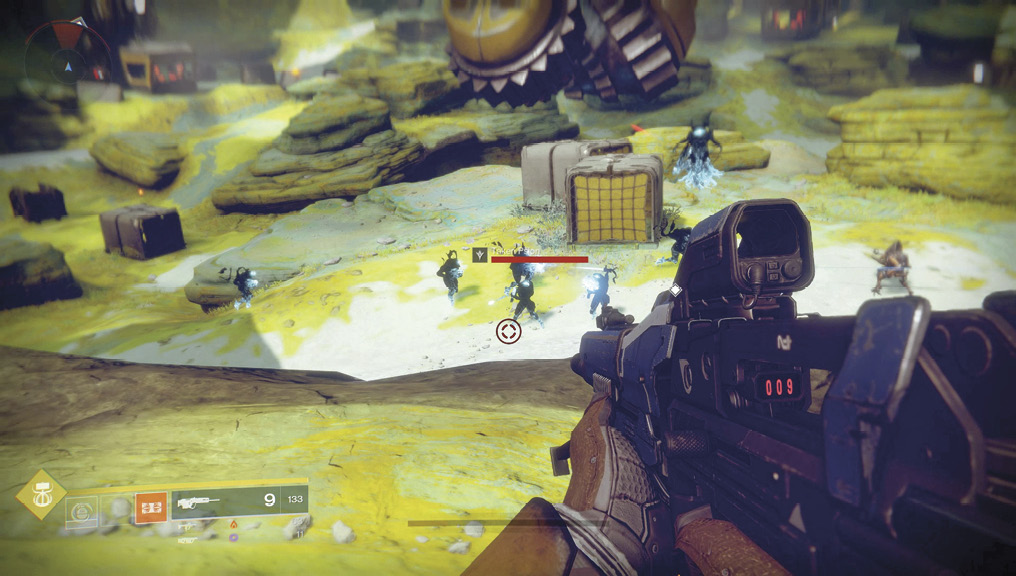
It seems preoccupied with combat occurring in the next chamber, so seize this opportunity to rake it with Void energy bullets, and quickly drop it. A Phalanx just inside the next chamber can also be quickly removed. You soon discover the reason for these reasonably easy kills.
Enter the storage room with the L-shaped thoroughfare, and stumble into a Taken Wizard and a group of Taken Psions battling a small flock of Vex Harpies and a Hydra. Stay around the large black cylinder tower and watch the chaos, if you want. A better plan would be to quickly rid the room of the Taken Wizard, then move to the far raised perimeter area (where the room exit is). Use the metal fence as cover, shooting the Harpies and Taken Psions as these threats present themselves. Keep one or two enemies from each side alive as long as possible so the Hydra concentrates on killing them instead of you.
Remove threats until only one Taken Psion and the Hydra remain, then tackle the Hydra, using the metal fencing as cover. Expect another four Taken Psions to arrive shortly before or after you kill the Hydra; these shouldn’t present a problem, given the cover available in this room. With threats dealt with, head back up to the drill site on the surface.