
Destiny 2 Guide Campaign Looped
Well of Giants
Nessus, Unstable Centaur
Objectives
- Find Cayde-6 (continued).
- Defeat the Hydra.
Enemies Encountered
- Vex: Goblins, Hobgoblins, Minotaurs, Hydra
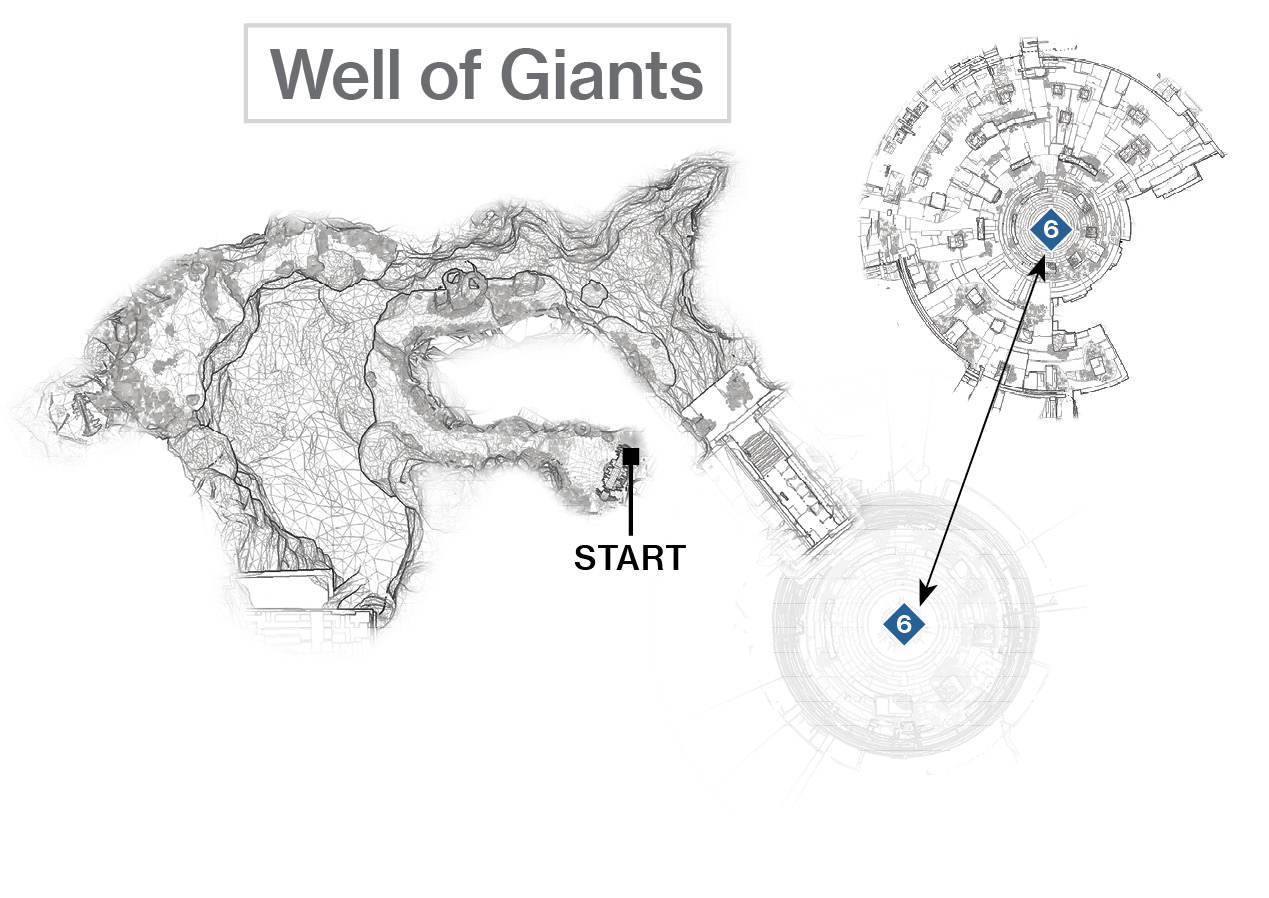
 Bottom of the Well: Hapax, the Convergent Mind
Super: Recommended
Grenades: Recommended
Warning!: Restricted Zone
Enter a cavern with a bottomless chasm below, and jump across to a natural arch. Pass through it and around to the right, and leap to the triangular exit door. Ride the huge energy well down to the huge lower platform and its many columns and walls. It’s worth learning the layout of this arena-like location before you investigate Cayde-6, who is floating above the central circle. His chat is interrupted by Hapax, the Convergent Mind. This foe is armed with a devastating Aeon Maul cannon that can drop you in two or three hits. You must defeat it!
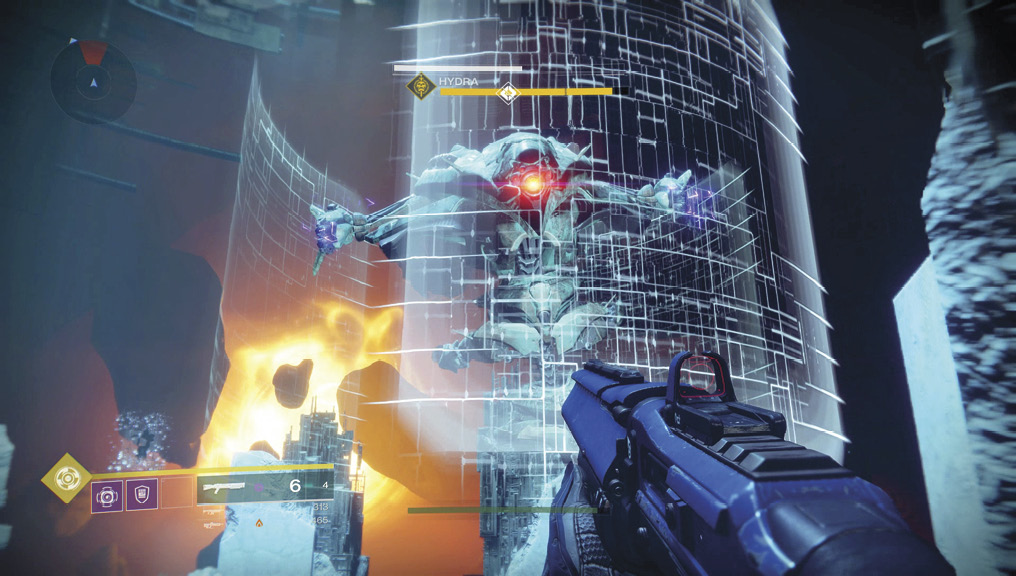
Boss: Hapax is your priority target. Though the arena is soon swarming with Goblins, a few Hobgoblins on the upper perimeter ledges, and Minotaurs that are more troublesome (as their weaponry is also highly damaging), the combat concludes quickly once you defeat the Hapax. However, it lengthens considerably if you leave it alone and wait for more and more enemies to teleport in. This is only a good idea if you want to gain XP and have the competence to run and gun, using the main walls to stand behind or on top of as you seek cover and become a moving target.
Aside from the Goblins that incessantly march on your location, distracting you from tackling the main beast, the Boss’s biggest defense is its impenetrable rotating shield. Your shots need to hit the Boss’s central “eye” (its weak spot or precision spot) through the vertical gaps in those shields, or you’re simply wasting your ammunition.
The type of weapon that you use helps. A sniper rifle aimed from height and range is good in theory, but other foes usually see and bombard you before you can get an accurate shot. Shotguns and extremely close-range weapons are feasible, though the Hapax’s Aeon Maul is more or less guaranteed to hit you, and three of them can kill you. It’s better to stay at mid-range, darting in and out (or up and down) from cover and executing a well-lobbed grenade, followed by bursts of accurate gunfire at the Boss’s eye.
Take note of Hapax’s segmented health bar. Not only do you receive an encouraging yell from Cayde-6 each time a third of the Boss’s health is removed, but the beast teleports to a different location. Keep an eye on that, and maneuver accordingly (closer to the new location). Also, keep a mental note of the three shield sections and how they are rotating. You can pop out of cover and shoot the Boss when it’s just about to be exposed, and step back into cover just as the shield covers the Boss’s eye again.
You want to deal as much burst fire or hand cannon damage as you can in between protective periods of defense. Alternately, execute your Super as soon as a gap appears in Hapax’s shield.
When Hapax finally dies (which removes any other infantry Vex threats), resist the temptation to sprint to its remains to claim any items because the head will explode, which can kill you. Gather any items after this occurrence, after which Cayde-6 explains how you can finally free him. The mission then concludes.