
Destiny 2 Guide Strikes Savathun’s Song
Arboretum
Restricted Zone
Enemies Encountered
- hive: Acolytes, Wizards, Shriekers, Knights
- Sub-Bosses: Ogres, Shriekers
Objectives
- Find the source (continued).
- Disrupt the void ritual.
- Find the source (continued).
- Scan the object.
- Locate the crystal cave.
- Destroy the crystals (6).
- Kill the first Ogre.
- Kill the second Ogre.
- Destroy the crystals (6).
- Disrupt the void ritual.
- Make your way back to the plug.
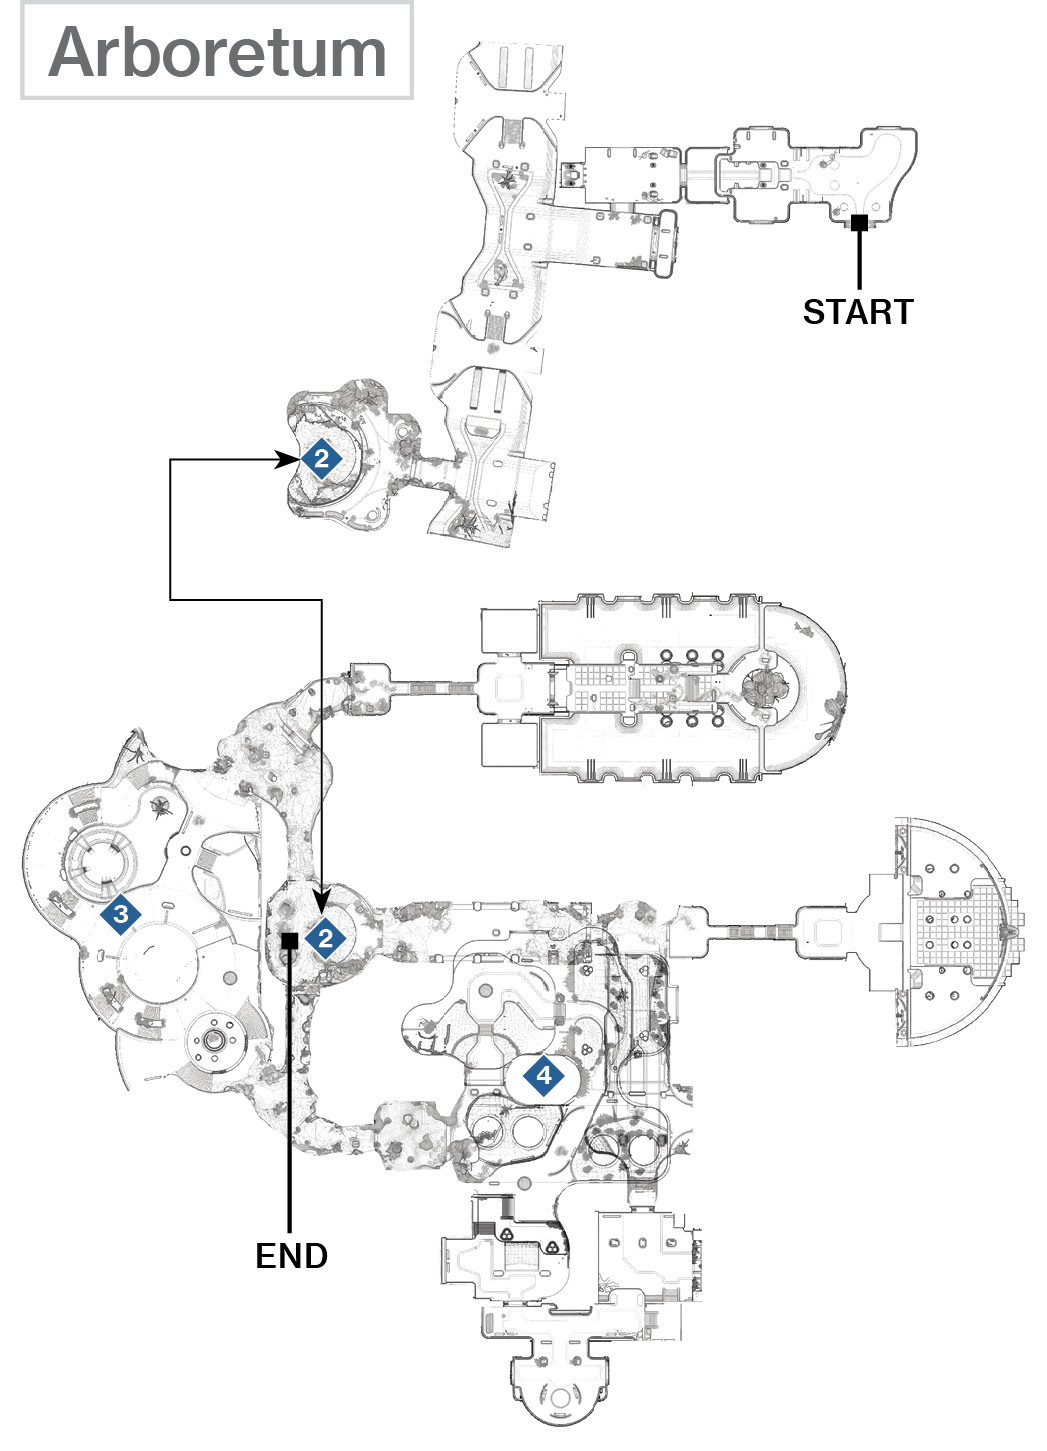
 Main Hall and The Pit
Super: Recommended (one player) / Grenades: Recommended
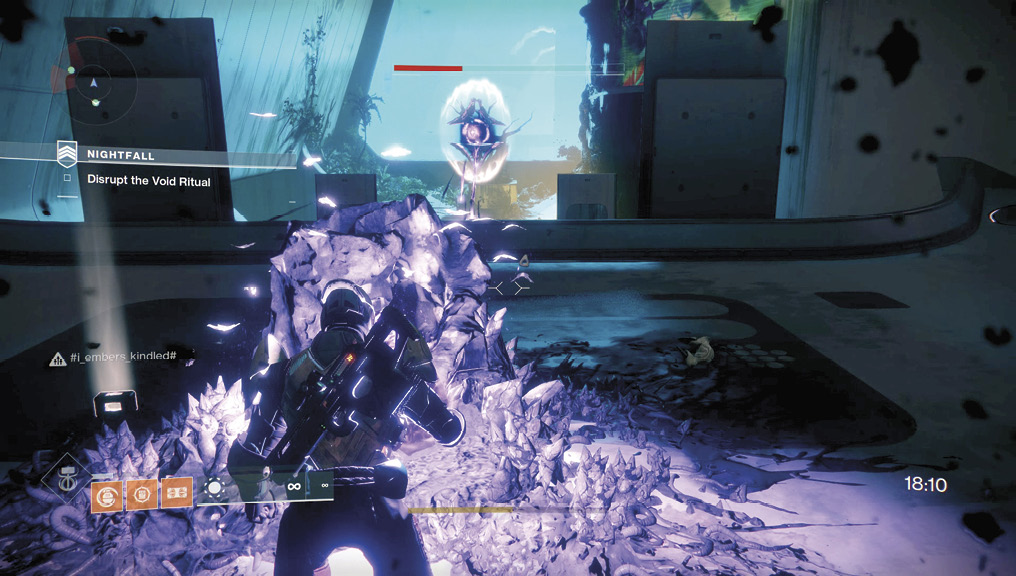
Make short work of the minimal Acolyte threats, avoid the Hive trap, and head through the pinkish entrance corridor into the main hall. Once inside the hall, make a left turn. Have two teammates remove the additional Acolyte threats and engage a Void Wizard. The toughest of your team must immediately vault up the steps to grab a void charge (a ball of void energy) and run it forward to an area just below a floating Hive Shrieker.
As you’re cut down in seconds from Shrieker fire, you may want to delay grabbing this and focus on defeating the Shrieker using the weaponry all three of you have. A better plan is to quicken this by having two teammates hit the Shrieker while one of you deposits the void charge into the receptacle, opening the path deeper into the Arboretum (this usually dismisses the Shrieker, too). Launching a Super is a reasonable plan, but if you can finish off foes in the main hall without using it, it’s helpful for the next major confrontation.
Drop down into the Pit, and scan the strange chained object in the middle of the Hive nest. You’re tasked with finding more of these crystals, though this area is sometimes referred to as a “plug” (as it is sealing a lower area you must eventually break into). You can attack the remaining chambers of the Arboretum once you find and destroy the crystals in an adjacent cave (though variations exist where you enter different parts of the Arboretum first).
 Bio-Dome Mezzanine
Super: Recommended
Grenades: Recommended
Variations: Entering a Sector in a different order, entering this area and disrupting a Hive ritual instead of taking down two Ogres.
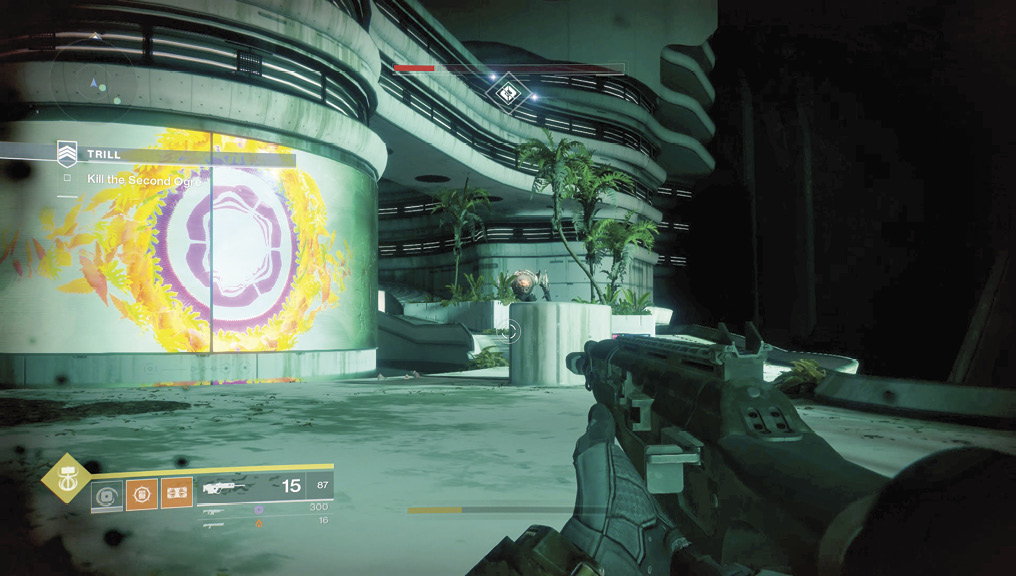
Sub-Bosses: Head into one of the side chambers off The Pit. Engage Acolytes and a toughened Knight in combat before blasting (or punching) the six glowing crystals embedded in the Hive cave until the blocked doorway becomes accessible. Enter the mezzanine.
There’s little time to look at the view of the massive bio-dome you’re in; focus your attention instead on the vicious Ogre. Beware of Knights, Acolytes, Hive anchor traps, and a second Ogre in the upper mezzanine you must pass through. Acolytes and two or three Hive Wizards back up the Ogre. As you’d expect, killing all of them isn’t easy if you rush the area, so hang back and remove foes at range if possible. Alternately, execute a Super. After you clear this mezzanine, head into a second crystal cave.
 Upper and Lower Mezzanines
Super: Recommended
Grenades: Recommended
Variations: Entering a Sector in a different order, entering this area and taking down two Ogres instead of disrupting a Hive ritual.
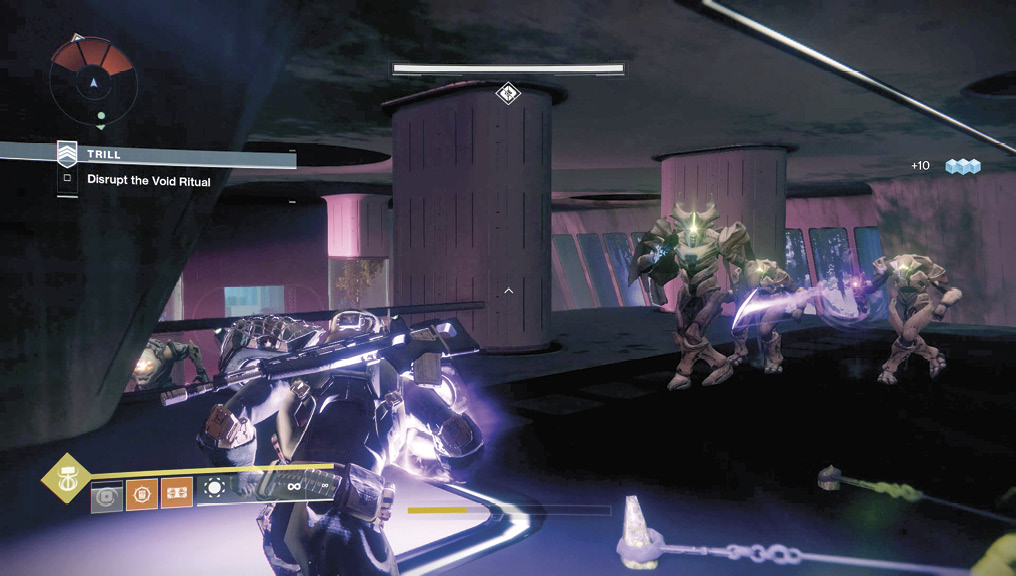
Reach another crystal cave from the bio-dome mezzanine (which is linked to the Pit), and after dropping the enemy Acolytes, destroy the six crystals. You’re able to access the upper mezzanine area, where you must halt a void ritual. This is achieved using the same technique as earlier, but there are far more problematic threats at this point. Take defensive positions behind and around the low walls, and tackle the nearer Acolytes and Knights first. Dodge the anchor traps and press forward into the mezzanine area, where two Void Wizards are being summoned. Make them priority targets for one of your teammates while the other two take on the nearest Knights and Acolytes.
Sub-Bosses: The action now borders on the ludicrous. You’re expected to head into the lower mezzanine, battle against multiple Acolyte and Knight threats, take down an Ogre, and then slot in a void charge that two Shriekers are guarding. You can grab the charge (which one of you gathered from the area above where the Wizards were), sprint down over low walls, and die. Or, you can work as a team, grabbing the void charge when your teammates are ready to cover you, and then using the lower mezzanine scenery as cover. This is especially important as you reach the Shriekers due to their rapid-fire offense. Jump to the white columns and planters so you’re not struck by too many attacks. Have the two teammates without the charge launch their Supers: one to kill the Ogre before the Shriekers, and the other to take on the Shriekers while the charge is slotted.
When the madness temporarily ends, head down the L-shaped main hallway and back to the Pit, where two Wizards are waiting. Remove them as threats, and the plug is removed; the anchor crystal dissolves, and you drop down into the Chasm of Screams.