
Destiny 2 Guide Campaign Combustion
Salt Mines (1st Mission)
European Dead Zone
Enemies Encountered
- Fallen: Dregs, Captains, Vandals, Wretches
Important Allies
- Devrim Kay
Objectives
- Enter the mine.
- Rendezvous with Hawthorne.
- Defeat the Fallen.
- Call the elevator.
- Find another elevator.
New Actions to Learn
- Detonating Explosive Barrels
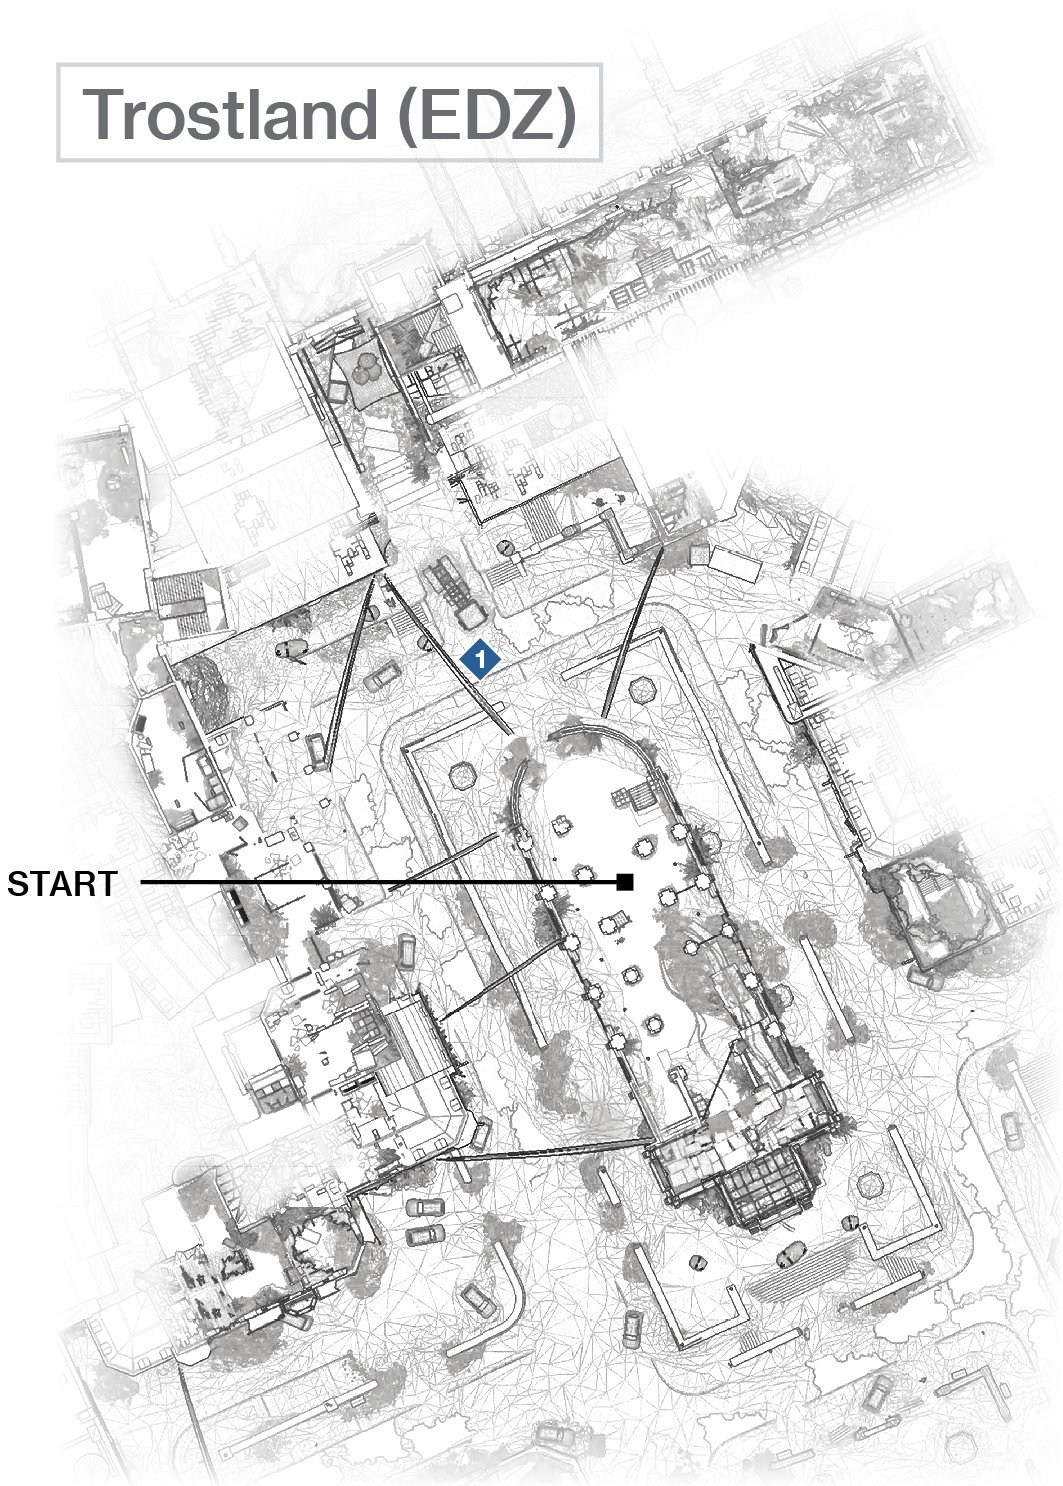
 North Trostland Salt Mine Entrance
Super: Not recommended
Grenades: Optional
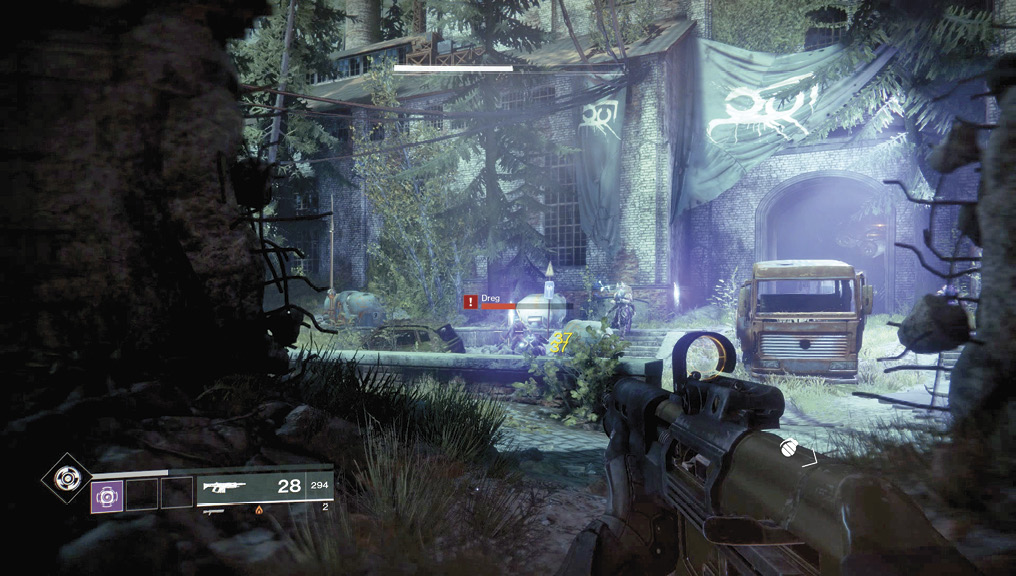
You begin your assault into the Salt Mines at the church in Trostland, with a group of Fallen guarding the entrance. It’s a straightforward matter of removing the cluster of Dregs, whittling down the Captain’s Arc Shield and taking him down before the shield recharges, and then tackling the couple of Vandals and Dregs in the rubble of the structures to the right of the entrance. You are doing some close-quarters fighting, so have your melee attack ready to back up your weapon of choice.
Here come the Vandals. Treat them as slightly hardier Dregs: aim at their heads and dodge the incoming projectiles from their Shock Rifles. These rifles have a slower firing cadence than a Dreg’s shock pistol and can be fired farther. Rushing forward with melee strikes works, as well.
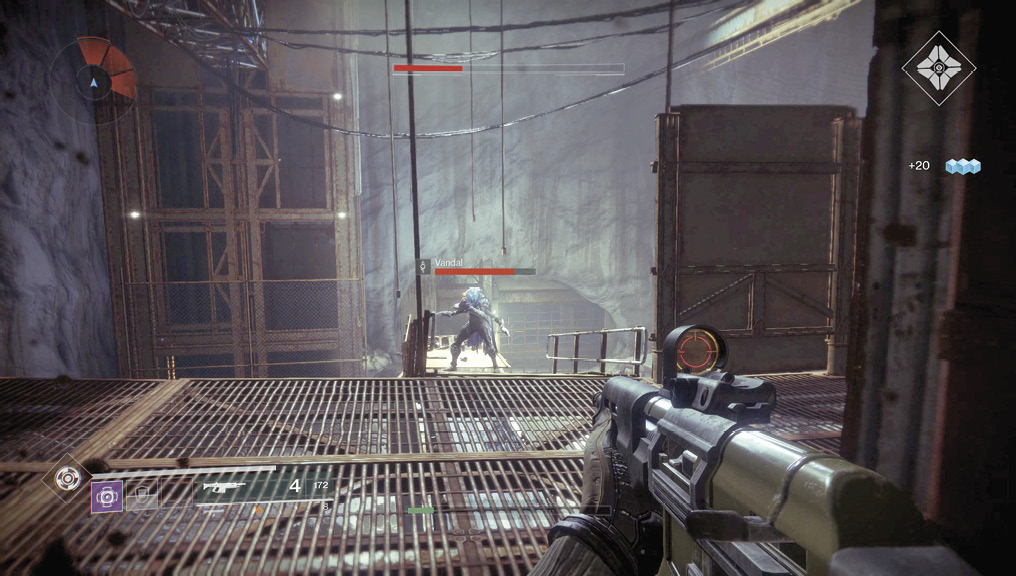
You could rush along the right side of the floor, leaping over a pipe and hiding behind the rusty truck cab, but three Vandals on the gantry to your left can easily locate you. You can perfect the technique of sprinting around the objects the Dregs are hiding behind and melee striking them into submission. Then, move onto the gantry to clear the Vandal snipers and any remaining stragglers.
Or, you can stay on the left gantry and systematically remove Vandals and Dregs from the gantry itself. Advance into the hut and around to lob a grenade down on the Dregs below before tagging them easily from the protruding gantry. You can also try moving in the air and firing down on Dregs as you land. There’s also a red barrel with a flashing diode on it; this is explosive and can be detonated if you shoot it. This causes commotion, alerts foes, and may not catch Dregs if you don’t hit it quickly enough. Still, these are worth shooting later into this mission. Just don’t stand near one when it explodes, as it can hurt!
After calling the elevator, you surmise that it is definitely out of order. Open the large rusting tunnel grating, and continue deeper into the mine.
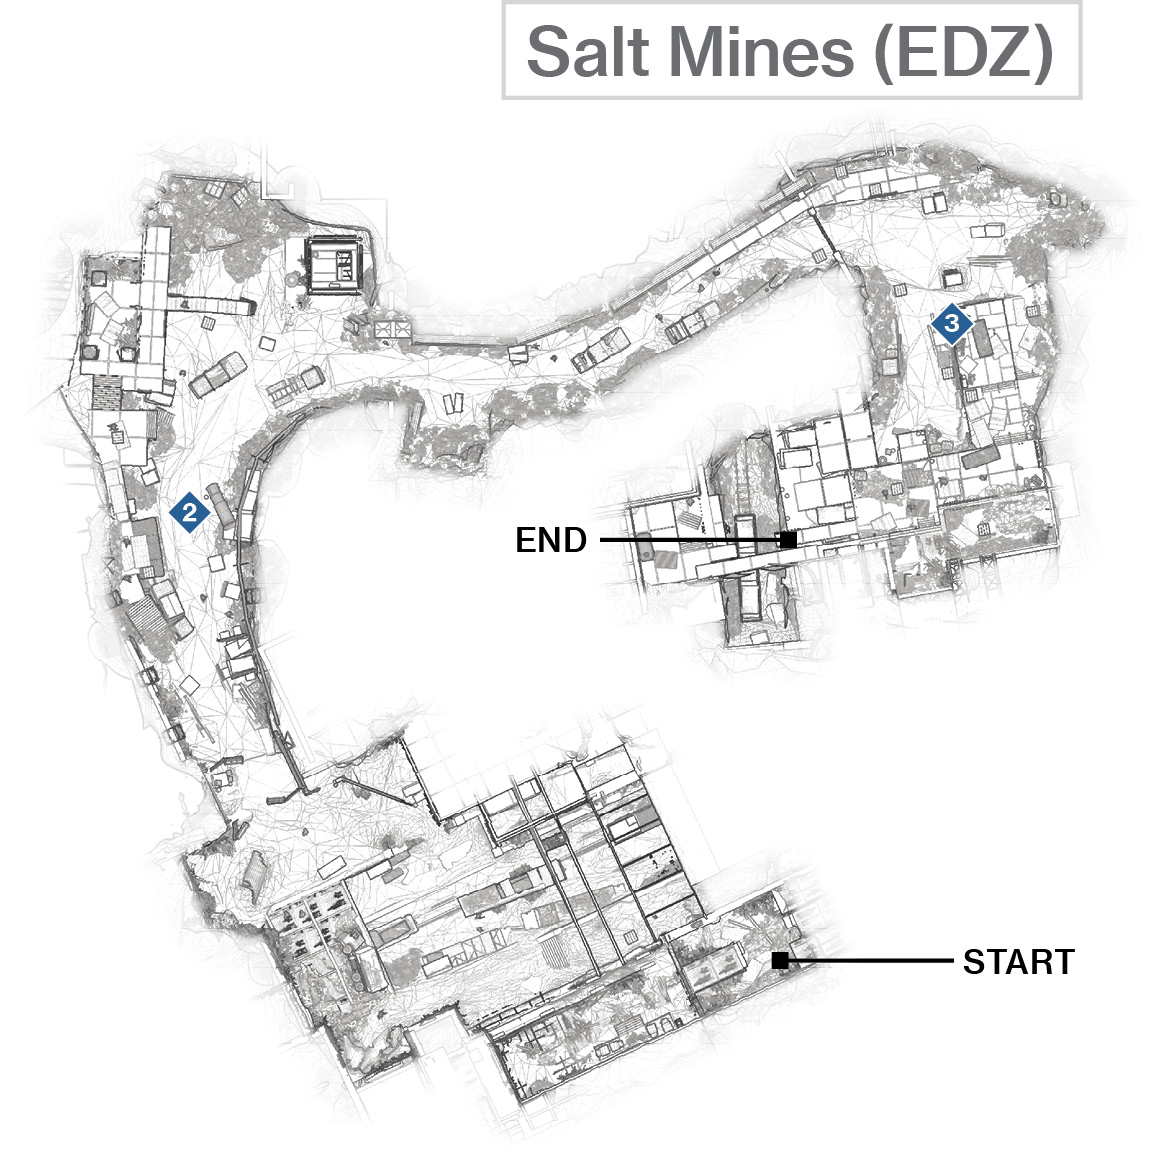
 Salzwerk Mine Outer Depot
Super: Not recommended
Grenades: Optional
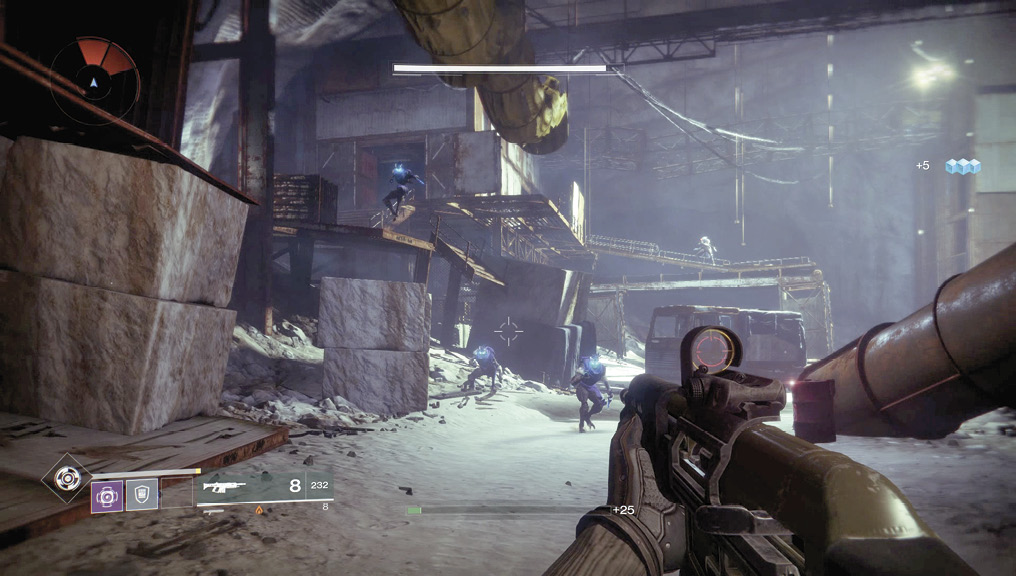
Wind your way into the mine depot, listening to Hawthorne as you go. This objective is quickly changed to a new one, as you must clear the area between the imposing “Salzwerk” mine entrance and the elevator shaft. Follow the Dregs in, looking up so you aren’t surprised by a Wretch ambushing you from the ceiling. Melee or headshot him before entering the depot interior.
Enter the depot, which has two main routes through to the elevator. The first route is taking the dilapidated metal stairs on your left, leading to a rusty gantry and box-shaped structure ahead of you. Choose this if you enjoy removing foes from height and the advantage that gives you. The other path is walking the main floor of the mine itself; there are four initial Dregs darting from crates on both sides, and a Vandal sniper at the far end. Charge in, and expect to be overwhelmed. Instead, stay back and pick off the foes you can see before moving forward (using either route).
 Salzwerk Mine: Inner Yard
Super: Optional
Grenades: Recommended
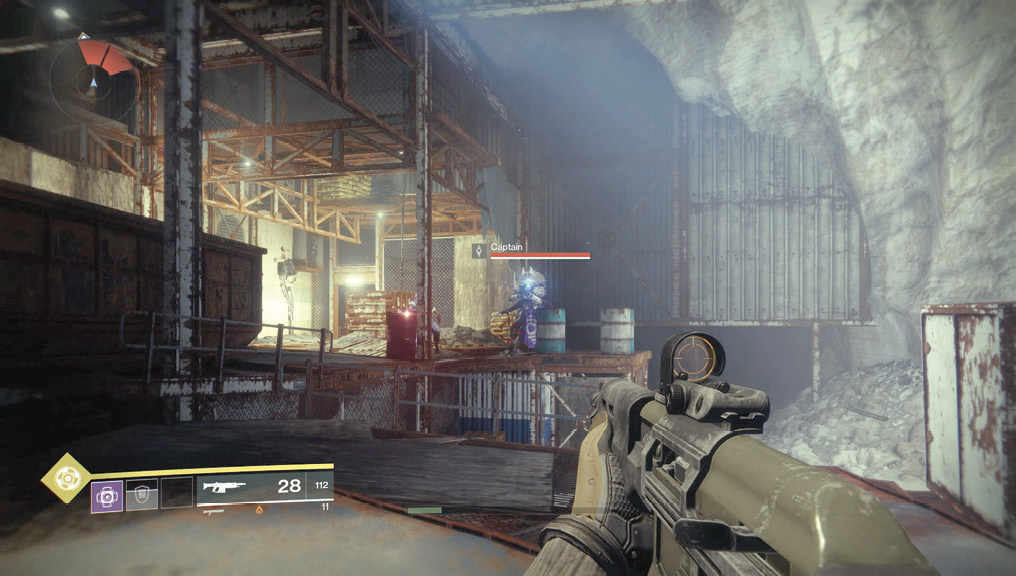
Head down the tunnel, entering (via the opening on the left) a large inner yard with a lower roof than the previous chamber. It hosts a cluster of Dregs with a Captain on the far platform. Lob a grenade or shoot the explosive barrel by the Captain to wake everyone up before rushing along the left wall and onto the platform, finishing the Captain before his shields recharge. Swift executions are advisable.
Or, you can creep along the left side, executing the Dregs and Vandals as you go, backing up if the foes become too numerous, and leaving the Captain for last. Watch for two Wretches coming in from the chamber exit; they sneak in and around the darkened areas on the far side of the chamber. These hostiles can impede your progress if you’re overrun while on the rusting platform.
Alternately, you can use your weapon’s sights and tag each Dreg and Vandal from the entrance to the inner yard, slowly working your way around the left side and onto the rusting platform. Dispatch all foes from range, including the Captain, and tackle the two Wretches as they run in from the broken gantry bridge in the Restricted Zone ahead of you.