
Destiny 2 Guide Curse of Osiris PVP
Radiant Cliffs

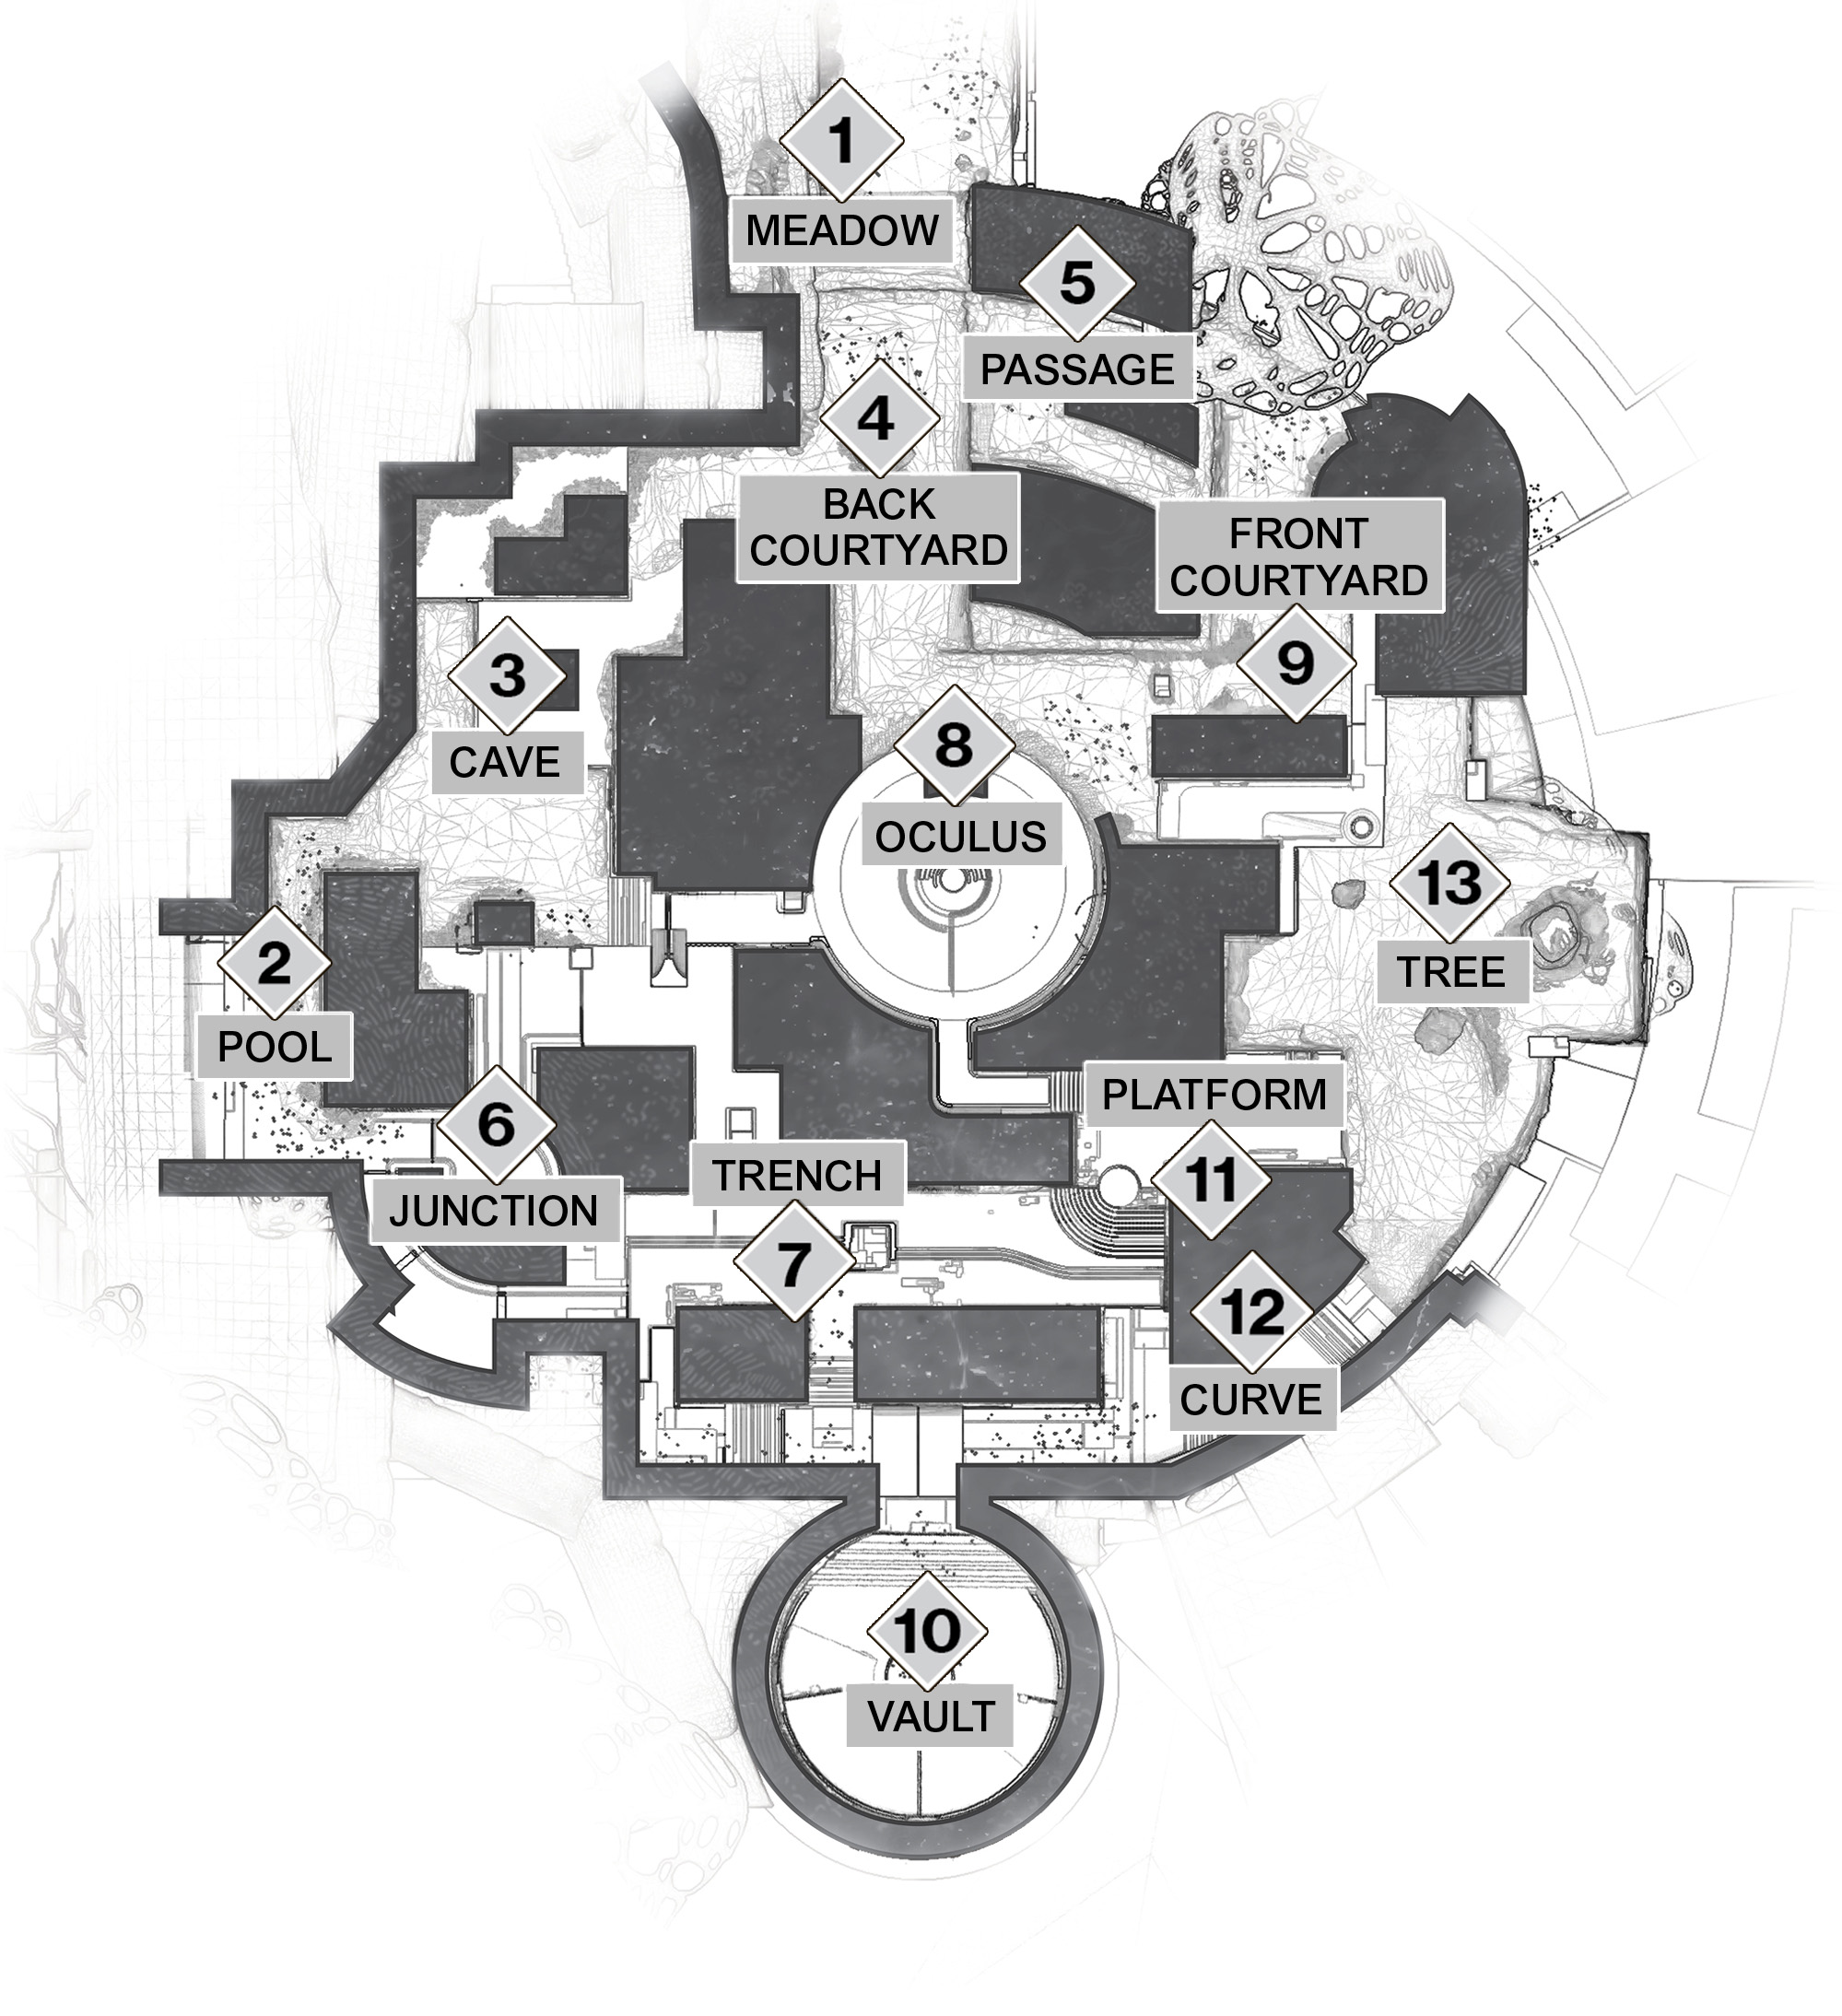
Radiant Cliffs Map Locations
Overview
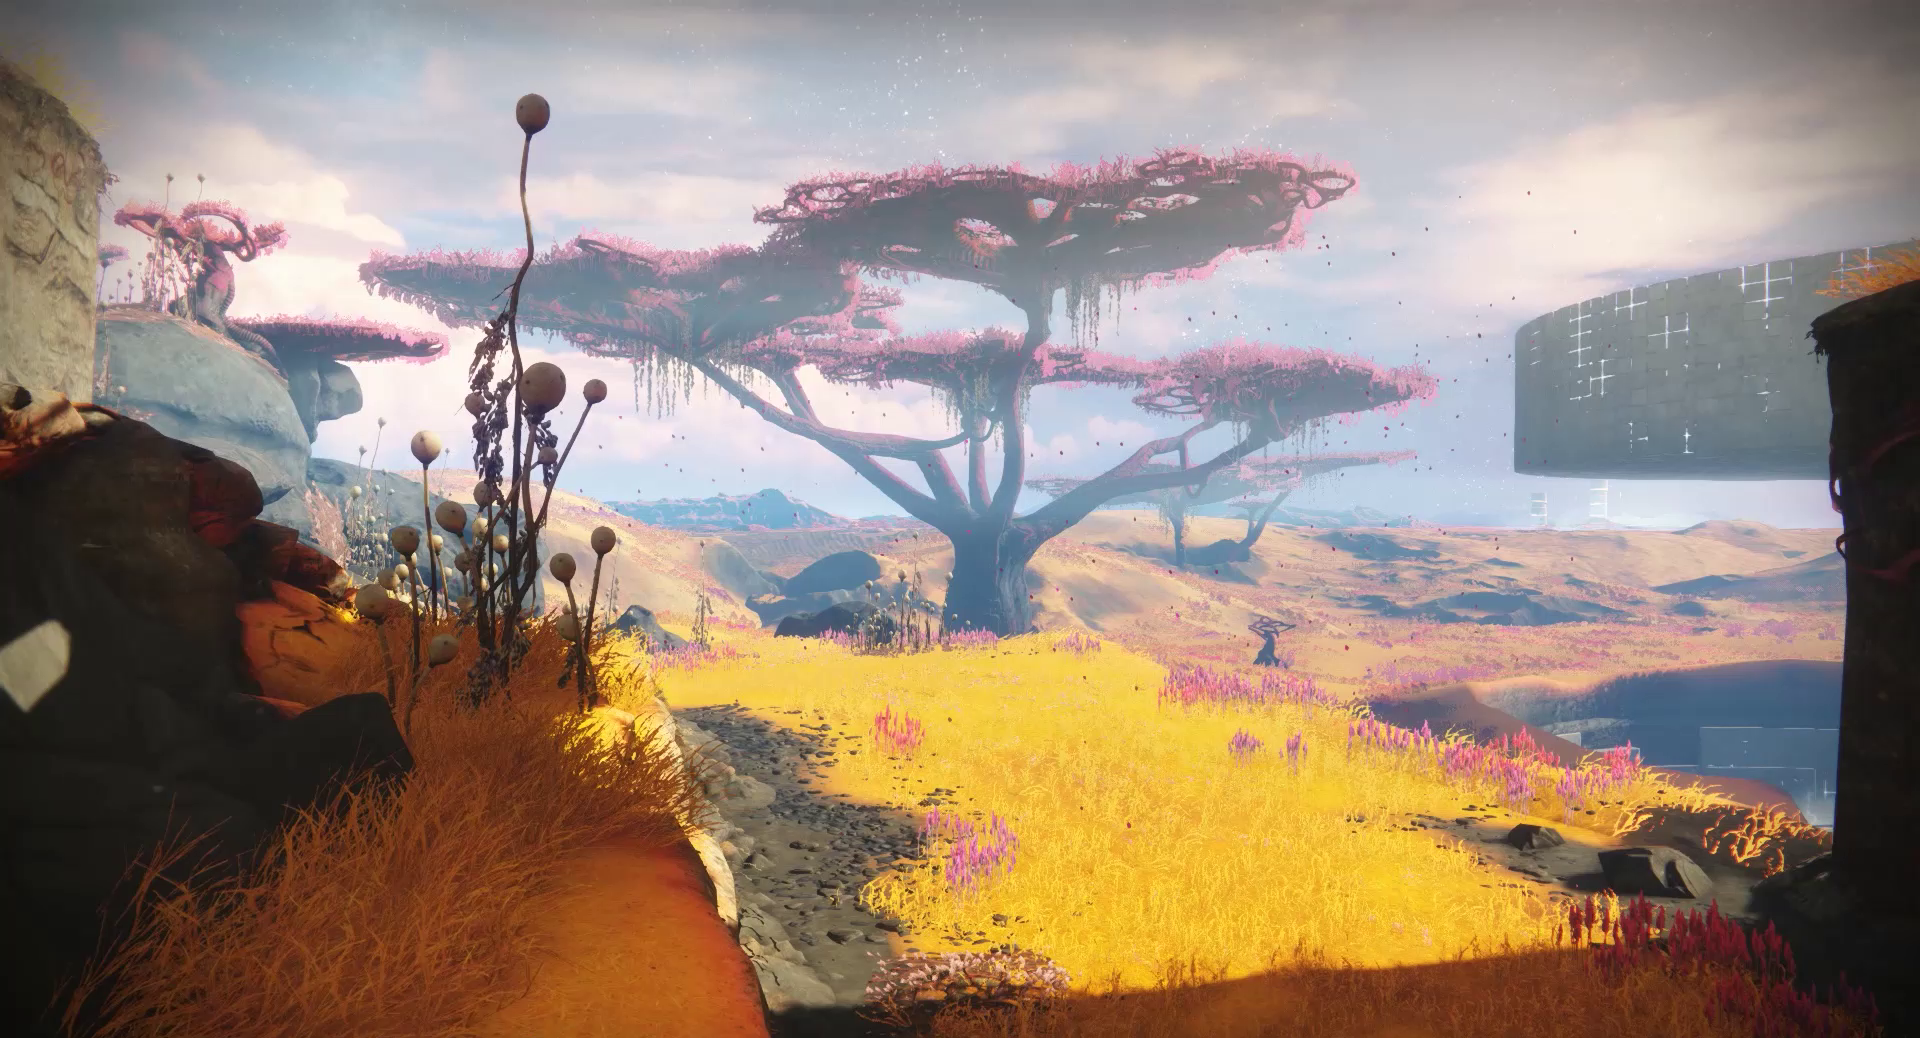
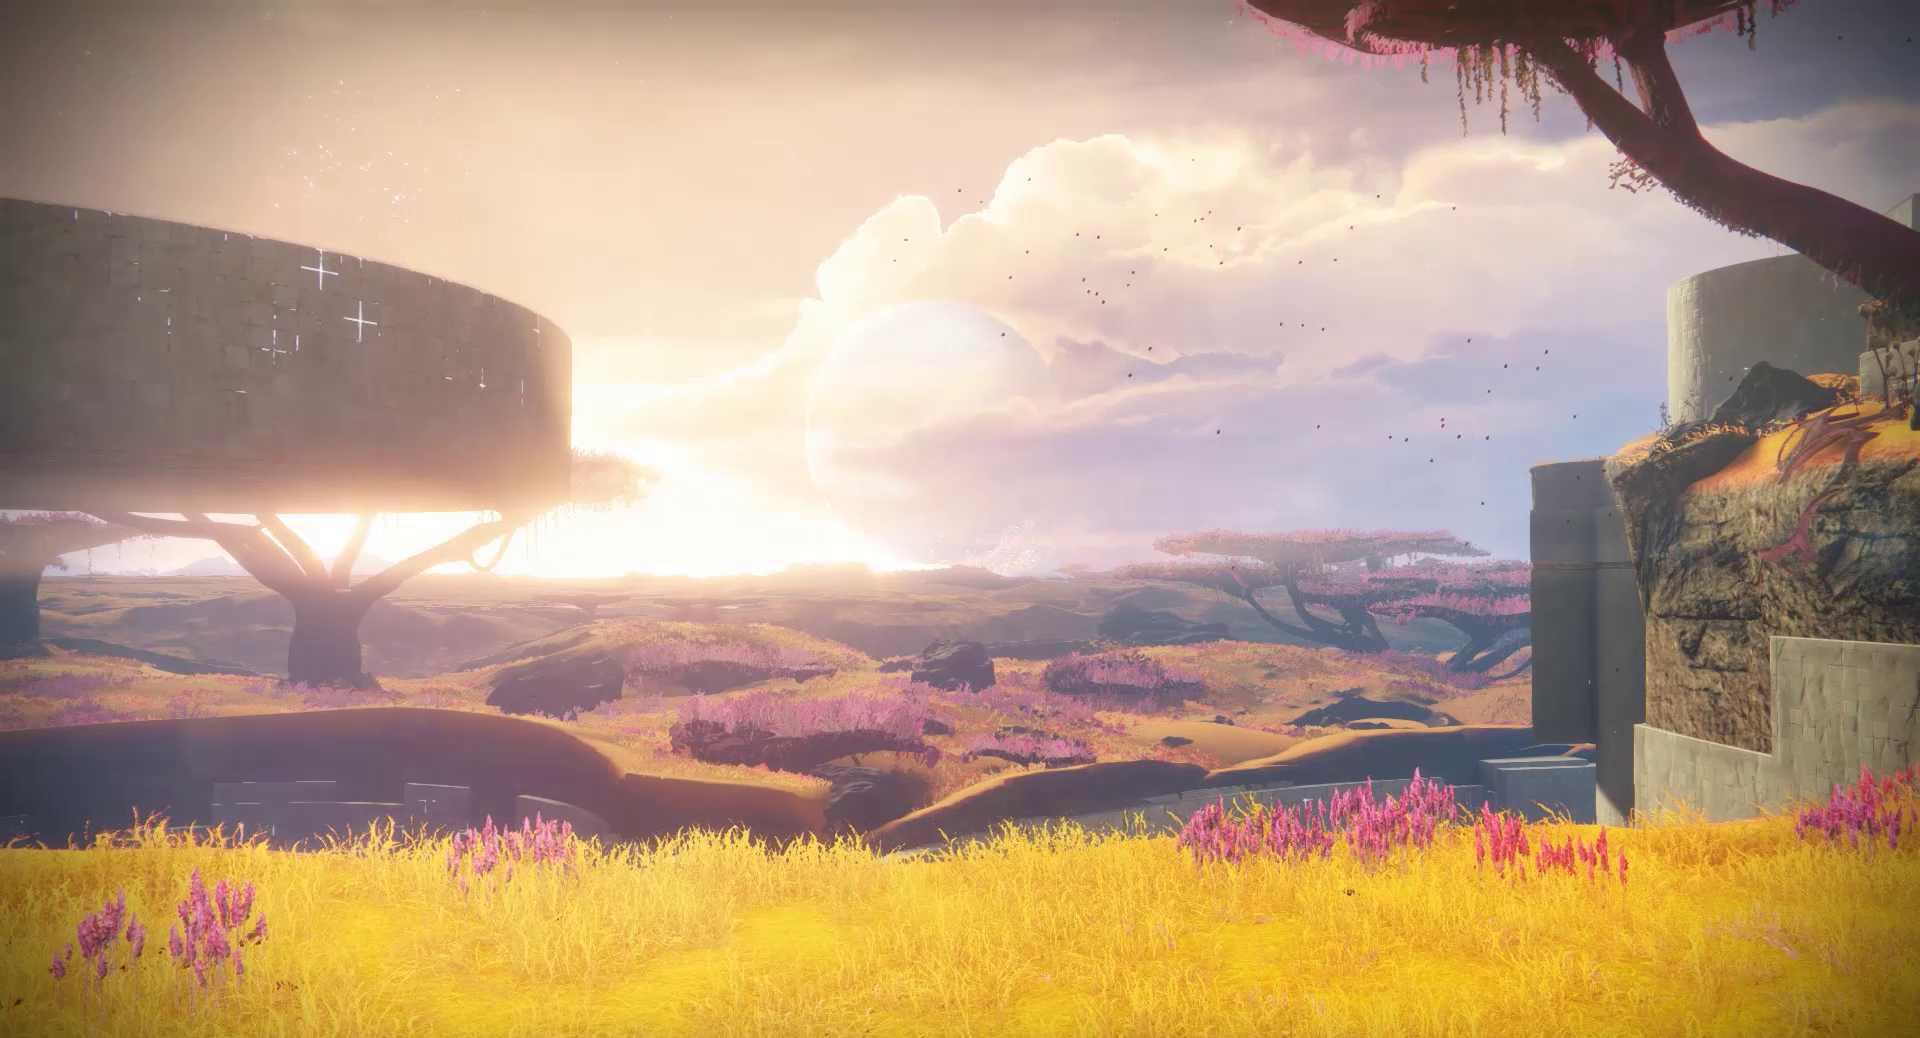
Radiant Cliffs is set in a simulated version of Mercury’s lush organic past. Its exterior is a nearly idyllic Mercury, while the interior is undergoing transformation by the Vex. Exterior engagements are very well suited for mid-to-long-range weapons, while interiors require short-to-mid range weaponry.

The deeper into the map players go, the more cavernous the surroundings become. The interior has quite a few tight corridors and sharp angles. The interior is prime for close-quarter fire and surprise melee assaults.

The many short pathways become deathways, trapways or escapeways. The overall possibility for flanks and counter-flanks will lead to some heart-thumping engagements. Keep a grip on it, memorize your callouts, and anticipate enemy flanking movement. Keep a good SMG or Hand Cannon ready for when you feel cramped. Use the many interior corners for getting a jump on the enemy and follow up with a punch.
Match Types
 Quickplay
- Clash
- Supremacy
- Control
 Competitive

- Countdown
Clash, Supremacy
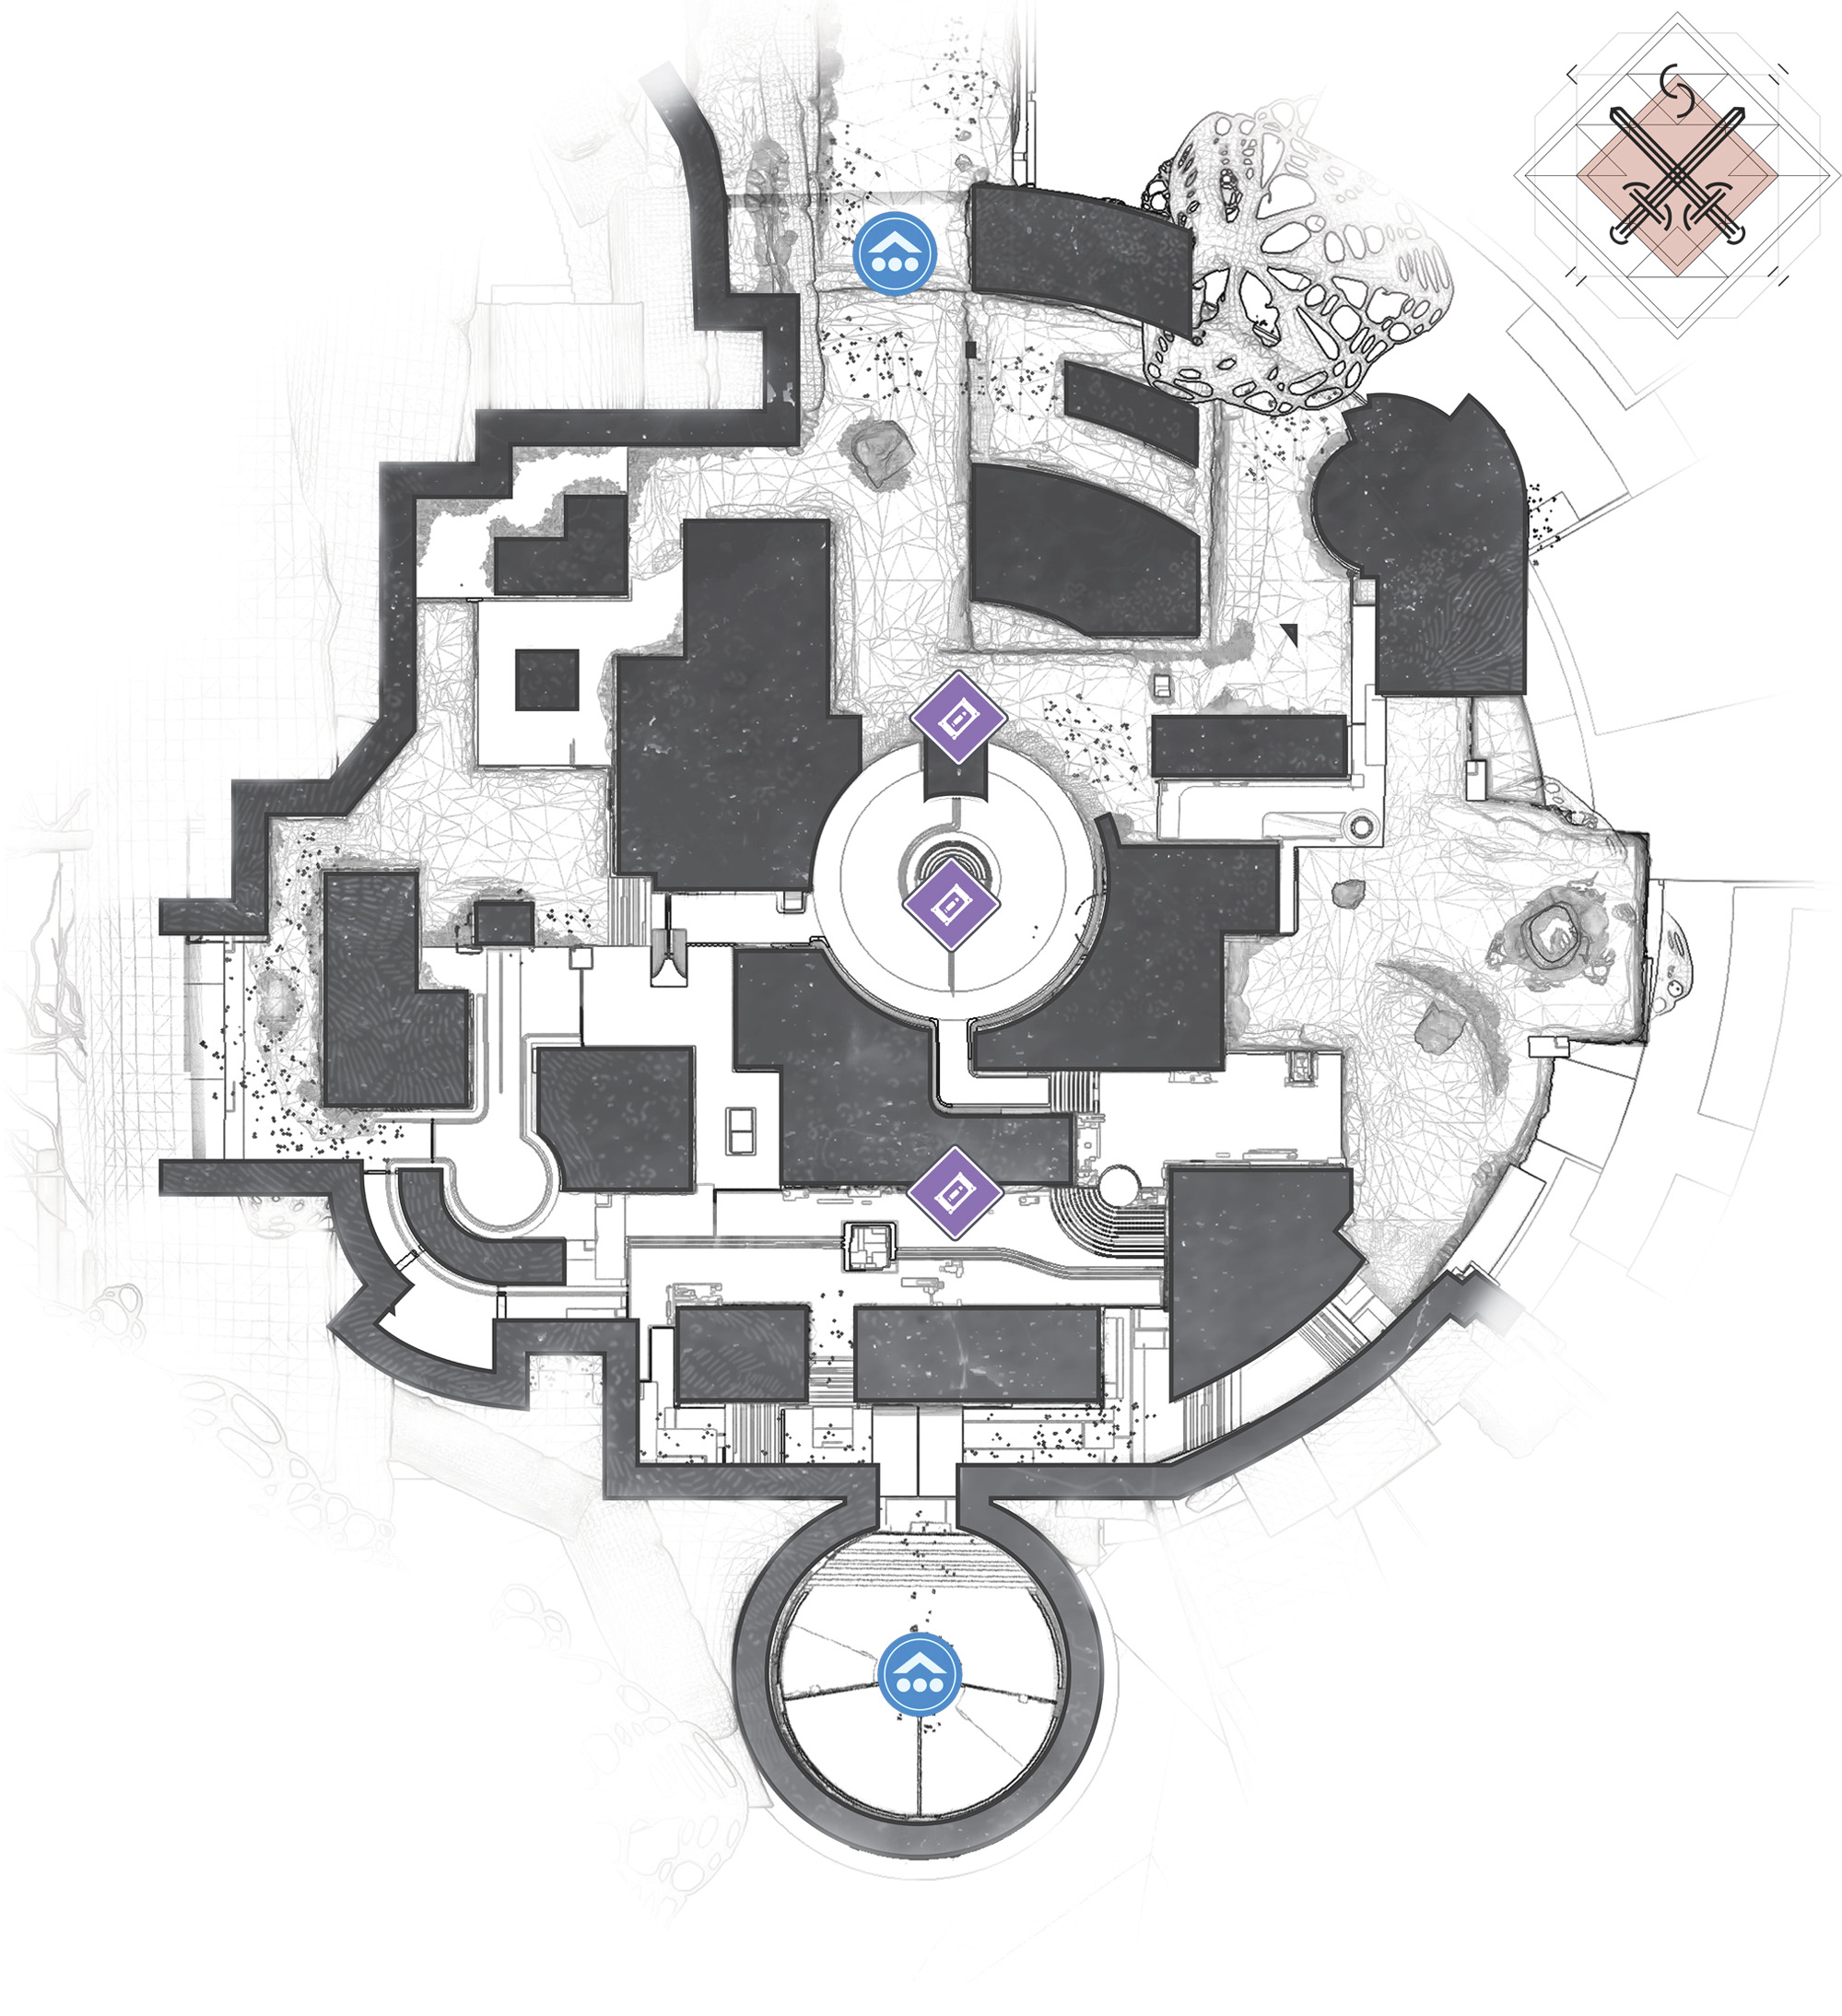
Control
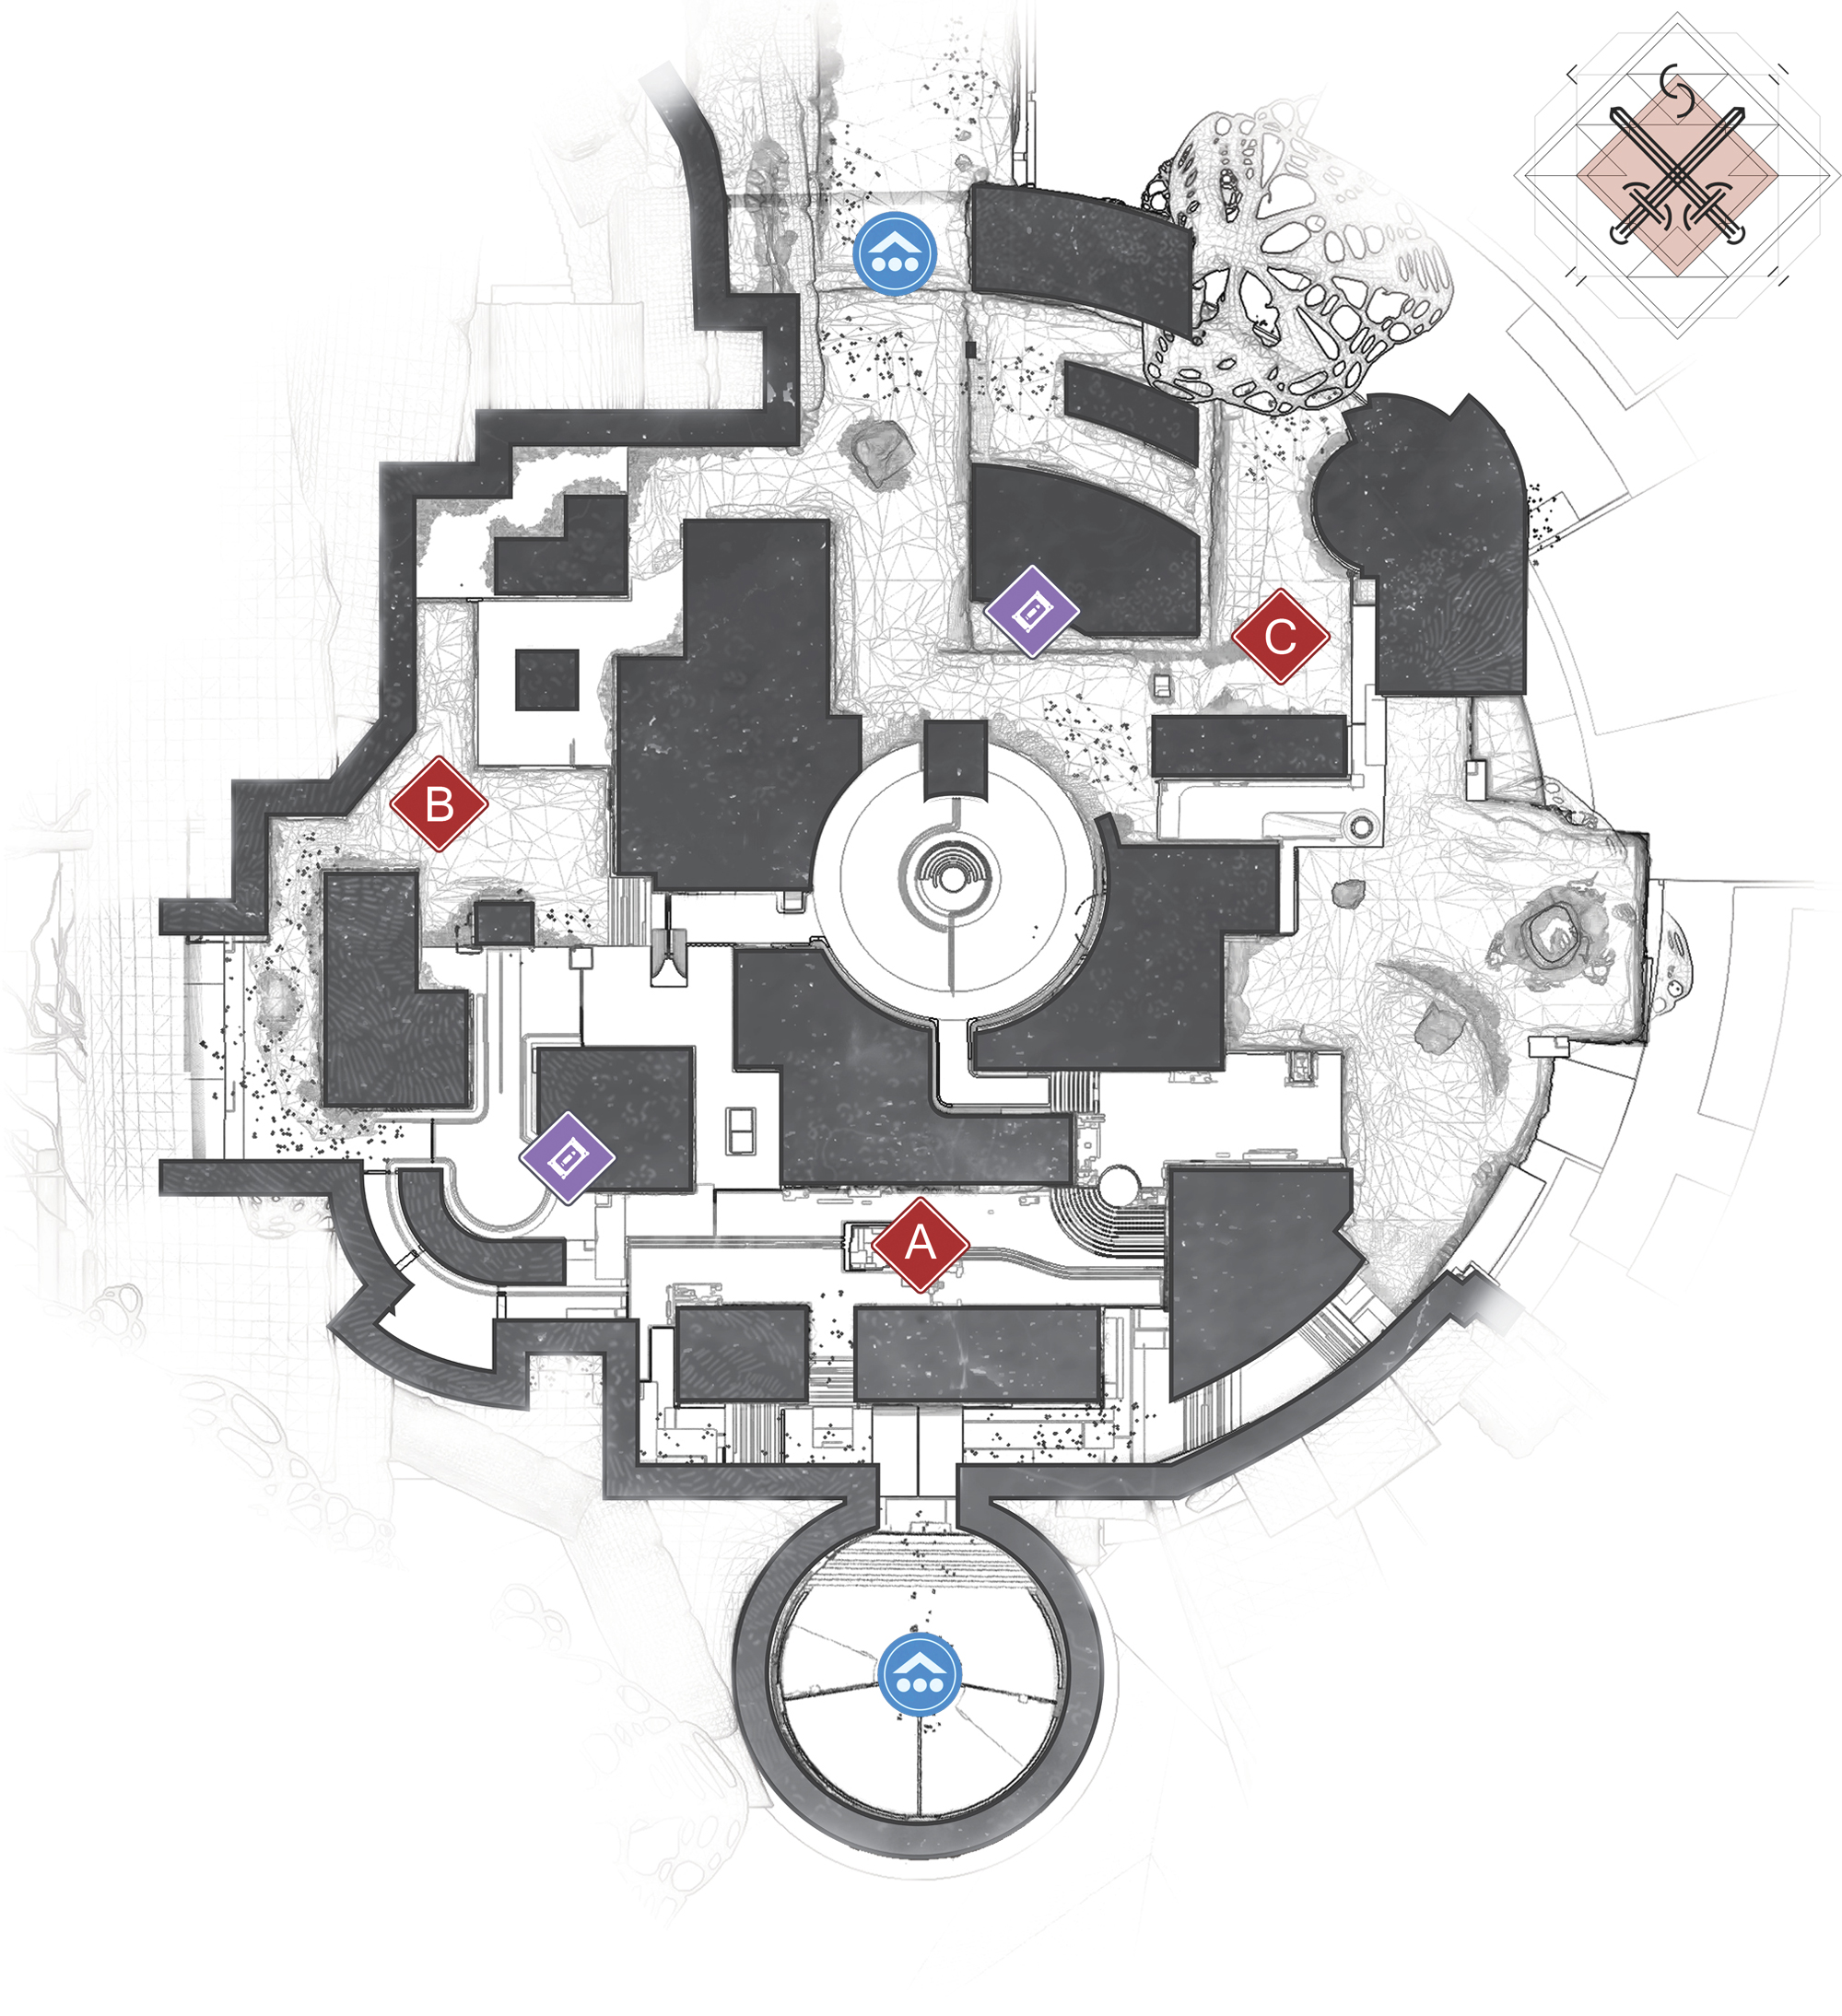
Countdown
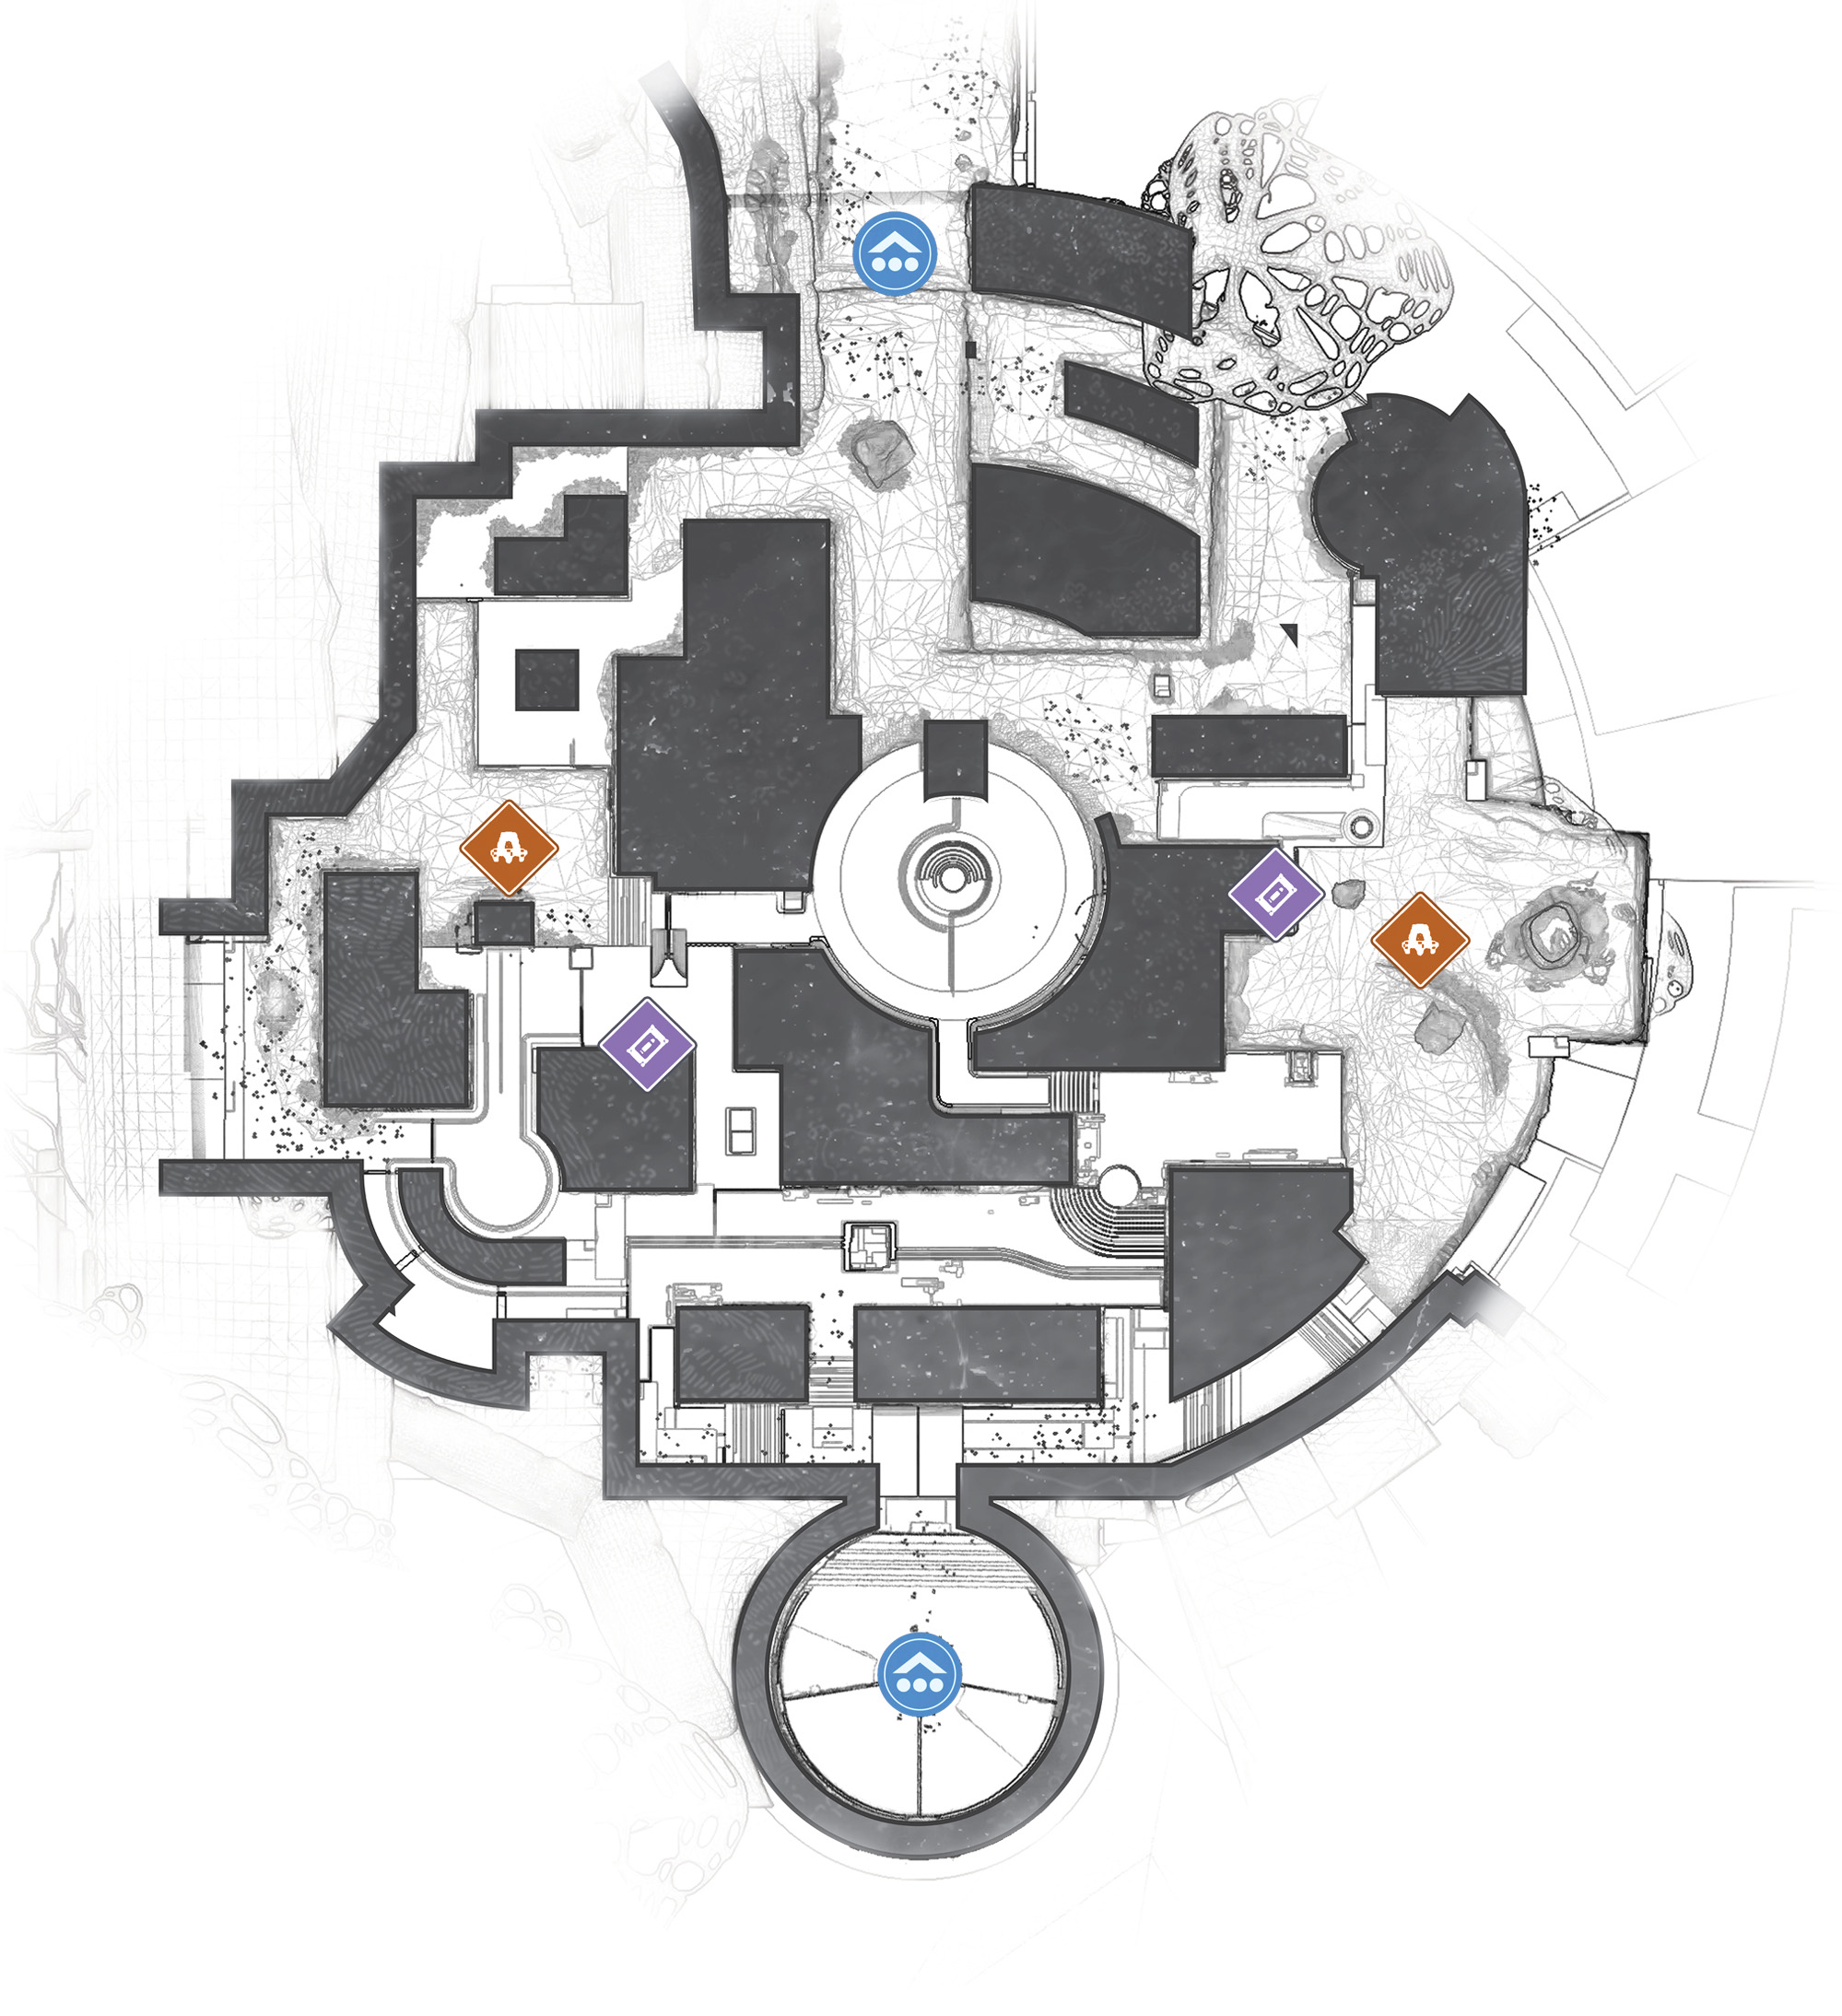
 Meadow

Meadow is a landing zone for most game types and the initial spawn for Defenders in Countdown. There’s a massive sightline from here to Oculus. If you find yourself in need of a hiding spot near here, drop down and to the side using the cover of the landscape.
 Pool
Pool

Be wary of the radiolarian pool. Fall deep enough and you’ll be dematerialized and reconstituted into Vex parts. If anyone has got a short-range Power weapon, do not hide in here. It’s going to be hard to back pedal in here as there are few exits. If you’re someone with a Super or Power ammo, then check movement in here. There are not many options for enemies to make an escape.
 Cave
Cave
Key Location: Cave

The Cave area is fairly large and in opposition to the Tree. It’s more open, with a few pillars for cover along with a bit of a tunnel section for approaching from an alternate angle. It’s one of those areas where you should expect an imminent gun fight. Enemies will funnel from the Back Courtyard, Junction, and Oculus, so keep an eye on the main passages.
 Back Courtyard

The Back Courtyard is the jog from an initial spawn toward the battle. Thankfully the battle is usually close at hand, and engagements are likely to occur here heading from zone B to C, or vice versa. There’s a long sightline from here looking into the Oculus and into the Front Courtyard. This area will be a hotspot, as there are several placements of Power ammo near here. Patrol this area to keep a lock on Power ammo for your team. It’s the short path between all control points, so traverse the area with an eye on your radar.
 Passage
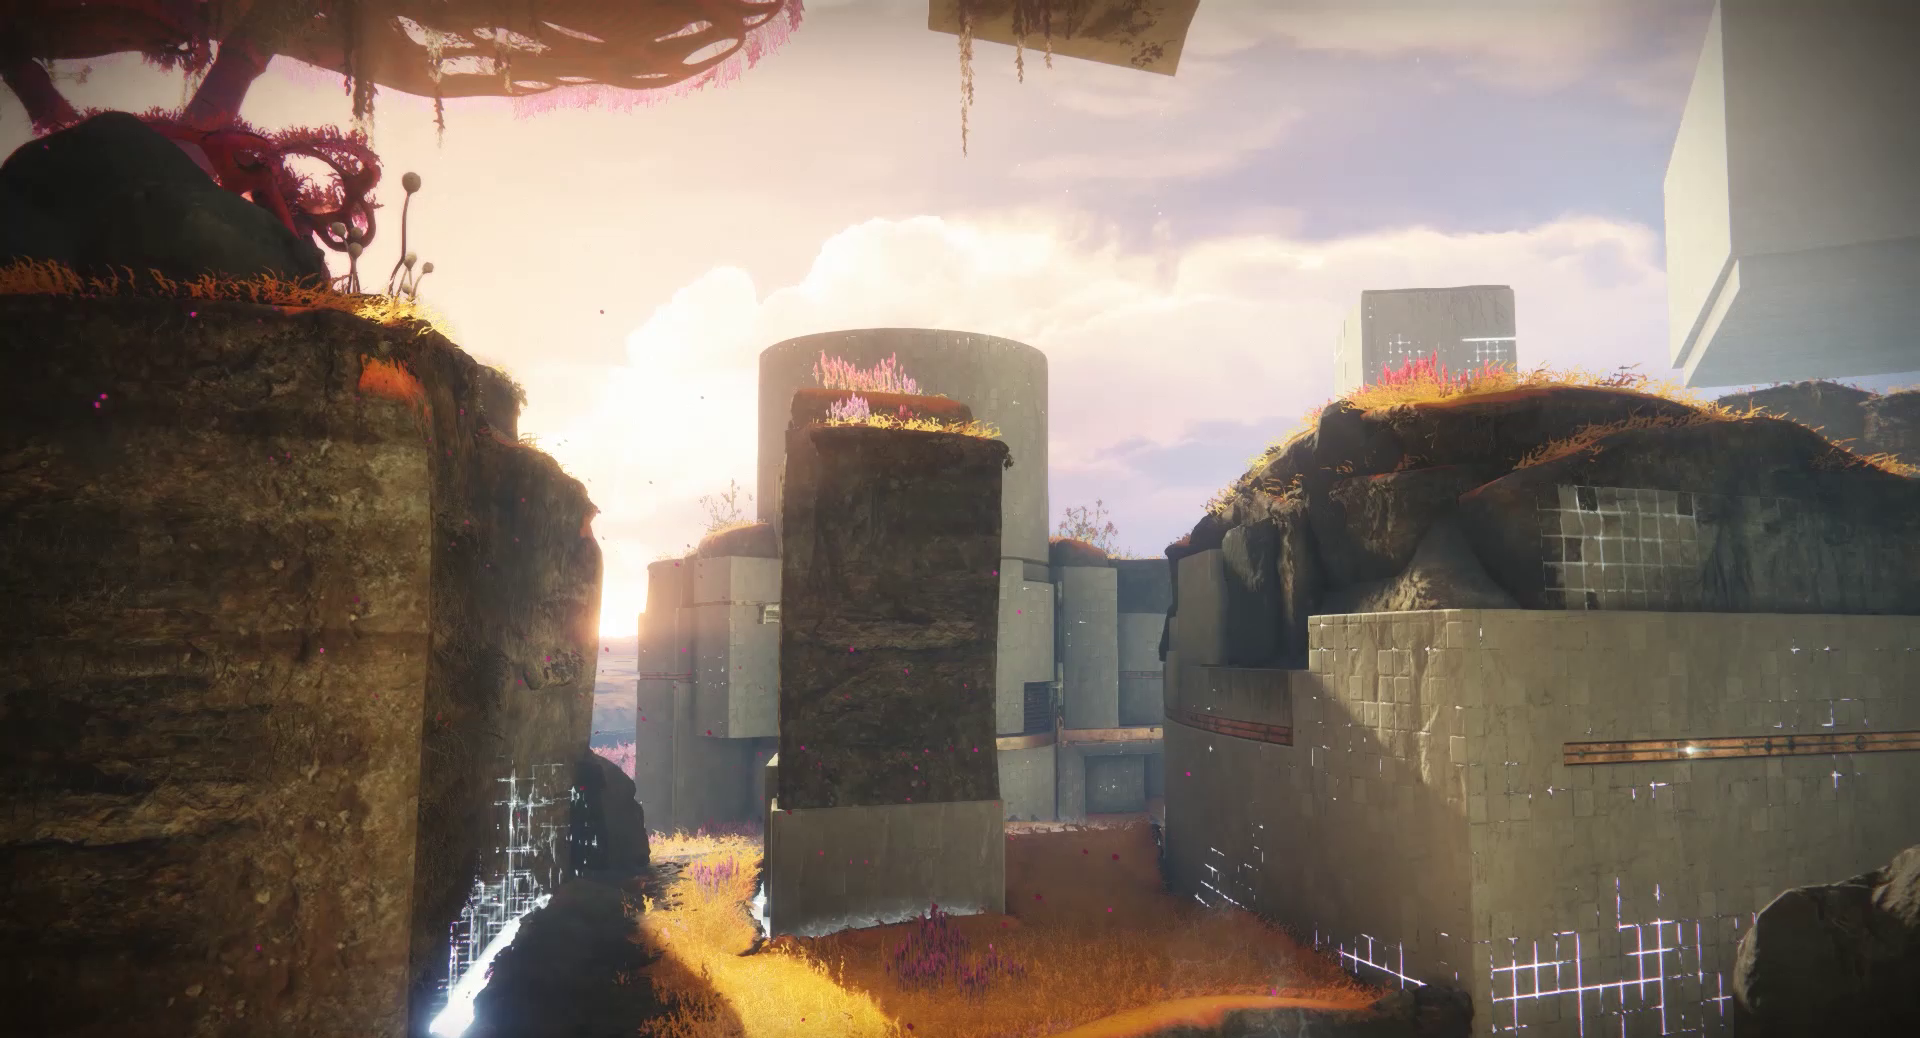
If you’re posting up a defense on C, this is a good spot to move to the Back Courtyard to keep an eye on enemies approaching from the Cave or the Oculus.
 Junction

This section serves as (you guessed it) a junction between three separate areas. You may use this route to move from A to B to cover them with mid- to long-range weapons. During Countdown it’s where you may most-likely find enemies.
 Trench
Key Location: Trench
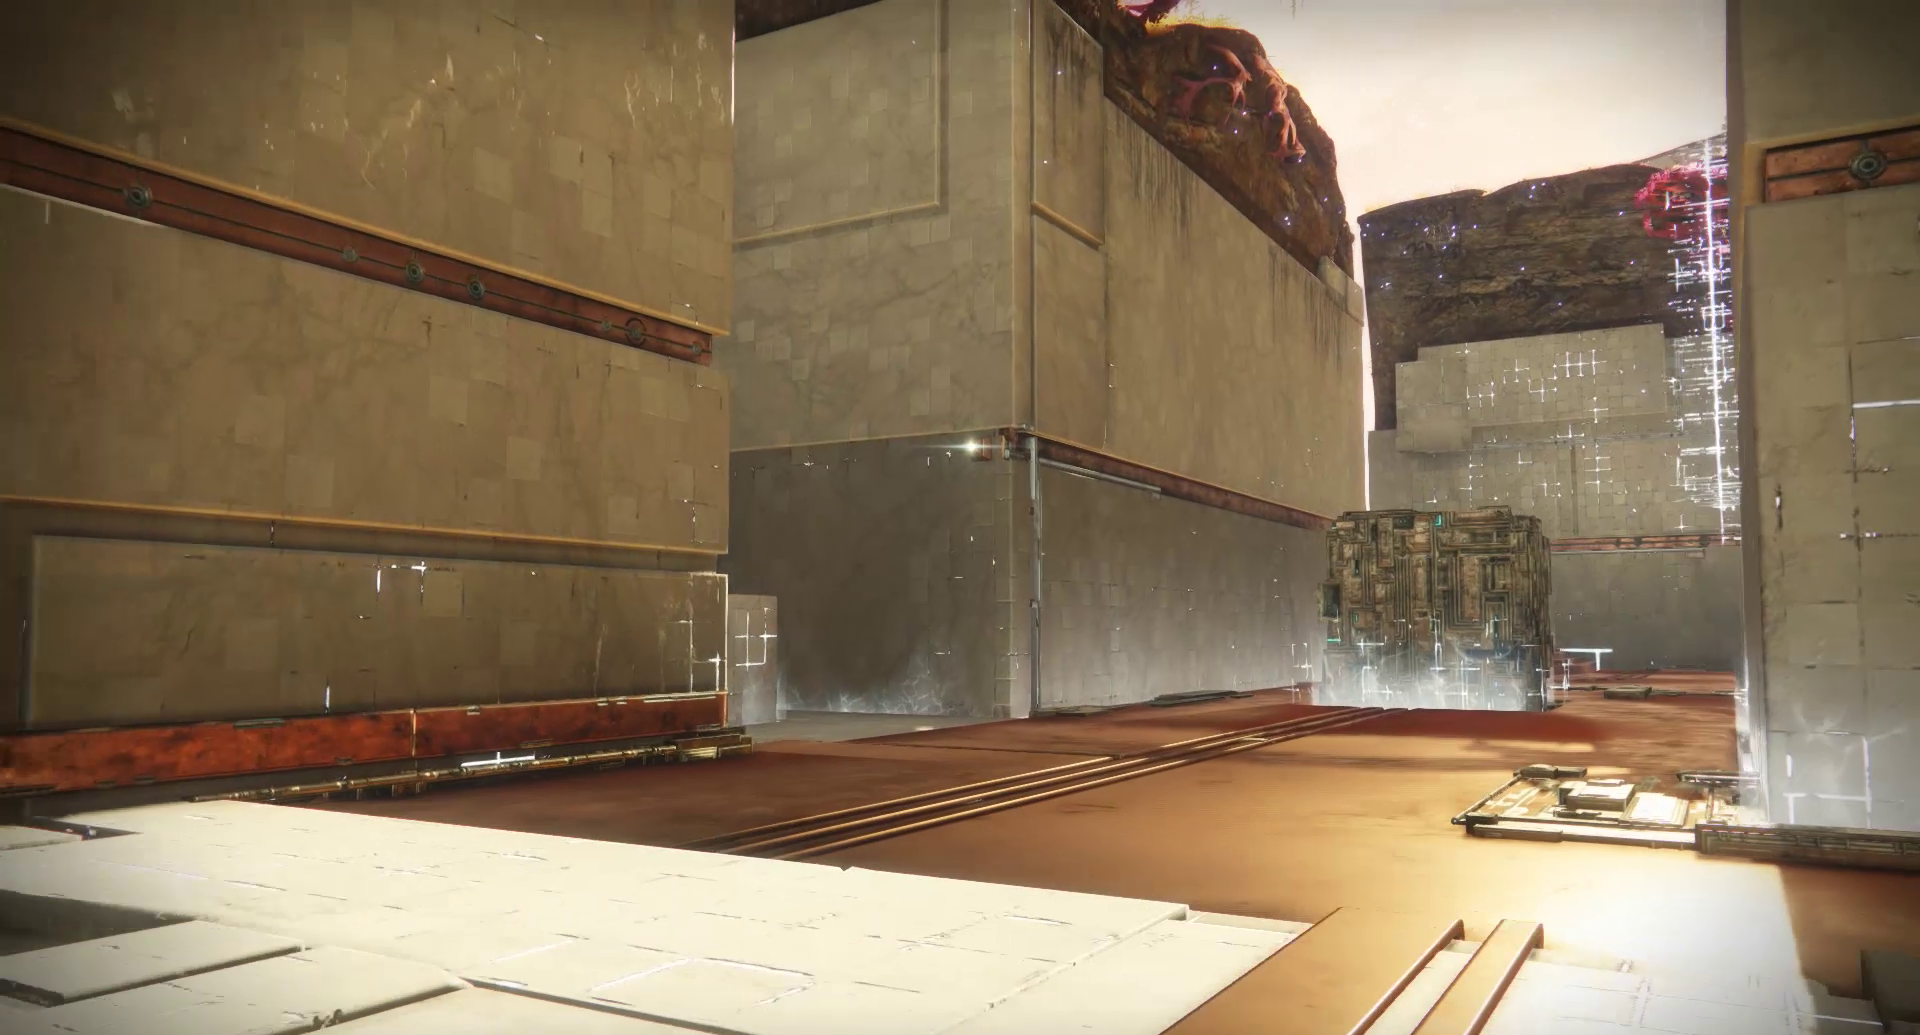
This is a nice long hall with one bit of cover in it and too many entrances to cover. Therefore, it’s ideal for a control point. Controlling this area is best done by peeking from a corridor and firing when someone is running in the open or patrolling the nearby routes leading into it.
 Oculus
Key Location: Oculus
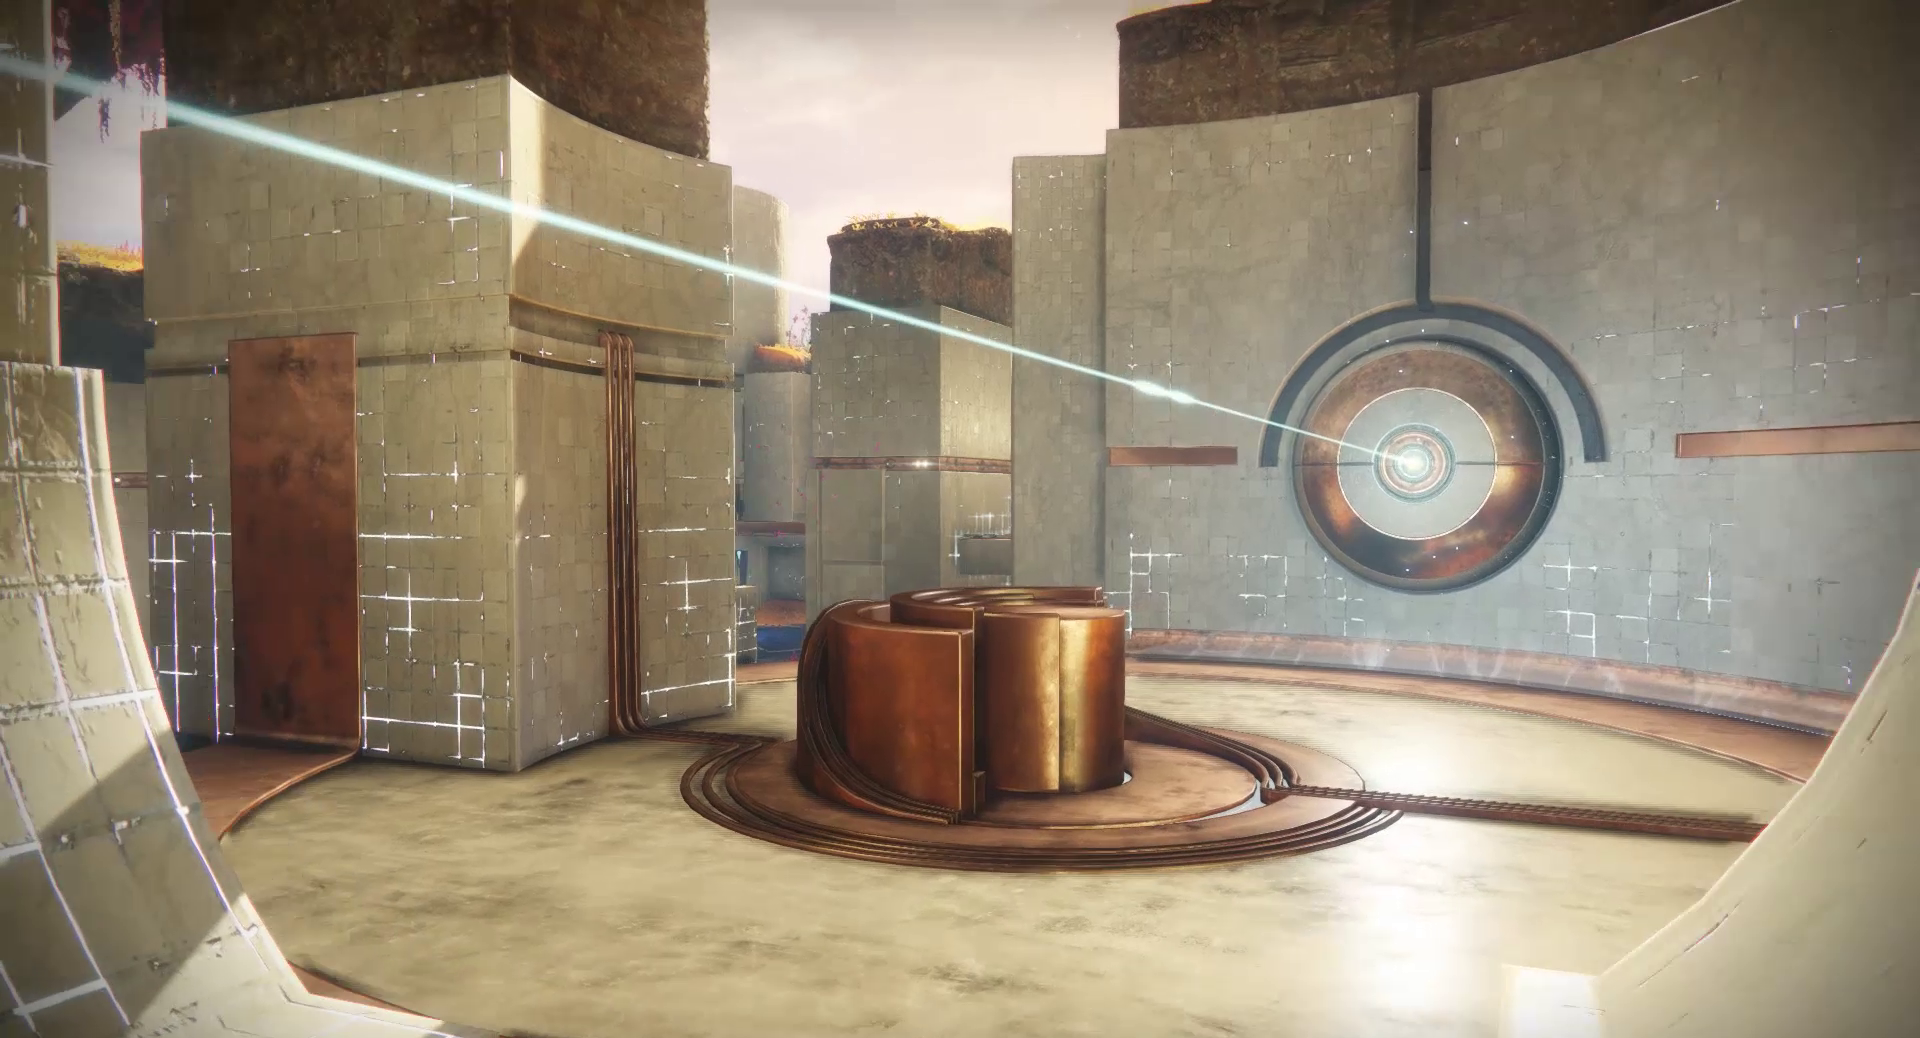
All pathways converge here and it’s one of the shorter routes to take through the map. Several Power ammos drop here, so it’s going to be white hot. Do not linger here long. If you can take out an enemy quickly out in the open, do so, but quickly reroute through a corridor or path so as not to take heavy fire from multiple angles.
 Front Courtyard
Key Location: Front Courtyard
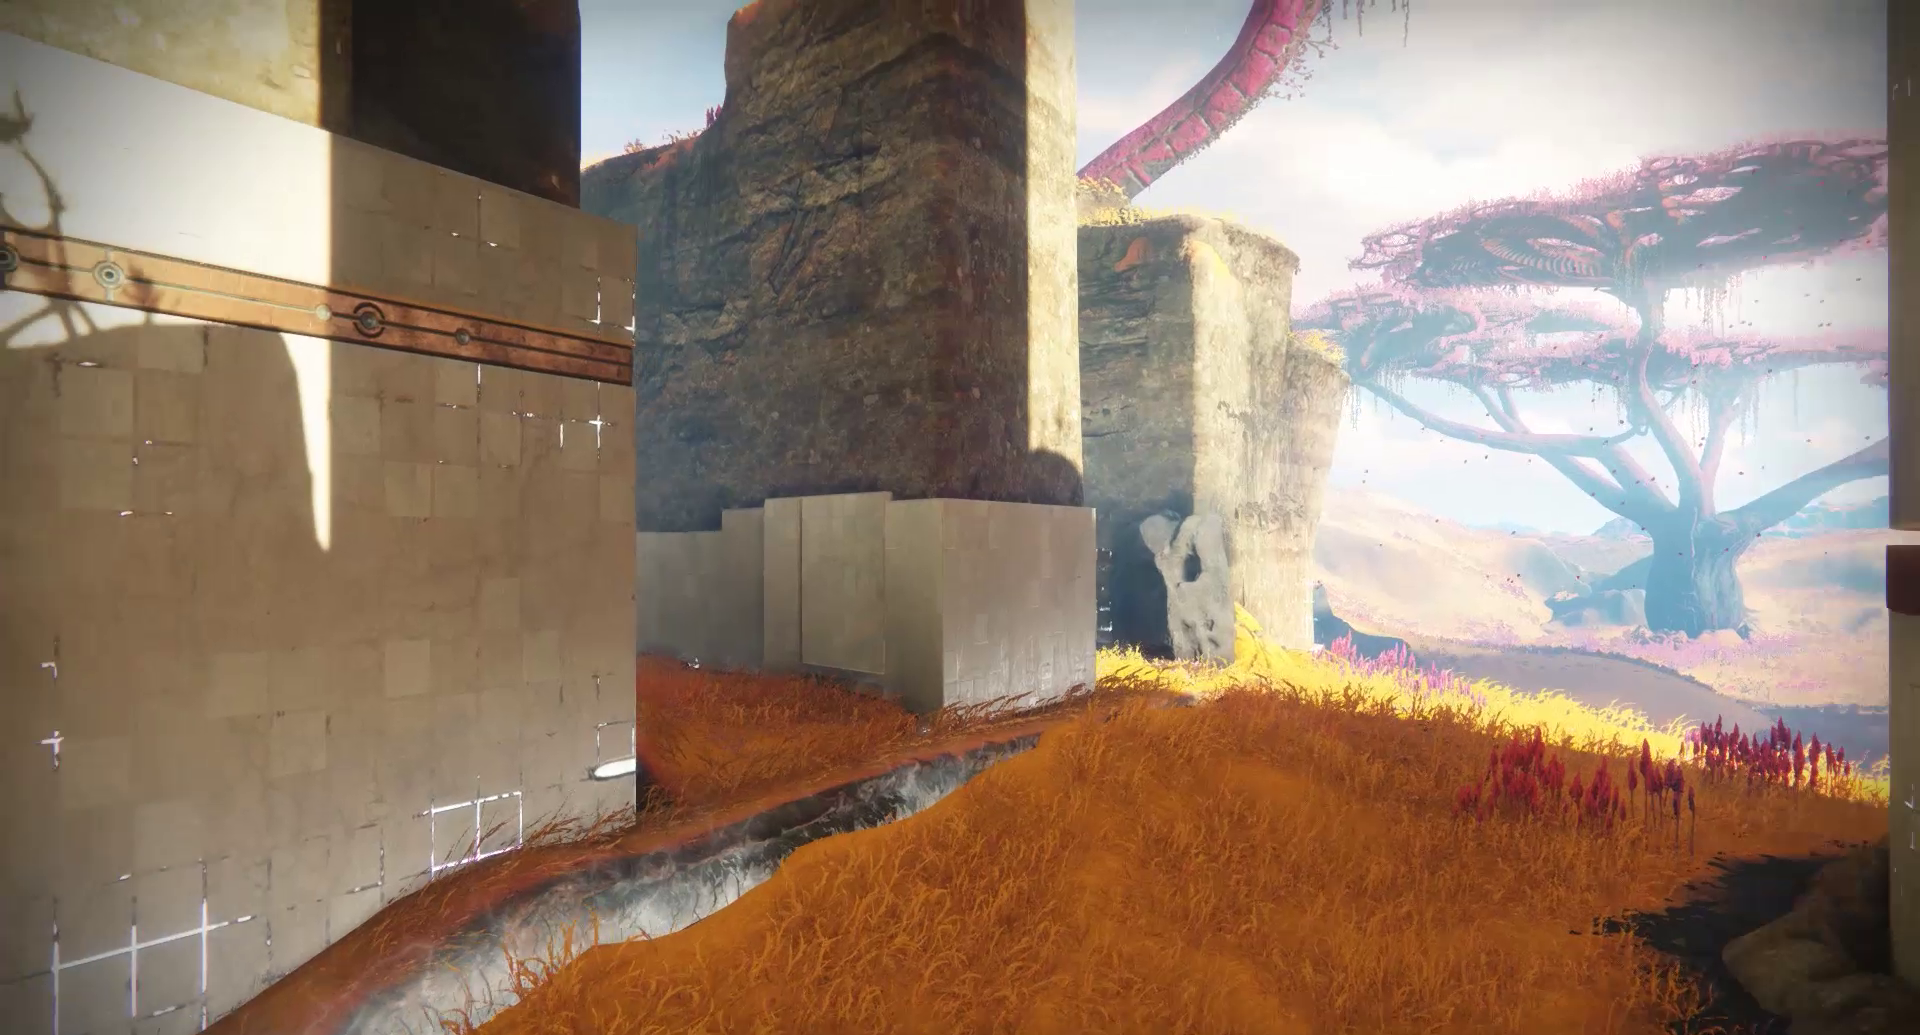
The Front Courtyard will have some good control via the nearby spawn, so flipping it is going to be tough. It’s got a good nook to cover from above leading into the Tree area. It’s fairly open, so enter the area with caution.
 Vault
Vault

The lower initial spawn area directly attached to the A control zone is going to firmly control A. The narrow hall here is going to be a pitched battle with easy grenade kills. Move out of here quickly or use it to escape up the Curve. Hiding in the enclosed area might be a good out-of-the-way area to recover.
 Platform

This connects the Oculus, the Trench, and the Tree. Use it as an overwatch during Countdown. Use it to maintain control of the Tree area from C to A. Use it to cover A. Use it to cover the aforementioned areas and to keep an eye on anyone around the Oculus, the Trench, or the Tree Power ammo. It’s also a great place to ambush an enemy with quick-short range weapons.
 Curve
Curve

 Tree
Tree
Key Location: Tree

The Tree is an open area like the Cave, but without a ceiling. There’s a wide enough field to run and get gunned down from several accessways. If you're really not paying attention, you may fall to your death or get shoved off. Some people may use the Tree’s two-tiered hallway going toward the Oculus as a sightline to take out anyone hoping to traverse through the Back or Front Courtyard areas.