
Destiny 2 Guide Adventures Titan Adventures
Thief of Thieves
Starting Location
Recommended Power
- 60
Prerequisite
Reward
- Rare gear (weapon)
Description
- Recover the supplies that the Fallen have taken.
Your first task is to collect five stolen tools. Sweep the surrounding area for Fallen Supply Thieves. These elusive enemies are more interested in fleeing than fighting, so just keep an eye out for fast-moving targets. Each Supply Thief that you vanquish drops a plasma welder. Collect five of these tools to receive your next objective.
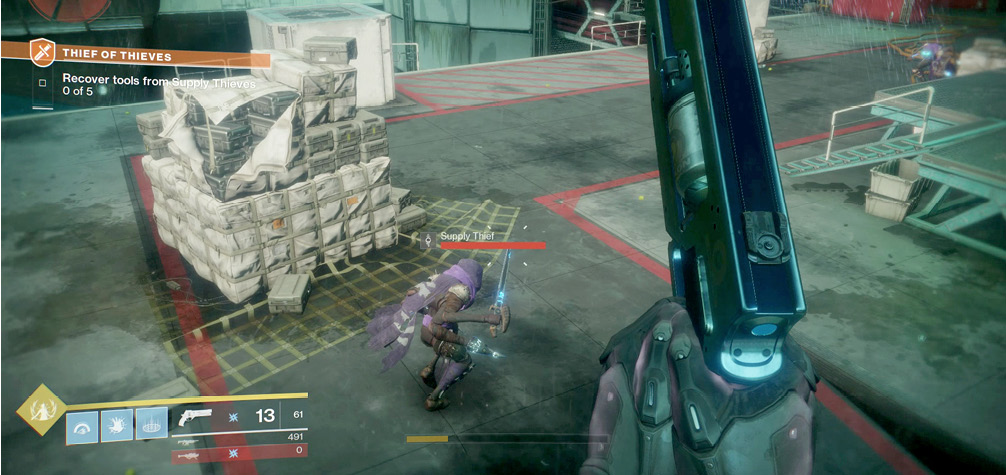
Once you’ve recovered the tools, you must locate the Fallen cache. Move into Sinking Docks, and follow the waypoint to your next objective. You’ll encounter a variety of enemies along the way, but be particularly wary of the cloaked Marauders lurking in the area.
Follow the waypoint down to the lower level of Sinking Docks. Here, you’ll find a sizable group of Fallen guarding the cache. The Captain across the way is armed with a shrapnel launcher, so take care to avoid incoming fire.
Clear the area of all enemies, then use your Ghost to scan the cache. For your next objective, you must recover a transmat beacon. Head into the nearby room, and follow the waypoint up to the nearby ledge.
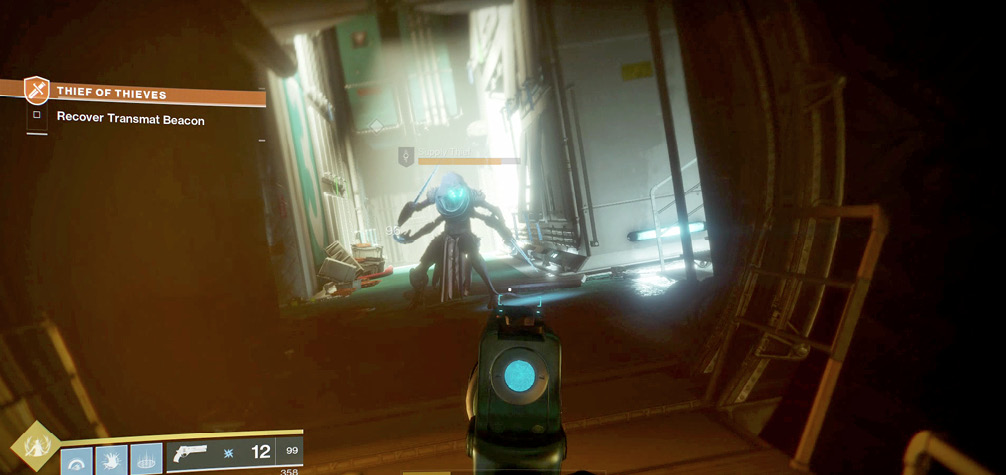
Jumping up to the ledge puts you face to face with a more formidable Supply Thief. Dispatch this enemy, and collect the shattered dials it holds. Eliminate any other nearby threats, and then follow the objective marker to the walkway outside.
As you step outside, another Supply Thief darts out of sight. Before you pursue your target, make sure you’re satisfied with your loadout. This Supply Thief is far tougher than those you’ve already faced, and it has plenty of allies waiting nearby. Along with your primary target, you can expect to face a dangerous mix of Tracer Shanks, Exploder Shanks, and Vandals—all of which are gathered in an enclosed space.
When you’re ready, jump across the gaps in the walkway, and follow the waypoint to the Supply Thief’s trap. As you enter the ambush site, focus on the Shanks near the room’s entrance. Hit the Exploder Shanks first, then deal with any Tracer Shanks that managed to survive the resulting explosions. The Supply Thief and Vandals all tend to lurk near the far wall, so you should be able to clear the room at your own pace.
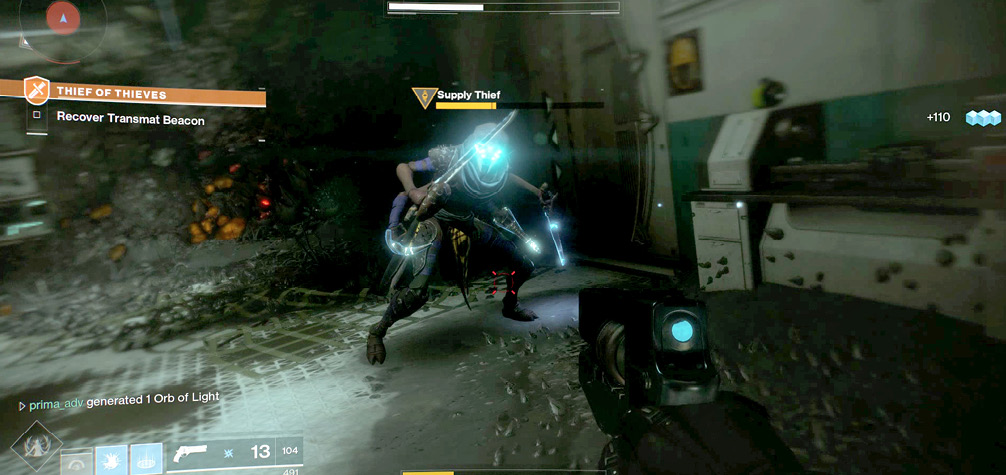
The Supply Thief typically hides behind cover, effectively forcing you to move into melee range. Don’t shy away from using Abilities or Power Ammo, but try to save something for the Adventure’s finale. Vanquish the Supply Thief, collect its beacon, and follow the objective marker back to the Fallen cache.
After you return to the Fallen cache, you must plant the beacon in the indicated area. Doing so triggers a significant enemy response, so be prepared to defend yourself for the duration of the transmat process.
The transmat only progresses while you’re near the cache; try to stay within the confines of the marked area for the duration of the encounter. Make good use of your motion tracker. Your attackers approach from multiple directions, and these fast-moving enemies often skitter through the area in an attempt to flank your position.
You’ll face the odd Exploder Shank, and a shielded leader appears toward the end of the transmat process, but the enemy’s strength is most definitely in numbers. Work quickly to avoid being overwhelmed, and remember that the available cover benefits your foes as much as it does you.
Once the transmat process is complete, clear the area of any remaining Fallen to complete the Adventure.