Prima Games eGuides
primagames.com Browse Redeem a code Help
Destiny 2 eGuide
Sign in My Guides

Sign in or create an account

We'll email you a link. No password needed, and if you don't have an account yet, the link makes one.

By creating an account or signing in, you agree to our Terms of Service and Privacy Policy.

Have a password?

Had an account on the old eGuides site, or a code from a printed guide? Help and troubleshooting

Sign in with a password

By signing in, you agree to our Terms of Service and Privacy Policy.

Check your email

A sign-in link is on its way. It works once and expires in 15 minutes. Open it and you're in, with an account if you didn't already have one.

Contents

  • Curse of Osiris
    • An Overview
      • Osiris Backstory
      • What’s New?
    • The Lighthouse
    • Infinite Forest
    • Campaign and Strikes
      • The Gateway
      • A Deadly Trial
      • Beyond Infinity
      • Deep Storage
      • Tree of Probabilities (Campaign and Strike)
      • Hijacked
      • A Garden World (Campaign and Strike)
      • Omega
    • Mercury Adventures
    • PVP
      • Radiant Cliffs
      • Pacifica
      • Wormhaven (PS4 Exclusive)
  • Field Manual
    • Introduction and Overview
    • Guardian Creation
    • Basic Actions
    • Guardian Abilities
    • Titan Abilities
    • Hunter Abilities
    • Warlock Abilities
    • Weaponry
    • Armor
    • Other Gear and Vehicles
    • Navigation
    • Progression
    • Grinding and Gear
  • Campaign
    • Overview
    • Homecoming
      • Overview
      • Tower Watch
      • Tower Hangar
      • Tower Plaza
      • Tower North
      • The Chosen
    • Adieu
      • Overview
      • Escaping the Last City
      • The Farm
    • Spark—Pt. 1
      • Overview
      • Quarantine Sector 236
      • Blackened Forest
    • Spark—Pt. 2
      • Overview
      • The Dark Forest
    • Hope
      • Overview
      • Sinking Docks
      • Siren’s Watch
    • Combustion
      • Overview
      • Salt Mines (1st Mission)
      • Salt Mines (2nd Mission)
      • Salt Mines (3rd Mission)
    • Riptide
      • Overview
      • The Rig
      • Tidal Anchor
    • Utopia
      • Overview
      • Access Terminal
      • Festering Halls
    • Looped
      • Overview
      • Artifact’s Edge
      • Hallows
      • Sunken Cavern
      • Well of Giants
    • Six
      • Overview
      • The Cistern and Pools of Luminance
      • Glade of Echoes
      • Exodus Black
    • Sacrilege
      • Overview
      • Terrabase Charon (1st Mission)
      • The Wraith Mines
      • Terrabase Charon (2nd Mission)
    • Fury
      • Overview
      • Giant’s Scar (1st Mission)
      • Excavation Site II
      • Giant’s Scar (2nd Mission)
      • Warmind VaultJYS-2
    • Payback
      • Overview
      • The Tunnels
      • Sunken Isles
    • Unbroken
      • Overview
      • Legion’s Hold
      • Legion’s Watch
    • Larceny
      • Overview
      • Legion’s Anchor
    • 1AU
      • Overview
      • Starboard Landing
      • Mineral Processing
      • Sunside (1st Mission)
      • Sunside (2nd Mission)
    • Chosen
      • Overview
      • Peregrine District
      • Systems Deck
      • Quarterdeck
  • Strikes
    • Overview
    • The Pyramidion
      • Overview
      • The Rupture (Entrance)
      • The Rupture
    • The Inverted Spire
      • Overview
      • The Cistern
      • The Anchor
      • Legion Drill Site
      • The Inverted Spire
    • Exodus Crash
      • Overview
      • Prodromus Down
      • Exodus Black
      • Glade of Echoes
      • EX-077 Command
    • The Arms Dealer
      • Overview
      • Legion’s Anchor
      • Sunken Isles
      • Legion’s Hold
      • Echion Vae
    • Savathun’s Song
      • Overview
      • Solarium
      • Arboretum
      • Chasm of Screams
  • Crucible
    • Overview
    • Match Types
    • Crucible Map Icons
    • The Dead Cliffs
      • Overview
      • Locations and Match Types
    • Endless Vale
      • Overview
      • Locations and Match Types
    • The Fortress
      • Overview
      • Locations and Match Types
    • Legion’s Gulch
      • Overview
      • Locations and Match Types
    • Altar of Flame
      • Overview
      • Locations and Match Types
    • Vostok
      • Overview
      • Locations and Match Types
    • Midtown
      • Overview
      • Locations and Match Types
    • Javelin-4
      • Overview
      • Locations and Match Types
  • Adventures
    • Overview
    • EDZ Adventures
      • A New Frontier
      • Calling Them Home
      • Poor Reception
      • A Frame Job
      • Dark Alliance
      • Reverse the Polarity
      • Getting Your Hands Dirty
      • Unsafe at Any Speed
      • Red Legion, Black Oil
      • No Safe Distance
      • Stop and Go
      • Anti-Anti-Air
      • Supply and Demand
    • Titan Adventures
      • Thief of Thieves
      • Bad Neighbors
      • Siren Song
      • Deathless
    • Nessus Adventures
      • Unbreakable
      • Ghost in the Machine
      • The Vex Trial
      • Release
      • A Tale of Two Confluxes
      • Assault of Black
      • Key to the Network
    • Io Adventures
      • Arecibo
      • Postmodern Prometheus
      • Unexpectred Guests
      • Cliffhanger
      • Road Rage
  • Lost Sectors
    • Overview
  • World Quests
    • Overview
    • EDZ World Quest: Enhance!
      • Mission 1: Odd Symptoms
      • Mission 2: Show and Intel
      • Mission 3: Differential Diagnosis
      • Mission 4: Experimental Treatment
    • Titan World Quest: Enemy of My Enemy
      • Mission 1: A Visit to Command
      • Mission 2: Data Requisition
      • Mission 3: Report to Sloane
      • Mission 4: Lighting the Dark
      • Mission 5: Chances and Choices
      • Mission 6: At Full Power
    • Nessus World Quest: The Exodus Black
      • Introduction
      • Mission 1: Speak to Failsafe
      • Mission 2: Uncovering the Past
      • Mission 3: The Captain
      • Mission 4: Talk to Failsafe
    • Io World Quest: King’s Shadow
      • Mission 1: The Hunt
      • Mission 2: The Conversion
      • Mission 3: Asher’s Theory
      • Mission 4: The Army
      • Mission 5: Trapped
  • Patrols
    • Overview
  • Public Events
    • Overview
    • Full Public Event Types (Eight Types, 34 Total)
    • Secret Public Event Types (10 Types, 93 Total)
    • Public Event Availability Chart
  • Challenges
    • Overview
  • Director
    • Introduction and Overview
    • European Dead Zone
      • EDZ Overview
      • EDZ: Initial Activities
      • EDZ: All Activities
      • The Farm
      • Sojourner’s Camp
      • Outskirts
      • Trostland
      • Salt Mines
      • Maevic Square
      • The Reservoir
      • The Sludge
      • The Dark Forest
      • Quarantine Sector 236: Blackened Forest
      • Winding Cove
      • The Gulch
      • The Tunnels
      • Firebase Hades
      • Sunken Isles
      • Legion’s Anchor
      • Legion’s Hold
      • Legion’s Watch
      • Echion Vae
    • Titan
      • Titan Overview
      • Titan: Activities
      • Sinking Docks
      • Siren’s Watch
      • The Rig
      • Tidal Anchor
      • Solarium
      • Festering Halls
      • Arboretum
      • Chasm of Screams
    • Nessus
      • Nessus Overview
      • Nessus: Activities
      • Artifact’s Edge
      • The Tangle
      • Chamber of Stone
      • The Mists
      • Well of Echoes
      • Watcher’s Grave
      • Chamber of Water
      • The Cistern
      • Pools of Luminance
      • Well of Flame
      • The Anchor
      • Excavation Site VII
      • The Inverted Spire
      • Hallows
      • Glade of Echoes
      • EX-077 Command
      • Sunken Cavern
      • Well of Giants
      • Exodus Black
      • Chamber of Sky
      • Prodromus Down
    • Io
      • Io Overview
      • Io: Activities
      • Lost Oasis
      • Spine Burrows
      • The Rupture
      • The Endless Gate
      • Pyramidion
      • Terrabase Charon
      • The Wraith Mines
      • Warmind Vault JYS-2
      • Giant’s Scar
      • Excavation Site II
    • The Tower
      • The Tower Overview
  • The Bestiary
    • Overview
    • Cabal: The Red Legion
    • Fallen
    • The Hive
    • The Vex
    • The Taken
  • Weapons
    • Overview
    • Kinetic and Energy Weapons
    • Power Weapons
    • Exotic Kinetic Weapons
    • Exotic Energy Weapons
    • Exotic Power Weapons
  • Armor
    • Overview
    • Titan Armor
    • Hunter Armor
    • Warlock Armor
  • Trophies and Achievements
    • Achievements List
  • PS4 Exclusive Content
    • Strike: Lake of Shadows
      • Overview
      • Trostland and Maevic Square
      • The Reservoir
    • Crucible: Retribution
      • Overview
      • Locations and Match Types

Destiny 2 Guide › The Bestiary

Overview

Five distinct enemy combatant races have occupied various locations in the solar system. All are considered hostile, and Guardians should prepare to engage every one of these as such. Visual evidence and generalized takedown strategies are presented here. Please note that tactics may vary depending on the topography of an area, along with the equipment and Abilities you use in a particular confrontation.

Unique Foes are Elsewhere

This chapter covers enemies you’ll encounter more than once, usually with extreme frequency. If you’re looking for information on a unique foe, such as a Boss Hobgoblin, or other Campaign or Strike Boss, consult the appropriate mission chapter.

Know Your Enemy

For each general foe you may face, there are several reference charts you can study. These charts impart some helpful data, and this section of the chapter explains what this data means.

Enemy Type
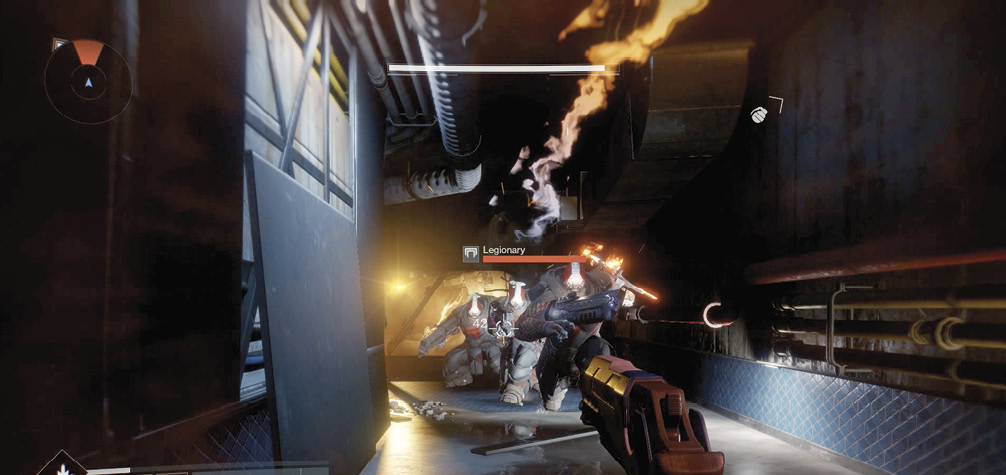
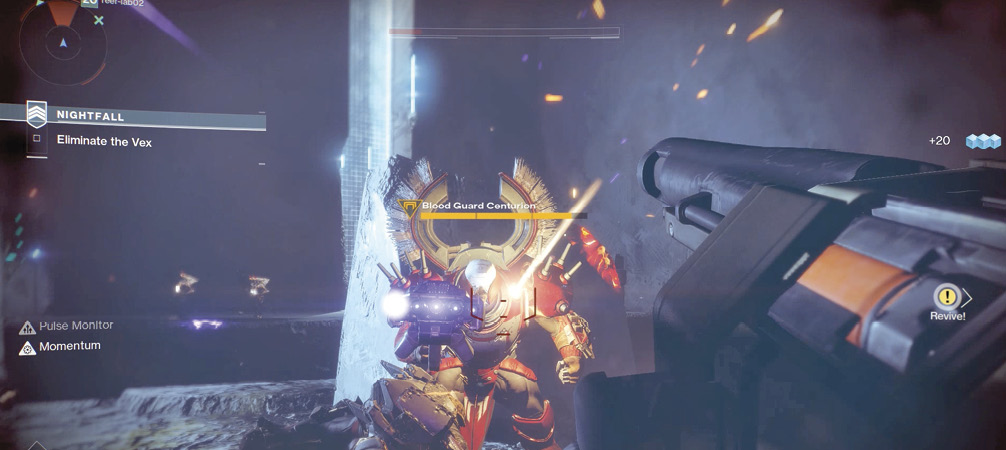
An example of a named enemy type: a Cabal Legionary.

This indicates the name of the foe in question. Most of the time, the health bar above each enemy you face will list the name or a portion of it. You can then recognize the hostile you are about to face.

Loadout
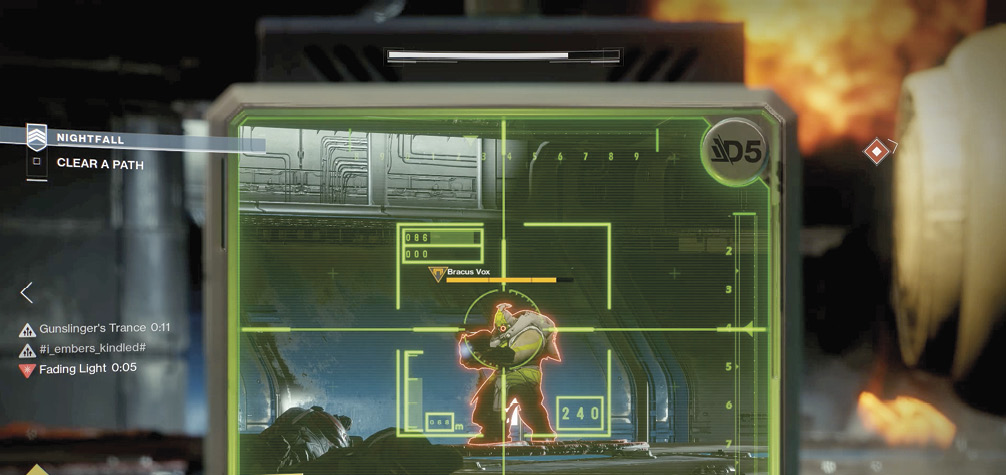
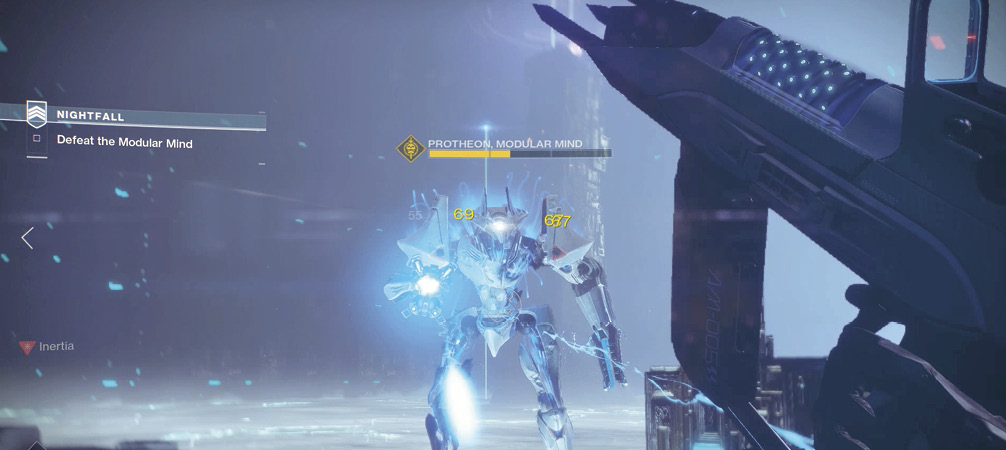
This shows the main weapon that the foe carries. Variants of the same enemy may carry a different weapon and have slightly different survival tactics. This is also the name you’ll usually see when you die, and you check what killed you.

Type
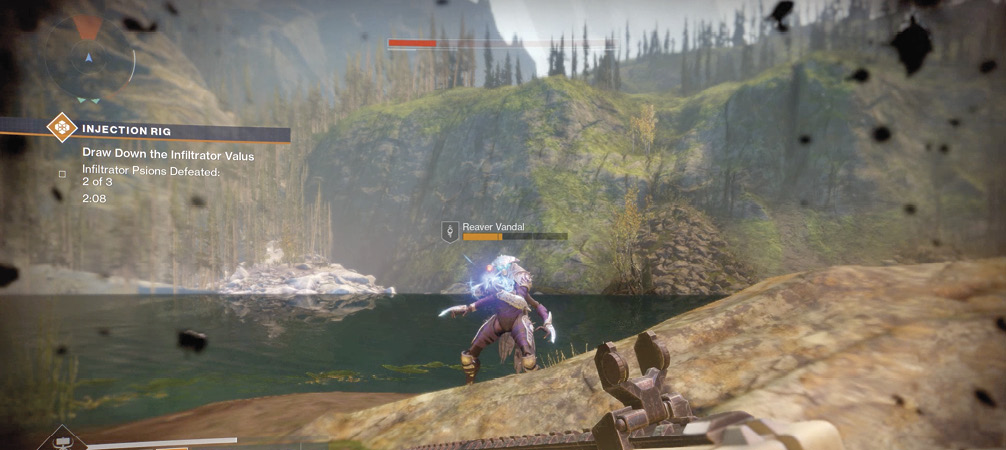
This shows an example of a base unit, with a regular he alth bar.
This shows a Elite unit, with a segmented health bar.
This shows a Boss unit, with a different segmented healt h bar.

This indicates whether the type of enemy is encountered as a Base, Elite, or Boss.

A base enemy is a usual infantry foe, and engaged all the time. Note that you also encounter toughened Base variants, with more orange health bars, from time to time.

An Elite enemy heads up a contingent of base foes and has a yellow health bar. This is a stronger foe and poses more of a threat.

A Sub-Boss enemy: There is also a type of enemy existing (in strength and power) between an Elite and Boss. Expect it to be weaker than a Boss, and stronger than an Elite.

A Boss is the strongest of that enemy type, it can be faced at the culmination of certain Strikes, Campaign Missions, and Patrols. Note the skull in the health bar. Expect an elongated and tough battle.

Role
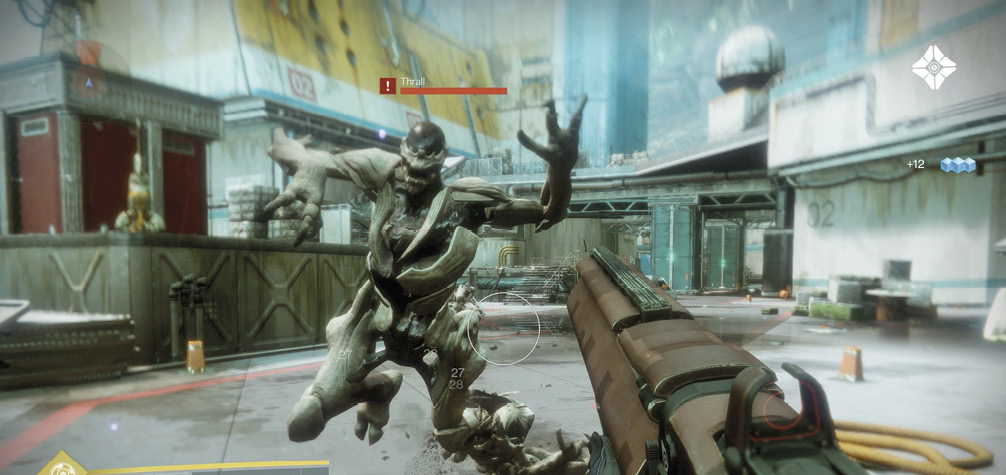
The Hive Thrall is fodder; it exists to overwhelm you without a care for its own life.

This indicates the general purpose of the enemy unit when it engages you or a rival enemy in combat. These are split into one of the following categories:

Fodder: An expendable grunt with little value to the enemy group, except to slow you down.

Soldier: The main fighting unit of an enemy race.

Commander: The usual leader of a cluster of enemies, which typically is more cunning and has more health.

Artillery: Deliver heavy weapons fire. Vehicles can serve this purpose, too.

Vehicle: Primary mode of transport rather than for combat.

Survival Tactics
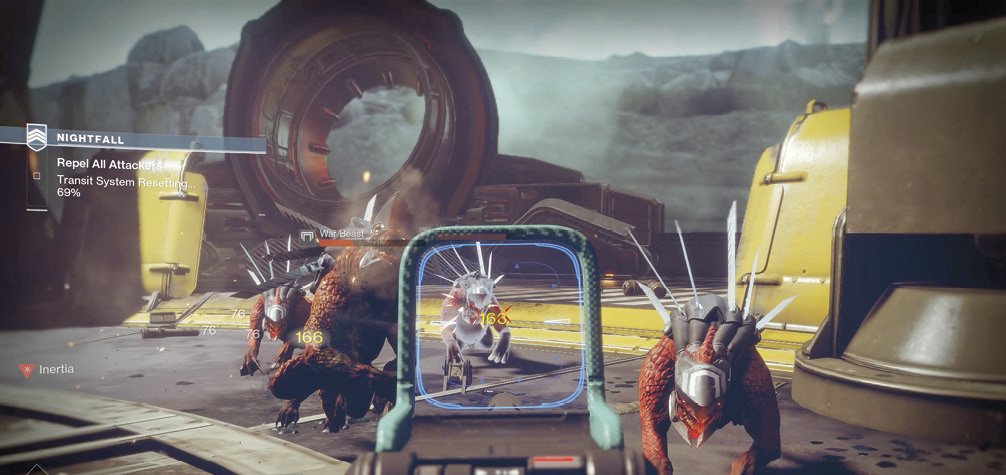
Stopping a foe from reaching melee range is a survival tactic known as Melee Pressure.

If you want to know the technique for surviving a particular enemy type while dealing with other foes, or while you get into position to take them down, check the following tactical advice. This also works as you start to remove health from an enemy during the early-to-mid stages of combat with them.

Area Denial: The foe has an attack that takes a few seconds to activate but then becomes extremely damaging, such as a Cabal Incendior’s flame attack. You must preempt this attack before it can occur by engaging the foe in ranged combat.

(Grenade): A Fallen Dreg uses this weapon.

(Darkness Cloud): A Hive Wizard uses this weapon.

Close-range Pressure: You must destroy the foe before it reaches close range, as it becomes much more deadly at this point (like an Exploder Shank).

Dodge Enemy Fire: The foe has a predisposition for a barrage of rifle or rocket fire, or constant shooting of other weaponry. Watch the projectiles, and avoid them when they strike. Quick maneuvers are needed because this foe usually fires weaponry with an area-of-effect damage.

Melee Pressure: Do everything you can to stop the foe from reaching your melee range. This means spotting them early and defeating them at range, as they usually have a very damaging melee attack.

(Explode): This foe explodes when they reach you, like a Cursed Thrall.

(Berserking): This foe can be partially destroyed before becoming frenzied and rushing you, like a Vex Goblin.

Stay in Cover: The foe is likely a sharpshooter, and you’re encouraged to find and stay in cover to avoid possible damage from the foe’s rifle.

Stay Mobile: The foe can easily damage you severely if you remain in one place. Perhaps it emits a stream of damaging energy. The trick is executing sprints, dodges, jumps, and other maneuvers to avoid the attack.

Suppression (Line of Sight): Attempt to engage the foe in continuous combat and ensure that it stays visible to you. Its attack must be suppressed due to the danger it poses (like a Hive Ogre’s energy blast).

Takedown Tactics
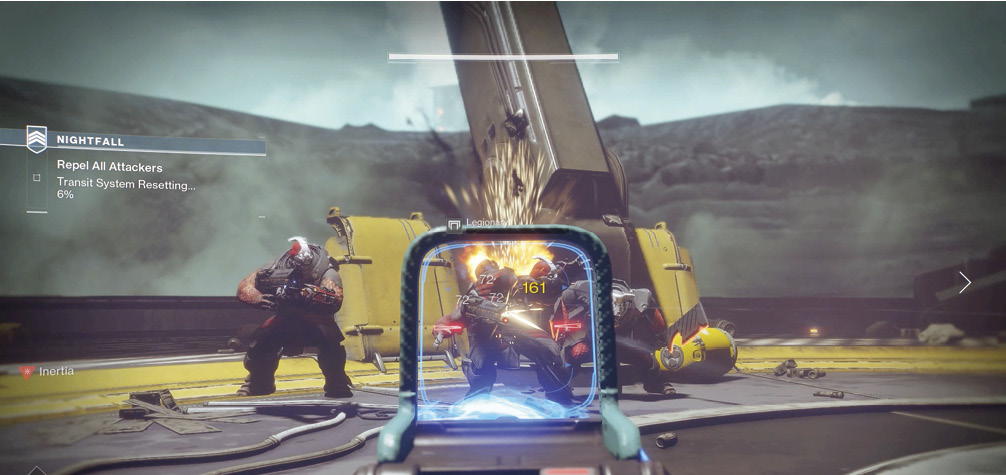
Concentrating your firepower on a particular part of a foe? A takedown tactic known as Target Practice.

When you’ve decided to kill a particular enemy, check the preferred technique from the list below.

Flank Target: The enemy has a physical shield. Aside from shooting the shield, you can leap to the side or above the foe, outflanking them so their shield is useless. Then, strike the foe itself.

(Shield): A Cabal shield used by Phalanxes.

(Wall of Darkness): A Hive shield used by Knights.

Line of Sight: You must keep the foe in your line of sight and fire at them, usually from range and while moving in and out of cover.

Maintain Pressure (Shield): The foe has an active Energy Shield. Ensure your attacks are continuous, so the shield is quickly removed. Break off from combat, and the shield recharges, lengthening the fight (which is not desirable). Using Energy weapons depletes shield more quickly. If you match the energy type, a powerful localized explosion occurs when the shield pops.

Priority Target: This foe is particularly troublesome or works as a shield for other enemies. You must take it down first.

Target Practice: The foe can be struck anywhere, though aimed headshots work well.

Targeting Challenge: The foe in question has an area of their body or a special Ability that you must focus all your aiming attention on. While a regular takedown (raking the enemy with gunfire) may still yield effective takedown results, paying special attention to one of the following areas means even quicker dispatching:

(Cloak): The foe uses a cloaking device. Track and fire at the shimmering the enemy gives off.

(Evasion): The foe is particularly adept at dodging; use your own dexterity and impressive aiming to slow down and eventually kill them.

(Jetpack): The foe utilizes a jetpack. Leaping over, flanking, or otherwise enabling yourself to see and aim at the jetpack means the enemy will be defeated more quickly.

(Shield): The foe uses an Energy Shield (Arc = light blue, Void = purple, and Solar = Orange). Use a matching Energy weapon to remove the shield easily.

(Teleport): The foe is capable of teleporting short distances, so keep your gun trained on them, even when they blink in and out of existence.

(Torso): Attempt to target the foe’s torso to quicken the takedown process.

Weak Spot: The foe has a particular area (usually the head or lower torso) that is extremely susceptible to precision gunfire (indicated by the yellow damage numbers). Note that most enemies should be targeted in the head; this tactic is employed for even quicker takedowns.

Weaken and Beat Down: The target is likely to be relatively weak. Sprint while firing, and finish the foe with a melee strike.

Keep reading with a free account

The first 3 sections of Destiny 2 are open to everyone. An account opens the rest of it, and every other guide in the archive. It's free, and there's nothing to buy.

Bought guides on the old Prima Games site? Your account and every guide you own moved here, so there's nothing to buy again. Sign in.

Create a free account Or browse our free guides

PreviousThe Tower Overview NextCabal: The Red Legion