
Destiny 2 Guide Crucible The Dead Cliffs
Locations and Match Types
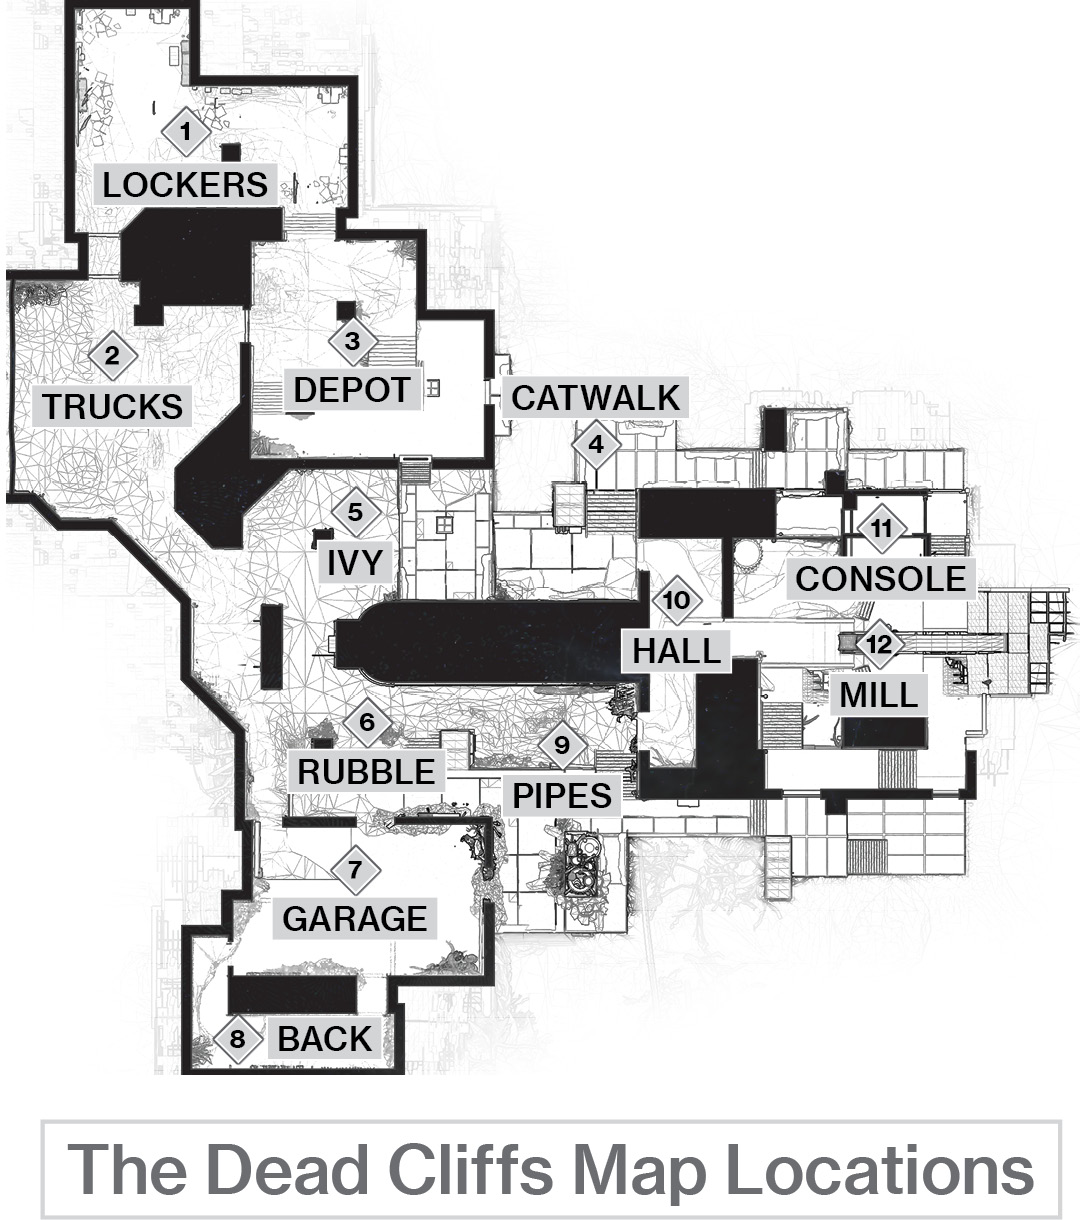
 Lockers
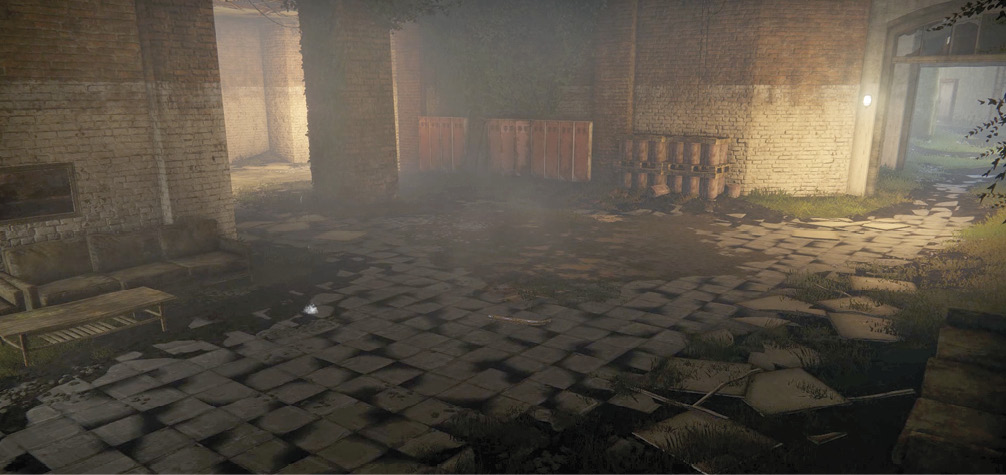
In most match types, Lockers serves as one of the map’s starting areas. With two points of entry, a level floor, and relatively little cover, this large, dimly lit interior space supports more aggressive tactics. Firefights that break out in this location tend to end quickly and decisively.
It’s often used as a flanking route between Trucks and Depot, but Lockers also offers excellent lines of sight into these areas. Those relying on long-range weapons would be hard-pressed to find a more suitable vantage point on this map.

 Trucks
Key Location: Trucks
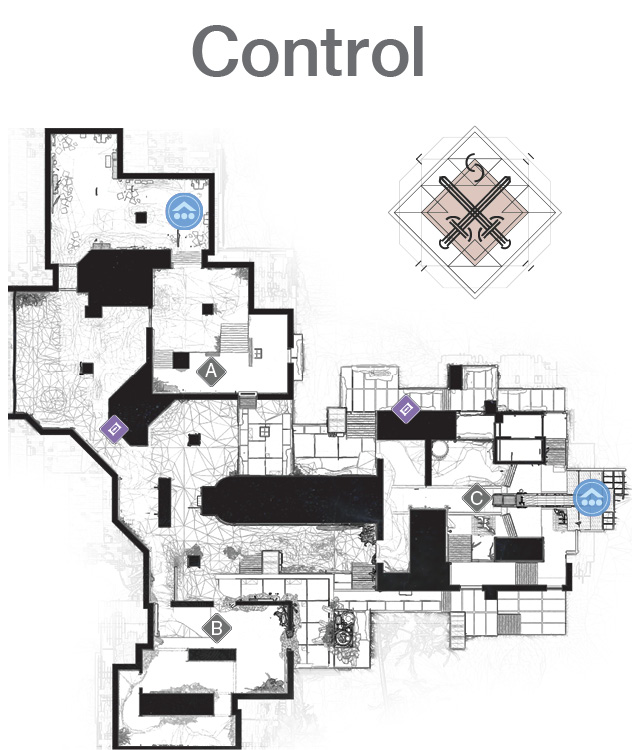
During Control matches, Trucks contains one of the map’s three Power Ammo spawn points
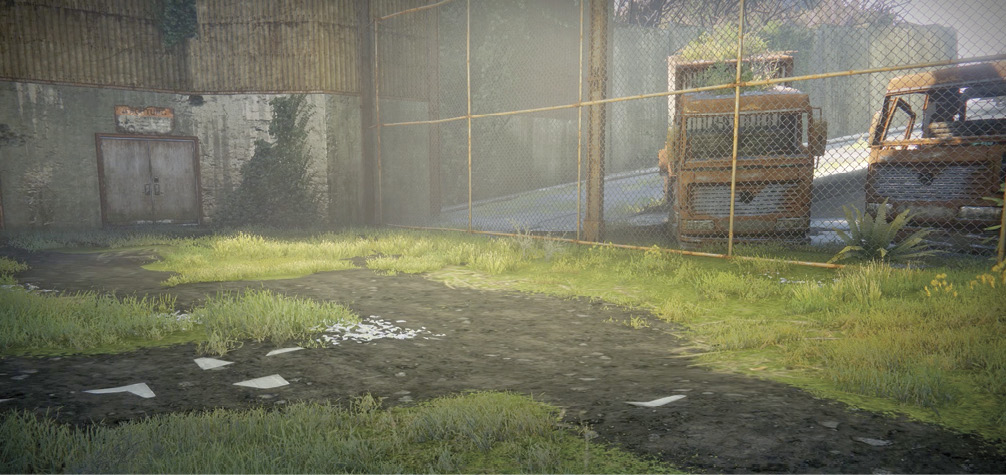
For the most part, Trucks acts as a junction between Lockers, Depot, and Ivy. However, this popular movement lane also serves as a Power Ammo spawn point during Control matches.

 Depot
Depot
Key Location: Depot
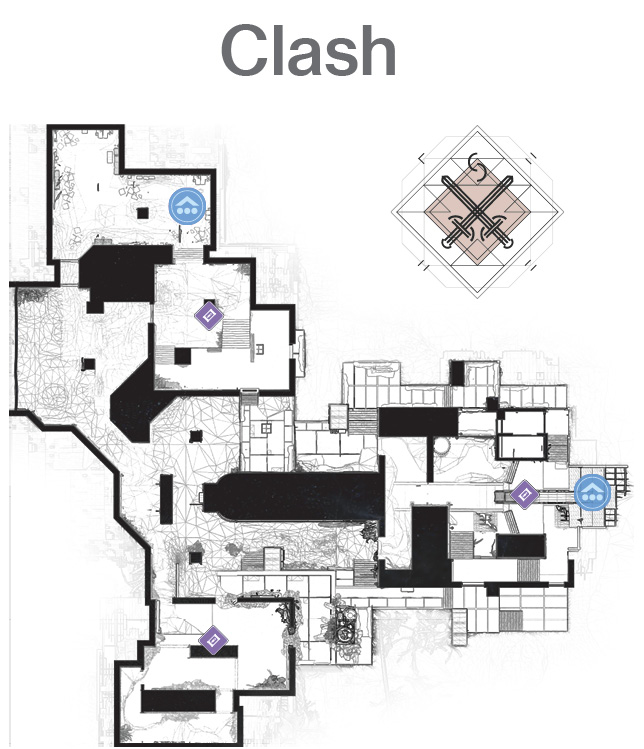
During Clash matches, Depot contains one of the map’s three Power Ammo spawn points. During Control matches, this location contains Capture Point A.
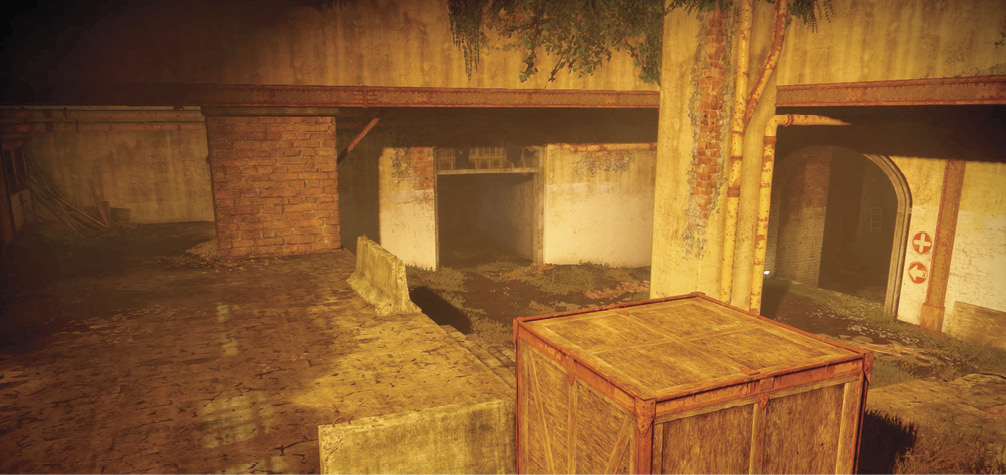
This interior space features a multi-leveled floor, a raised ceiling, and multiple cover options. It also boasts four points of entry, making Depot a difficult location for any team to hold.

Strategically speaking, Depot is a key location during all Quickplay matches. In Clash, Power Ammo spawns on the room’s central pillar. During Control, it houses one of the map’s three Capture Points and provides an excellent line of sight to the Catwalk Power Ammo spawn. In either case, Depot is generally a hotly contested location.
 Catwalk
Key Location: Catwalk
During Control matches, Catwalk contains one of the map’s two Power Ammo spawn points.
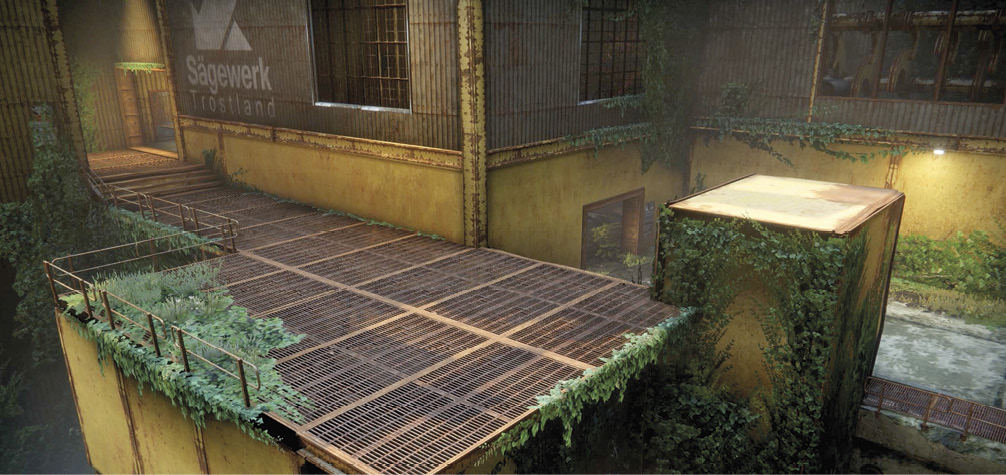
With its varied terrain and multiple points of entry, Catwalk tends to be a very popular movement lane.
The combination of height changes and sharp turns makes it fairly easy to break line of sight in this area. However, be mindful of the low railings—a poorly timed jump can easily end in a fatal fall.
During Control matches, Catwalk also contains one of the map’s two Power Ammo spawn points. Whenever you attempt to claim one of these spawns, be particularly mindful of enemies that might be lurking within the confines of Depot.

 Ivy
Ivy
Key Location: Ivy
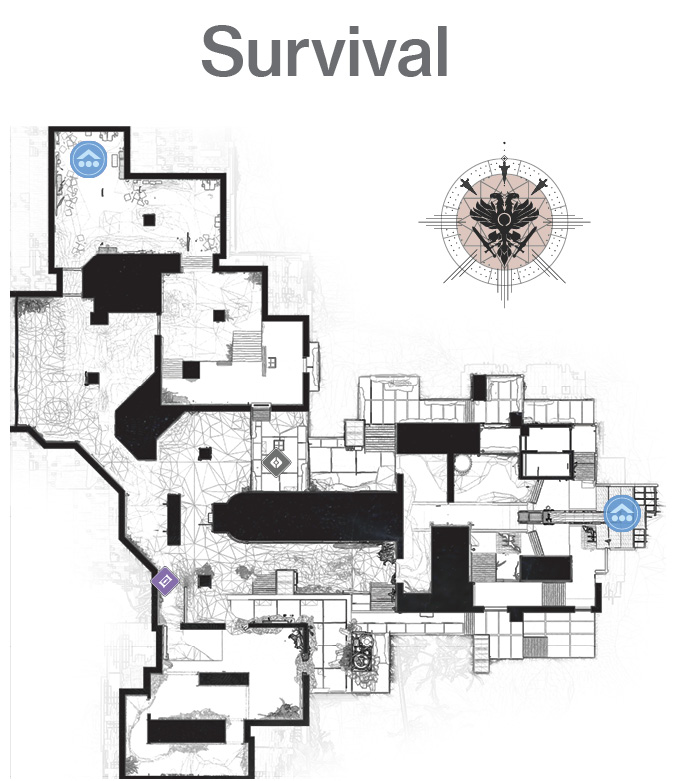
During Survival matches, any tie-breaking Capture Points that appear will do so in Ivy.
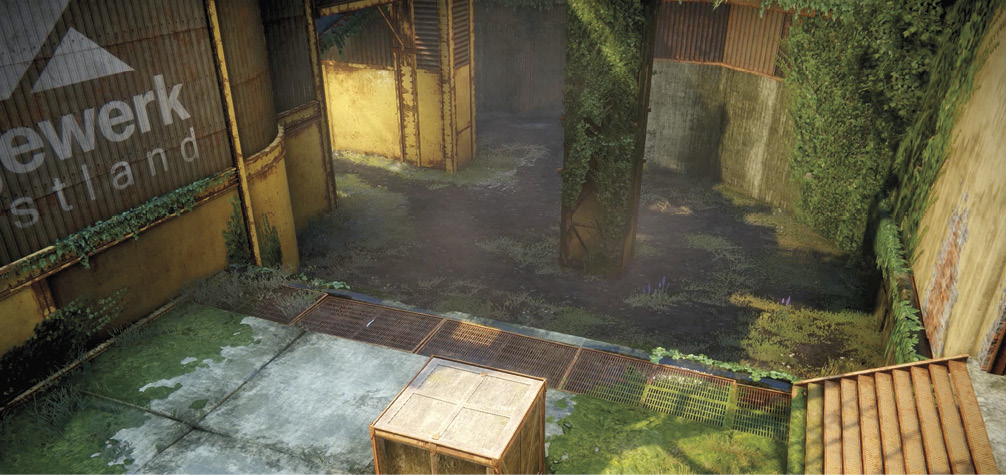
Due to its position near the center of the map—along with the fact that it connects to Depot, Trucks, Catwalk, and Rubble—Ivy tends to get a significant amount of traffic during all match types.
Ivy is a particularly important location during Competitive matches. Whenever a Survival round ends in a tie, the overtime Capture Point appears in this area.

 Rubble
Key Location: Rubble
During Survival matches, Rubble contains the map’s only Power Ammo spawn point.
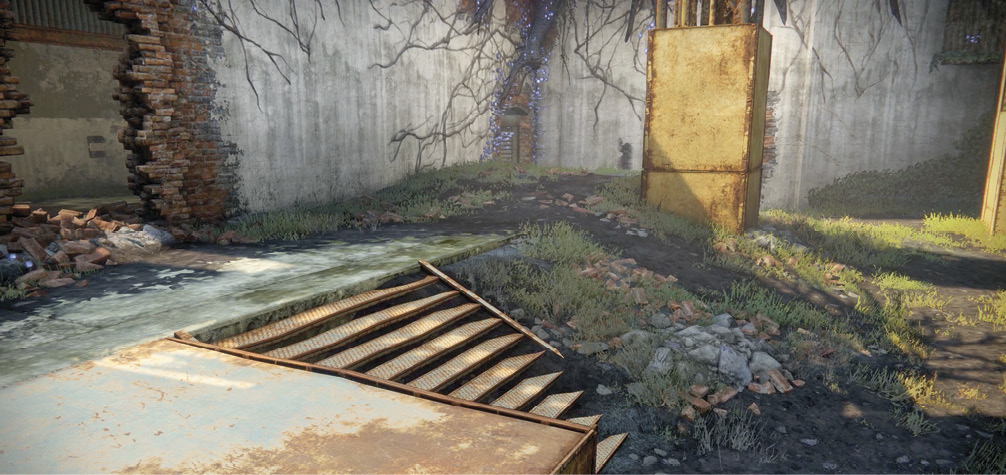
With a simple layout and limited cover options, Rubble is a fairly exposed location at one end of a major sniping lane. During Survival matches, Rubble serves as the map’s only source of Power Ammo, making it both a priority destination and favored target zone for dedicated snipers.

 Garage
Key Location: Garage
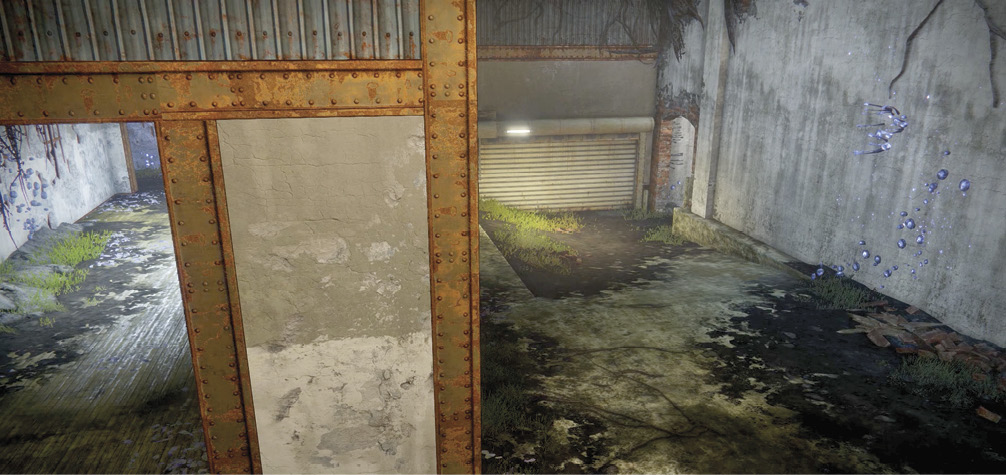
During Clash matches, Garage contains one of the map’s three Power Ammo spawn points. During Control matches, this location contains Capture Point B.
Garage is one of the map’s smaller interior spaces, but you’ll find this enclosure to be a strategically important location during any Quickplay match. During Clash, Garage contains the first available Power Ammo spawn; during Control, this location holds one of the map’s Capture Points.
As key locations go, Garage is a relatively defensible structure. Because Back is only accessible from within the enclosure, securing Garage essentially eliminates two of the location’s four points of entry.

 Back
Back
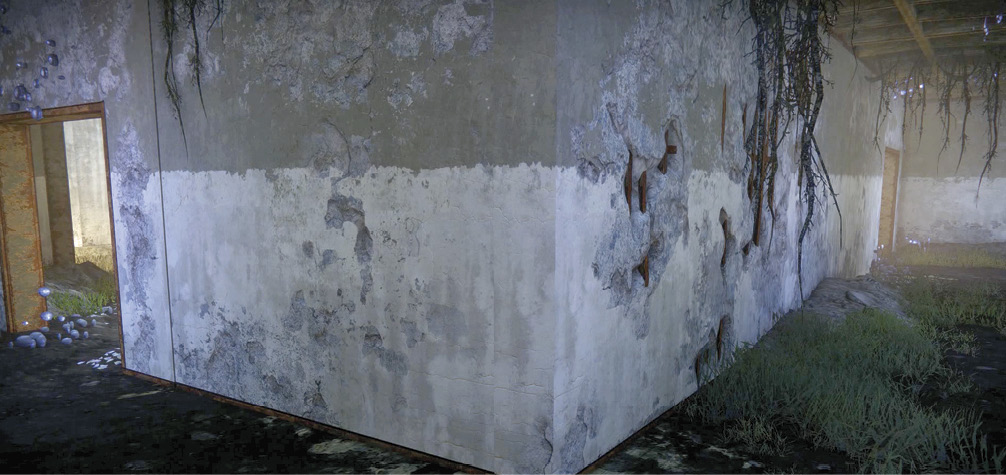
Because Back is only accessible via Garage, this narrow passage is more of a fallback position than a movement lane. Like any tight space, it’s also a great spot to trap an elusive target or stage an ambush for an overeager attacker.

 Pipes
Pipes
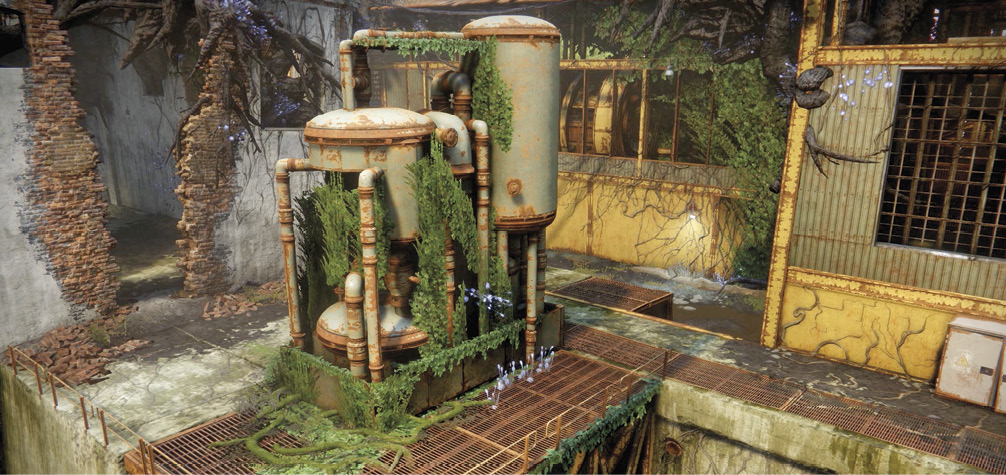
Pipes features varied terrain, a sheer drop, and the tangle of hardware for which the location is named. It’s also located in the middle of a major sniping lane, making the cover it offers particularly valuable.

 Hall
Hall
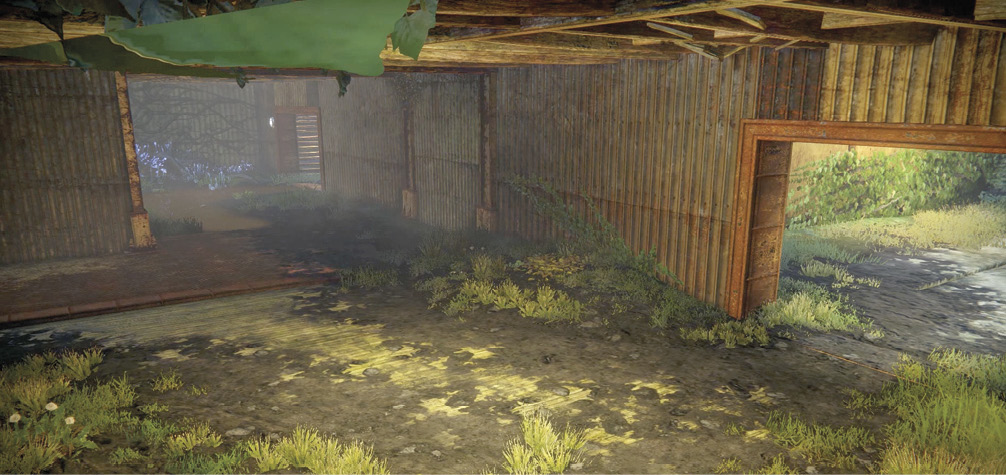
This interior location is essentially a three-way junction connecting Catwalk, Mill, and Pipes. A low ceiling restricts vertical movement, making it one of the map’s better spots for Guardians who favor splash damage.

 Console
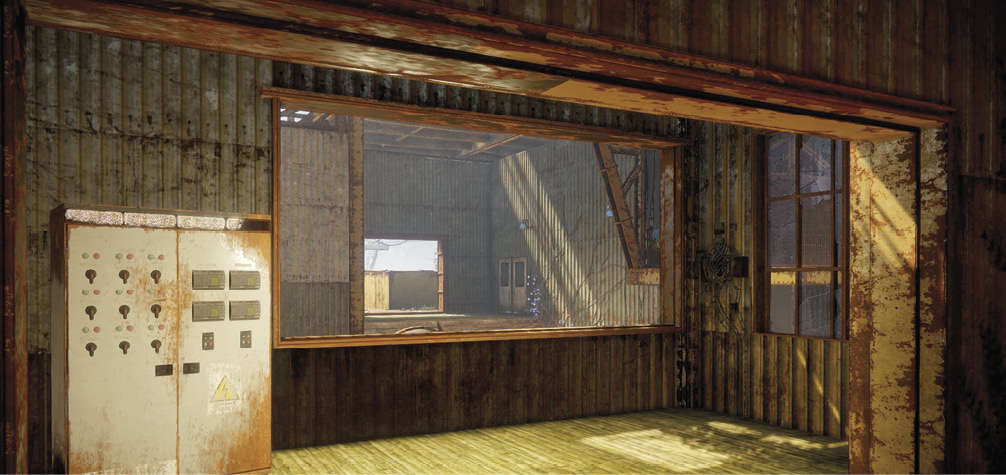
Located within Mill, this small enclosure serves as a nice piece of cover within what’s typically a strategically important area. It’s a great spot for stop-and-pop tactics, but it’s easily flanked. Avoid lingering here for more than a few seconds at a time.

 Mill
Mill
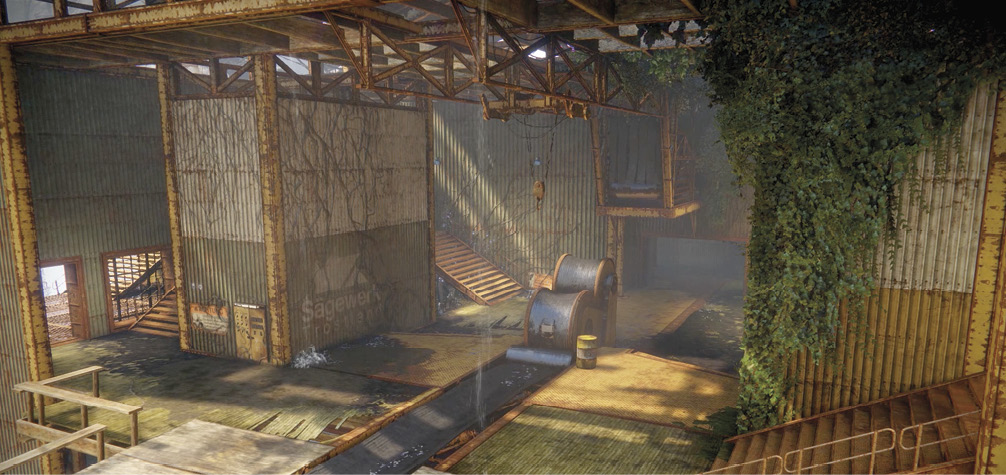
Key Location: Mill
During Clash matches, Mill contains one of the map’s three Power Ammo spawn points. During Control matches, this location contains Capture Point C.
Consisting of both interior and exterior spaces, Mill is easily the map’s largest location. Inside, you’ll find varied terrain, a high ceiling, multiple cover options, and a variety of entry points. Outside, you’ll see narrow walkways and some of the map’s best sniping positions. In any case, Mill’s position at the edge of the cliff makes fatal falls a legitimate concern.
In Clash, Mill contains one of the map’s three Power Ammo spawn points. During a Control match, it holds one of three Capture Points. In most game modes, Mill also serves as a team starting area.
