
Mass Effect: Andromeda Collector's Edition Guide Secondary Ops
Vetra Nyx: Means and Ends
Mission Type: Allies and Relationships
Prerequisite: Chapter 3; after mission debrief aboard the Tempest following obtaining the kett communication device and returning from Kadara (there is no B-story prerequisite associated with this Loyalty Mission)
Start Location: Tempest
Unlocking: Read email from Vetra.
Read Vetra’s Message
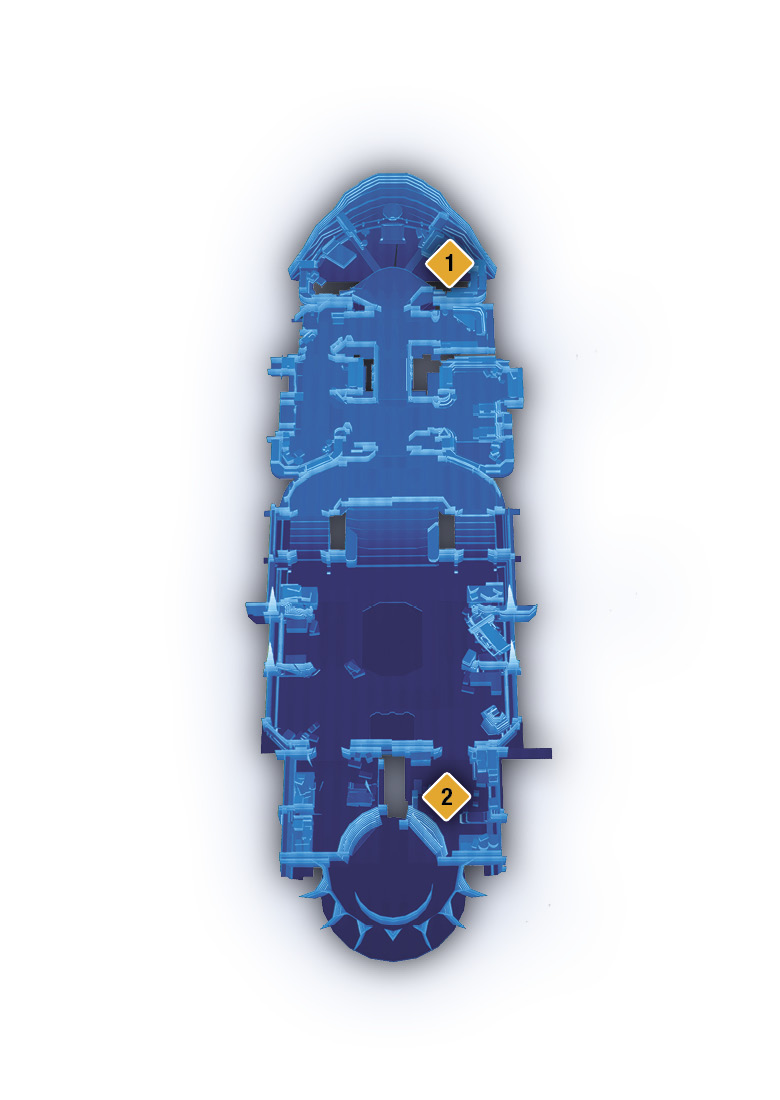
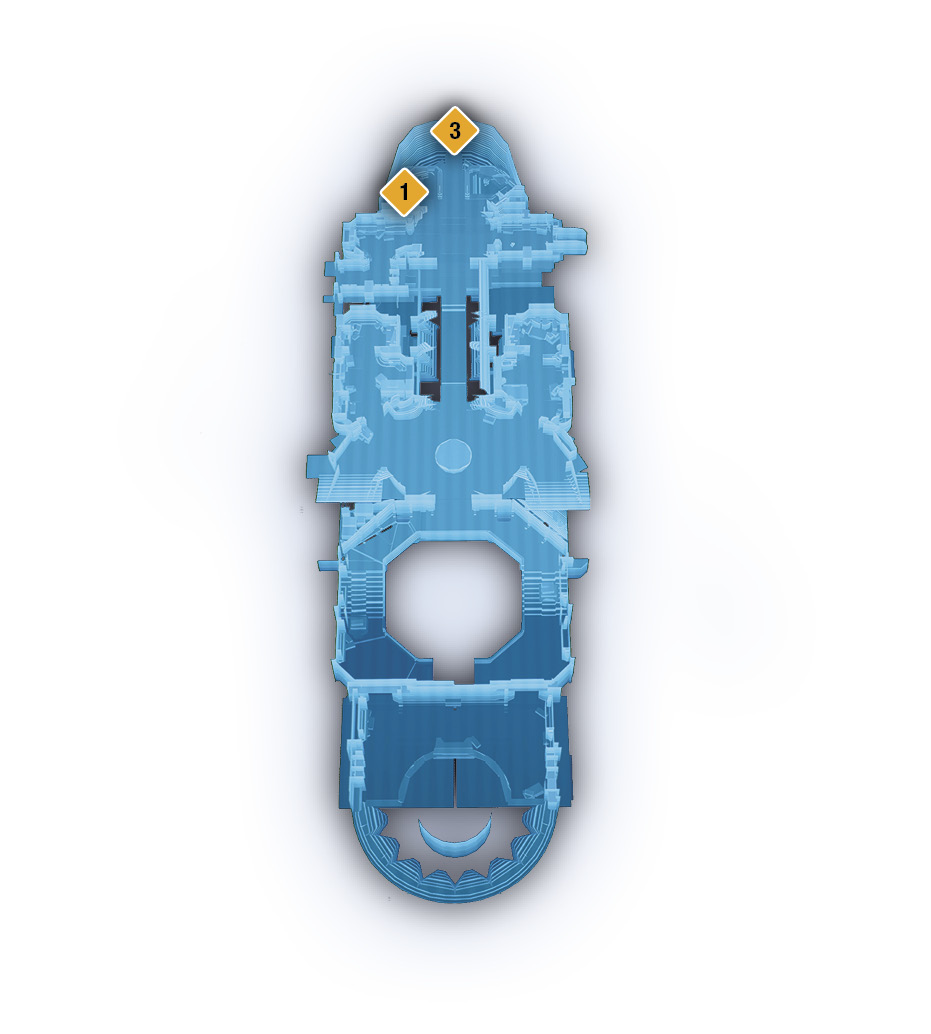
Tempest
After the prerequisites are met, read the email from Vetra titled “Sid,” using the console (1) in your bedroom or the email console on the Tempest bridge.

Go See Vetra
Tempest: Supply Room
Find and speak to Vetra in the supply room (2). The two of you call Sid, Vetra’s sister, who shares that she’s heard about some settlers missing from the settlements you’ve started. Sid believes she knows where the settlers are hidden and wants to help rescue them. However, Vetra wants her to stay on the Nexus, where she’s safe.

Go to H-047C in the Remav System
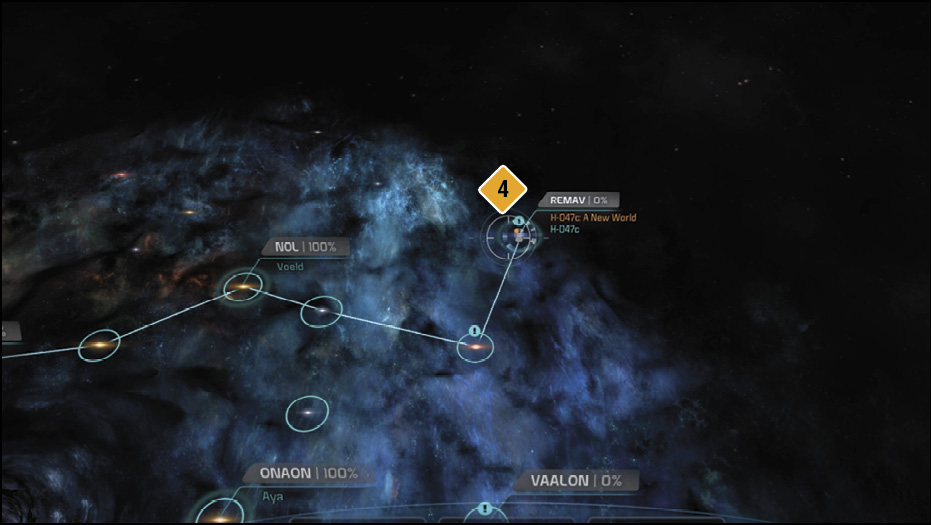
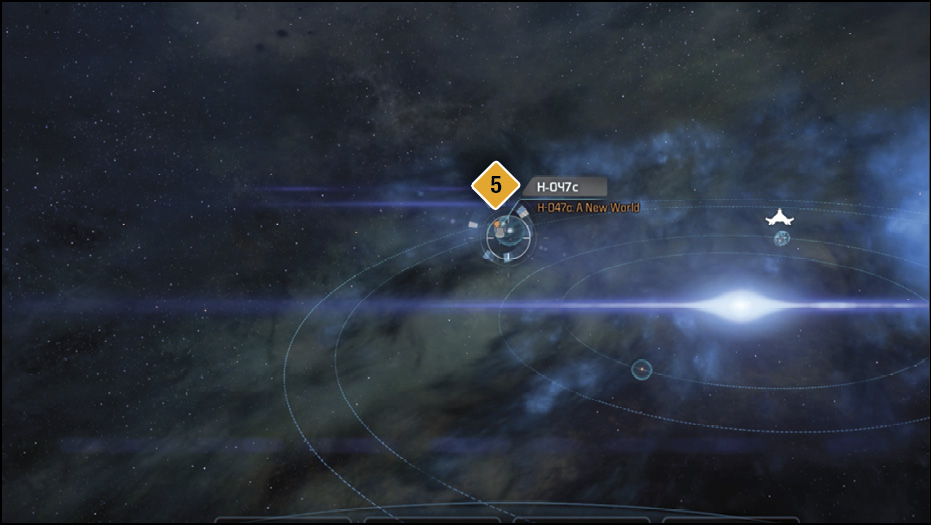
Head to the bridge (3) and take the ship to the Remav system (4), then land on the moon H-047C (5). Choose your weapons and your strike team. We suggest bringing along Vetra, since you’re on her sister’s mission.
Find the Abandoned Mine
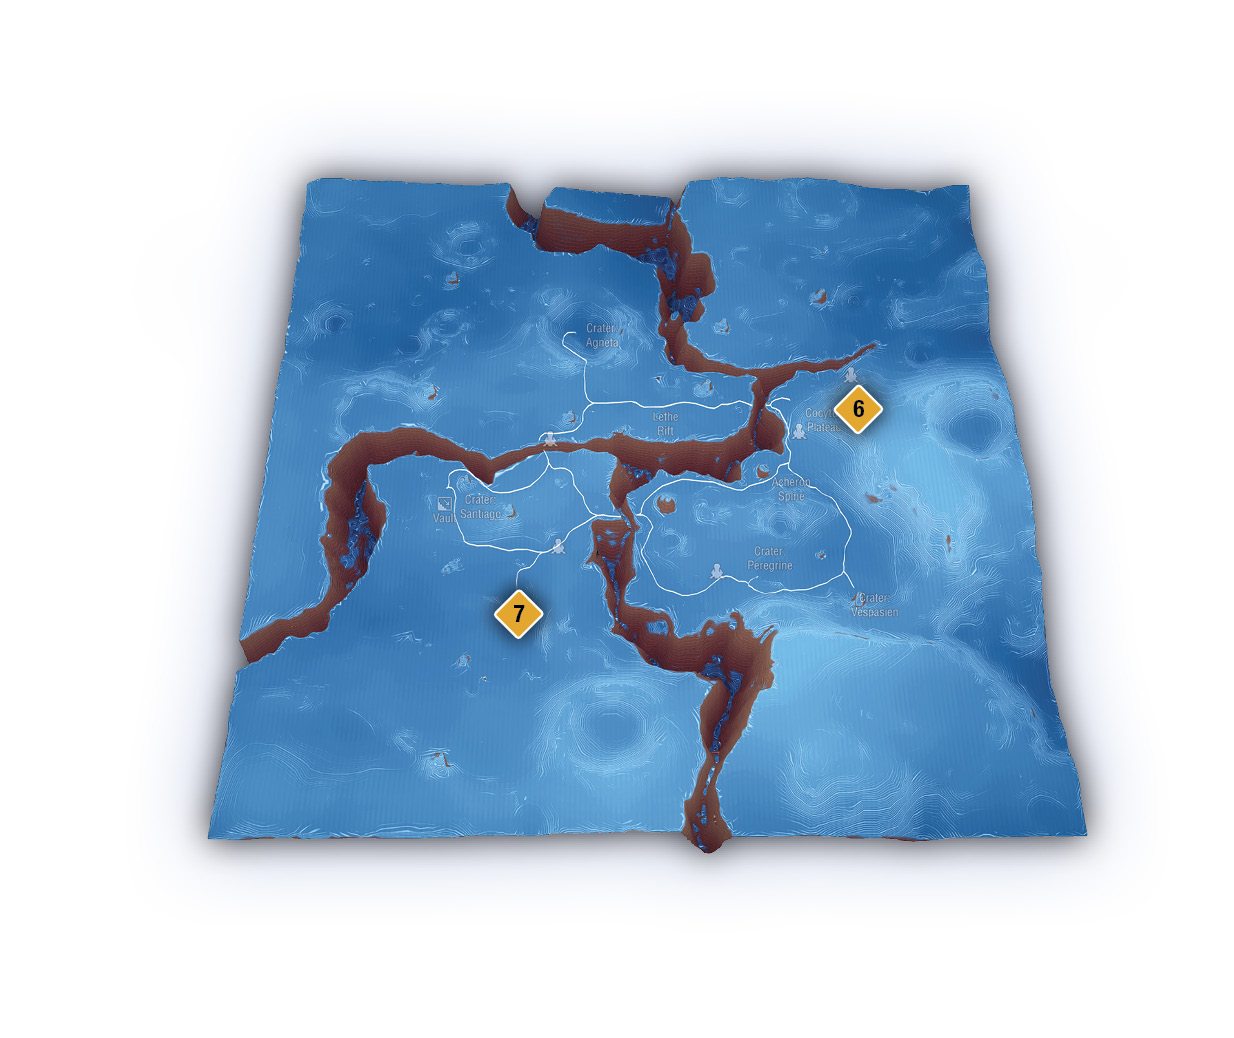
H-047C
From the landing site (6) on Corytus Plateau, drive the Nomad southwest to the Idriya crater (7), where you find a lunar base. Drive into the vehicle entry.
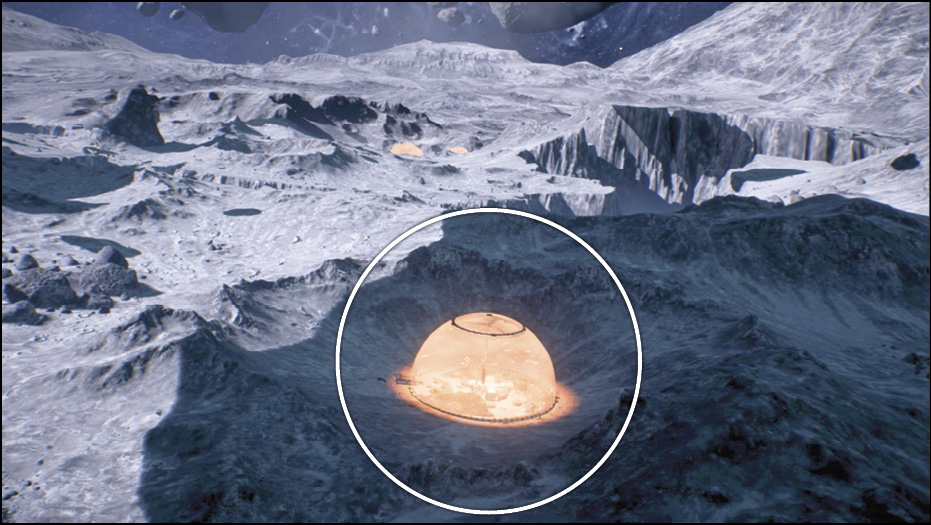
Explore the Facility
Once you’re under the dome and before you enter the facility, you have a chance to change your teammates. We suggest keeping Vetra with you.

Find a Way Out of Meriweather’s Prison
Underground Mine
Just inside the facility, you trigger a trapdoor, dropping the team down into the bowels of the base. Meriweather has led you into her trap. Ryder presses Vetra for an explanation. Vetra claims she has no idea what’s going on, just as Galloway enters the room and admits they used to work for Meriweather—who runs a smuggling ring on Kadara—and Vetra helped them escape.

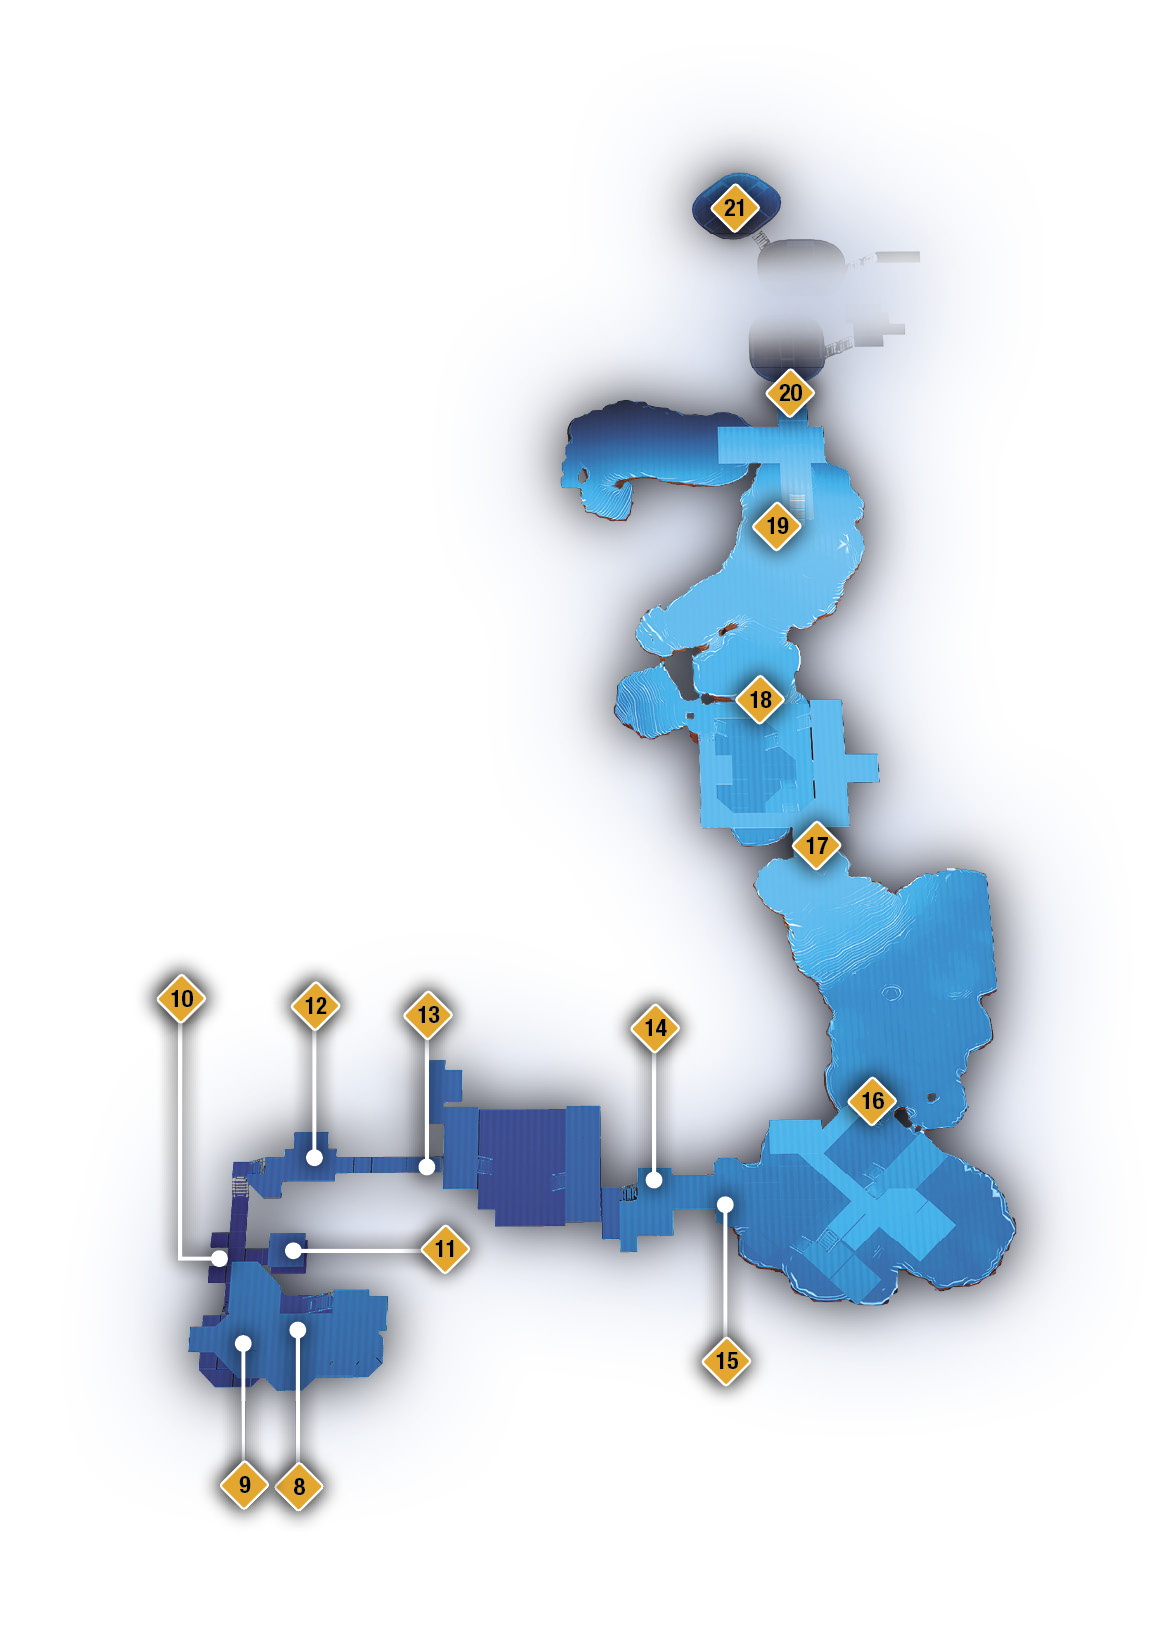
The first thing you need to do is find a way out of the prison (8). Head downstairs and scan the locked door (9). A mysterious ally contacts you over comms and says the door can be opened on their end if you send some power to them.

Find a Way to Connect the Generator to the Door
Scan the large generator on the lower level next to the stairs. This creates a generator prompt on its left side. Activate it. A green light begins to glow in the generator. Now you need to connect the generator to the locked door.

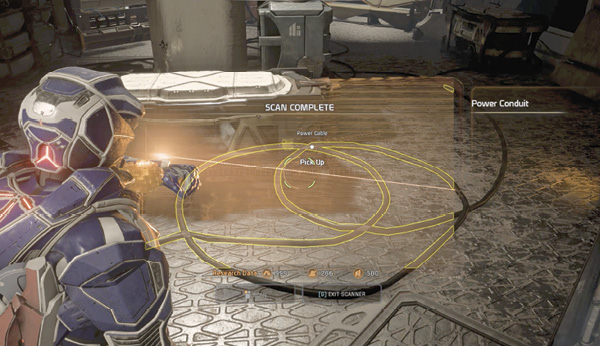
Head upstairs again and scan the three different lines of networking cables on the floor until you find the group of cables that aren’t broken (see scanner info). The cables you need are called “Power Conduit.” Pick this up and take it downstairs to the generator.
Activate the Door
The generator now has a “Power Cable” trigger on its right side. Use the button to tie in the conduit that powers the door. It opens automatically. Enter the next room.
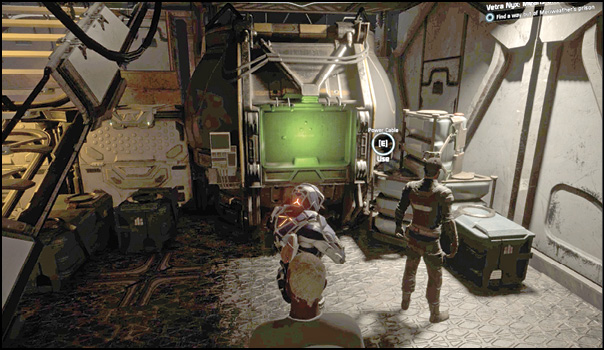
Accompany the Colonists to the Storage Room
Hacking the door trips a silent alarm, which means you need to hide Galloway and his team. The mysterious ally on comms warns you that if the guards spot Galloway and his group, they will kill them. You must hide them. Head down the walkway (10) and enter the first room on the right (11). A countdown appears on-screen; it displays 29 seconds until guards arrive. Remain in the room with the colonists. Allow the door to shut.

Check the Security Footage
Access the security footage on the panel on the right side of the door. Watch as the guards run by the storage room. The voice of your mysterious ally says if you wait for them to go by, you can catch them off guard.
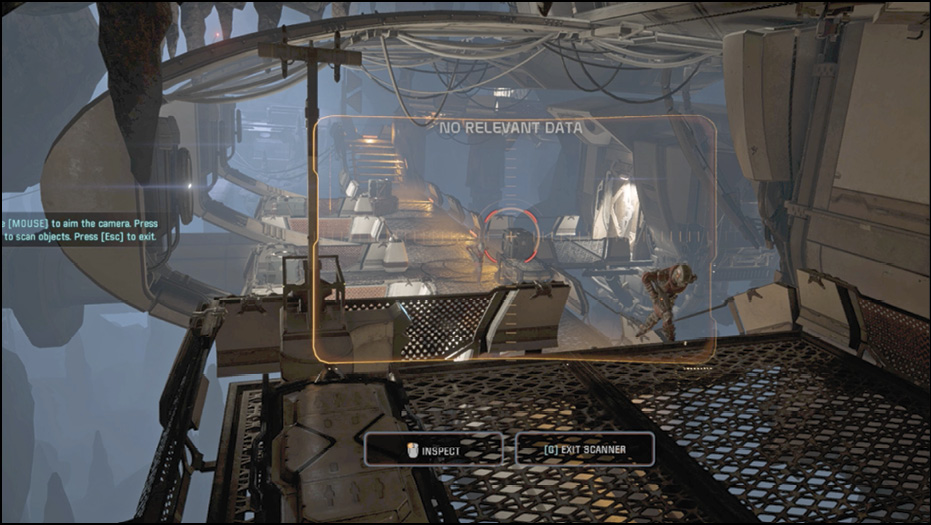
Five Raiders appear on the catwalks, working their way to you from the stairs ahead. Be smart and use cover as you command your team to attack the first visible enemy. Work your way up the stairs to take down the remaining Raiders on the platform above.
Deal with the Guards
Exit the storage room and defeat the guards who just passed by on their way into the prison you broke out of.

Speak to Galloway
Once the enemy has been dealt with, backtrack to the storage room where you left the others and talk to Galloway (11). The mysterious ally is revealed to be Sid, and Galloway’s group discovers that she was the one who saved them. Vetra pleads with her to return to the shuttle and the safety of the Nexus. Sid refuses and says she can help get everyone out. Vetra allows Sid to remain and help with security remotely.
Head to the Mess Hall
Leave the storage room, turn right on the catwalk, and head up the stairs and into the room on the next level (12). Loot the container and load up on the ammo supplies there. Head through the doorway Sid unlocks and across the next catwalk to another locked door (13).
Use the Security Camera to Find an Advantage
Use the security monitor to the right of the locked door (13) to peek inside the next room. Look straight ahead through the security camera and scan the large generator in the middle of the room. You can also scan the workshop door (14) to the left of the generator. You have a choice: Either use the generator to cause an explosion and damage some enemies, or open the workshop door in the back of the room to get to some containers with some pretty nice loot. Or you could do nothing.

Deal with the Outlawsin the Mess Hall
Push into the mess hall. You face the Anarchist, a Sharpshooter, an Agent, and some Raiders. Defeat them all. Before you leave the mess, make sure to scan enemies, pick up dropped weapons, check out the container on the balcony, and grab the loot in the workshop—if you chose to unlock that door.

Get to the Menagerie
Head through the open door at the opposite end of the mess hall to find a container near the next hallway door.
Use the Menagerie’s Security Camera
At the locked menagerie door (15), interact with the security camera to the right of it. Scan the entire room (including to your extreme right) to locate all the animal cages. Inside the cages, from left to right, are caged Adhi, an Eiroch, Arknids, two turrets, and Challyrions. To your extreme right are more Arknids (Spitbugs). These are creatures that secrete a noxious discharge, and the guards will be compelled to deal with them if they’re released.


Exit the security cam view to review your options, which include changing turret protocol, shutting off the turrets, and freeing the beasts. The most entertaining option is to free the beasts and then re-enter the security cam view to watch the calamity in the next room as it unfolds. Enter the room, enter cover, and attack the guards while they’re preoccupied with the creatures. Deal with the turrets on the upper-right level first, then take out the remaining guards and creatures. Clear the room of the Agents, Anarchist, and Sharpshooters. Check the wildlife cages for goodies.
Kill the Fiend
Near the end of the battle, a Fiend is released from its cage. Get on the catwalks to limit its mobility. Send your teammates to attack this beast while you take cover and attack safely. Use your special powers and enhanced ammo options. Take the Fiend down, search the room for containers, and then exit through the next door (16).

Use the Workshop’s Security Camera
Inside the workshop you can scan multiple items. From left to right, you can find a crane rig, compressed gas tanks, a Hydra pilot, and a Hydra mech.
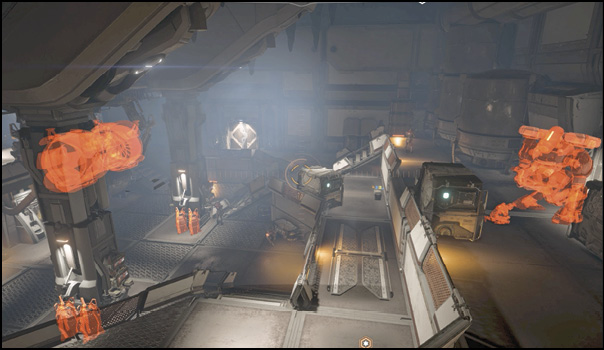
Back out of the security cam view and choose to blow the engine, gas the room, disable the Hydra armor, or do nothing. Try gassing the room, and then open the door just enough to defeat the Hydra from the hallway; this gives you moments of protection before the enemies seek you out.

If you gassed the room, stay off the bottom floor to avoid gas damage. Move around the top balcony, taking out the remaining enemies in the room. Running to the far end of the room and confronting the Sharpshooter on the balcony is a good start.
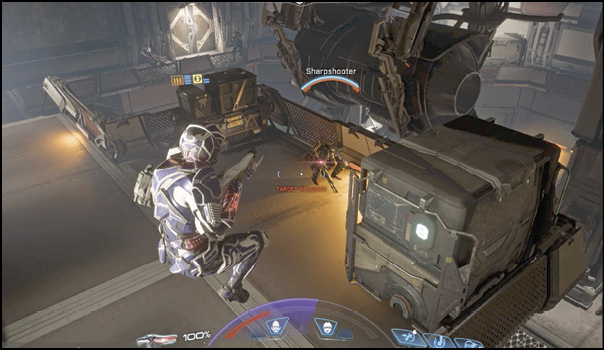
Move Forward Through the Rest of the Facility
Reach the open door on the other end of the room (18). Sid goes silent when asked for intel on the area ahead, and Vetra gets worried. Sid finally replies. She thinks the enemy has found her shuttle—then radio silence for good this time. Tell Vetra the plan is to rush in and help.
Deal with Security and Guards
Burst into the room and surge forward, shooting the Raiders, Wraiths, and Adhi along the way. Use cover when you get within range of the turrets at the top of the platform on the opposite side of the room.
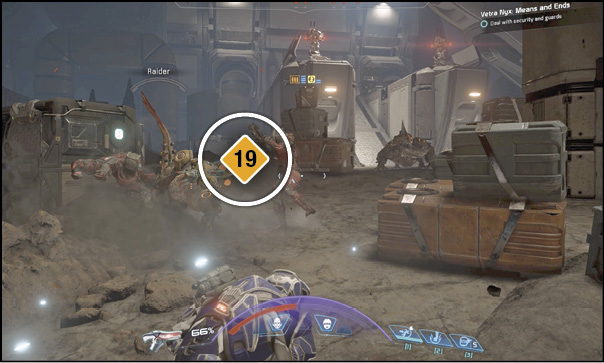
Optional: Disable the Turrets
Find the security control console (19) on the left side of the turret platform at ground level. Interact with it to turn the turrets to your side so they assist in defeating the enemy in the room.
Get to Sid
When the door unlocks, enter the next small chamber and refill your ammo using the ammo crates inside. Head through the next door and enter the shuttle docking area (20). In a cutscene, Meriweather marches Sid off the dock with a grenade in hand. In the conversation option, ask Meriweather what she wants. She asks you to put your weapons down, and you and your team comply. Just before your weapon touches the ground, you can fire off a shot that throws Meriweather back, and the grenade drops. To pull this off, you need to be quick with the command that appears in the lower-right corner.

Kill Meriweather and Her Guards
If you hit the prompted command in time, Vetra snatches up the grenade and tosses it toward the enemy troops. Your team takes cover beside the nearby crates. When control returns, begin fighting Meriweather and the distant Sharpshooters, Agents, and Raiders. There are around 10 enemies to deal with, including Meriweather and an Anarchist, who hold their ground around the shuttle (21).

Talk to Sid
After the battle is won, talk to Sid on the shuttle dock (20). Sid and Vetra have a stirring reunion, but Sid leaves upset. No matter how you direct the conversation, the two end up going separate ways, needing time to cool down.

Get to the Workshop
Head through the empty cave passage to reach the workshop doors and the security cam console (17).