Mass Effect: Andromeda Collector's Edition Guide Secondary Ops
Cora Harper: At Duty’s Edge
Mission Type: Allies and Relationships
Prerequisite: Must have interrogated Vehn Terev in “Hunting the Archon”
Start Location: Tempest
Unlocking: Received Cora’s email after interrogating Vehn Terev in “Hunting the Archon.”
Read Email from Cora
Tempest
The asari ark, the Leusinia, is still missing. Given Cora’s history with asari commandos, she has spearheaded the effort to find the Leusinia and bring it home to the Nexus. After finding the transponder on Voeld, she deciphers data and has a lead. Talk to her on the Tempest.
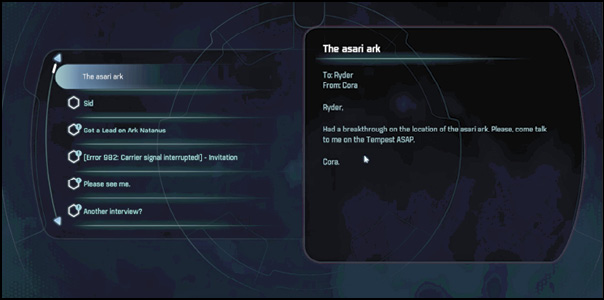
Speak to Cora on the Tempest
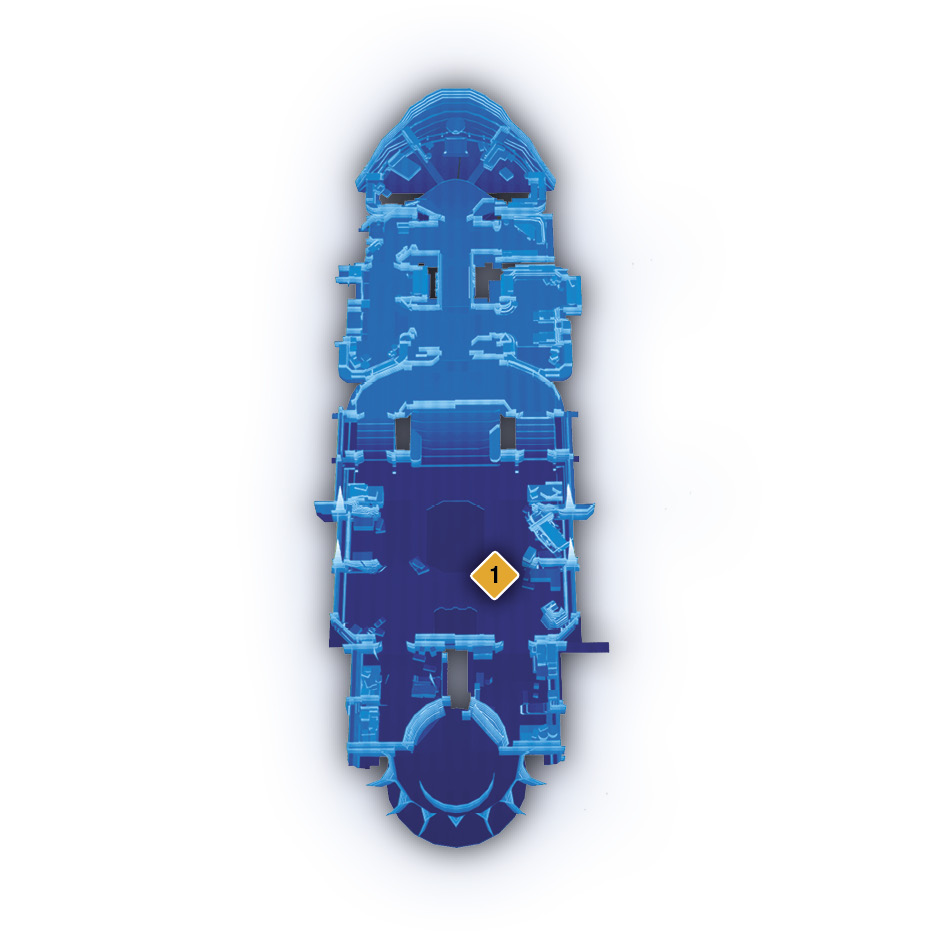
Tempest: Cargo Bay
Once you’ve returned to the Tempest and read her email about leads on the asari ark, talk to Cora in the cargo bay (1). She patched the flight recorder data using SAM’s help, and they now have the asari ark’s last heading. Navpoints are given, so head there whenever you’re ready.
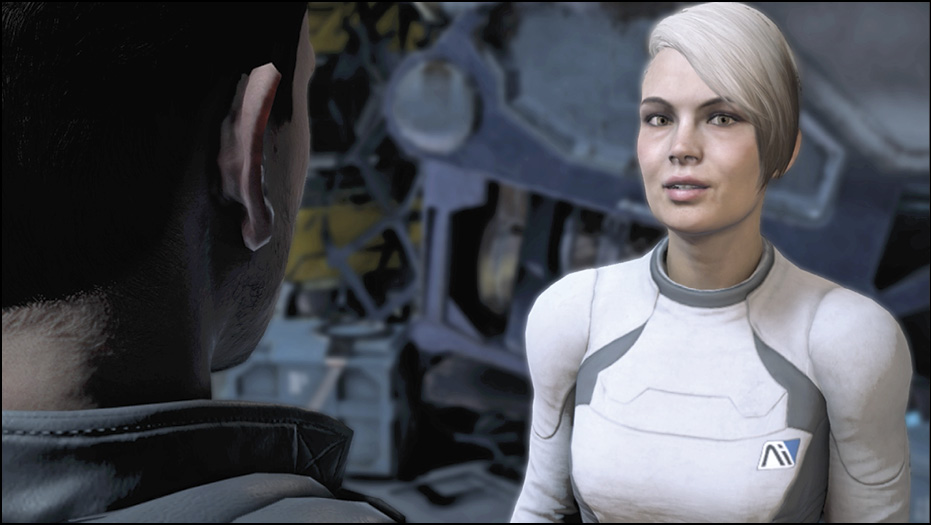
Search the Valay System for Ark Leusinia
Back on the bridge, take the Tempest to the Valey system and scan for anomalies. You get a hit off to the right of Hipaal. Launch a probe to discover the Ark Leusinia. Choose to embark on the mission, and make sure to take Cora with you on this (her) adventure.
In the cutscene before the docking sequence, you learn Cora has a lot of admiration for Sarissa, the Ark Leusinia Pathfinder’s bodyguard. According to Cora, Sarissa is a legend.
Dock with Ark Leusinia
Ark Leusinia Docking Bay
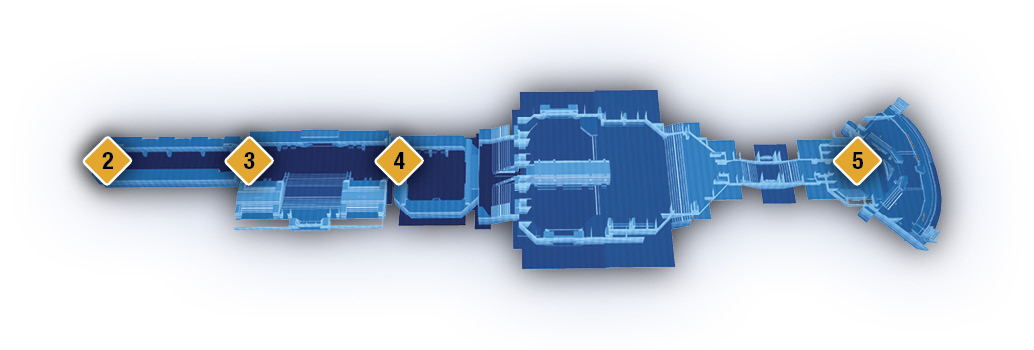
You begin in the docking bay (2), with your first navpoint directing you to the end of the passage. You ask Suvi if there’s any sign of life on comms. She replies the sensors are busted. Head through the first doorway (3). You can scan debris in the stairwell area, but there’s no sign of life here. Move to the next door (4), which is locked.
Reach the Bridge
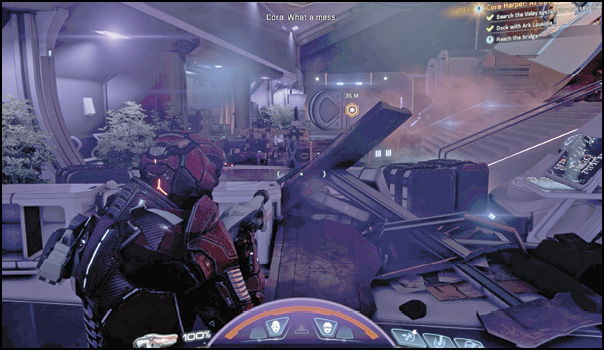
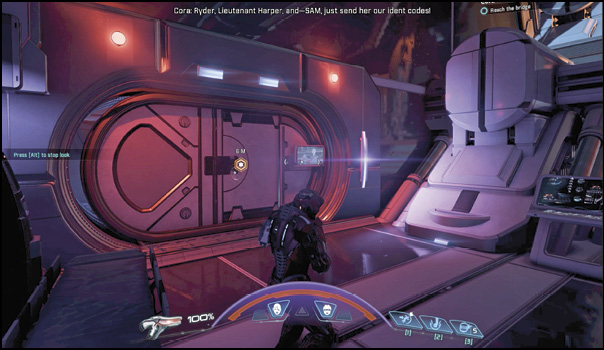
When you approach the locked door, sirens go off, red lights come on, and you hear Captain Atandra over comms threatening to start decompression. She thinks you’re kett. You scream back your ID, and SAM sends her your team’s identification codes. She calls off the attack and can be seen on the monitor at the locked door. She invites you to the bridge.
Atrium
Head through the now-unlocked door and pass through the atrium (all the arks are very similar in design). Continue forward through a couple of doorways until you reach the bridge (5).
Bridge
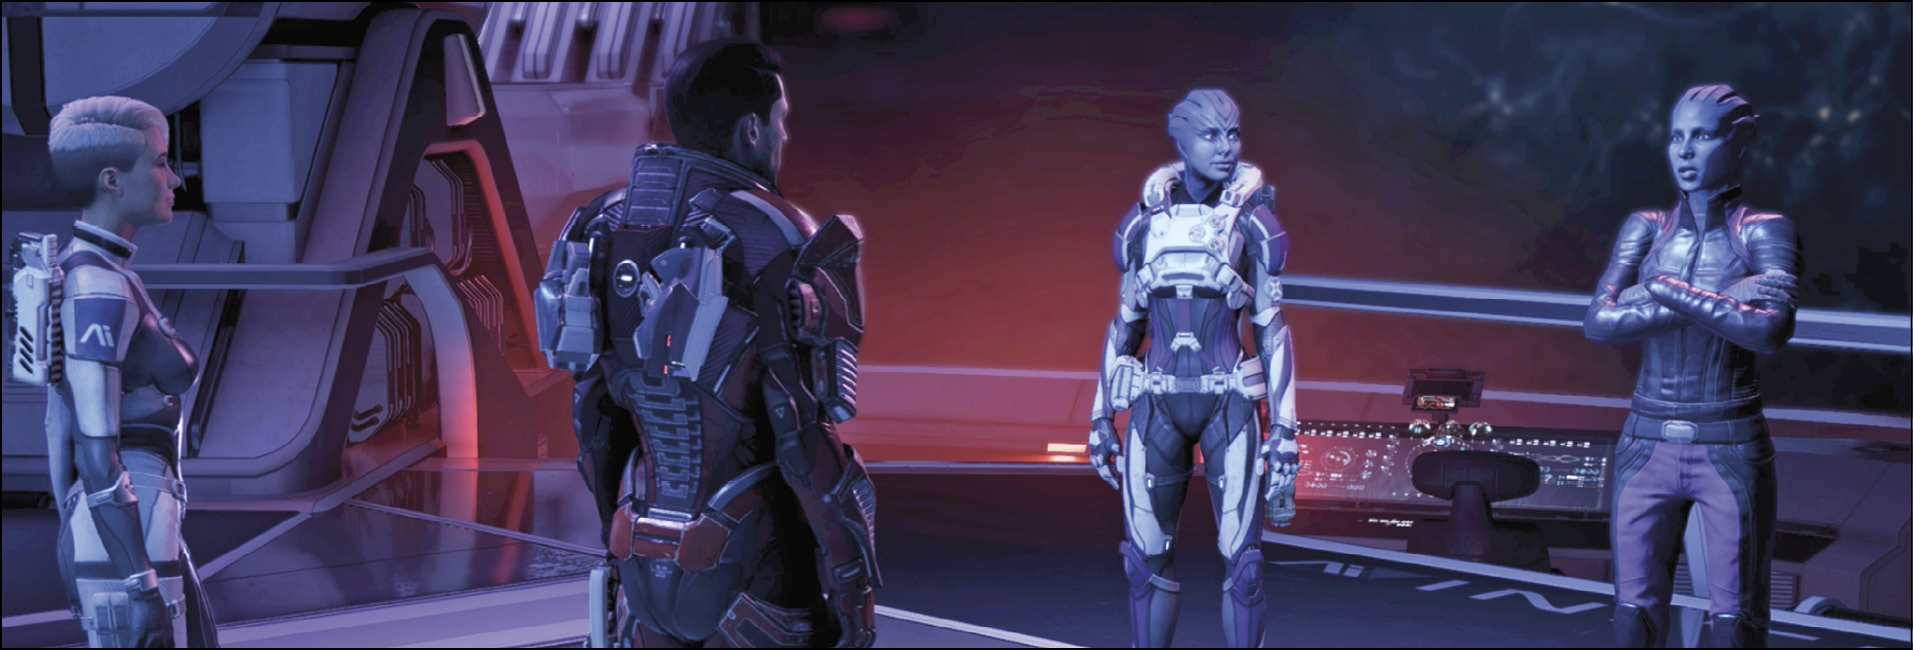
Here you meet Captain Atandra and Sarissa Theris, the asari bodyguard Cora so looks up to. You learn the Leusinia’s Pathfinder died, which made Sarissa the new Pathfinder. Sarissa stole a module from the kett containing tactical data that allows the ark to navigate through the Scourge. During the conversation, you learn there are still kett attackers aboard the ark, and it will take an FTL burn long enough to lose the kett ships to get the ark to the Nexus. The drive core is dead, and the Leusinia is stuck at minimal power. Your task is to get the FTL burn needed to save the ark.
Ride the Tram to Hangar Control
Tram
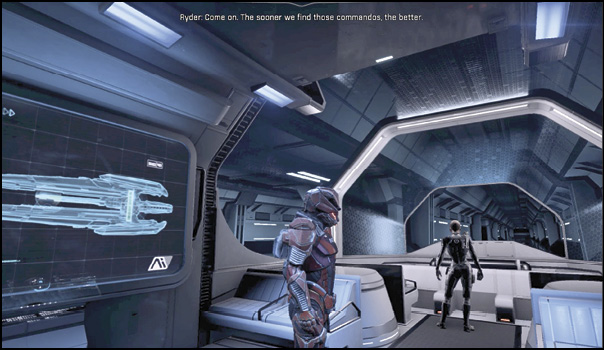
After the meeting with Sarissa and the captain, you find yourself on a tram. Interact with the tram console. The ride gives you time to talk to Cora.
Look for Asari Commandos in Hangar Control
Hangar Control
Floor Three
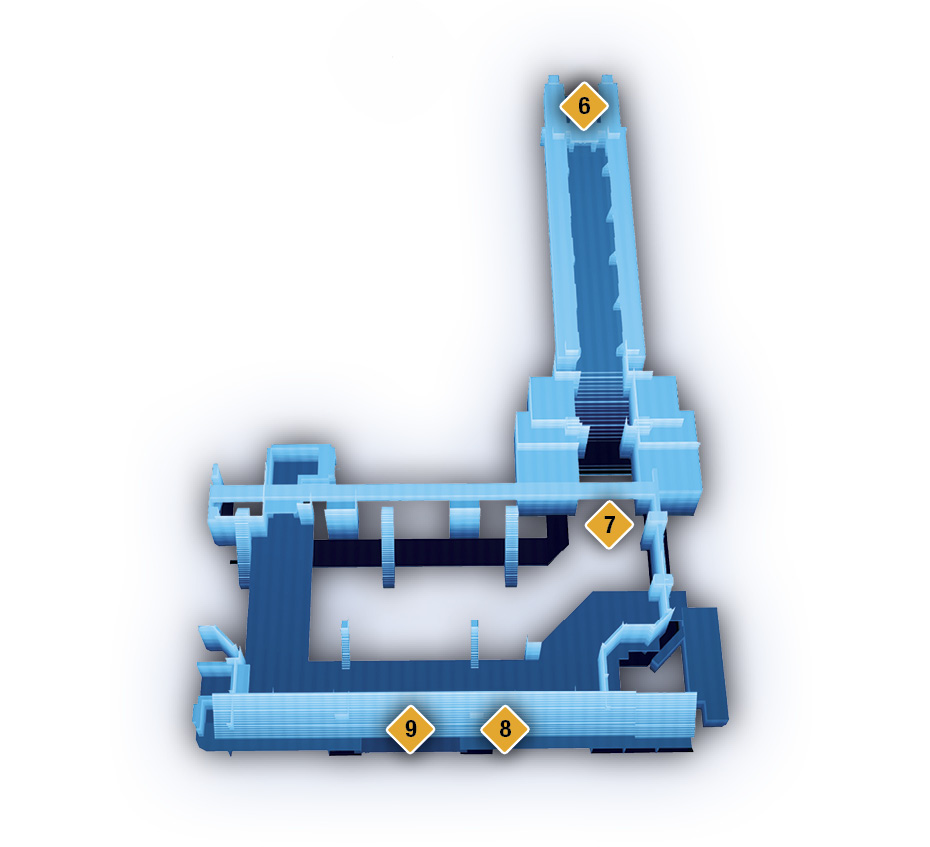
You exit the tram into a third-floor hallway (6). Open the first door and head down the hallway, following the navpoint. Descend a ramp to the second floor to reach Hangar Control (7).
Floor Two
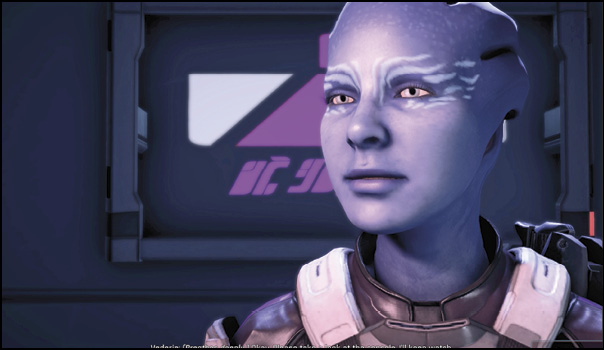
Find Vederia Damali (8), Sarissa’s new second-in-command, at the navpoint—a console at the back wall. She almost attacks you as you come up behind and surprise her. She’s excited to see that the human ark made it. Cora asks her if she can help get main power back for FTL travel.
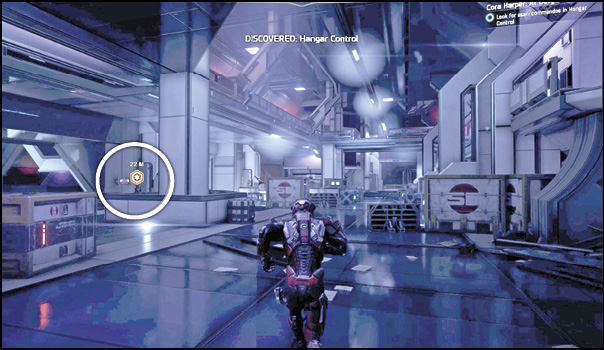
Vederia says she tracked the power drain and thinks shutting the hangar bay doors will fix it. The kett forced the doors open, and power is draining as the safeties try to shut them. She asks you to look at the console while she keeps watch.
Activate the Hangar Door Override
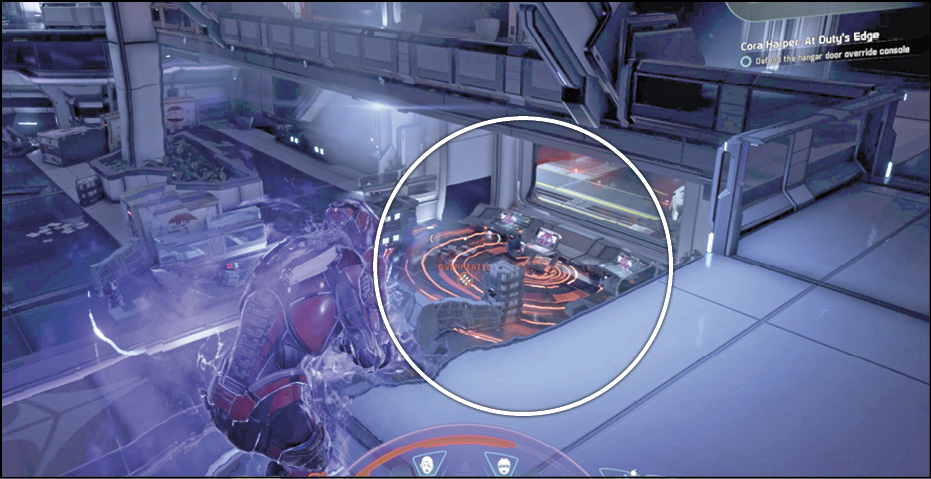
In the control pit—adjacent to where you found Vederia—is the Hangar Control (9). Activate it. SAM announces that the hangar door closure sequence has started. Kett enter the room.
Defend the Hangar Door Override Console
A Hangar Door Closure Sequence meter appears in the top-right corner of the screen. When this meter fills, the doors close completely. You must hold off waves of kett while this closure procedure occurs. Watch your radar to find the Chosen and kill them quickly.
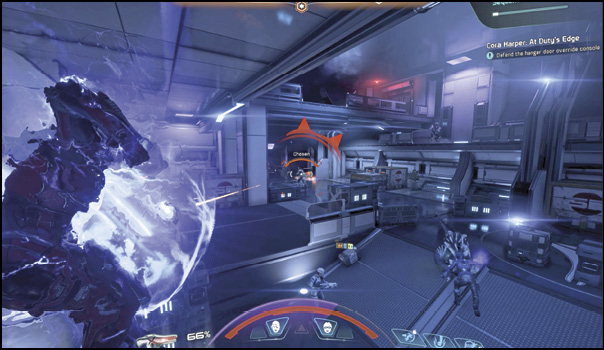
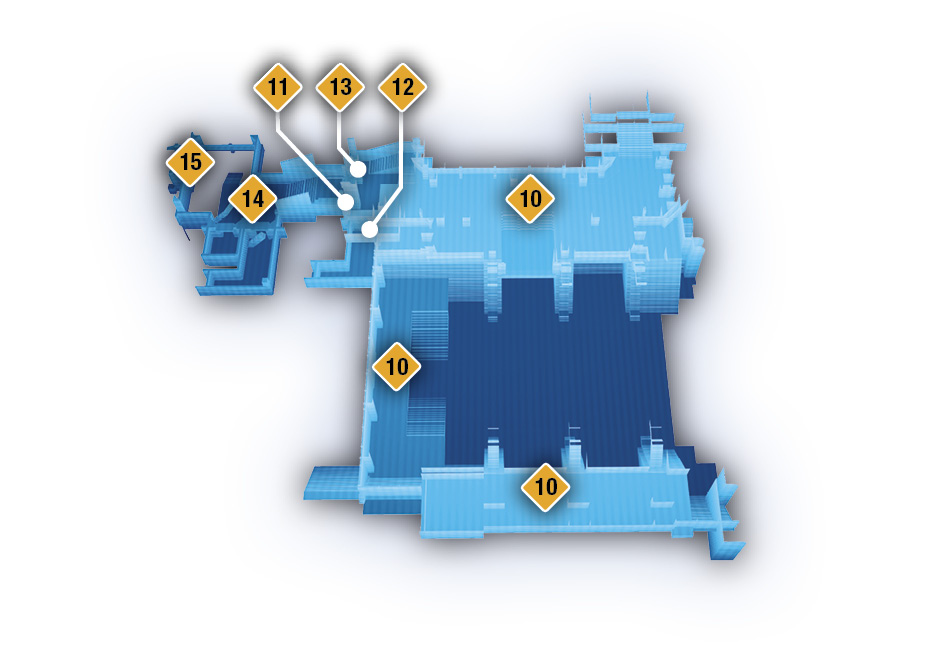
Remain in the glowing zone around the Hangar Control as much as possible. Send the team out to target kett that would require you to leave the zone. The Hangar Door Closure Sequence meter stops filling when you leave the target zone. Note that the zone around the control turns red when you venture outside. Keep your eyes on the upper-floor catwalks (10)—the main entry point for most of the attacks.
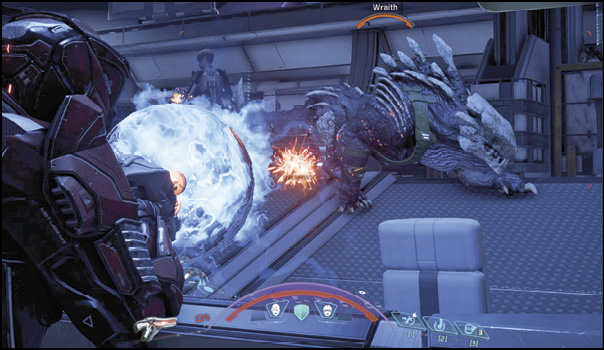
Waves of kett get stronger as Anointed start showing up, followed by Wraiths (which are the first to rush your position). There are ammo and health crates near the target zone, so you can replenish without leaving for very long.
Eliminate the Remaining Kett
Once the hangar doors shut, kett access is cut off, but you’re still tasked with killing the remaining kett. You can leave the control area to hunt down and defeat them. Use your radar to help the process along.
Speak to Vederia
Follow the navpoint down the corner stairs, and find Vederia (11) at a console near a couple of doors on the second level. Tell her that SAM detected some failed electrical junctions. Vederia confirms the information and says some fires started that shouldn’t have. She assumes something big is draining the power on the lower decks. She theorizes that the kett are trying to delay you long enough to allow the Valiant’s ship to catch up.
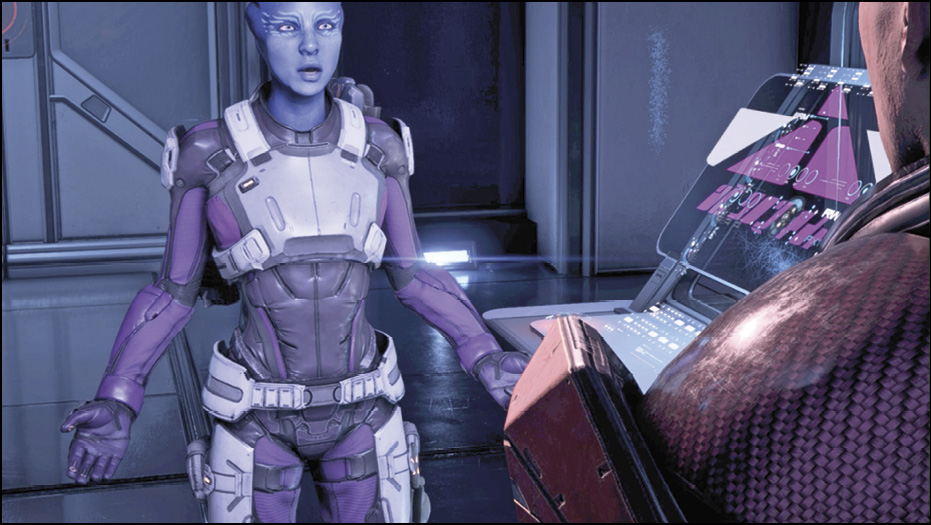
She suggests splitting up to give them two targets, and volunteers to check on the escape pods while you investigate what’s draining the power below. She leaves through one door (12); the other door (13) opens at the bottom of the stairs you descended earlier. Head through to reach the lower level, then open the next door (14) to access the living quarters.
Go Belowdecks through the Living Quarters
Living Quarters
Floor One
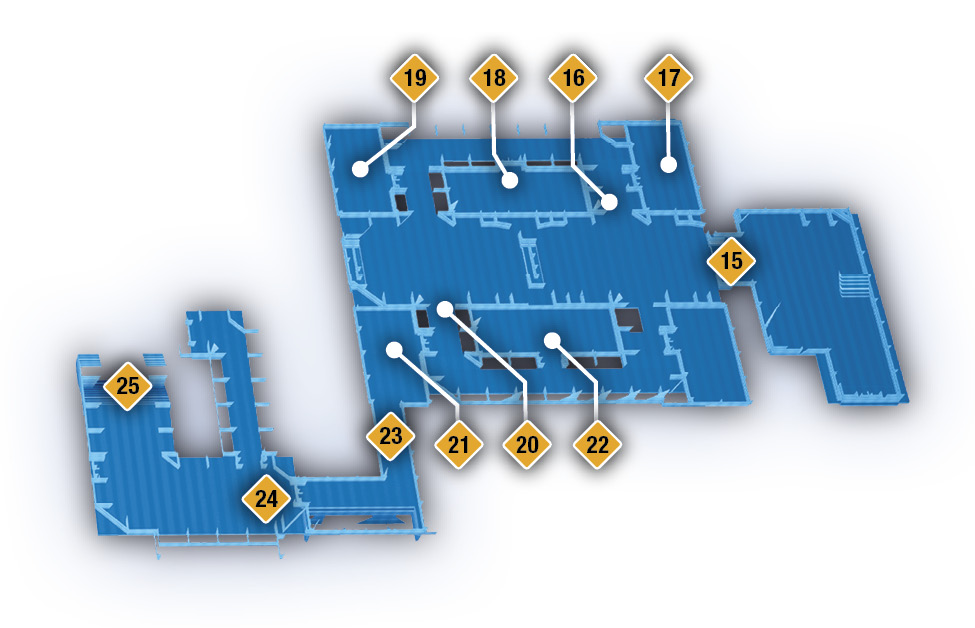
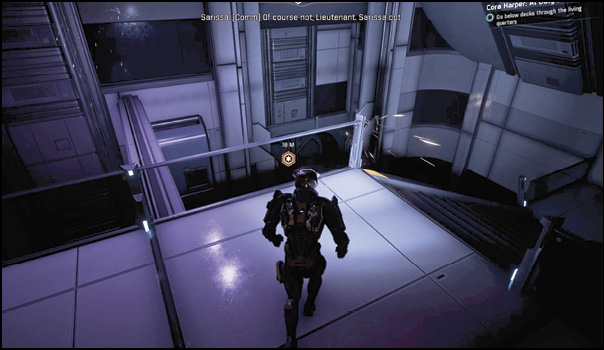
Follow the navpoint downstairs. Scan the debris, raid the container, and inspect the datapad. Follow the navpoint to a closed door (15) in this landing area. Enter the next large area—the living quarters.
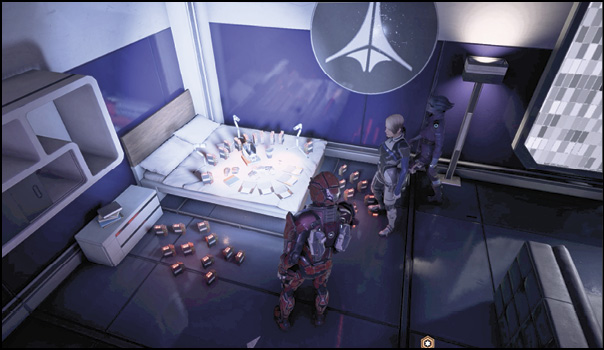
Take the first hallway on the right (16). In the first room (17) on the right, find a container and a shrine to Matriarch Ishara on the bed. Scan the First Aid Station for Research Data.
The next room (18) on the left contains a personal locker under a large monitor that can earn you some Research Data when scanned. There’s another locker on the floor to the left between bunk beds—more Research Data. Activate a terminal in this room to learn about childcare rotation and read a goodbye letter. There’s a datapad on a table and an item container on the kitchen counter.
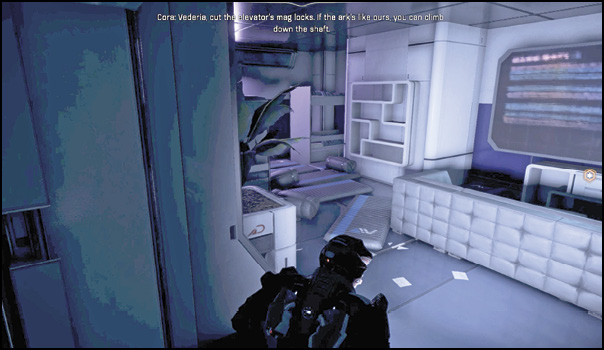
In the last room (19) on the right, at the end of the hallway, is a terminal where you can read a couple of letters, one from Sarissa. Scan the locker on the bed and the weapon storage cabinet for Research Data, and search the item container on the floor between the bunks.
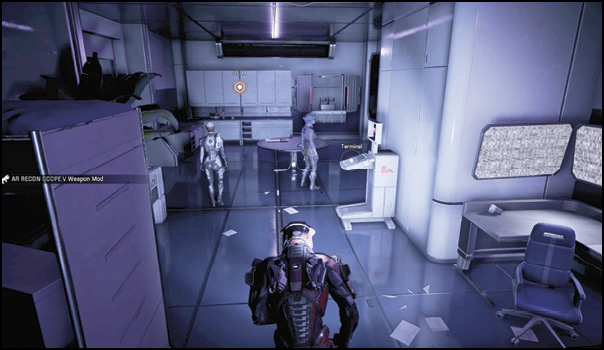
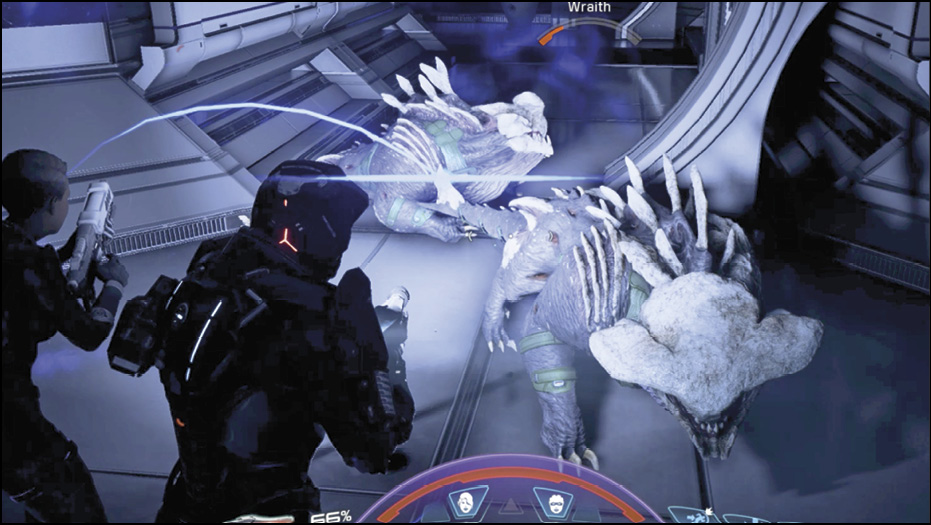
Leave the hallway of exploration and enter an open area, where a couple Wraiths rush you from the next hallway (20). Find conveniently placed ammo and health crates in the next room (21) on the right. The doorway (23) you must pass through to continue this quest is also in this room.
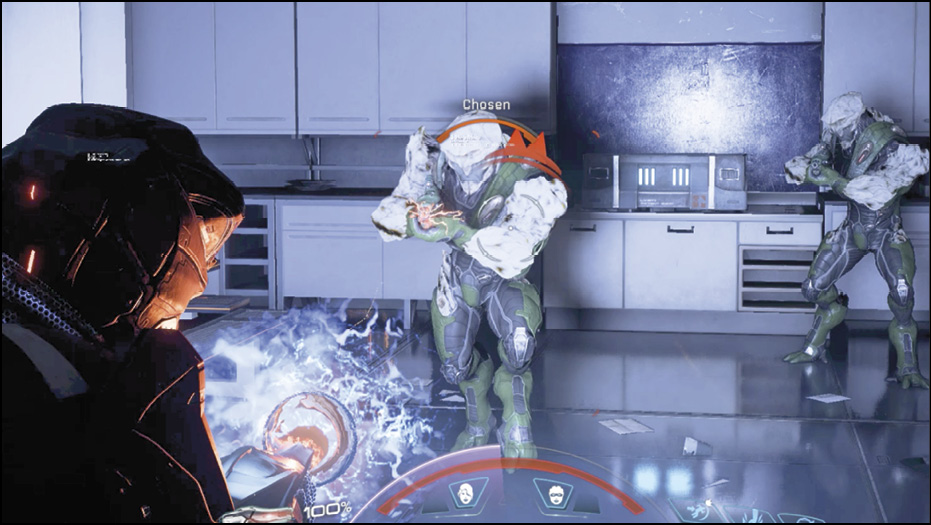
But if you’re a completionist, backtrack and inspect the last room (22) in the hallway, but prepare to open fire as soon as you open the door. There are two Chosen inside. The payoff is a huge crate of goods under the fuzzy monitor. Scan the ration crate for Research Data.
Return to the ammo room and head into the next area through the door
(23). Traverse a bending hallway and enter a larger hallway choked with debris and fire. Vault over the debris and head down the next set of stairs.
Secure Fire Control
Fire Control
Level B1
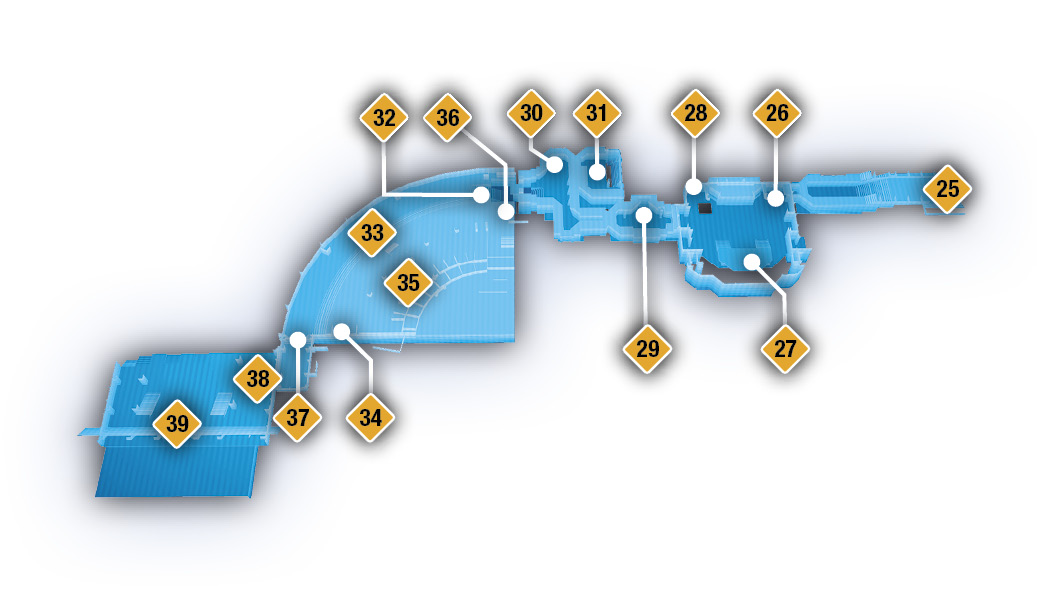
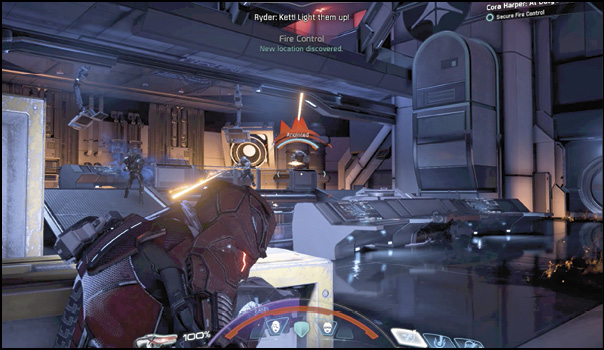
Head down the stairs while avoiding the fires, and enter the Fire Control room (26), where you’re greeted by kett hostility. Defeat the Chosen, Anointed, Destined, and Wraiths. As the battle plays out, more Chosen and another Destined drop into the room from above. Continue the fight until they’re all wiped out. You can find ammo and health crates at the front of the room on the floor near the console platform.
Reactivate the Fire-Suppression System
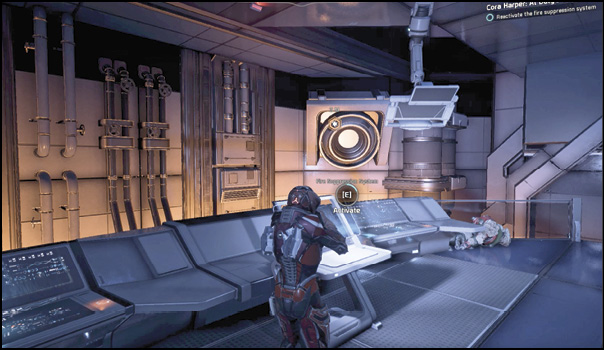
Follow the navpoint to find and activate the fire suppression-system (27), using the console on the platform. Tampering with the system causes a malfunction, and sparks fly. Scan the conduit in the floor and follow it to the back of the room.
Reroute Power to the Fire-Suppression System
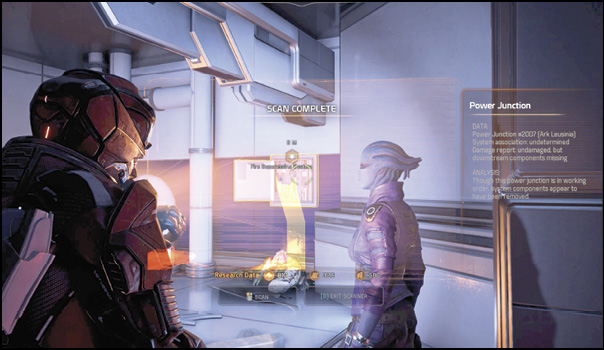
The conduit leads to a panel (28) on the wall. Scan this power junction and then interact with it to override the fire-suppression system. Return to the console (27) on the platform and reactivate the fire-suppression system. Leave the room through the unexplored hallway (29).
Meet Vederia
Continue through the bendy hallways to find ammo and health crates (30). The room (31) next to the crates contains a datapad, workshop equipment that can be scanned for Research Data, and a large container with a high probability of containing an Asari Sword. There’s also a terminal with evacuation and security messages.
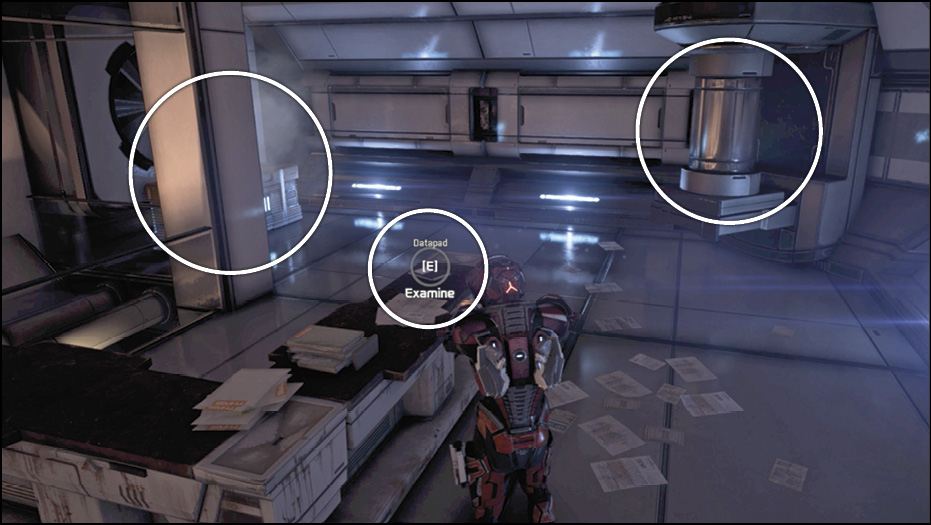
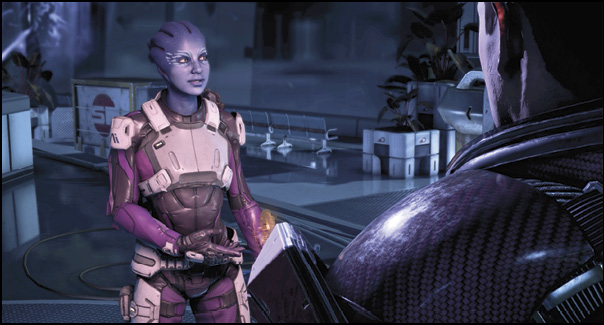
Leave the room and continue through the ark to the observation deck (32), where you find Vederia (33) working on some interesting-looking device in the middle of the room. Talk to her. She explains it’s some sort of mass effect field device. Someone rigged it up because the kett sheared off some hull plating. It helped hold the hull together while people escaped. Now it needs to be shut down; it’s the source of the power drain.
Scan the Mass Effect Field Device
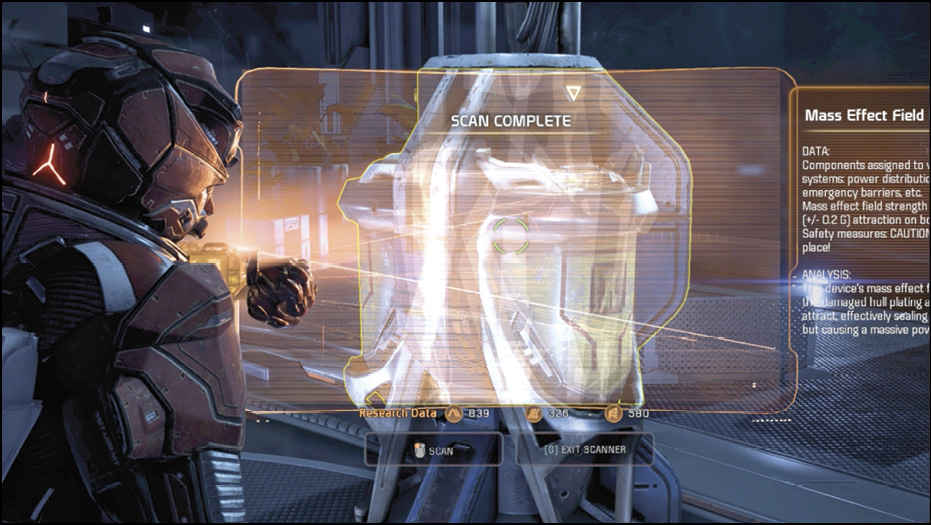
Scan the mass effect field device (33) so SAM can help shut it down. SAM says it will take two people to accomplish the task: one disconnecting the cables and another at the device itself.
Disconnect the Three Power Cables
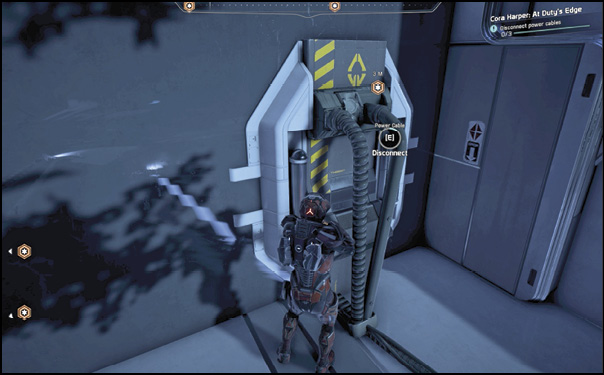
There are three power cables on the observation deck to disconnect. Two power cables (34) and (36) are located beside the lower-level doorways, and the third (35) is next to a doorway on the upper-balcony walkway. A wave of kett attacks occurs each time you disconnect a power cable, and you cannot interact with the next power cable until all the kett in that wave are defeated. So, in total, you must overcome three waves of kett attacks before you can disable the mass effect field device.
Eliminate the Kett on the Observation Deck
Each of the three waves of kett attacks consists of Wraiths, Destined, Anointed, and Chosen. In the second wave, the number of Chosen increases. In the final wave, after the final power cable is disconnected, expect twice the number of all enemy types, compared to the first wave.
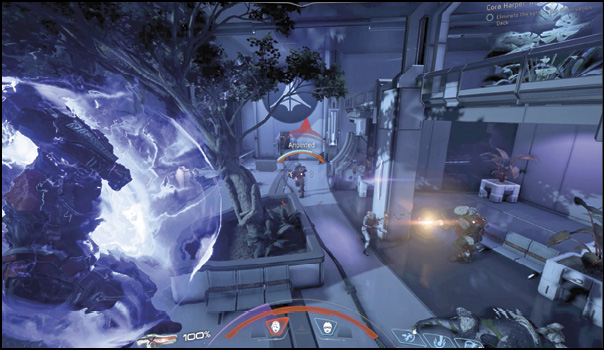
Disable the Mass Effect Field Device
After the last kett is defeated, approach the mass effect field device (33) and deactivate it. With that done, Captain Atandra announces that the drive core is coming back online and congratulates you. She’ll be moving the ark in a few minutes. You ask her if FTL travel is still possible with a hull breach. SAM accesses data from the ark, and you hear a recording of Sarissa and Matriarch Ishara. It turns out that Sarissa left the Pathfinder to die in order to secure the kett data she acquired. At this point the conversation options begin prompting you to choose whether or not to side with Sarissa’s decisions.
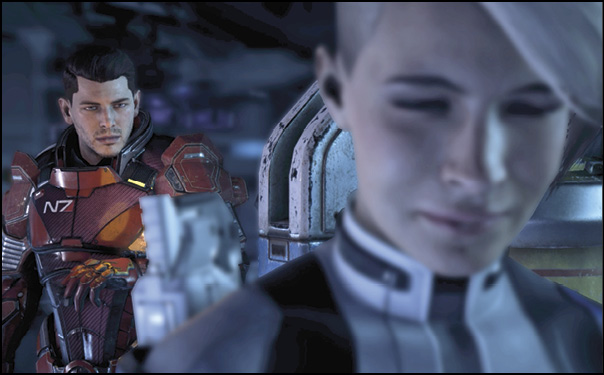
Get to Deck 12
After the mass effect field device is shut down and FTL travel is possible, the kett are detected heading for the breach in the hall on Deck 12. You need to get there ASAP. Head through the door (37). On your way, SAM cautions that local gravity could be affected if the mass effect field device is triggered remotely. In the upcoming battle, triggering the device is an option. Replenish weapons and health as you enter Deck 12 (38).
Repel the Kett Attack on Deck 12
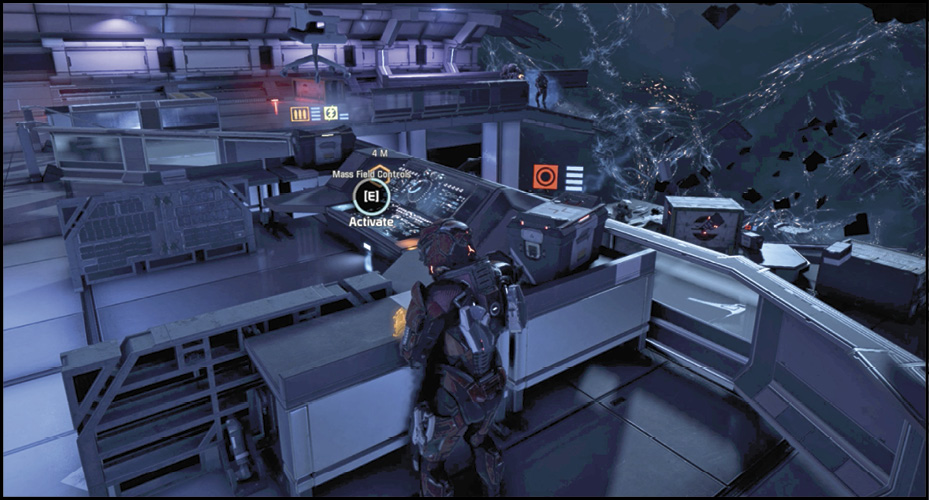
Notice the lack of gravity when you enter Deck 12. You and your team have mag boots, so you’re not affected by the lack of gravity as many items in the room are. If you wish, turn on the gravity via the mass effect field controls at the console (37) on the middle-tier balcony in the back of the room.
Survive waves of kett attacks. You face many Chosen, Anointed, and Destined. The Valiant himself shows up to the battle in the second wave. You must destroy his circling orb before you can bring down his shield to cause any damage to this powerful foe.
This is where your team can help—have them focus on the orb, and make sure they’re reloaded and ready to attack the boss when the orb is destroyed. You don’t want to be reloading during the little time the boss is vulnerable to attack. When he finally goes down, with his dying breath he commands his crew to forget capture and destroy the ark.
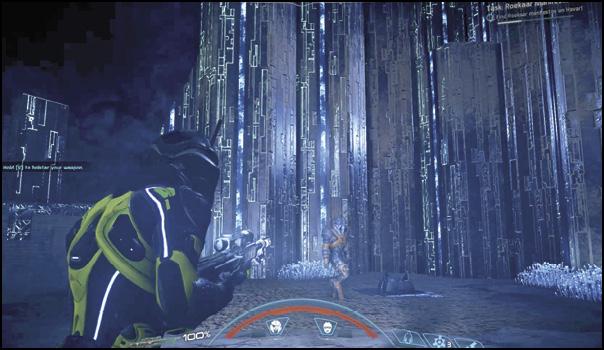
Get the Leusinia to Safety
Sarissa and Cora hold off the kett ship attack using biotic shields. The kett missile attack is reflected, and the stray missiles bounce back and destroy the kett ship. The captain moves the ark away from the resulting explosion.
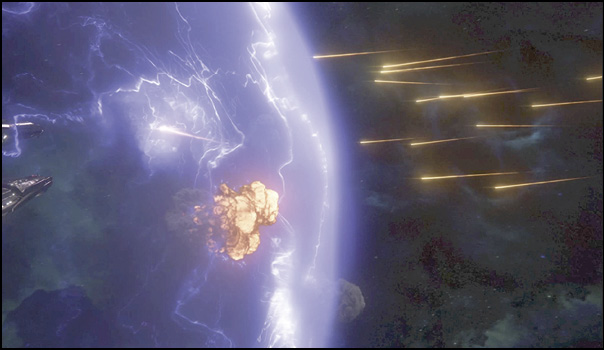
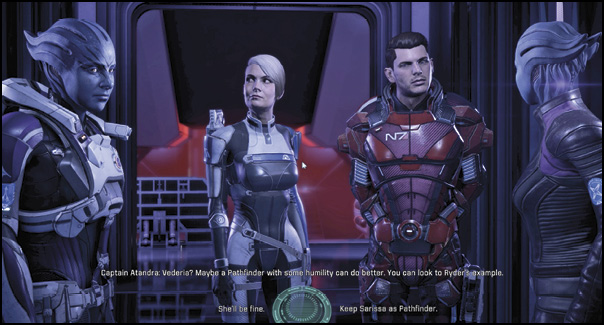
At the end of the mission, you tell Cora that she needs to talk to Sarissa about Ishara’s message. Cora spills the beans as Sarissa approaches to thank your team. Sarissa seems surprised the logs survived. She explains that she failed to protect the Pathfinder because she was protecting all lives on the ark. The only problem is that she told no one of her choice. During the conversation options, you can side with her by keeping the knowledge quiet, or you can suggest that the asari people should know. This is not a critical decision. You can choose to let the people know; when the captain approaches, you can give Sarissa the chance to remain Pathfinder by selecting “Keep Sarissa as Pathfinder.” Or you can have her canned. The choice is yours. How do you feel about the decision she made?
You console Cora on the flight back to the Tempest. She’s had a tough time, what with toppling her hero in front of her crew and all. You can choose to further romance her during this conversation. No matter how you communicate with her here, you earn her loyalty at the end of the mission. Cora’s Rank 6 skills are unlocked.