Mass Effect: Andromeda Collector's Edition Guide Secondary Ops
Liam Kosta: All In
Mission Type: Allies and Relationships
Prerequisite: Complete “Armor Diplomacy”
Start Location: Tempest
Unlocking: Read email from Liam.
Reed Email from Liam
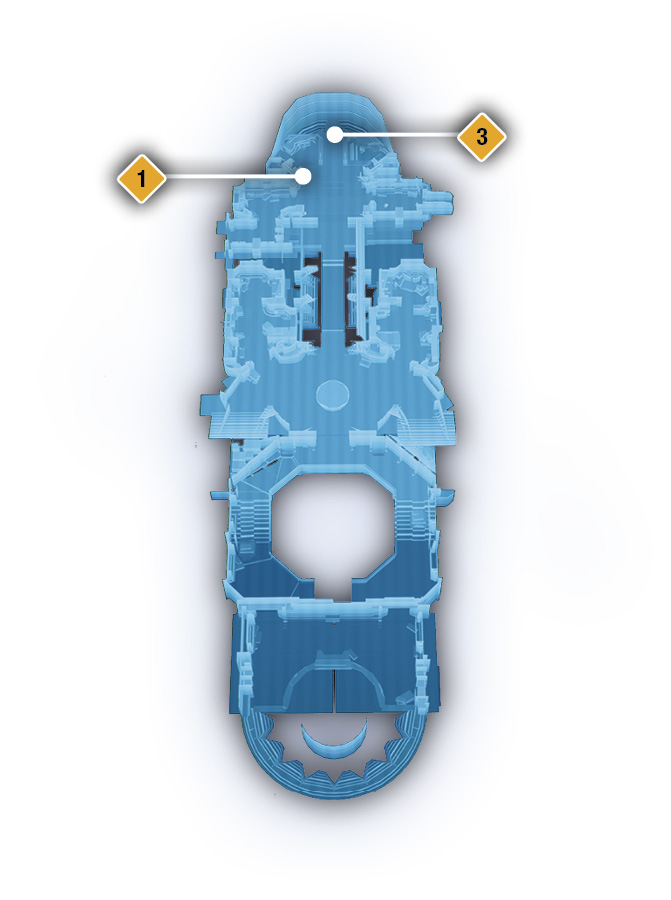
Tempest
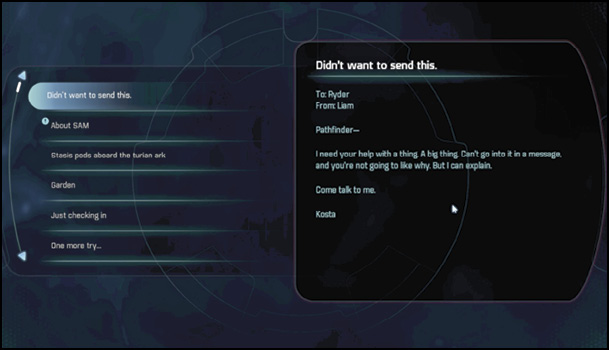
You receive an email from Liam titled “Didn’t Want to Send This.” Read it to begin this quest.
Speak to Liam on the Tempest
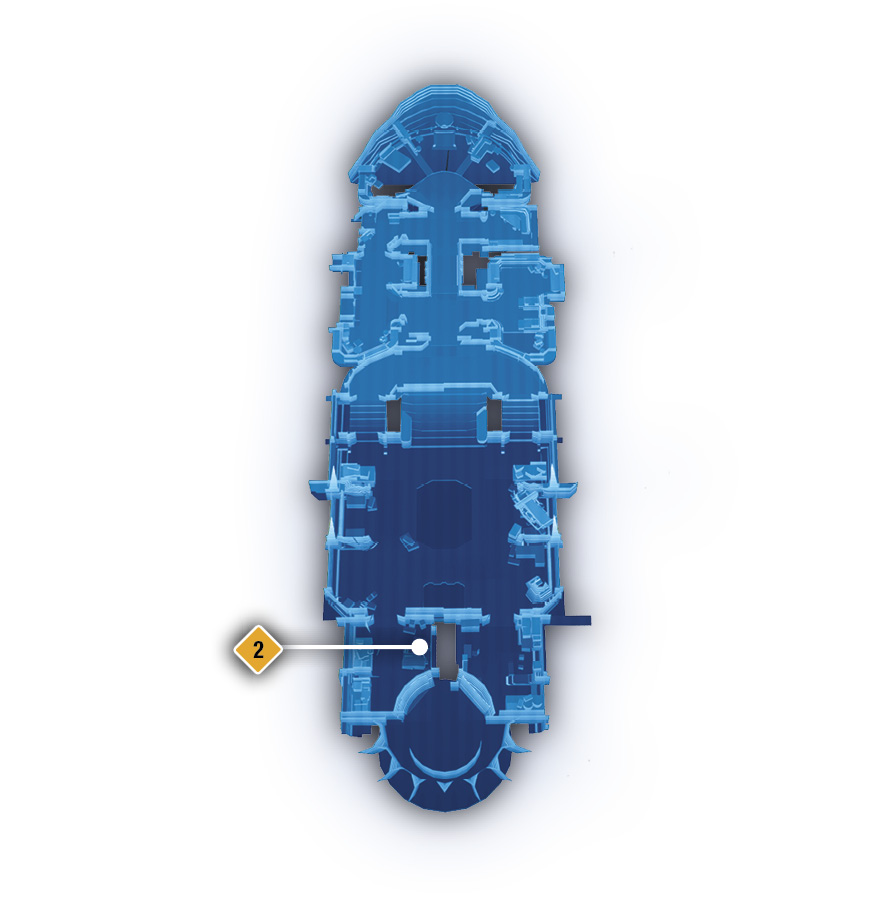
Storage
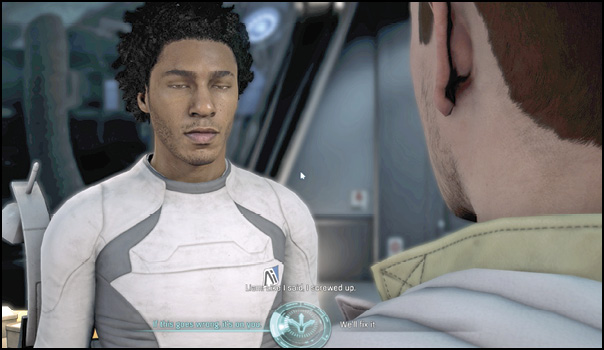
Head down to the lower deck and visit Liam (2) on his couch in the storage room. He’s in a dilemma. He gave Verand Nexus data and navpoints, and she’s missing. He needs your help to find her before everything falls apart.
Go to the Debris Field in the Sephesa System
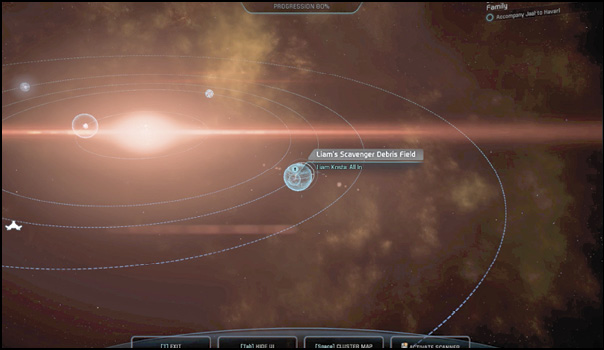
Head to the bridge (3) and then to the Sephesa system. Travel to “Liam’s Scavenger Debris Field.” Examine the debris field closely. Scan it and disembark from the Nexus.
Sweep the Cargo Bay for Enemies
Debris
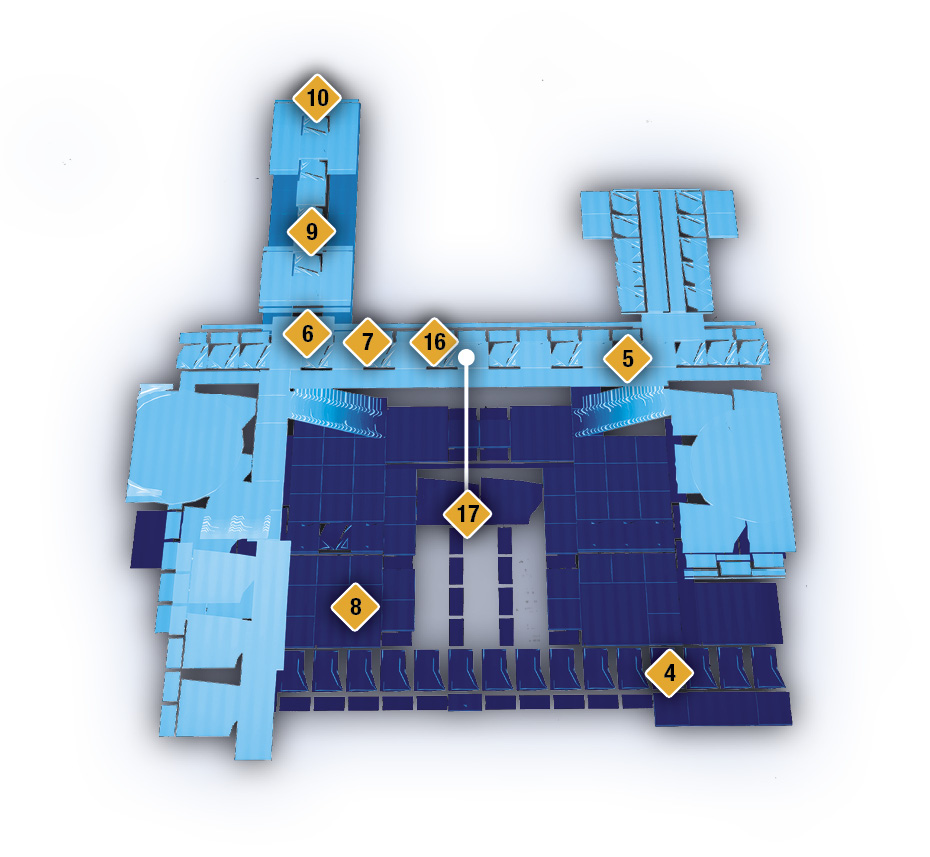
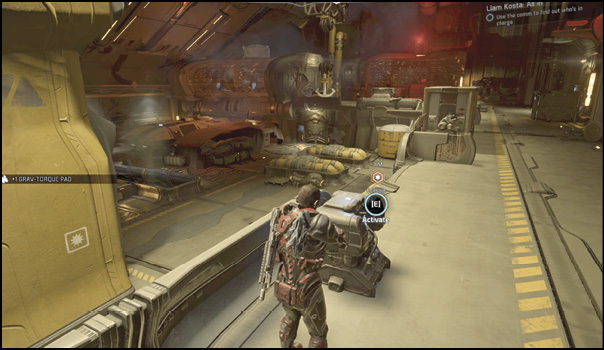
You begin in the southeast corner of the cargo bay (4). Defeat all the scavengers, which consist of Talon Raiders and Adhi.
Use the Comms to Find Out Who’s in Charge
Once the room is clear, head to the comms console (5) by the door to discover who’s in charge here. You and Liam engage in a passive-aggressive conversation with Calot. During the cutscene, you can follow the command prompt in the lower-right corner to disconnect the call.
Fight to the Cargo Bay Exit
After the conversation, during which the cargo bay door has been menacingly opening and closing, more scavengers arrive. Fight for the door they came through to get out of the cargo bay. Eliminate the Talon Sharpshooter, Adhi, and Talon Raiders. When you’re done, scan for Research Data and loot all the containers in the room.
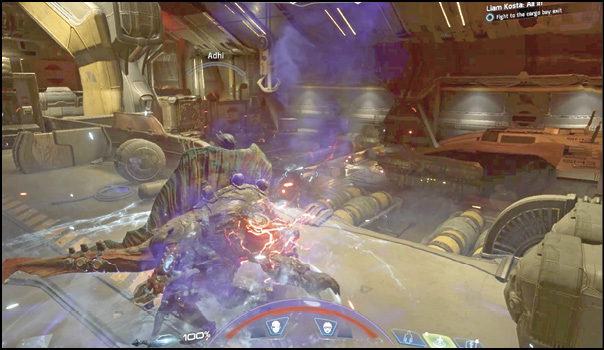
The door (6) the navpoint directs you to is sealed. Override it from the console (7) to the right of the door. During a cutscene, you talk to Calot again, and he is not amused. The cargo bay doors open, and you and Liam fly out but manage to grip on to an edge. Bradley comes to the rescue.
Search the Ship for Captives
When control returns, you find the gravity has been altered and the room is now turned on its side. You begin (8) standing on the wall where the shuttle bay doors are. Jump the cargo platforms to reach the navpoint at the doorway (6). Open the door and blow away the turian Raiders in the next hallway (9).
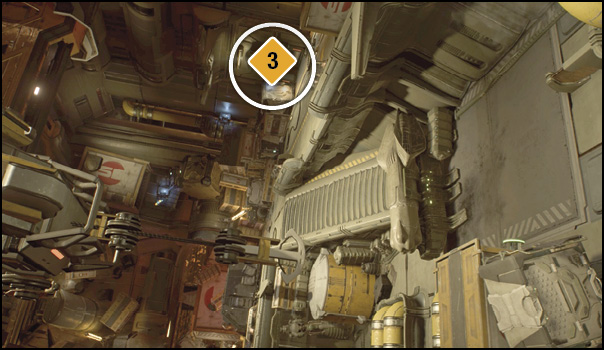
Continue through to the end of the crooked hallway, climbing crates to reach high doors. At the end of the hallway with the window on the floor (10), start climbing upward.
When you land on the lower floor, look up for the navpoint. It’s on a door a few platform jumps ahead. Open the door to find a container and a short passage you can’t fit through. Turn around on the platform at the door and jump to the opposite side of the room. Break the slatted access cover with your blade or a firearm. If you have trouble finding it, use your scanner. It glows red, and you can gain Research Data from it.
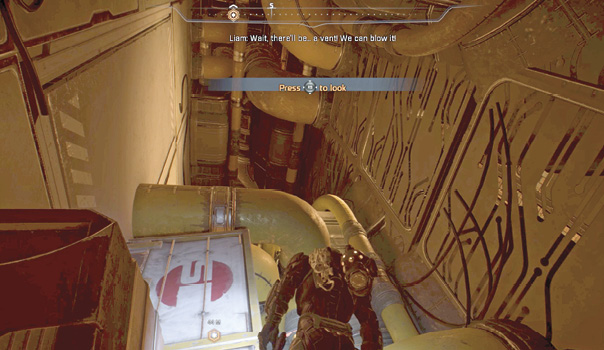
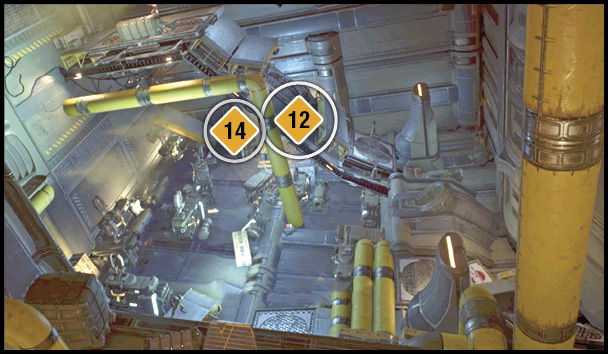
Head through the hallway and smash through another slatted access cover to reach the next big clearing. You begin this battle in the back of the room up on a high platform (11). Defeat the many Raiders in the chamber, and then try to open the door (12) on the opposite end of the room where the navpoint directs you. Defeat everyone in the room while Bradley, on comms, says he’ll work on getting that door open.
Find and Scan the Control Hub
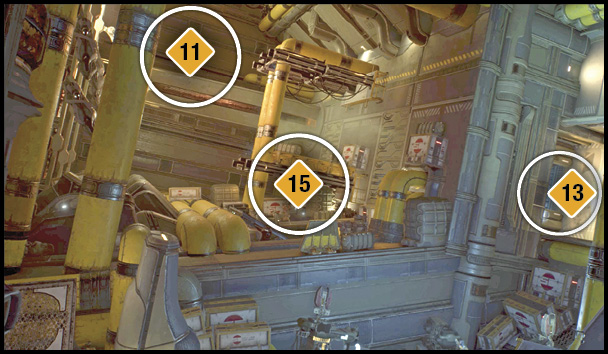
Jump into the high closet-sized room (13) on the side of the chamber. Scan the lab security control hub and then wait for Chief Grace Lito to help you with navpoints over comms.
Activate Two Consoles to Give the Engineers Access
Activate a console (14) near the exit (12) and another back in the first room you entered, in the corner near a light (15). All the monitors in the room come on and display human captives.
Fight Through to the Captives
Cargo Bay: Upside Down
Exit through the door (12), and gravity shifts again. Continue through another doorway to drop back into the cargo bay. It’s now completely upside down. You start (16) near the original doorway.
Scan the items in this room and head for the high room at the top level, where you can scan the cargo crane controls. Activate them (17).
Defeat the enemies pouring into the room from the high doorway at the end of the crane line. Head through that door and a crooked hallway. Jump up to the high door and use it to enter another similar bendy hallway that leads to another high door. Eventually you find yourself in a big area with a couple of levels, lots of nooks, and Adhi. Defeat all the scavengers and wildlife to open the next doorway.
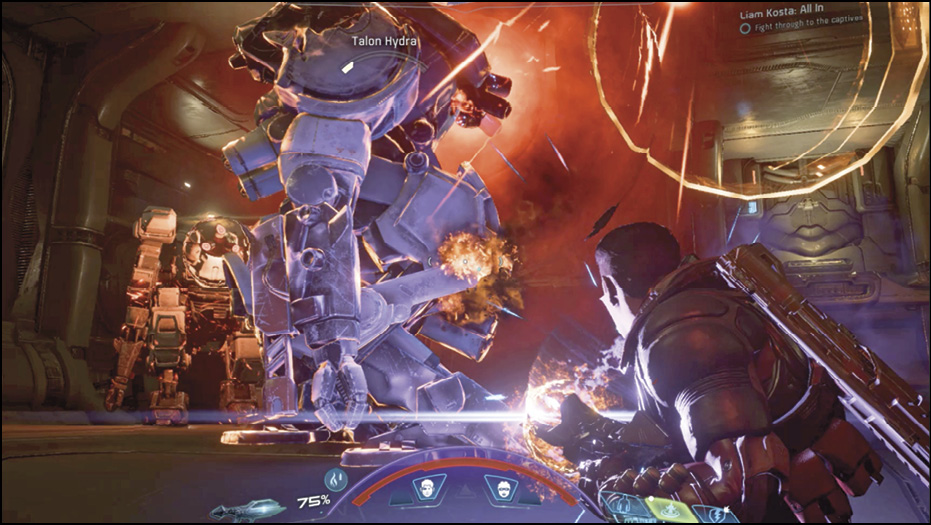
Follow the navpoint to the top-level doorway that’s blasted open. Enter the next chamber and defeat the two Talon Hydras. Activate the console on the floor to release the captives from a trading ship out of Kadara. Finish the conversation with Cameron Dace and tell her you’ll all get out together.
Send Power to the Bulkhead Door
Follow the navpoint out a high doorway and jump up to the ledges in the back of the hallway. Exit through a connecting hallway higher on your left. Follow the U-shaped room around and activate the bulkhead door console. Override it.
Stop Calot from Being a Threat
Follow the navpoint up the stairwell and enter the large room on the left. Holding cells here can be scanned. Push through to the next room at the end of the holding cells. Defeat the Raiders in the next clearing and continue along the same path through the next two closed doors.
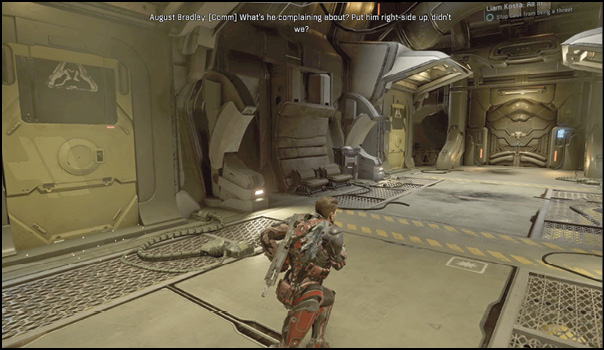
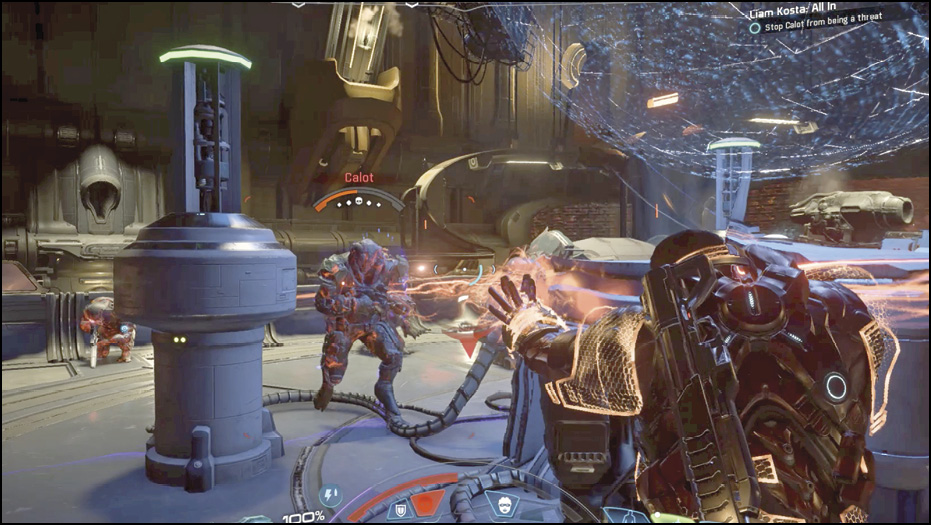
In the last room you meet Calot and about five of his buddies. Calot is under an impenetrable shield on the second level of the massive room. Activate the console on the floor to create a hacking process that aims to lower the shield from around Calot. The first hack only reaches partial completion.
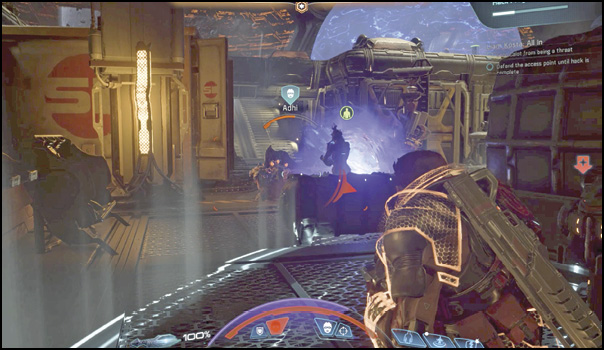
Defeat more enemies, and then use the second hack console located on the side of the room on the top level. Reinforcements arrive as you wait for the second hack to go through. Defeat the captive Eiroch as well as more Adhi. After the hack is complete, head to Calot, where the shield was. Defeat his Sharpshooters, then take him out.
Signal for Evacuation
Activate the airlock control, located at the holo-sphere where you battled Calot. At the end you speak to August Bradley, Kallo, and Verand. Choose to send everyone home, or stay while they update specs. Liam thanks you at the Tempest, and you earn his loyalty. You also unlock Liam’s Rank 6 skills.