Mass Effect: Andromeda Collector's Edition Guide Priority Ops
Mission 3: A Trail of Hope
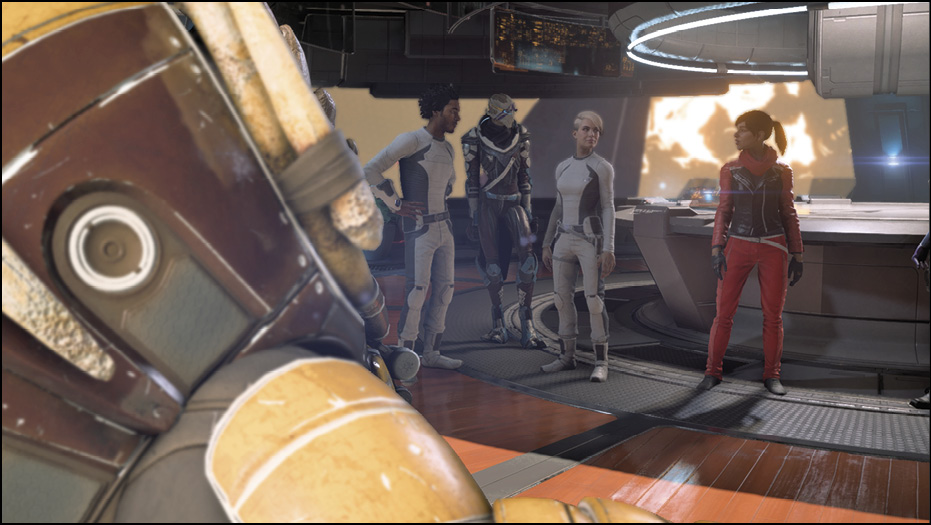
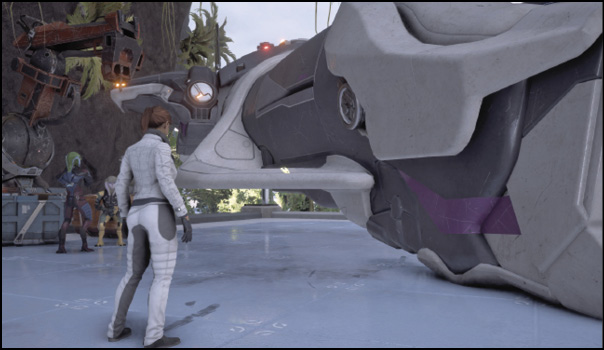
Ryder’s success with activating the Remnant atmosphere processor on Eos breathes new life into the Andromeda Initiative. However, there’s little time for celebration, as Ryder learns of the locations of additional dormant vaults waiting to be activated. The Tempest sets course to the Onaon system.
| Action Checklist | |
|---|---|
| 1. | (Optional) Explore new systems via the Galaxy Map |
| 2. | (Optional) Exhaust dialogue and conversation “rounds” with squadmates and Tempest crew |
| 3. | Complete “Helping Havarl’s Scientists” (Havarl) OR “Meet the Resistance” and “Stage a Rescue” (Voeld) |
| 4. | (Optional) Undertake and complete Havarl and Voeld side quests |
| 5. | Speak to Evfra and launch the operation to rescue the Moshae |
We Come in Peace
The Onaon system has been added to the Galaxy Map. Set course for it when you’re ready to trigger a cutscene.
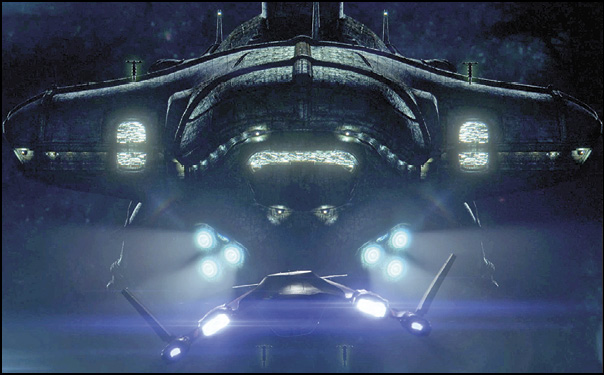
A fleet of kett ships intercepts the Tempest mid-journey, cornering it against the Scourge. It seems a prominent kett figure is interested in your Remnant-interfacing abilties.
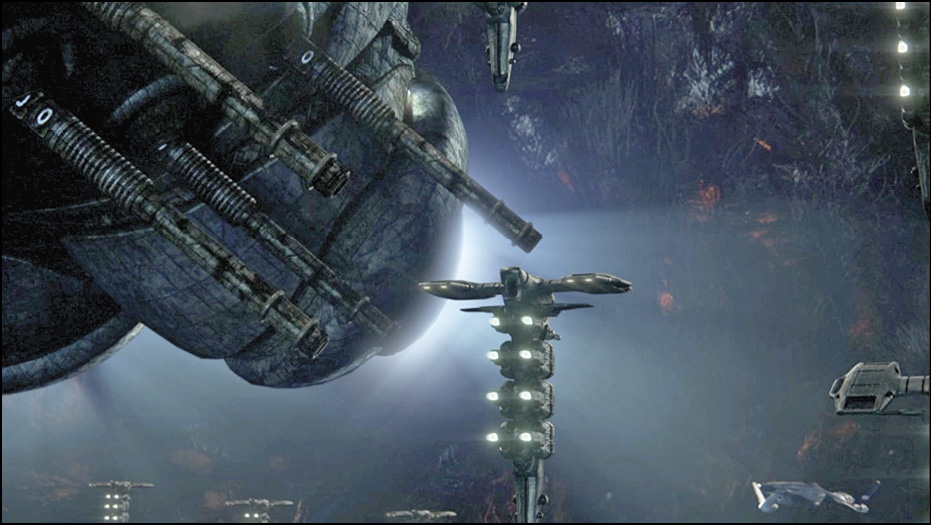
Kallo pilots the Tempest successfully through the Scourge with the assistance of SAM’s calculations, and the Tempest makes it to its original destination: a beautiful, lush world called Aya. Here they’re met by understandably cautious natives of the planet, the angara. After deliberation, the Ayan governor decides to escort you to meet the leader of the Resistance.
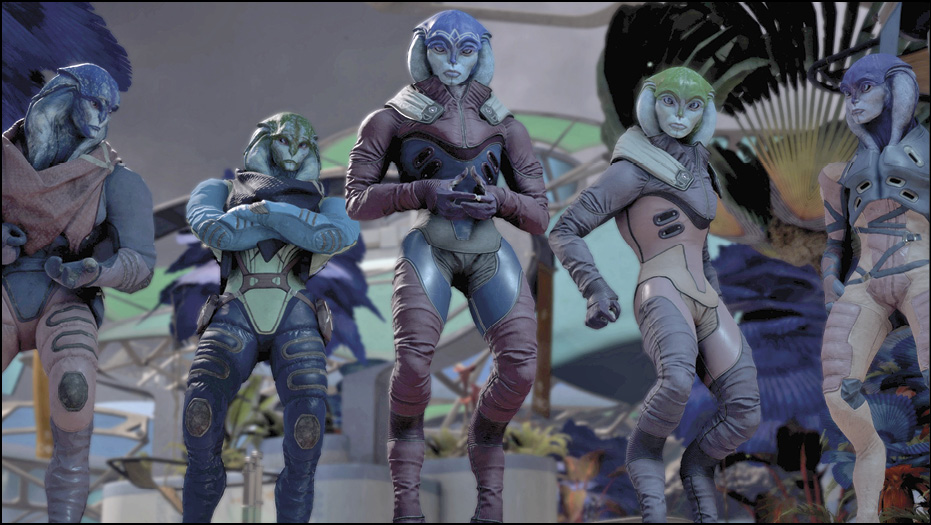
Once you’re back in control, your only objective here is to adhere to their rules: follow the governor without wandering off or doing anything suspicious (including activating your scanner). Breaking any of these rules results in a game over, as the rightfully distrusting angara don’t hesitate in gunning you down. Remember, humans are the aliens here.
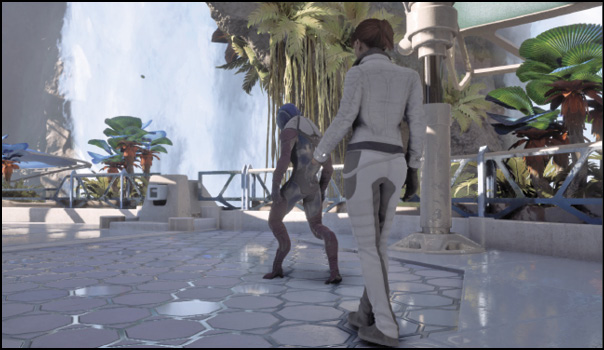
When you get to the end of the tour, interact with the door by Paaran Shie for a cutscene. An angaran operative named Jaal escorts you to meet Evfra, the head of the Resistance.
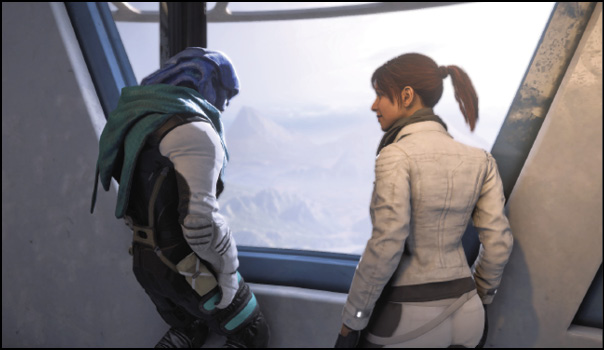
While Evfra wants nothing to do with the vaults and is highly distrustful of you (regardless of your accomplishments on Eos), Jaal partially convinces him of your usefulness. He volunteers to be your escort through angaran territory—but first, you must gain their trust.
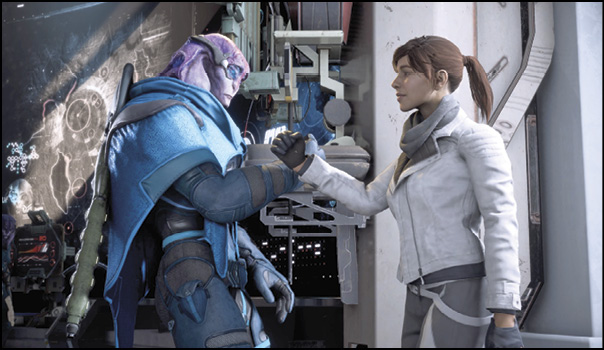
Without the angara’s full trust, the only part of Aya you can access is its docks. Before you board the Tempest, you can pick up a couple of quests here from Avela and Sohkaa. Then speak to Jaal and prepare to board.
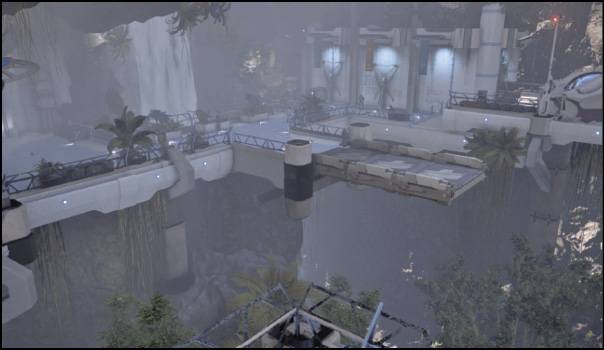
Jaal reveals the existence of two additional angaran worlds, Havarl and Voeld. To gain their trust, he insists you help the angara on either Havarl or Voeld.
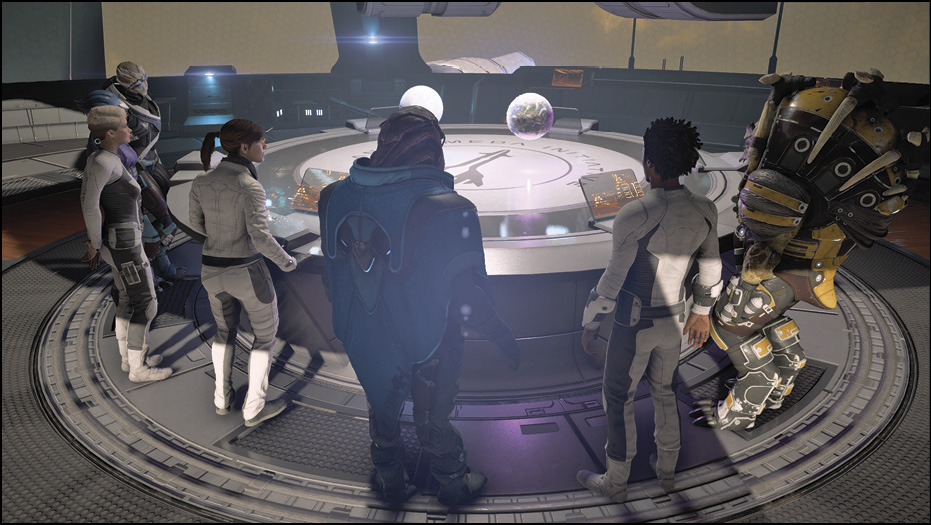
Before you begin, you might want to check off optional tasks such as visiting various hubs (Nexus, Hyperion), speaking to squadmates and Tempest crew, as they may have valuable input regarding recent events, exploring the Galaxy Map, and managing inventory- and research-related tasks.
Helping Havarl’s Scientists
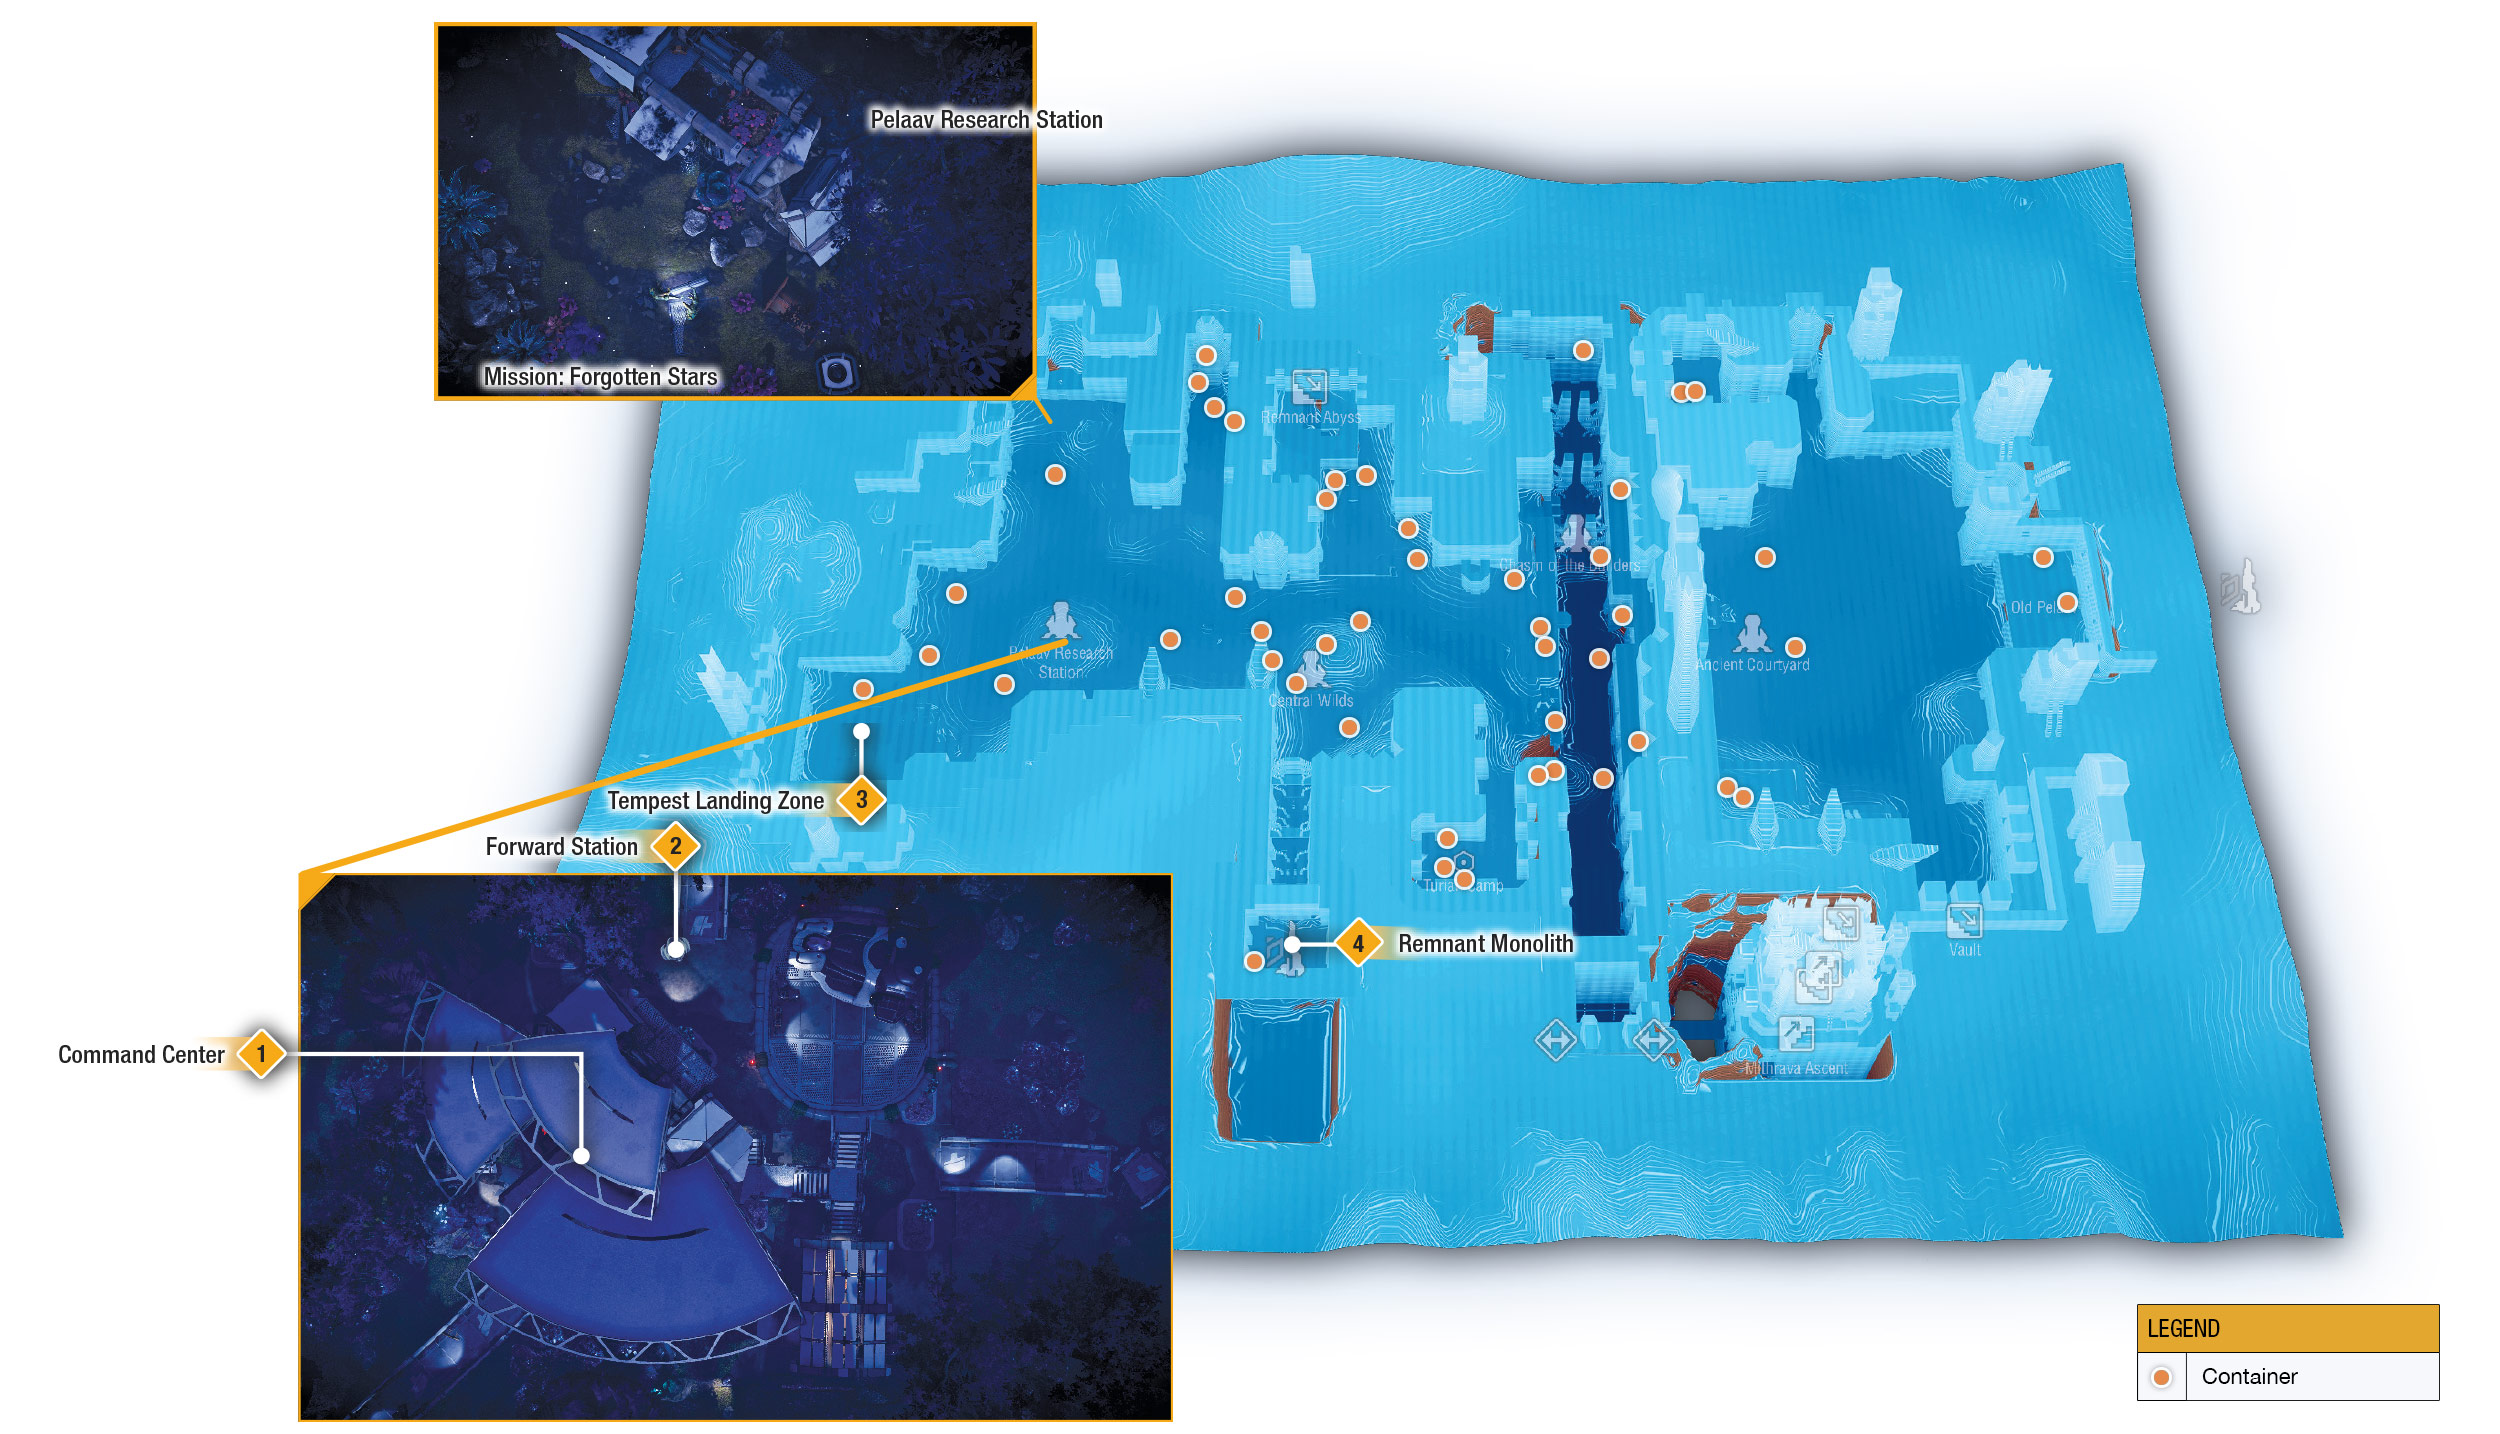
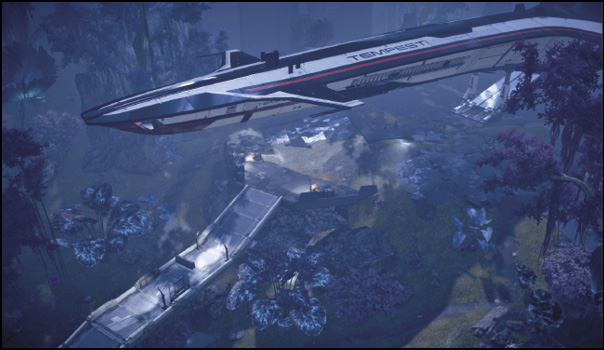
Plot a course to Havarl in the Faroang system, then configure and deploy your away team to the landing zone. Although not required, it’s recommended that you bring Jaal with you as a personal tour guide since he’s a native (and other angara are more likely to trust you). Once on foot, explore the surroundings; there are several mineral nodes in the area, as Havarl is rich in nickel and platinum. You may also find mineral caches filled with minerals mined by the angara here on Havaral. These large containers consist of high amounts of valuable minerals like platinum, magnesium, titanium, and silicon. When you’re ready to help the citizens of Havarl, travel northeast from the Tempest. Your destination is the Pelaav Research Station.
Deploy the forward station (2), then speak to Kiiran Dals in the command center (1). Her research team was frozen in stasis while studying one of the Remnant’s monoliths. You can also pick up the mission “Forgotten Stars” from Raashel Vier nearby, which can be completed immediately. To help Raashel, head north from Pelaav to begin your investigation of the area.
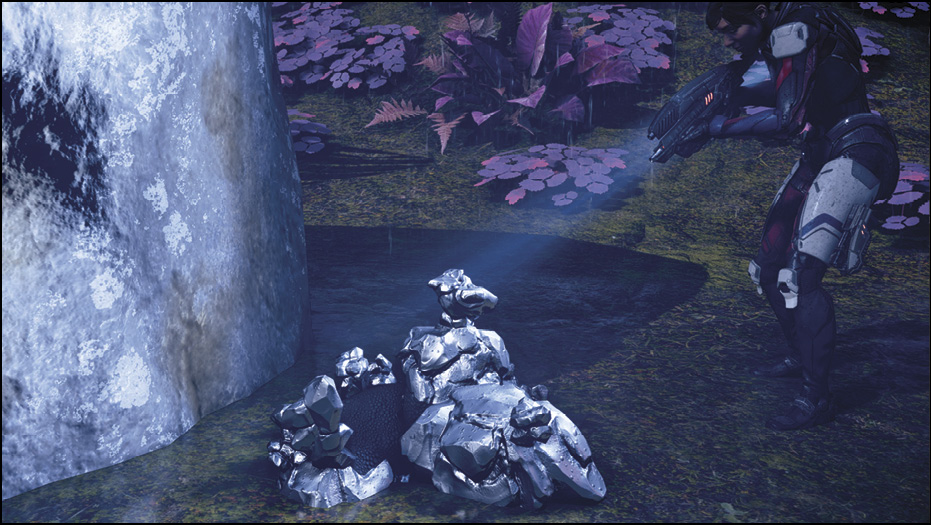
To progress the angaran trust mission, make your way to the forward station east of Pelaav. South of the station is your destination. Along the way you encounter hostile forms of wildlife, and unlike the trivial critters on Eos, creatures found on this life-friendly planet are deadly enough to warrant caution. Jaal also warns of a hostile, xenophobic angaran faction known as the Roekaar. These angara attack on sight and are commonly encountered as you advance eastward.
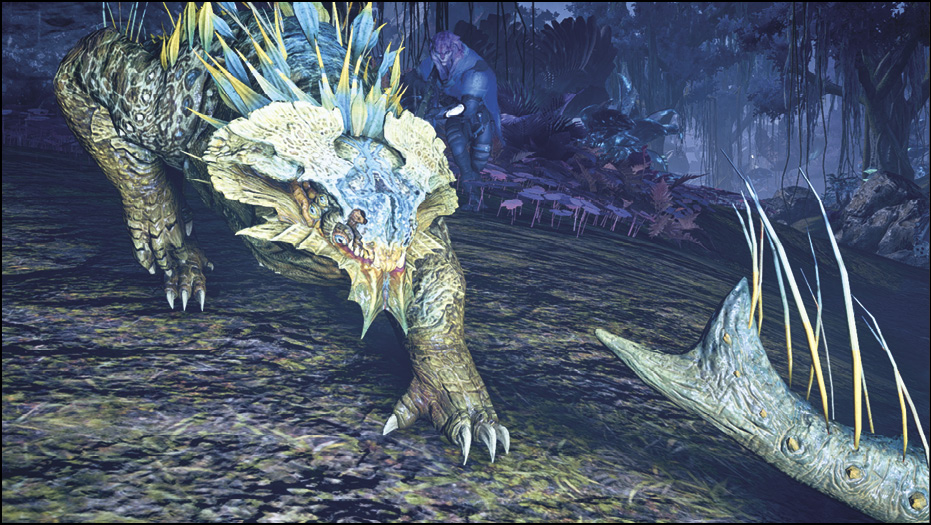
Continue toward your navpoint to the monolith. Enter the large Remnant compound. Inside, you’re greeted by several patrol units consisting of Assemblers and Observers. Like in the Eos vault, you can bypass combat here if you stay on the move, preventing them from scanning you. Otherwise, destroy them using anti-synthetic powers and smart cover usage to collect materials and experience points. There are a few Remnant containers scattered around the area as well.
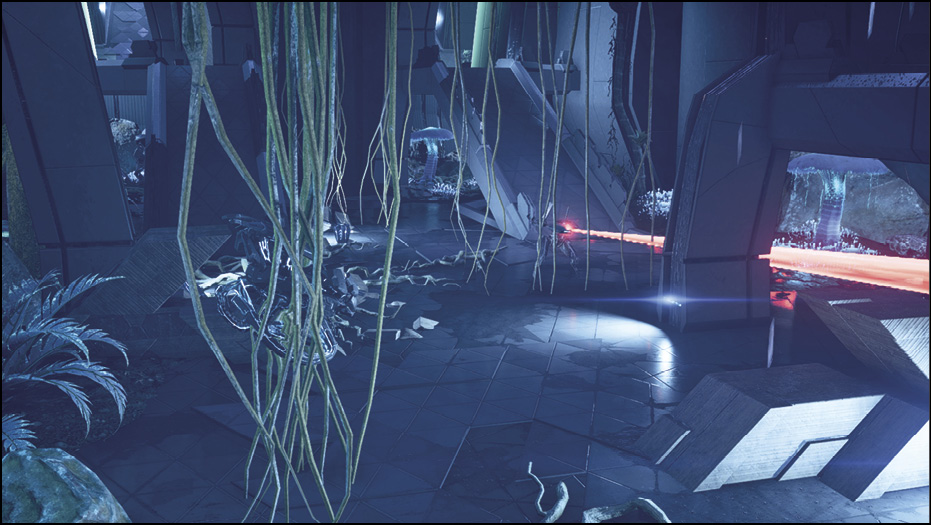
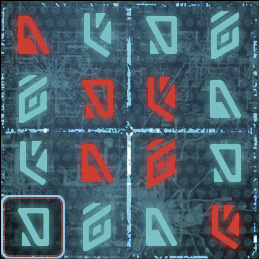
After dealing with the monolith’s defenses, proceed south into a familiar Remnant console configuration. Three of the research team are found here in stasis. Interfacing with the console brings up a Remnant Decryption Puzzle, but it’s missing a couple of glyphs (4) that need to be acquired via scanning. One is to the east of the area against a wall, and the other is near one of the scientists, slightly northwest of the console. Scan both, then interface with the console to begin solving the Remnant Decryption Puzzle. Complete the puzzle to free the angara.
Once the cutscene ends, fast travel back to Pelaav Research Station using the world map, then speak to Kiiran to complete the mission. This satisfies the objective for “A Trail of Hope” and branches off into the mission “Turian Ark: Not Dead Yet.” Additionally, several new quests become available on Havarl, including a major one for activating the vault, “A Dying Planet,” which opens up even more quests upon completion. For details, see the Secondary Ops chapter.
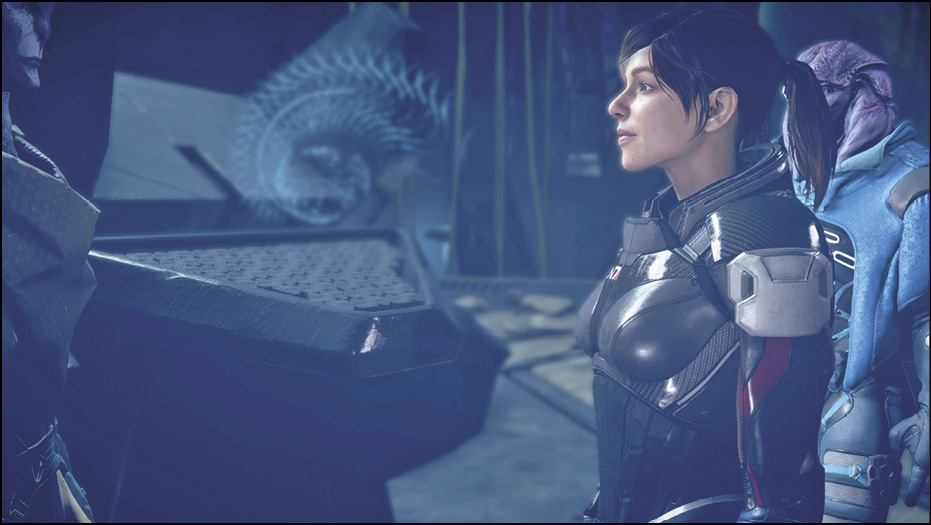
From here, you can either progress “A Trail of Hope” by using the Vidcon interface on the Tempest to contact Evfra, or you can make a trip to Voeld to help the angara there.
Meet the Resistance
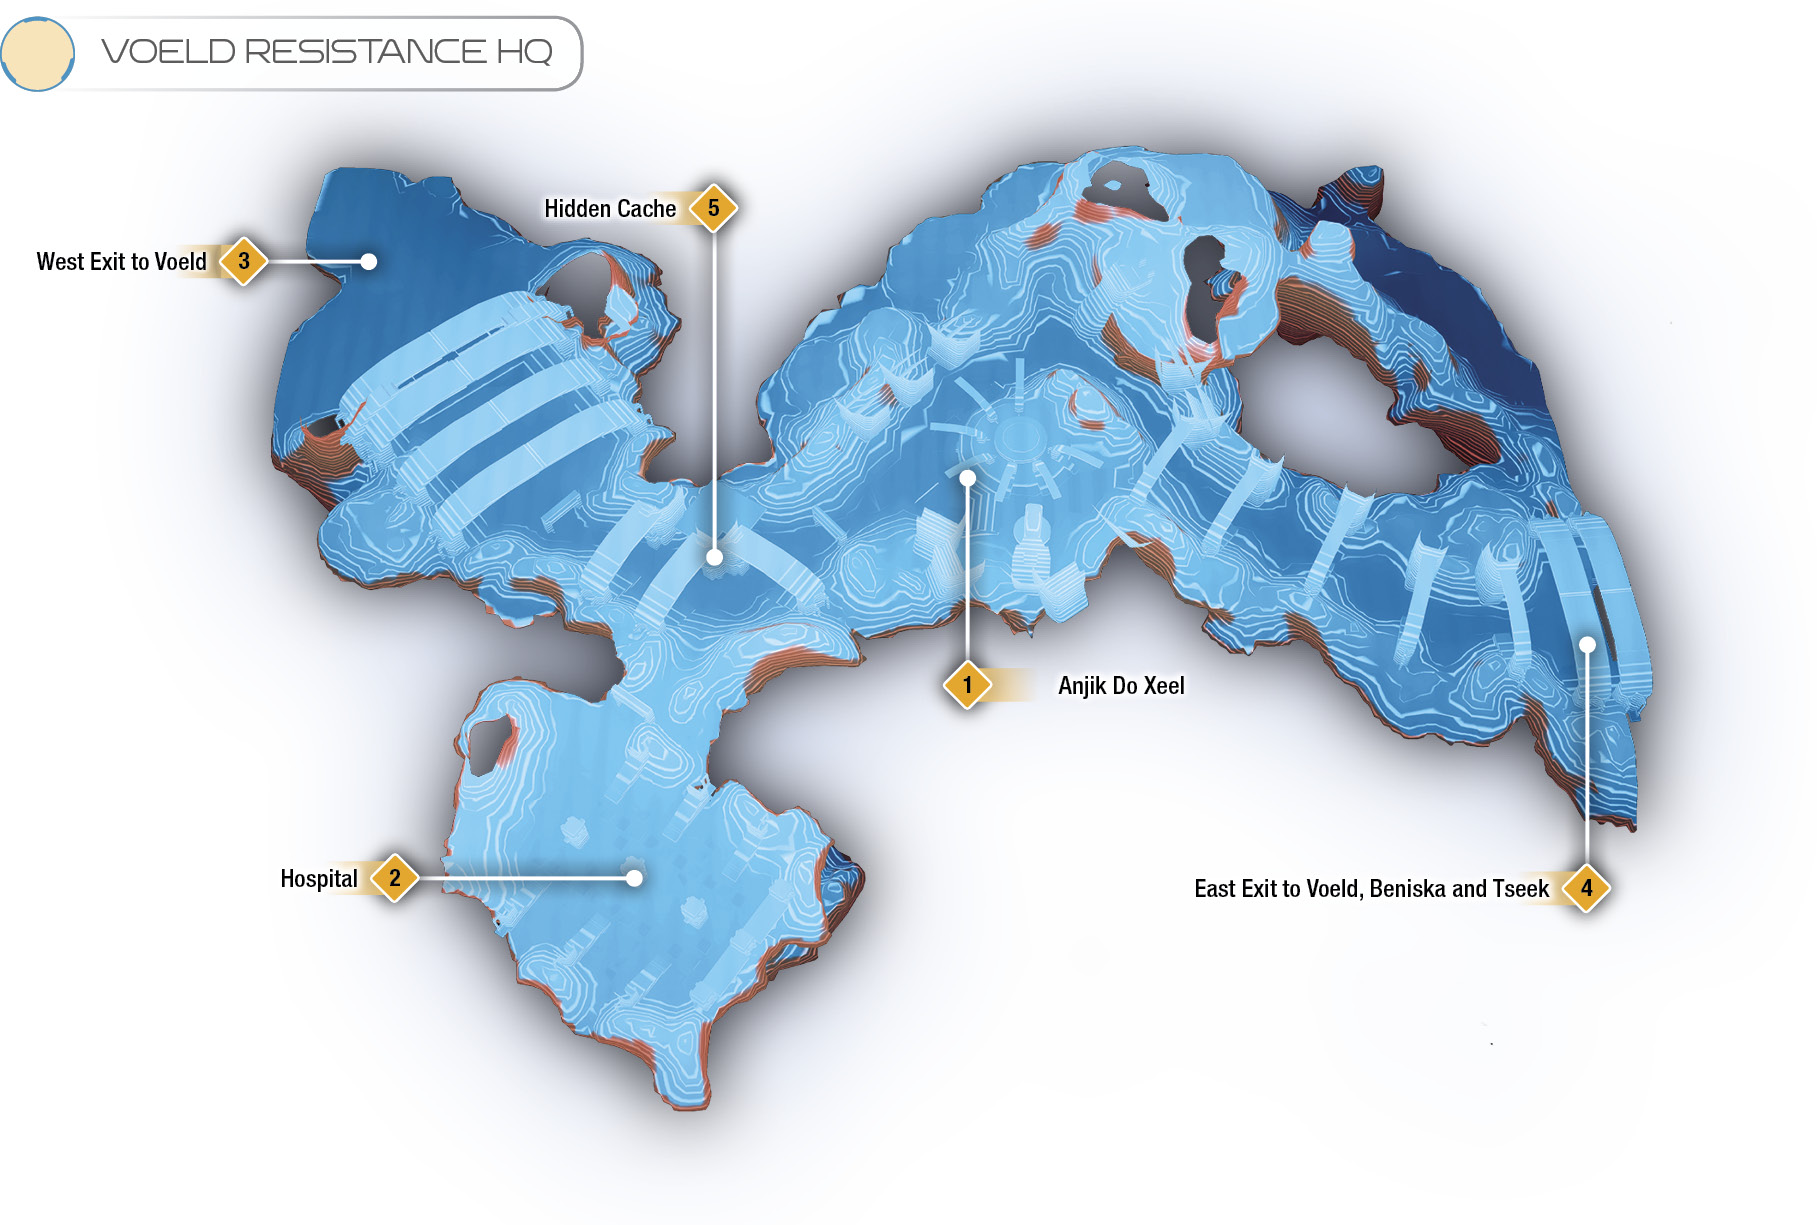
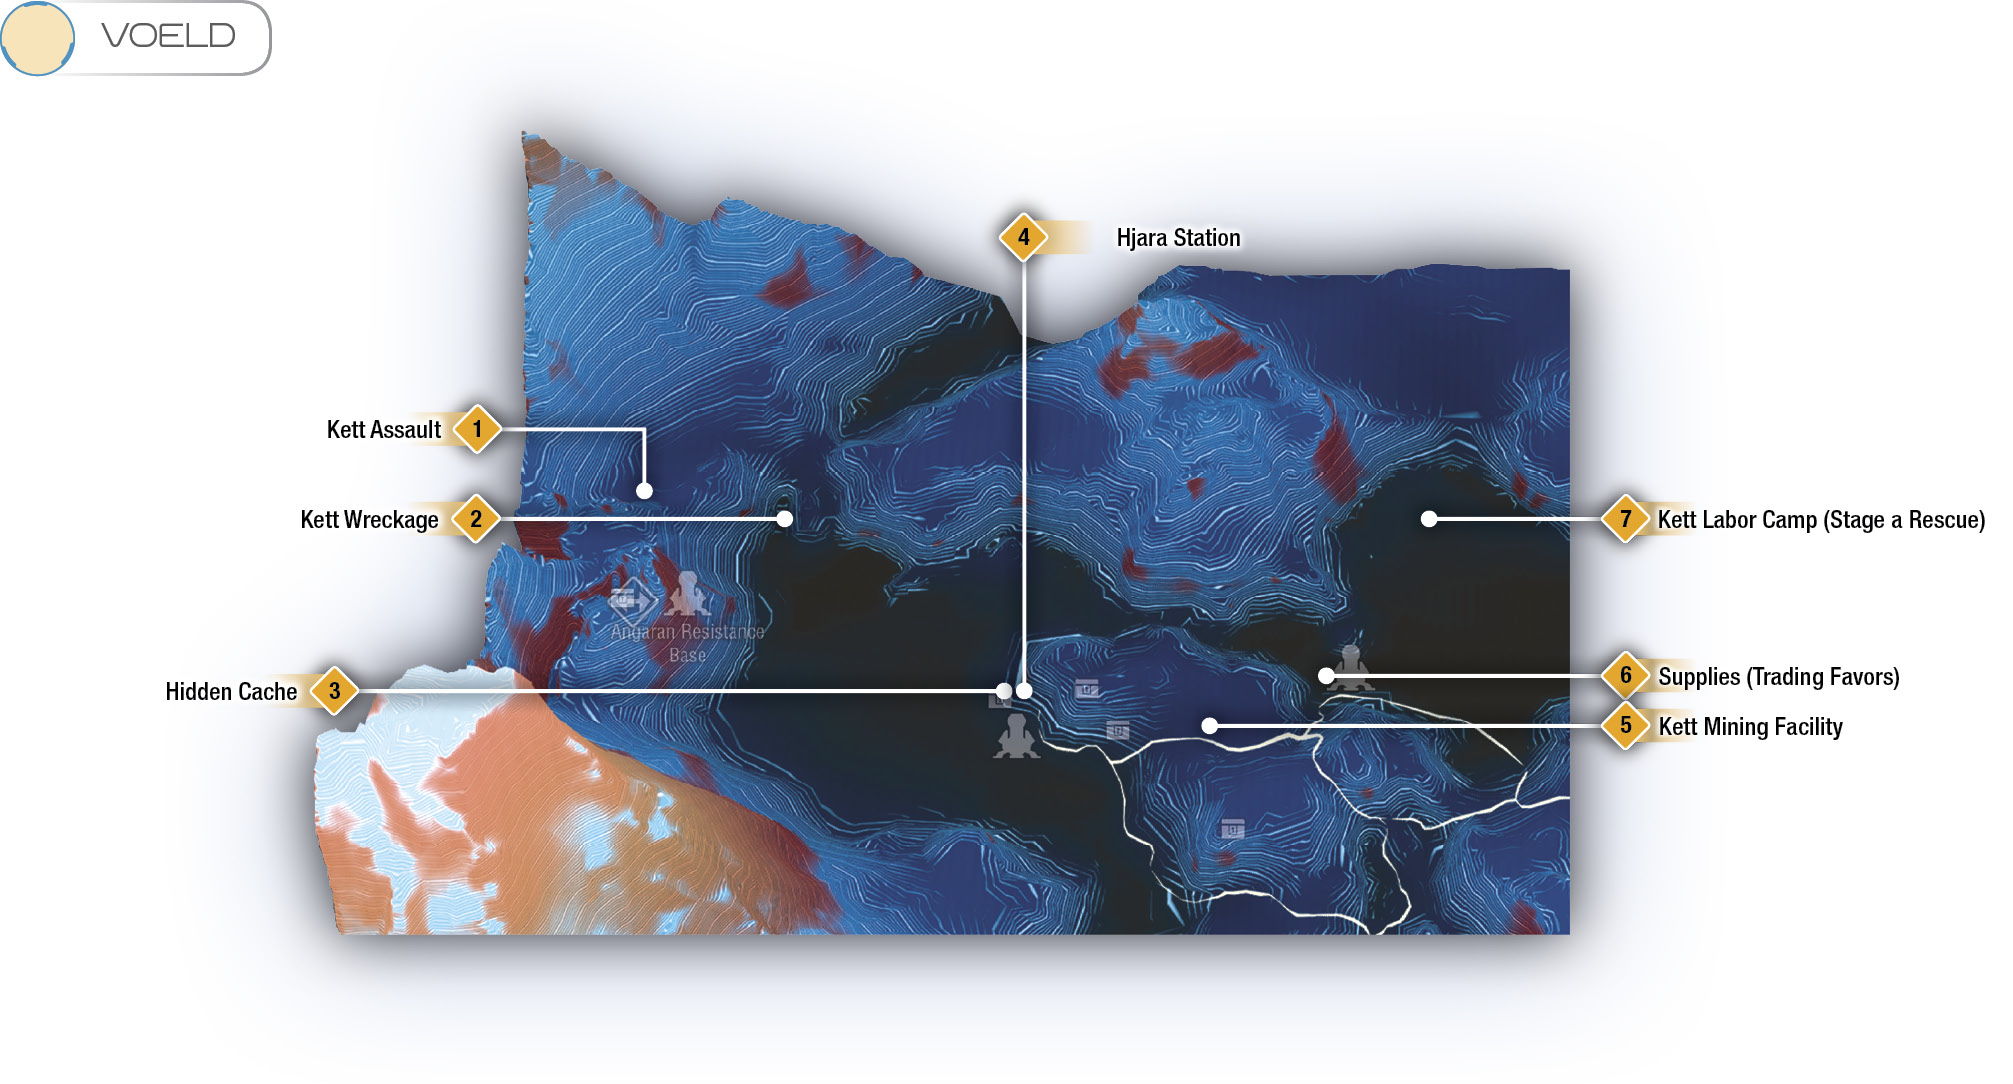
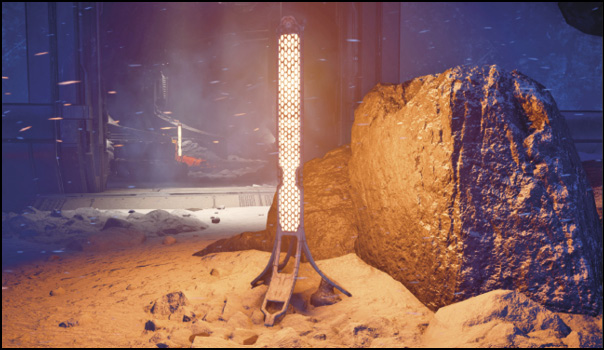
Set a course to Voeld in the Nol system to begin the mission. Upon landing, your life-support gauge constantly drains as a result of extreme weather conditions, so stay close to the heaters set up by the angara. These also act as guides to the Resistance Headquarters to the east of the landing zone.
Follow the path east until you reach a gap. Use your jump-jets to cross, then climb up and continue on to the Resistance’s docking area. (If you’ve already completed “Helping Havarl’s Scientists,” you can jump into the second half of “A Trail of Hope” here.)
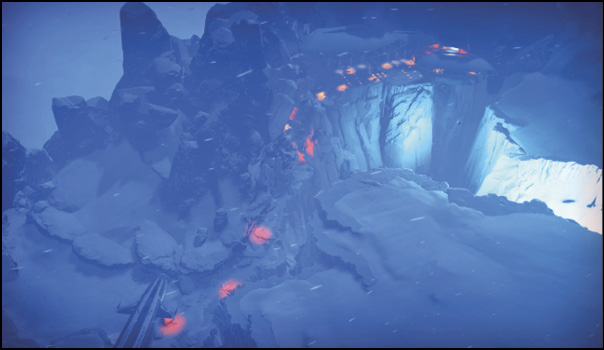
Continue east, into the base. If you stick to your left, there’s a “hidden cache” container(5) with angaran equipment inside.
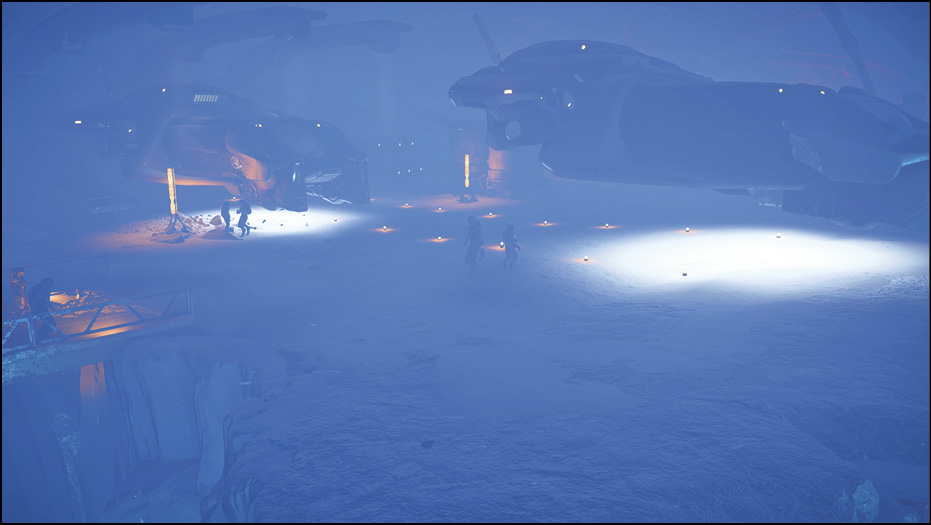
Continue deeper into the base. When you get to the command center, a cutscene with the Resistance commander, Anjik Do Xeel, triggers. She needs your help in dealing with the kett and redirects you to the Resistance lookout crew, located by the east exit (4). You can pick up additional optional quests and tasks here, including “Medical Caches,” from Dr. Harihn in the hospital. Once you’re done exploring the headquarters, head out to the eastern exit of the base, following your mission navpoint.
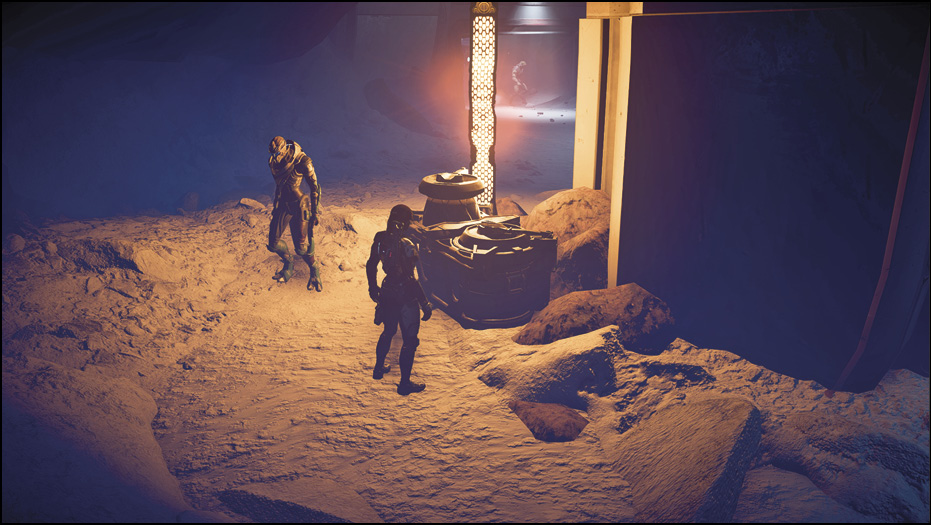
On the ledge outside the base are two angaran lookouts, Beniska and Tseek. Speak to them to witness an amusing exchange and to begin the mission “Eyes on the Ground.” The two lookouts direct you to Hjara Station, an angaran outpost near the base of the mountain. A forward station is called down right by the Resistance base as well.
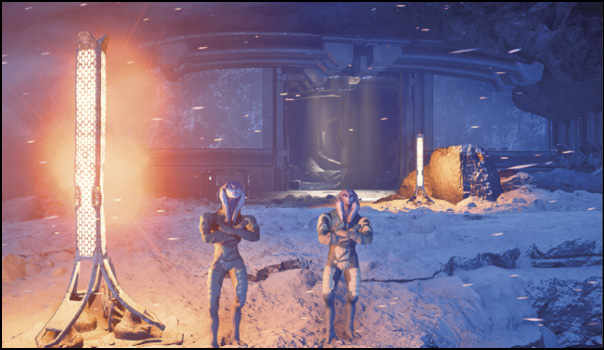
Next, use the forward station to summon the Nomad; SAM gives you an overview of the UNC, including the locations of Techiix (an angaran outpost) and a kett base. Get into the Nomad and drive down the mountain, taking care not to fall off the side of the road. Follow the guide lights on the road that leads north, then winds west into a tunnel, coming full circle back to the Tempest.
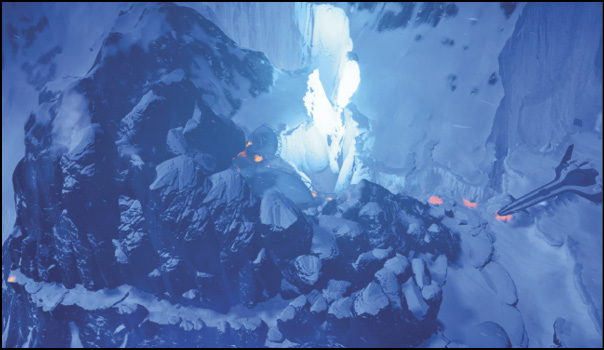
From the Tempest, continue down the mountain, driving east along the guide lights. As you approach the base of the mountain, a wave of kett troops begin an assault on a squad of Resistance members. The kett soldiers include Chosen soldiers, Wraiths, Anointed, and a new high-ranking battle commander, the Destined. The Destined are support-type enemies surrounded by a distinct cloaking “cloud.” Not only can the Destined go into a cloaked mode (preventing soft-aim targeting), but they can cloak and shield other kett.
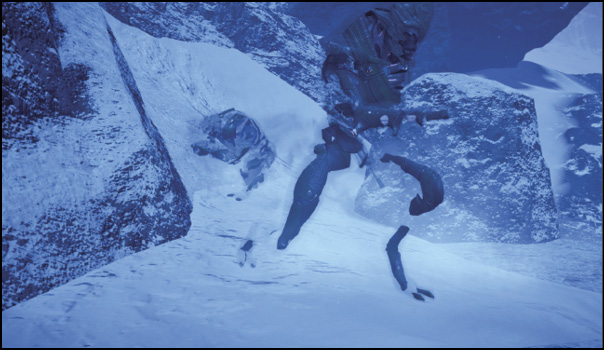
Use your Nomad for cover here since there aren’t too many places to hide. Although seeing a Destined cloud may be intimidating, focus on dealing with the Anointed first. If you have Overload ready to fire and you’re presented with the decision to drain the shields of either an Anointed or a Destined, the Anointed is usually the better choice. After fending off the assault, get back into the Nomad and continue north, then east into another pathway, finally wrapping around south to Voeld’s ground level, where there’s a kett wreckage.
Now that you’re on ground level, drive directly to Hjara Station, following the navpoint on your compass. You may encounter heavy kett forces while exploring Voeld in your Nomad, so be mindful of your ride’s shields and hull damage. Anointed kett can dish out an extreme amount of damage in a short period of time.
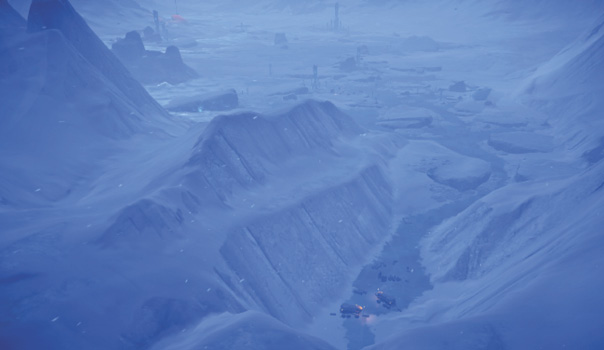

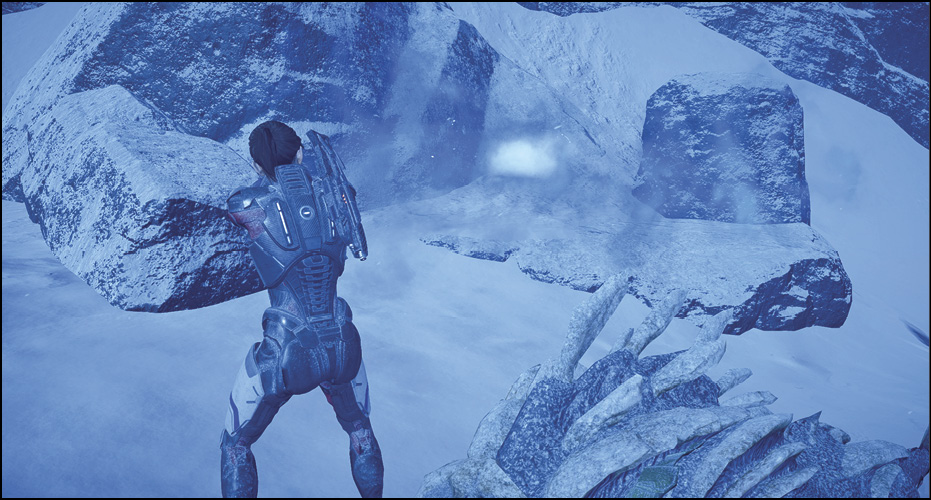
Continue toward your navpoint to the east. In the distance are pulsing lights; follow them and park at the base of the northern one (3). Look for a container half-buried in the snow. This is a hidden cache consisting of high-value salvage, along with level-appropriate equipment. For comprehensive “hidden cache” maps, see the UNC maps portion of Part 4: The Heleus Cluster.
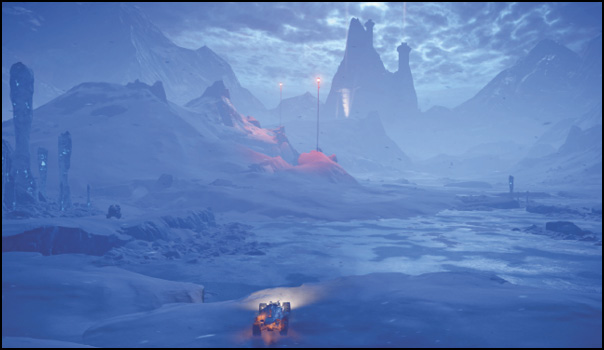
Loot the container, get into the Nomad, and call down the forward station to the south. Then proceed east into Hjara Station (4). Speak to Skeot and agree to help on a rescue mission, concluding “Eyes to the Ground” and launching “Stage a Rescue.” Explore the station and talk to the colonists here to learn more about the ice block they seem to be deeply vested in. You can scan various angaran tech here for Heleus Research Data as well. If you need supplies, a merchant here sells angaran equipment and consumables (by Knoeth, in the easternmost section of the station).
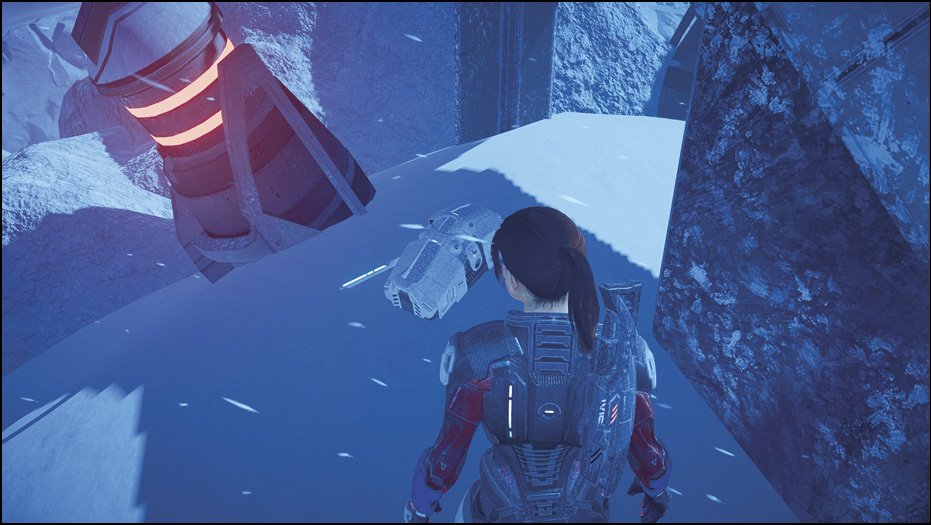
When you’re ready to stage a rescue, climb back into your Nomad and follow the road out of Hjara, heading east. If you strictly follow the track road, you eventually encounter what looks to be some sort of kett mining facility. It’s heavily guarded, so you can either drive past and ignore these enemies, or you can park the Nomad to purge the area.
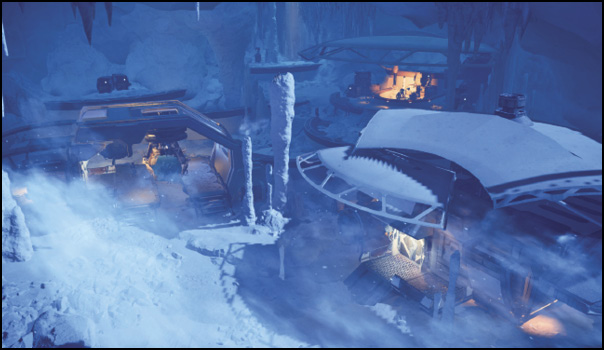
Enemies here include several Chosen and a few Anointed. Remember to use your Nomad as cover, if necessary.
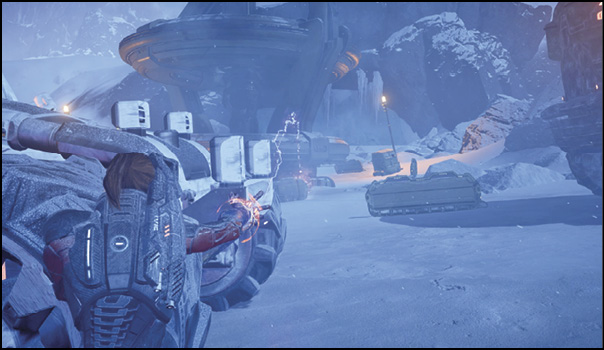
Search containers and kett carcasses for resources, then get back into the Nomad and go east over a bridge. Make a hard left, going north from the bridge to call down a forward station up ahead. You can complete objectives for “Trading Favors” at a nearby camp here. Scan the deceased body, the crates, and the wreckage, then defend yourself against a kett ambush consisting of a couple Chosen and an Anointed. Take them out, then continue to your navpoint for “Stage a Rescue” to the north (7).
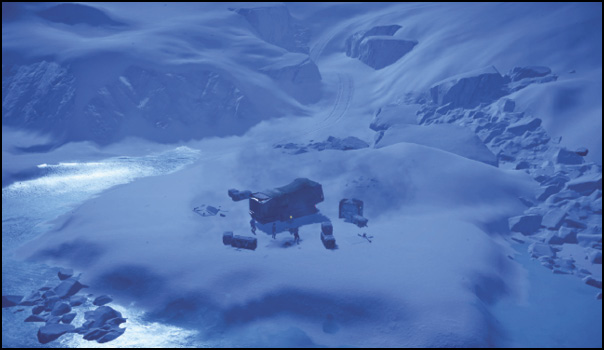
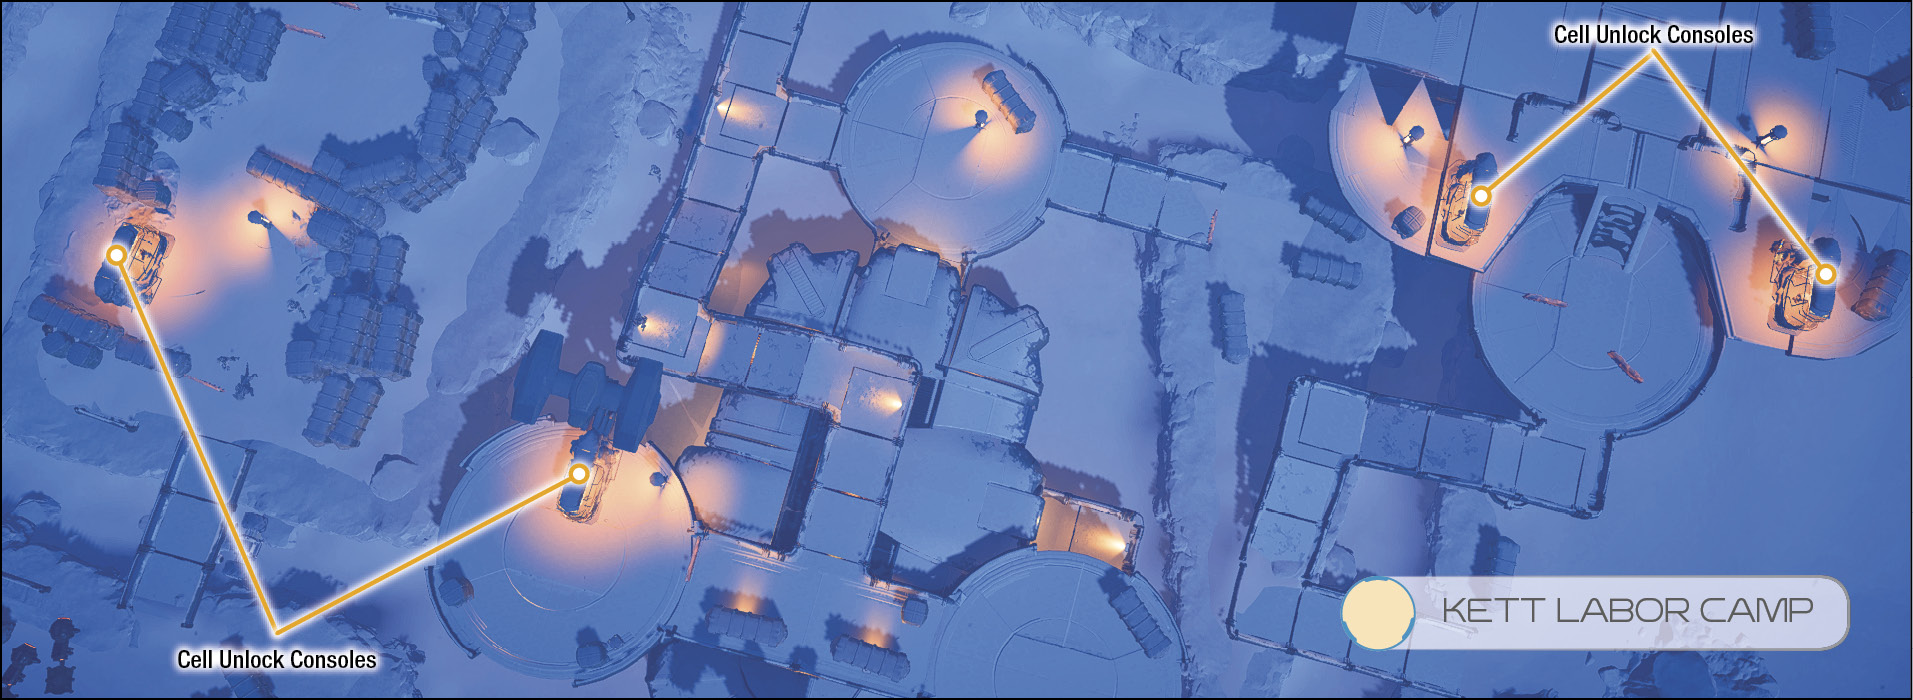
The kett labor camp is heavily patrolled by every type of kett unit you’ve encountered thus far, including the Destined. Consider your approach carefully, as there are several avenues of attack. Infiltrator and sniper types are exceptionally strong for this mission since you can pick off enemies safely from a distance.
Otherwise, advance carefully, taking out high-priority or weakened targets. Use the Order Squadmate commands to direct your teammates to explicitly attack specific enemies (or to retreat to your position). You can also release the captured angara to help fight off the kett. If you’re approaching from the west, there’s an accessible cell you can deactivate. Then methodically push your way up the facility, eliminating the kett.
After you’ve cleared the initial kett defenses, another dropship arrives, deploying a handful of Chosen and Anointed. Finish off the kett, then release the rest of the prisoners from their cells. Talk to Niilj, one of the captured angara. Doing so ends “Stage a Rescue” and launches an optional mission, “Meet the Family.” Completing this gains Evfra’s trust if you haven’t earned it already. You can stay on Voeld at this point to complete side quests. You may want to return to the Tempest and Nexus to share opinions with colonists and crew members.
Rescue the Moshae
Hardcore and Insanity Difficulty WarningThe following mission can be exceptionally difficult on Hardcore and Insanity settings (the boss, in particular). It’s highly recommended that you bring several ammo-enhancing consumables (incendiary, cryo, and disruptor) or have access to a power loadout with a high damage output and power combo potential (e.g., Overload + Incinerate + Cryo Beam). The boss at the end of this mission has massive amounts of health, so come prepared to dish out consistent damage! |
Talk to Commander Heckt at the Resistance Headquarters’ docking port to launch the mission and Loadout Configuration interface. Jaal and one other accompany you (Jaal is required for this mission), along with several Resistance troops.
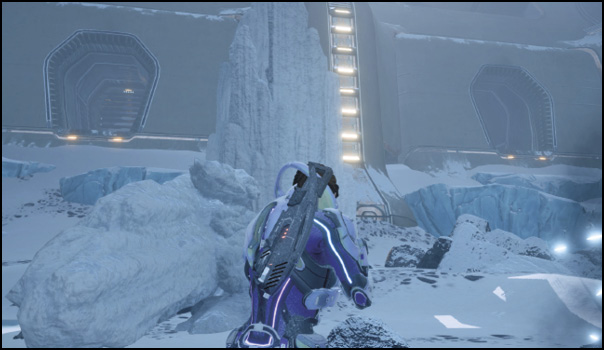
You’re deployed in front of a massive shield. There’s a vulnerability nearby, however. Before you continue, search the “uncommon”-type kett container just west of your starting point. Next, follow the navpoint on your compass to the hackable terminal. Interact with it to have SAM hack the shield, creating an opening for you and your operatives to get through. A couple of Wraiths attack but shouldn’t be too difficult to deal with.
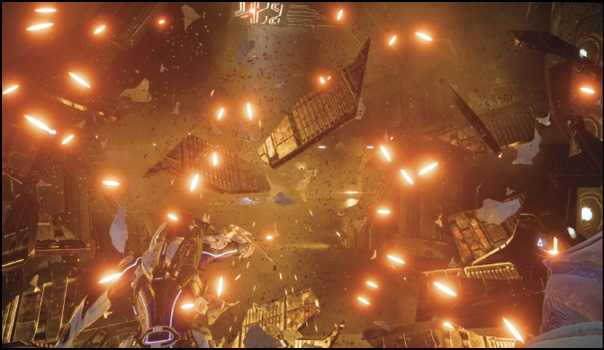
If you face the kett facility, the entrance is to the right. But first, loot a kett container by entering the left maintenance bay. Scan and destroy the exhaust vent covers, then go in and claim the chest’s contents.
Backtrack and enter through the southern vent to advance the mission.
Continue down the vents, which lead to a large room filled with kett. Stay at a distance to get the jump on them before they notice you—a fully charged Overload on the Destined down there is a great way to start this encounter. Enemies include several Chosen, Destined, and Wraiths. You have a distinct high-ground advantage here you can exploit with long-ranged powers and weapons, although you may want to focus down the Wraiths first, as they have no problems jumping up ledges.
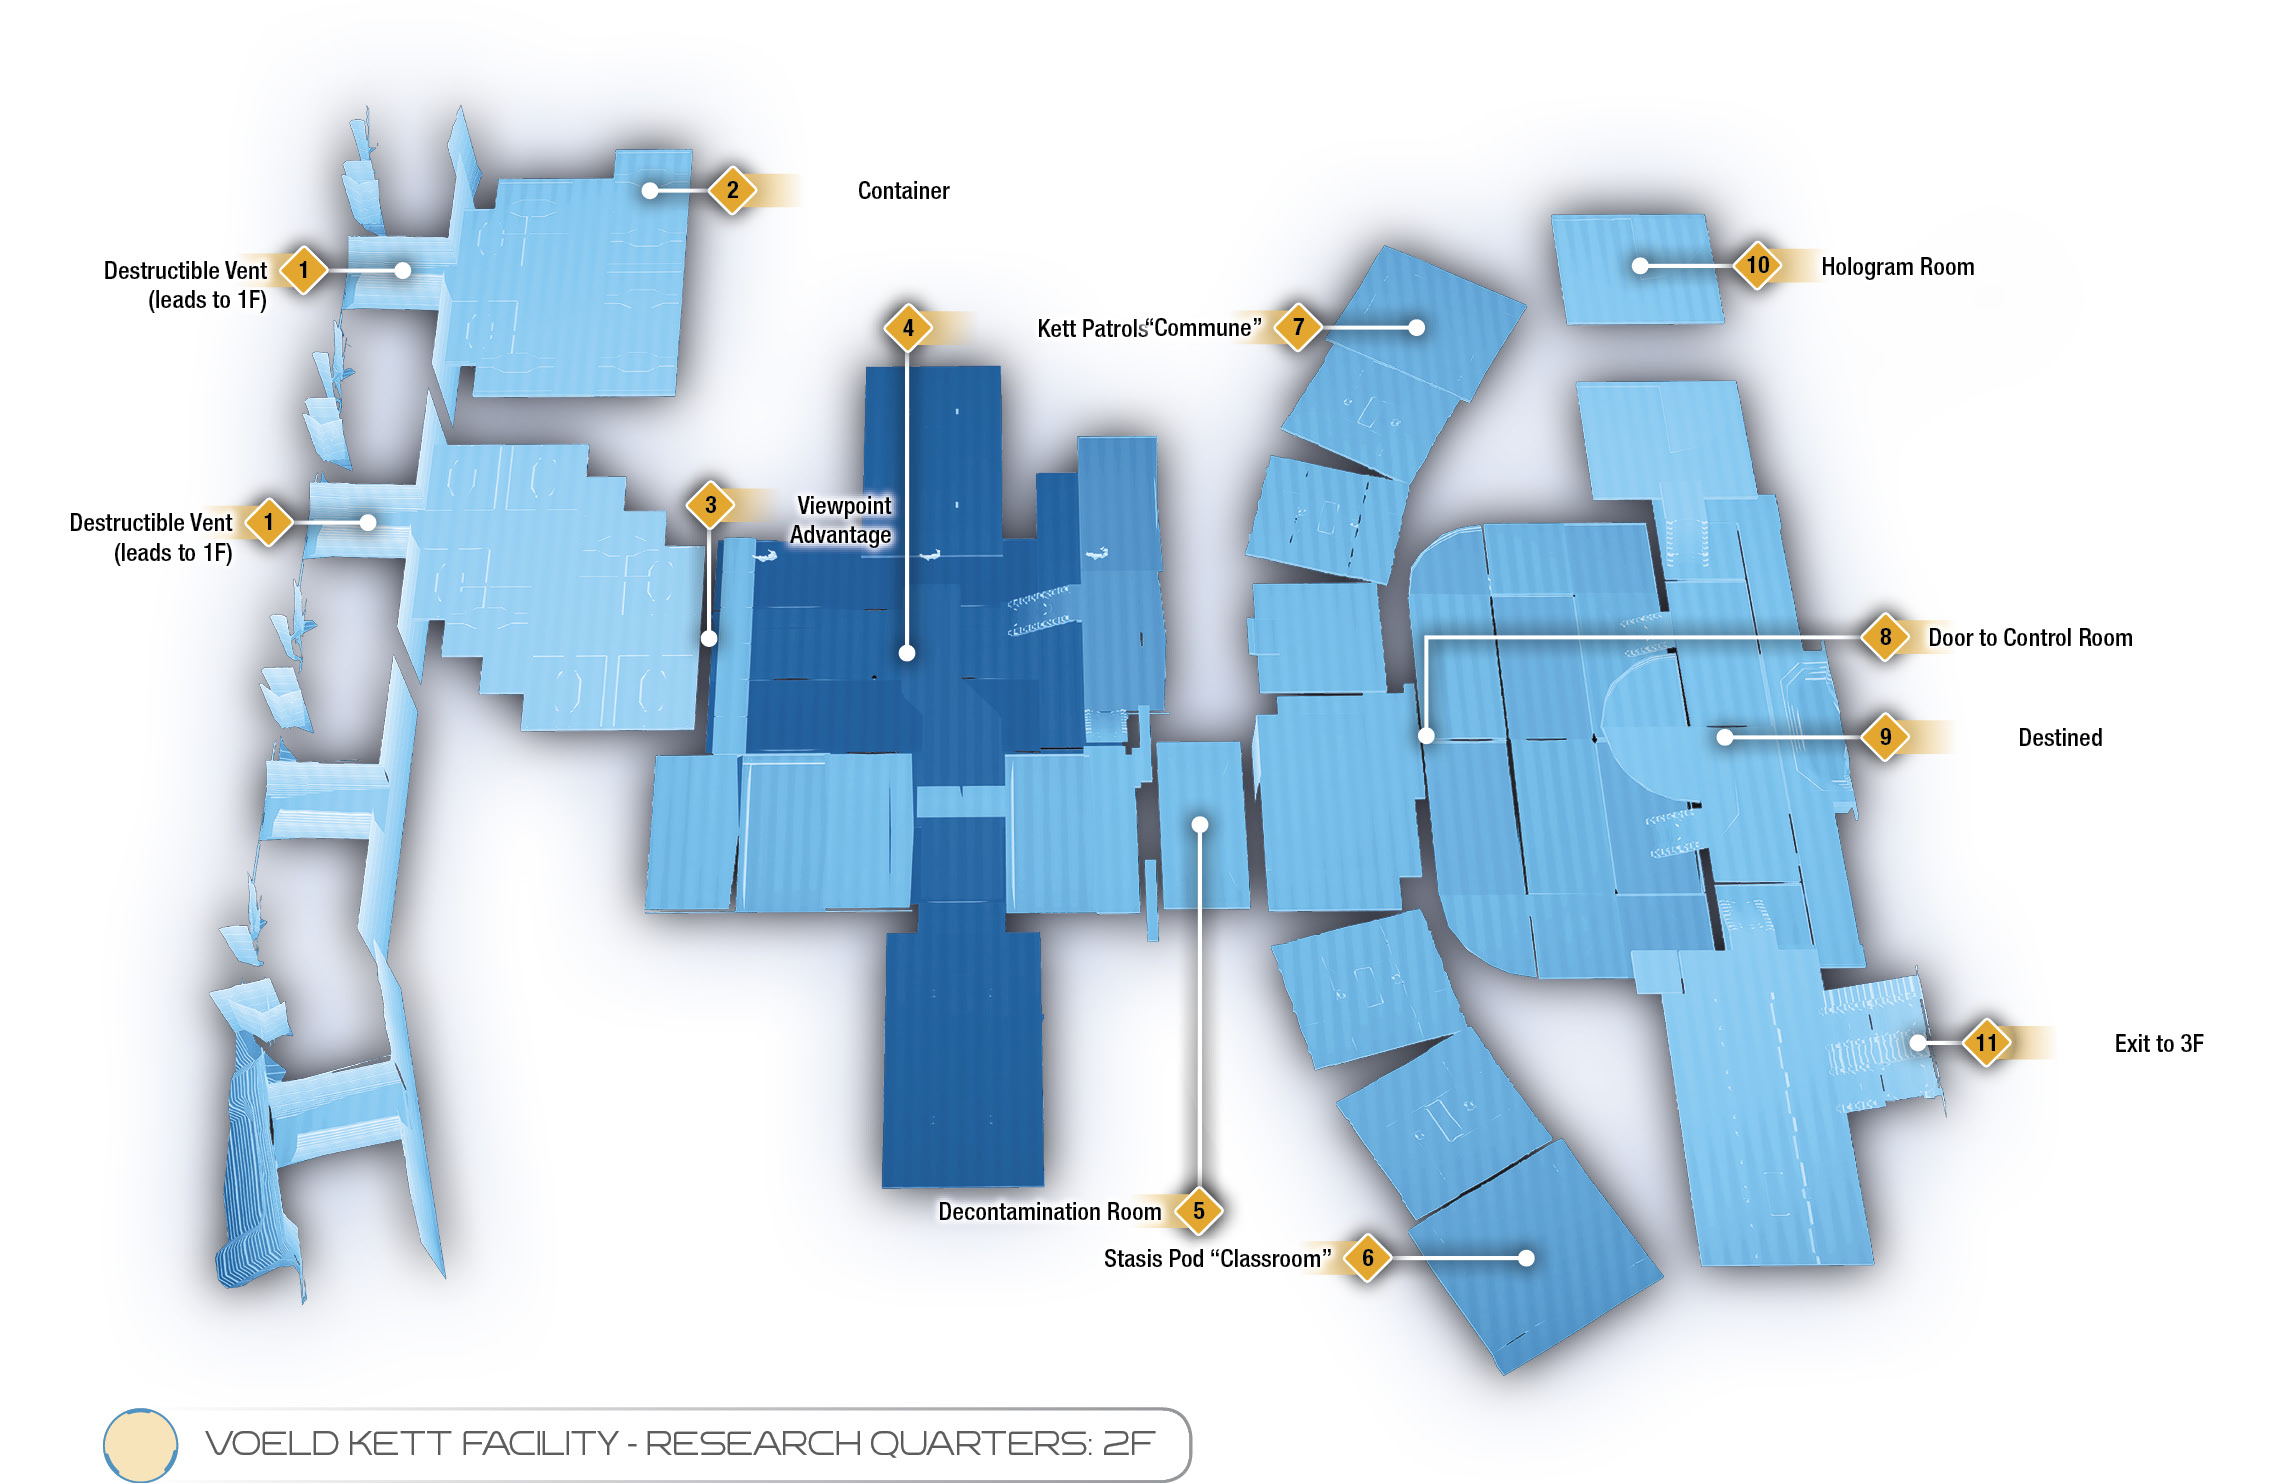
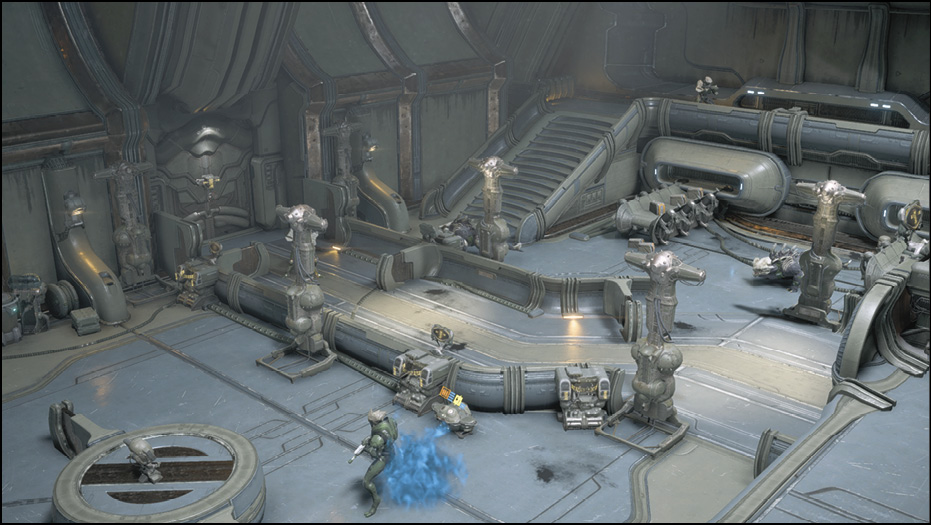
After clearing the area, collect items from kett corpses and search containers. There are clothing containers you can scan for Heleus Research Data. Then speak to Commander Heckt, who volunteers to attack the kett head-on in order to provide a distraction for you and your crew to infiltrate the base discreetly. Climb up the ledge and follow your navpoint into a room to the east—its doors lock, trapping your squad inside. Fortunately, it’s just a decontamination field. Go through the door to the east, which leads to a hall that stretches north to south. The optional room to the south consists of a container, some datapads, and a kett stasis pod (scannable for Research Data).
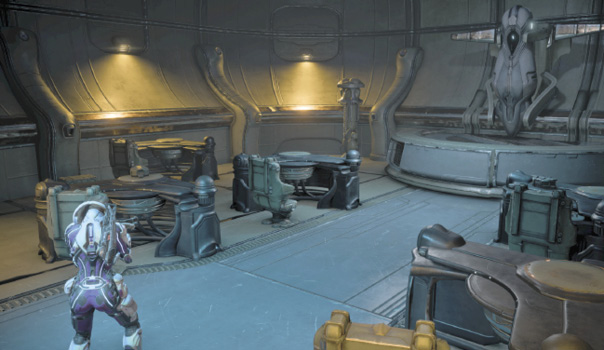
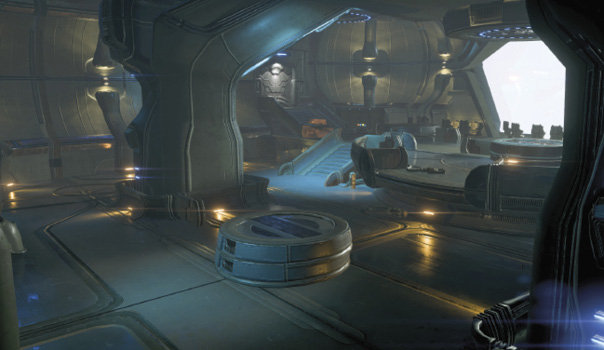
Turn around and run to the opposite end into another, similar room. On your way there is a sole Wraith. Put the kett doggy down, then enter the room to read datapads and scan kett objects. Now return to the hallway and exit through the east door.
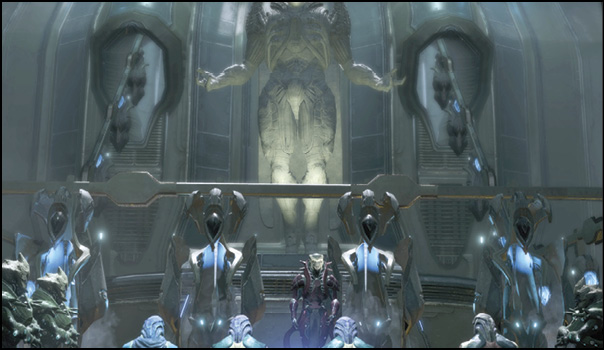
Up ahead is a Destined at the far side of this control room. If you’re quick, you can get a shot in on it before it notices. Take out the rest of the trash, then search their bodies and scan the kett encryption tech nearby for some Research Data. Interact with the console to witness a strange kett “exaltation” ritual.
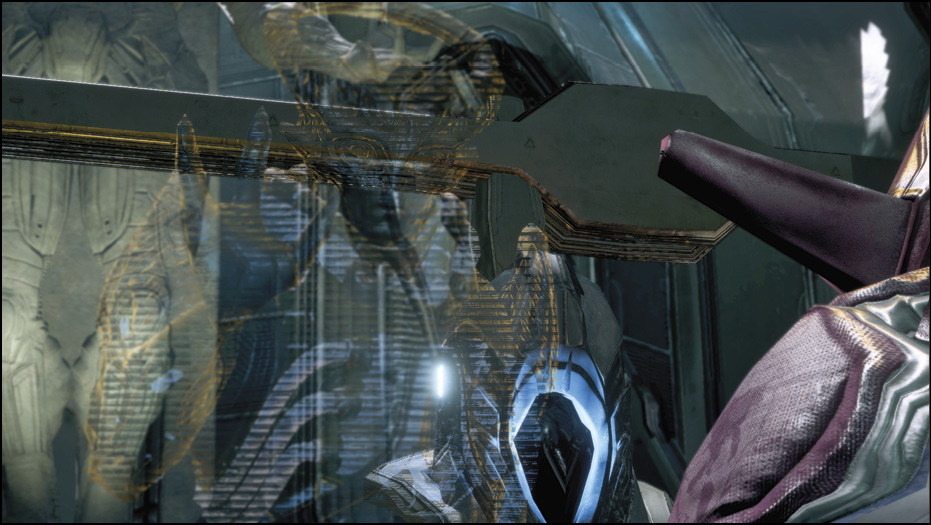
After the cutscene, you can go through the north door for extra optional tasks—scan the hologram of the Archon and activate the console to listen to one of his rallying speeches.
Head out and through the door to the south, then east, to reach another area of the facility, the corridors (3F).
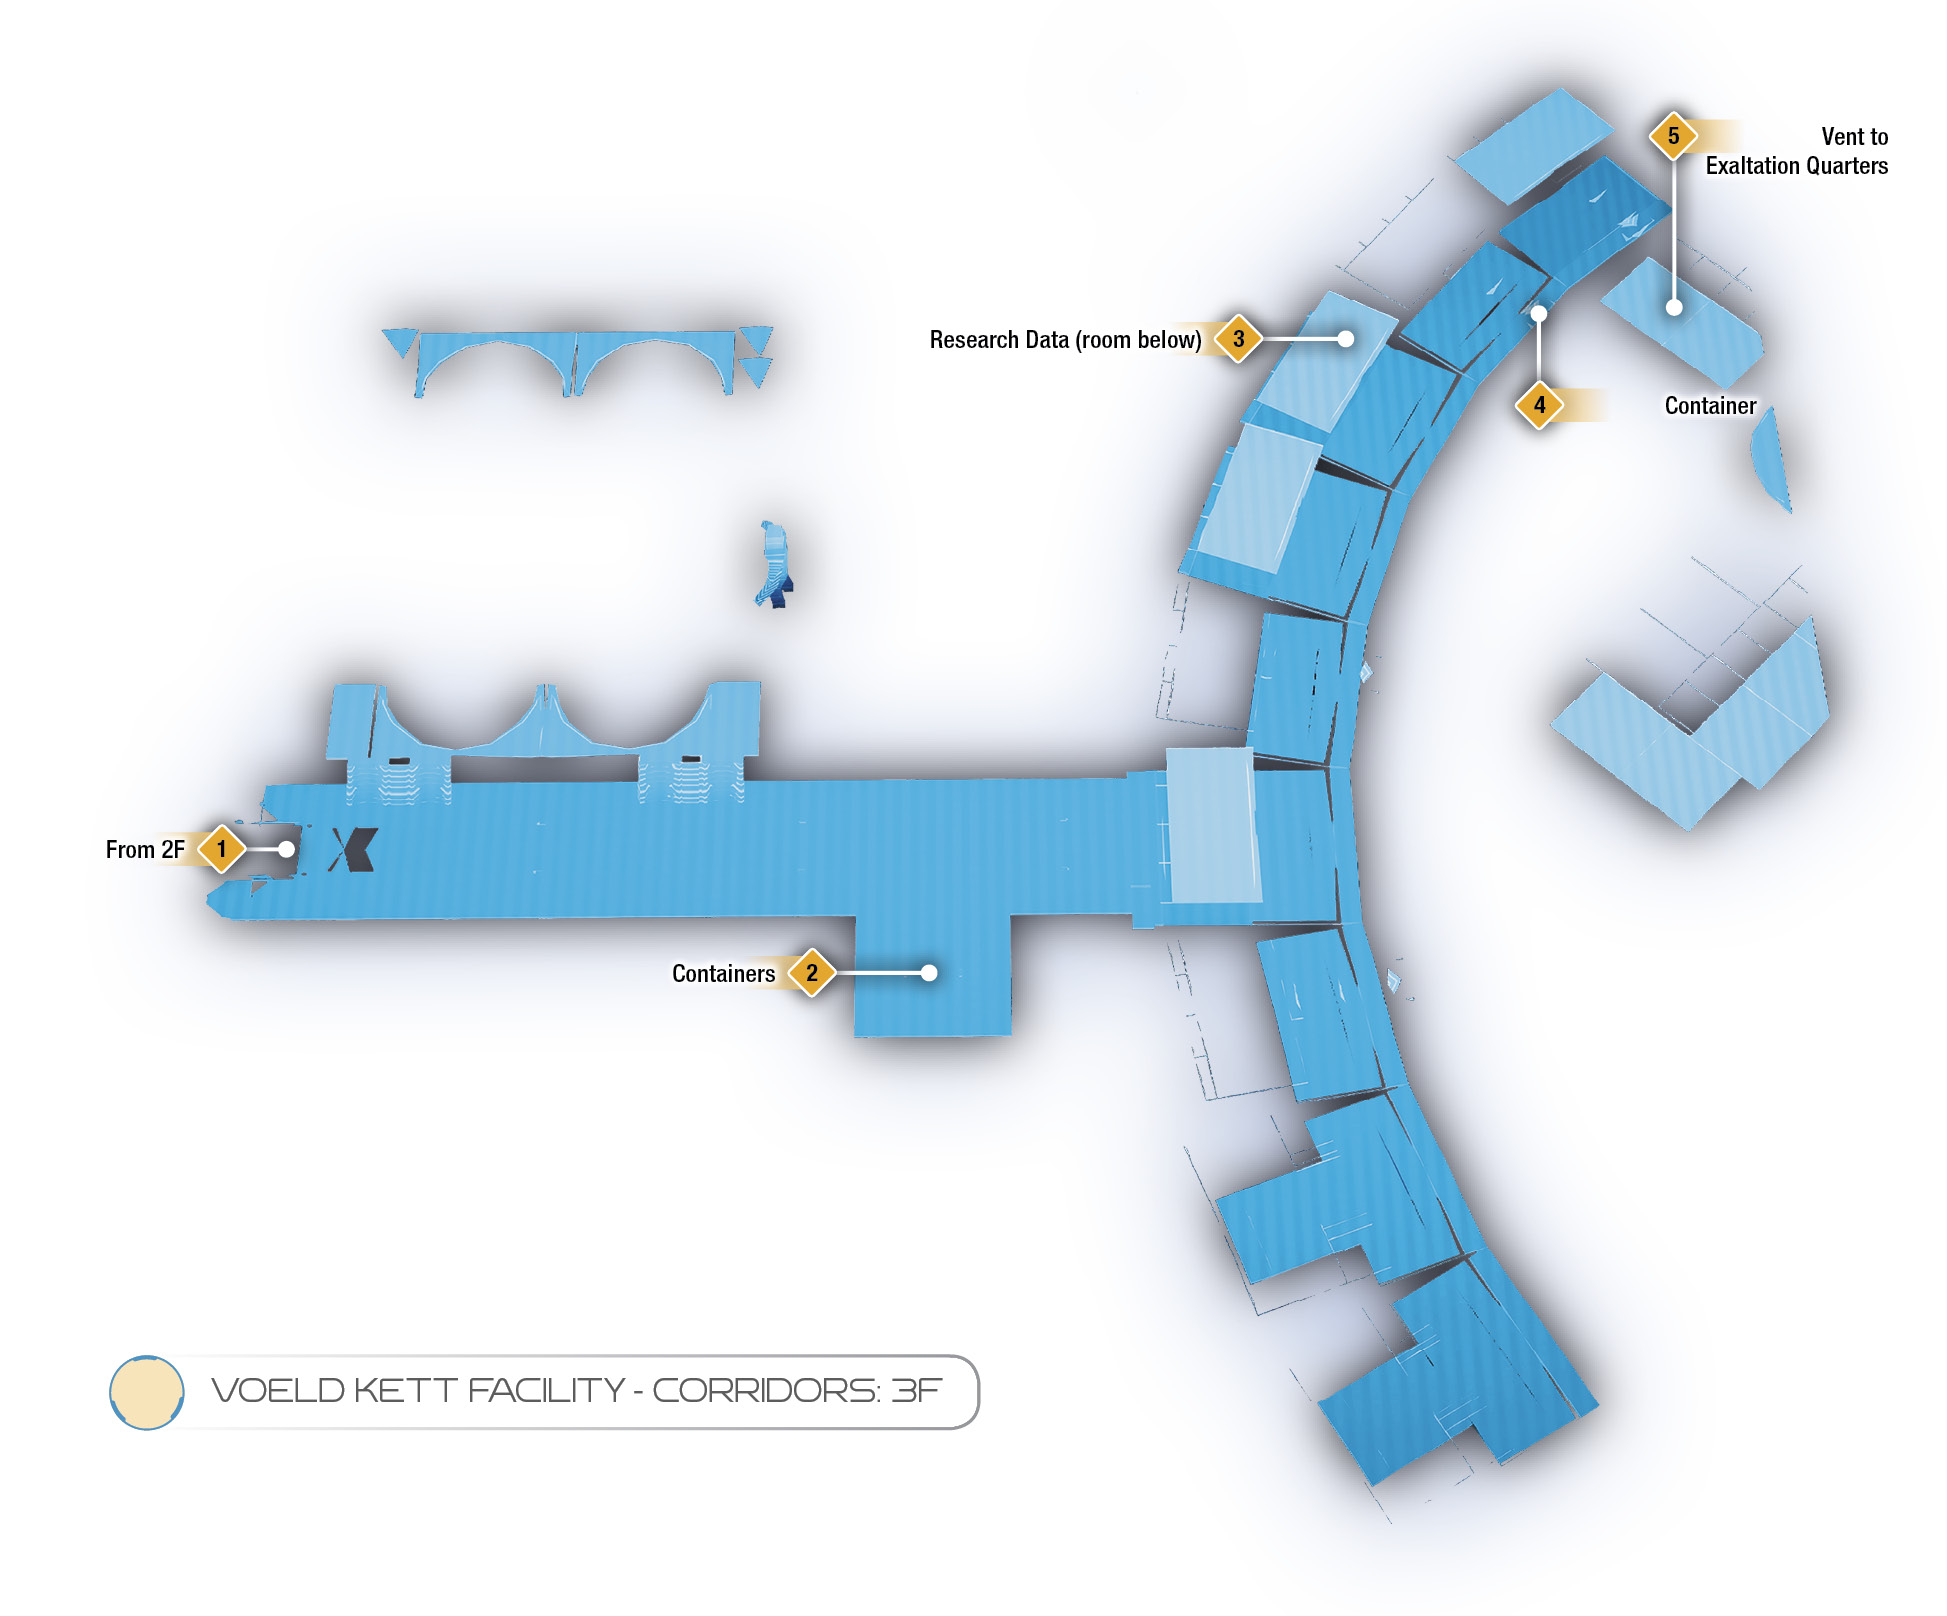
Make a left, over a hallway with windowed floors, where you can see the angaran operatives’ distraction tactics in action.
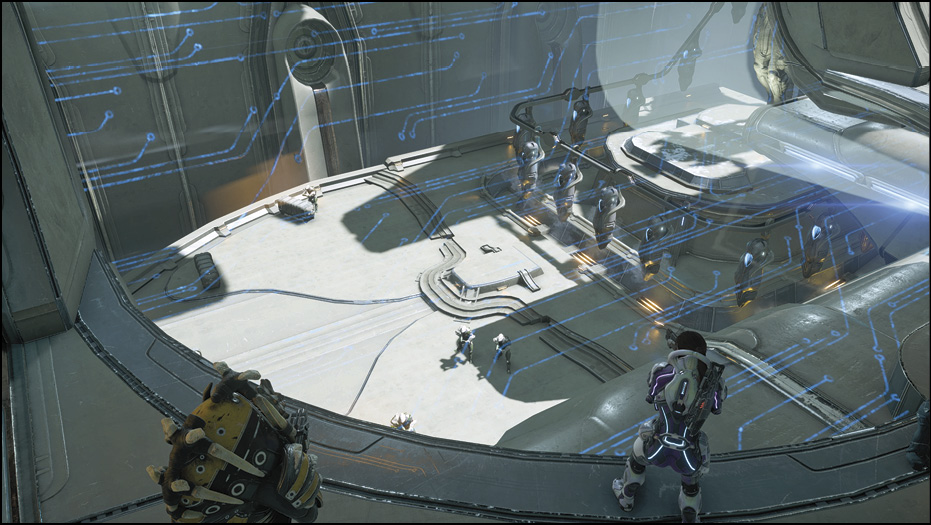
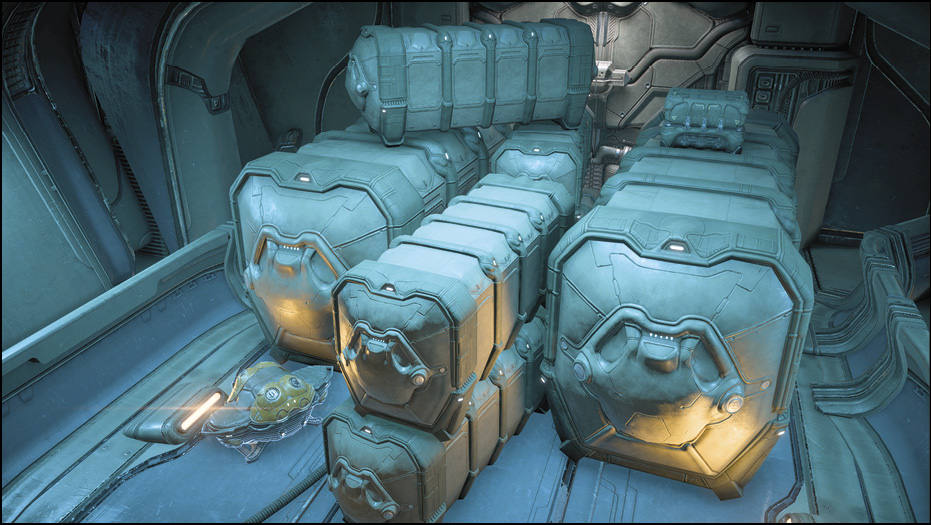
Keep going east, taking a right south into another hallway. To the right, in an inset, are two lootable containers. Search them (one is located on top, so use your jump-jets to access it if necessary), then proceed east into the main corridor.
This area is littered with all sorts of kett troops, including the dreaded Anointed. Make a break for it to the south side to find cover. Take out the Wraiths as quickly as you can, then use cover to whittle away at the Anointed.
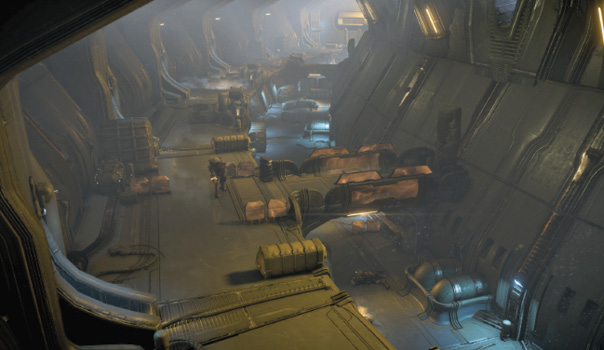
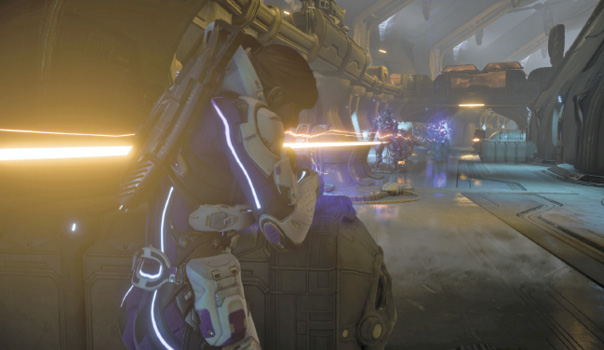
Carefully advance, killing off the aggressing kett soldiers one by one and inching up behind the several cover spots along the corridor.
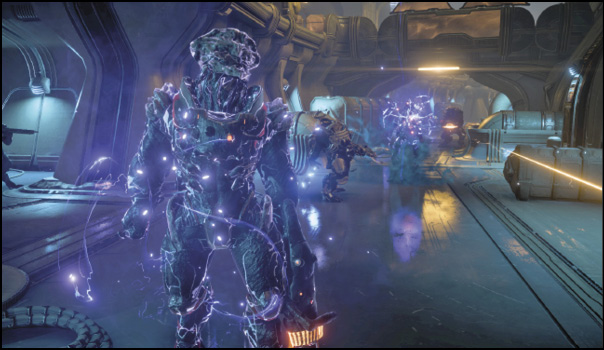
Near the north end, there’s a scannable “kett core encryption tech” object tucked away in one of the rooms on ground level. Scan it, then jump back up to the upper platform to search a small container, and head toward your navpoint, which leads to more destructible vents.
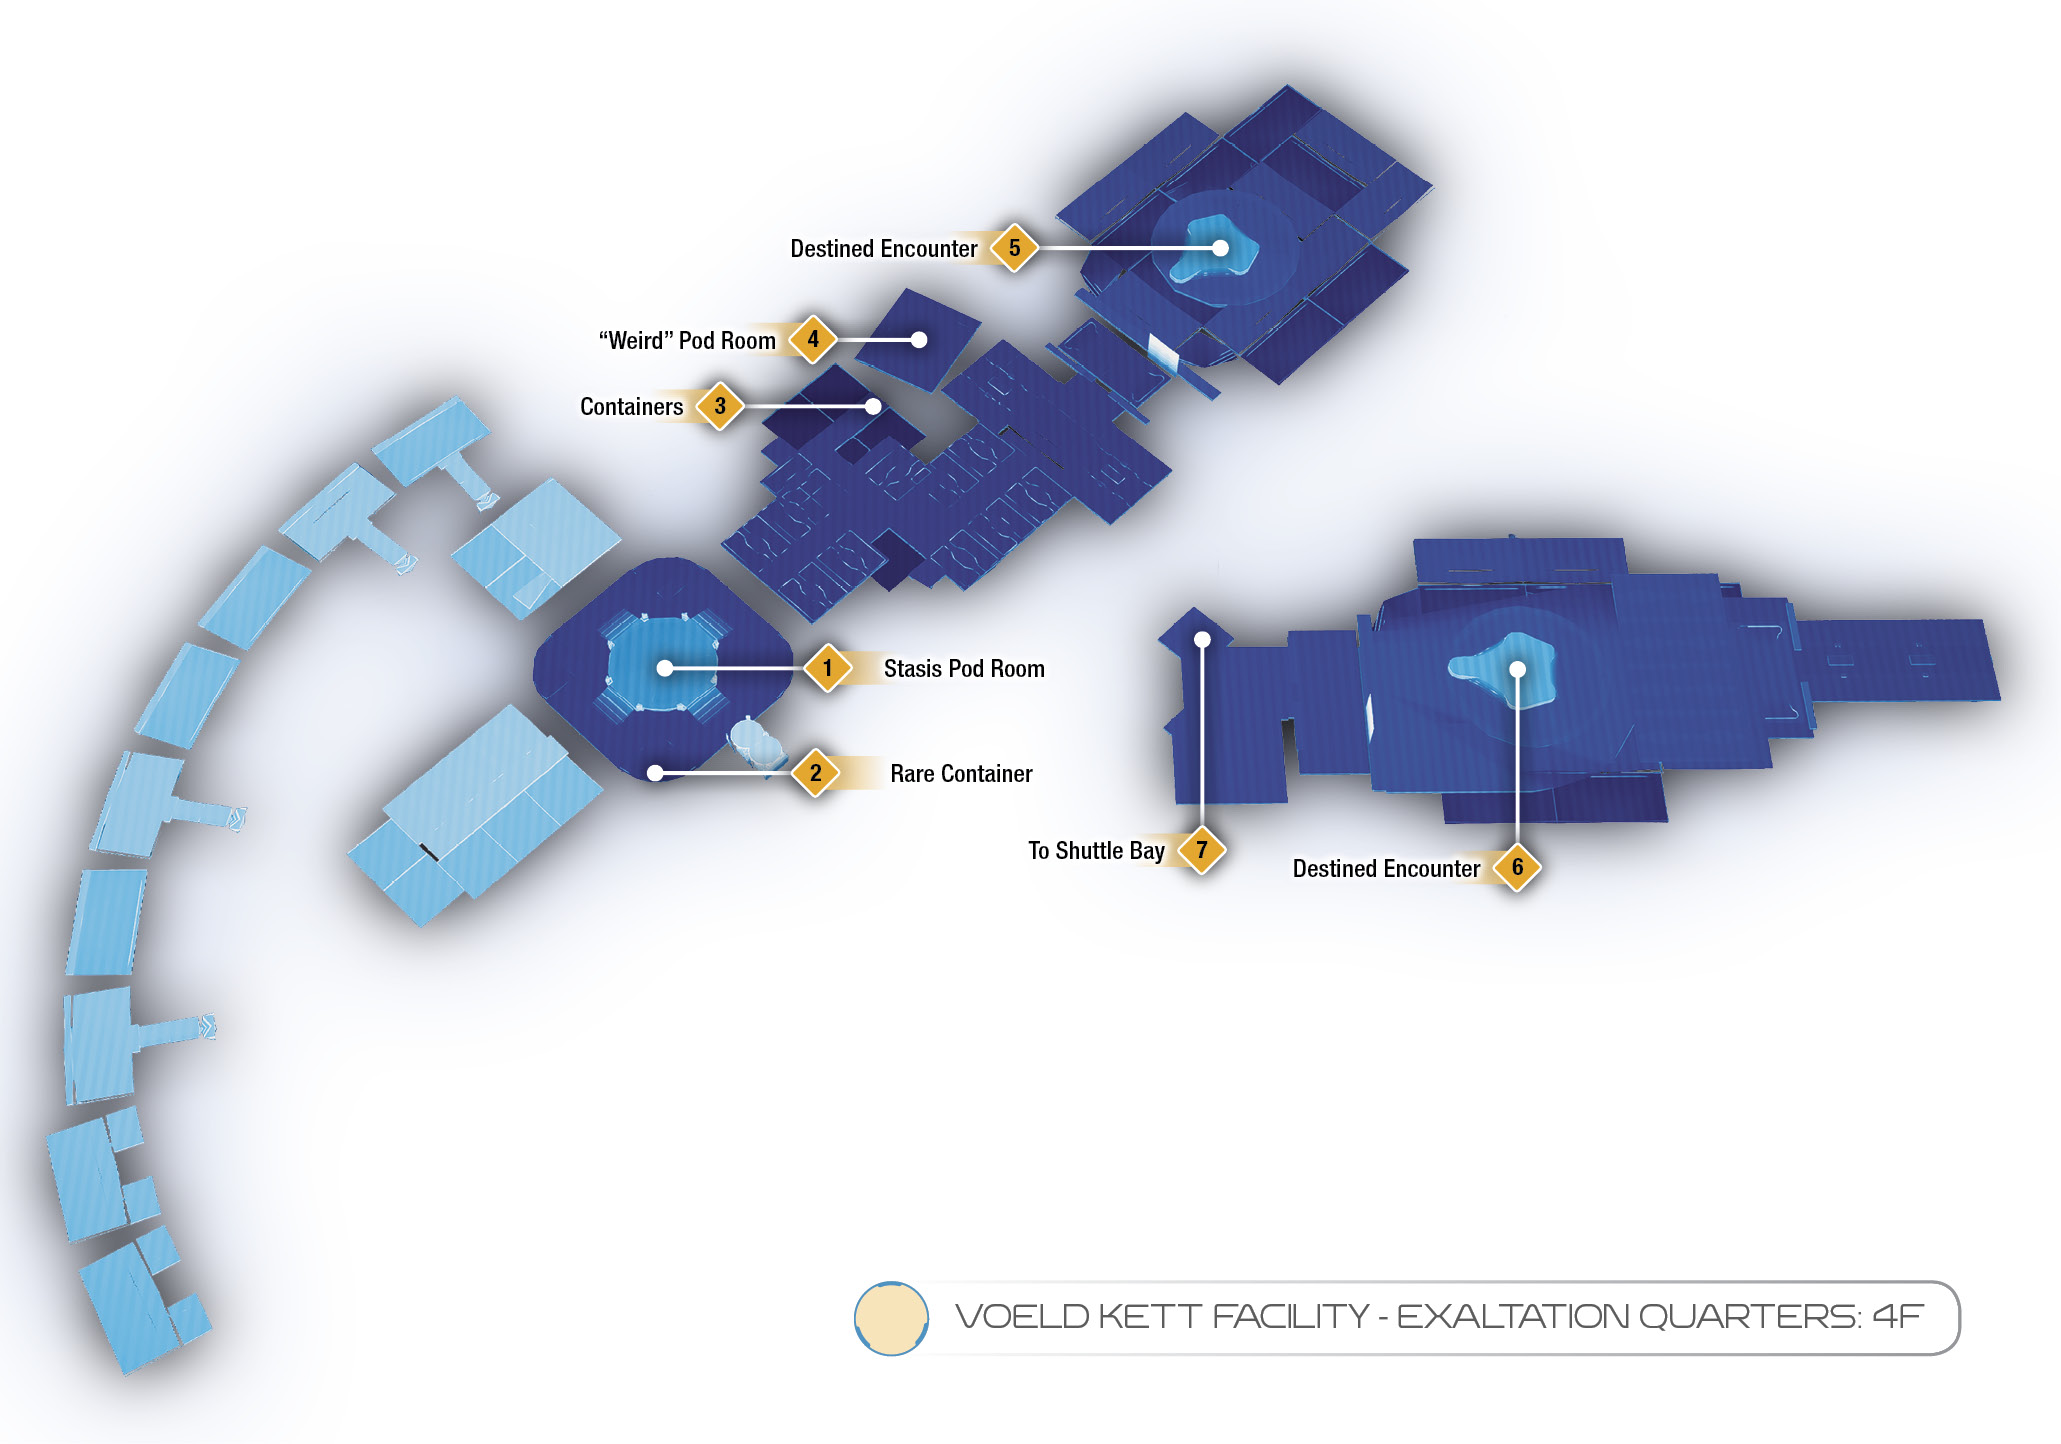
Break the vent, then interact with the console up ahead to disable the barrier to the next room. Enter the room and scan several stasis pods—the Moshae isn’t here. Use the console, then search the area for valuables (there’s a “rare”-type container nearby). Proceed through the northeast doorway and into a dark maintenance tunnel. To the left is a dead end with two containers. Search them, then continue onward through more destructible vents. To the left is a room you can enter with a couple of containers and scannable kett tech.
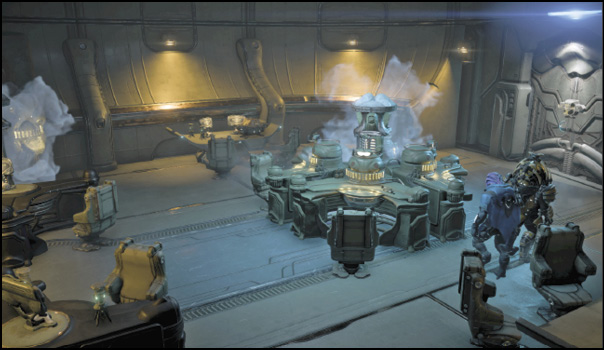
Open the northeast door to trigger a cutscene where you witness an angara going through the kett exaltation process, “evolving” into a Chosen almost instantaneously. Jaal attacks the kett in a fit of rage.
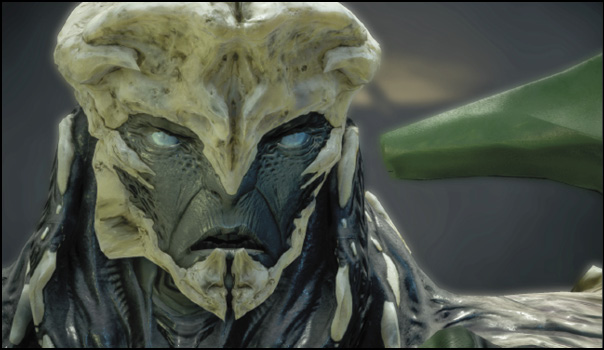
The enemies here consist of several Destined, all cloaking each other. This encounter can be extremely annoying if you’re power-focused (although some powers, like Incinerate, still connect even without a soft-aim target lock). Otherwise, with a strong firearm, you can deal damage by shooting into the clouds while hiding in cover.
Clear the room of foes, then talk to Jaal to comfort him. After the cutscene, you end up in another exaltation room with several Destined. Defeat them and continue west, then northwest, to get to the shuttle bay. The Moshae is at the other end of the shuttle bay, but in your way is the Cardinal, an Ascendant (for details, see the Enemies chapter).
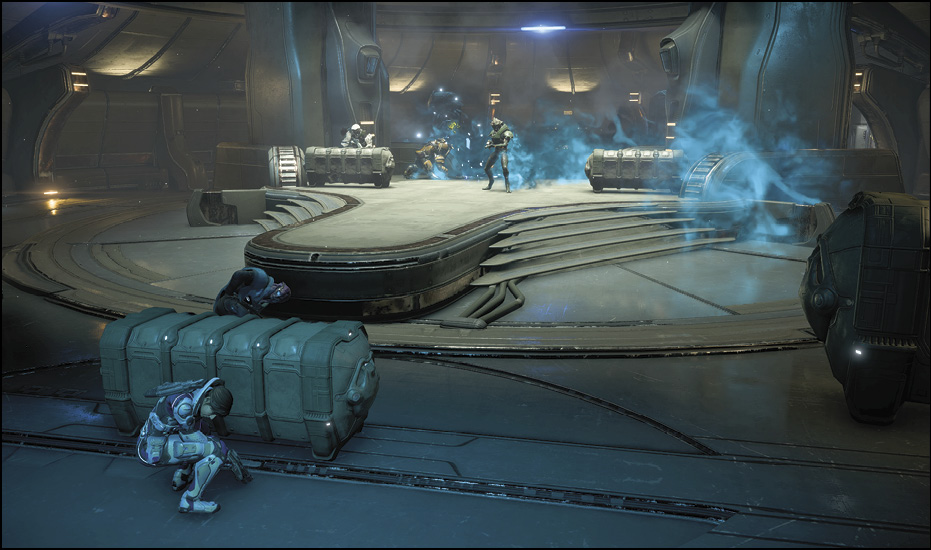
Boss Encounter—The Cardinal
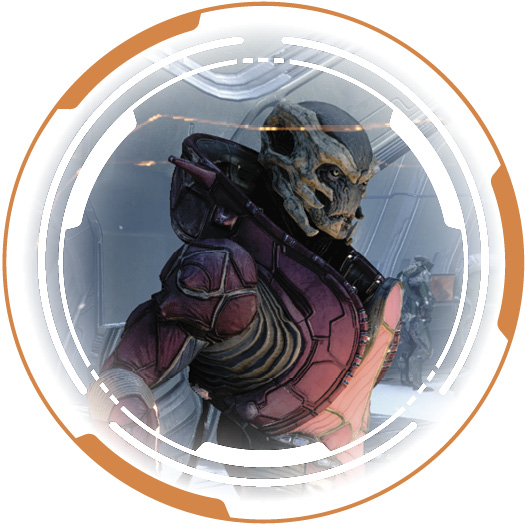
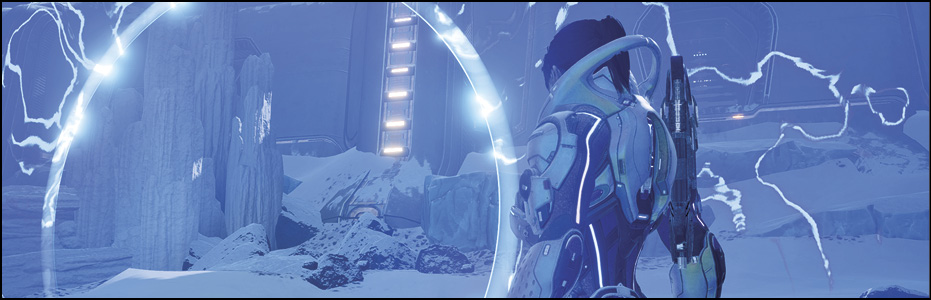
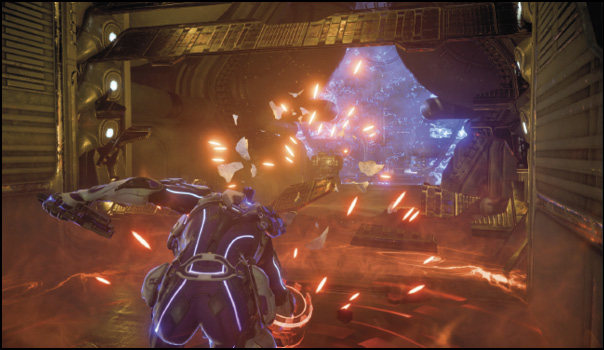
The Cardinal is an Ascendant, a particularly dangerous being with the ability to manipulate electrical fields. The Cardinal cannot be damaged until her “Cardinal’s Orb” is wounded, which can take a while considering its high health total. A key aspect of this fight is ammo management. There are several ammo and health crates in this multi-level arena (refer to the following map for specific locations). This is one of few encounters on the Insanity difficulty where you can actually exhaust all ammo (including from the supply crates here)! Prepare by bringing extra weapons or high-damage, consistent power combos.
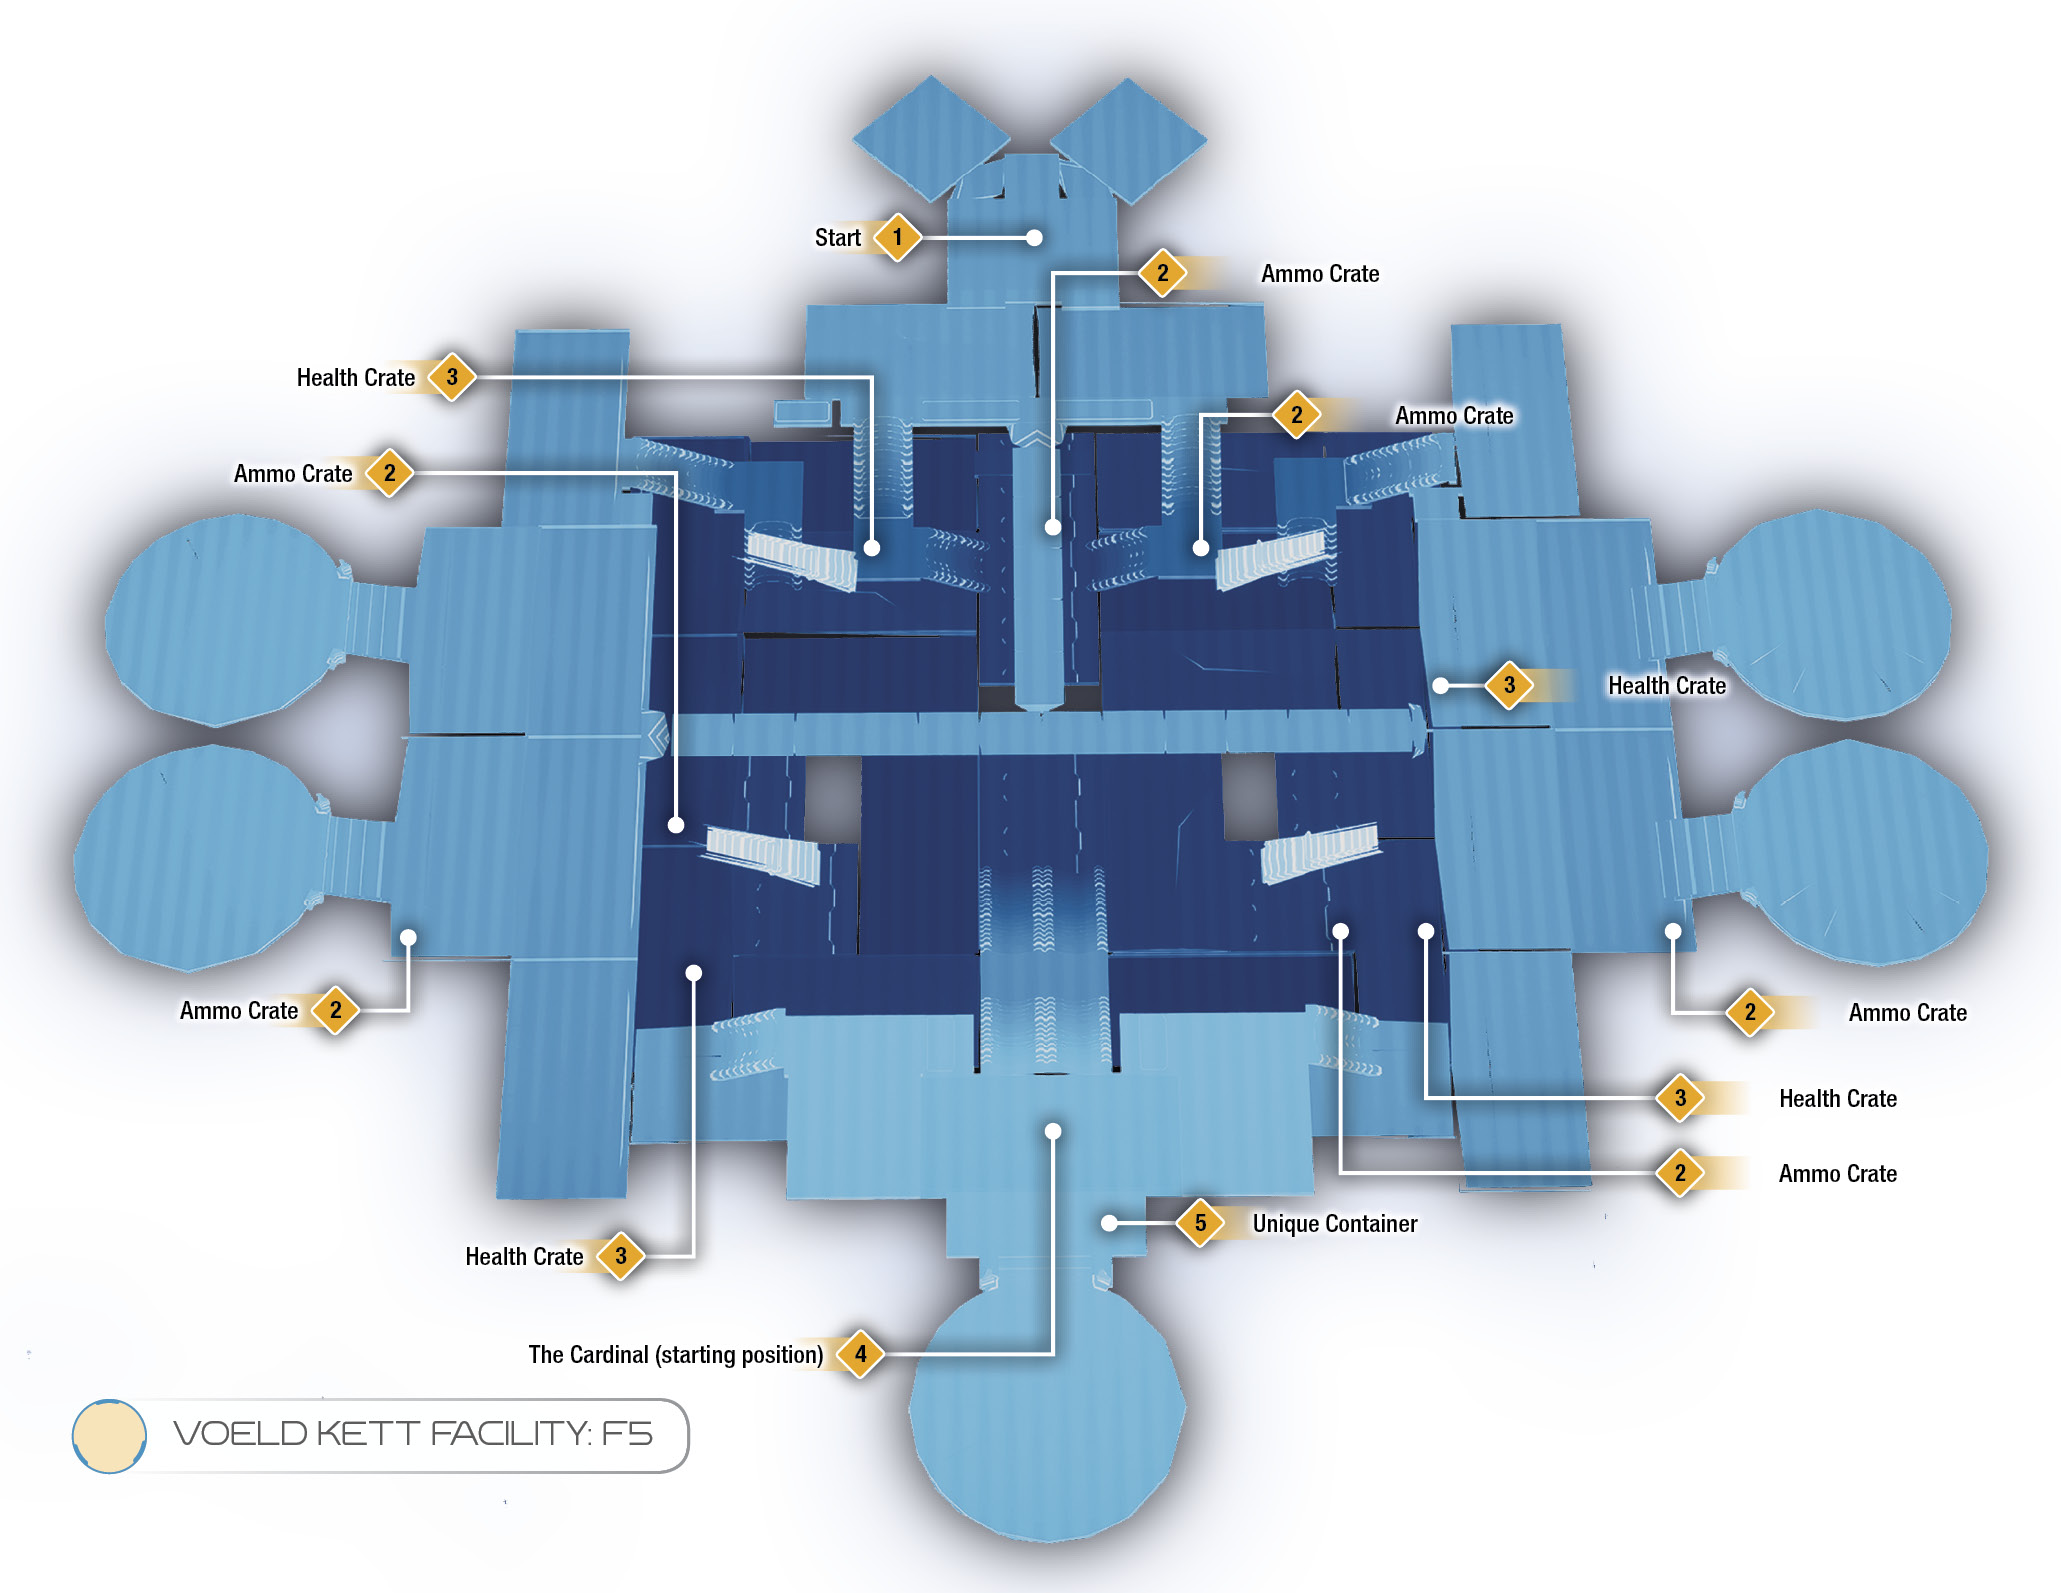
Ascendants have three primary modes of attack: a projectile electrical field (telegraphed), an electrical Sync Attack (a grab that usually deals fatal damage), and a standard mid-ranged orb beam. For the most part, these can be avoided with constant movement. The most dangerous is the Sync Attack grab, which the Cardinal can only connect with in melee range. It can be evaded, so you can bait it out by moving into range (with, say, Charge), then evading away.
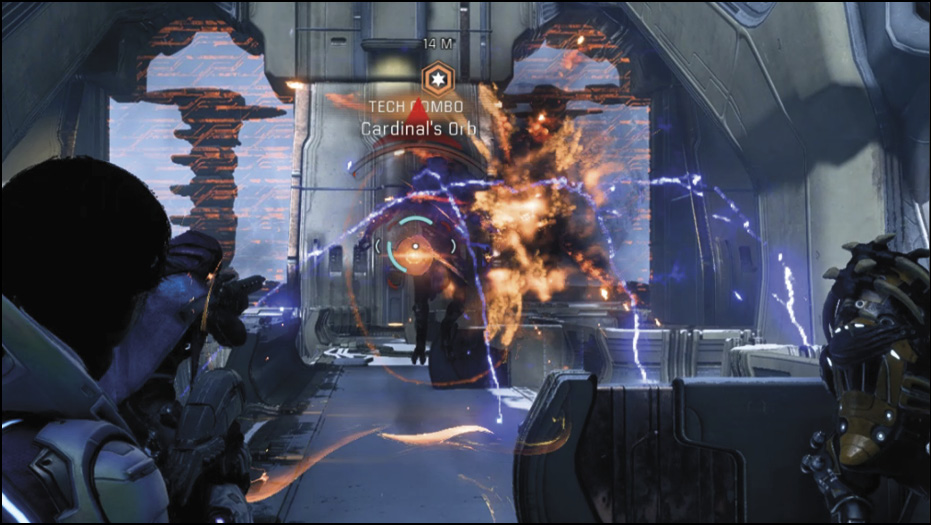
Once you’ve figured out the Cardinal’s attack patterns, you can get a better handle on consistently doing damage to her orb. When her orb goes down, unleash as much damage as you can on her while she’s vulnerable. It’s highly recommended that you use one of the three ammo types to boost your damage when the Cardinal’s Orb goes down. They allow you to set up detonations for your power combos as well.
At 66% of the Cardinal’s total health, waves of kett attack, including Destined and Anointed. Keep an eye out for Anointed, especially, since they can slaughter you if you’re caught out in the open. Take out the kett cavalry (remember to order your squadmates to focus on them), then refocus your efforts back on the Cardinal. Repeat the process while refilling your ammo at the various ammo crates. At 33% total health, the Cardinal summons another wave of enemies.
After defeating the Cardinal, search the area for containers, then speak to the Moshae for a cutscene. You have a key choice to make here that may affect how an event turns out in the future.
key choice: kett facilitya) Destroy the facility, along with the Cardinal b) Preserve the facility (saving the angara), then fire off the Narrative Action to kill the Cardinal c) Preserve the facility and spare the Cardinal |
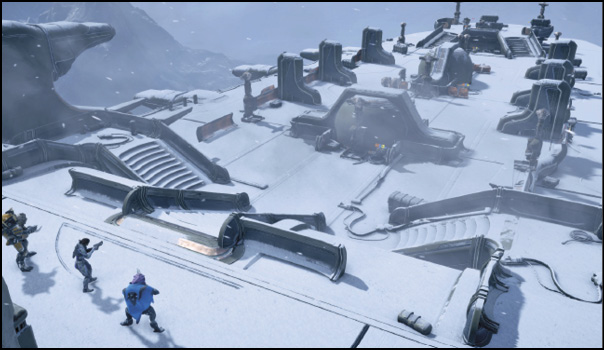
The mission isn’t over just yet. You still have to get Moshae Sjefa to safety. You’re met by massive kett resistance on the rooftops. The Moshae helps by generating a shield-restoring field around her as you escort her across to the extraction point. Stay within the barrier at all times while inching to the other end.
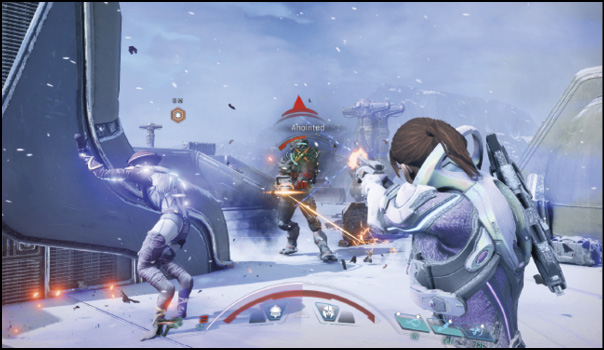
On the way to the extraction point, you face Chosen and Anointed. When you get to the other end, the kett turn up the heat and unleash a Fiend to your location. Hopefully, you have incendiary ammo or some kind of burning effect to expedite the Fiend-killing process. In addition to the Fiend, you have to deal with a couple of Anointed, whom you might want to focus down first. Use disruptor ammo or Overload/Energy Drain and order your squadmates to focus their fire, then switch over to burn effects for the Fiend (all while staying with the Moshae!).
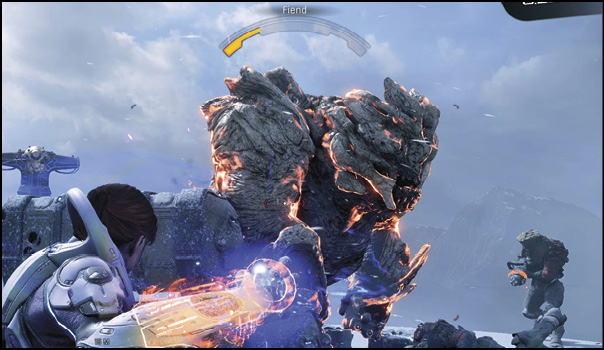
There are several health and ammo crates around the extraction point, so keep on the move, keep an eye on the Moshae, and refuel when necessary. If the Fiend gets into melee range, use your evade to get away from its grab-and-smash attack. If it begins its charging attack, you can jump-jet over to dodge it as well.
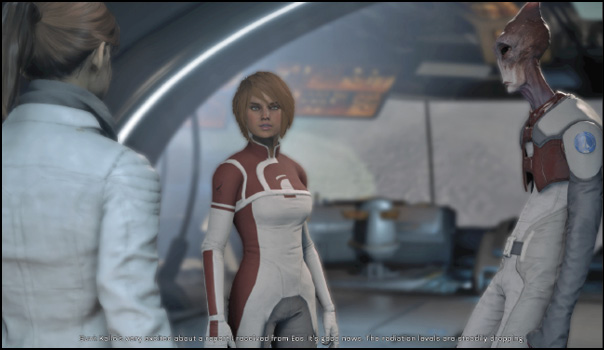
Stay alive until the extraction timer runs its course, then make your escape! Alternatively, you can focus your efforts on the Fiend, as killing it speeds up the extraction process. The mission winds down with Moshae Sjefa safe on the Tempest. After conversing with her and Jaal, you can take her back to Aya. On the way back to the bridge, Kallo and Suvi have good news for you regarding Eos. Activating the atmosphere processor has reduced Eos’ radiation significantly, allowing for expanded exploration of the UNC. This means it’s a good time to make a return visit to knock out side missions. Which means you should also check in with your crew to see what they have to say about what transpired on Voeld.
When you’re ready to conclude “A Trail of Hope,” return to Aya with the Moshae, then enter the shuttle at the west end of the docks to trigger a cutscene, where you learn about the Remnant city, Meridian.
Now that you’re granted access to the rest of Aya, you can explore the city, undertake additional quests, and engage in trade with the merchants—a great source of Angaran Meditation Crystals and other valuable crafting materials.
Make your way to the east end of Aya for a cutscene conversation with Evfra and Moshae Sjefa. Evfra reveals it was one of their own who betrayed the angara, gifting the Moshae to the Archon. This concludes “A Trail of Hope” and launches the next Priority Ops mission, “Hunting the Archon.”