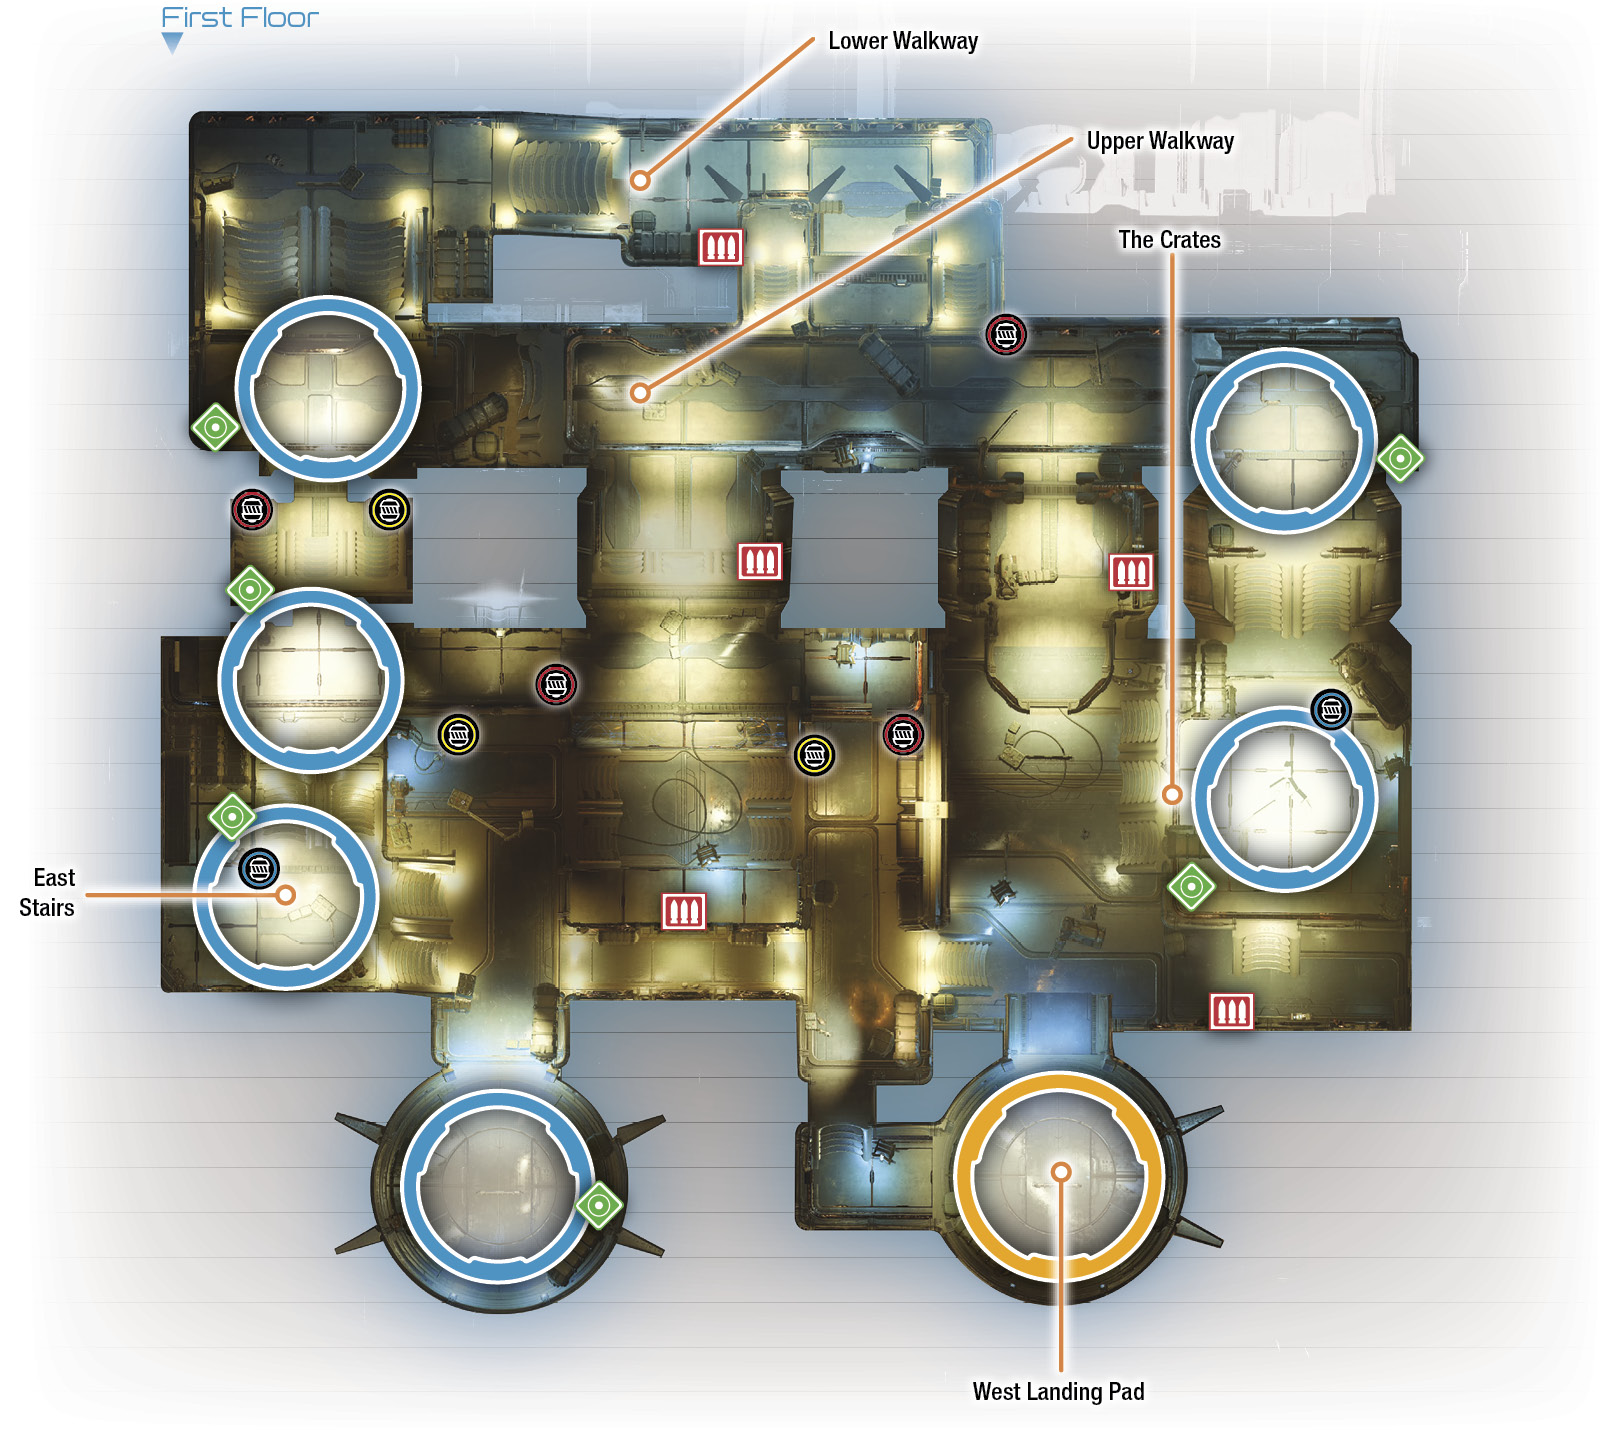
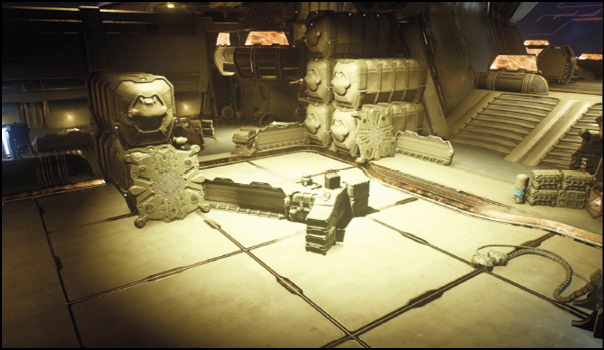
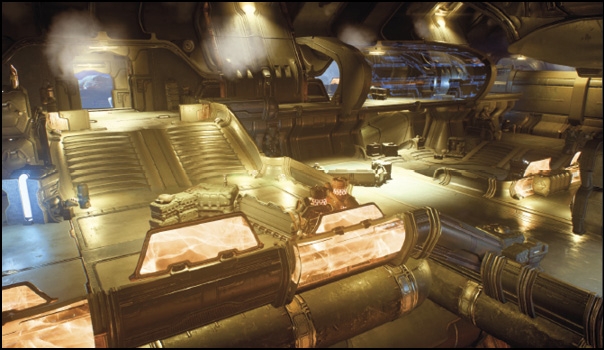
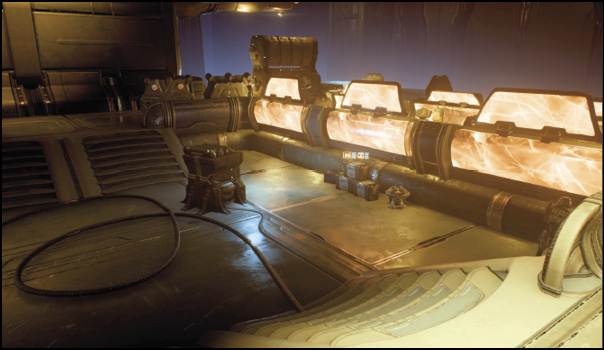
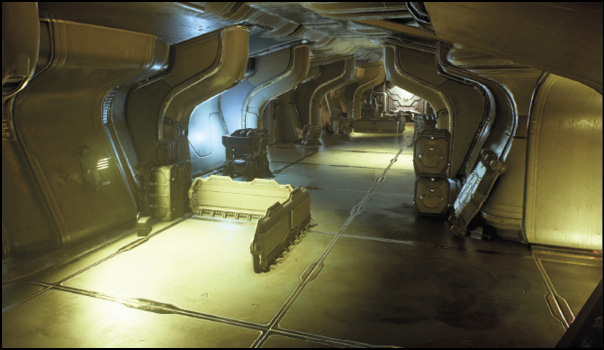
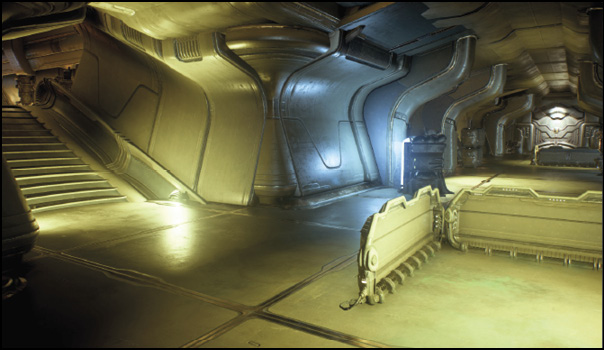
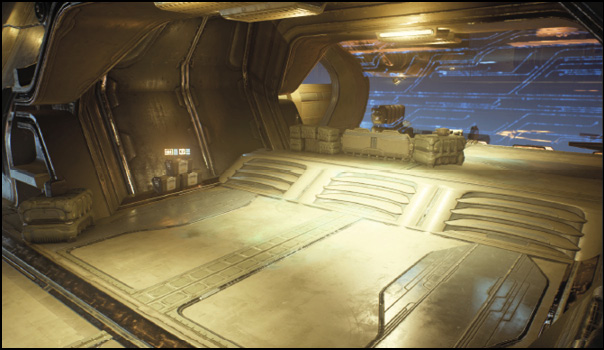
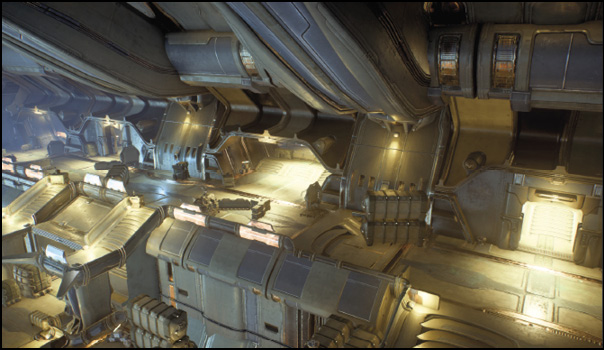
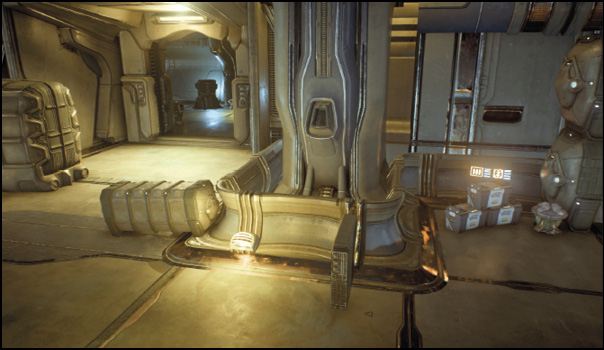
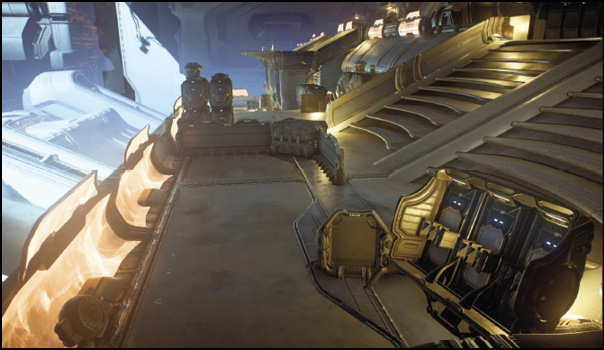
This kett ship is adrift in the Scourge. Symbolically important to the kett, its databanks are full of valuable information available to those who can decipher it. Damage to the ship requires sections to be sealed off and reopened before the militia can proceed to gather information and then meet an extraction shuttle.
Note the open ends on the north and south sides of the map. These provide a means for you to conserve ammo and quickly deal with nearby enemies. Use biotic powers to toss enemies right off the edges!
Strategic Points
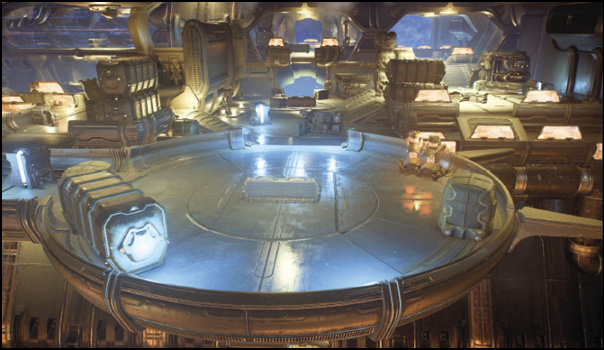
West Landing Pad: This is your infiltration and extraction point, featuring a few points of cover.
These cover points only provide protection from the south and leave you open to attacks from the east. An ammo crate is located nearby in the crates portion of the map.
The Crates: Separated from the north center by a large wall, this section of the map contains several crates. This area also has multiple levels and allows access to the basement and upper walkway.
An ammo crate just outside the west landing pad allows easy access during a fight.A team of three can easily defend the upper platform at the bottom of the stairs leading to the upper walkway. Simultaneously watch the basement entrance, the upper walkway entrance, and the walkway between the two launch pads. Equip assault rifles to deal with primarily medium-range enemies.
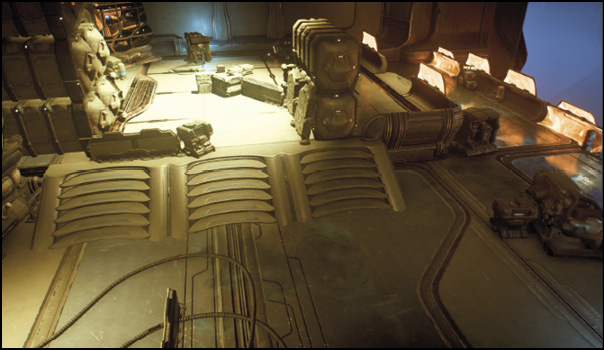
East Stairs: East of the wall on the north side of the map is a mostly open area with two staircases allowing access to the basement and upper walkway.
The stairs leading into the walkway provide multiple cover points, most notably the L-shaped cover that sits at the first platform halfway up. When overrun, leap up to the higher platform and head to the south side of the map, or jump down the staircase and head for safety in the basement. An ammo crate just below the center of the walkway, north of the entrance into the basement, can be accessed from the walkway above. Keep in mind that the orange glowing cover of this walkway is destructible and doesn’t provide cover for long.
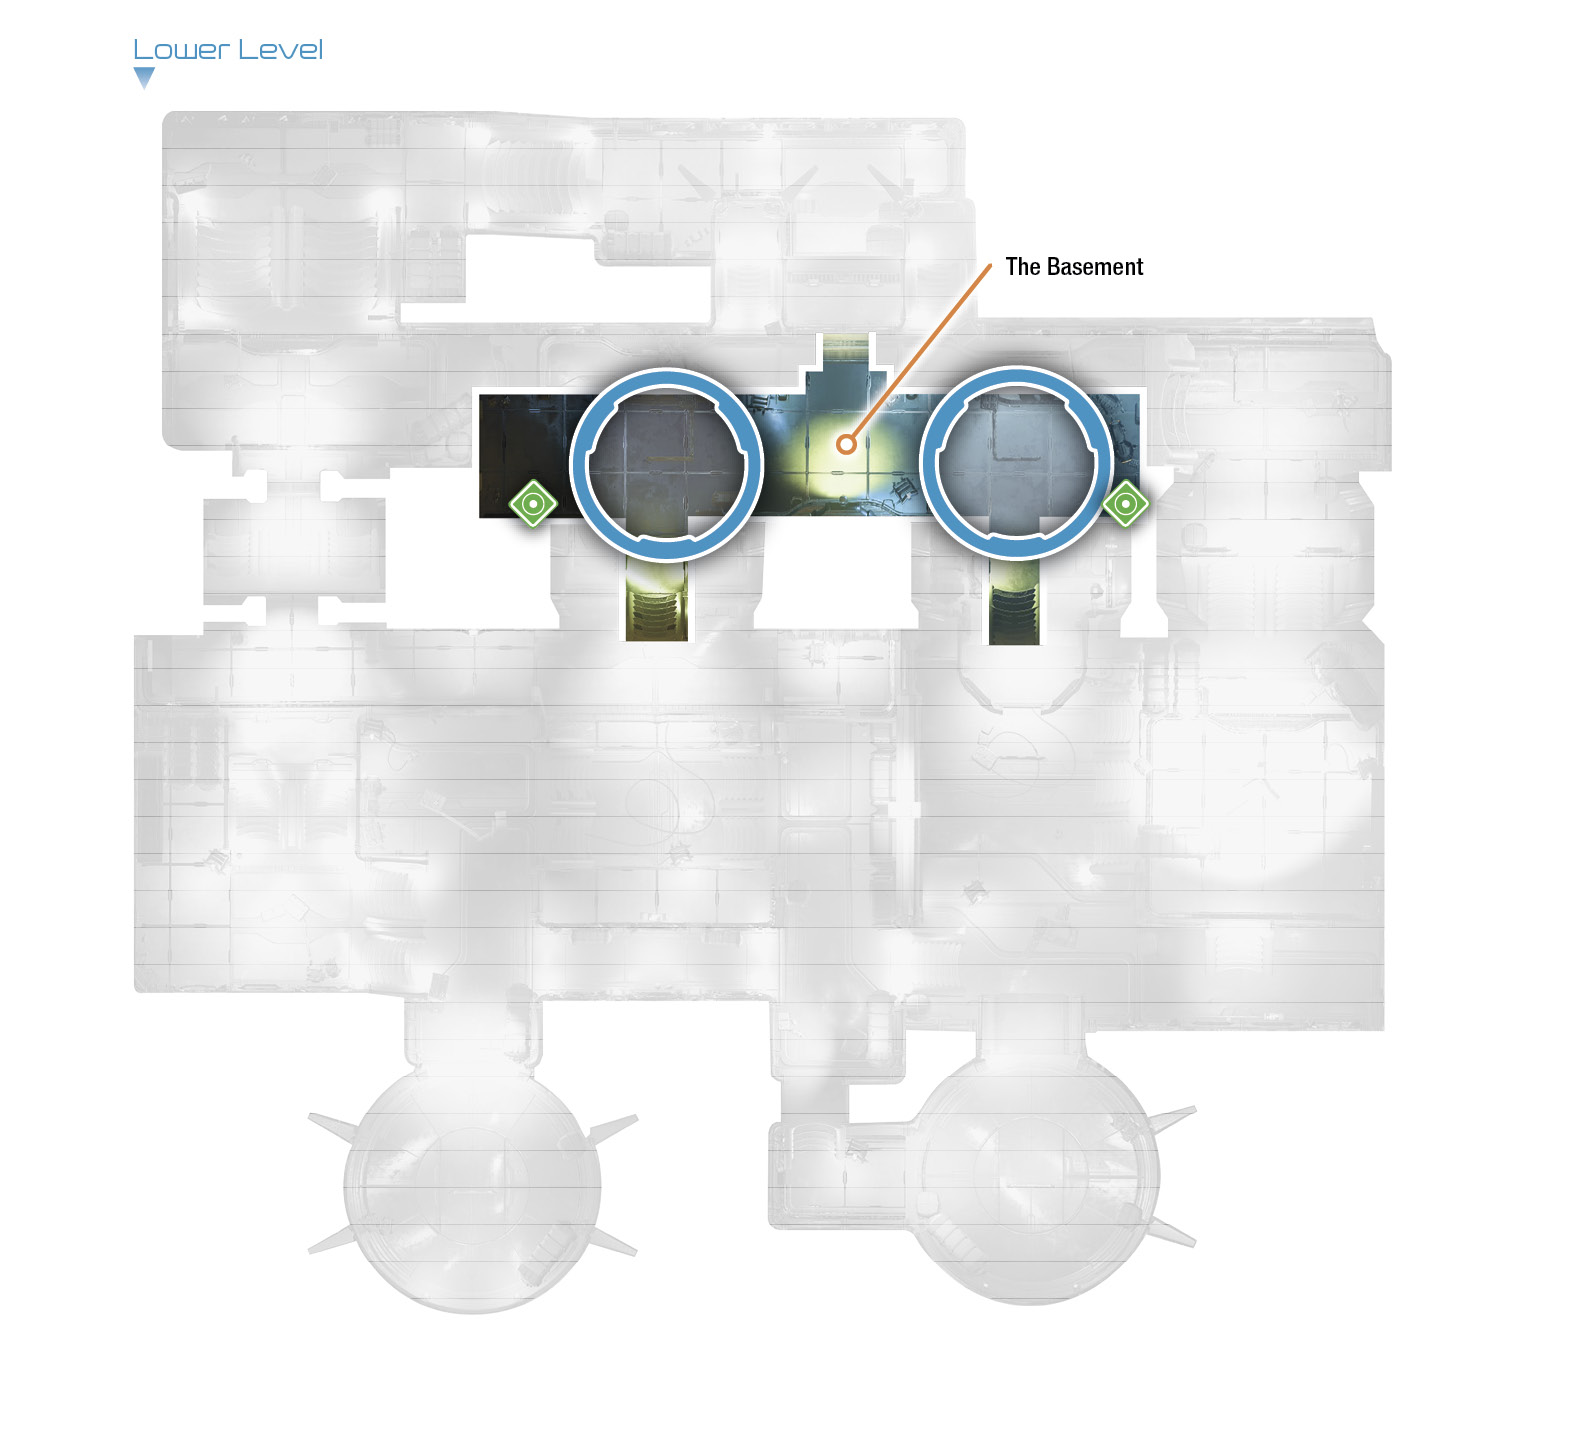
The Basement: The basement acts as your underground transition point to either side of the map. It features two entrances from the north and one from the south.
L-shaped cover on the east and west sides of the room is positioned directly in front of the north entrances, allowing an easy defense of the stairs. With four teammates, you can lock down the basement. If you become overrun at one side of the room, quickly transition to the other side and slowly work your way back. Make sure that you are not outflanked by enemies who enter through the south entrance.There is no ammo crate in the basement, so run out to grab ammo between waves.
Upper Walkway: Use this area mainly for evading enemies quickly through the maze of low, medium, and high cover.
An ammo crate is located in the largest entrance, closer to the east side of the map. Cross through this point if you need ammo. Be careful—the walkway’s size and lack of cover mean you’re vulnerable to any trailing enemies. Keep moving!A total of four crossover points exist between the north and south areas of the walkway, each room with the same weakness—you must face enemies at close range and are vulnerable from both sides.
Lower Walkway: The only pathway in or out of the basement to the south leads to the lower walkway. An ammo crate is just around the corner from the basement opening.
The entire south-facing edge of the walkway features low cover. Use biotic powers to toss enemies over the edge. Instant kill! Be extra careful when boosting on the walkway. Falling off the map doesn’t kill you, but it places you back into battle with no shield and only a small portion of health, making you an easy target for any enemies in the area.