
Mass Effect: Andromeda Collector's Edition Guide Game Mechanics Enemies
Kett
Physical Features
Kett are taller and leaner than humans and are digitigrades. They have clouded eyes and no discernible lower jaw, and their head is surmounted by a large translucent dome. Their most distinctive feature is the “white bone armor” that covers their bodies. They have 332 bones in the body and double the amount of tastebuds compared to the average human.
Military
Overall, the kett are an aggressive, expansionist power that conquers by cultural and genetic assimilation. “Conquered” peoples are either exalted—turned into kett (genetically altered to share traits with other kett)—or forced to become slaves.
The kett in the Heleus Cluster are an occupying force expanding their power. Although the numbers of kett here are few in comparison with their empire, they have vast numbers of exalted troops and advanced technology. They have also built outposts on many remote worlds. The outposts perform several functions: serving as military posts or centers for converting the angara, studying the Remnant, and mining and gathering resources.
The Chosen
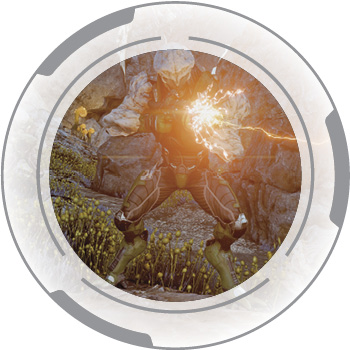
Vitals
SAM’s Analysis: The kett’s primary frontline trooper, who carries a plasma assault rifle for deadly precision.
Role: Cover Taker, Front Line
Weak Point: Head
Health & Resilience: Normal health, no immunities
Mobility Options: Can cover, run, walk, sprint, evade, hurdle over barriers
Preferred Range: Medium
Weapons/Attacks: Zalkin Assault Rifle, Grenades, Melee (punch)
Combat Behavior
As frontline grunts, the Chosen are disciplined zealots, generally undeterred by the threat of biotic attacks and heavy gunfire. However, they still apply intelligent combat strategies and prefer to use cover. At higher difficulty settings, they breach doors faster, throw grenades quicker, have faster reaction times, and are much more likely to evade your attacks.
Strategies
Dealing with the Chosen usually depends on the context of the situation. They’re not difficult to take down if they’re the only threat on the battlefield, but combined with suppressing fire from an Anointed or the cover-flushing ability of their attack “dogs,” handling them can become complicated.
If you specialize in biotics, it’s generally a safe bet to use your powers on them since they’re especially weak to mass effect fields. Take them out of the fight with an ability like Pull, Throw, or Singularity, to then either focus them down quickly with a biotic combo, or to focus your firepower elsewhere (on, say, a Wraith or an Anointed). As a sniper, you shouldn’t have too much trouble taking them out with good aim, saving your powers for more threatening foes. As a tech “mage”-type, you might consider saving your skills for potentially tougher enemies, depending on the situation. The Chosen can usually be taken out by two to three melee attacks. Additionally, they’re vulnerable to the force and knockback effects of most melee strikes.
On the Insanity difficulty, even the Chosen can dish out massive damage, particularly if you’re out of cover with multiple Chosen combining their fire on you. Vanguards and close-range combatants may have a difficult time against groups of Chosen (without putting themselves in danger).
Wraith
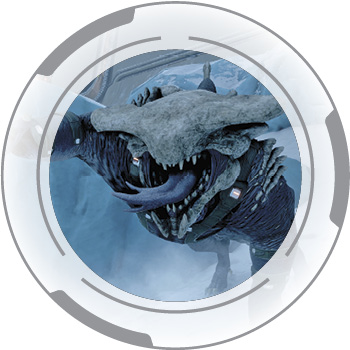
Vitals
SAM’s Analysis: A kett attack beast that remains camouflaged until it closes ranks, causing chaos and distraction.
Role: Cover Flusher
Weak Point: Head (destructible head plate) (1)
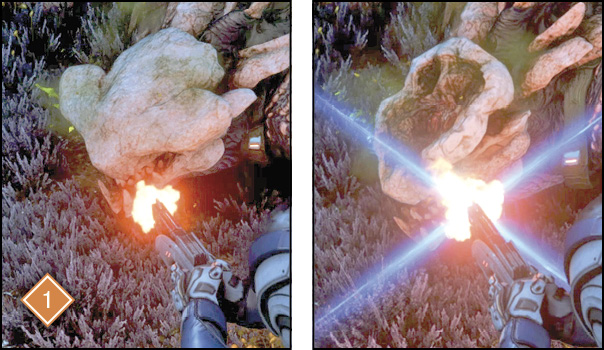
Health & Resilience: Normal health, no immunities, but cannot be soft-targeted while camouflaged (2)
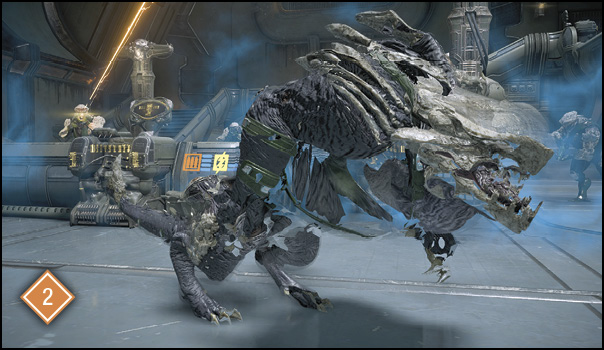
Mobility Options: Quick jumps; fast run speed
Preferred Range: Close
Weapons/Attacks: Leaping Attack, Quick Strike, Acidic Spit, Evasive Strike
Combat Behavior
Animalistic and straightforward. The kett unleash these hounds to create chaos on your side of cover.
Strategies
Fighting off Wraiths is usually a matter of good perceptive ability. If you don’t hear them coming or don’t see them in time, it’s generally too late and you’re probably going to take some damage. If you spot them early, they can be sniped or dealt with before they cause too much trouble. Vanguards and Adepts are particularly strong against Wraiths, with strong close-range powers and displacement effects. Snipers who let their guard down may have trouble.
Most importantly, don’t panic—that’s what the kett want from you. Deal with the Wraiths promptly without compromising your cover, then go back to fighting their long-range soldiers. Order your squadmates to focus on them if you need to.
The Anointed
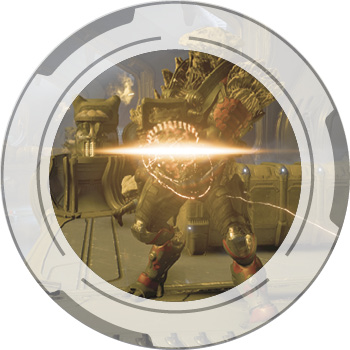
Vitals
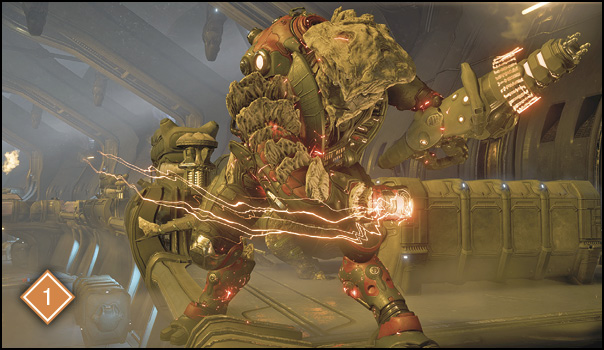
SAM’s Analysis: Biologically similar to the kett Chosen, the Anointed are armed with a heavy plasma cannon to drive enemies into cover.
Role: Suppressor, Siege Unit
Weak Point: Head
Health & Resilience: Shielded, protected from most disabling effects while shields are up
Mobility Options: Slower walk speed when firing; can run, sprint, vault
Preferred Range: Medium
Weapons/Attacks: Soned Gatling Gun, Melee (punch) (1)
Combat Behavior
The Anointed are siege units, advancing slowly and providing a constant barrage of suppressing fire for their allies. They typically don’t reposition in battle, because they usually don’t have to.
Strategies
Taking out the Anointed should be your number one priority in most cases (unless there’s a Wraith mauling you). Depending on the powers you have available, particularly early on in the game, it may feel extremely oppressive facing one of these heavy soldiers (a notable one being on Habitat 7, while defending Cora’s ship). It’s highly recommended that you invest in Overload/Energy Drain just to make these enemies manageable. High-damage cell-consuming powers like Omni Grenade and Trip Mine can overpower their shields, too. Otherwise, precise sniper rifle shots to their heads from the safety of cover work well, as long as you’re taking care of Wraiths and Chosen closing in on you. Giving explicit orders to your squadmates to take cover is advised. If you have Liam or Jaal on the active squad, have them unlock Overload/Energy Drain so you can command them to attack the Anointed with these shield-busting powers. Once the heavy soldier’s shields are down, it only takes about two to three melee hits to take them out (or simply hit them with biotic effects).
The Anointed are notoriously difficult on Hardcore and Insanity. They have much more health and do much more damage, so just peeking out of cover is dangerous. Make sure you’re prepared!
Fiend
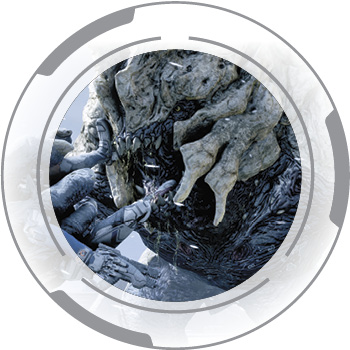
Vitals
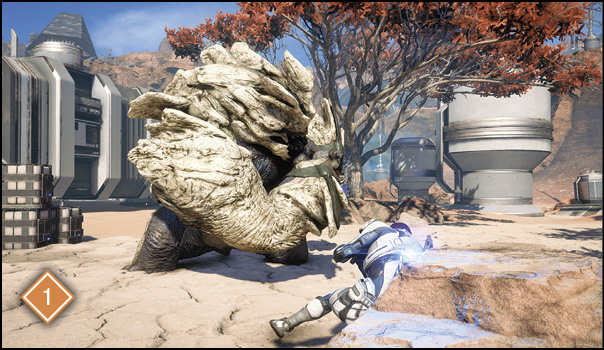
SAM’s Analysis: A large, powerful kett beast with a hard carapace for protection. The Fiend is trained to disrupt enemy lines and wreak havoc within their ranks.
Role: Siege Unit, Cover Flusher
Weak Point: Breakable faceplates, mouth, back and sides
Health & Resilience: Armor health, immune to biotic effects, weak to burn/freeze effects
Mobility Options: Slow walk speed; very fast charge speed
Preferred Range: Close
Weapons/Attacks: Ranged Acidic Spit, Various Melee Strikes (frontal, rear), Charging Attack (1)
Combat Behavior
As siege units, Fiends can force you into evasive tactics, which can be difficult to navigate in a battle with other ranged soldiers. They behave exactly as they look—aggressively.
Strategies
Your first inclination is probably to run, and you’d be correct in doing so. However, be aware of your surroundings. Since these monstrosities have so much health and are resilient to low-damage pellets (submachine guns and assault rifles aren’t very effective against them), you may want to go for the weaker troops before focusing your efforts on the Fiend. This means you need to be mobile, constantly moving and dodging its charge attacks while weaving in attacks on its friends. Incinerate, Flamethrower, or Cryo Beam can make the fight more manageable, as its armor is weak to the fire and ice elements.
While running circles around the Fiend, order your squadmates accordingly, preferably to rally around you so you aren’t split up. Fiends have several weak points: around their mouths and on their sides and backs. However, it’s not easy to get a fiend to turn its back to you. You can perform a kind of matador technique—when the Fiend goes for its charging swipe attack, jump over it, turn around, and shoot its rear with your strongest gun. Note that while shotgun pellets are considered low-damage, a compensatory bonus to armor damage is applied, making shotguns ideal against Fiends (much more effective than assault rifles and pistols, at least). Just be careful of their “one-shot kill” grab attack. If a Fiend grabs you, it’s game over, as it crushes you with extreme prejudice. For the most part, you can sidestep its attacks by evading to the left/right, or away.
Destined
Vitals
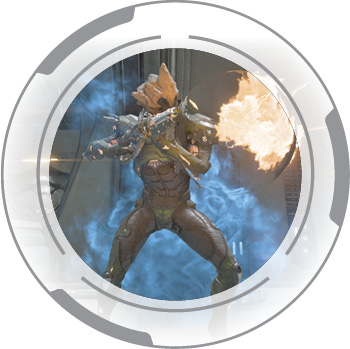
SAM’s Analysis: A kett field commander who deploys a smokescreen to hinder enemies and provide cover for its troops.
Role: Support, Siege Unit
Weak Point: Head
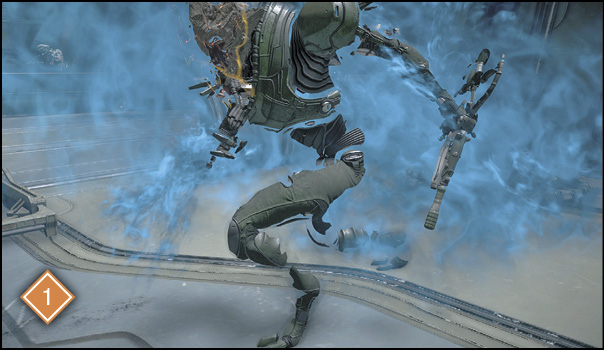
Health & Resilience: Shielded, protected from most disabling effects while shields are up; uses an obfuscating cloud, preventing soft-aim target lock (1)
Mobility Options: Standard walk speed; can run, sprint, vault, rocket-boost up ledges
Preferred Range: Medium
Weapons/Attacks: Hesh Shotgun, Grenades, Butt of Shotgun
Combat Behavior
These support operatives tend to group with the lower-ranking Chosen, cloaking their allies and suppressing shotgun fire. They’re not as aggressive as Chosen, preferring to stay around mid-to-long range.
Strategies
The Destined can be a nuisance if you specialize in soft-aim-targeting powers. Biotic and tech specialists may have trouble getting through their shields and doing actual damage. Your best bet is to use high-damage area-of-effect abilities when they’re cloaked, and go for critical hits to the head when they’re exposed. However, their firepower isn’t as threatening as the Anointed’s, so they don’t have to be your number one priority. Take out the underlings first if you’re given the opportunity. Staying in cover is always preferable, but be aware of their potential cover-flushing grenade lobs. If you’re proficient with sniper rifles and you have an opportunity to get the drop on them, the Destined are relatively easy targets when they’re unaware of your presence.
Ascendent
Vitals
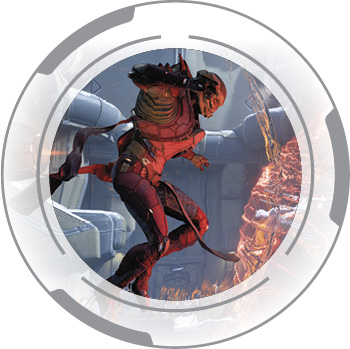
SAM’s Analysis: The kett’s elite battle master who can elevate above the fray to gain a tactical advantage. An Ascendant charges a variety of devastating attacks that we are quantifying and attempting to understand.
Role: Suppressor, Cover Flusher
Weak Point: Ascendant’s Orb, Head (when vulnerable and targetable)
Health & Resilience: Incredibly high normal health, further protected by an invulnerable electromagnetic force field while it’s empowered with its active orb. When unprotected, the Ascendant is vulnerable to disabling biotic effects. However, it can instantly recover to resummon its protective orb after a certain period of time. The orb is vulnerable to burning, freezing, and electrical damage, allowing for power combos.
Mobility Options: Levitates around the battlefield; can attack from most positions; can teleport
Preferred Range: Any
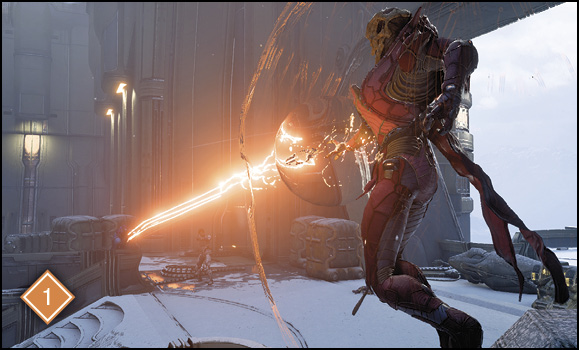
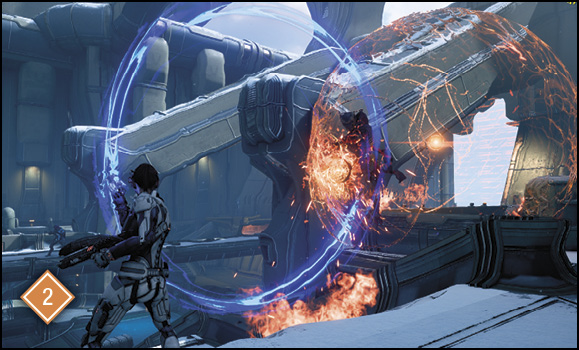
Weapons/Attacks: Electrical Ball Lightning, Electrical Gravity Squeeze (devastating one-hit kill grab), Ranged Orb Beam Attack (1)
Combat Behavior
The Ascendant chooses its attacks depending on its distance from its target. At long range, it can charge up an electrical field before launching it forward, dealing damage to anything caught in the large electrical sphere. At medium range, it can choose to use charged beam fire from its hand. At short range, it can summon an orb and—if you don’t escape or evade in time—put you in an electric squeeze, dealing devastating damage (and usually killing you).
Strategies
Ascendants are primarily boss battles at the end of kett infiltration operations, either in Priority Ops or secondary missions. Most of the Ascendants encountered in the game are named and prominent battlefield commanders, such as the Cardinal and the Valiant. While their behaviors are similar, the battlefields differ, thus your strategy may change. Generally, Ascendant battlefields are in open, multilevel areas with several supply crates, cover points, and of course, several waves of enemies attacking you.
For the most part, you can safely stay at range from the Ascendant as long as you’re on the move. However, this presents the problem of moving out of cover, so enemies like the Anointed and Destined may be troublesome. Assess the situation accordingly and stay perceptive. Be prepared to take out high-priority targets before taking on the weaker Chosen and then finally focusing on the Ascendant.
When you can give the Ascendant your full attention, you have to disable its protective orb before you can deal actual, lasting damage. The orb itself has a high amount of health, but is vulnerable to all elemental effects; thus, power combos can be executed on it to expedite the unshielding process. Unfortunately for biotic-heavy users, biotic powers aren’t especially useful against the orb, nor the Ascendant itself. Even if you can inflict a Pull effect on an unshielded Ascendant, it can recover to resummon its orb instantly. Your time is better spent dealing damage to the unprotected enemy (such as with high-damage Omni Grenades or Trip Mines).
Ascendant encounters are exceptionally difficult on Hardcore and Insanity because of the Ascendant’s health multiplier, and not necessarily because it can deal more damage to you (most of its attacks are avoidable if you’re constantly evading). Since ammo crates do not automatically replenish, you’re at risk of exhausting all ammo for the entire fight if you don’t prepare properly. It’s highly recommended that you have the Infiltrator profile unlocked and a powerful sniper rifle equipped. Infiltrator profiles absolutely destroy the Ascendant’s Orb, since all attacks on it count as “weak point” critical hits. These are further enhanced by the weak point bonuses that the Infiltrator profile provides. Maverick armor provides these bonuses as well.
Vanguard builds may prove practically ineffective at dealing any meaningful damage, especially since it’s so difficult to attack the Ascendant with melee strikes, and biotic powers don’t deal nearly as much damage as tech powers do, so a shotgun is highly recommended. Charge can be surprisingly powerful against the Ascendant, in an indirect way. Since it immediately puts you within melee range, the Ascendant can be lured into a gravity squeeze attempt, which you can predict and dash away from, then deal damage with your incendiary-enhanced shotgun. (2)
Behemoth
Vitals
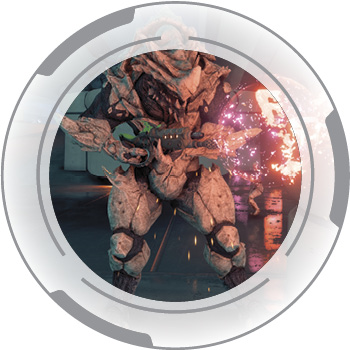
SAM’s Analysis: A raw, incomplete fusion of kett and krogan with a bone exoskeleton rendering it nearly impervious to damage. Its neurochemistry is erratic, resulting in insanity. It’s unlikely even the kett can control it.
Weak Point: Head
Health & Resilience: Armor, very high health; immune to all biotic effects, weak to fire and ice damage, can be stunned by electricity; can use Blood Rage, resisting debilitating afflictions and regaining lost health
Mobility Options: Standard, shoulder charge attack
Preferred Range: Close to Medium
Weapons/Attacks: Headbutt (1), Electrical Field-Generating Shotgun, Chariot Tackle
Combat Behavior
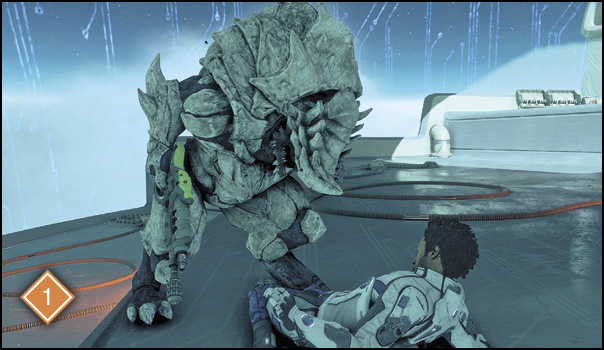
The Behemoth tends to mix up its medium-range attacks: either with its electric field-generating “shotgun”, or with a charging tackle, engagement into close range while pummeling anything in its way. In some encounters, the Behemoth may attack its kett “allies” instead of Ryder and friends.
Strategies
Fighting a Behemoth is like fighting a shotgun-wielding Fiend. Its gun shoots a plasma ball that explodes into a zoning field that deals damage to anything within it over time. At close range, Behemoths can execute melee attacks that deal a devastating amount of damage, with a headbutt potentially removing 100% of your shields. Its tackle can be evaded, but be careful of any electrical fields around you. Having a burning effect on hand is highly recommended for Behemoth encounters—a notable one is part of Priority Ops, on board a kett ship. Since Behemoths have so much health, dealing with weaker enemies while avoiding its attacks is recommended.