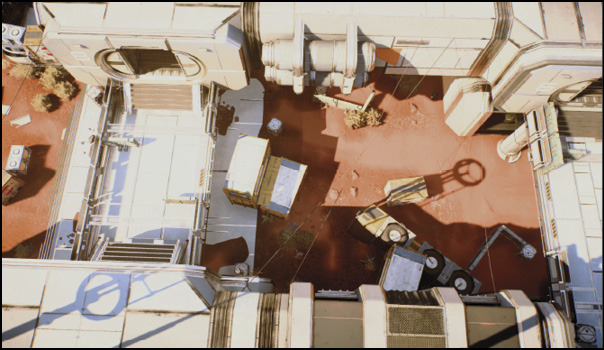
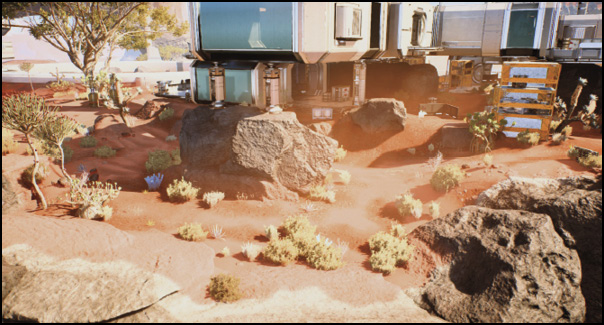
Researchers at this sweltering outpost develop strategies and equipment to mitigate the desert’s damaging effects on armor, weapons, and shuttles. Their collected data would provide a valuable strategic advantage to anyone operating in the searing heat and coarse sand of the Heleus Cluster’s desert worlds.
Firebase Sandstorm features a modular design with “pods” that each feature a number at one of their entrances, allowing for easy visual identification.
Strategic Points
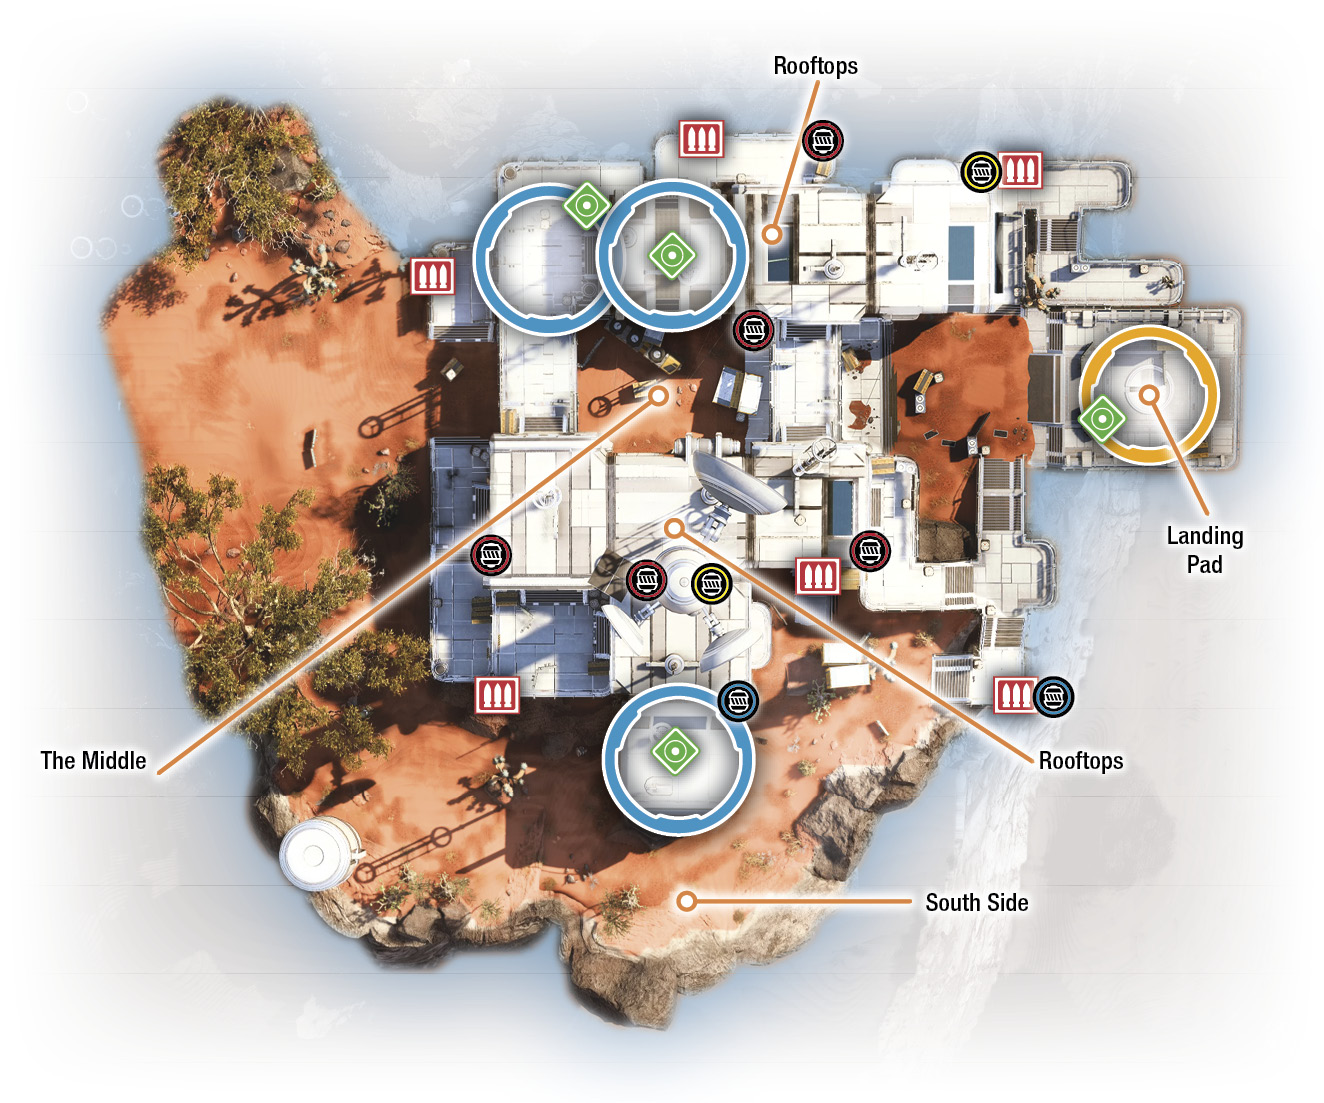
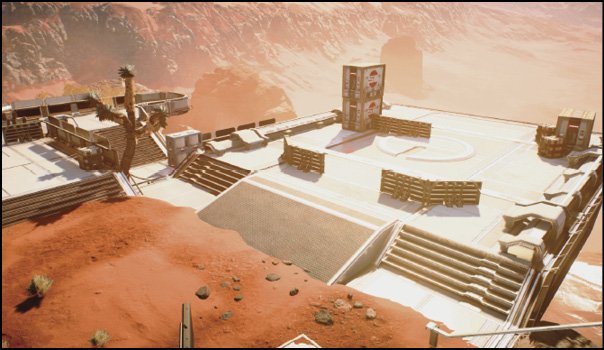
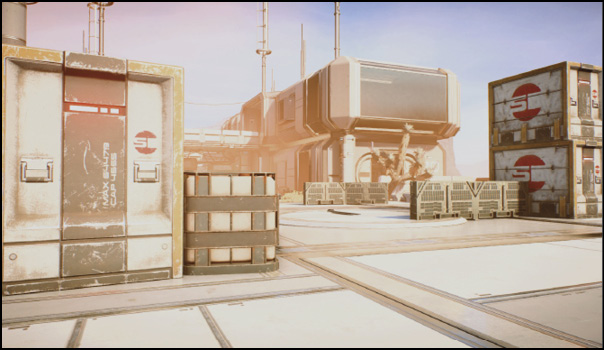
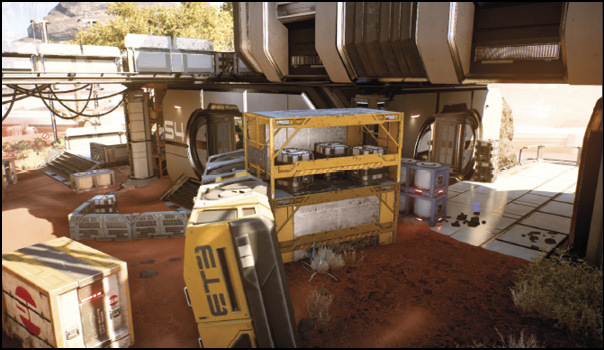
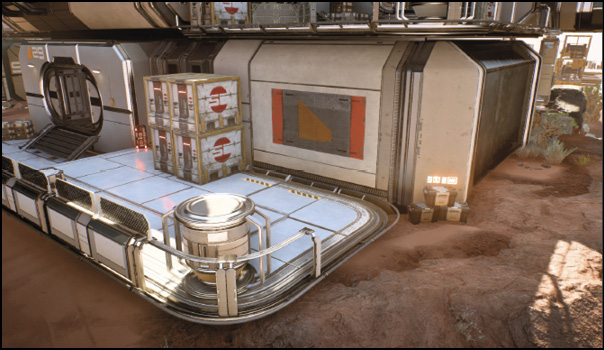
Landing Pad: The landing pad is your starting and extraction point on Firebase Sandstorm. This is the best defensive location, thanks to its two sets of cover and the nearby ammo crates outside Pod 8 to the south and Pod 10 to the north.
Start out by holding the metal barricades closest to the pods as your main defense. Fall back to the large cover in the rear when enemies get too close or perform area-of-effect attacks. The main threat to your defenses comes from the rooftop above Pod 10. Enemies can attack players behind the front patches of cover with accurate fire. Constantly check the rooftops for threats to avoid being overwhelmed by an unexpected burst of fire. Teammates in the back set of cover should focus on suppressing any enemies on the high ground. Leave other ground-based enemies for the players in the front. If you’re getting overrun, head toward the south side to quickly put distance between you and your enemies while your team decides where to hold down next. Loop through the middle, clearing out enemies as you push back to the landing pad, to re-secure this defensive point.
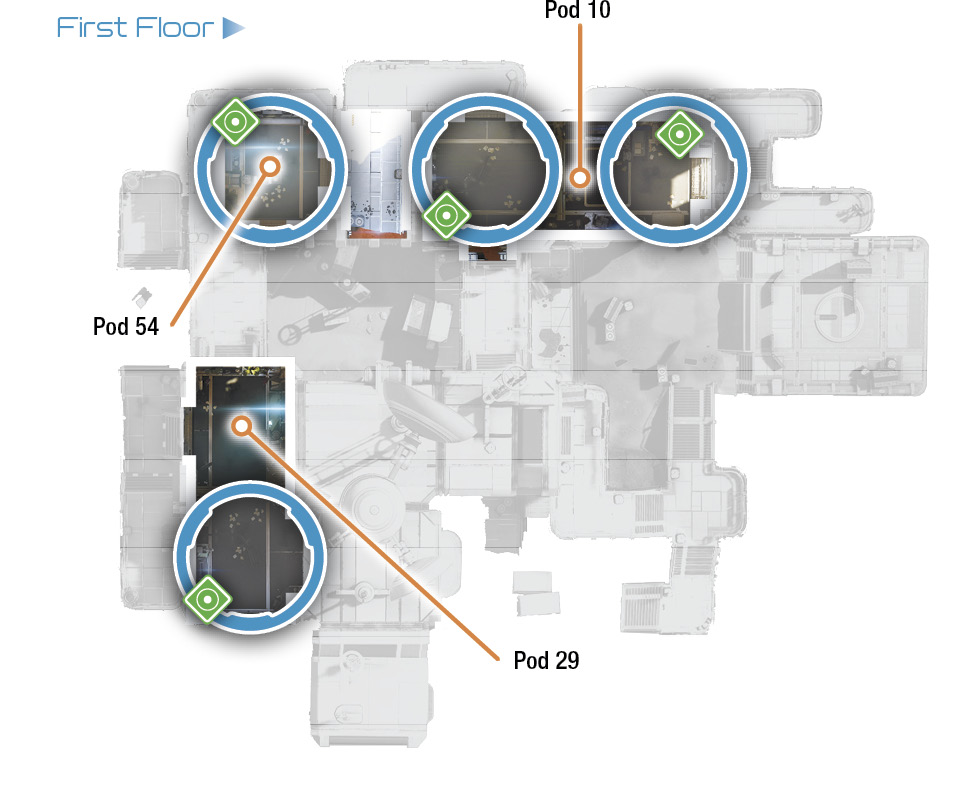
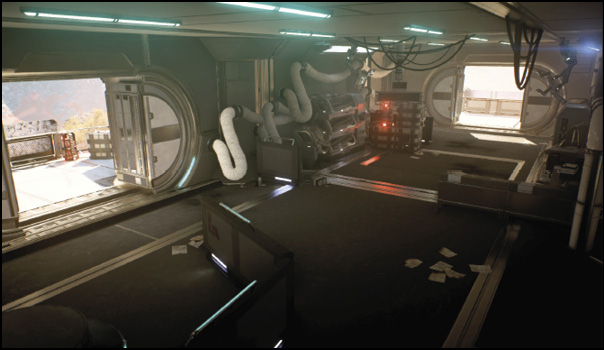
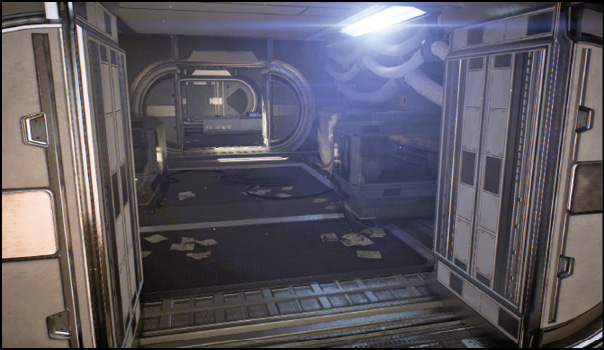
Pod 10: There is an ammo crate just outside the east door of Pod 10. Inside Pod 10, multiple cover points sit just inside each of the four entrances. Each point is exposed to the closest entrance and leaves you blind to the other two entrances. Use this room as a quick getaway when you’re under fire, and as a “safe” path to Pod 54.
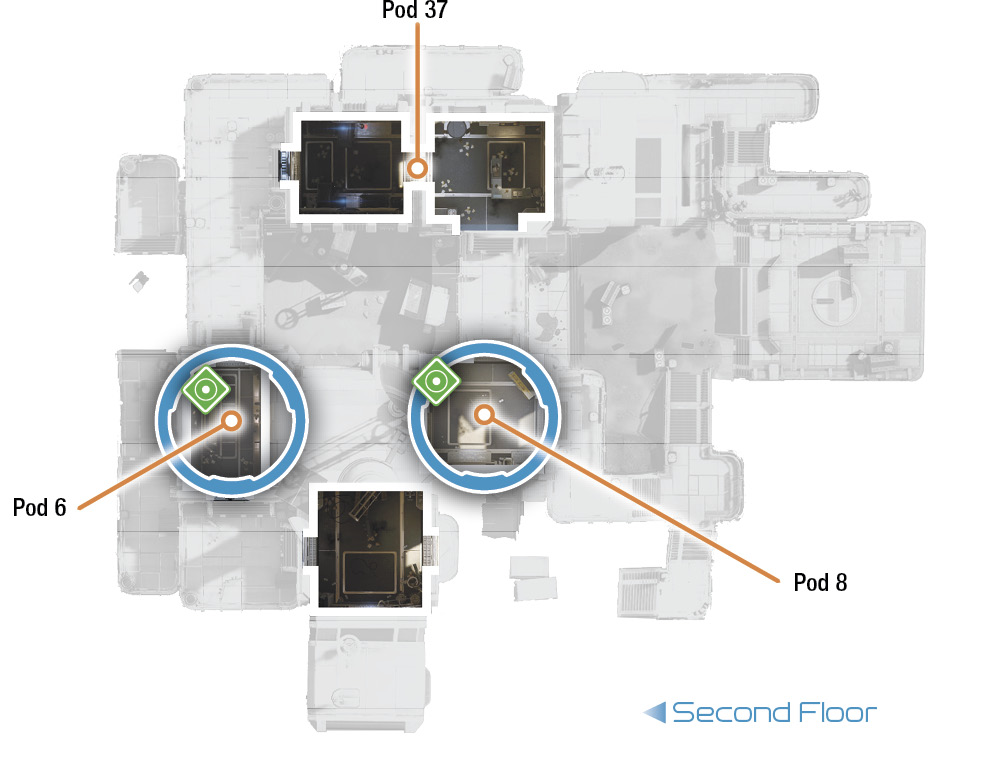
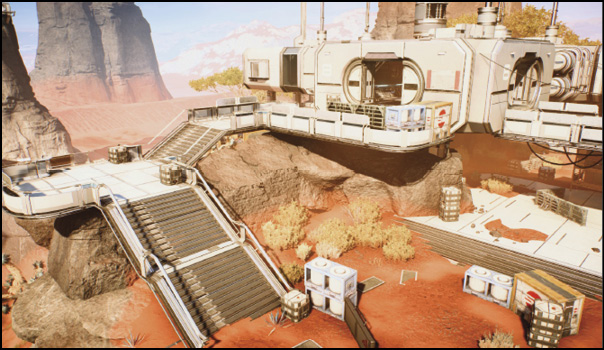
Pod 8: Access this pod from the staircase that leads toward both the south side and the walkway to Pod 37. A small diagonal barricade provides just enough room to shield a player from both entrances.
Use this position to scan your planned route, taking out enemies in the way before they encroach on the room. This small defensive position can work well in tandem with teammates down on the landing pad. While they help pick off enemies who come up the stairs, the player in Pod 8 takes care of enemies on the walkway and on the roof of Pod 10.
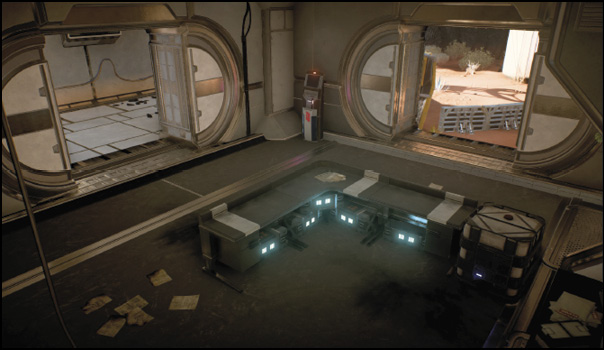
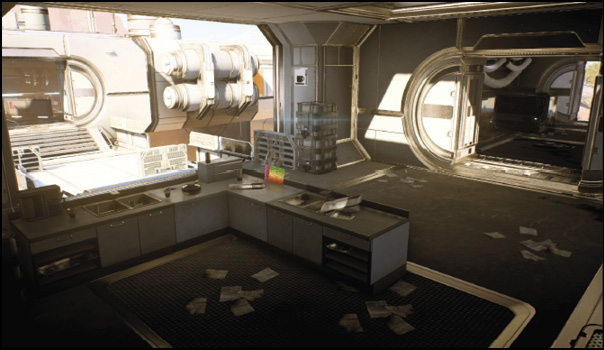
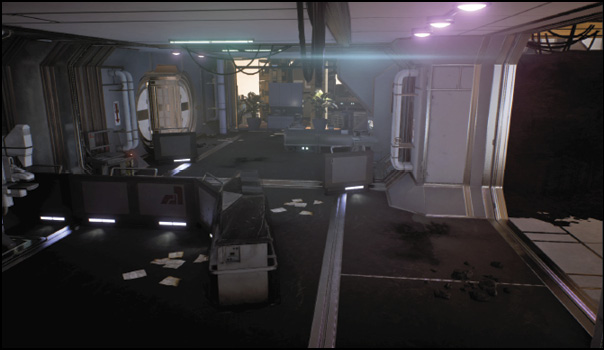
Pod 54: This is a small room with an L-shaped desk that provides cover from both entrances.
Enemies coming in through the east entrance don’t give you warning; the short line of sight prevents them from becoming visible until they enter. Equip a close-range weapon while watching this door.You may spot enemies coming in from the south a bit farther away, but defense here is mostly limited to close range. Don’t spend too much time in here. Given the room’s small size and only two exits in close proximity to each other, you risk getting easily overrun.
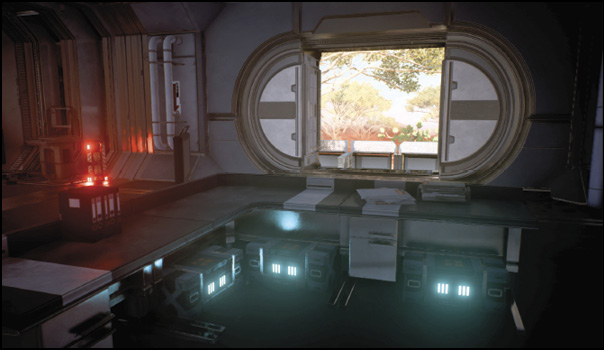
Pod 37: This pod provides plenty of cover, including a kitchen sink! The east end features a sturdy L-shaped kitchen counter that offers not only great lines of sight on the south and west entrances, but defensive positions as well.
The west room of Pod 37 provides multiple large cover points with containers scattered to each side. These containers are ammo-proof as well as transparent, allowing you line of sight on the west door whether or not you’ve retreated farther behind the cover.This room makes for a great defensive point. You can access it quickly from the landing pad and the far-west areas of the map, meaning it offers you a good place to run regardless of your current location.
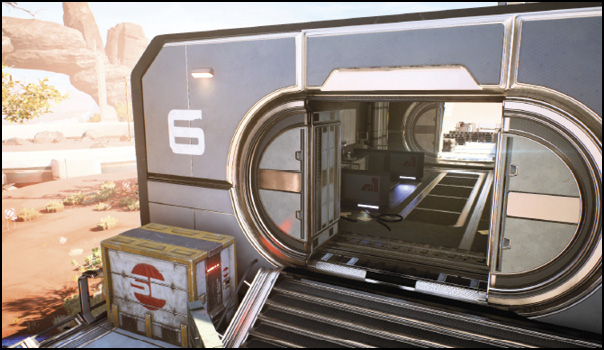
Pod 6: This pod is accessible from the north and south sides, leading in from the northern Pod 37 walkway and out toward the south side. Quickly tuck behind any of a few low-cover points to take out enemies chasing you, but be aware that these points leave you exposed to attack from the other side. Use this pod primarily as a shield from fire as you transition to or from the south side.
Pod 29: L-shaped barricades are positioned just inside both the east and west entrances to Pod 29. The layout of the room to the north and south prevents you from looking out both doors at the same time, which means enemies can only shoot in from one direction, based on your cover.
An ammo crate is located outside Pod 29, touching the southwest-facing corner. While it isn’t directly outside an entrance, you can access it quickly from either entrance.To hold Pod 29, break off into two teams of two, with one pair guarding each entrance. Engage incoming enemies with mid-close-range weapons. Place a team member with a long-range weapon at the east door to pick off enemies on the far stairs that lead to Pod 8. Area-of-effect-based powers help keep enemies from taking cover behind the medium and small crates that lie just outside the east exit.Enemies coming in through the west entrance may rush in and attempt to take cover in the room with you, or take cover in the doorway. Take them out before they stack up and increase their numbers.
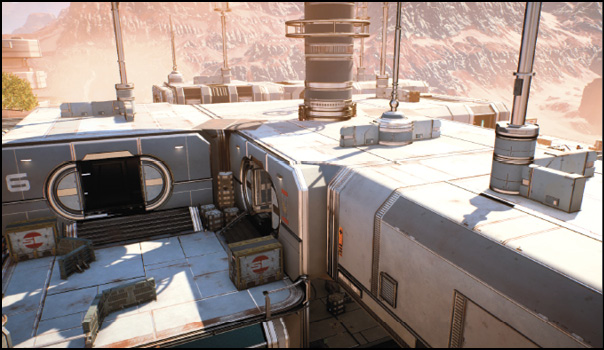
Rooftops: The rooftops on either side of the map feature multiple L-shaped cover points at the bases of large rotating antenna-like objects. If you pick off enemies as they appear on the roofs, these make great places to hold for a while.
Switch between rooftops and lower areas to maintain distance between you and larger enemies that require a bit more time to kill. As enemies jump onto a rooftop, move off to a lower area. The enemies split up as they drop off, taking pressure off the player.
The Middle: The middle is full of crates and objects that provide cover of various sizes and form a makeshift maze through the map. Multiple pods exit into the middle, and the walkways between them make enemy encounters from all angles an issue.
Aside from the ammo crate, the most useful features of this area are the large cover points that force larger enemies to slowly snake their way through. Attack these large enemies as they progress, then dodge behind cover as they continue through. For an especially effective tactic, station a few teammates on the upper walkways or rooftops to maintain a barrage of damage, forcing enemies to keep moving.
South Side: The south side of the map lacks cover and is open to attack from almost all angles, with the exception of the edge, which is off-map. Avoid spending prolonged periods of time in this area. Instead, hustle into the pods for cover and better tactical defensive points.