
Mass Effect: Andromeda Collector's Edition Guide Priority Ops
Mission 6: Meridian–The Way Home
The Remnant city (known as Khi Tasira to the kett) was only a control station for Meridian. Meridian is revealed to be a massive, shell-like “planet” developed by an enigmatic species of ages past—and the Archon threatens taking control of it.
| Action Checklist | |
|---|---|
| 1. | Gather Scourge Data using the Galaxy Map interface |
| 2. | (Optional) Prepare for an arduous final battle |
| 3. | Revisit Khi Tasira |
| 4. | Pursue the Archon on Meridian |
Speak with Suvi, then explore the Galaxy Map and collect Scourge Data Capsules. This is also a good time to explore the rest of the galaxy, accruing Viability and resources. Refer to the Heleus Cluster chapter.
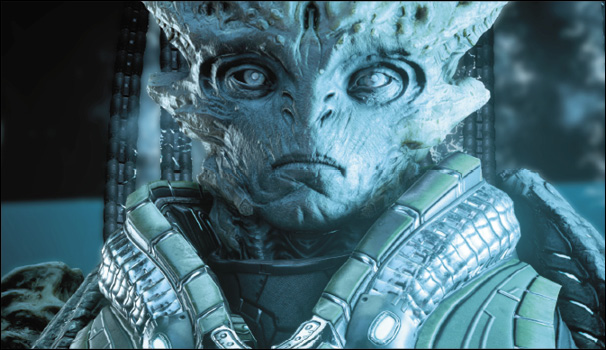
Next, examine the Scourge Data with the terminal on the bridge. Suvi explains that the data can be used to override the dormant Remnant fleet, giving them a flight vector straight to Meridian.
Use the Galaxy Map interface to set a return trip to Khi Tasira (what was once thought of as Meridian), in the Civki system. Confirmation “warning” dialogue appears, explaining something of a “point of no return,” although most side missions can be continued once the main Priority Ops missions conclude (incomplete Hyperion-related missions may be lost at this point).
Point of No Return—Hyperion MissionsBefore you commit to the final mission, make sure to save your game, just in case. You may also want to clear out your journal for missions related to the Hyperion, such as “Station Sabotage.” 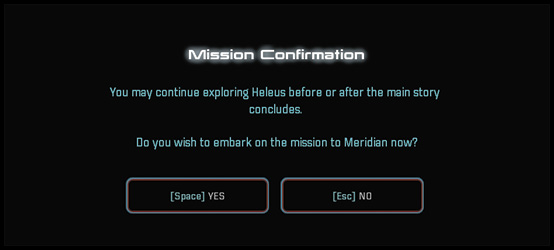
|
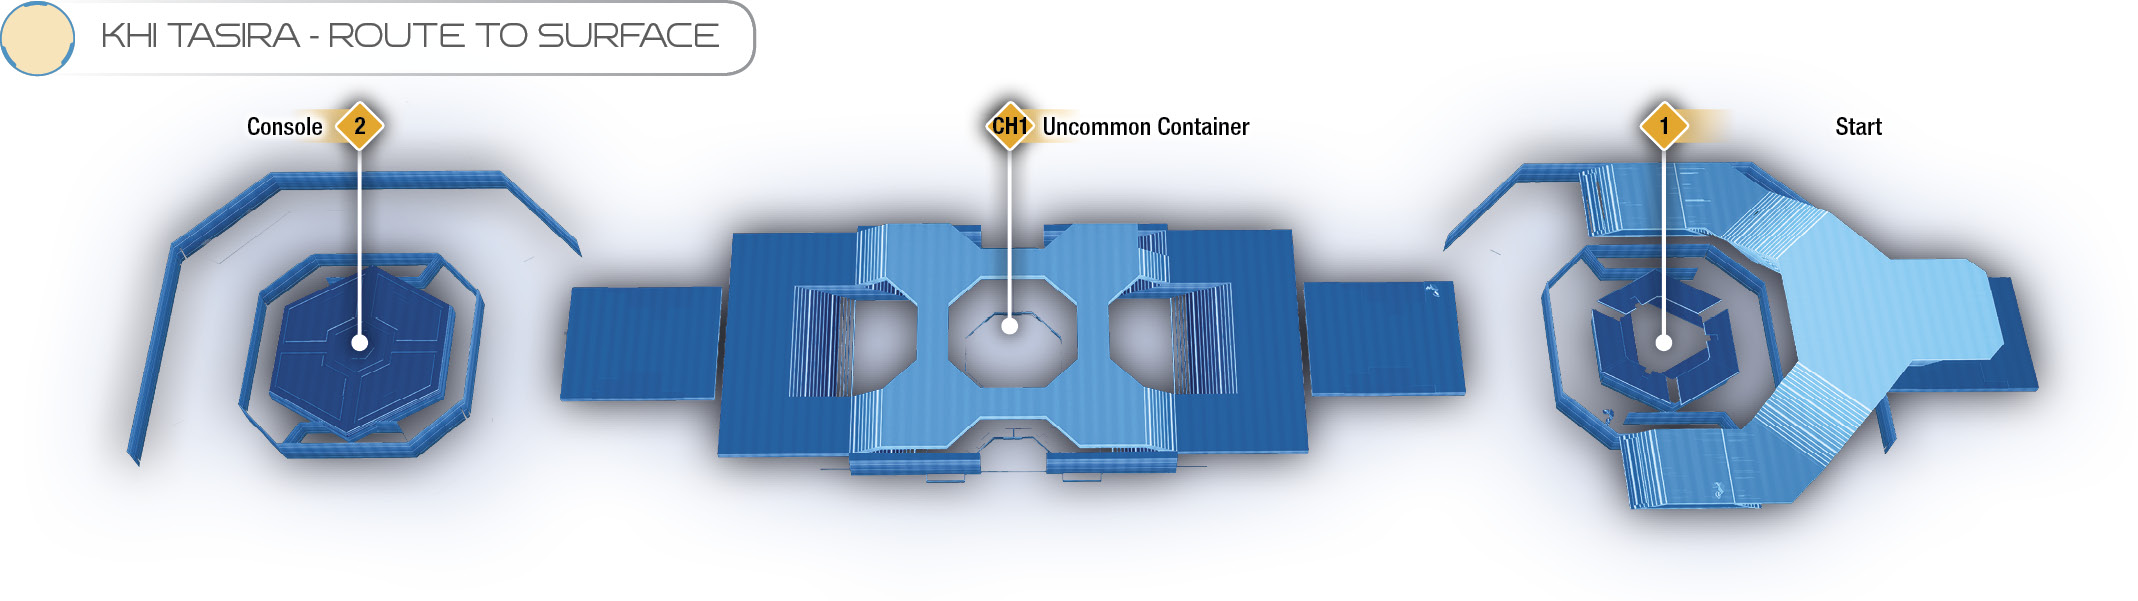
Your first encounter in Khi Tasira is with a handful of Remnant defense units. Unlike previous Remnant encounters, these are immediately hostile. Enemies include Observers and Nullifiers. Search the destroyed Remnant and any containers in the area (including (CH1), in the middle of the battle room), then continue to the next room to the west.
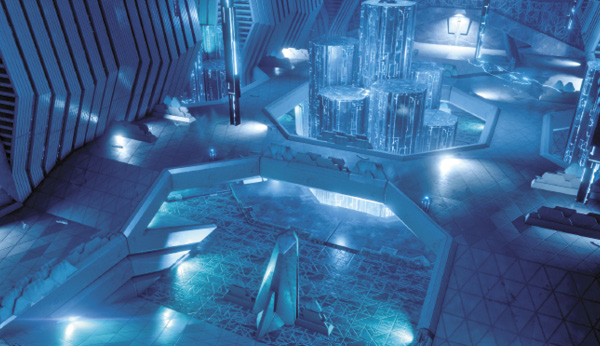
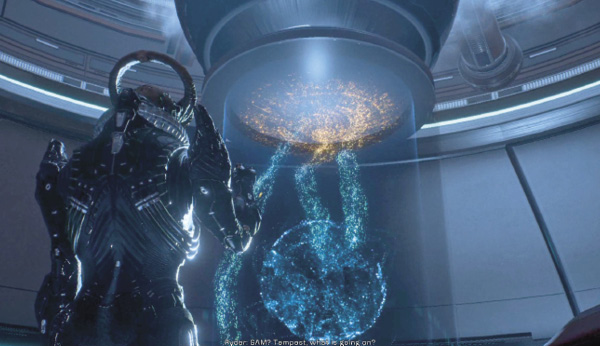
The Archon has not only begun an assault on the Hyperion, but he’s also compromised and infiltrated Ryder’s connection with SAM. It’s up to the sibling to reboot the connection.
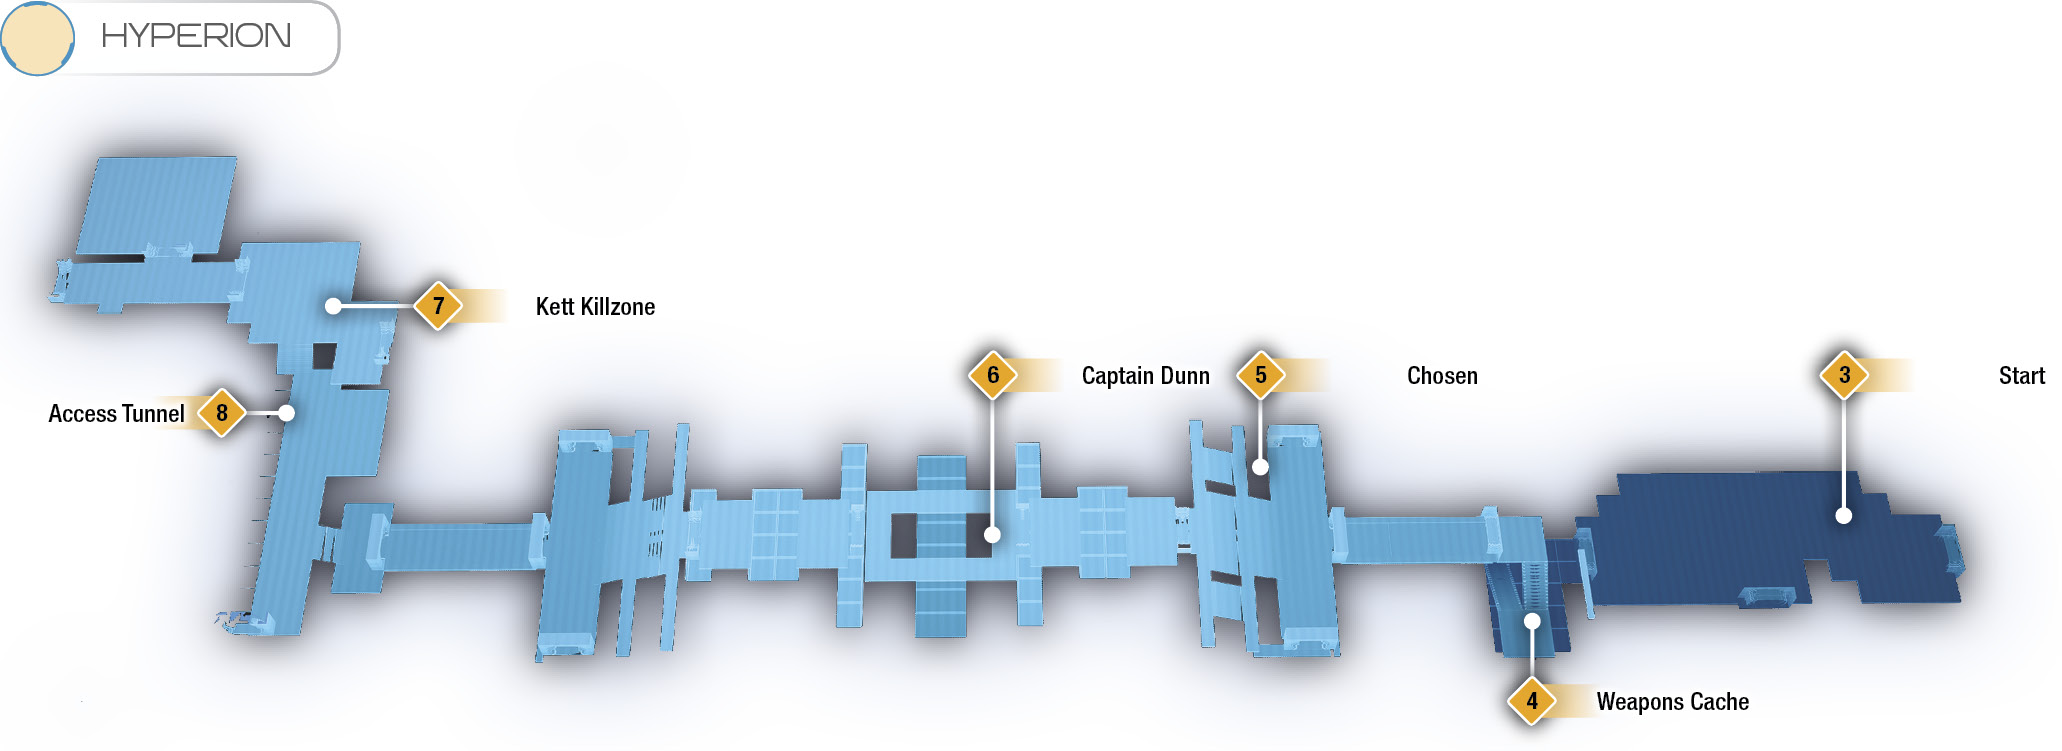
This next segment you play as the Pathfinder’s sibling. SAM contacts you (the sibling) and warns of the Archon’s plans to access Meridian through the twins and their SAM implants.
Travel west down the Hyperion and arm yourself (2) on the way. Keep going until you encounter two Chosen taking a fortified defensive position behind some crates.
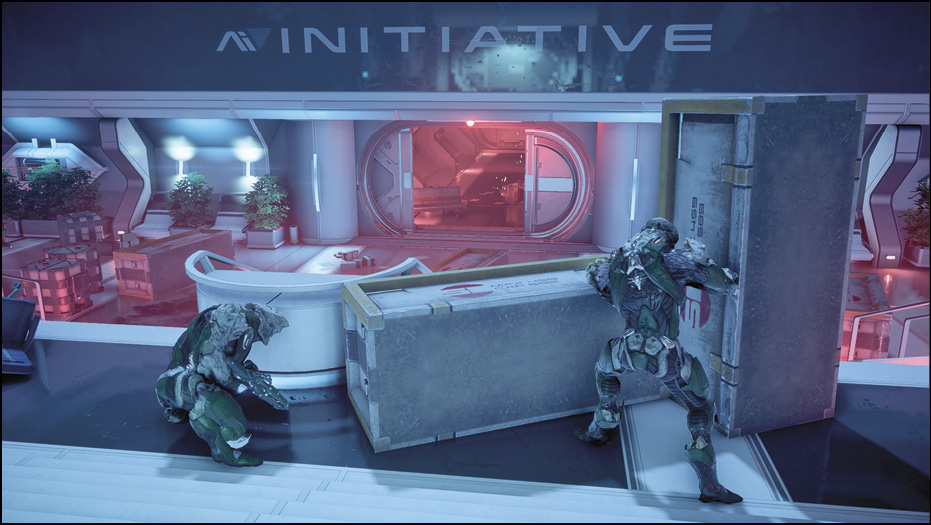
As Ryder’s sibling, you only have access to a pistol and a frag grenade. Use your grenade, followed by a few headshots to take out these two kett troops. Continue up the stairs and into the next hall to store ammo, health, and grenades. Open the door ahead to find Captain Dunn under fire from a couple of Chosen. Help her, then follow her to reach the maintenance access tunnel.
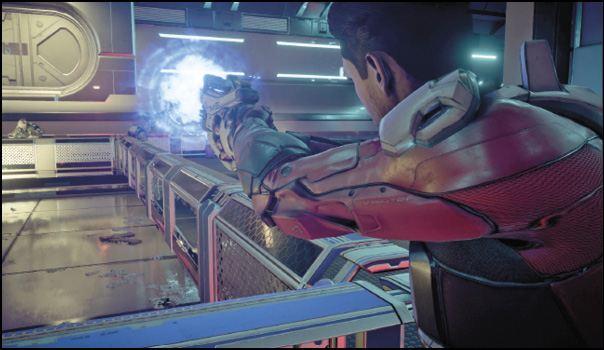
A kett outfit has set up a kill zone here. Don’t bother fighting—run north and break left to get into the maintenance tunnel while Captain Dunn provides a distraction.
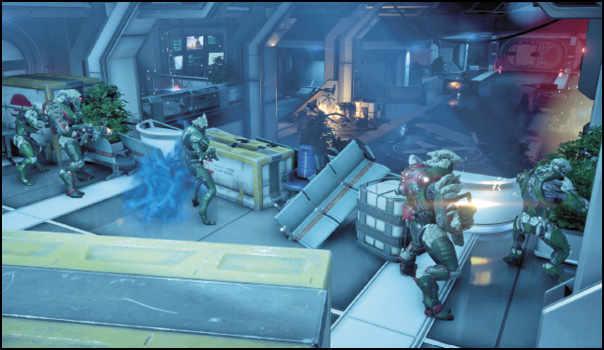
Get to the command center room to the northwest and use the console to send a reset signal to reboot SAM’s connection with the Pathfinder. Unfortunately, this results in the sibling’s capture.
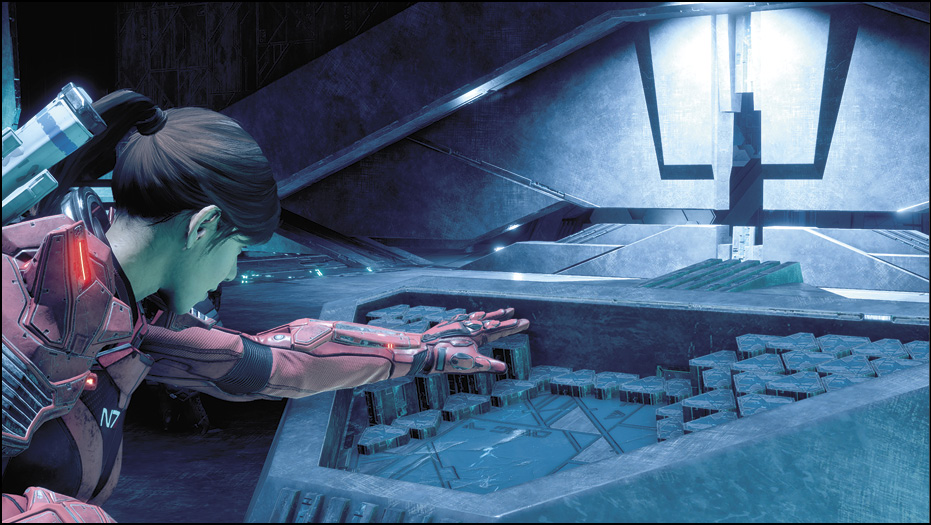
You’re back in control of a revived Ryder. Muster your remaining strength and force an interface with the Remnant console to open the door.
Make your way back to the Gravity Well to transport yourself to a docking bay. Exit south for another cutscene. While the Archon dealt a devastating blow, a weakened Ryder confidently summons a fleet of Remnant ships to aid in the inevitable war.
Finest Hour
Back on the Tempest, you can speak to your crew before launching the main story’s final mission. Note that this section on the Tempest still counts as a mission in regards to saves (no manual saving, only autosaved checkpoints).
Open the door to the bridge to kick off the final mission with a cutscene (following the Loadout interface). An epic space battle between Remnant and kett ships ensues.
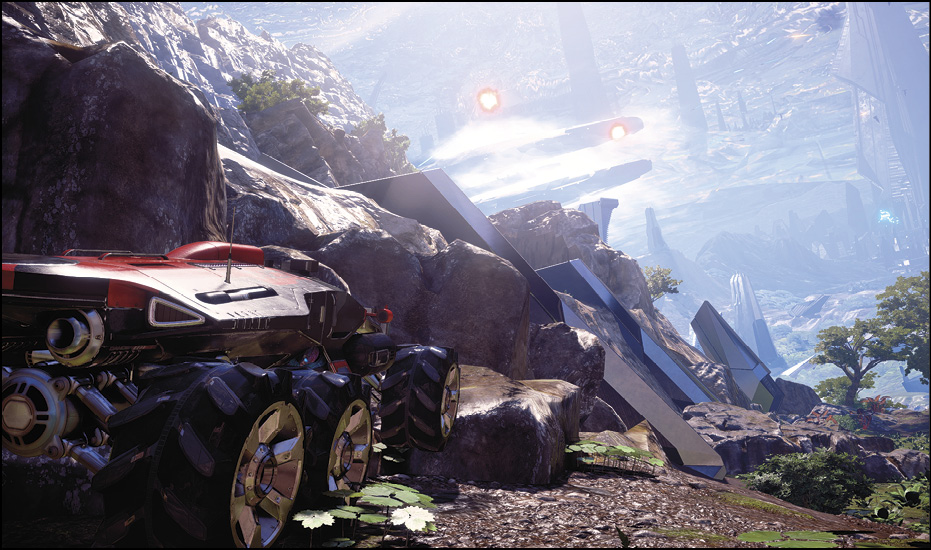
In a brilliant tactical move, Kallo pilots the Tempest along the Scourge, weaving a hazard wall used to deter the kett pursuers. Then a course is set for Meridian, and the Nomad is hot-dropped on Meridian’s “interior surface.”
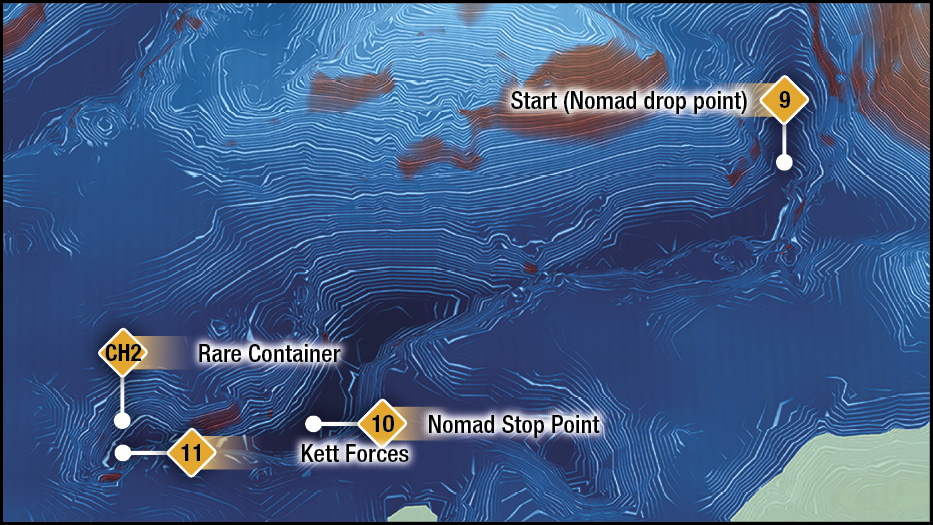
Your objective is to drive southwest, down the massive canyon. There’s no real danger, so enjoy the ride and the scenery.
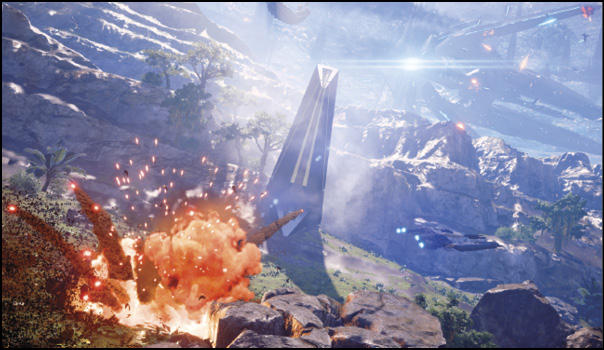
The Nomad breaks down (10) eventually, forcing you to traverse the rest of the distance on foot. Prepare to meet kett resistance here (11).
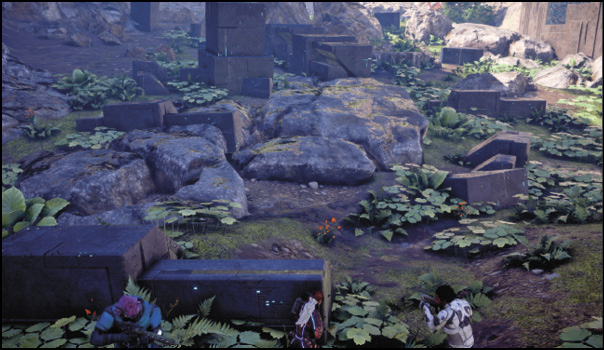
On an upper platform to the west is a rare kett container (CH2). Vault up the ledge and search it, then begin cutting through the kett troops to the southwest.
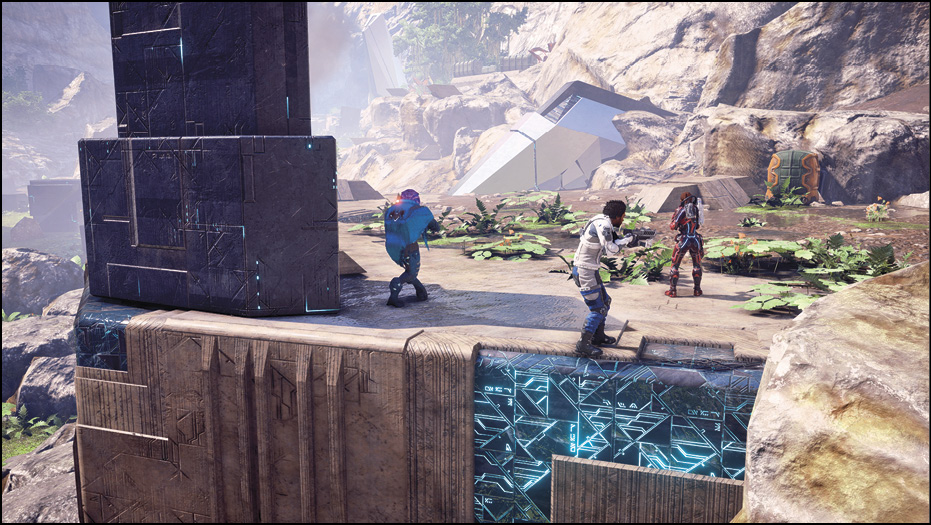
The kett here consist of several Anointed and Chosen. Use the blockades for cover, methodically prioritizing Anointed with Overload and Energy Drain, then taking out the Chosen with biotic powers.
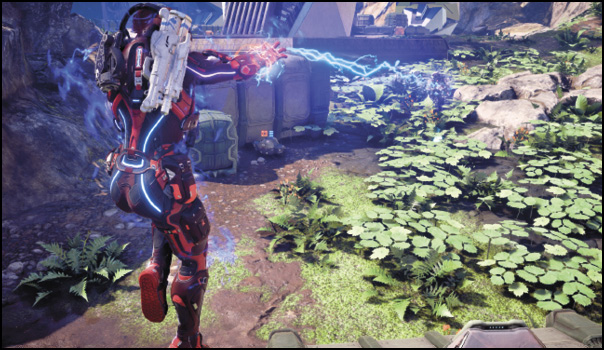
After the initial wave, reinforcements arrive to help you (who arrives to help depends on your choices throughout the game). In addition, any Pathfinders you’ve helped along the way (such as in the quests, “Turian Ark: Lost But Not Forgotten” and “Cora Harper: Asari Ark”) make an entrance to help you out in this final culmination with the Archon.
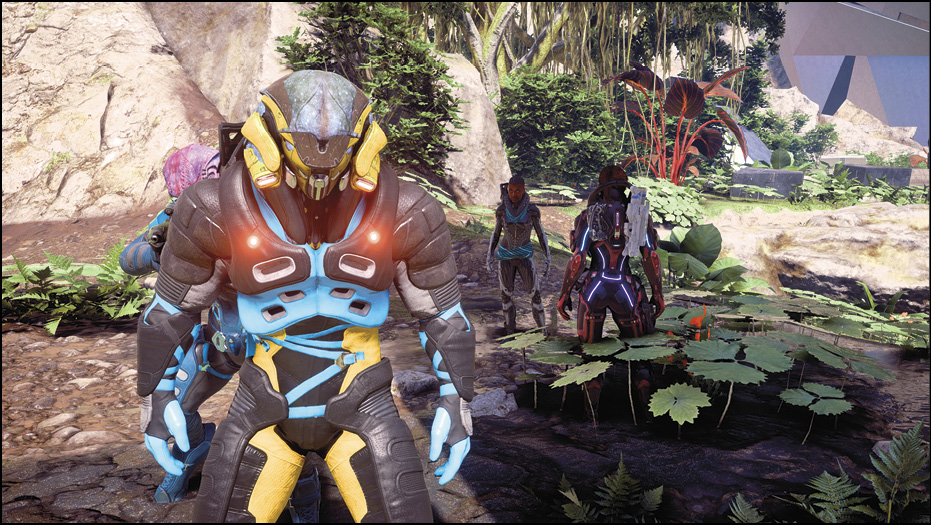
Defeat the rest of the Anointed and Chosen troops, then search the bodies and containers in the area (there’s another rare container (CH2) nearby). Now enter Meridian control. Those who came to support you guard the entrance while you pursue the Archon.
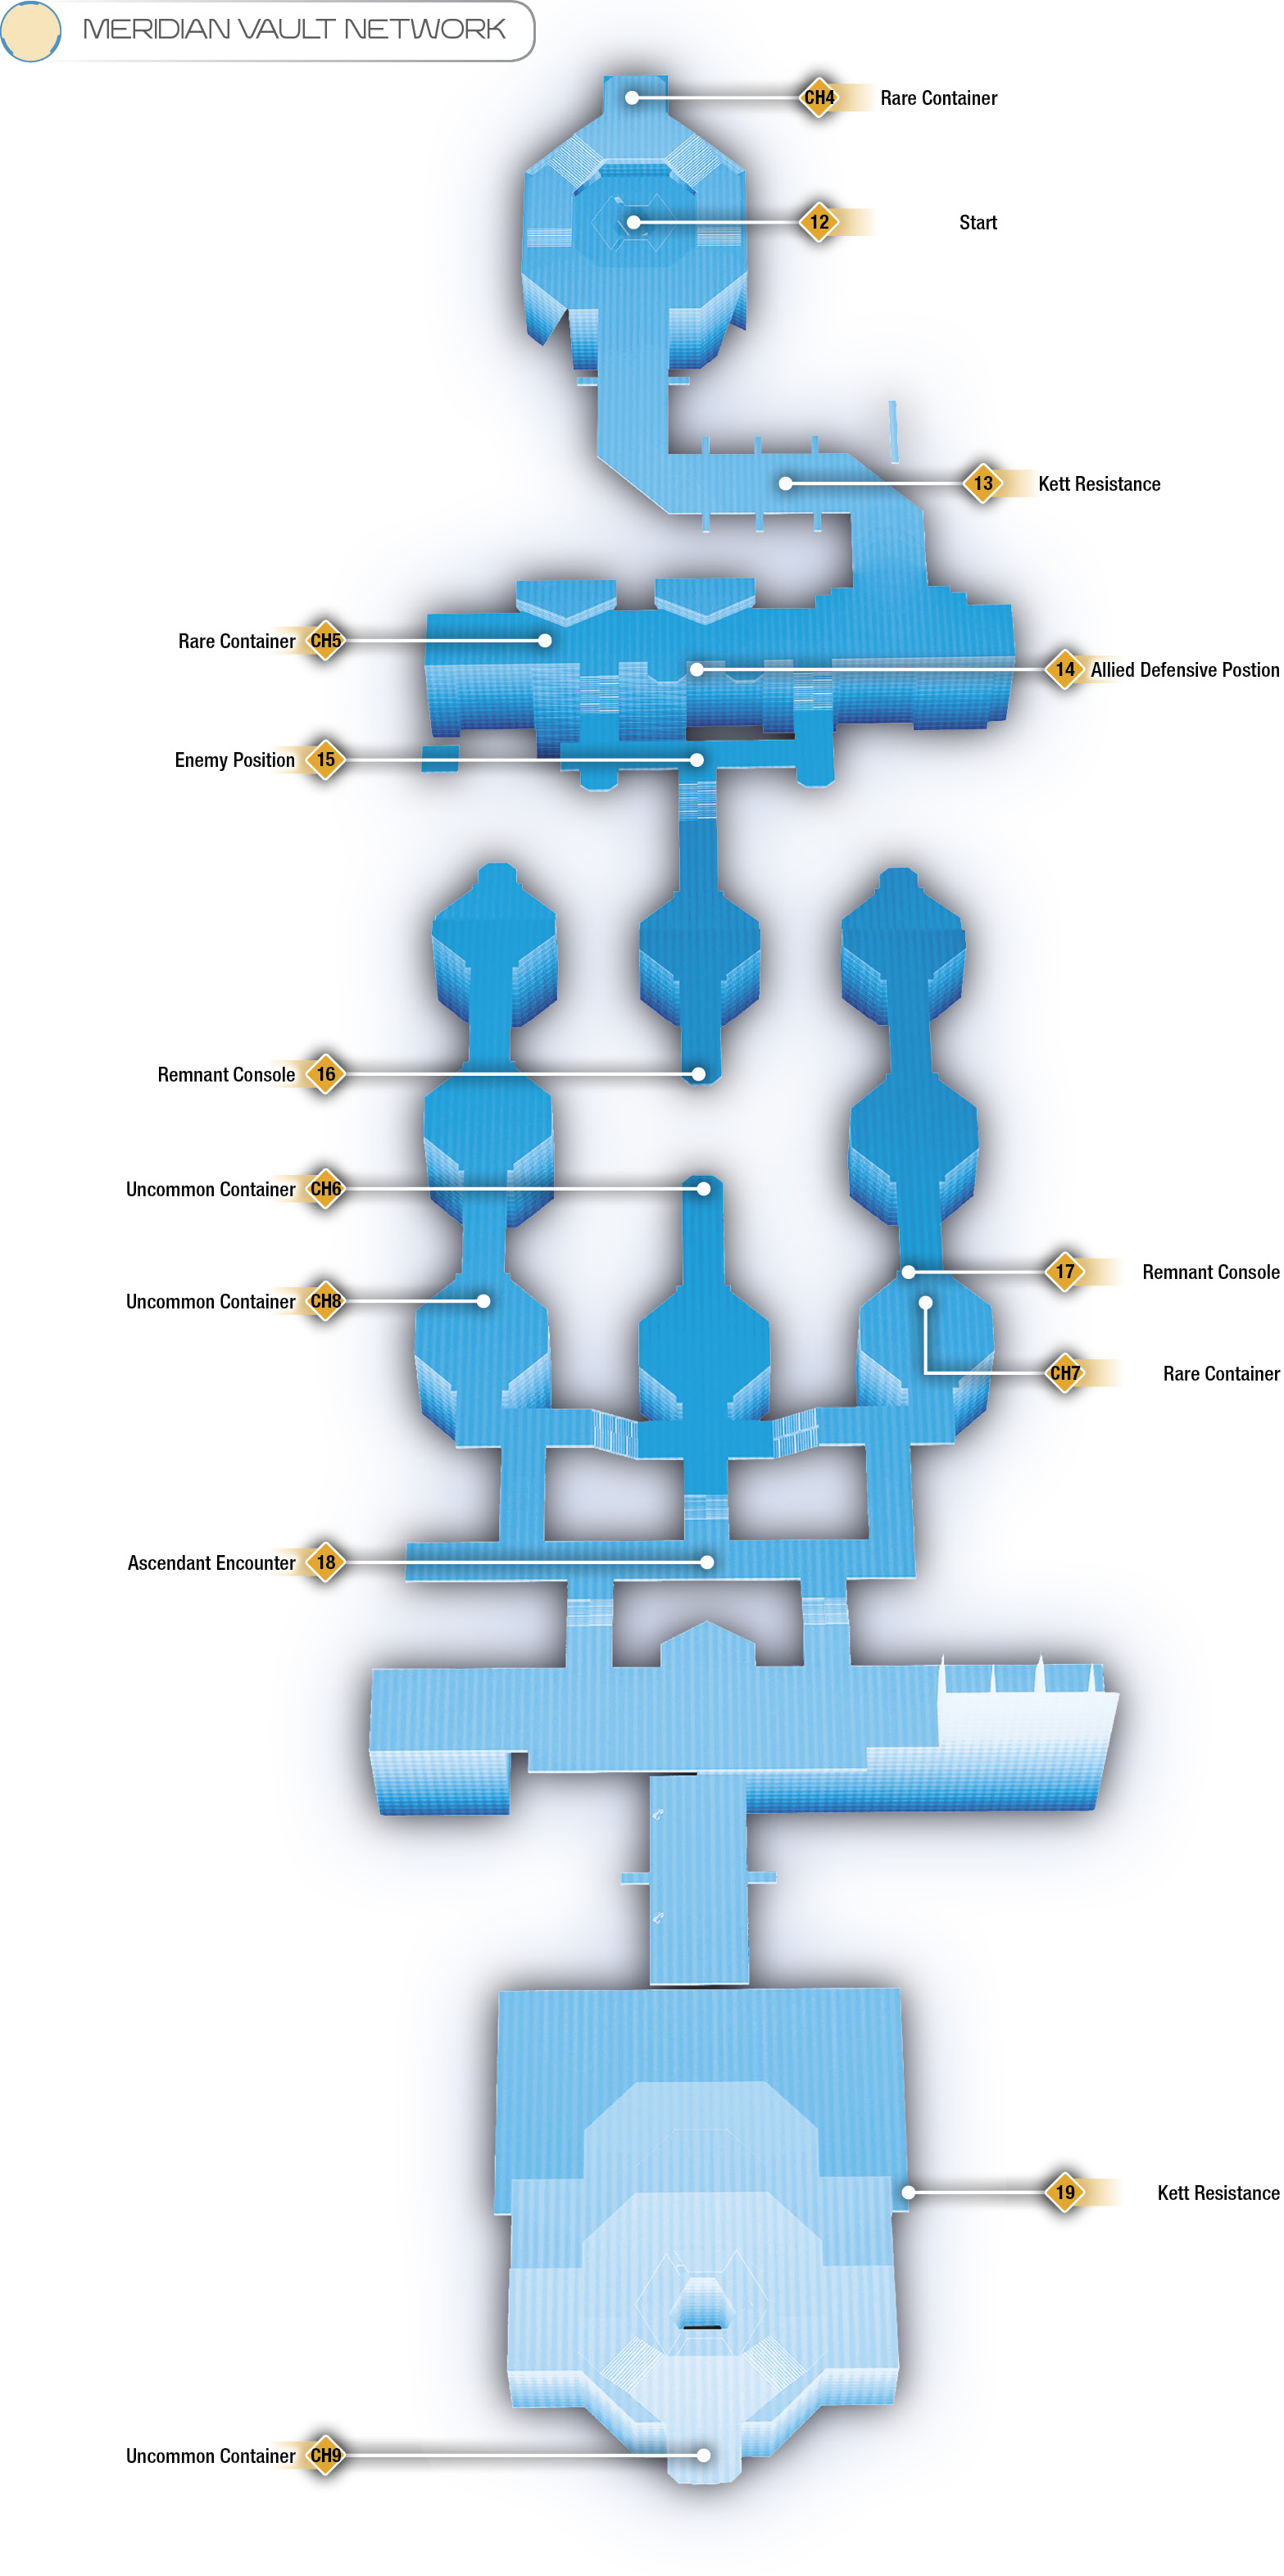
Once inside, interface with the nearby Remnant console to reveal a Gravity Well. Take the Gravity Well down, deep into the Meridian vault. Here, expect to encounter heavy resistance of all kinds, both kett and Remnant. Fight through a few Chosen in the hallways here (13), then continue to make your way south through the massive vault.
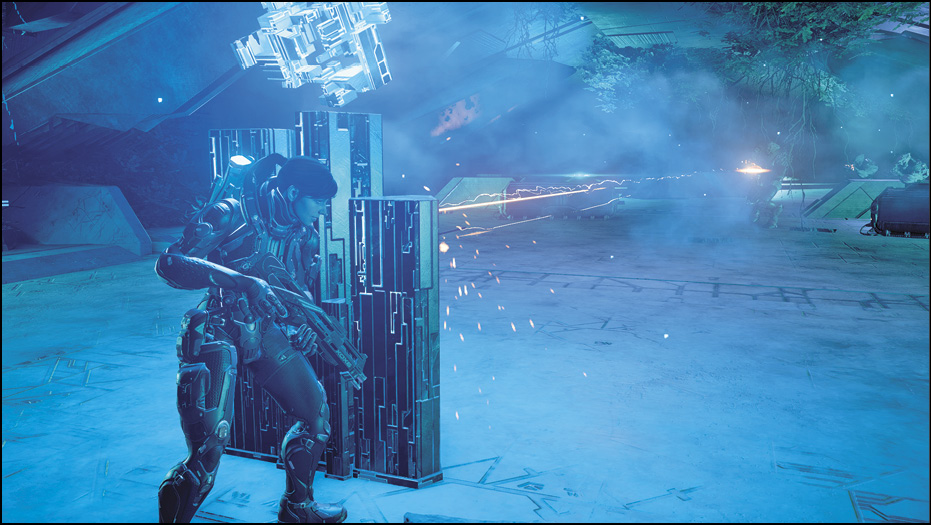
Exit the hall into an open area consisting of large platforms, where you must defeat a squad of kett Destined, Chosen, and Anointed. Use the high ground (14) to your advantage. Biotic powers are effective here. For instance, use Throw and other biotic combo detonators to knock unshielded enemies off into the abyss below.
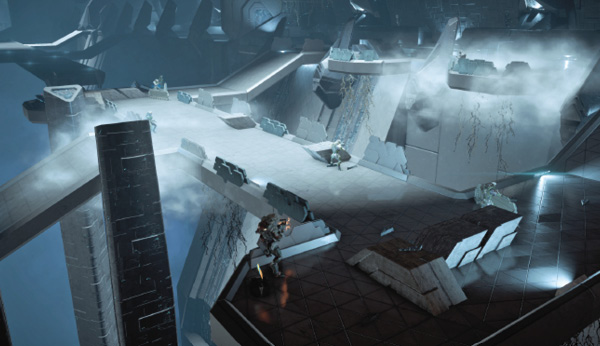
After you clear several enemies, two additional kett dropships arrive to deploy kett reinforcements. Continue fighting, and Remnant defenses show up to help with the army of kett (they’re hostile to you as well).
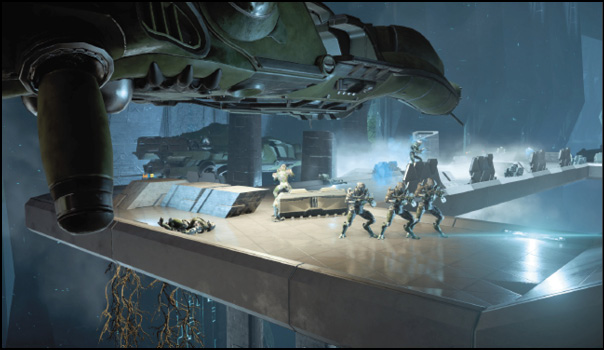
After clearing the area, search for containers (CH5), then proceed south to a Remnant console (16). Interface with it to enable a bridge leading east. Cross the bridge, then make a right, going south until you reach another bridge-enabling Remnant console.
Interface with it to raise a bridge to the west. Cross, make a right, and search the container (CH6) here, then keep on with your trek through the vault, going south into a large auditorium-like room.
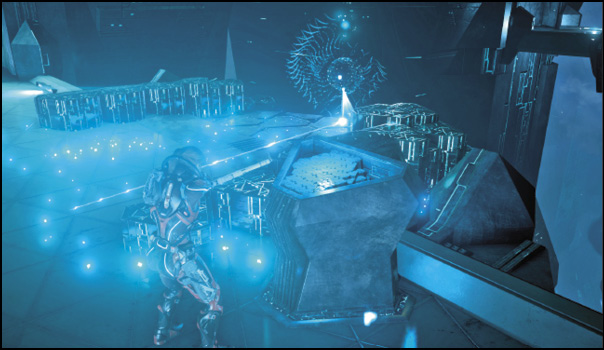
This next encounter involves a fight with several high-ranking kett, including Anointed, Destined, and an Ascendant—all while you have a low-ground disadvantage.
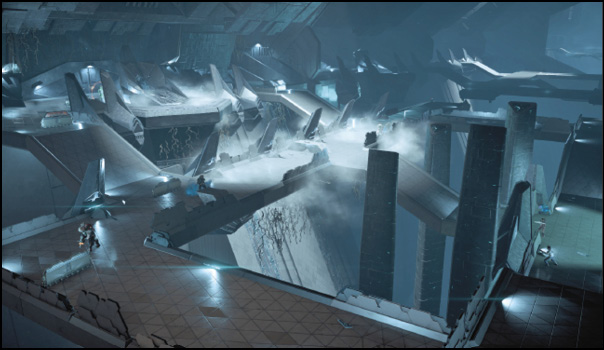
Your goal should be to slowly inch your way forward, through either the east or west path, while prioritizing Anointed enemies at range. Birtak/Raeka joins to help you at this point. Issue squadmate commands accordingly, leaning toward the Regroup command to keep them close to you.
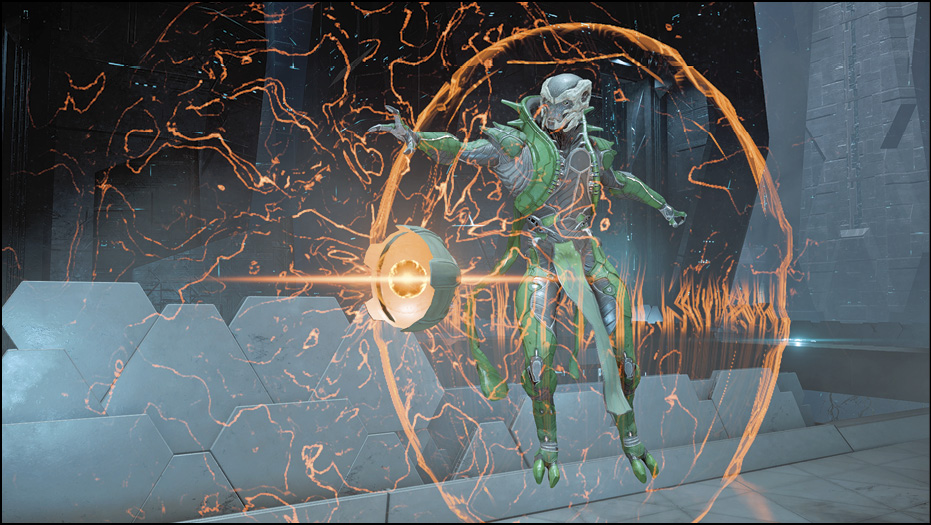
Take care not to get pinched between groups of enemies. Ignore the Ascendant for the most part, focusing your efforts on the Anointed, then the Destined. Tactical Cloak is recommended here. If you hear an Anointed begin to wind up its gun, activate your cloak to get into a safe position. And remember, weak-point bonuses from Infiltrator profiles and Maverick armor work excellently against the Ascendant’s Orb.
Eliminate the Ascendant, then search the area for containers (CH7) and items before proceeding south, which triggers a cutscene. Captain Dunn selflessly puts herself in danger to save her crew as the Hyperion crashes into Meridian.
After the cutscene, you face even more kett forces at the southern end of the vault network. This room is filled with Chosen, Anointed, Destined, and eventually a Fiend and Remnant Destroyerat the same time. Unfortunately, you also begin with a ground disadvantage, so use caution before engaging. As usual, keep a lookout for Anointed while you kill off the weaker Chosen. Stay mobile or use Tactical Cloak to hide from danger, and order your squadmates to protect your flanks or to set up a defensive posture behind cover.
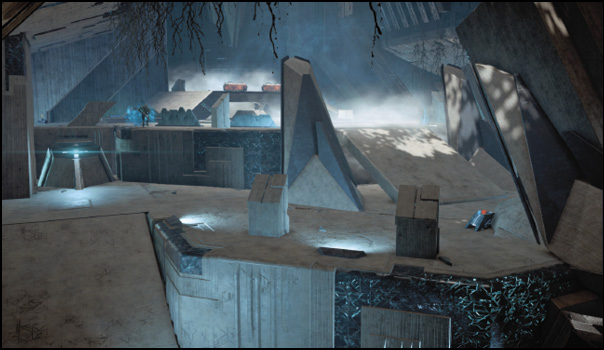
When the Fiend and Destroyer join the fray, the fight becomes particularly tricky. Try to situate yourself around the outskirts of the battle area. Essentially, you want the Remnant and kett to fight each other. You especially do not want the Destroyer to target you if you can help it! Stay mobile and use Tactical Cloak and any other defensive measures when you have to, all while prioritizing enemies accordingly. The Destined are annoying, but don’t worry about them unless they reveal themselves (or if you’re highly specialized in firearms, which allows you to destroy them with gunfire while camouflaged).
After the area is clear, search bodies and containers (CH9) for items, then use the Gravity Well to continue to the final area to confront the Archon.
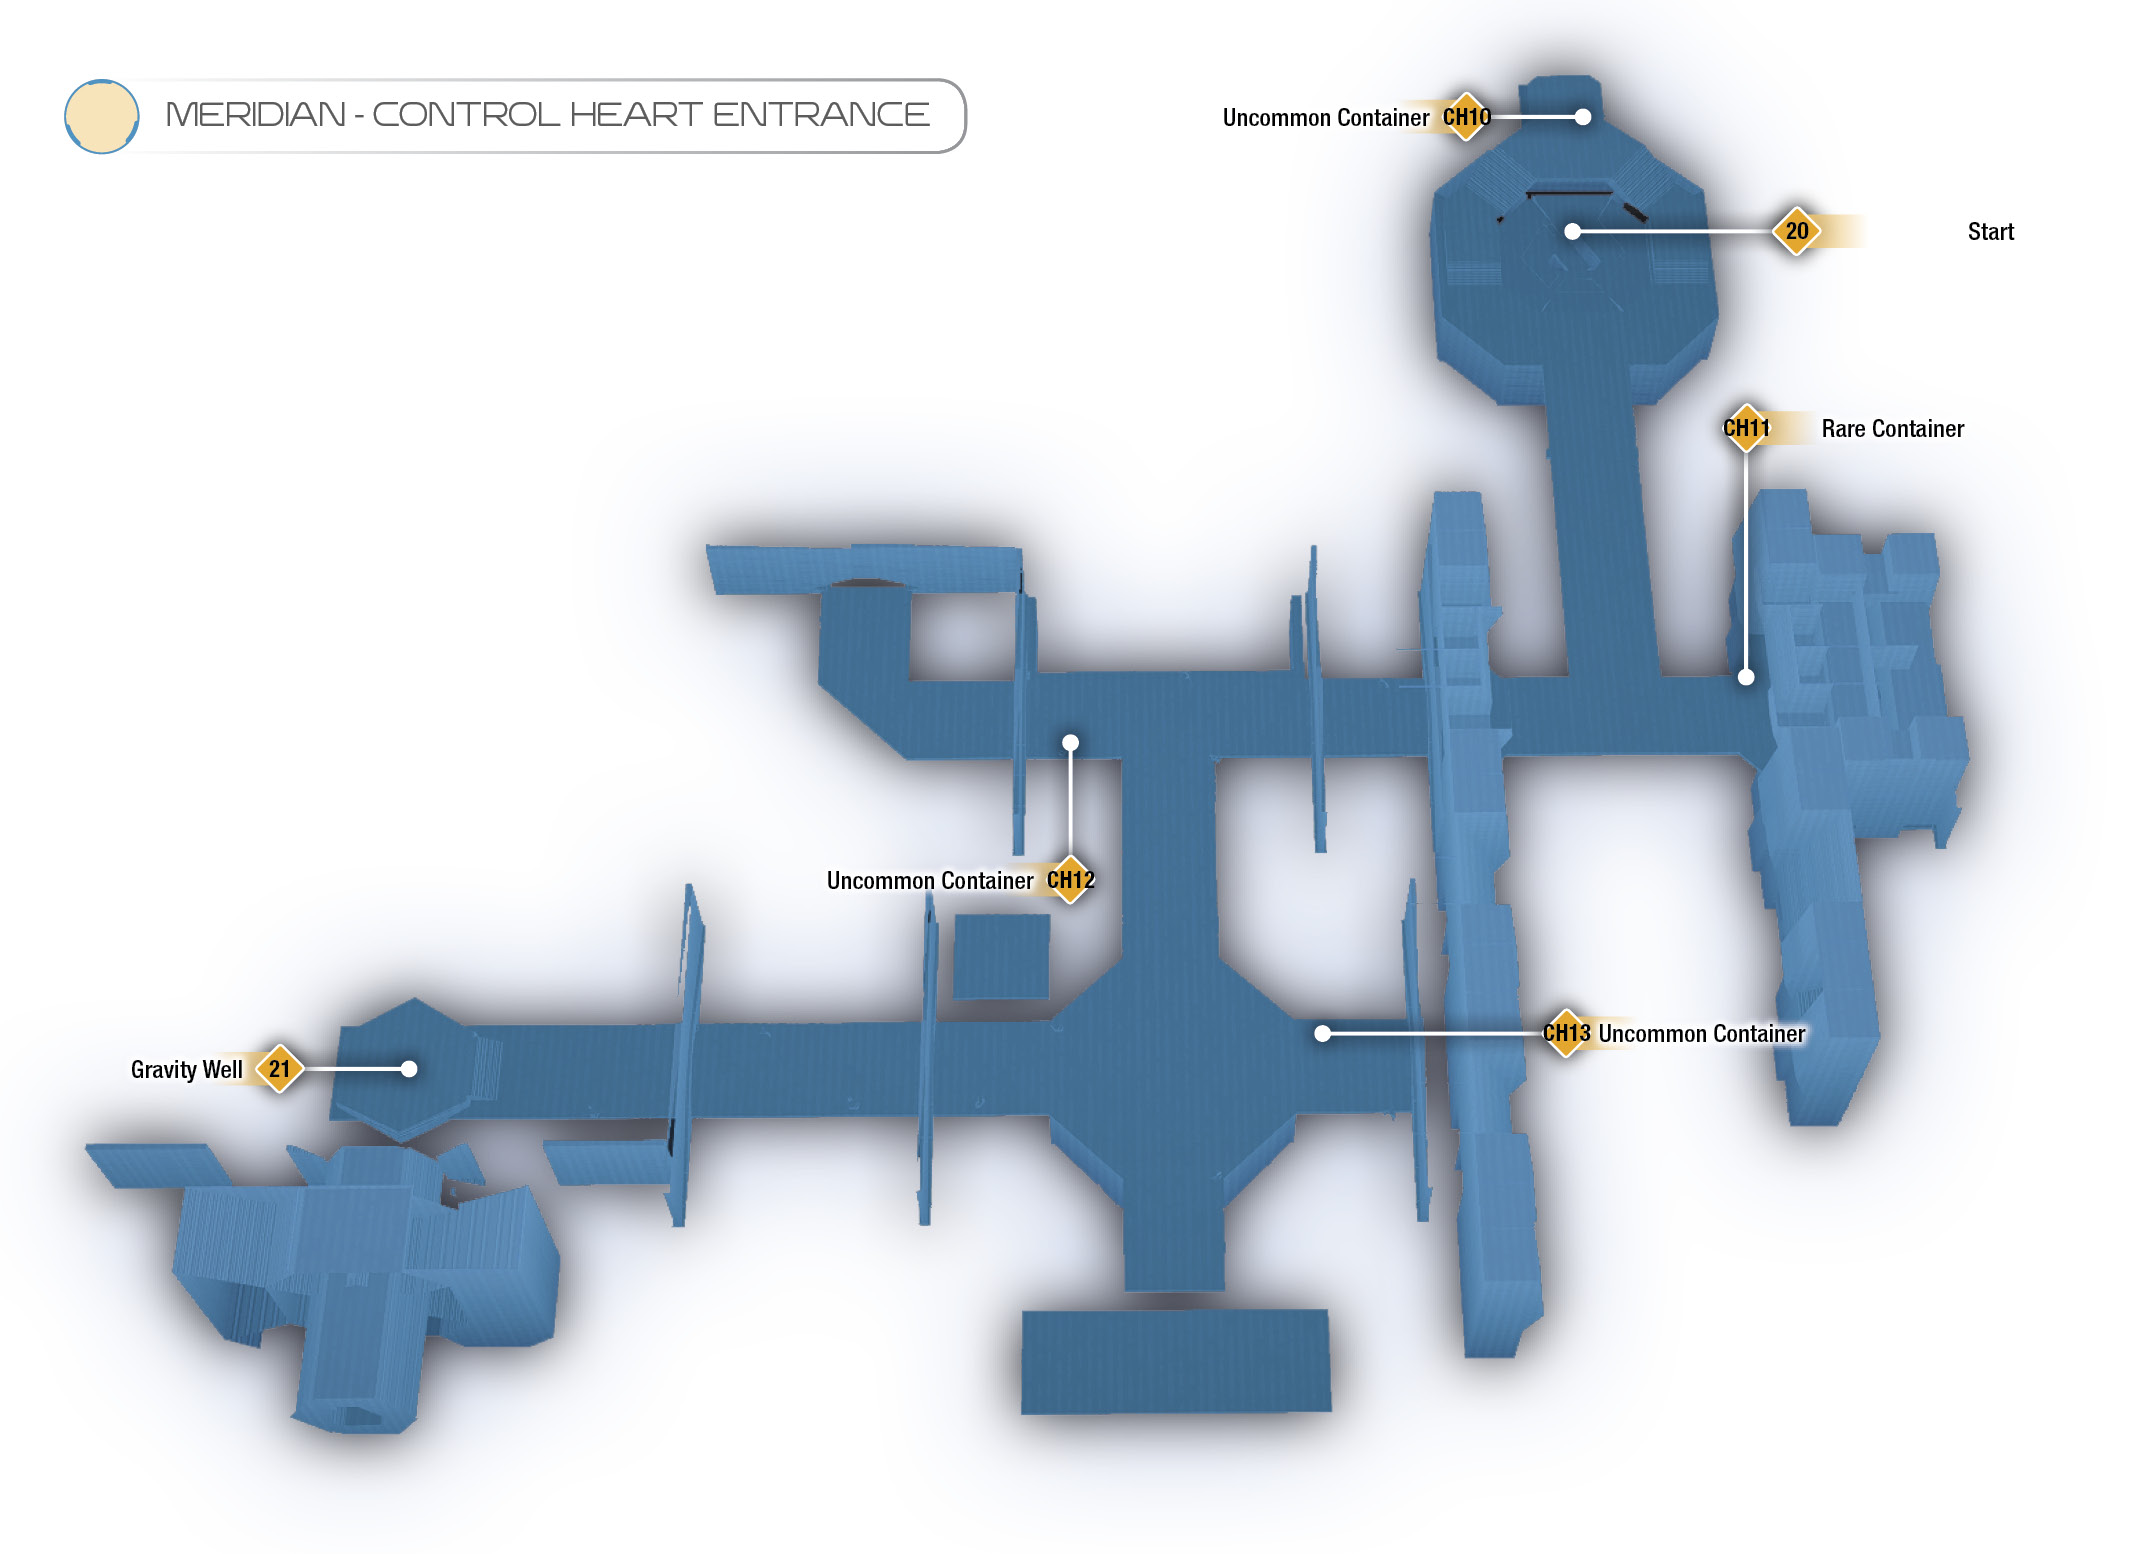
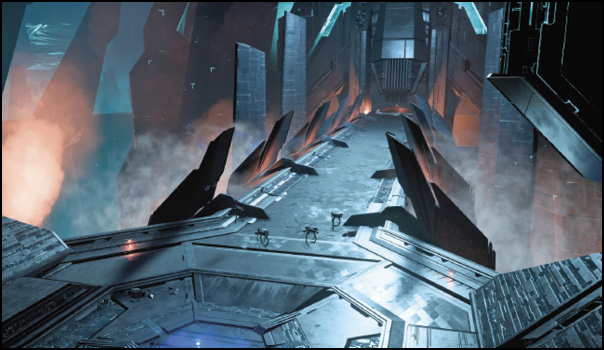
The entrance pathway to the Control Heart is decorated with non-hostile Observers. A path is laid out for you as doors open and close, shepherding you to your destination. There are containers you can search on the way as well.
At the end of the area is a Gravity Well. Use it to transport yourself over a breathtaking view around the heart of Meridian.
Search the container (CH15) behind you, to the north, then proceed all the way south when you’re ready for a final confrontation.
The Archon and the Architect
Before the final encounter, you have to deal with an Ascendant-led kett assault on the upper ledge of the room.
Surviving the assault can be difficult here, as you’re overwhelmed with all sorts of kett infantry barreling down the narrow platforms.
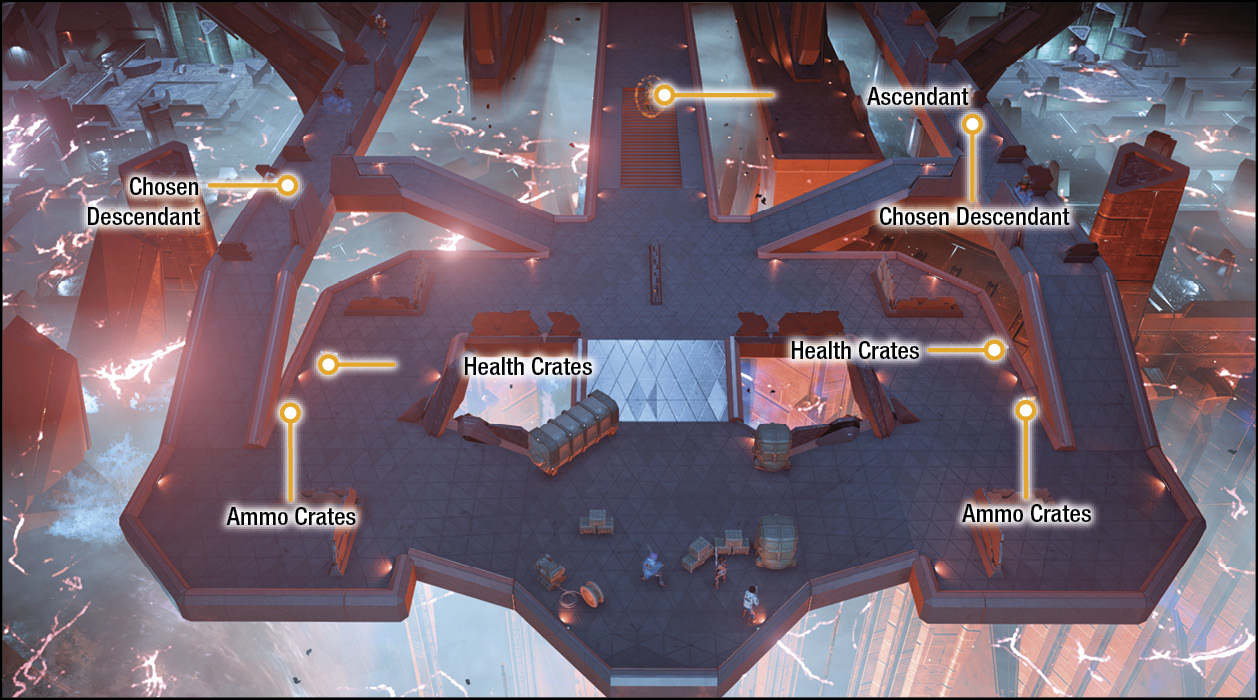
Use the map provided for a bird’s-eye view of the battlefield. Plan your defense and your target priority, and use the supply crates when necessary.
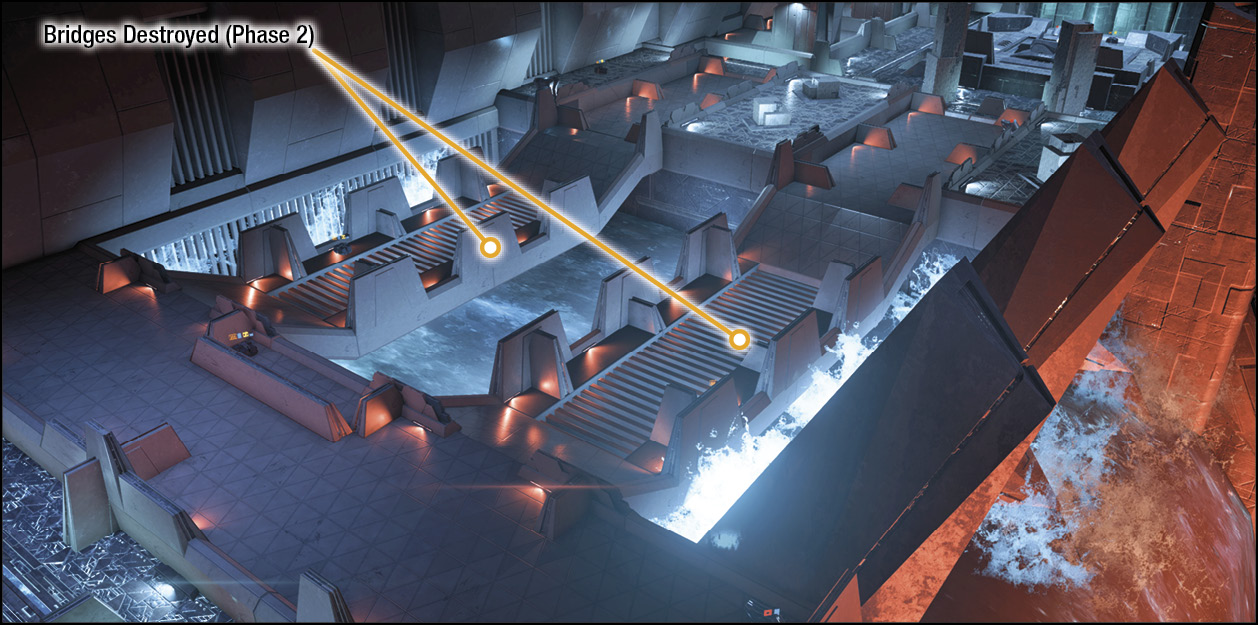
Eliminate all enemies to trigger a cutscene, transitioning the confrontation into a final encounter with a drastically different platform layout.
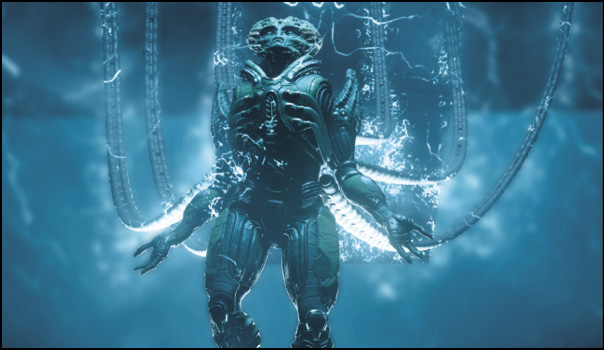
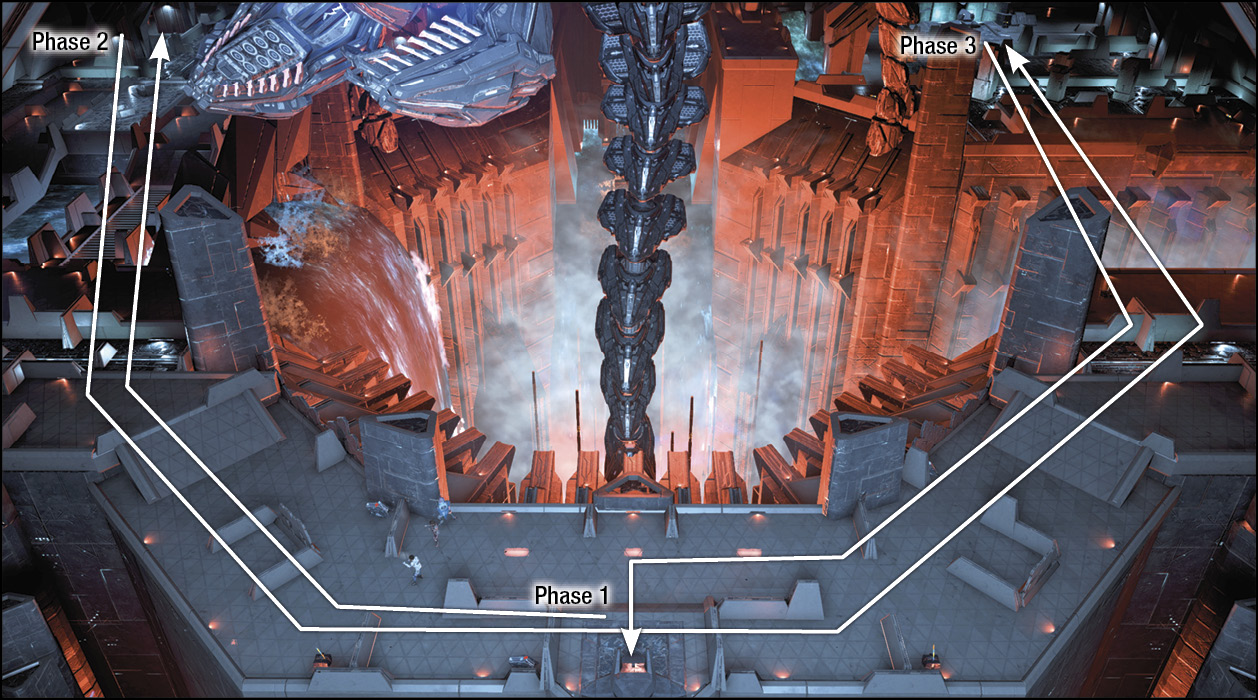
The Archon has interfaced with an Architect, thanks to his control of SAM. With your sibling’s help, you need to stop him. Your primary objective here is to disable power relays to weaken the Archon’s connection with the Architect. Your sibling helps by calling out (conveniently through your shared SAM connection) which consoles to interface with to make progress.
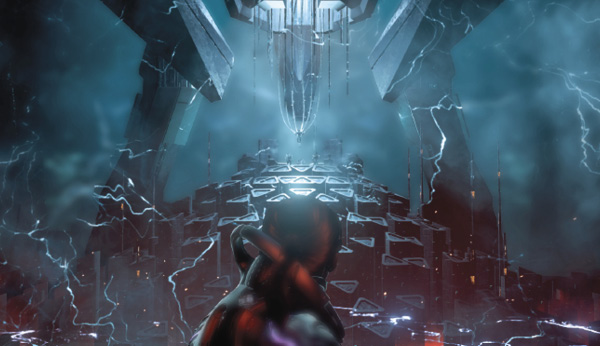
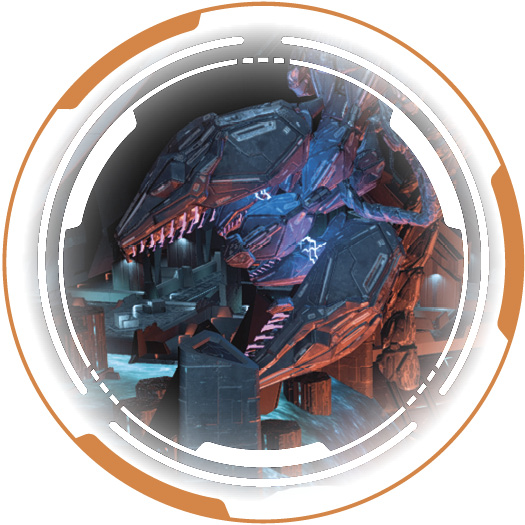
Firepower of the ArchitectThe main danger throughout this encounter is the Architect’s primary maw cannon. The Architect readies its attack with a telegraph. Watch for the electrical distortion field it generates, and evade away from the area to avoid its devastating energy blast. In addition, and perhaps most important, is the fact that the blast leaves behind an electrical cage, frying anything inside. This means it can turn small areas into hazard zones, forcing you into compromised positions as you maneuver around the battlefield. It also penetrates cover, so don’t get too comfortable in any one spot. 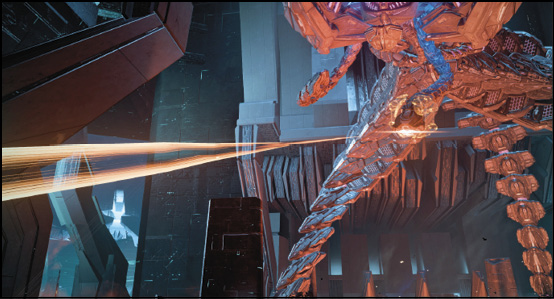
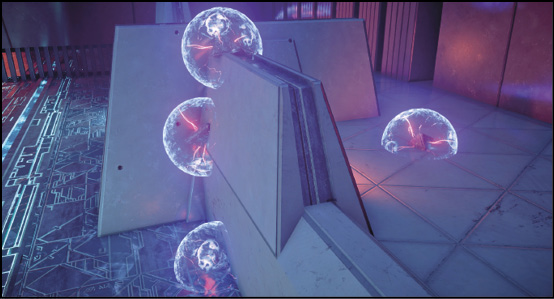
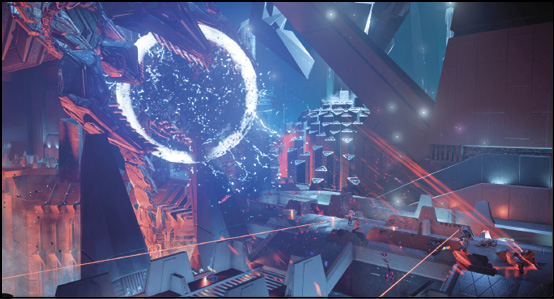
The Architect is also equipped with two specialized tentacle weapons: one is a rapid-fire plasma “rifle,” and the other tentacle fires high-damage grenades. These attacks are extremely deadly. The rapid-fire cannon, unlike the energy beam attack, can be blocked by cover. The grenades are highly dangerous and should be evaded or “air-dashed” away from immediately. |
The Architect—Phase 1
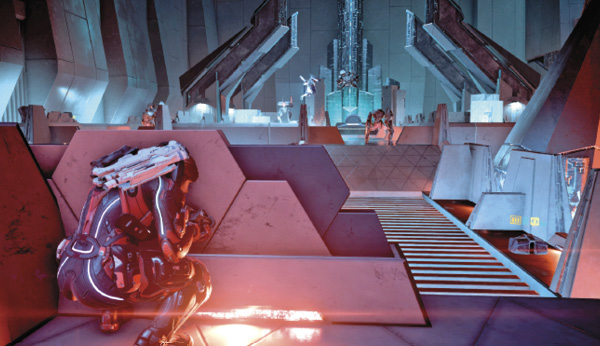
Remnant units spawn on your way to the navpoint. Enemies include an Observer, Assemblers, and a Nullifier in the west end. Take out the Assemblers first behind the safety of cover, but also stay alert in case the Architect winds up its “megaflare.”
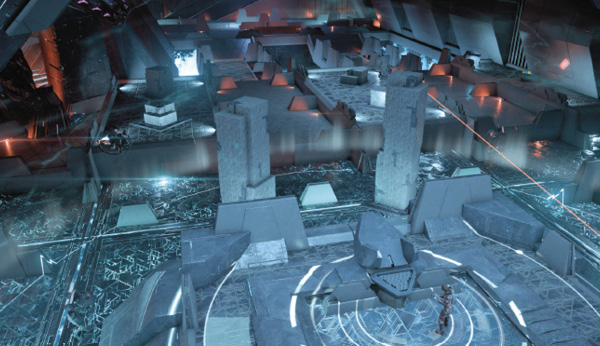
After you clear the first group of Remnant, another group warps in to the north, including multiple Nullifiers, Assemblers, and Observers once again. The Nullifiers can be a major annoyance, so focus on the Assemblers first to prevent them from spawning Breachers. Keep your squad near you, ordering them behind cover at the south end, then work on the suppressing Observers, and finally clean up the Nullifiers (all while staying out of the Architect’s energy blast!). Once you reach the relay to the northwest, fortify and defend the position while your sibling works on hacking the Architect’s conduits.
When notified by your sibling, begin to deal damage to the Architect’s targetable head conduit. Dealing enough damage to the conduit disables the Architect temporarily (although before it’s actually disabled, it fires off an energy beam).
When the power relay console is ready, interface with it to continue to Phase 2.
The Architect—Phase 2
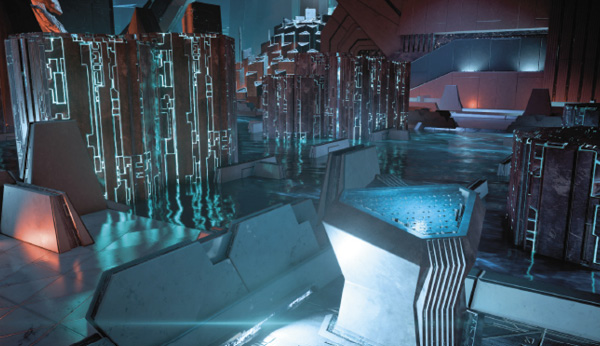
Traversal to the central section has been cut off by a river of ferrofluid. Your sibling directs you to a console in the westernmost part of the area. Interface with it to raise platforms you can use to cross (triggering an Architect mouth beam).
After you cross to the south section, several Remnant reinforcements, consisting of Observers and Assemblers, are warped in, assaulting from the east. Get into cover and keep an eye out (or ear out, since it also prefaces its attacks with distinct audibles) for the Architect’s attacks.
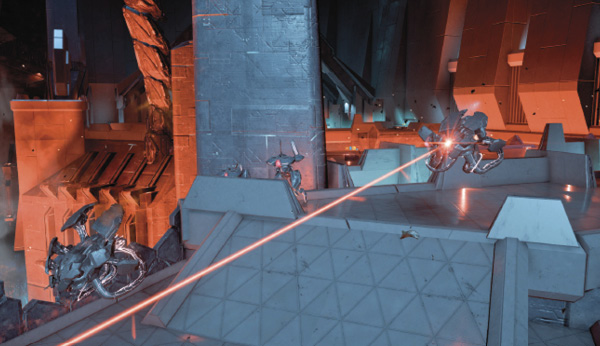
Defeat the first few Observers and Assemblers, but don’t overextend too far east, as another group of Remnant appears, including Nullifiers. Take them out as you approach the east section. Then, when you arrive at a gap between platforms, the Archon sends more Remnant units for you to deal with (to your left). As you wait for your sibling to bridge the gap, defend yourself using the cover nearby.
Your goal here is to simply survive. This is likely the most difficult part of the encounter, as there’s a seemingly endless supply of Remnant and not much room to maneuver. Furthermore, you desperately need to watch out for the Architect’s rapid-fire and grenade attacks. When the Architect is vulnerable here, either throw all your resources into disabling it (such as Sticky Omni Grenades), or withstand its attacks while dealing with the destructible Remnant.
When your sibling completes the bridge hack, defeat the rest of the smaller Remnant enemies, then cross the chasm to the north using the raised platforms, where several Assemblers, Nullifiers, and Observers lie in wait to the northeast. Use cover to deal with them, then proceed to your navpoint.
The Architect—Phase 3
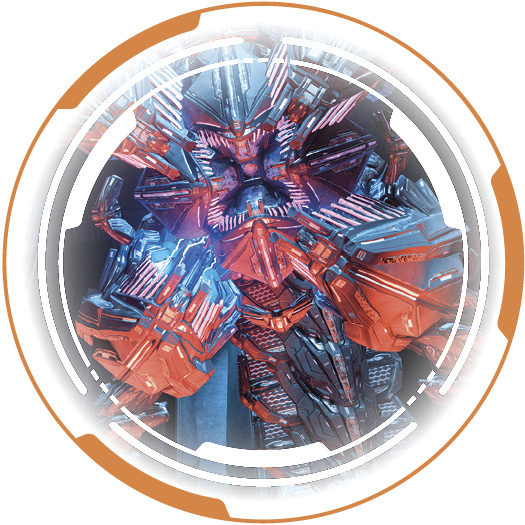
Like in the first phase, stay within the confines indicated by the radial markers on the floor while taking out enemies. Additionally, more squadmates arrive to help you defend your position (on the Insanity difficulty, every little bit helps).
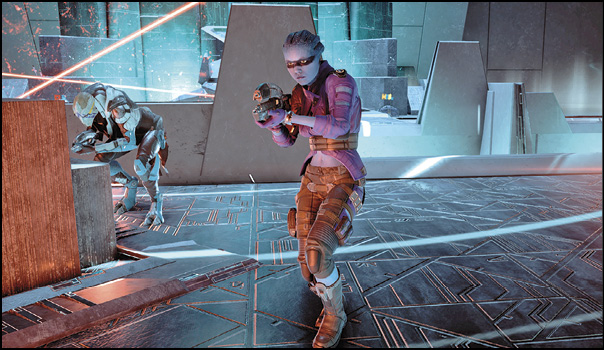
As always, keep an eye on the Architect’s tentacle and energy beam attacks. If you have enough firepower, consider destroying its head conduit. At this point, you should be liberally applying incendiary- and disruptor-type ammo to your weapons. Incendiary ammo is excellent for setting the Architect ablaze so you can follow it up with a fire combo detonator (a fully charged Overload, for instance).
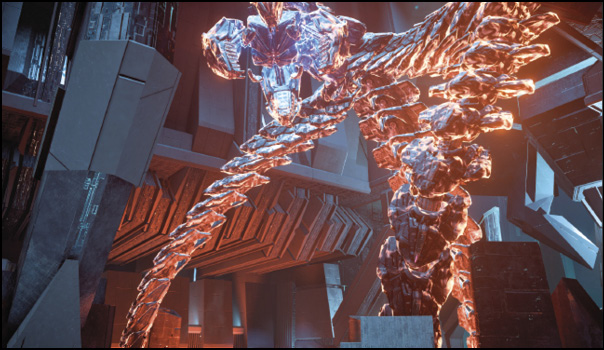
Once sufficient time has passed, interface with the nearby power relay console, then eliminate any remaining threats. The hard part is finally over.
Return south to the central Remnant console (facing the Archon in the distance). Activate it to completely disconnect the Archon, effectively beating the main story. Congratulations on activating Meridian!
Epilogue
The final Priority Ops mission is a simple one: celebrate with your friends and crewmates. When you’re ready, return to the Tempest—there’s still work to be done, Pathfinder.