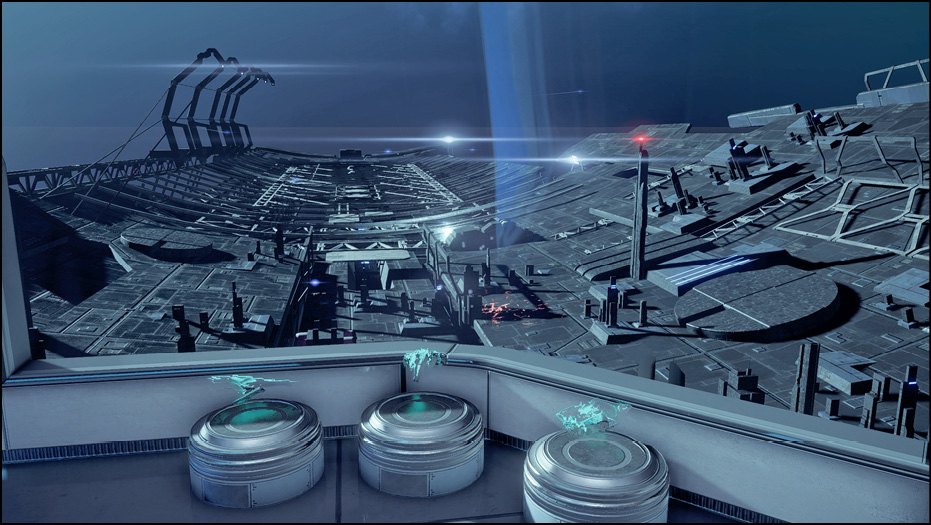
Mass Effect: Andromeda Collector's Edition Guide Priority Ops
Mission 2: A Better Beginning
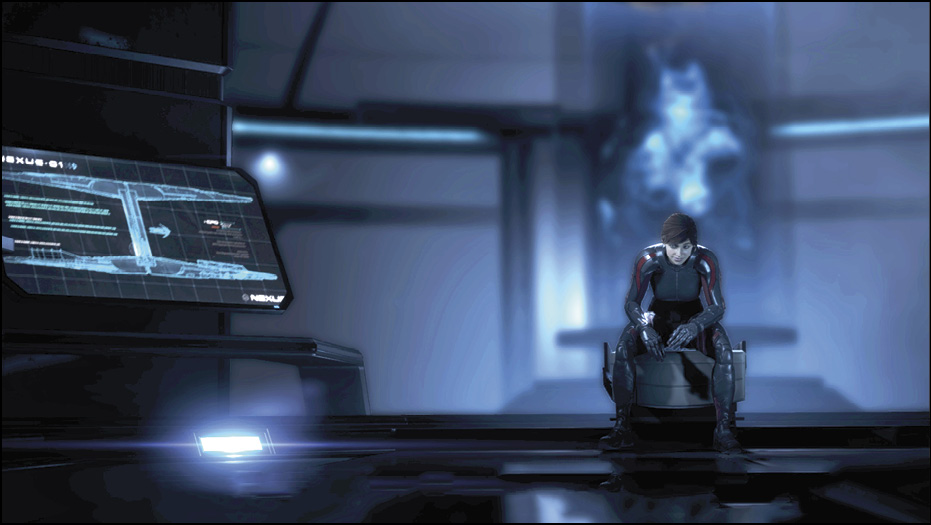
With Alec’s ultimate sacrifice, his child inherits the title of humanity’s Pathfinder. Along with a new responsibility, the human Pathfinder’s SAM AI has become deeply embedded in Ryder’s implant, considerably augmenting his/her abilities.
| Action Checklist | |
|---|---|
| 1. | Travel to the Nexus |
| 2. | Explore the area |
| 3. | Follow Kandros to Nexus operations |
| 4. | Speak with Director Tann |
| 5. | (Optional) Undertake and complete various Nexus quests and tasks |
| 6. | Speak to SAM in the Hyperion habitation deck |
| 7. | Claim the Tempest |
Investigate the Nexus
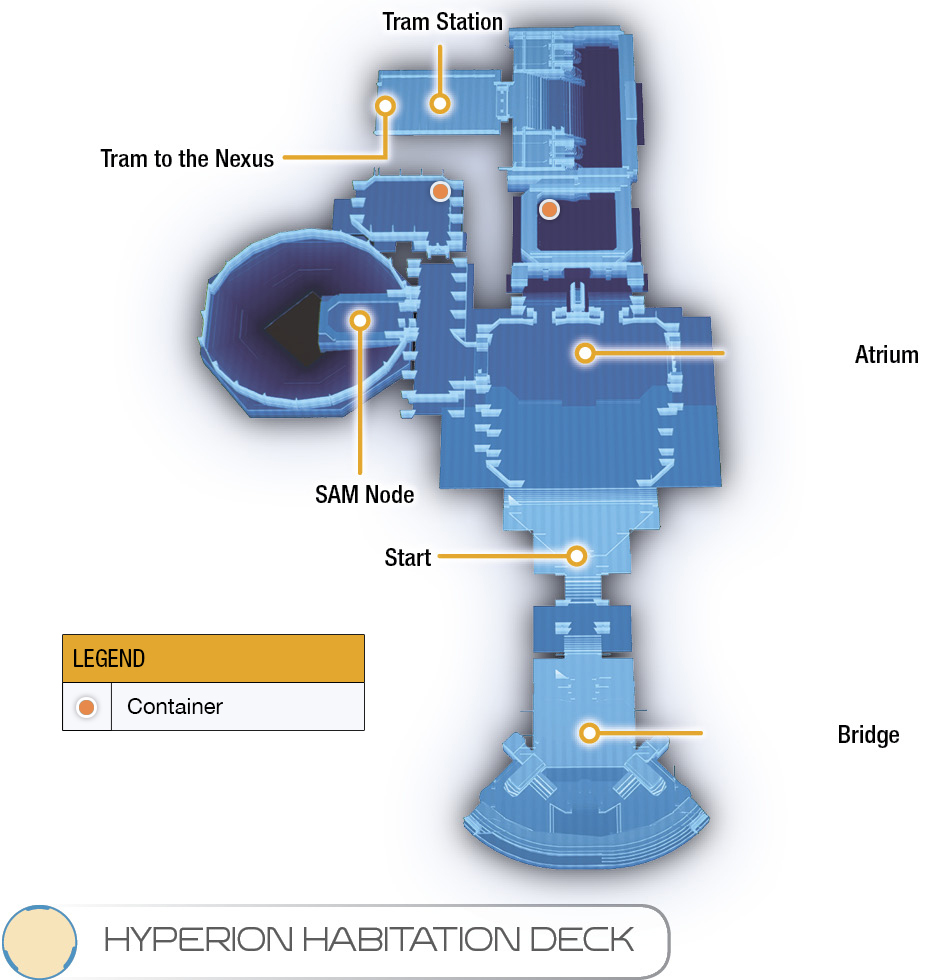
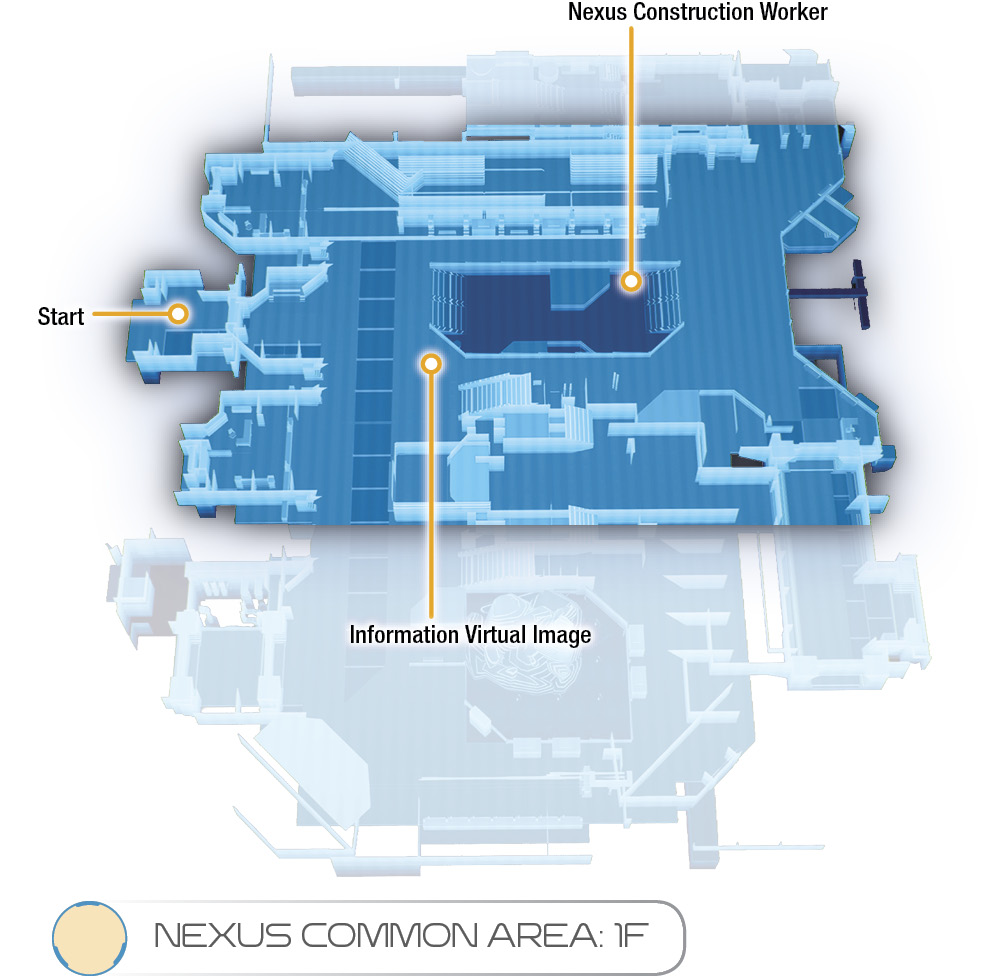
Now that your father has made you the Pathfinder, responsible for humanity’s expansion in an entirely new galaxy, it’s time to find out how the other arks fared as there’s been virtually no contact with the other Initiative vessels.
The next step is to check with the Nexus, the Initiative’s central control hub for the arks. From the Hyperion’s bridge, get to the tram while Cora and Liam follow you, lamenting Alec’s death.
Activate the tram console to progress the story.
You arrive at a dark, seemingly shutdown Nexus. The docking bay is quiet and still under construction. Leave the Hyperion’s connected tram and investigate the area. There’s an informational VI just outside, to the right. You can interact with it to investigate further. It appears the current situation doesn’t line up with the plans made over 600 years ago.
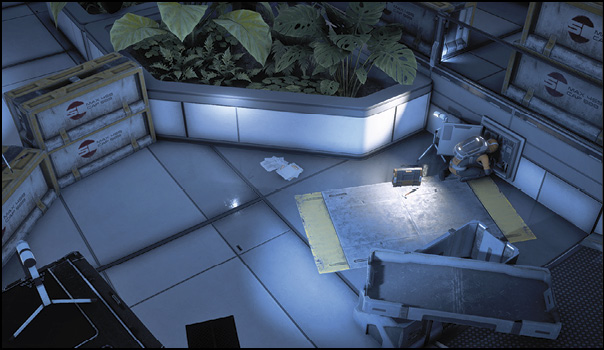
Investigate the area, following your compass’s proximity radar. There’s a Nexus construction worker you can speak to up ahead.
He explains the current state of the expedition and introduces you to the Nexus’s head of militia, Tiran Kandros.
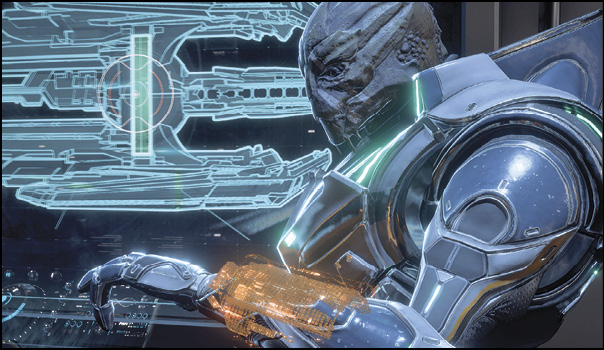
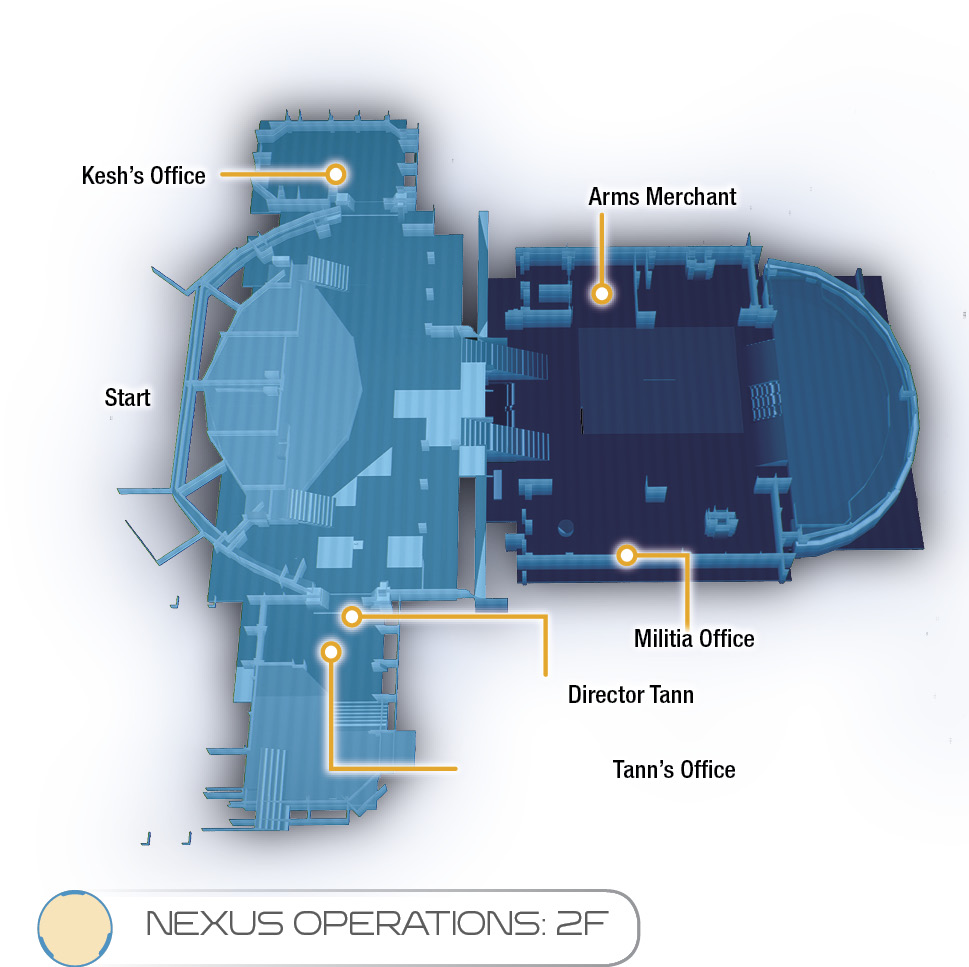
As he further explains the Nexus’s state of affairs, he escorts you to operations where you meet the rest of the Nexus leaders. This point officially marks your first mission as a Pathfinder. Speak to Director Tann in Pathfinder Headquarters for a debriefing. Otherwise, feel free to explore and meet your colleagues. Immediately explorable areas include Nexus operations, Hyperion cryobay, and the Hyperion habitation deck.
Afterward, there are several side missions and optional tasks you can undertake. Many are obtained by speaking to various people on the Nexus and Hyperion. People and objects marked with a  on the map and compass have missions for you to add to your journal. This is a good time to initiate APEX & Strike Missions (by speaking with Kandros). For complete walkthroughs of secondary missions, see the Secondary Ops chapter.
Speak to SAM
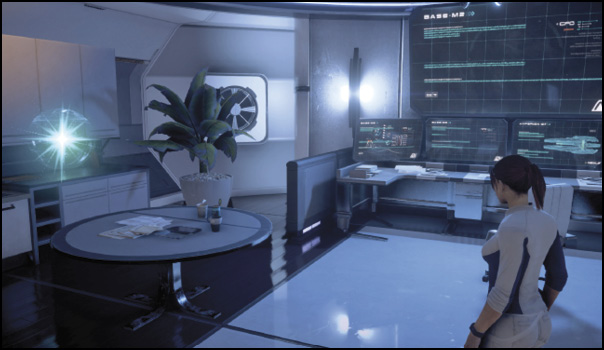
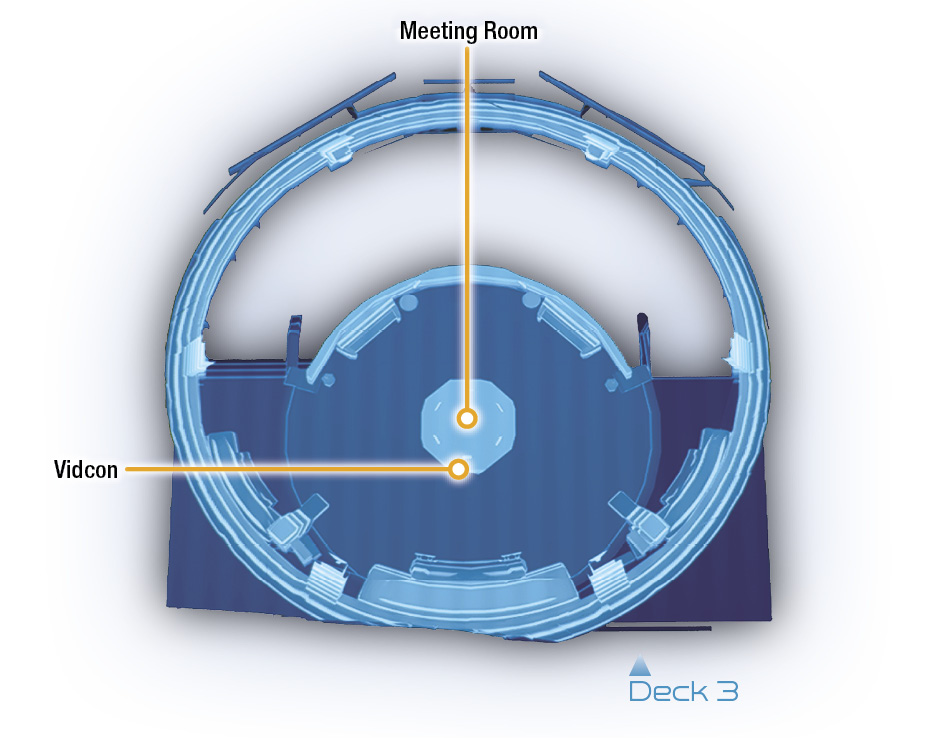
To progress the main mission, use the tram to travel to the Hyperion habitation deck. SAM is located in the SAM Node, west of the central atrium area. SAM explains his inseparable connection with you and the use of profiles—a combat-enhancement system he provides.
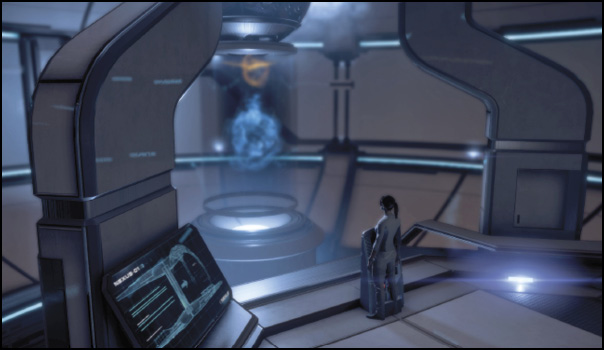
SAM also reveals that Alec encrypted several secrets into his database, which can be unlocked by triggering interactable “memory triggers.” This begins a special quest called “Ryder Family Secrets,” which contains its own plot arc. As you collect memory triggers during your adventures as a Pathfinder, Alec Ryder’s hidden memories are revealed, giving you a better understanding of his struggles and motivations. The first memory trigger you can obtain is in the room next door in Alec’s former quarters.
Claim the Tempest
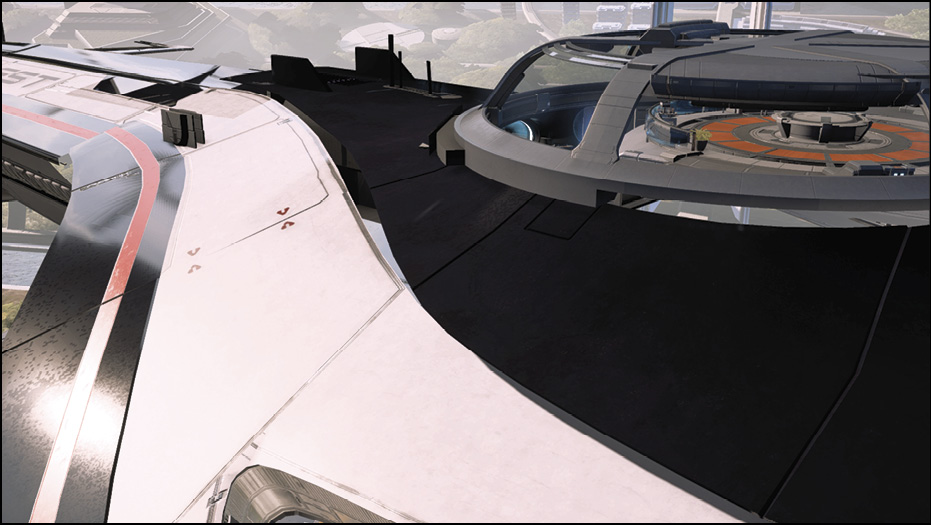
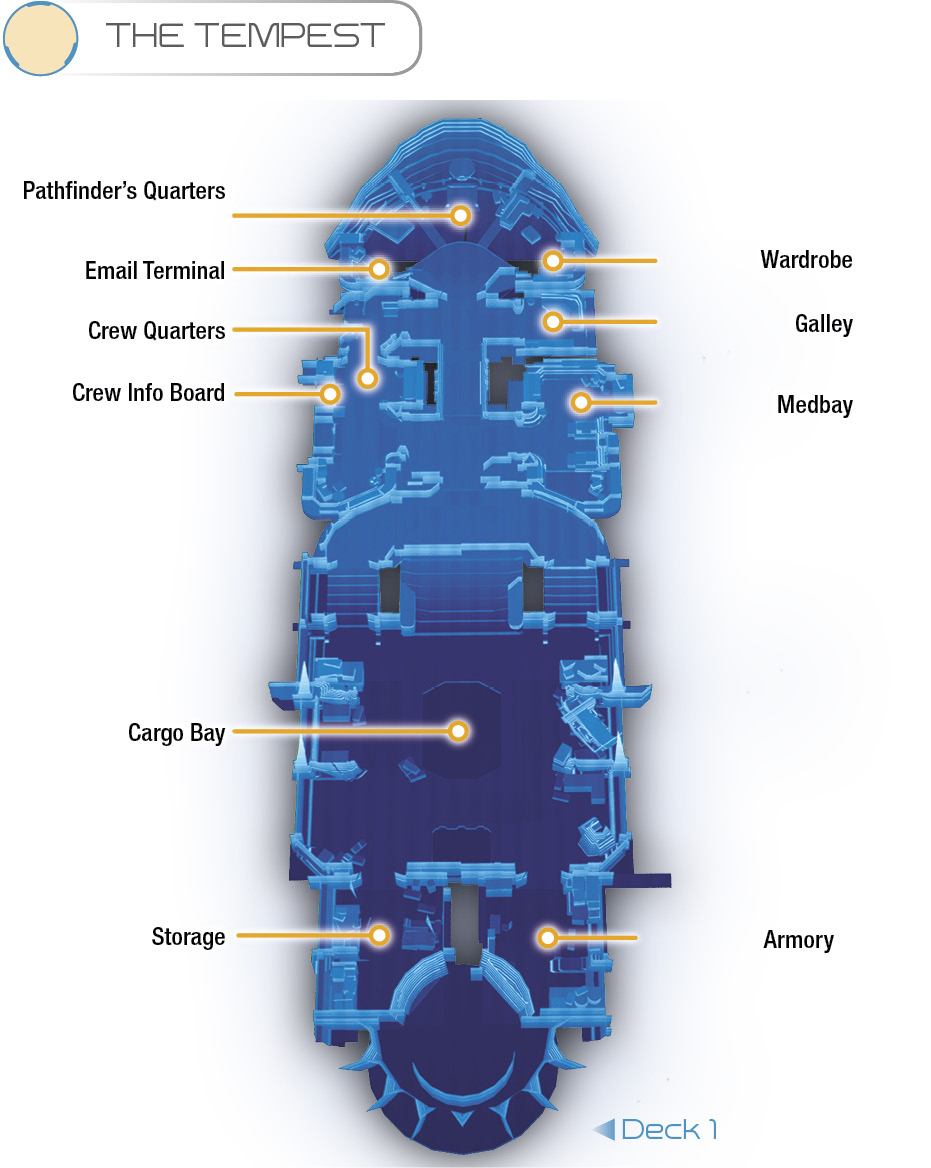
From the habitation deck, take the tram to the Nexus docking bay to trigger a cutscene with Vetra, a turian logistics officer working for the Initiative (and your new squadmate). Vetra pulled some strings to get you off the Nexus quickly and efficiently. In return, she insists on joining your crew. For now, get to know the Tempest as it’s your main base of operations.
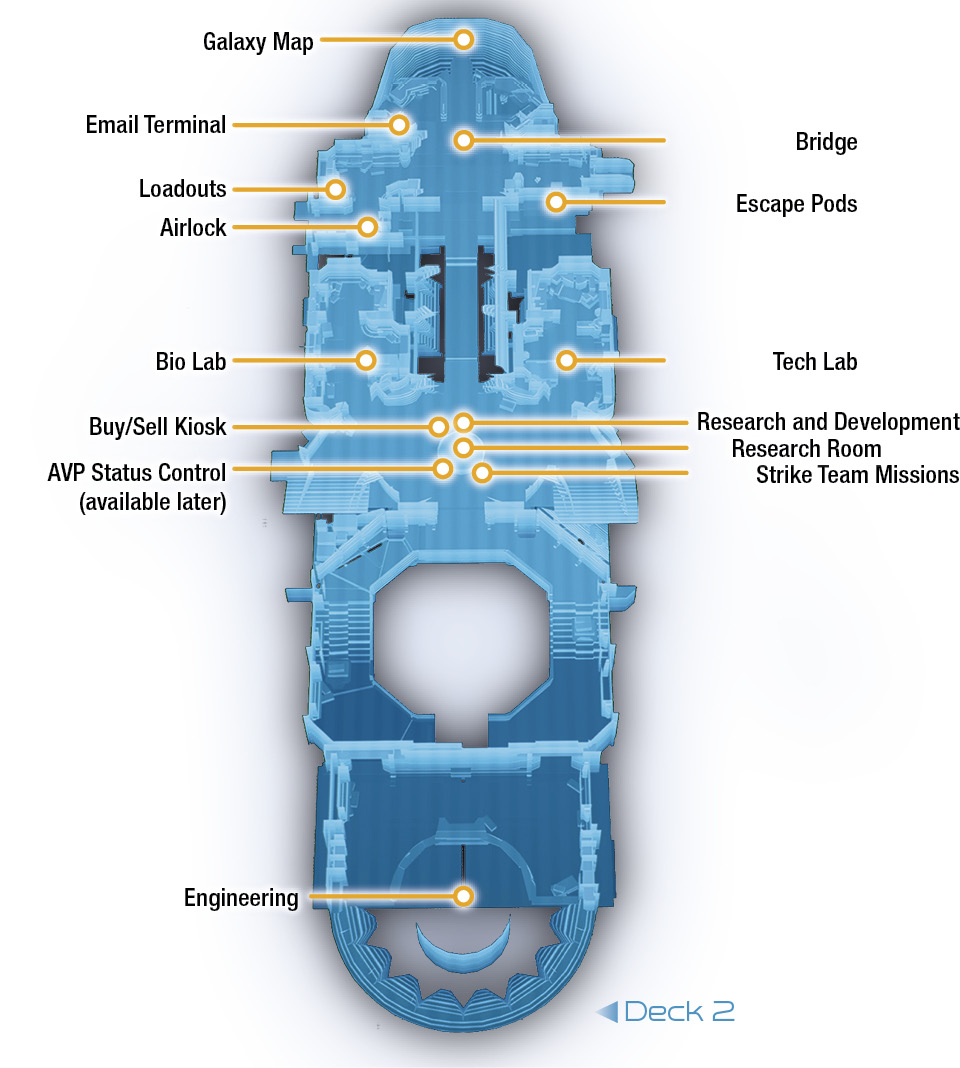
The Galaxy Map interface is used to bring up an interactive map of the Heleus Cluster, where you can navigate its star systems. As you progress through the story, more systems are revealed. The email terminal is where you can receive messages from anyone, any time. Remember to check your email frequently, as you may have special requests from your friends and crew. The research room is where much of your business is managed. Terminals include:
- Buy/Sell Kiosk: Used for purchasing consumables and materials
- Research and Development: The Research Center is used to purchase blueprints with Research Data, while the Development interface is used to craft and make the piece of equipment
- Strike Team Missions: Deploy special operatives to perform various missions concurrent to your own Pathfinder operations
- AVP Status Control: As more areas are established by humanity thanks to your Pathfinding efforts, colonists revived from stasis provide “perk” bonuses, managed at this console
| Action Checklist | |
|---|---|
| 1. | (Optional) Converse with squadmates and Tempest crew |
| 2. | (Optional) Visit and explore the four available solar systems |
| 3. | Touch down on Eos and investigate Eos Site 1 |
| 4. | (Optional) Complete various side quest objectives and visit Site 2 |
| 5. | (Optional) Return to the Tempest and Nexus to speak to squadmates and crew members |
| 6. | Investigate the strange signal and learn about the enigmatic machinery |
| 7. | Activate all three monoliths |
| 8. | Explore the vault on Eos |
| 9. | Establish an outpost on Eos (key decision here) |
Touch Down on Eos
When you’re ready for your first real Pathfinder mission, interact with the Galaxy Map and use the designated controls displayed at the bottom of the HUD to navigate the interface. You can explore and reveal anomalies in the four galaxies you have access to before selecting Eos in the Pytheas system. While en route to Eos, a cutscene triggers. Your pilot and science officer, Kallo and Suvi, take the ship down to Site 1 on Eos.
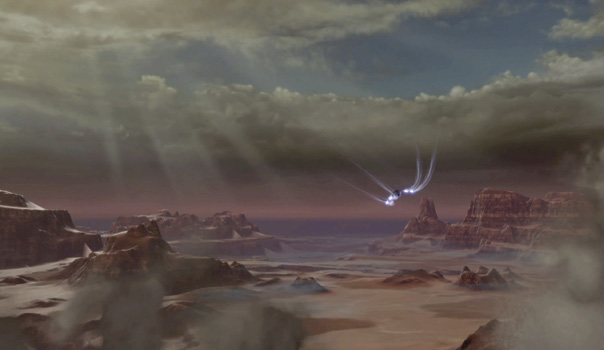
Once you’re in control, you can begin your investigation of the area. (Don’t forget to allocate your skill points if you’ve leveled up from galaxy exploration!)
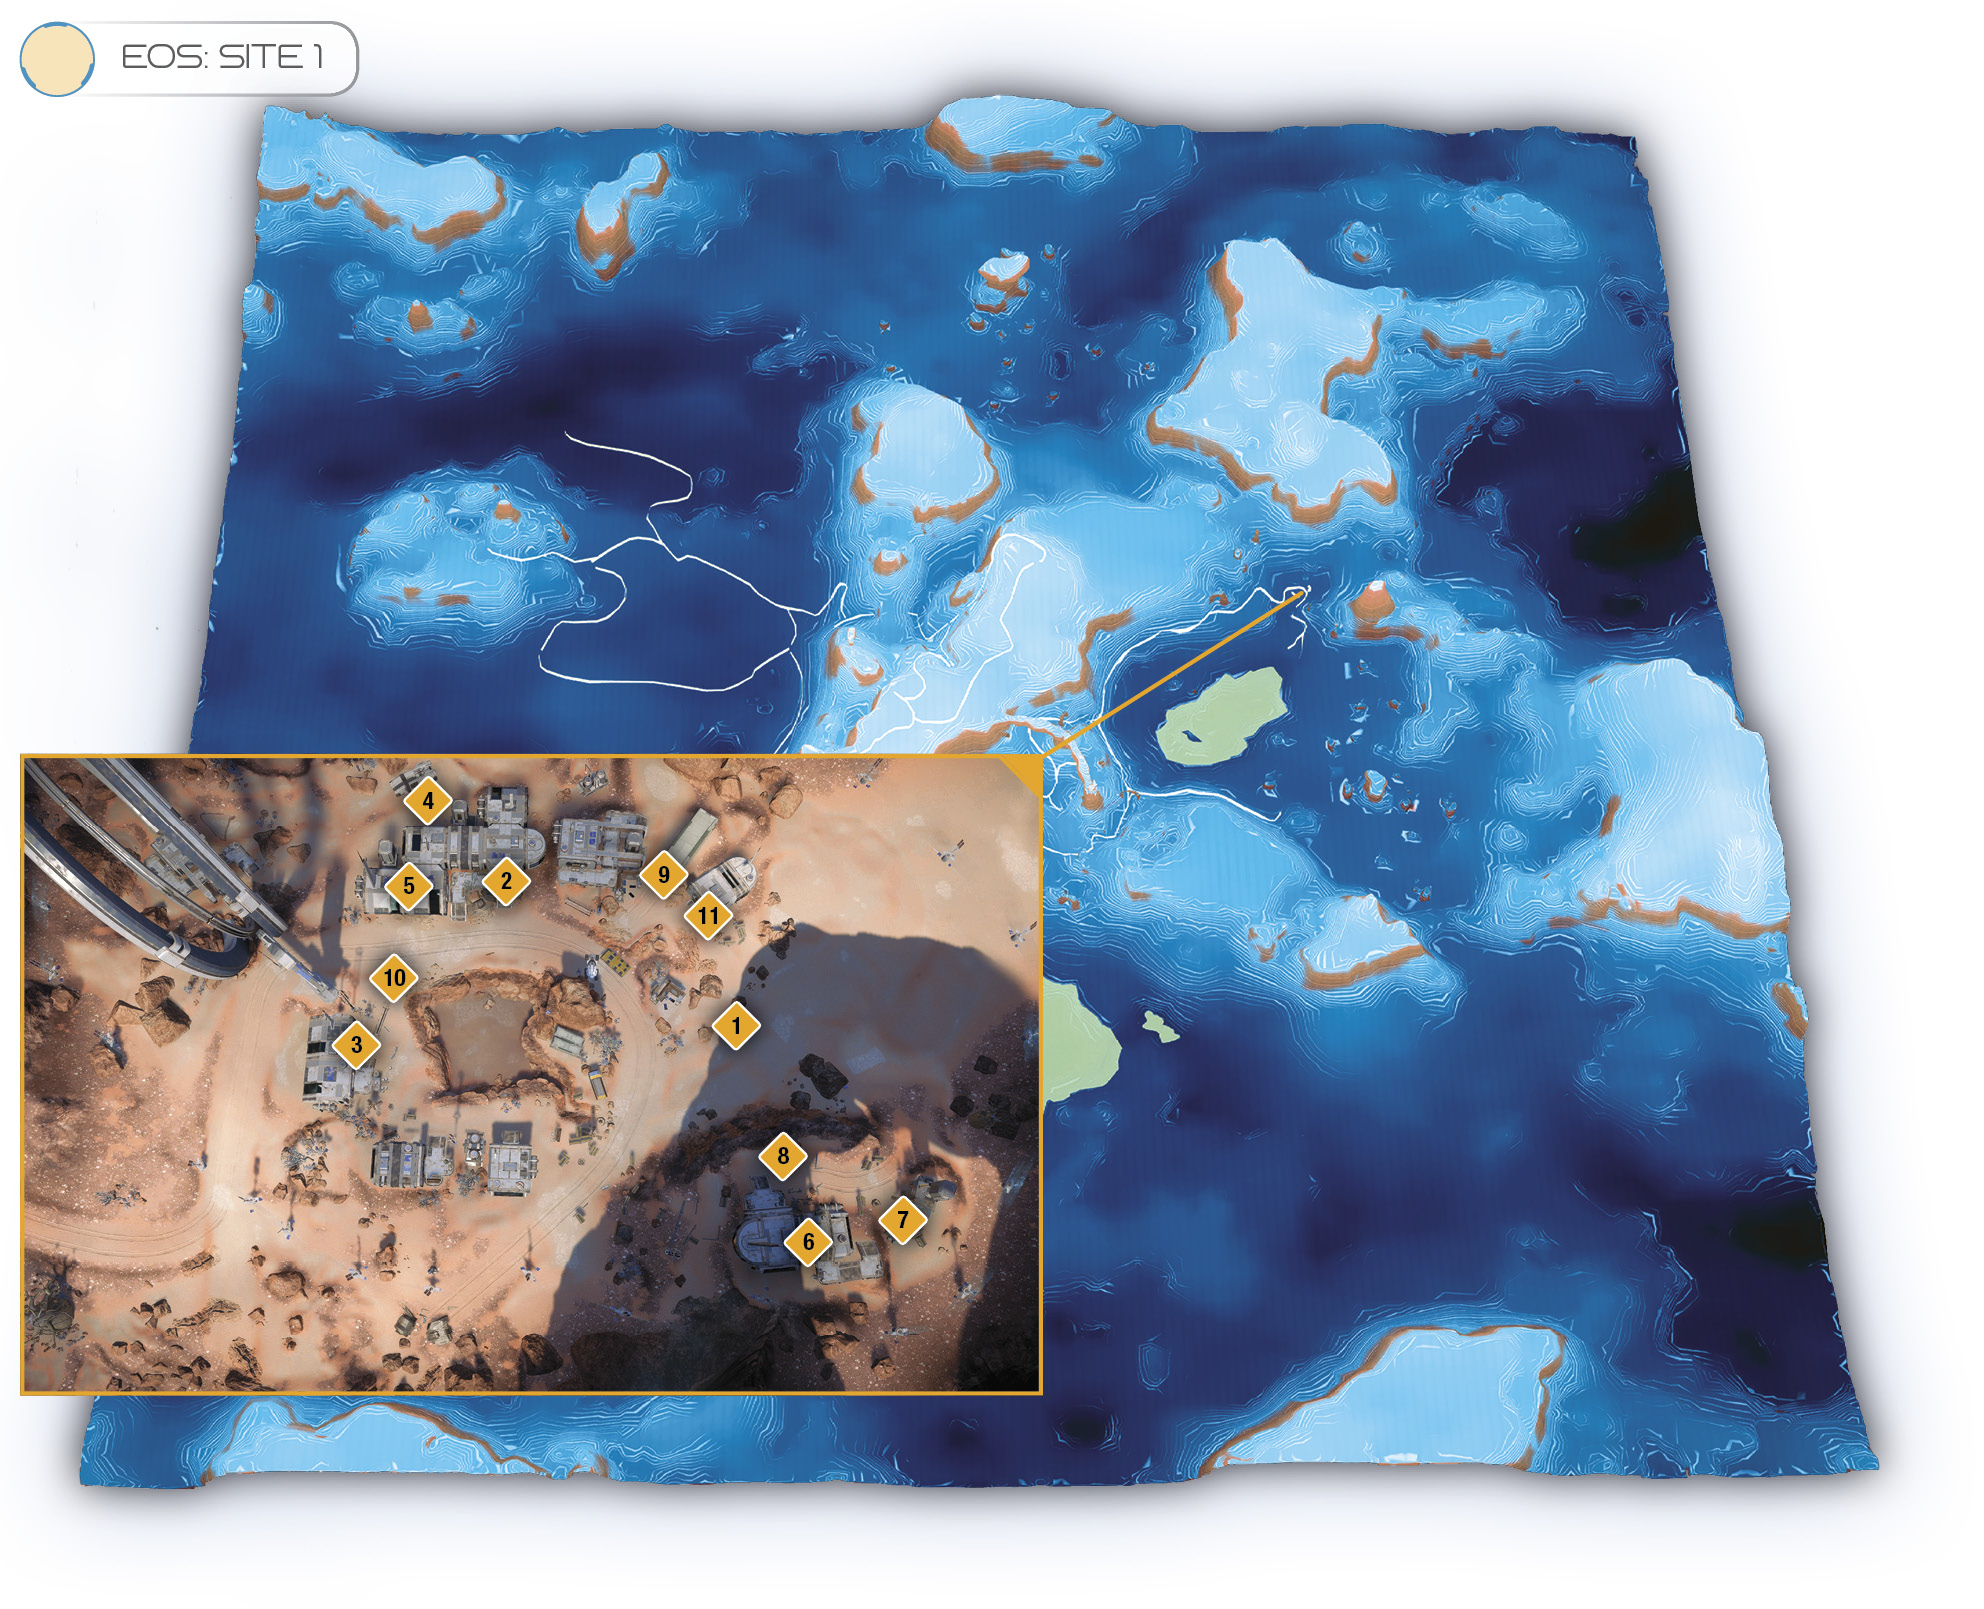
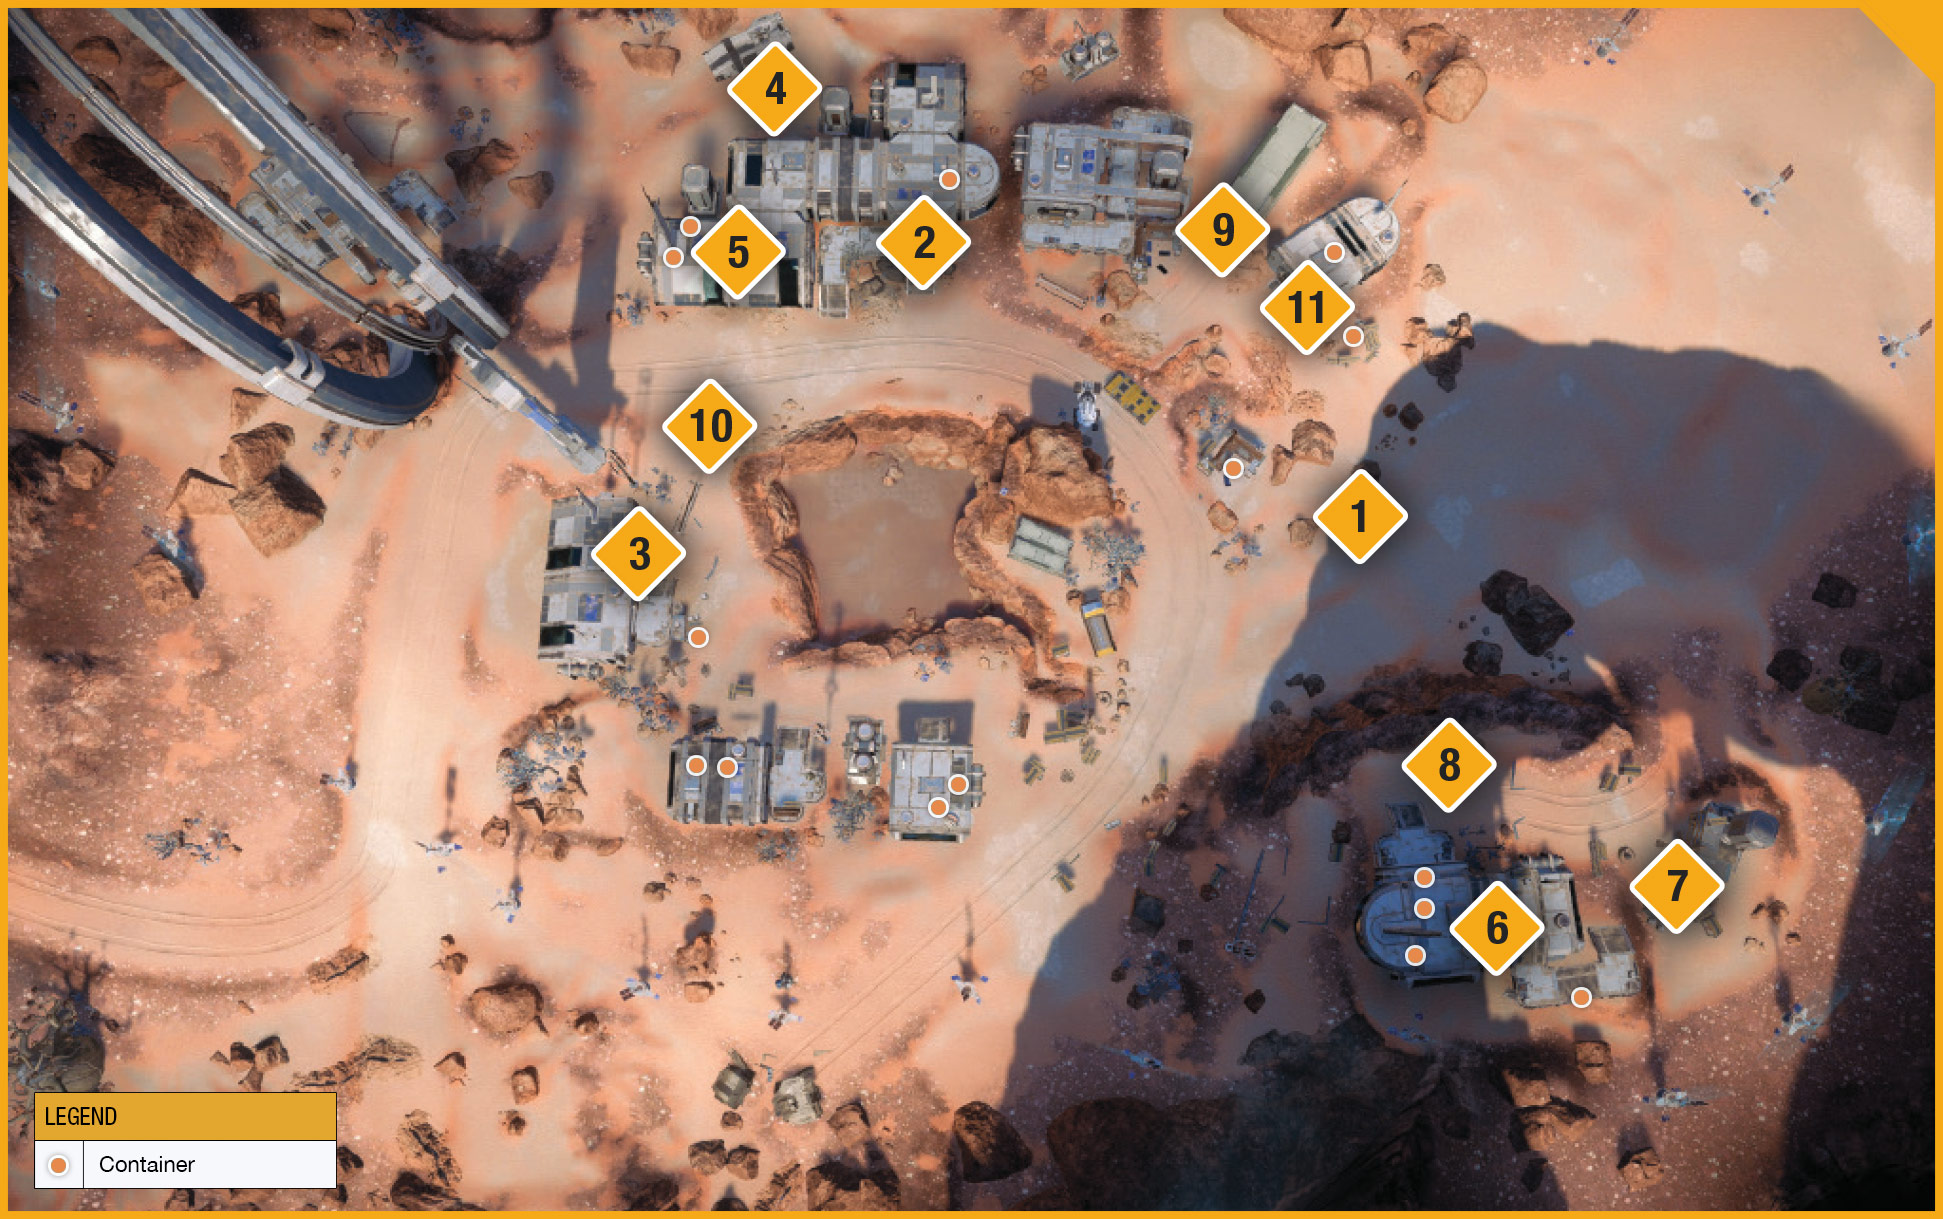
| LEGEND | |
|---|---|
| 1 | Start |
| 2 | Locked Door (requires access code) |
| 3 | Access Code Datapad |
| 4 | Deceased Human |
| 5 | Logs Console |
| 6 | Power Relay Station |
| 7 | Generator |
| 8 | Kett Landing Zone |
| 9 | Nomad Cargo Container |
| 10 | Forward Station |
| 11 | Research Center (available when power restored) |
Start by following the navpoint marker on your compass, leading to a locked building west of your starting point. SAM comments that it’s locked via an access code. To obtain one, you can either follow your navpoint marker to a building farther west, or you can jump over to the north side of the locked building to scan a deceased human on the ground. Either way, you gain building access. If you scanned the body, “Task: Naming the Dead” is added to the journal.
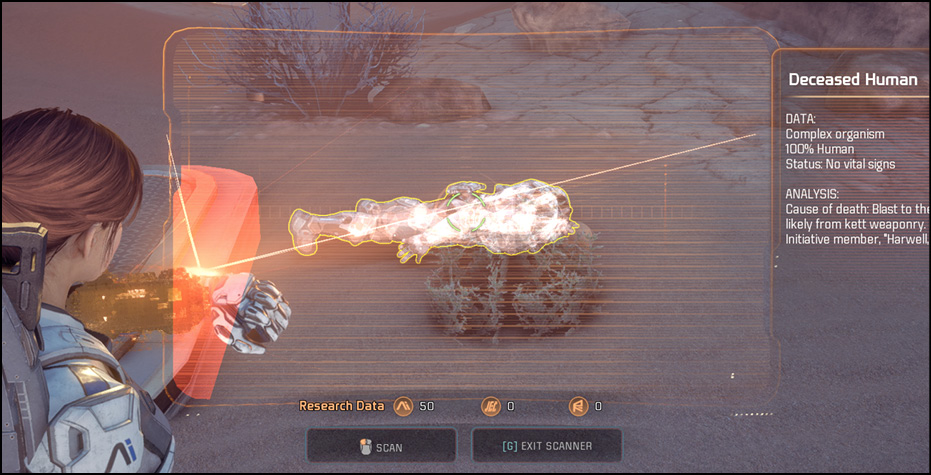
Now that you have an access code, return to the locked building, enter the southwest research room, and interact with the console to collect some logs. It appears a nearby power relay station needs to be activated in order to restore energy to the area. There are also a couple of large containers in the room you can search. One contains a hefty amount of minerals.
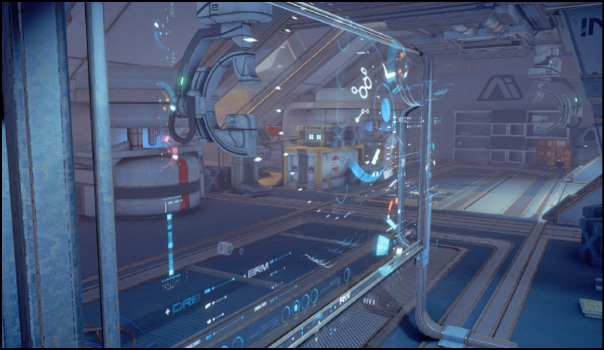
From there, head southeast under the Tempest. Or you can jump and mantle onto it via its north wing, then use your ship as a platform to the destination. However, Kallo is not amused by your antics.
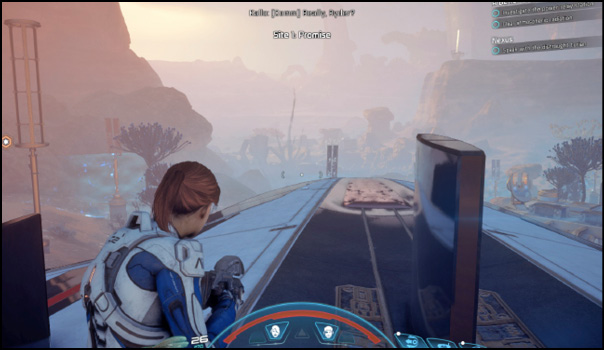
The power relay station is found perched on the hill just south of the Tempest on the second level. Find the stairs on the east side of the building and interact with the console at the door to start an intercom conversation with Clancy Arquist, an apparent resident of the station. Clancy has cut the power to hide from the kett. After you reassure Clancy that you’ll take care of the inevitable kett assault, you need to activate two generators. One is nearby, just east of the station.
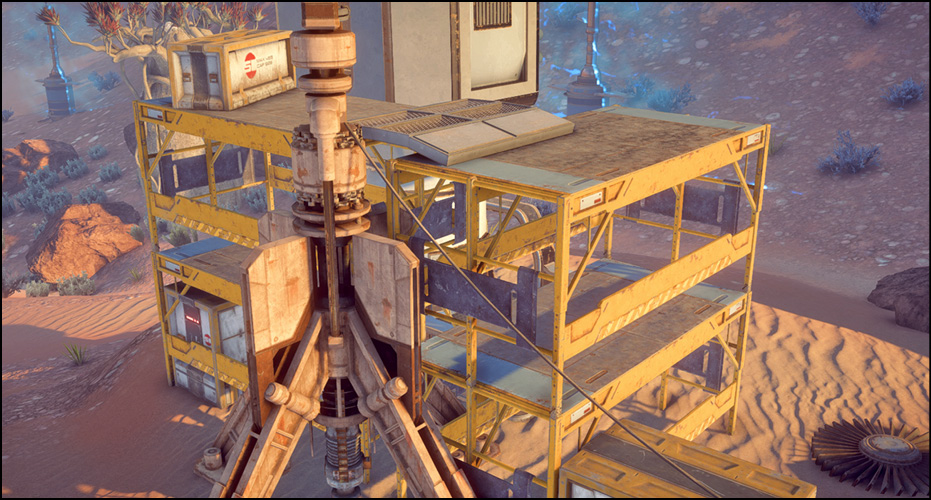
Attempt to restart the generator; there’s a failure in its boot-up sequence. Fix the issue by scanning the connected pylon, then jump on the construction scaffolding to hack one of the two generators.
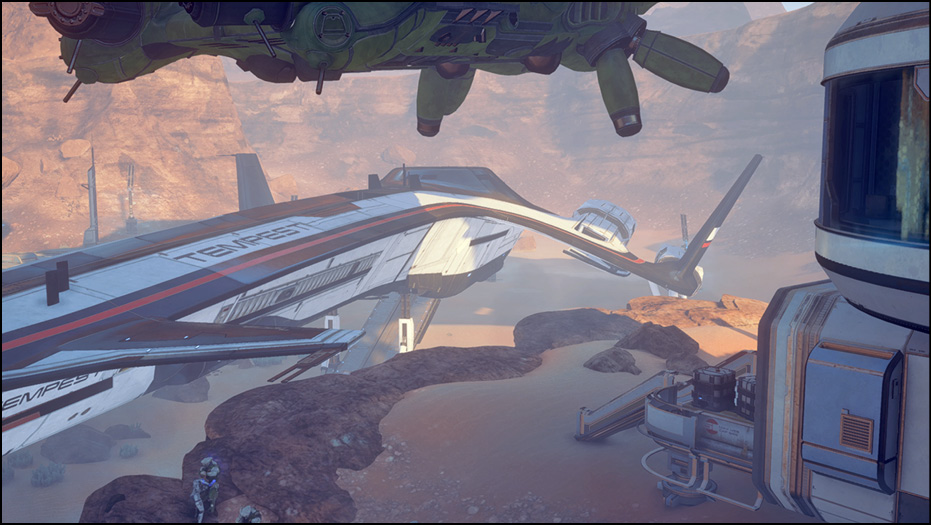
The other hackable pylon is just southeast of the central pond. Repeat the process on it—surprise! The kett don’t waste any time, immediately launching an assault on the newly powered site. One of their dropships deploys several Chosen on the hill near the relay station. It’s recommended that you meet them on equal footing so they aren’t at a high-ground advantage.
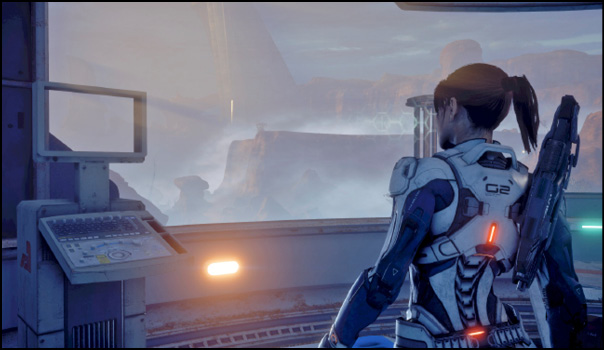
Get the drop on them as they unload from their dropship, then use the various cover points just west of the power relay station to fight them from safety. After taking them out, check on Clancy in the relay station, then enter the station and activate the outpost power controls to fully restore power to the area.
Clancy mentioned something about an exploration vehicle earlier, so obviously it must be commandeered and added to your collection immediately. Head over to the northeast portion of Site 1 to find a massive cargo container. Scan the container to figure out how to open it. Of course, it’s password-protected. Fortunately, the code is readily available from data in Initiative forward stations. Travel west from the cargo container, where there’s a holographic image of a forward station being projected directly into your view (thanks to your SAM connection). All you need to do to call a forward station down is approach the hologram.
Once the forward station is established, the cargo container’s access code is delivered to your omni-tool.
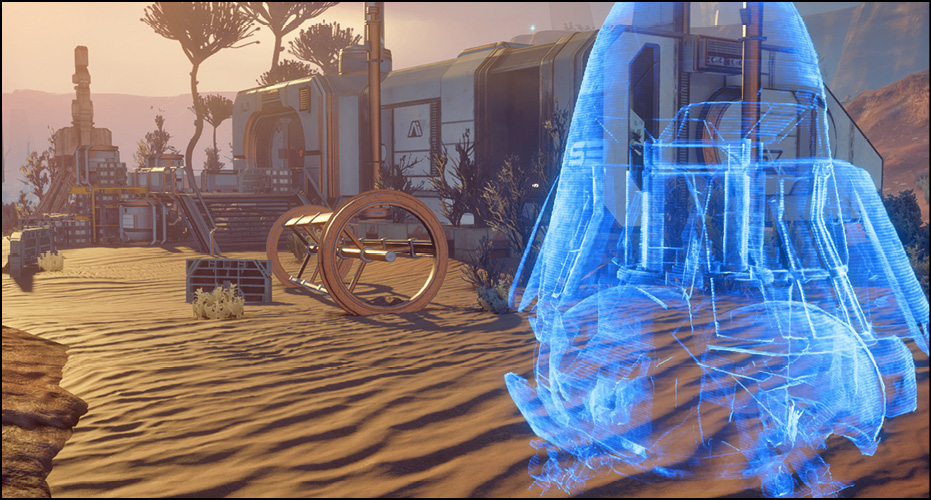
Now to claim your reward. Go back to the cargo container and interact with the container’s terminal to release the Nomad.
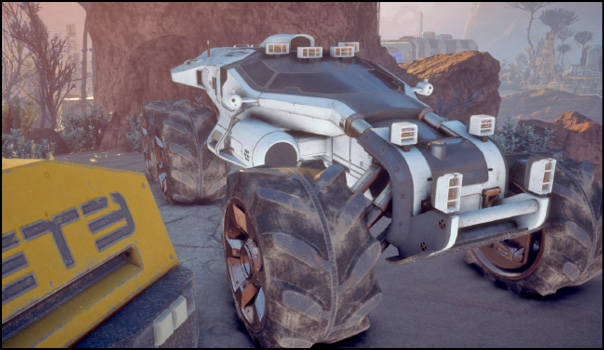
Now that you’re properly equipped and ready to take on the radiated world of Eos, you can progress the main mission by heading west from Site 1. Alternatively, you can put it off temporarily and drive south from Site 1 to Site 2 to investigate. Several optional tasks and objectives can be completed and progressed at this point, such as “First Murderer” and “Task: Research Center Development” in Site 1’s research center. For side quest details, see the Secondary Ops chapter.
Investigate the Strange Signal
Your main objective now is to find the source of the strange signal (although familiar in the sense that it’s similar to the signal emitted on Habitat 7).
As you drive away from Site 1, you begin to feel the effects of Eos’s radiation (although minor). Be mindful of your life-support levels (the gauge at the bottom left of your HUD) both in and out of the Nomad. If you venture out too deep into a highly irradiated area, you may find yourself in danger of dying. Some areas are currently designated as Level 3 hazards, making them nigh impossible to explore.
As you make your way toward the signal, take note of the massive structure protruding into the sky.
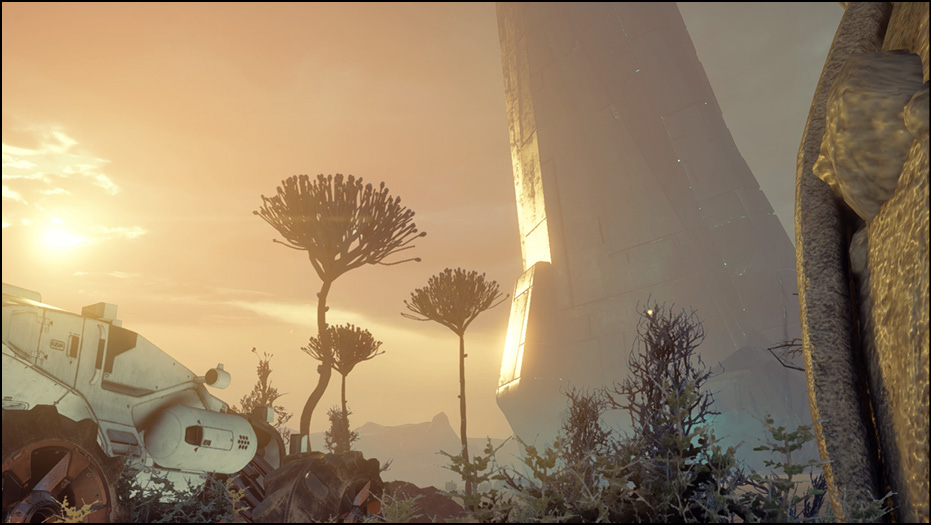
That monolith is your next objective. Park your Nomad nearby, then exit and interact with the central alien console. It seems to require further input on your part.
Your trusty scanner proves invaluable here. Scan your surroundings to find connections running from the alien console and up a nearby pillar. Many of these sites require some platforming skill so get ready to climb with your jump-jet. Northwest of the console is construction scaffolding you can use to climb up the western pillar, where the underground cabling leads to.
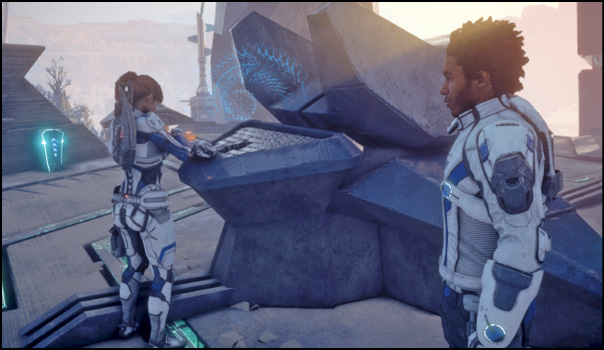
At the top of the pillar, there’s familiar Initiative equipment actively scanning a glyph imprinted on it.
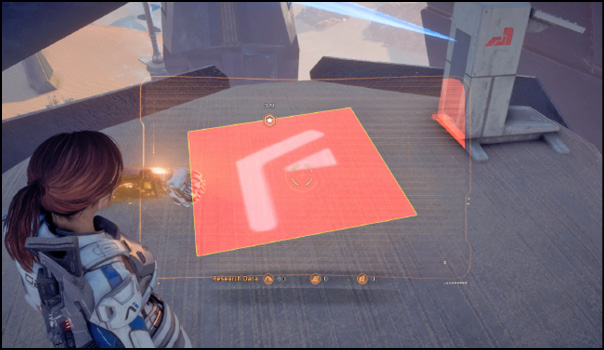
Scan the glyph, then jump back down and interface with the console again to complete this specific console’s decryption process. A cutscene triggers, with a young asari tackling you as SAM suggests doubling power input to the console. You’re introduced to the owner of all the Milky Way-based equipment in the area, “Peebee” (short for Pelessaria B’Sayle).
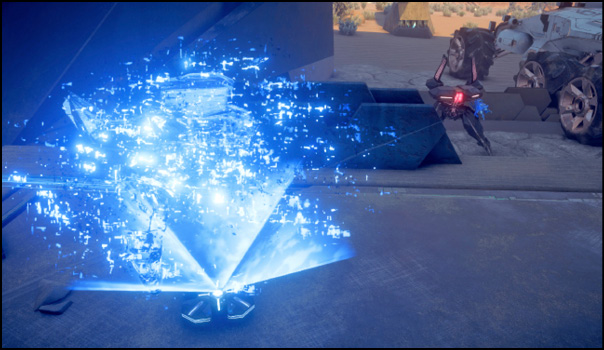
As she explains how the Remnant monoliths work, you’re attacked by what are evidently the device’s defense systems. If you thoroughly explored Habitat 7, these Assembler enemies may look familiar to you.
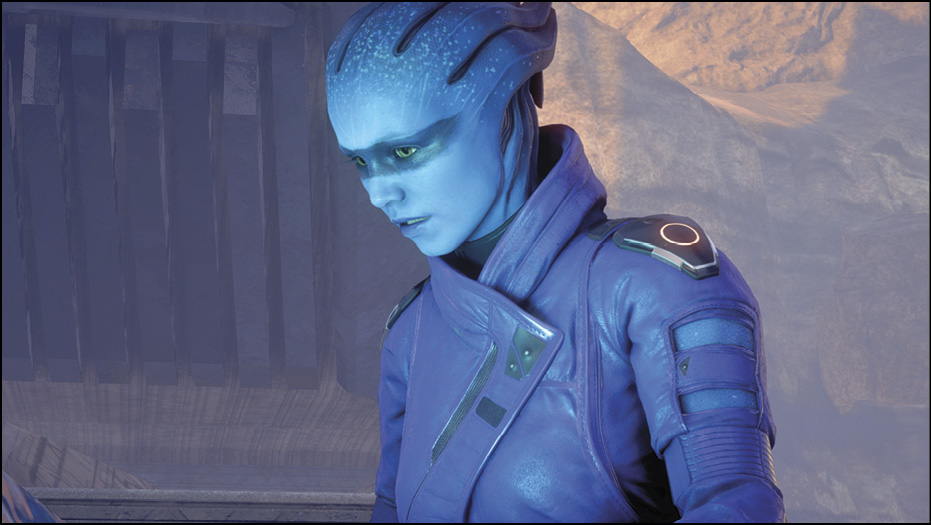
Peebee explains that these particular machines can create additional threats, so take them out quickly before they can summon their close-range cover-flusher units, known as Breachers. Fortunately these two enemy types aren’t terribly dangerous, especially in low numbers. After you destroy them, Peebee gives you a summary of the Remnant and what she’s discovered so far.
Now that you’re informed of how the triple-monolith system works, you can proceed to find and activate the other two, which are now marked on your map.
Activate the Remaining Monoliths
Continue west, down the man-made road track, using the navpoint provided by your compass to guide you. (It also helps that the gigantic monoliths each emit a bright beam of light.) As you follow the road, there’s a forward station farther west. Drive by the hologram to call it down. This forward station overlooks a potential outpost site.
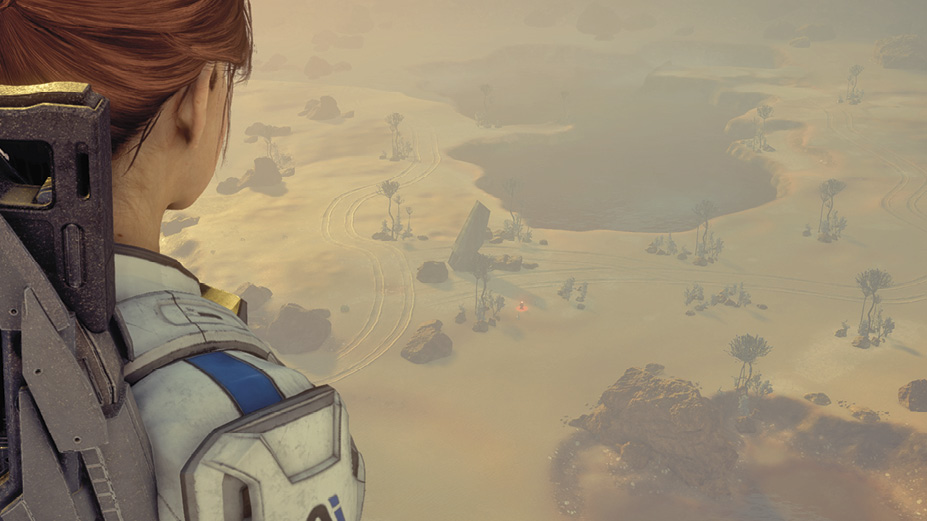
From the forward station, continue east down the road. Before you look for a spot to park, use the Nomad’s mining interface to call down a mining drone to gather resources for you. There’s also a “rare”-type Remnant container here. These containers are considered “hidden caches,” carrying several valuables. These hidden containers can be revealed on the map with a Cryo Pod Perk unlocked later on in the game. For Cryo Pod Perk details see the Game Mechanics Glossary.
Get out of the Nomad and approach the console near the monolith. These Remnant appear to be dormant. However, once they consider you a threat (usually after scanning you for a few seconds), they become hostile. The flying Observer bots can be particularly dangerous if you’re caught out of position in the open. These suppressor units are designed to keep you in cover, so prioritize them when possible—especially if you have Overload and Energy Drain unlocked.
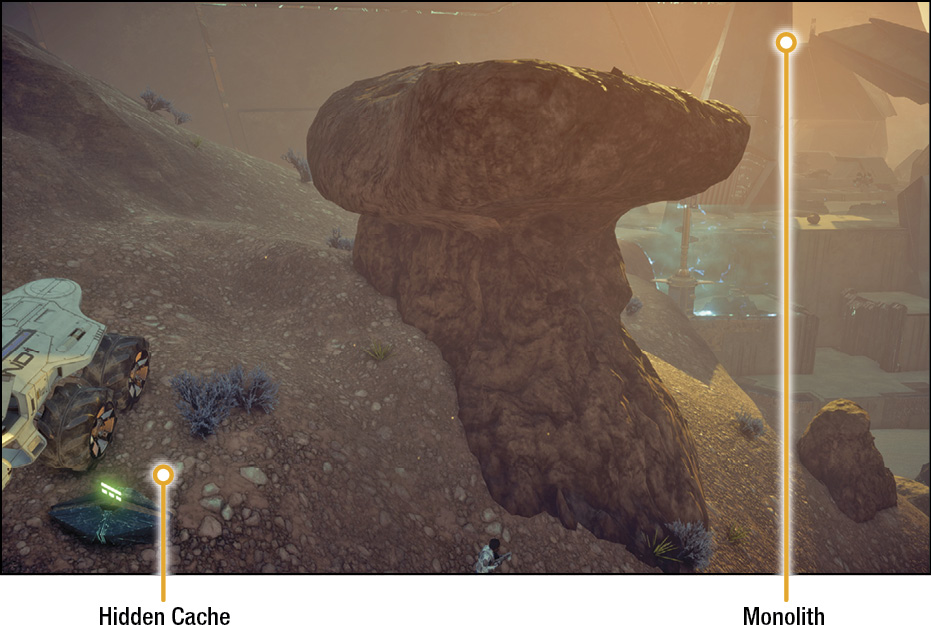
After taking out the monolith defenses, begin the decryption process on this Remnant console. This one’s a little different from the one prior; when you’ve interfaced with it, you’re prompted with a strange-looking Remnant Decryption Puzzle that explains you’re missing glyph information. For the puzzle to begin, all relevant glyphs have to be collected for this specific console. As before, some detective work with your scanner must be done in the immediate area. Scan your surroundings to reveal the glyph connections. Your destination is way too high for you to reach solely with jump-jets, so head directly south from the central console to another console (although this has a different functionality).
Interface with the console to raise a climbable path (hold the Jump button to vault/mantle up ledges). Once you’re at the top of the platform, activate your scanner and look up at the pillar to scan a glyph embedded on its side. There’s another glyph on a pillar directly across from it, so find the platform console to repeat the process.
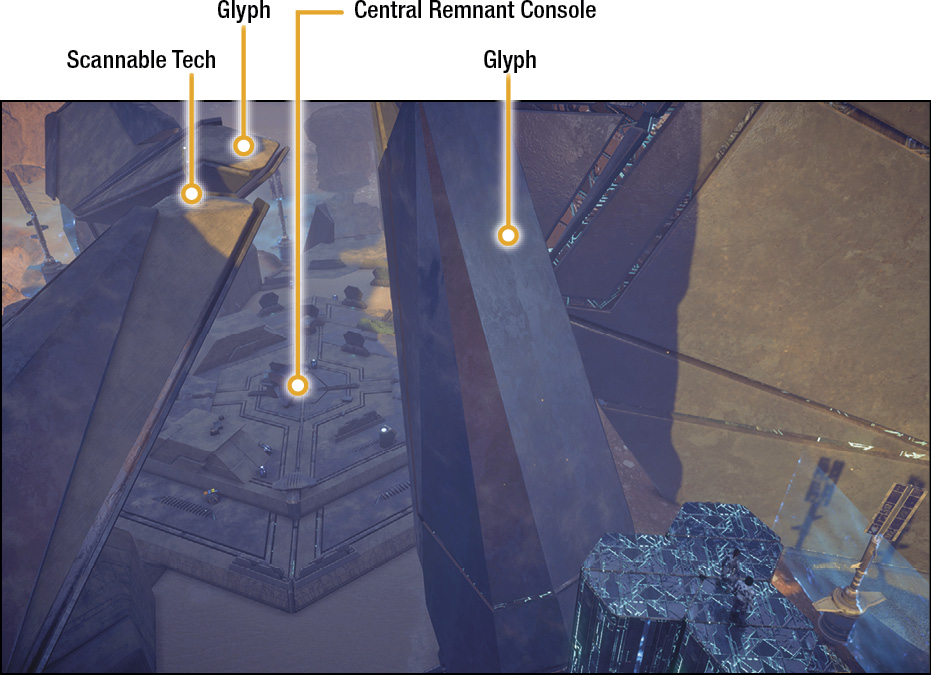
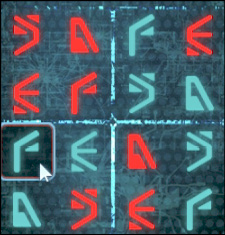
After obtaining both glyphs, jump down to find additional consoles with interface lines to blast shields. Raise these shields, then interface with the central console to finalize the decryption process. The objective is to fill in the presented puzzle board correctly, using the rules given. If you’ve played Sudoku, the rules are identical, except instead of numbers, you’re using ancient glyphs developed by an alien technology two and a half million light-years away. For tips and a full listing of solutions for all puzzles, see Remnant Decryption Puzzles in the Game Mechanics Glossary.
away. For tips and a full listing of solutions for all puzzles, see Remnant Decryption Puzzles in the Game Mechanics Glossary.
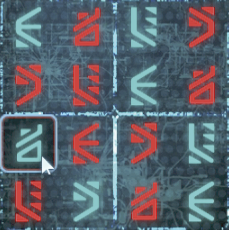
Alternatively, you can expend a Remnant Decryption Key item (although these are expensive and rare) to automatically solve the puzzle.
After you successfully decrypt the console, a dropship deploys several kett soldiers. These include Anointed who are especially painful to deal with out in the open. If you’re playing on Hardcore or Insanity, stay behind cover until the Anointed are dealt with! There are blast shields in the area you can use for cover if you toggled them earlier. Take out the enemies. Before you leave explore your surroundings, looting the various containers.
Now on to the final monolith, located southeast from the large central lake on the upper ledge of the mountainous region. Off in the distance, in front of the giant monolith, you can see a kett base (similar to the one you found on Habitat 7). Before you approach the kett outpost, find and call down the forward station directly south of the lake. Resupply if needed, then find one of the hillside ramps that lead up to the upper road. Make your way toward the monolith and prepare to execute a siege on the place.
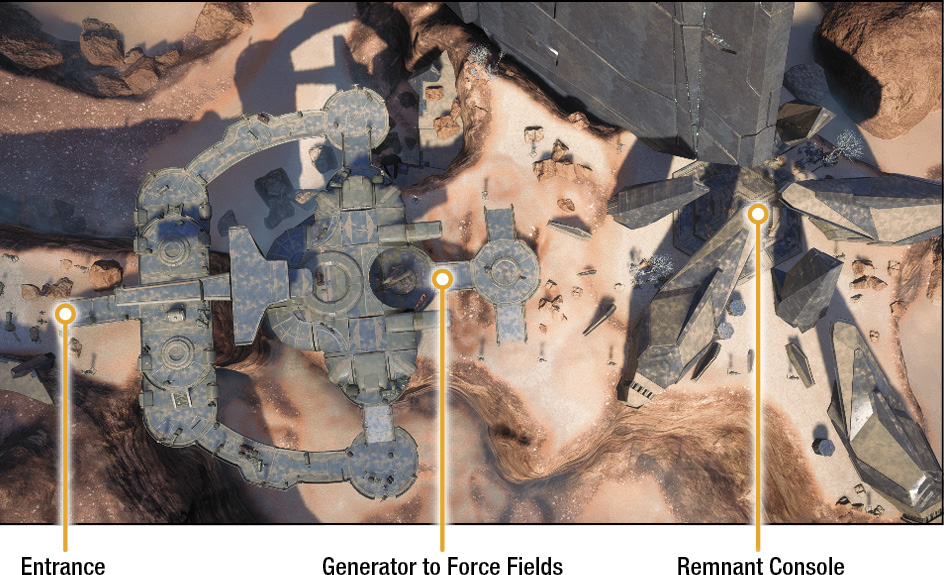
Park your Nomad in front of the entrance (you can park it perpendicular to use it as cover as well). Here you face the three types of kett you’ve encountered previously, including an Anointed. Watch out for Wraiths; prioritize them, as they’re meant as distractions to pull you out of cover. Melee attacks are effective against them, but if you can spot their approaching camouflage distortions early on, shoot them to deactivate their cloaks.
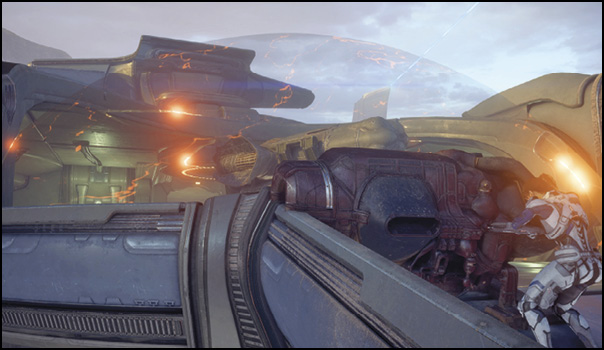
Note the kett power generators here (which can be scanned for Research Data). You can activate/deactivate nearby barricades with them if you’re having trouble with the Chosen and Anointed hiding in cover.
Once you’ve established a safe position behind cover using the kett’s barricades, advance methodically as you take out the Chosen one by one. If you have Overload, unleash a fully charged one on the Anointed to deplete its shields. Clear out the kett waves and then search the area for containers (there’s one on the roof of the facility).
To gain access to the facility, deactivate the force field at the generator located just east of the base.
Here, you meet an old battle-hardened krogan named Drack. One of his hobbies is hunting down kett, so it’d be great to have him on the team. While he’s apprehensive about joining the squad now, you may be able to convince him later on. If you have Vetra in your active squad, she puts in a good word for you (Drack and Vetra get along very well).
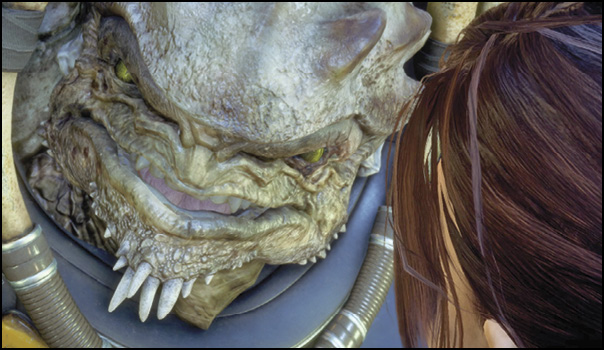
After the cutscene, head east to interface with the Remnant console. You need two glyphs for this console. One is located on the roof of the southern pillar (nearby platforms help guide you), and the other is on the roof of the western pillar. Scan both glyphs, then interface with the central console.
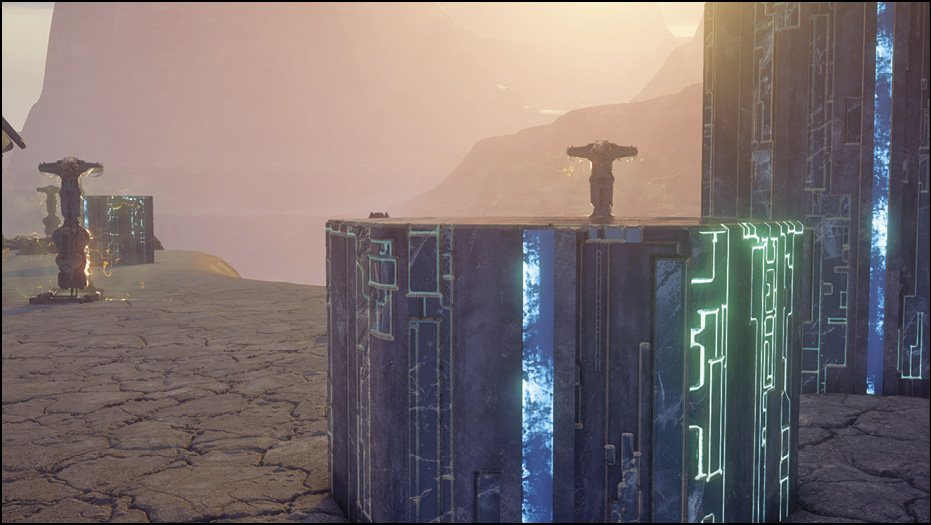
Now that all three monoliths have been activated, some sort of structure is revealed on an island in the lake. Explore your surroundings for scannable objects and lootable containers, then proceed. When you’re ready, run back to your Nomad parked in front of the kett base or use the world map to fast travel to the forward station you called down earlier. Your Nomad is automatically repositioned to your location when fast traveling to a forward station, so don’t worry about your Nomad being left behind!
Hop into your vehicle and drive to the northwest end of the lake. Get out of the Nomad and interface with the console here, which seems to activate the underground bunker. There are Lithium nodes on the rock formations if you’re interested in collecting this resource for research projects.
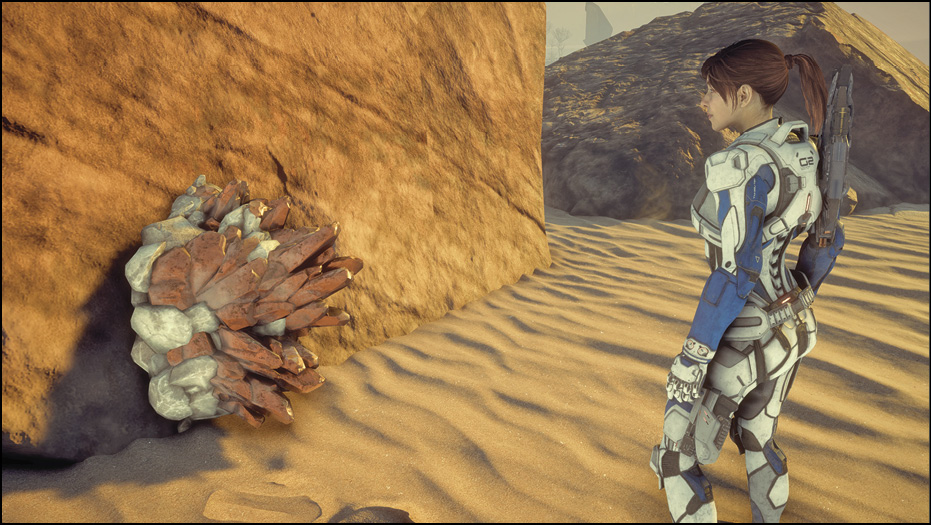
Approach the bunker—a bridge forms beneath you. Cross over to meet up with Peebee. At the south end of the island is a Remnant container.
Follow the navpoint to the bunker door and open it to initiate a cutscene. There’s a Narrative Action here if you want to irritate Peebee.
After safely jumping down the Gravity Well, it’s time to investigate your first Remnant vault.
Exploring The Eos Vault
From your starting point, locate the Remnant console up on the ledge behind you to the north. Interface with it, then use your scanner to see what it connects to. Follow it down to another console. Scan it to acquire the phrase needed to open the door up ahead. You can scan several surrounding data patterns here for extra Remnant Research Data.
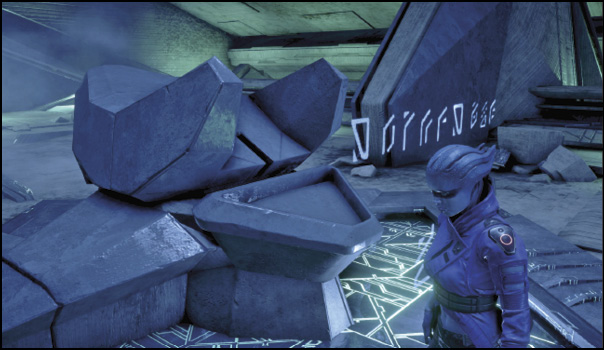
Open the door for a cutscene. Peebee finds an interesting piece of Remnant tech, then decides to investigate alone, splitting off from the group.
In this room is a Gravity Well blocked off by barriers. There’s not much you can do here, although take note of the blocked-off room to the west. You can come back for this later.
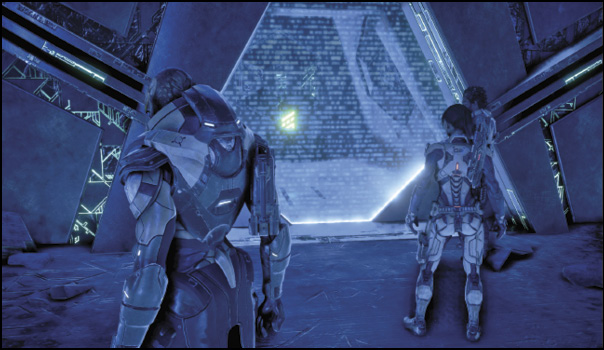
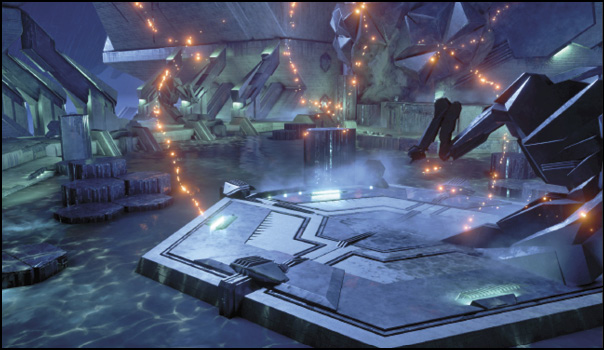
Exit through the southern door to enter an incredibly large cavern. At ground level is a pool of hazardous liquid. Stepping in it causes electrical damage, so avoid it by using the platforms to cross. Make your way to a door located south of the room, using your jump-jets. It leads to an optional section of the vault with a container in a dead end. Fight your way through a couple of Assemblers and claim your treasure, then return to the cavernous area.
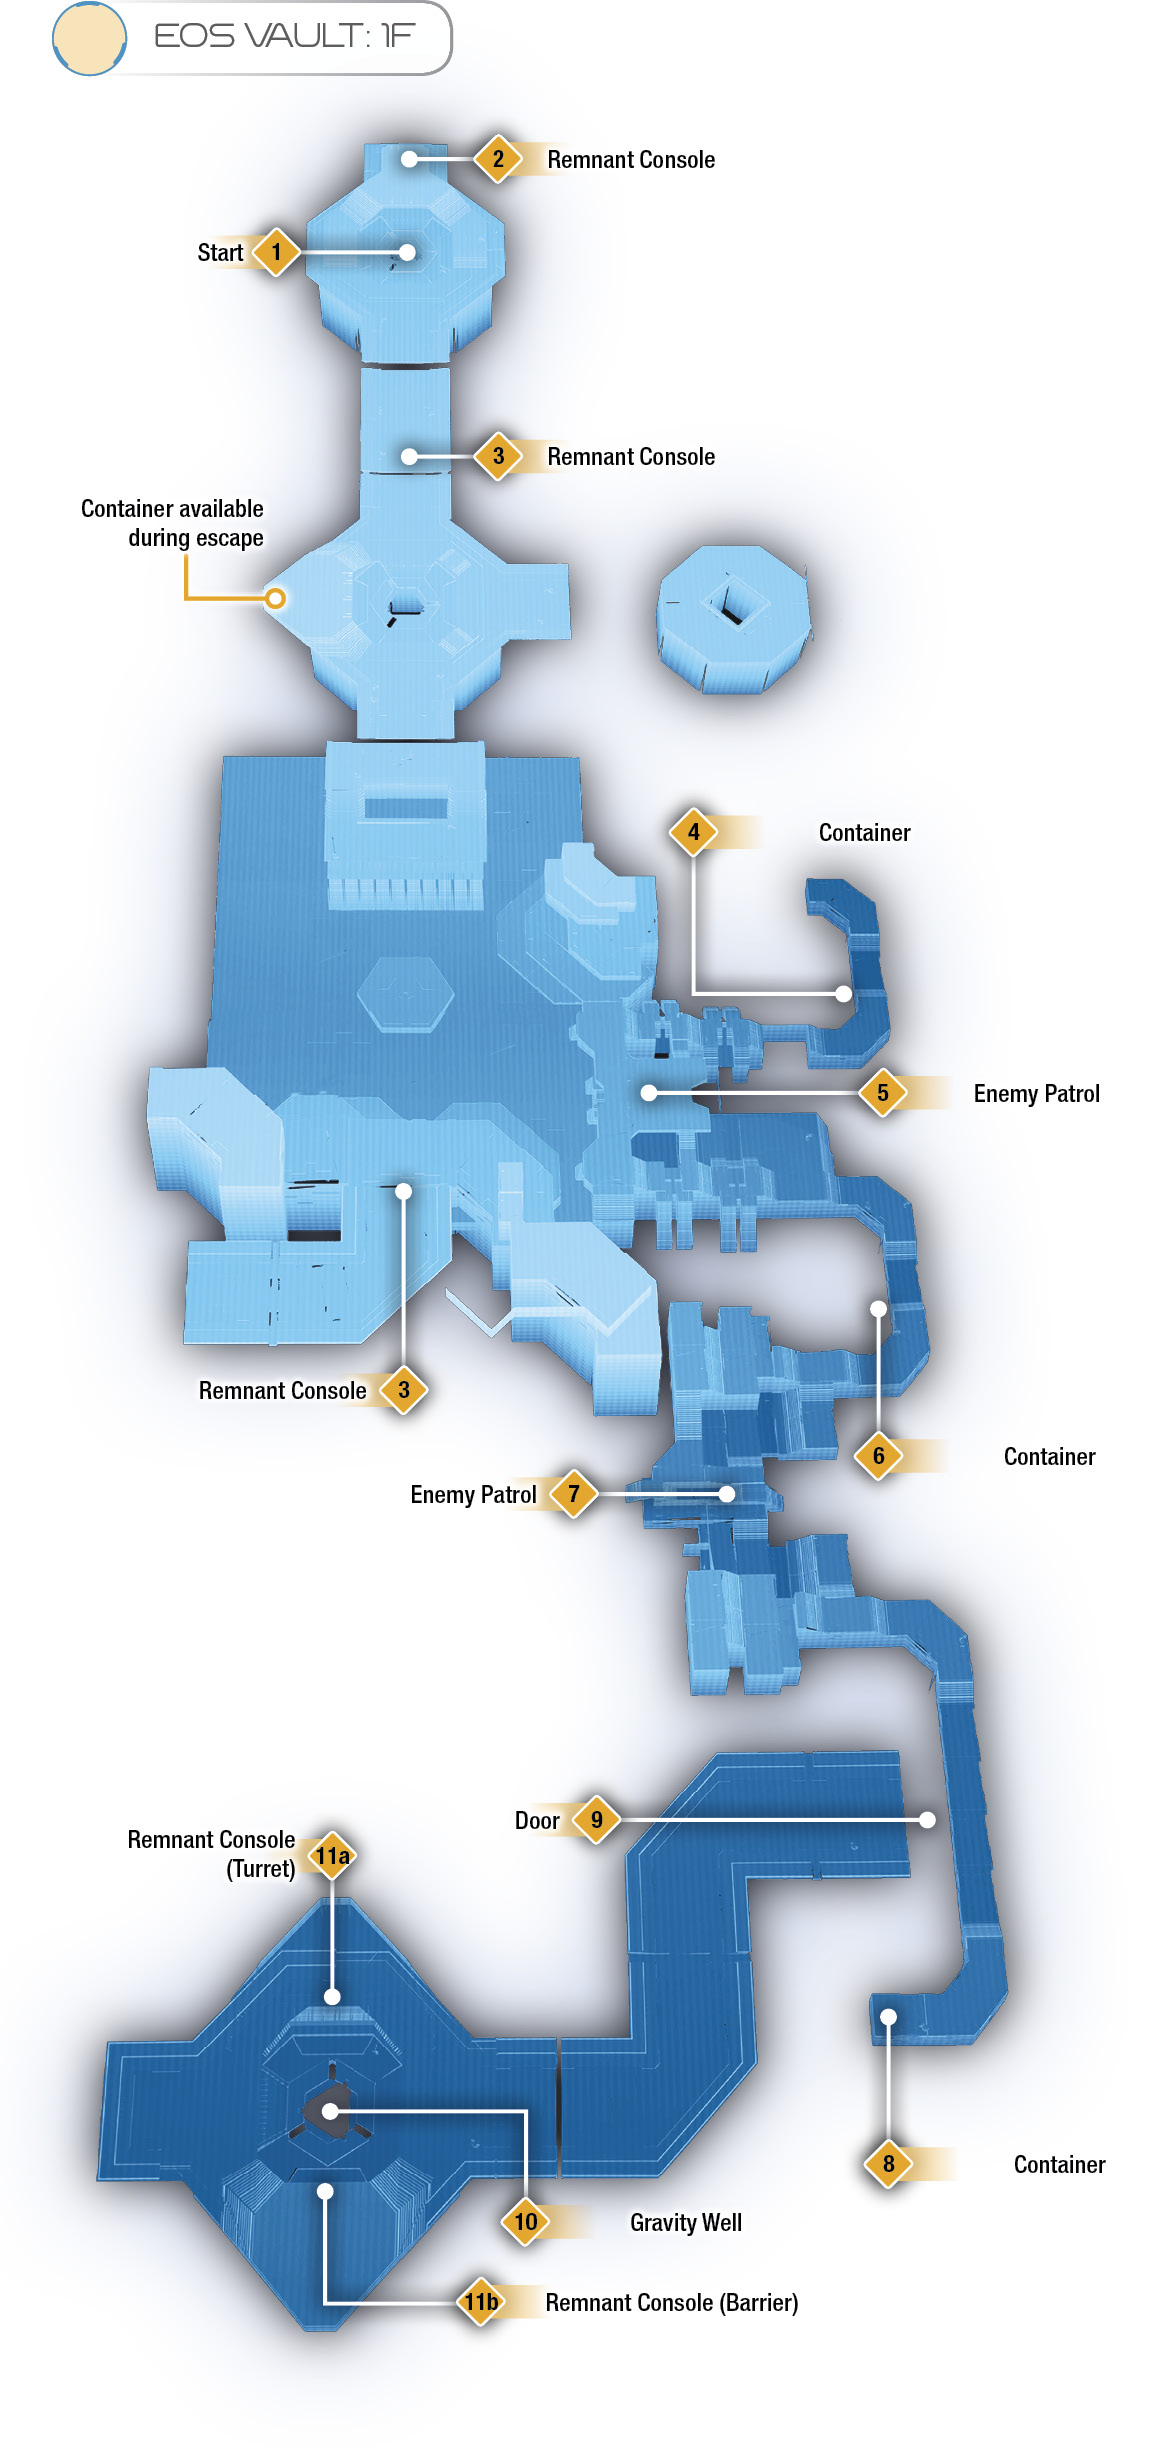
To the west of the cavern are several Assemblers patrolling the area. You can sneak past them if you distance yourself. Otherwise, consider retreating to the north side of the map before engaging. Destroying the Remnant may be preferable for collecting materials and nearby containers.
There are a couple of optional containers to pick up here, hidden behind doors (one on a northeast path (4) and one on the way down to the southeast section of the map (6)). See the vault map above for exact locations.
Continue following your navpoint south along a path to the east. Another group of Remnant patrols are here. You can destroy them or sneak by them quickly. Your destination is to the southeast, where you make contact with Peebee. After touching base with Peebee, continue south past the door to your right. Open the door to the small room at the end of the dead end to access a “rare”-type container (8).
Enter the large door you passed to progress through the vault. Go through the large hallway through another door to an arena-like room with another group of Remnant patrol units. Combat here is not optional, so prepare yourself.
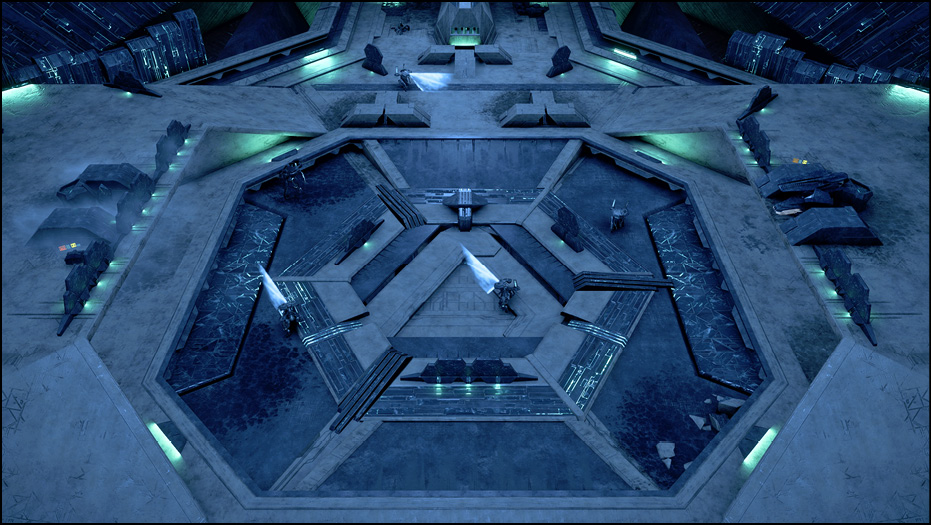
There are several Assemblers here along with a shielded Observer unit. While they aren’t immediately hostile, interfacing with either of the consoles necessary to proceed causes them to attack you. Get ready for a fight. You have a choice of either activating the north console to hack a Remnant turret or the southern console, providing a protective barrier for you. Hacking the turret may be preferable, since you won’t have to deal with it yourself (turrets have high health totals).
There are several cover points here you can use to protect yourself. It’s recommended that you take out the Observer as soon as you can, as they deal the most damage if they get a lock on to you and you’re out of cover. After defeating all the Remnant, interface with the console opposite the one you used to initiate the encounter. This completes a connection with a Gravity Well in the center of the room.
Pick up any loot from the destroyed Remnant and search containers in the area, then interact with the Gravity Well to descend into another large arena-like area. The Remnant console you need to interface with here has a fluid-leak issue.
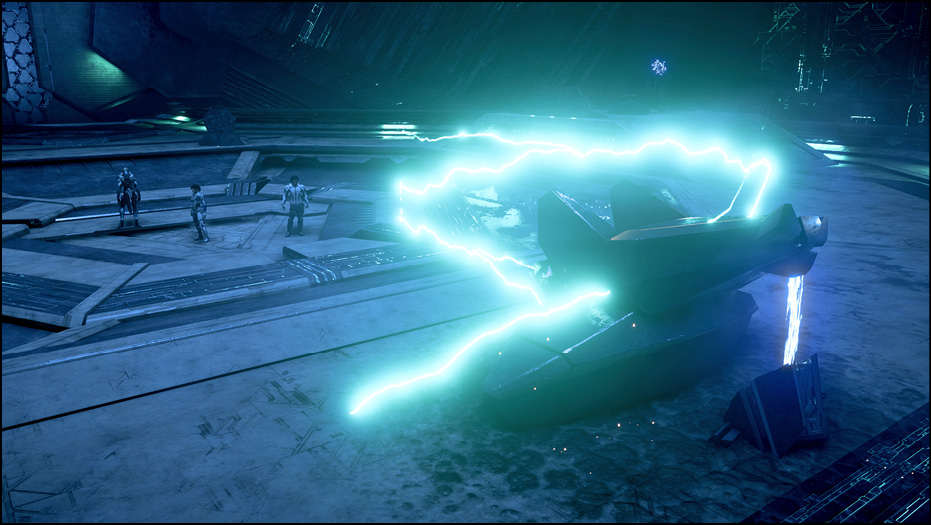
Scan it. Peebee arrives and sends a repair frequency to your omni-tool that you can use to fix the leak. Once the console is repaired, interface with it again to open up the door to the west. Don’t leave just yet, though. North of the Gravity Well is a container with static loot inside: a pair of Remnant Cryo Gauntlets. You can equip them immediately. Next, go through the west door to enter another massive cavern.
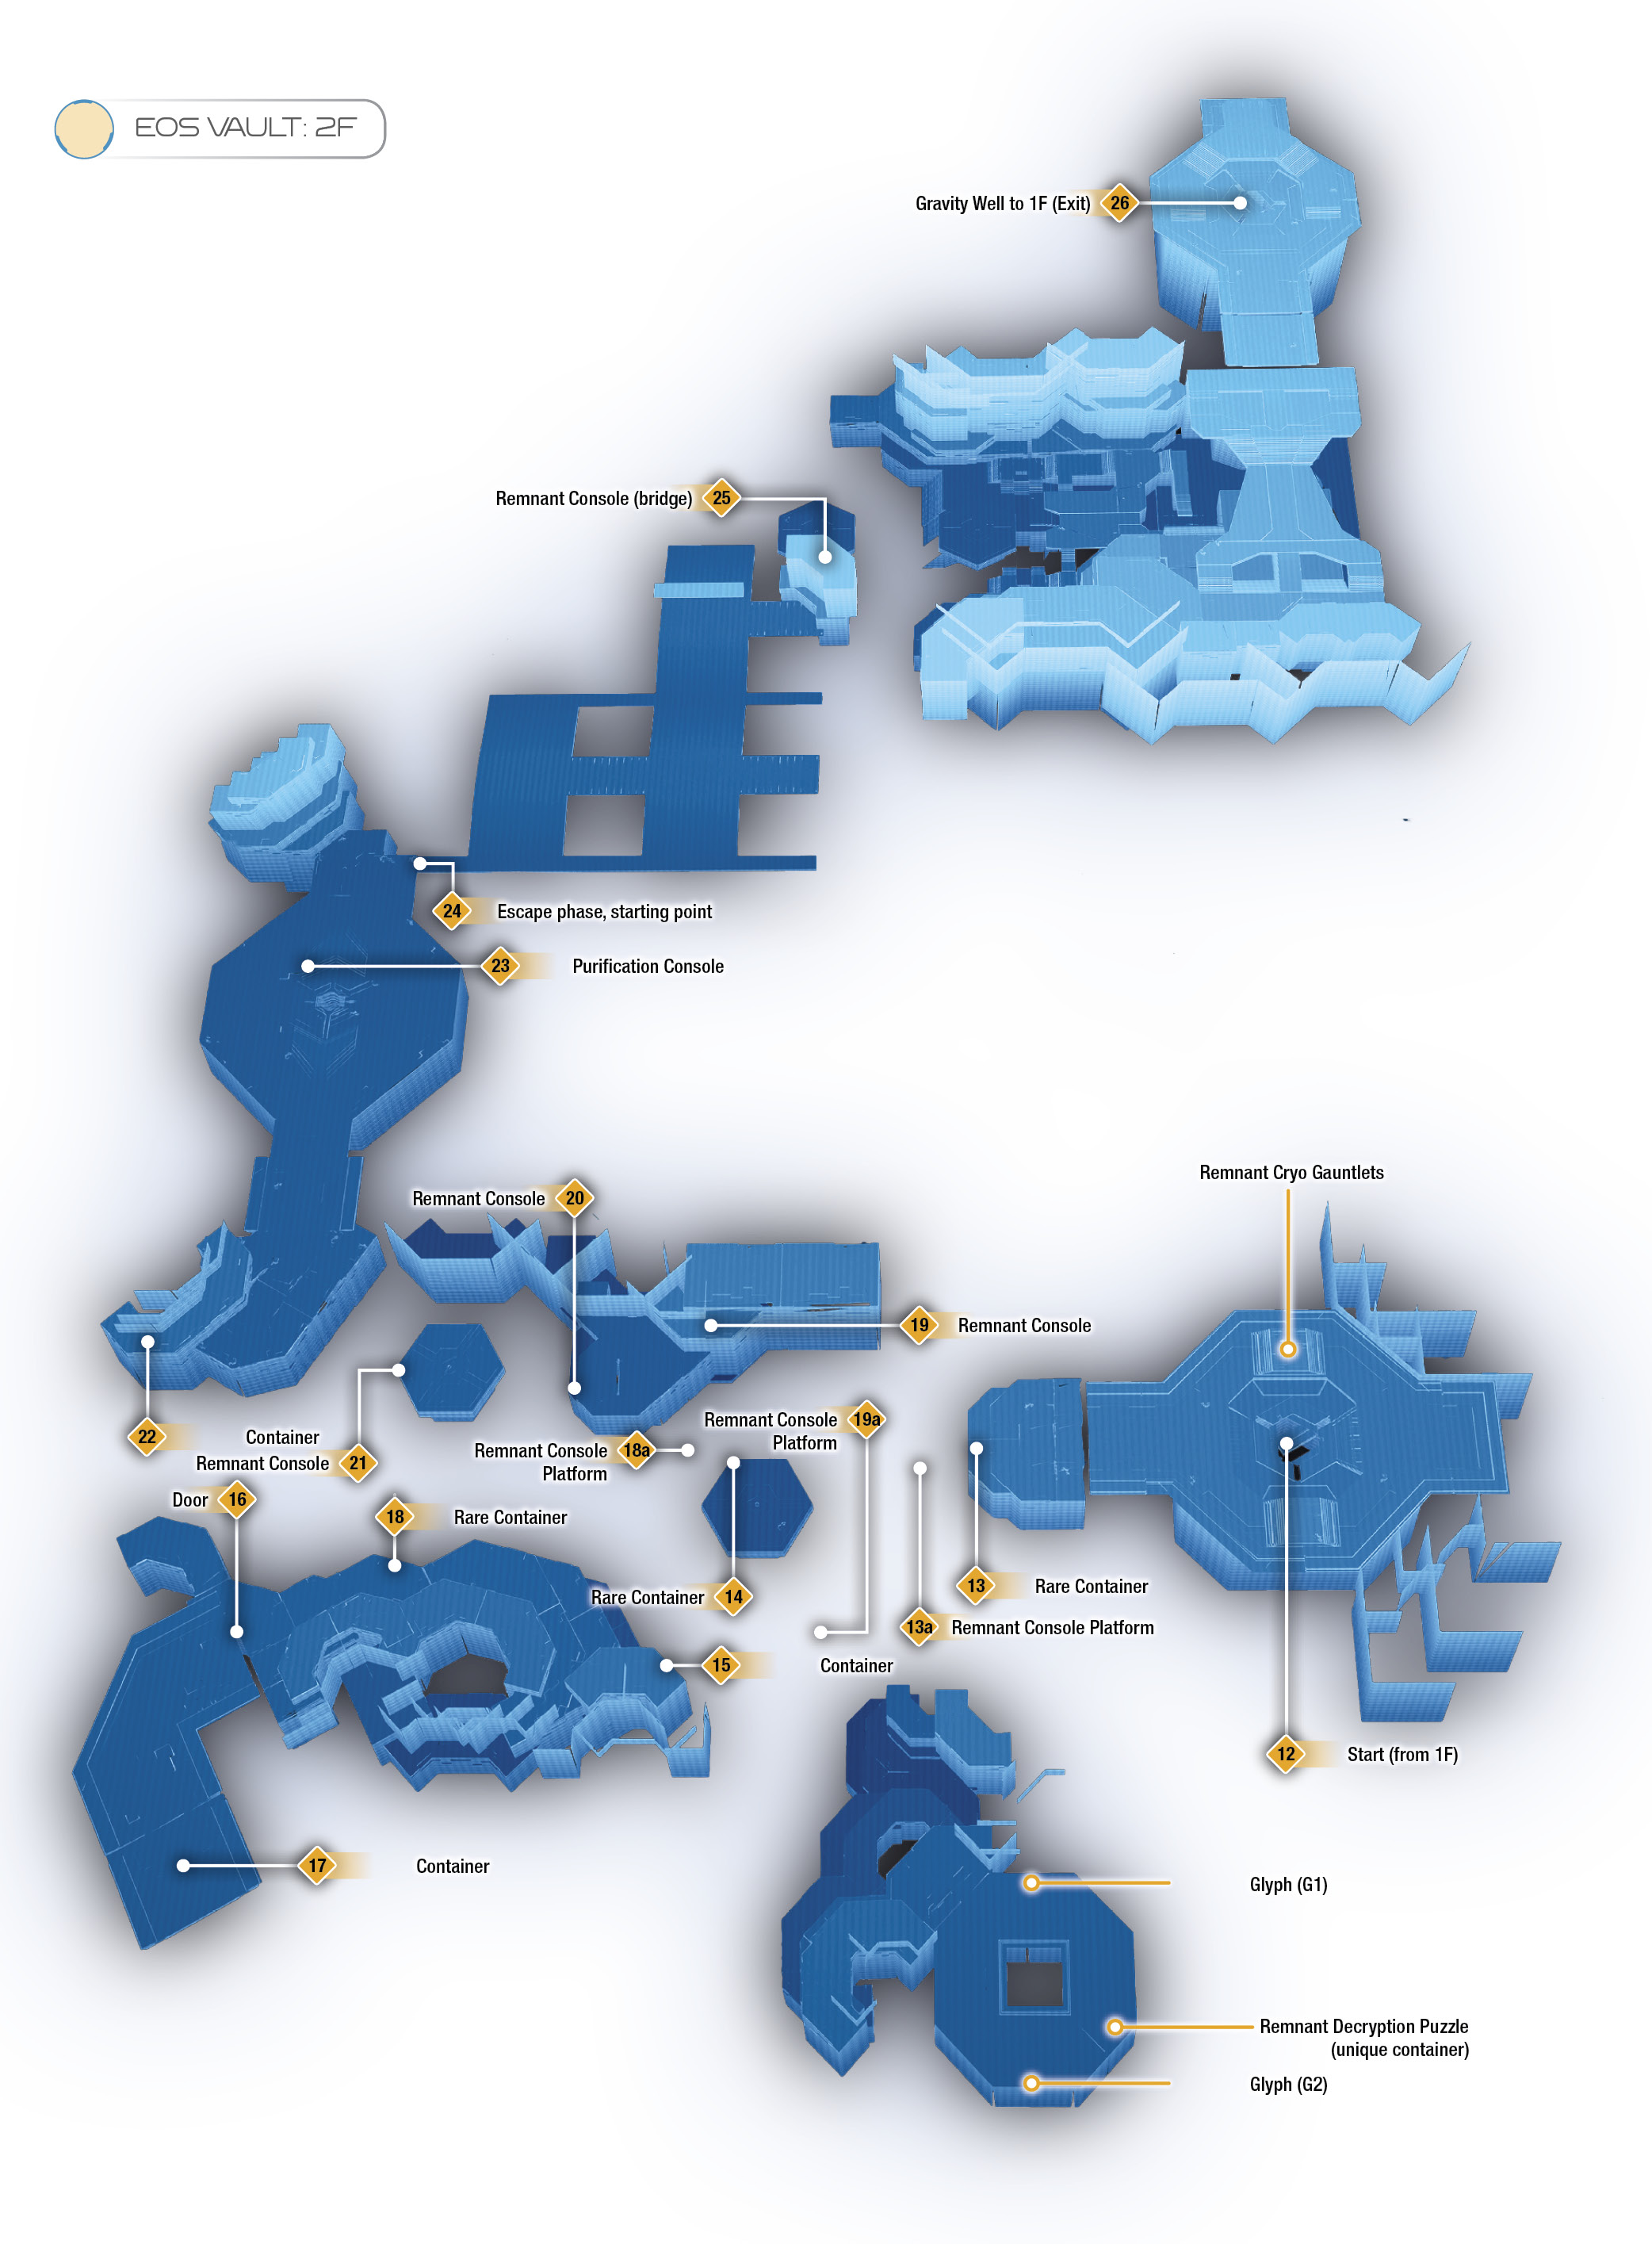
Access to various sections of this area requires interfacing with Remnant consoles. Most vaults are built this way, so expect to refer to the map often.
Toggle the Remnant console here to raise a platform, allowing you to jump to the central platform with a large plant on it. Then toggle the Remnant console on that platform to reveal a path to the southwest section of the map.
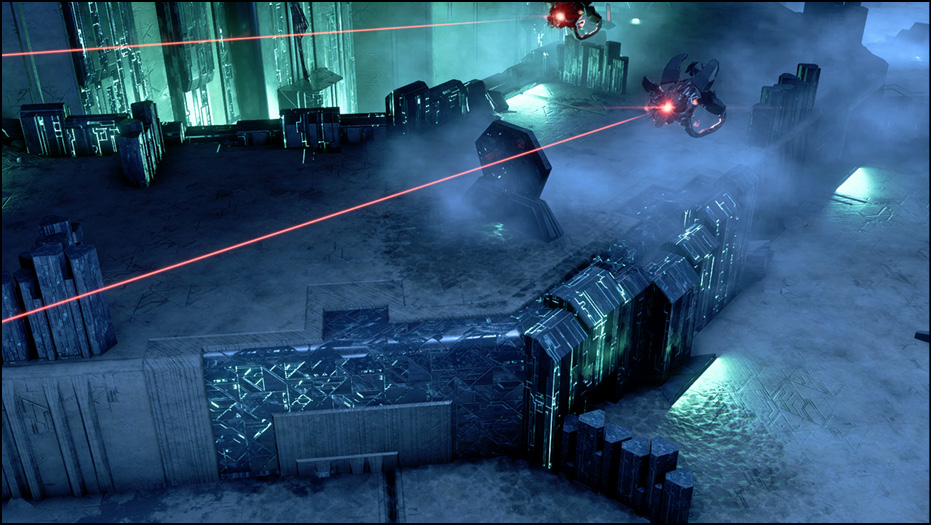
There’s a container on top of a ledge here (15). As you continue west, multiple hostile Observers attack. It’s best to stay in cover here since having three Observer beams locked on to you could mean death.
After they’re defeated, continue west and open the door at the other end to enter an optional area. At the end of the creepy hallway is a “rare”-type container (17).
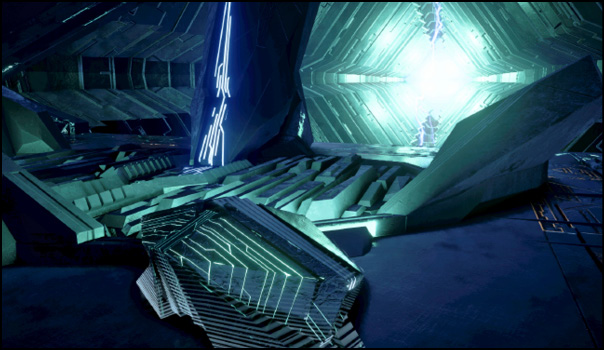
Loot it, then backtrack to the Remnant console you passed by earlier (18). Interface with it to open a pathway to the northwest section, accessible from the central plant platform (18a).
Another group of Observers attacks you here. Deal with them, then jump-jet your way back to the plant platform, and then to the northwest section. There’s a Remnant console out of view on top of a high ledge here (19). This grants access to an optional, “secret” section to the south. Climb down, backtrack to the plant platform, and cross to the south.
Take note of another giant plant in the distance. As you climb the ledges and approach it more Observers attack.
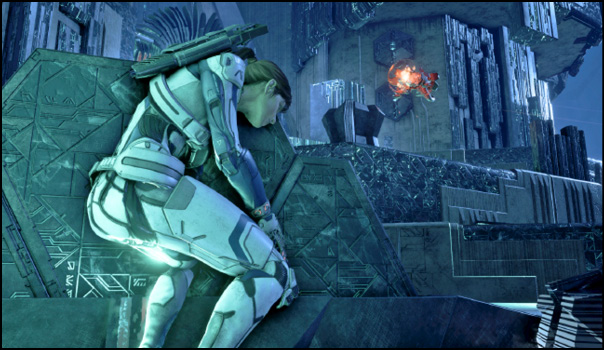
Take them out from cover, then proceed to a Remnant Decryption Puzzle by the plant. There are two glyphs to scan here (you can scan practically everything in this room for some Research Data). One glyph is on a wall just north of the plant (G1), and the other is on an opposite wall, south of the plant (G2). Finally, you have to unlock the container by completing a Remnant Decryption Puzzle.
After pillaging the container, return to the north end and interface with a Remnant console (20), revealing a path west and another Remnant console (21), which, when activated, raises a bridge to cross to the westmost section of this floor.
Cross it, then jump up the ledge to the left to search a container (22). You’re almost to the end! Head north through the door toward your navpoint. Search the salvage container to the east of the room.
This is a point of no return: You will no longer have access to the vault after the next step, so make sure you’ve completed the optional Remnant Decryption Puzzle! When you’re ready to activate the vault, interface with the console (23) to trigger a cutscene.
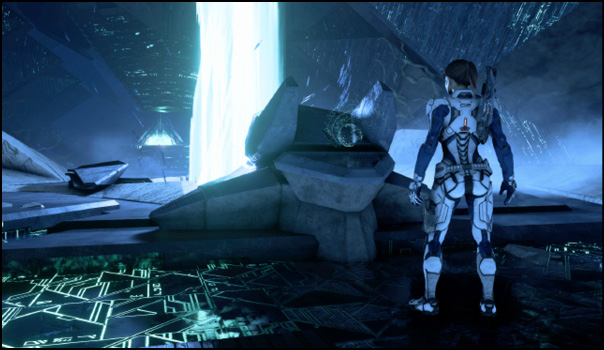
Here, you receive the Fusion Mod of Shielding (the strange Remnant tech Ryder finds at the beginning of the cutscene is an actual mod you can equip to your armor). For details on Fusion Mods, see the Game Mechanics Glossary. Activating the vault’s atmosphere processor also starts up its “purification process,” where all biological lifeforms left in the vault are exterminated. That means you, so it’s time to run. Note that pausing during this “escape phase” stops all time (thus, the purification field), so if you need to get your bearings while you’re making a break for it, do so.
Once you’re in control again, run straight ahead a few steps, then follow your navpoint marker to the left.
Then make a right, a left, and then another right to reach a Remnant console (25). Quickly interface with it, then cross the bridge it raises to the final section of the vault.
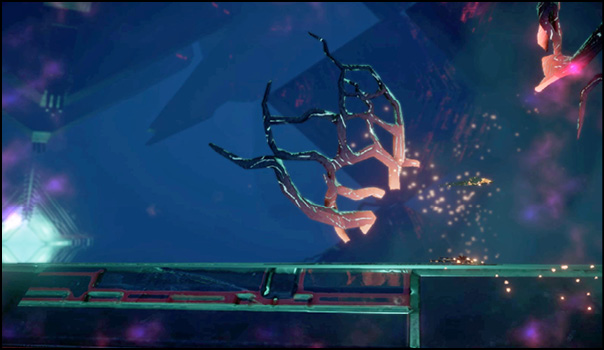
Here, you need to climb up several ramps, toward your navpoint (26), while avoiding the electrical ferrofluid streams. Getting electrocuted here doesn’t necessarily kill you, but it can definitely set you back. Once you’re at the top, open the final door to the north, then run inside to activate a Gravity Well, bringing you back near the vault entrance (where the enormous barricade used to be). Before you deactivate the purification field, jump up to the west, enter the previously barred-off room (1F, Container available during escape), and search the large container inside, which rewards you with several pieces of high-value salvage.
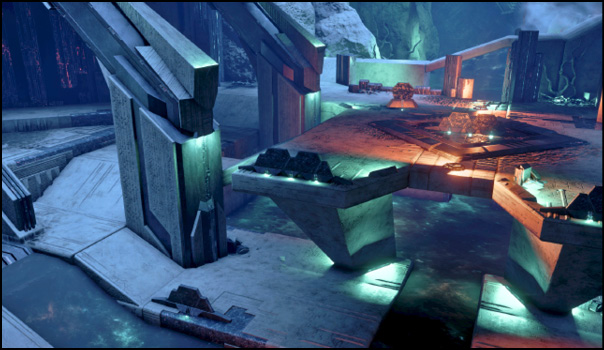
Now you can make a dash north toward the exit to escape the vault’s wrath. Congratulations on activating your first vault! You’re rewarded with +50% Eos Viability and the ability to settle an outpost on Eos.
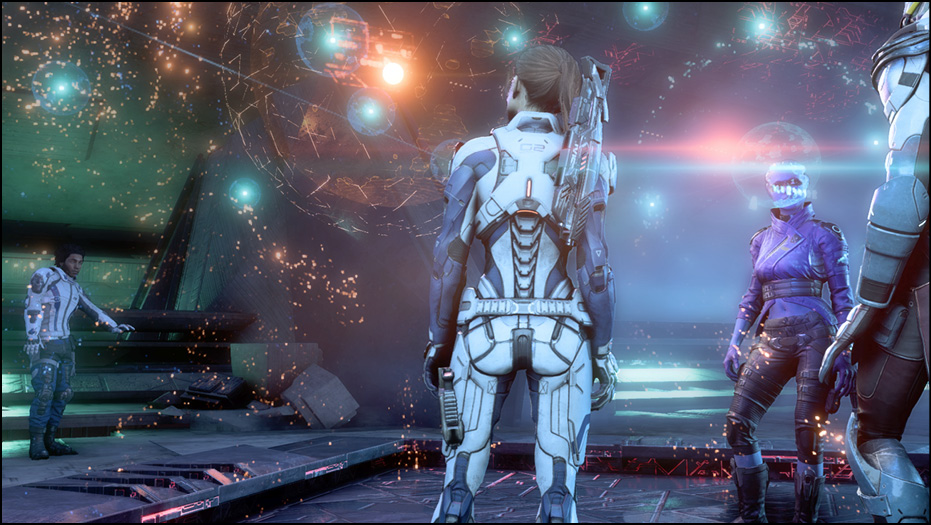
Settle Prodromos
Next, use your map to fast travel to the forward station to the west (overlooking the potential settlement region). As you arrive, the squad notices Drack down below, fighting a mob of kett soldiers. Hop into your Nomad and join the fray.
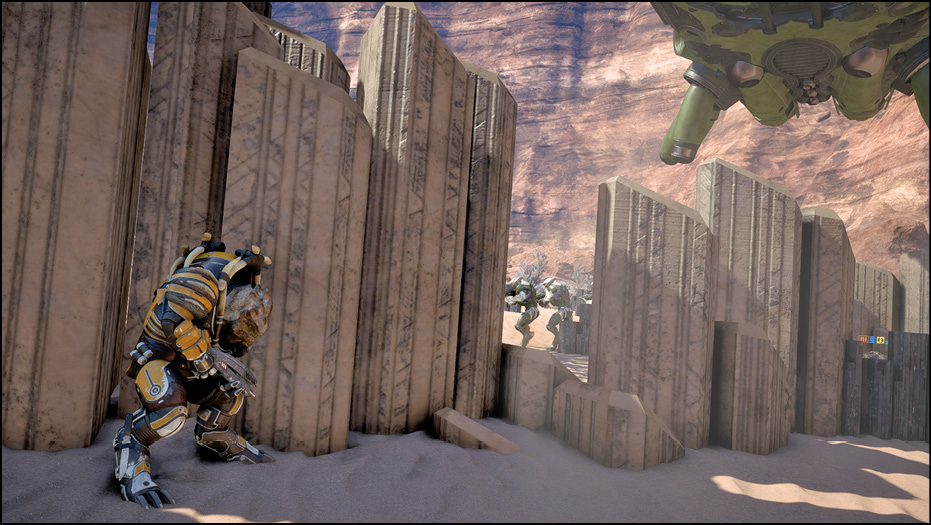
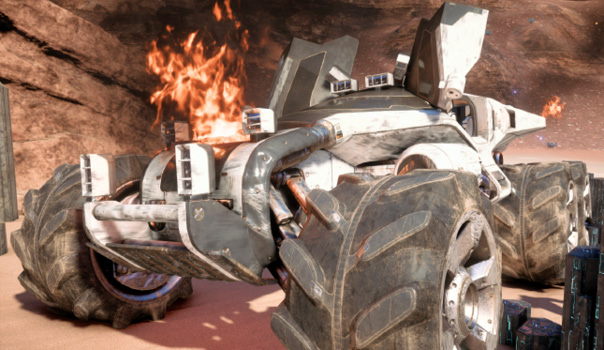
There are several Chosen here to run over with your Nomad. However, be careful not to take too much damage while in the Nomad. Once its health is depleted, the game ends.
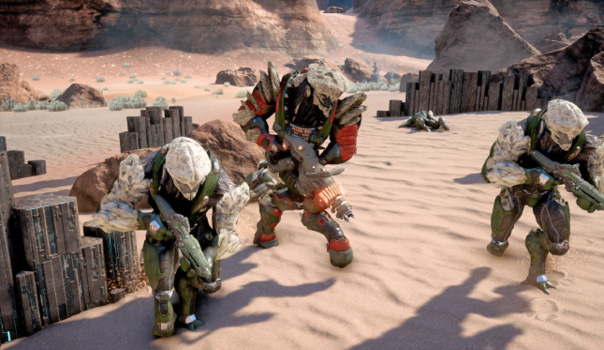
After clearing out the first wave of Chosen, another dropship arrives, dropping off another squadron of kett, including some Anointed. Either hide behind cover to take out the weaker Chosen safely, or go after the Anointed with both squadmates and a well-placed shield-draining attack.
Continue to use the Remnant structures as cover if you’re taking too much fire. This battle can be difficult (especially on Hardcore and Insanity).
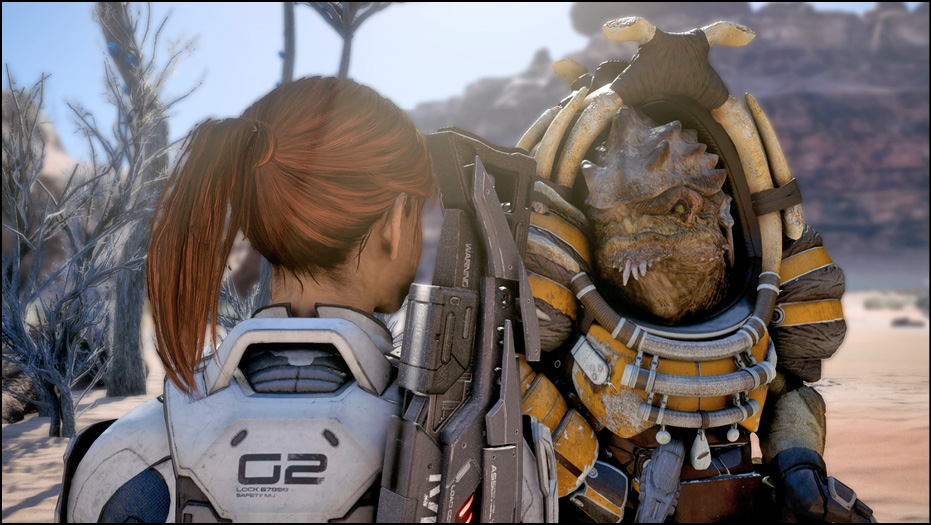
Once you’ve cleared out both waves, a cutscene with Drack triggers. You’ve impressed him via combat, earning his respect.
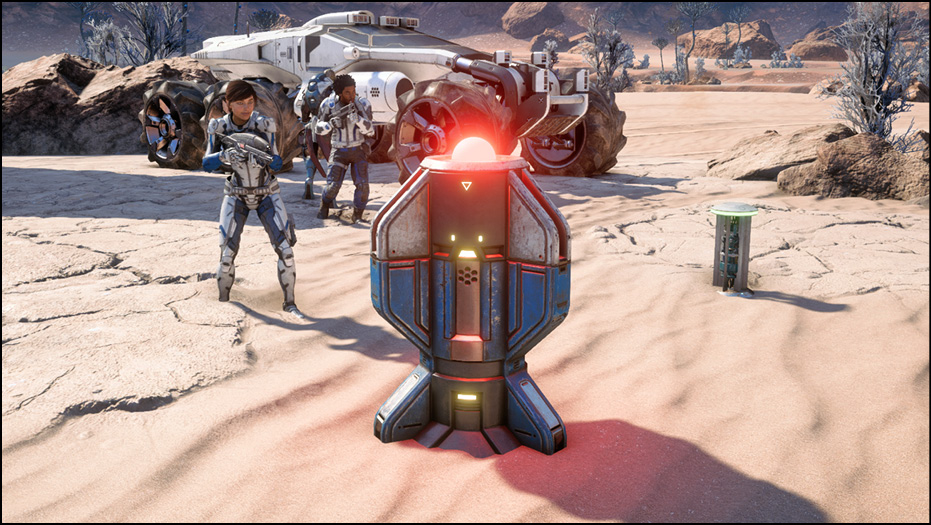
You can now settle the Eos outpost by activating the outpost beacon nearby, which rewards you with +10% Eos Viability. As a Pathfinder, it’s up to you to decide what kind of colony Prodromos is, a choice between a military base or a science-oriented research center. This key choice has a minor effect on certain story aspects.
This is an excellent time to take a break from Priority Ops if you’d like to help new colonists on Eos. Several quests and tasks can be accepted on Prodromos from various colonists. Use your menu map to locate them (or refer to the Secondary Ops chapter of this book). As a reminder to explore, there are several mineral nodes around Prodromos, and containers to search in Prodromos’ buildings. You’ve probably collected a hefty amount of salvage at this point as well, so find a vendor (or use the Buy/Sell Kiosk on the Tempest) to exchange your salvage for usable credits.
Additionally, the Tempest’s new landing zone on Eos is Prodromos, instead of Site 1.
Return to the Nexus
When you’re ready to advance the main story, return to the Nexus in the Zheng He system. Check out the new areas available in the Nexus’s commons area. The Vortex bar, hydroponics, tech lab, and cultural center are all available now. Take a look around and speak with the colonists, as they may have quests for you to undertake.
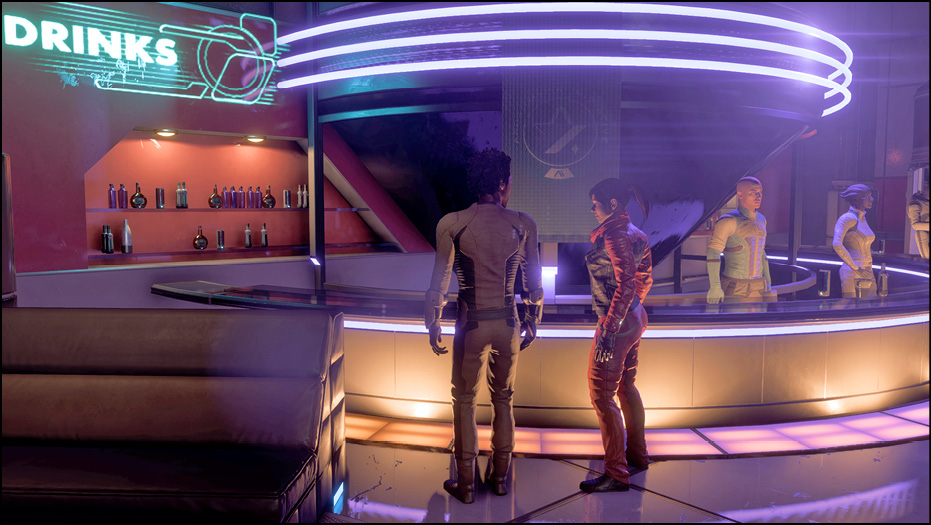
Head to Nexus operations. You can turn in the Priority Ops mission “AVP Cryo Deployment Perks” by speaking with Addison and then her assistant, Vladimir Brecka, in Colonial Affairs.
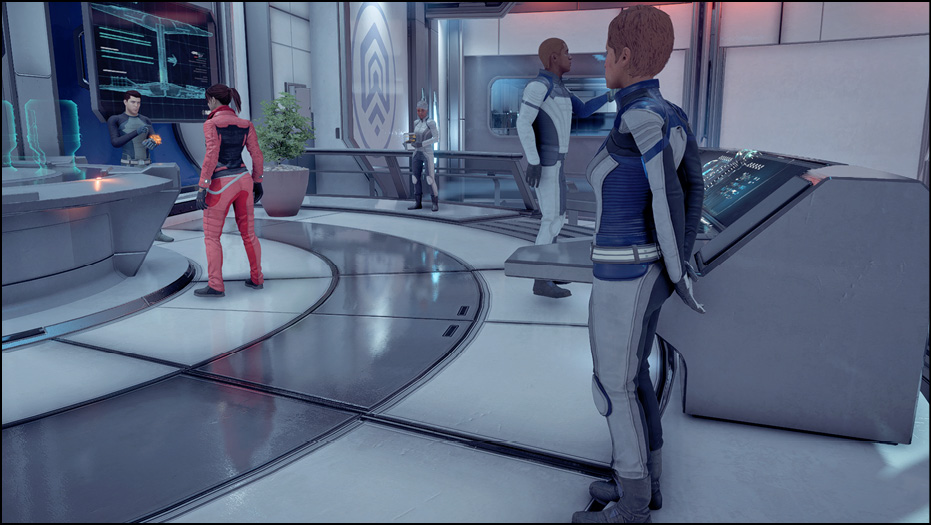
Here you learn about the perks mechanic. Perks are passive bonuses rewarded to you for your efforts as a Pathfinder. Spend your cryo pod point to fulfill the mission objective. For details and specifics, see Cryo Pod Perks in the Game Mechanics Glossary.
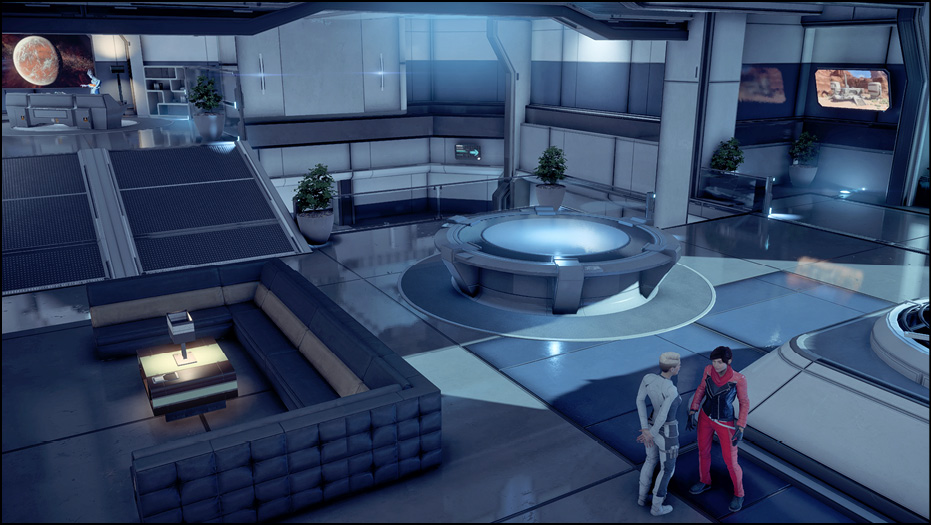
Next, go down to the Pathfinder Headquarters to speak to Director Tann. This cutscene concludes “A Better Beginning” and initiates your next major mission, “A Trail of Hope.”