Mass Effect: Andromeda Collector's Edition Guide Multiplayer Multiplayer Atlas
Firebase Zero
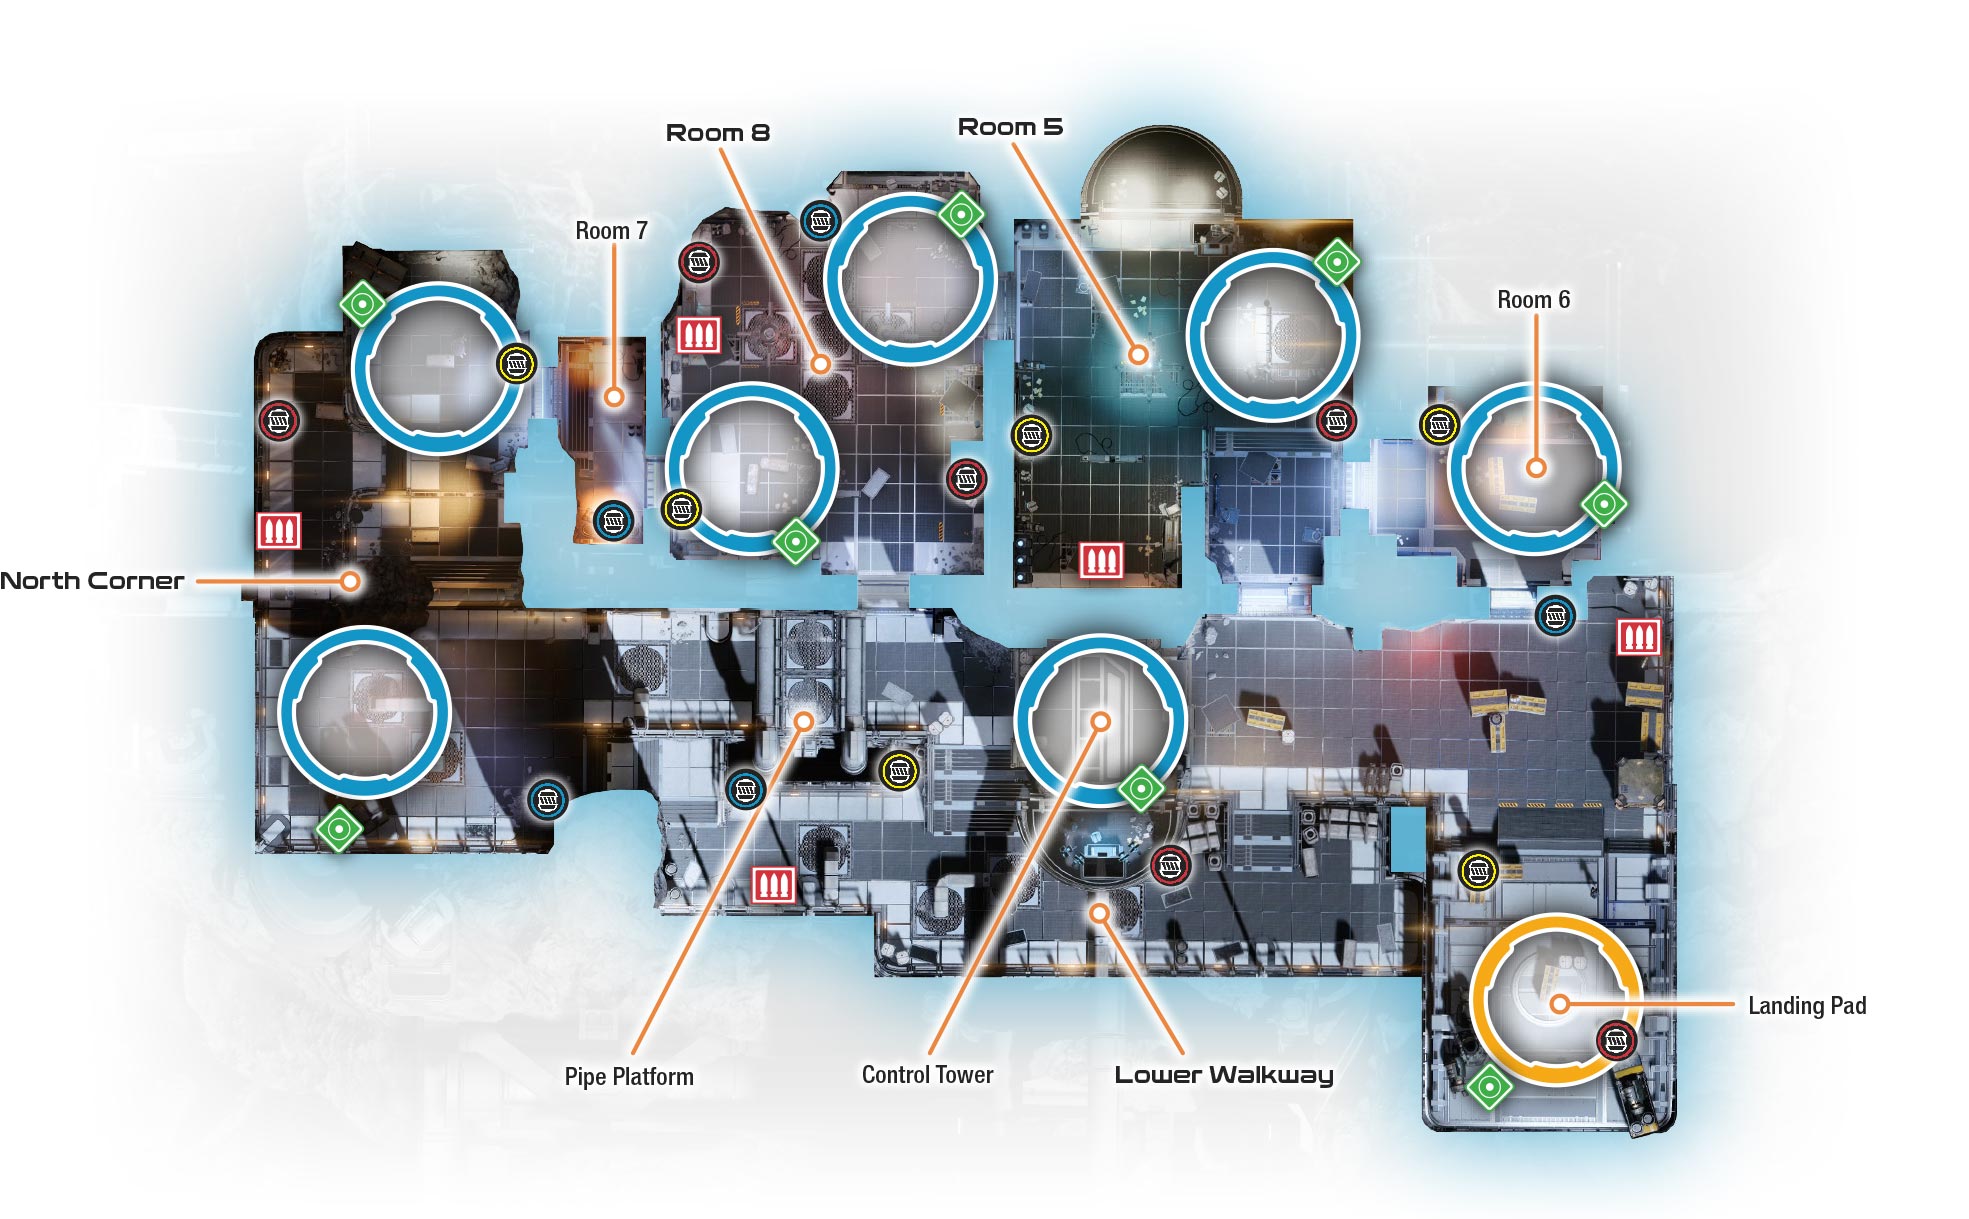
Map Legend
| Icon | Item |
|---|---|
 |
Ammo |
 |
Devices |
 |
Biotic Explosive |
 |
Incindiary Explosive |
 |
Cryo Explosive |
 |
Electric Explosive |
 |
Extraction |
 |
Objective |
Enterprising miners built this fragile outpost to mine an asteroid’s element zero. As enemies hunted the eezo bounty, the miners overloaded the outpost’s systems with all the element zero they could before they fled, resulting in a breathable atmosphere around the outpost’s pylons.
Strategic Points
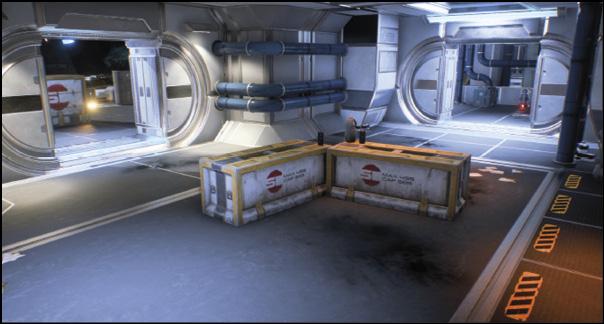
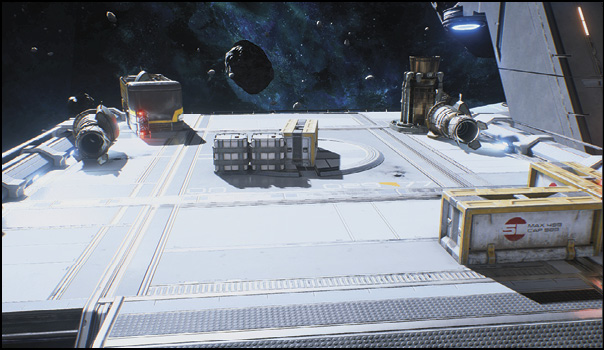
Landing Pad: This is where your mission starts and ends. A few containers provide decent cover from enemies coming out of Rooms 5 and 6. This location is not conducive to a long defense, due to its lack of line of sight on the lower walkway, which allows enemies to jump up and perform quick close-range attacks.
Control Tower: The control tower’s high elevation may make it look like a great spot to set up a defense, but it features only a few small points of cover. Unfortunately, the bulk of the southern-side cover is also destructible.
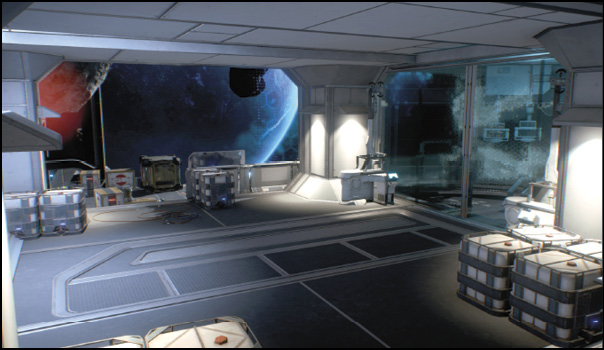
Pipe Platform: The platform between the two large pipes to the north of the control tower is a great spot to set up a quick defense against enemies to the north or those currently occupying the control tower.
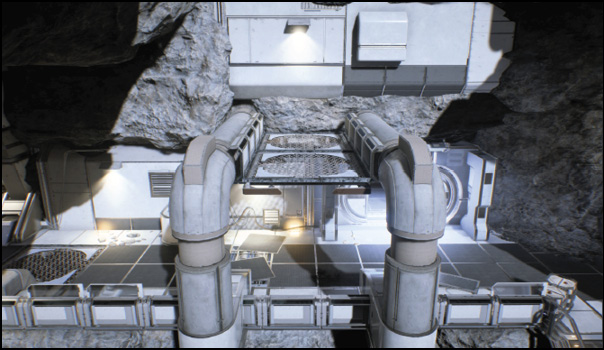
Lower Walkway: Low cover points fill the lower walkway, but it features no barriers to prevent enemies from attacking openly from the north or south.
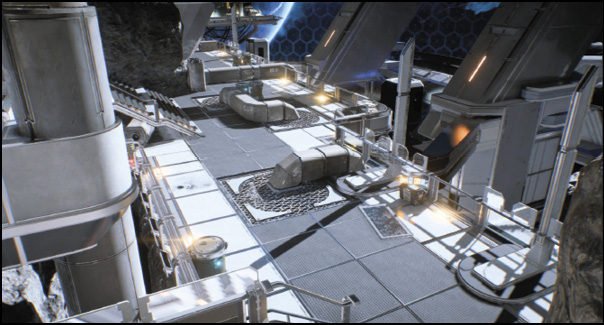
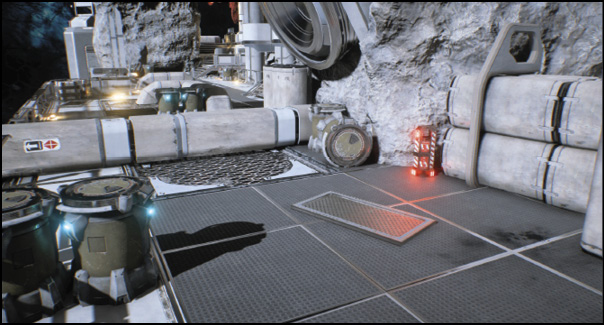
North Corner: The north corner of the map, just outside Room 7, is hands down the best place to set up a defense. As few as two players can defend this area—one defends against enemies coming from the south, while the second defends against those coming from inside Room 7.
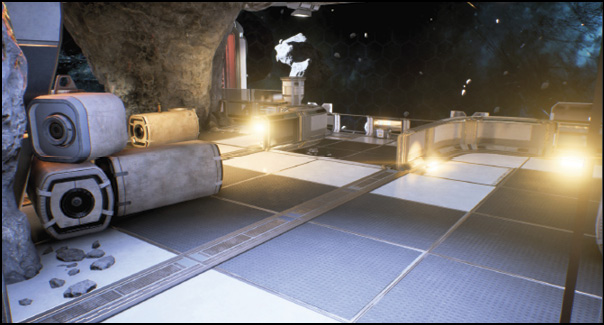
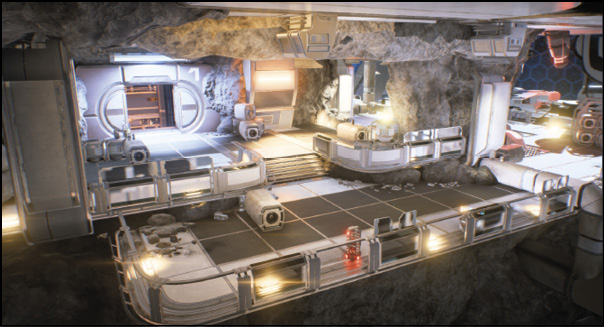
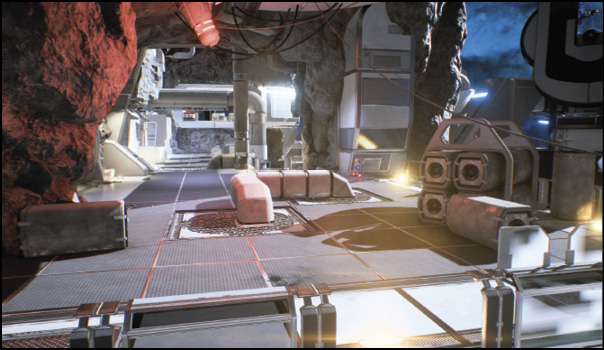
Room 7: Room 7 is a small room featuring two doors and one explosive barrel. The north door exits to the north corner. The south door, which exits into Room 8, provides a good look at most of the room, while the northern door acts more as a blind corner.
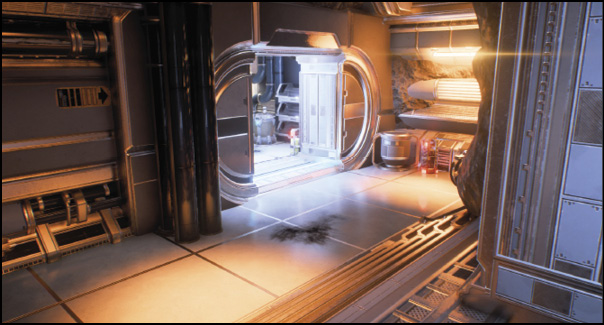
Room 8: Room 8 is a large room with plenty of cover points, great for taking on enemies who chase you inside.
However, holding Room 8 is problematic. As you kill enemies, more spawn and enter from one of three doors. While a few points offer protection from all angles, only one small cover point offers safety and a view of the entire room.
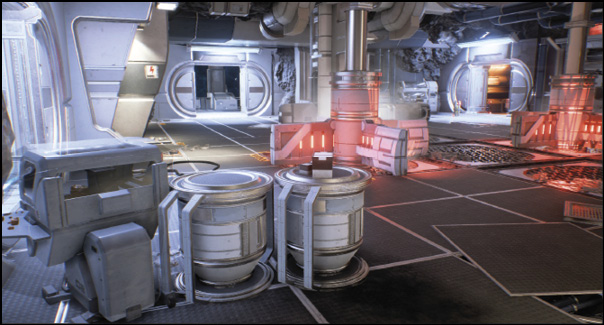
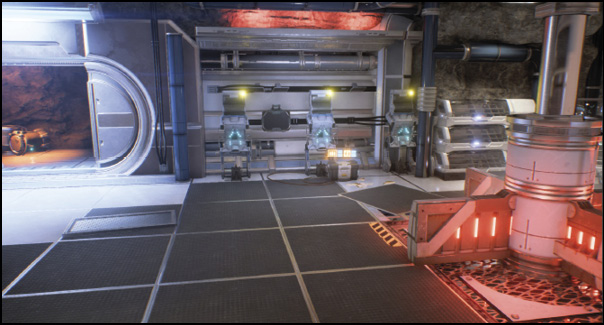
Room 5: If you’re looking to defend a room on this map, Room 5 is your best option.
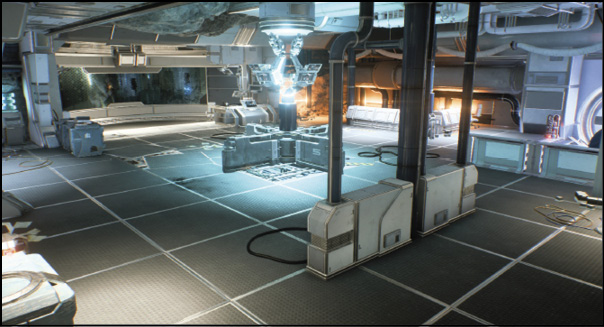
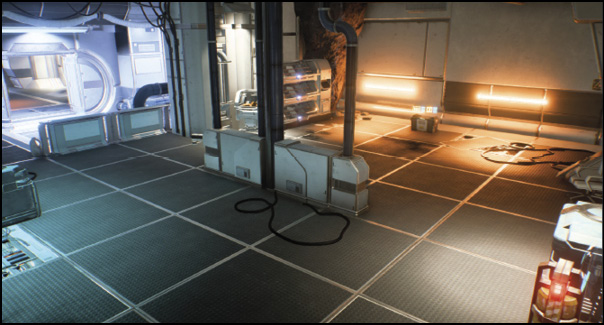
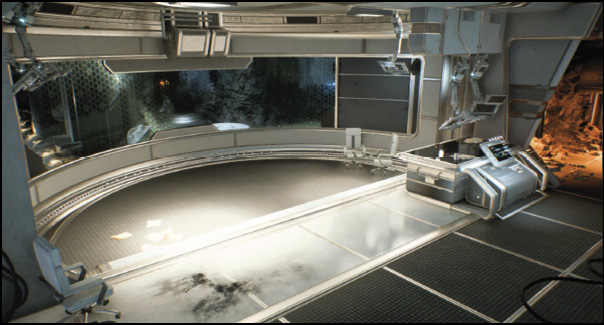
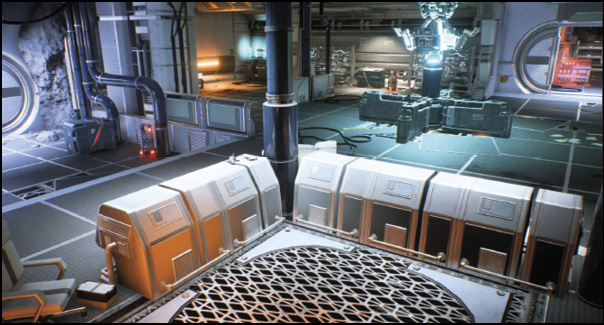
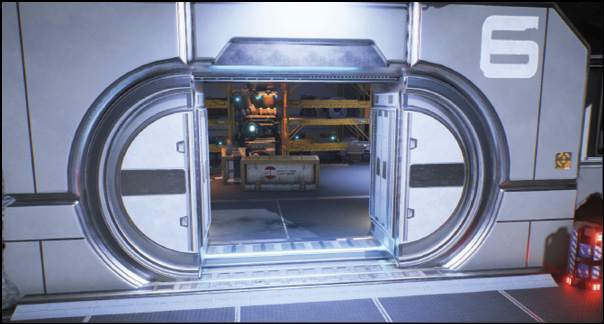
Room 6: This room is a nice stopping point to quickly defend against weaker enemies. It only has two entrances, one leading to Room 5 and the other leading to the outside.