Mass Effect: Andromeda Collector's Edition Guide Multiplayer Multiplayer Basics
Combat
This section briefs you on the knowledge you need to defeat the seven waves of enemies coming your way.
Sensitivity
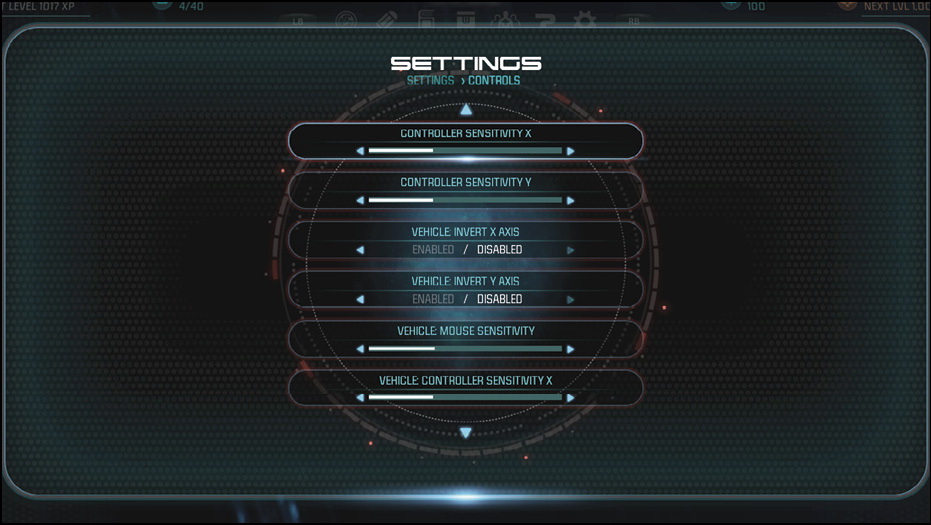
Sensitivity determines how quickly the crosshair moves in the direction you push the analog stick or mouse. You can change your sensitivity in the options/controller menus. Adjusting the vertical sensitivity increases/decreases your up-and-down look speed, while horizontal sensitivity does the same for left to right. The maximum setting gives you the highest turning speed, allowing you to acquire your targets and turn around quickly. Due to the PvE (player vs. environment) nature of the game, having the fastest turn speed is not as important as the ability to accurately aim at and kill enemies. It’s good to turn up your sensitivity as high as you’re comfortable with, while able to engage targets accurately across different distances on the map. Once you’ve acclimated to your sensitivity setting, consider turning it up another few notches and see if it increases your skill!
Choosing the Correct Shoulder
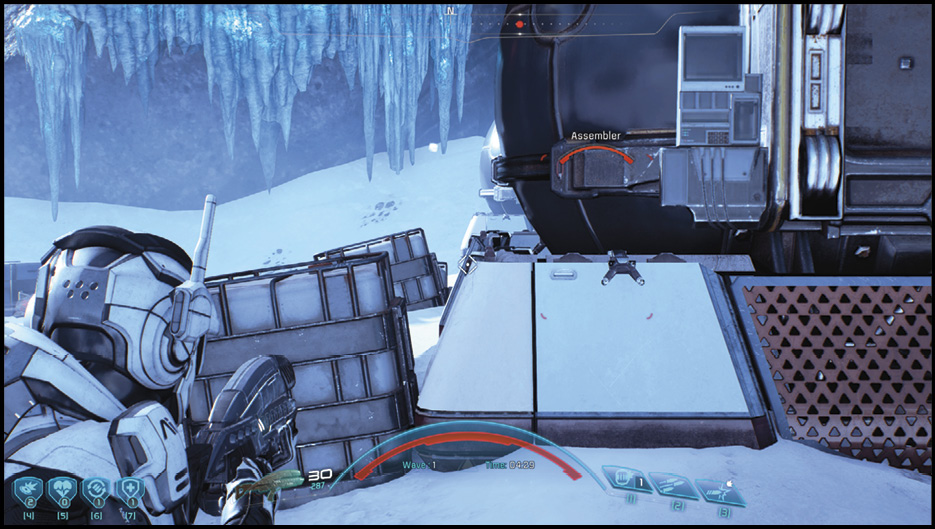
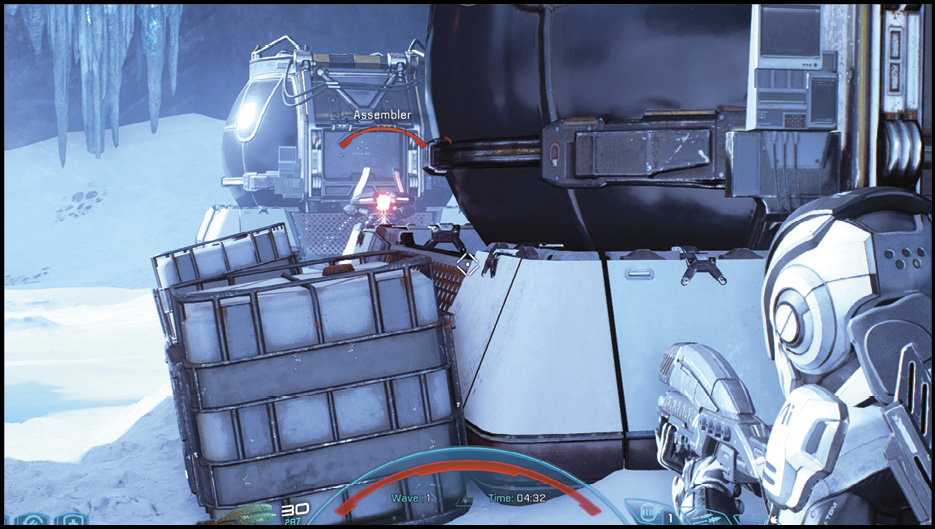
When rounding corners and fighting in general, always hover the crosshair over the shoulder opposite the wall or cover points. This method allows you to easily see around corners before revealing yourself, and gives you the best look at the majority of the space in front of you. Having your camera on the correct shoulder in each situation could mean the difference between life and death.
Melee
Melee is a strong close-range attack performed by using the Melee button. Some characters have multiple melee attacks, but they all behave the same way and deal the same amount of damage.
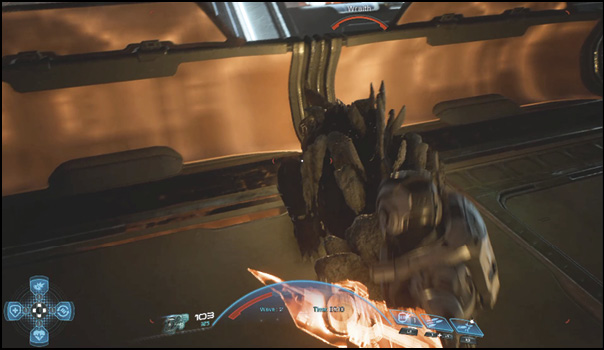
Standard Melee: This attack targets the closest enemy directly in front of your character and can damage multiple enemies if they’re in close proximity. Melee hits are great for taking out single weakened enemies, but they force you out of cover, leaving you open to all attacks.
Ground Slam: If you’re within close proximity to the ground when a melee attack is activated, you immediately slam your fist onto the ground. This attack is weaker than a standard melee attack, but it damages enemies in a full circle around the impact, granting you some space to boost away while they recover.
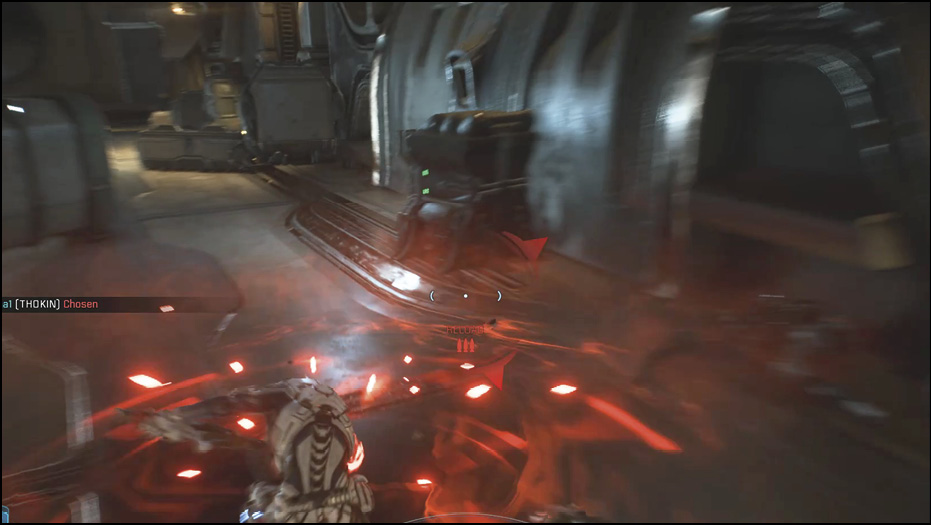
Sync Attacks
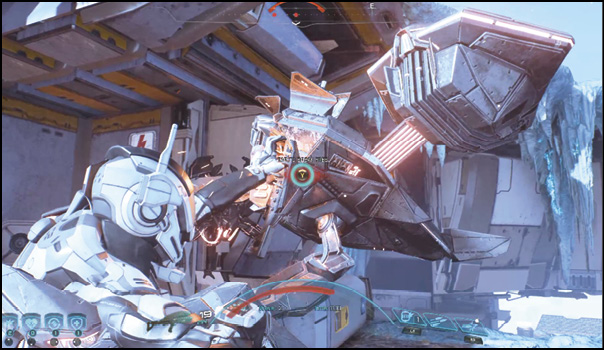
When within melee range, some attackers can perform Sync Attacks. When a Sync Attack begins, the camera shifts to show the struggle between you and the enemy. Some Sync Attacks against weaker enemies can be broken early by rapidly pressing the Interact button, while others are fully scripted and you’re locked in for the entire animation.
Sync Attack Capable Enemies
| Enemy | Breakable Sync |
|---|---|
| Adhi | Yes |
| Ascendant | No |
| Fiend | No |
| Wraith | Yes |
| Breacher | Yes |
| Hydra | No |
Weak Points
Most enemies’ weak points are their heads. However, some feature weak points at different exposed spots.
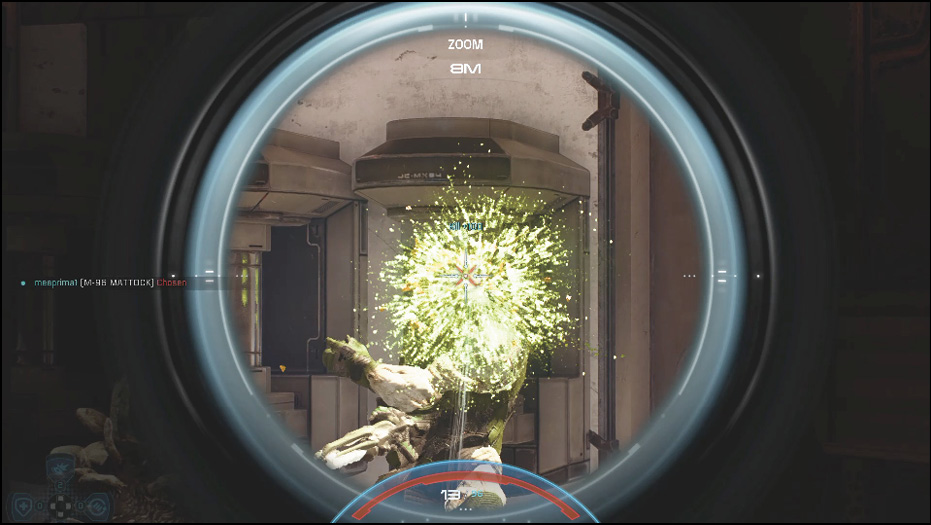
Shields
Shields are vulnerable to electrical damage and prevent priming by any type of damage. Shields can regenerate to their full capacity over time, so if you break an enemy’s shields, don’t let them run away!
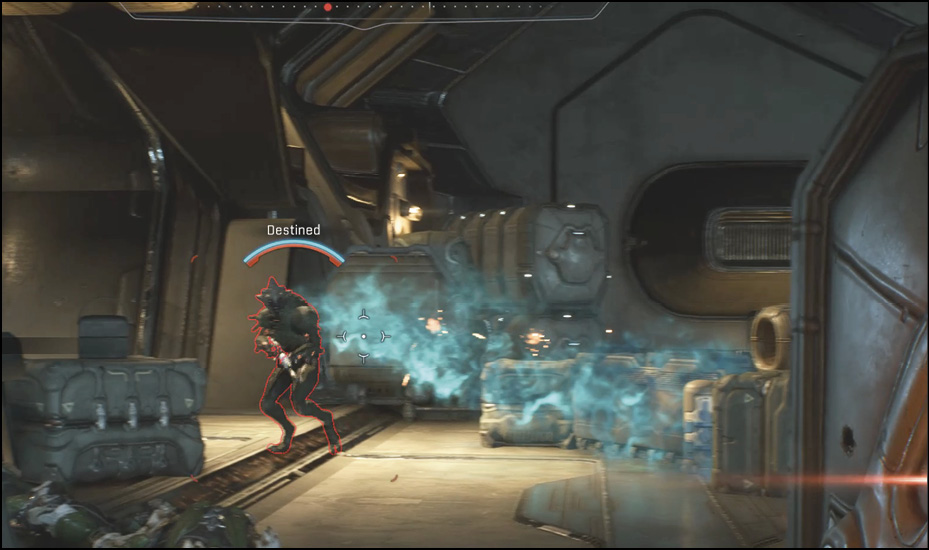
Armor
Armored enemies feature yellow health bars. They can be primed and stunned, but cannot be knocked down or thrown back. Incendiary rounds and fire-based abilities work great against armored enemies.
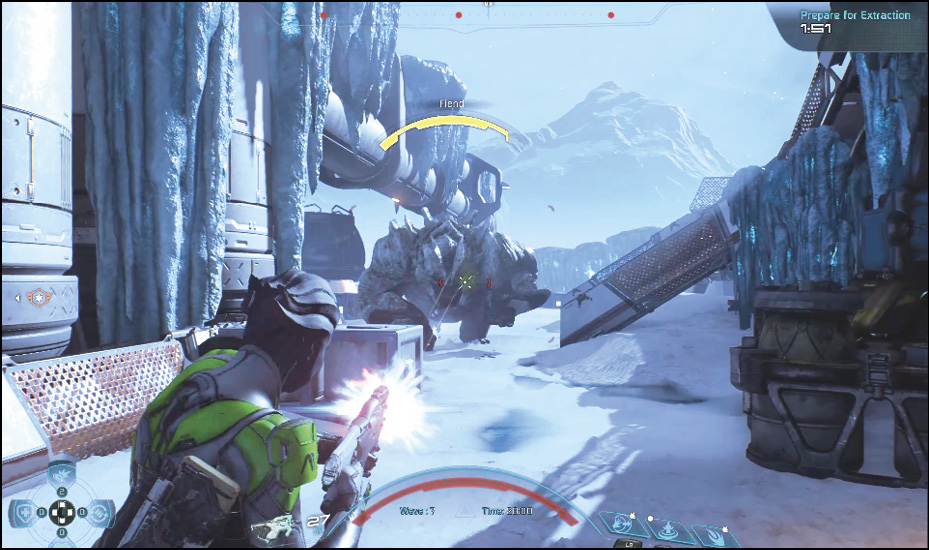
Priming
Enemies can be primed by fire, ice, electricity, and some biotic powers. In most cases, priming does not happen instantly and requires sustained fire from your power of choice. For example, the Cryo Beam needs to remain fixed on a target for a short amount of time to fully freeze it, leaving it vulnerable to detonation. Use your priming skills before any detonation skills so you don’t miss out on the bonus damage from detonations.
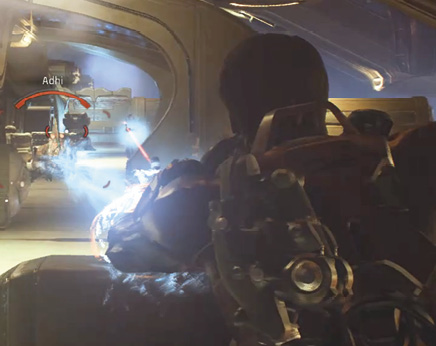
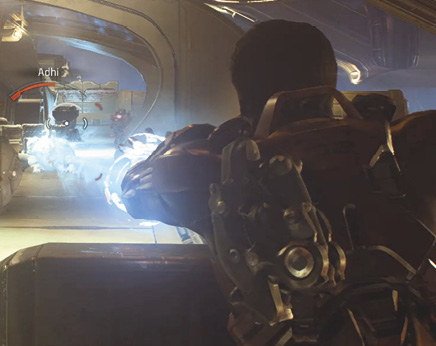
Detonating
Primed targets can be detonated using any skill that creates detonation. Some players with a priming skill will also have a detonation skill. Some skills may need to be upgraded before they can be used to detonate an enemy. Skills that can detonate feature the small detonate icon next to the main skill icon or the upgrade icon that adds this feature to your ability.
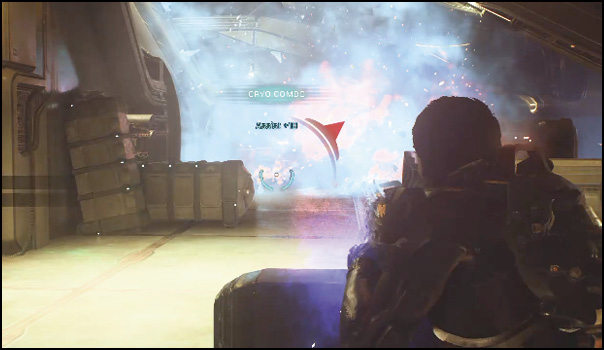
Detonating a target causes bonus damage to the target, while inflicting a heavy area-of-effect blast to any nearby enemies.
Cover
Taking cover is essential to your survival. Most cover cannot be destroyed by enemies. However, thin cover, like glass and the tops of some barricades, can be permanently destroyed, lowering the effectiveness. Low cover can be mantled, allowing you to quickly exit in the direction you’re facing without running around it or jumping over with your jump-jet. A small arrow appears if you’re in a position you can mantle out of.
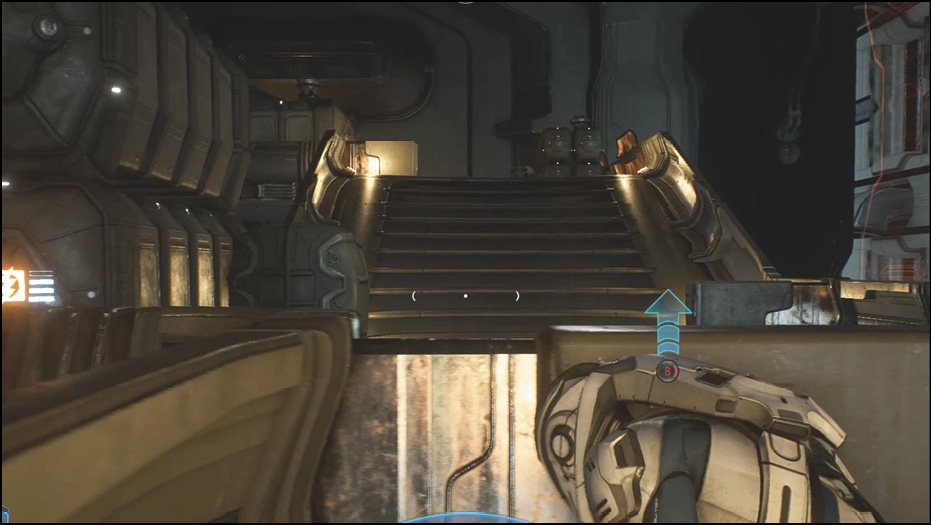
Simply move up against any piece of cover, be it a wall or a low piece of cover like a barricade, and your character automatically clings to it.
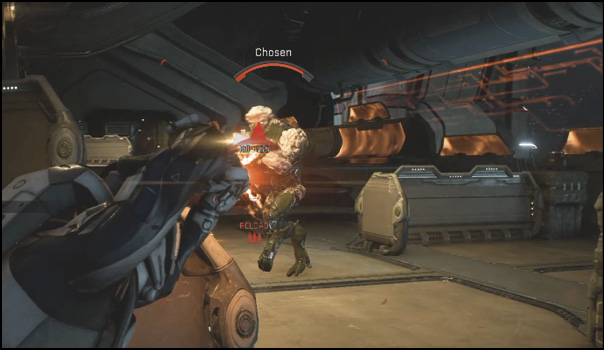
Ammo Crates
Ammo crates are scattered around each map, allowing you to reload your ammo and power cell supply. Each ammo crate regenerates its supply after a short time and at the end of every round.
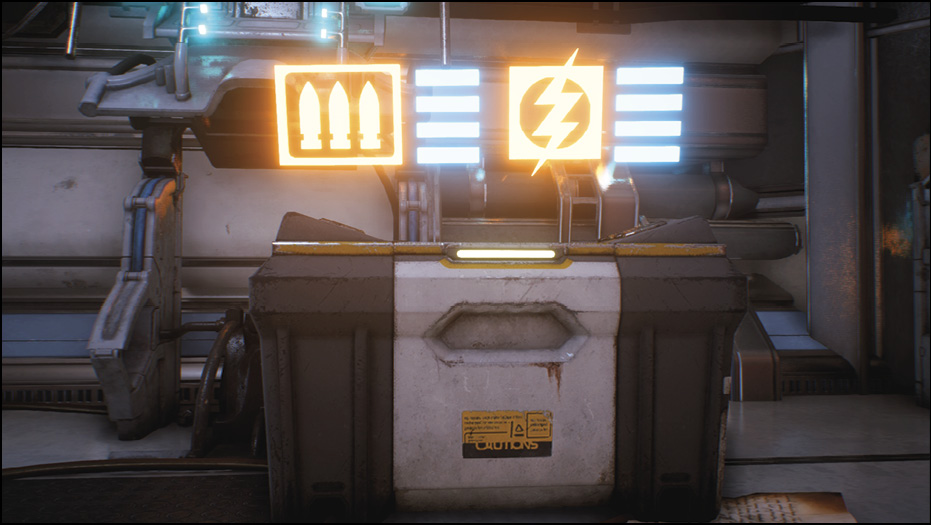
Weapon ammo and power cells are treated separately in an ammo crate. This means you can refill your ammo completely, using the entire ammo supply while leaving power cells in the crate.
Resupply of your weapon ammo and power cells happens instantly and automatically. Simply move within close proximity of the crate.
The ammo crate supply is tied to each player independently, so picking up ammo doesn’t take any away from your team.
Jump-Jet
Your jump-jet is your key to not only dodging and quickly escaping enemies, but gaining access to some of the best strategic positions on the maps.
The jump-jet has two uses:
Jump and Hover: Pressing and holding the Jump button causes you to jump the maximum height possible with the assistance of your jump-jet. To hover for a limited time, hold the Aim button while airborne.
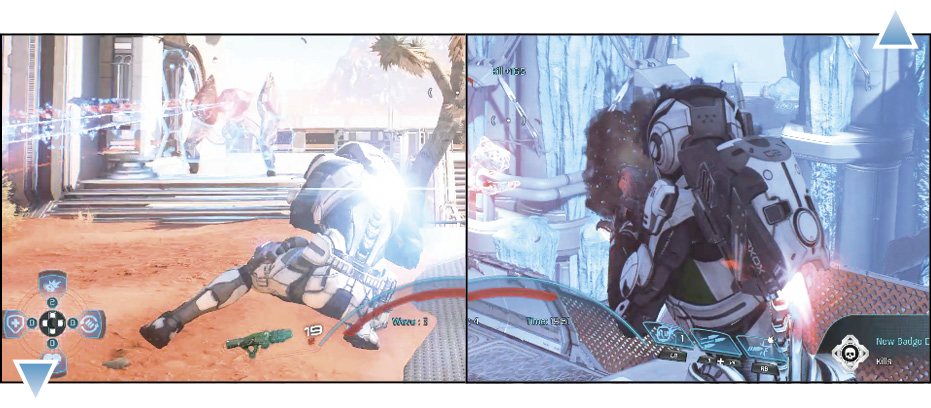
Dodge: Pressing the Dodge button plus any direction causes you to quickly move a short distance in that direction. Use this ability on the ground and midair; a very short recharge follows each use.
Explosives
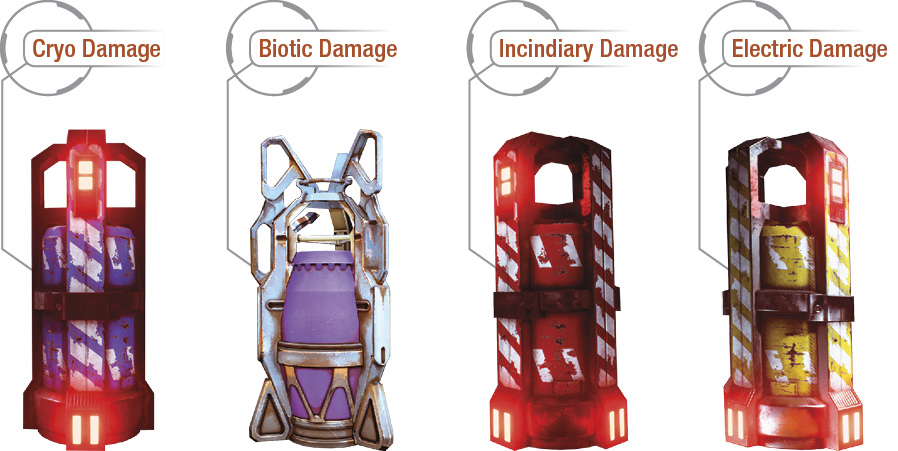
Each map has explosive barrels placed around different points. The color of the barrel determines any special effects that take place when deployed.