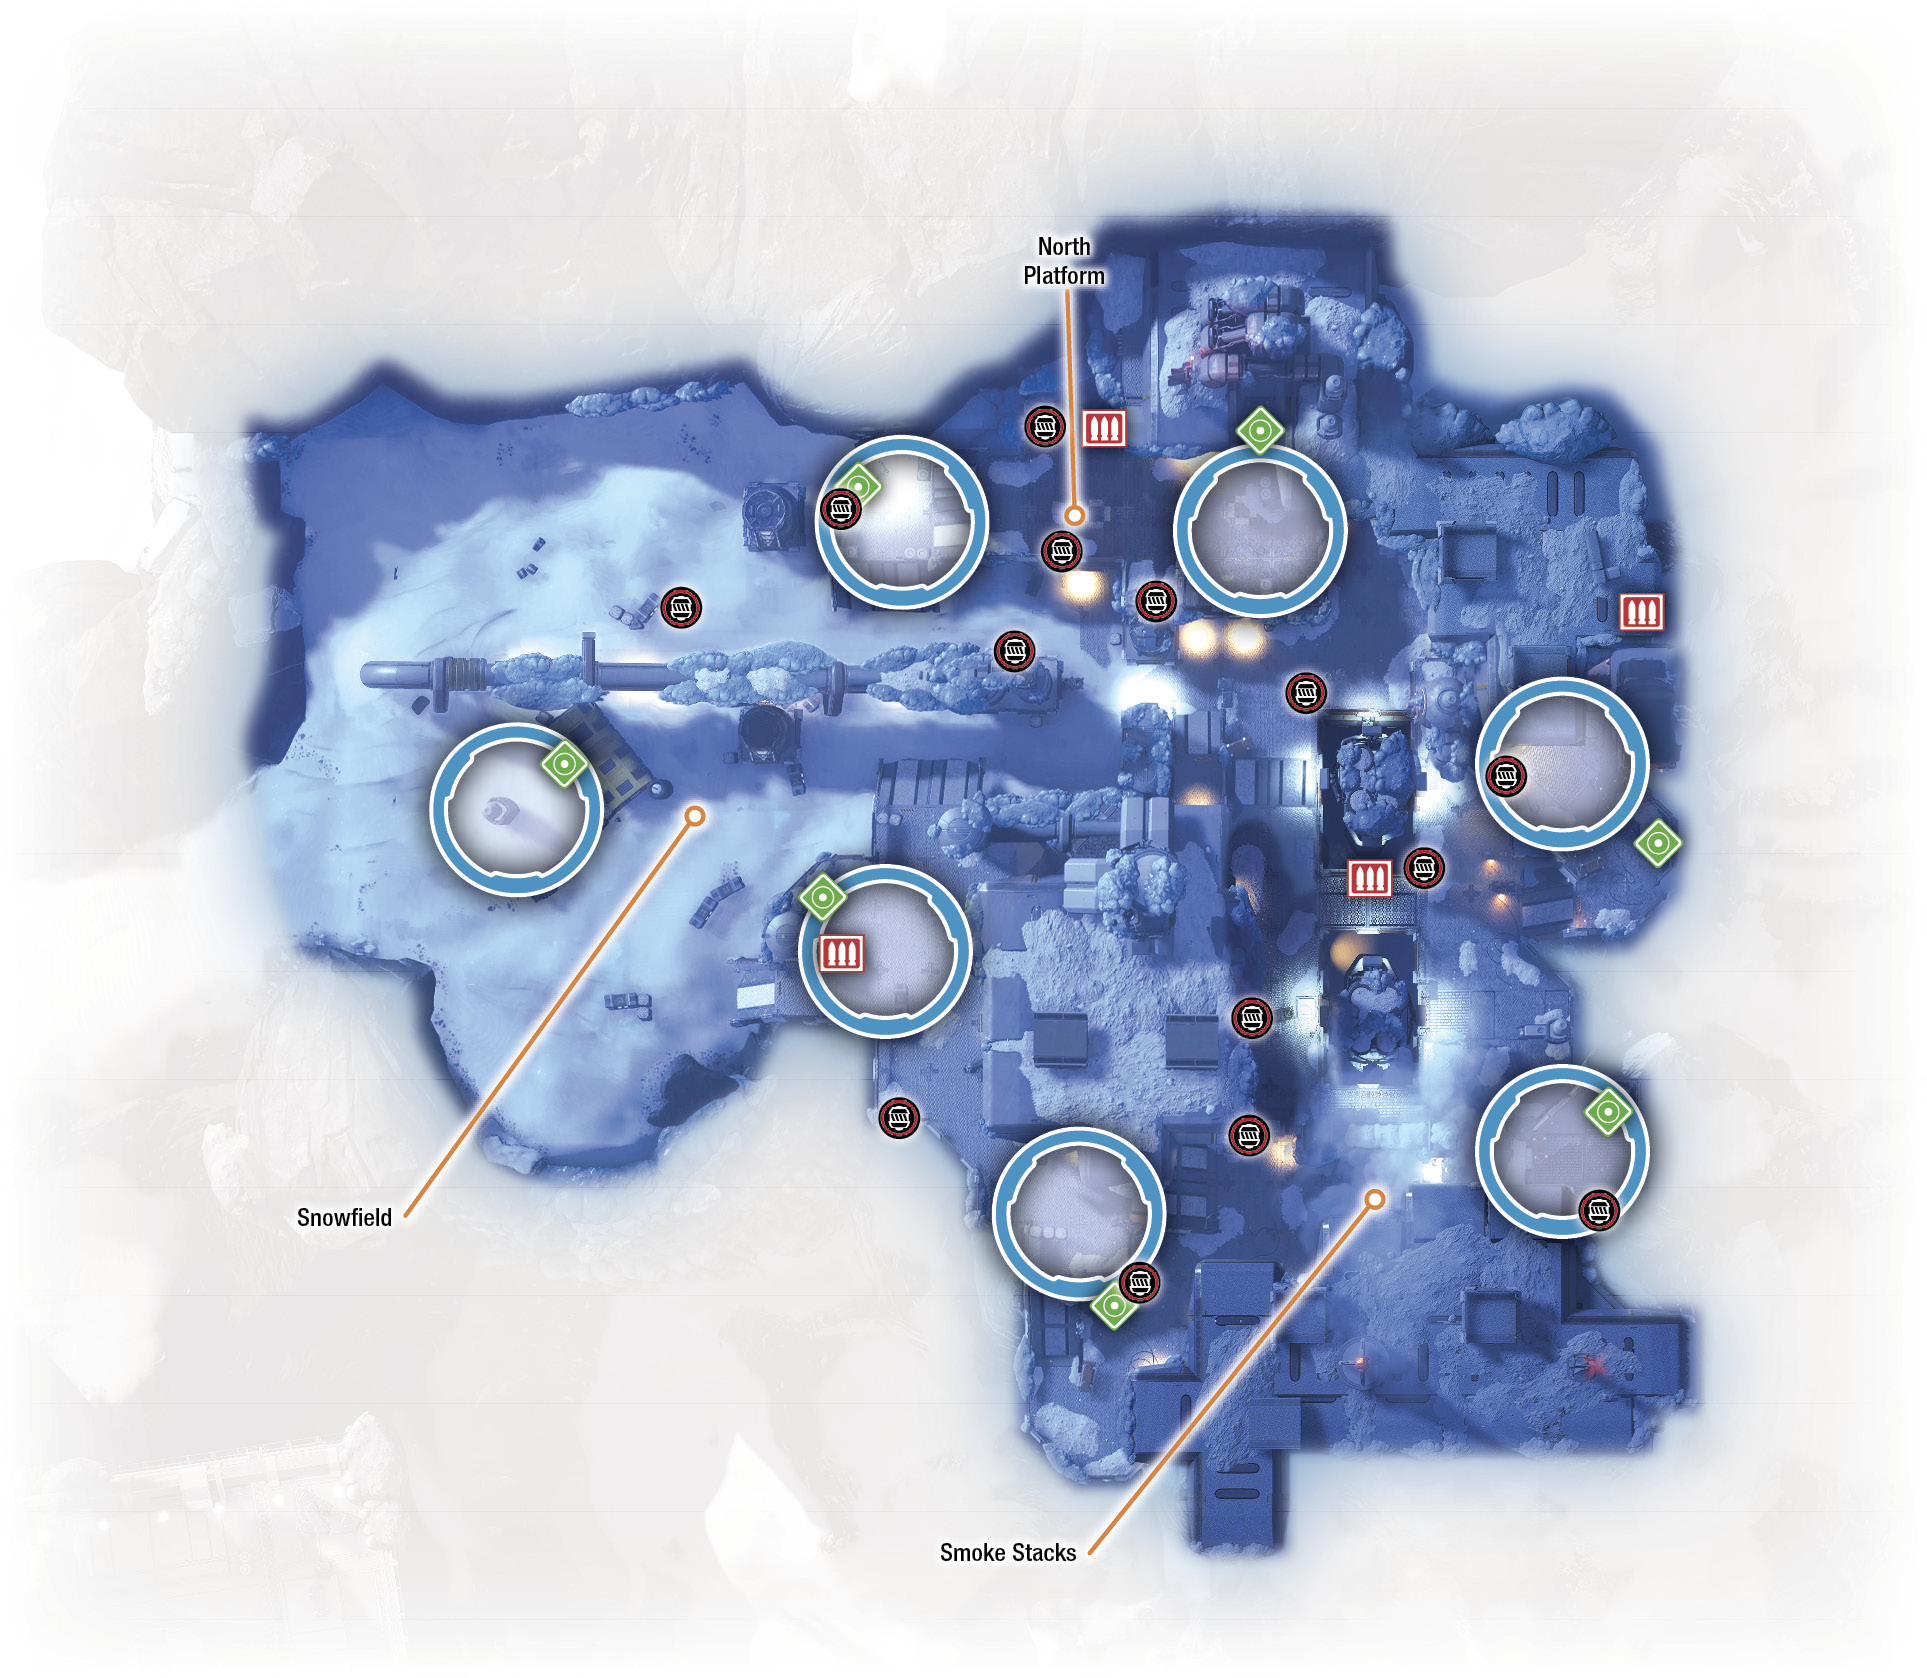
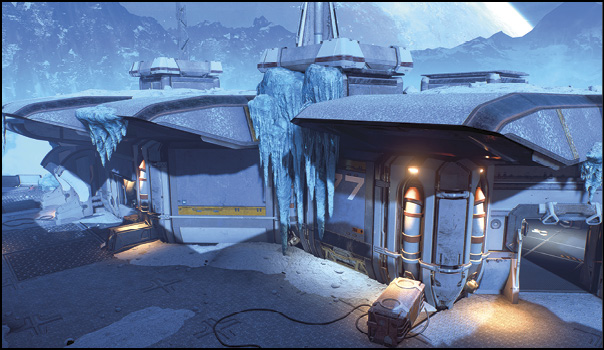
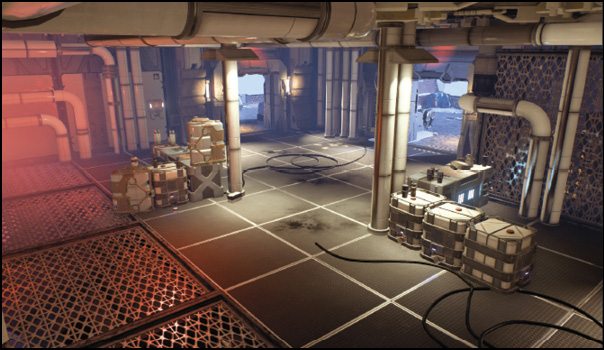
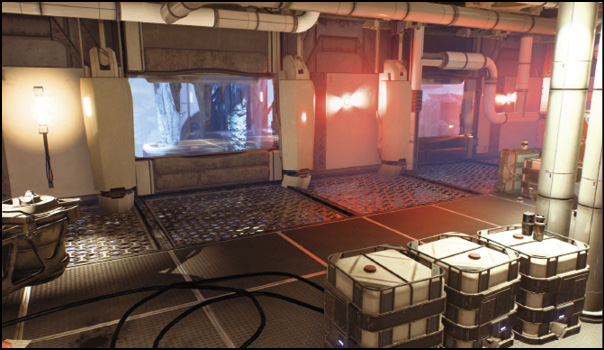
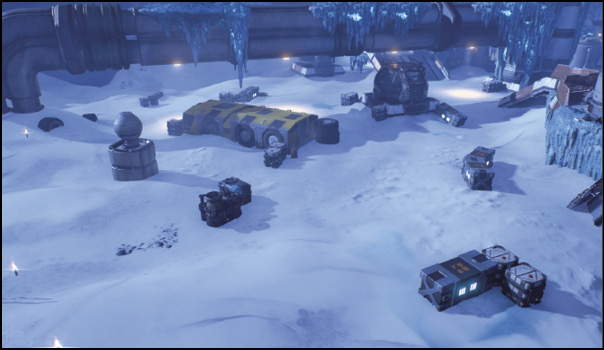
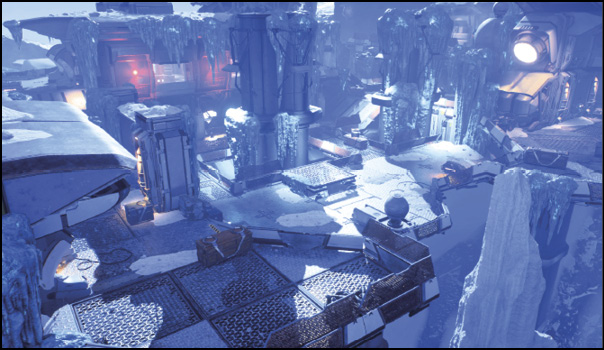
Outlaws built this facility to crack thick ice fields and obtain cheap fuel and ingredients for rare narcotics. Enemy factions want that factory up and running—the kett want its fuel, the Outlaws want the profits, and more Remnant are reaching the surface through cracked ice. The militia wants this facility shut down for good.
Strategic Points
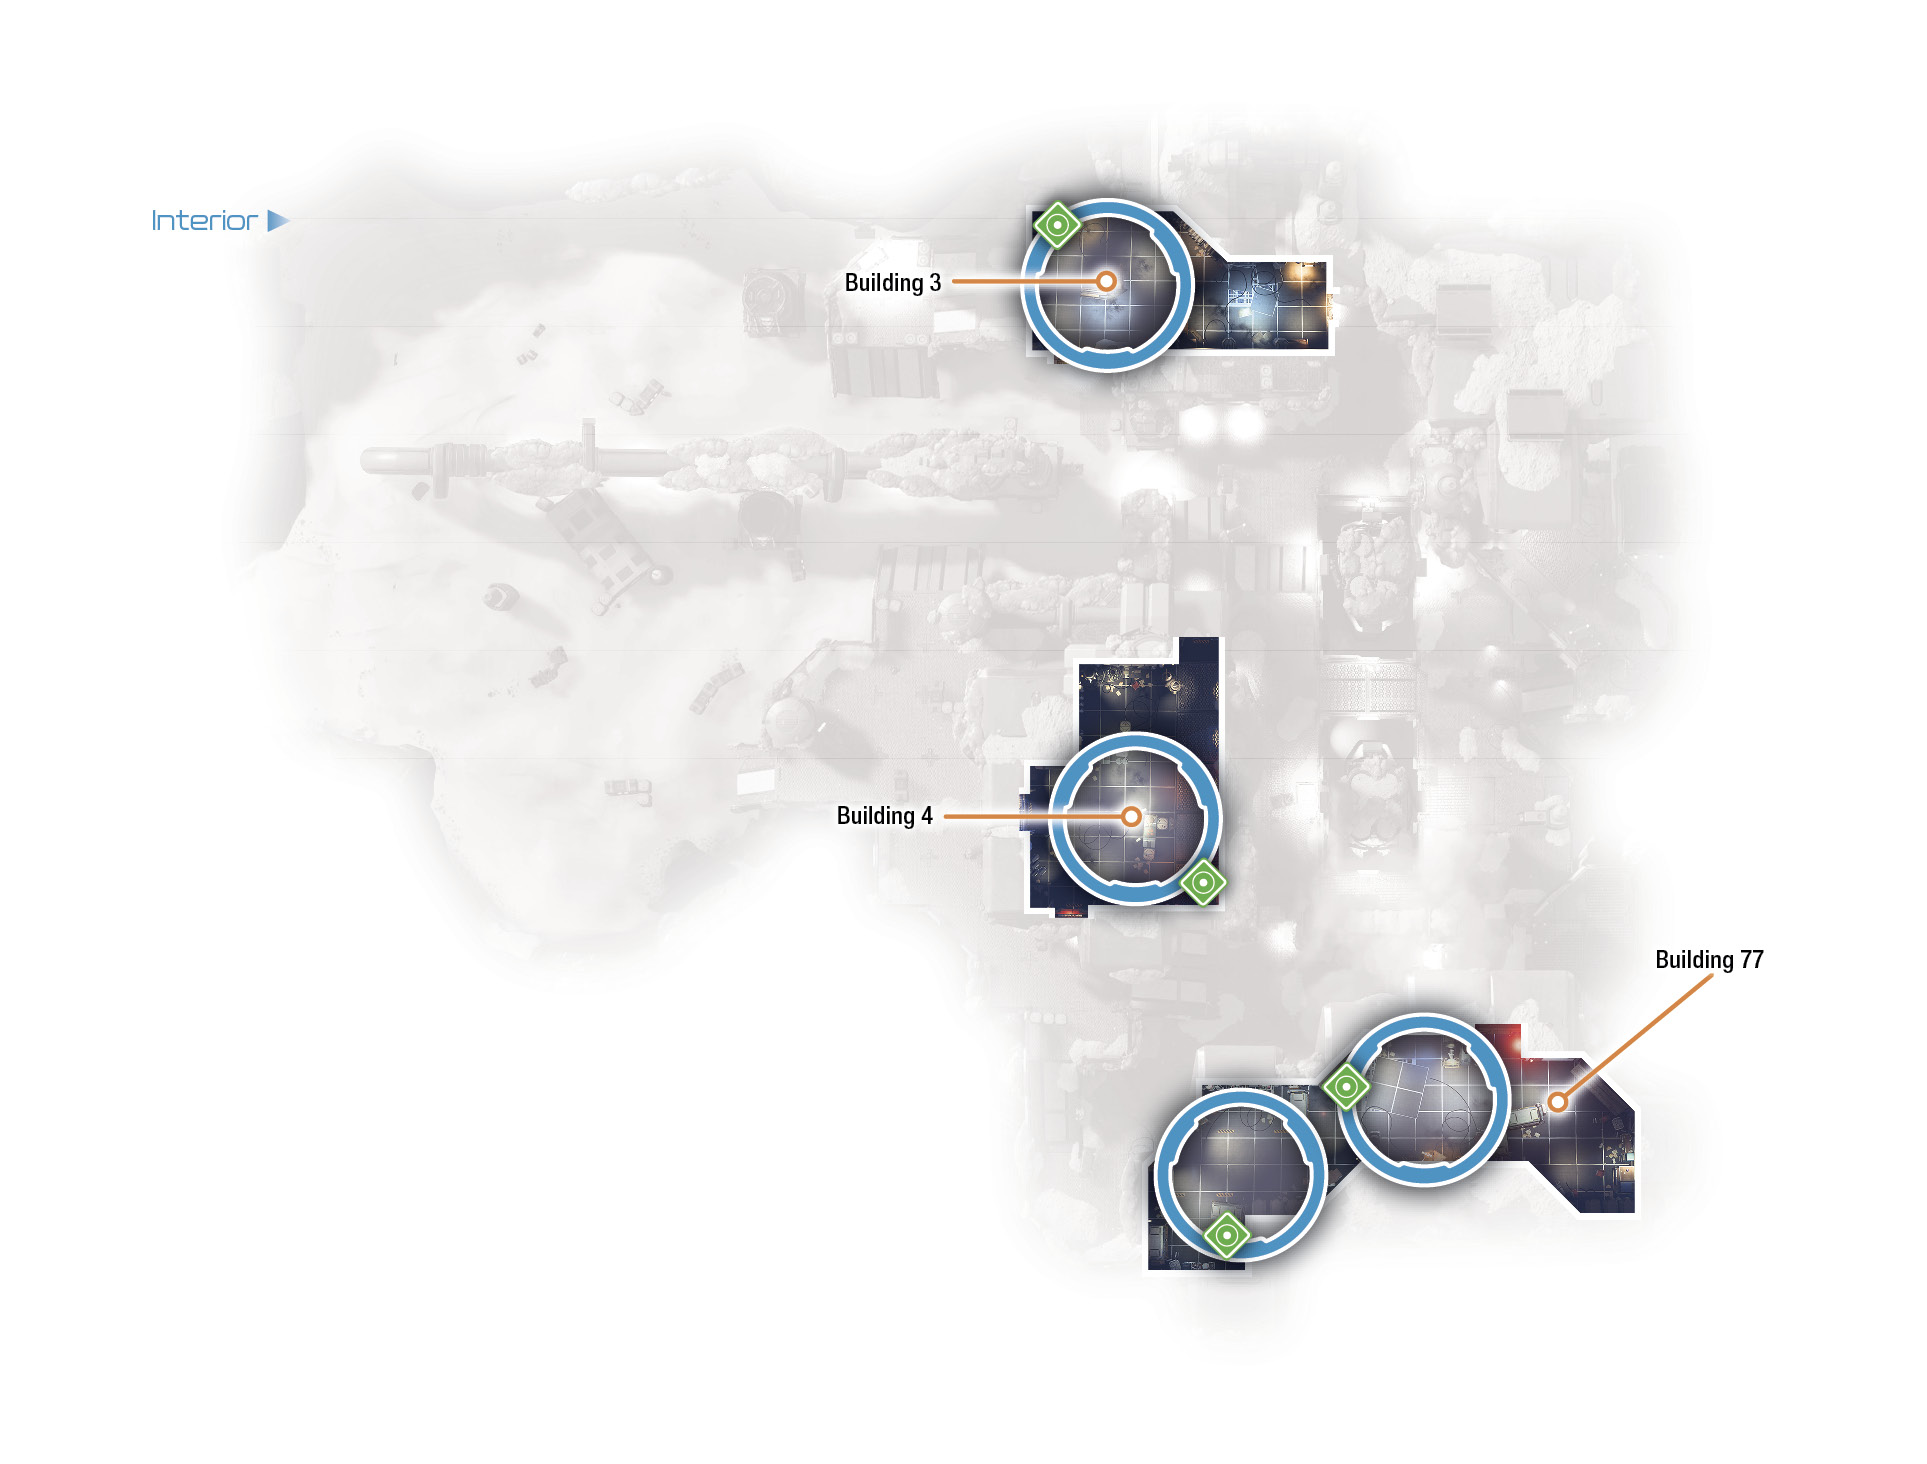
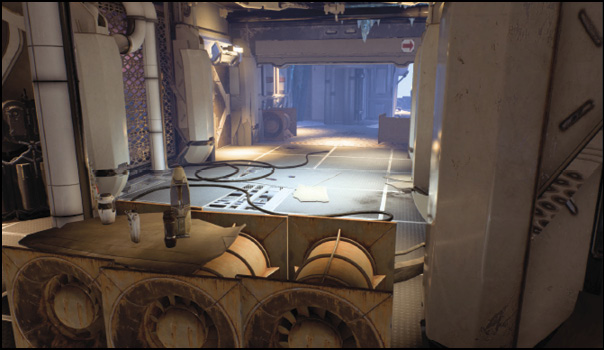
Building 77: Building 77 is on the south side of the map. Holding down this point with your team is a great way to work through survival rounds.
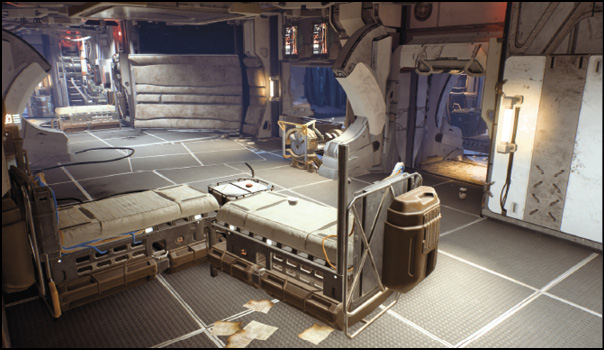
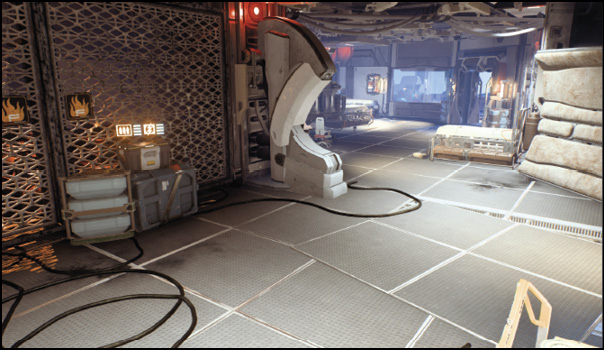
Place one set of teammates on the east side of the room, protecting the entrance to the north, while the other set of teammates works to guard the west entrance. The north window at the west entrance precludes safe cover, so guard the entrance from the same patch of cover in the east side of the room. Or stay standing, and step out into view of the doors to engage enemies as they come in.Building 77 contains an ammo crate; this alone makes it worth defending. The ammo’s presence allows you and your teammates to continue your defense indefinitely.Station a player up on the roof to slow the progression of the enemy. This player should equip a sniper rifle and assault rifle. Use the sniper rifle to engage enemies on other rooftops and at the longer distances across the map; save the assault rifle for any enemies who get close enough to climb onto your rooftop. Communicate with your team below to determine enemy spawns, and shift accordingly between the cover points on the east and west sides of the roof. Since this point is located just outside the north door, it is a great final holding position when waiting for the extraction.
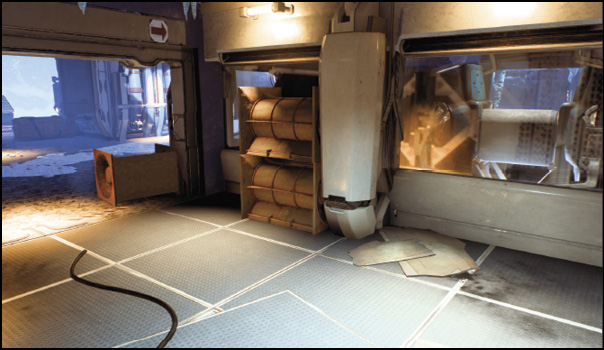
Building 4: Outside the west entrance to Building 4 lies a long walkway with bits of cover. One of these bits includes an ammo crate, situated in a great location at the top of a ramp, in a straight line from the west entrance.
Building 4 features two well-placed spots of cover that, when manned by multiple players, allow for a close-range defense. Two windows on the east side of the room offer a good view of the smokestacks. They also provide easy access to the room from the smokestacks, with assistance from your jump-jets. Whether you jump out to the smokestacks or into Building 4 from the windows, use this spot to distance yourself from oncoming enemies.
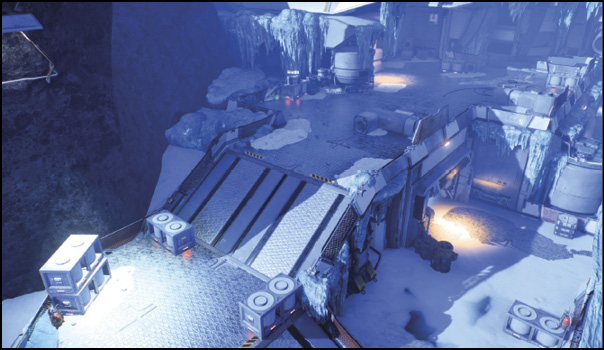
Snowfield: The snowfield is your spawn point for Firebase Icebreaker. The field is on the west side of the map and littered with cover, making it a great position to hold a temporary defense.
On the downside, the enemy can take advantage of large flanks and high ground. Any long-term defense in this area becomes problematic when the enemy can force you to move constantly from cover to cover. Turn this weakness into a strength by fighting. Traverse from cover to cover over this large area to maintain your aggression and freedom of movement as you attack and evade.
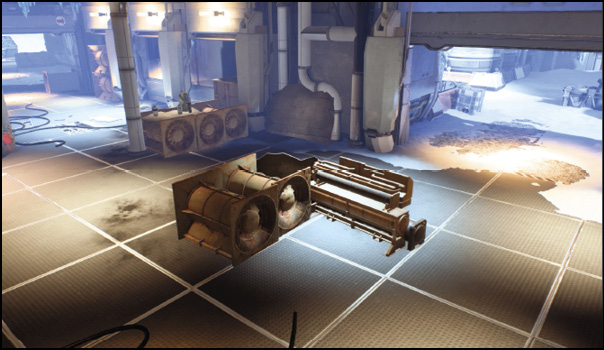
Building 3: Building 3 features entries to the south and east, plus one “secret” entrance that cannot be used by enemies, underneath the north platform.
The secret entrance isn’t easy to use; take advantage of it only in low-pressure situations. Break through the middle windows that guard a large machine, then jump into the small room with the machine, climb over the center, and jump out the window on the other side. The L-shaped cover facing the south door allows for a solid defense at medium range, but being blind to the right and left means you need a close-range alternative ready. Fight enemies as they appear from the sides of the door.There are a couple options when guarding the east door. For a more defensive position, cling close to the wall and take the piece of cover next to the south door. Stepping too far away from the wall opens you to attack from enemies just outside.For a more aggressive approach, take the small piece of cover that protrudes from the east door. This spot puts you in range for a quick run to the ammo crate 20 meters away from the cover point. Watch for enemies coming from your blind side to the south; they can reach melee distance without warning—especially bad if any of them is equipped with a shotgun!
North Platform: Without a full team, the north platform merely provides a place to pick up ammo, get to high ground, and engage a few enemies before moving on. With a full team, the dynamic changes completely, and this area becomes a multi-leveled fortress where your team can openly attack enemies at almost any location on the map.
When defending this area with your team, send two players to the roofs. Meanwhile, the other two members should guard the ammo crate by holding the west ramp and hunkering down at the small L-shaped cover across from the ammo crate. From there, they can defend against enemies from the east. When facing large enemies, the team on the roof can do considerable damage by using the ground-based team as “bait” to force the enemy into the open. Expose weak points for a quick takedown!
Smokestacks: Two large pipe-like structures mark the area for the smokestacks. The lack of cover and openness to multiple angles of attack make defending this point a troubling task.
The east side of the smokestacks contains the extraction point for Wave 7, located just outside Building 77.
What the smokestacks lack in defensive capabilities, they make up for in traversal routes. Use the smokestacks to easily move from the north platform roofs to any roof on the map and vice versa. Doing so doesn’t grant you any ammo, but it’s a great way to get the enemy off your tail. When running through the ground level of the smokestacks, be sure to run by the ammo crate located between the two large smokestacks.