
Mass Effect: Andromeda Collector's Edition Guide Game Mechanics Enemies
Outlaws
Outlaws include a wide array of hostiles. The following is data for notable enemy types within this group of bandits. These enemies are common in Secondary Ops missions (optional side quests such as Loyalty Missions), as well as in Multiplayer mode.
Adhi
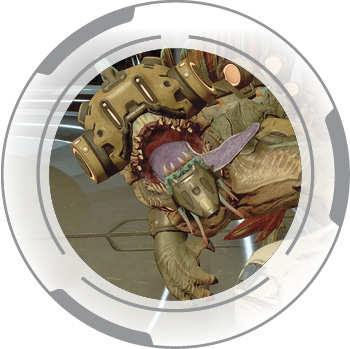
Vitals
SAM’s Analysis: An oversized dog-like creature trained and used by Outlaws to rush at enemies.
Role: Cover Flusher
Weak Point: Head
Health & Resilience: Normal, no immunities
Mobility Options: Quick run speed
Preferred Range: Close
Weapons/Attacks: Melee, Grab and Bite (breakable by mashing designated button) (1)
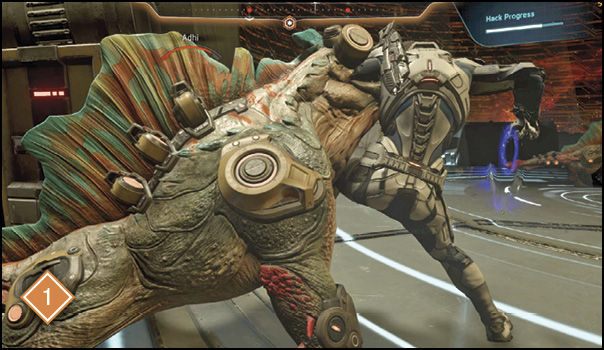
Bio Material: Renderable Plates
Combat Behavior
Similar to the kett’s attack dogs, Adhi are used by the Outlaws to flush enemies out of cover. While they don’t have camouflage, these vicious war beasts can sink their teeth into their targets, holding their prey in place.
Strategies
Dealing with Adhi can be difficult since they’re usually found in tight rooms and corridors where they sneak up around corners and latch on to you. If an Adhi catches you in its jaws, mash the designated button shown on the screen to break free, taking less damage.
Otherwise, they behave similarly to Wraiths, so prioritize them accordingly. See strategies for Wraiths.
Specialist
Vitals
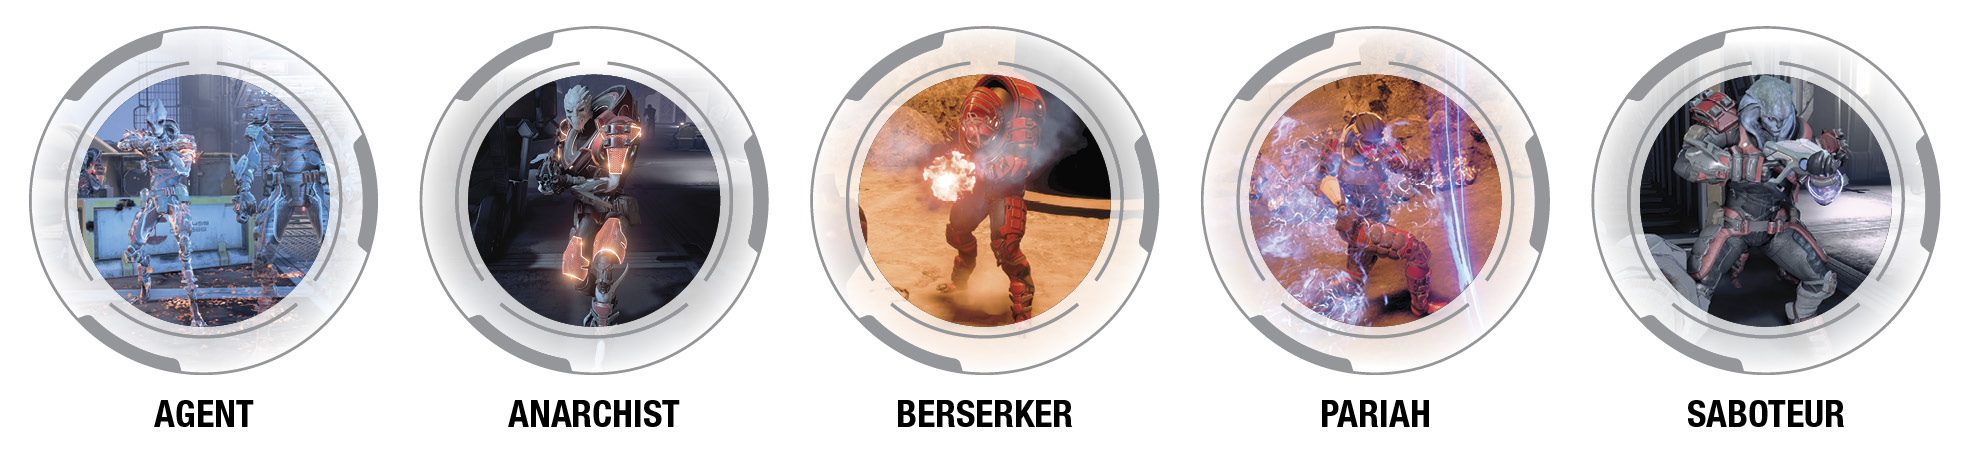
SAM’s Analysis: (Agent) A heavily armored close-range combatant who deploys holographic doubles to deceive and distract.
(Anarchist) A heavily armored close-range combatant who fancies Inferno Grenades.
(Berserker) A heavily armored attacker armed with a flak cannon at medium-to-short range. When enraged, it revels in hand-to-hand and head-to-head melee.
(Pariah) A heavily armored close-range combatant who uses biotics to create a shield and attempt to flank.
(Saboteur) A heavily armored close-range combatant who can siphon shields.
Role: Specialist
Weak Point: Head
Health & Resilience: Armored; immune to biotic effects, but weak to burning and freezing effects
Mobility Options: Standard
Preferred Range: Close
Weapons/Attacks: Various Shotguns
Combat Behavior
These “specialist”-type enemies are exiles and outlaws from various species. Although they’re all considered close-range combatants, each has unique powers. Salarian Agents can create body doubles, turian Anarchists throw grenades, krogan Berserkers rain shrapnel with flak cannons, asari Pariahs have access to Backlash, and angaran Saboteurs can cast Energy Drain.
Strategies
These enemies are usually the toughest in a bunch. They’re heavily armored, so they take less damage from submachine guns and assault rifles, and they also resist biotic effects. Most of these specialists use shotguns, so staying outside of medium range is preferable. They’re also all humanoid, so they take extra damage from headshots. Having access to Incinerate, incendiary ammo, and Flamethrower is recommended if you plan on completing Loyalty Missions, as many of these enemies make appearances in those operations. Be particularly wary of the Pariahs (commonly found on H-047C), as they can reflect your attacks with Backlash.
Hydra
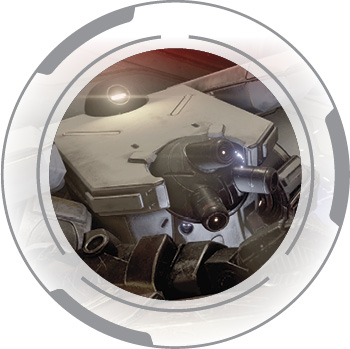
Vitals
SAM’s Analysis: A lumbering combatant in a makeshift mecha suit that unloads using a variety of devastating weapons as it advances. Boosters can be used to engage at close range.
Role: Suppressor, Siege Unit
Weak Point: Back, Head
Health & Resilience: Armor, very high health; immune to biotic effects, weak to fire and ice damage
Mobility Options: Slow walk speed; slower-than-normal turn speed
Preferred Range: Close to Medium
Weapons/Attacks: Grab and Slam Attack, Homing Missiles, Hand Cannon, Melee Swing (1)
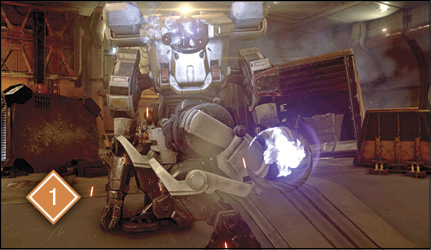
Combat Behavior
Hydras move slowly, hunting down their target with a wide arsenal selection. At medium range, they can either fire their hand cannon for consistent, high damage, or lock on to their target before launching a barrage of homing missiles.
Strategies
Like most suppressor units, Hydras are dangerous to fight out in the open. Their homing missiles are particularly dangerous, although avoidable if you’re near cover. The lock-on targeting is telegraphed with distinct visual and sounds; once you’re alerted, find cover quickly. Fighting up close isn’t necessarily a good idea, as Hydras employ devastating grapple-and-slam attacks, potentially killing you in one shot. If you’re going to charge in, evade out to bait out the grapple, then punish the whiff with your own attacks. Attacking the fuel cell on its back deals extra damage—more than attacking its head. If you have Tactical Cloak, you can sneak behind a Hydra to deliver a huge shotgun blast. Otherwise, using burn effects is ideal against these mecha warriors. Alternatively—because of its slower turn speed—you can jump over its melee swing, perform a 180, and shoot at its back to land critical hits.
As with most high-health suppressor enemies, deal with lower-health enemies before turning your attention to a Hydra. Make sure to do so behind cover, though. Taking a barrage of homing missiles could mean an instant game over.
Raider
Vitals
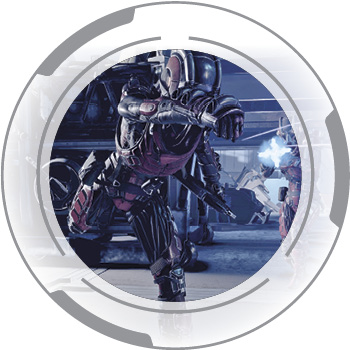
SAM’s Analysis: A basic assailant, outfitted with mid- to long-range weaponry.
Role: Cover Taker
Weak Point: Head
Health & Resilience: Normal, no immunities
Mobility Options: Standard, similar to the Chosen
Preferred Range: Medium to Long
Weapons/Attacks: Assault Rifle, Cover-Flushing Grenades
Combat Behavior
Standard cover taker, preferring medium- to long-range skirmishes.
Strategies
This standard low-ranking soldier can be treated as such; take it out with biotic effects or sniping headshots. Raiders are usually paired with a commanding officer, such as an Agent, Anarchist, or Pariah, so stay perceptive and assess each battle accordingly.
See strategies for the Chosen.
Sharpshooter
Vitals
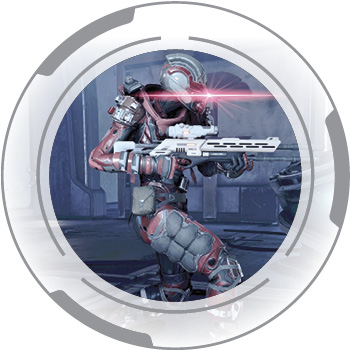
SAM’s Analysis: A fleet-of-foot-and-jet-pack long-range assassin, armed with a long-range weapon.
Role: Sniper, Suppressor
Weak Point: Head
Health & Resilience: Shielded, protected from most disabling effects while shields are up
Mobility Options: Standard
Preferred Range: Long
Weapons/Attacks: Sniper Rifle, Melee
Combat Behavior
As expected, Sharpshooters disengage from close range any chance they get (usually after a melee attack). Their primary goal is to land critical shots while their close-range allies provide a distraction.
Strategies
Stay in cover to essentially eliminate all of a sniper’s effectiveness. Peek out to snipe them with your own long-range attacks, or engage with Charge to dismantle them completely. However, because they’re shielded, you have to make a commitment either way, as they regenerate damaged shields.
Keep in mind that Sharpshooters are almost always present in missions relating to Elaaden, Kadara, and other Secondary Ops-type quests.