
Mass Effect: Andromeda Collector's Edition Guide Secondary Ops
Healing Kadara’s Heart/The Outlaw Monolith
Mission Type: Heleus Assignment: Kadara
Prerequisite: Must have interrogated Vehn Terev in “Hunting the Archon”
Start Location: Kadara
Unlocking: Approach one of three monoliths on Kadara.
Activate the Three Monoliths
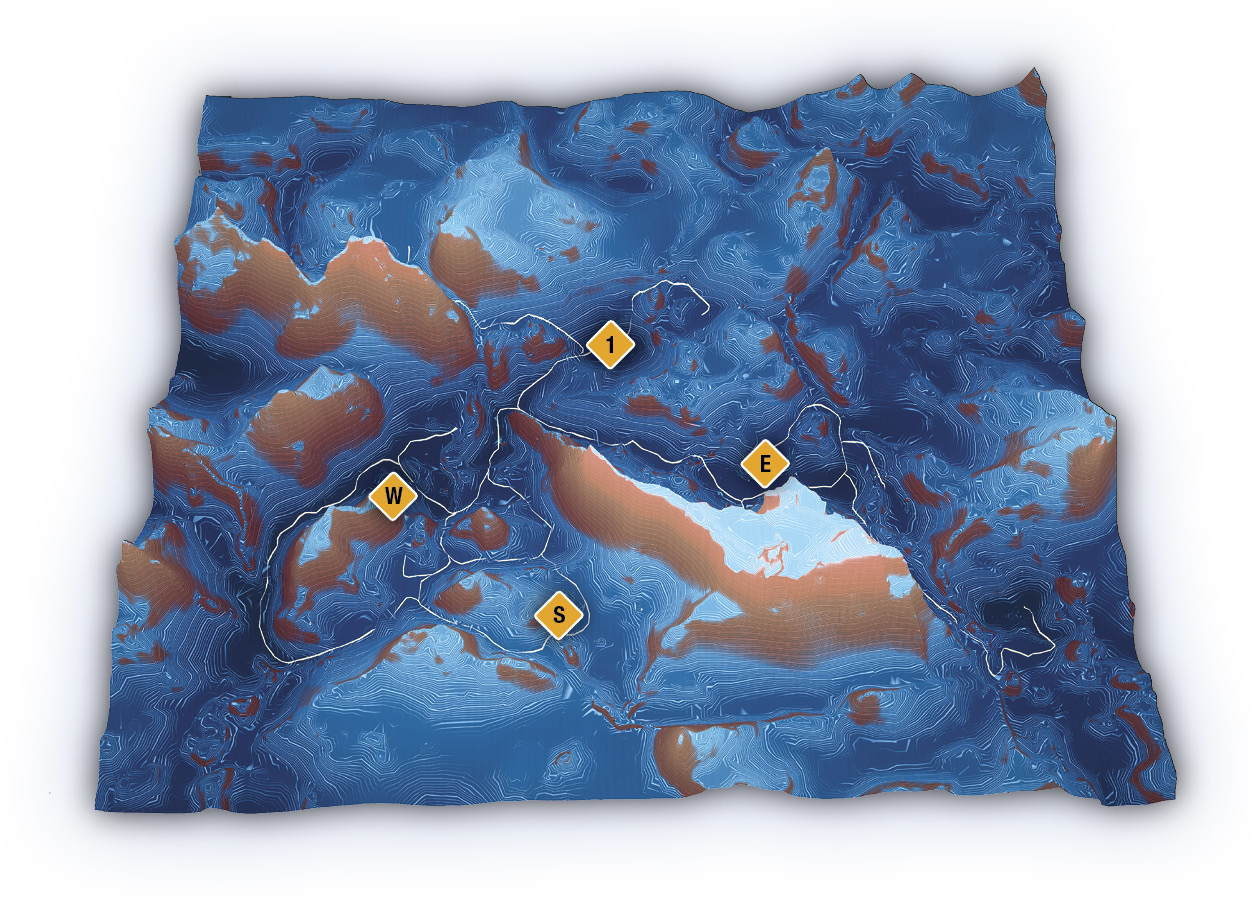
Kadara
The vault on Kadara is likely the key to starting the process that’ll heal the planet’s environment. Solve the Remnant monolith challenge, “The Outlaw Monolith,” explore the vault, and determine a way to activate it.
The East Remnant Monolith
Haafel
Scan for Two Glyphs
The east monolith (E) is in Haafel and can easily be seen as you exit the slums. Six-wheel it up the mountain trail on the south side and investigate the monolith for glyphs. The Entropy Glyph is located low on the pillar south of the Remnant console in the middle of the platform.
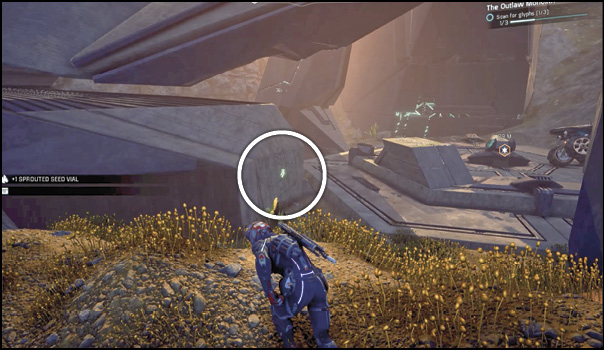
The Zero Glyph is located on the top of the adjacent Remnant pillar. You can scan it by jumping to the top of the Entropy Glyph pillar.
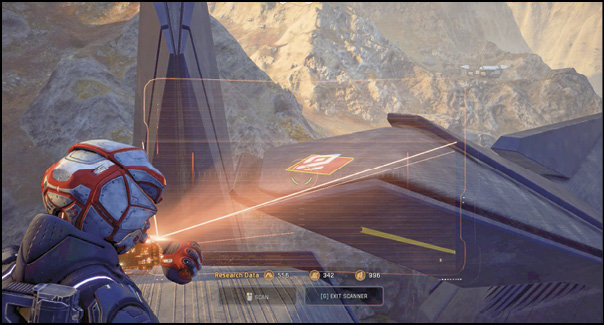
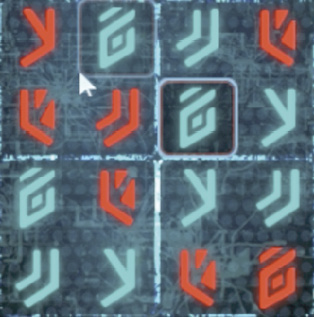
With the two glyphs scanned, access the Remnant console and use our puzzle-solving shot to complete it.
The West Remnant Monolith
Sulfur Springs
Scan for Two Glyphs
The west Remnant monolith (W) is buried in rock. The Remnant platform is inside a cave. The tunnel that leads to the platform is accessible from the west, near a camp of Outlaws complete with Sharpshooters and an Adhi. Get rid of the locals and head into the cave; all the glyph symbols are inside.
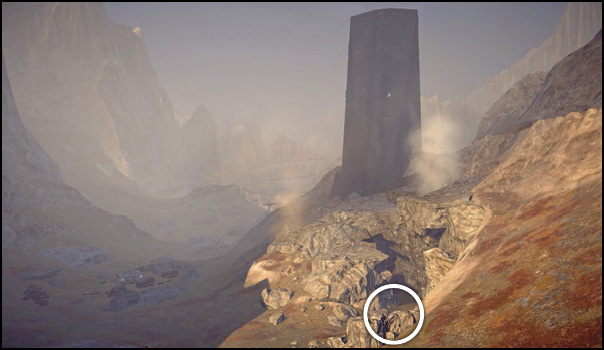
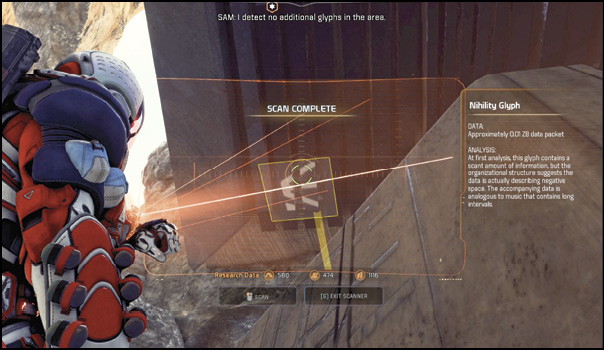
Get out of the Nomad before you reach the platform. There’s a glyph you can scan before you get too deep. On the right side of the tunnel, just before the platform, is the Nihility Glyph. It’s up under the Remnant pillar hanging overhead.
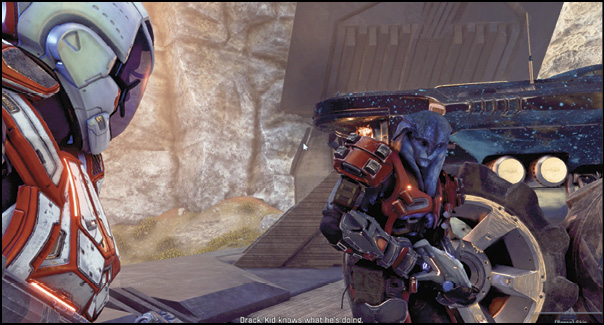
Inside the cave is a local angara. You can talk to him. He kindly tells you to leave. It’s not until your team brags about how good you are with Remnant consoles that he starts to warm up to you. Pull out the scanner and show him how it’s done.
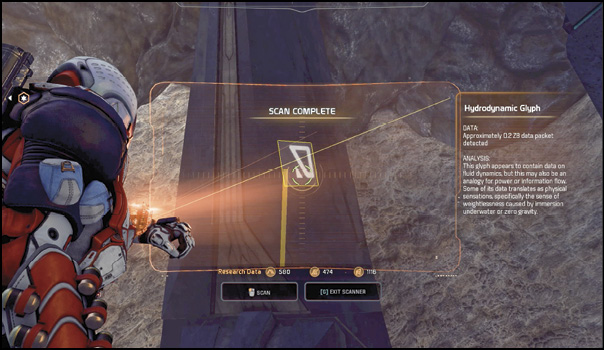
Find the Hydrodynamic Glyph on the Remnant pillar right in front of the Remnant console. Easy—walk up and scan it, then activate the Remnant console. There’s not even a Remnant puzzle to solve here.
The South Remnant Monolith
Sulfur Springs
Scan for Four Glyphs
The south Remnant pillar (S) also has a cave entrance that allows you to reach the glyphs and Remnant console. Not only are there four glyphs to locate this time, but you must defeat the Raiders and Hydra inside!
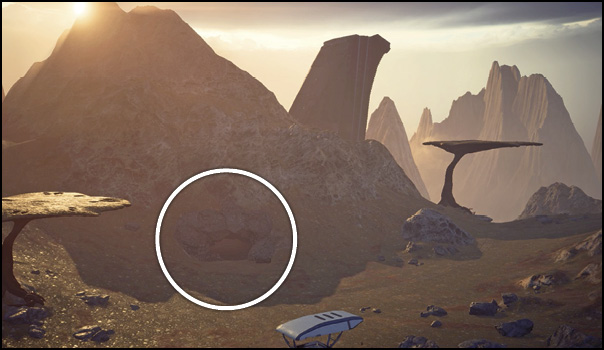
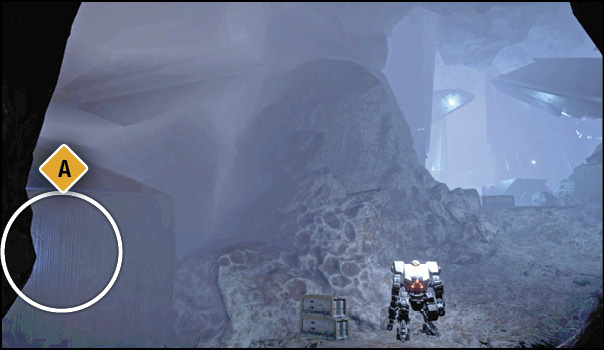
At the end of the narrow tunnel is a chamber housing a glyph. Kill the enemies and head toward the next passage. Scan the Interval Glyph(A) on the pillar to your left at the passage entrance.
As you climb the rock platforms, look for the next glyph high on your right, just before you reach the clearing with the Remnant platform. This is the Semiosis Glyph (B).
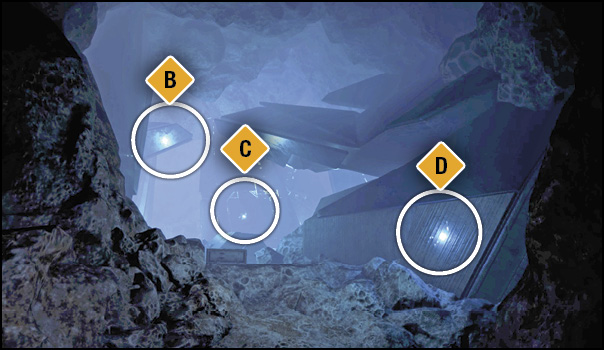
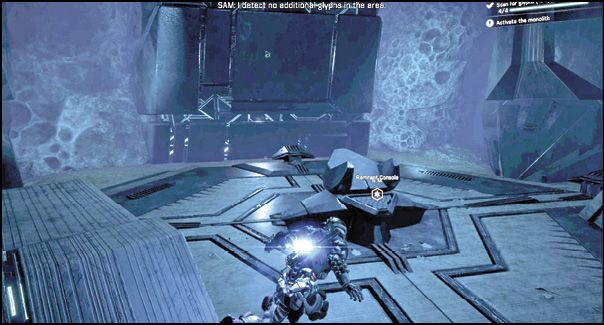
The Kinetic Glyph(C) is on your left as you step up onto the platform. The last one, the Thermodynamic Glyph(D), is on a pillar behind the Remnant console. Interface with the console to activate the monolith without a Remnant puzzle.
Investigate the Vault’s Entrance
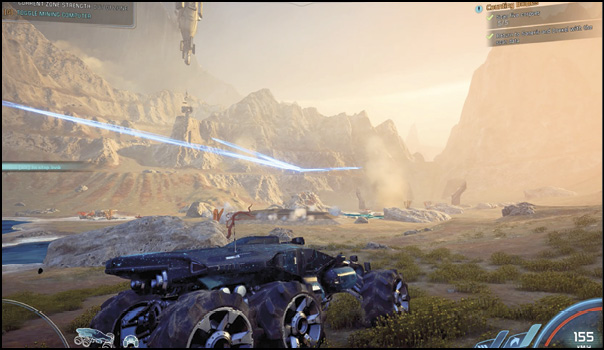
Find the Remnant vault entrance (1) up north in Haarfel. On approach, the vault erupts out of the ground. Enter the vault and use the Gravity Well to explore below.
Activate the Vault’s Emergency Power
Vault Interior
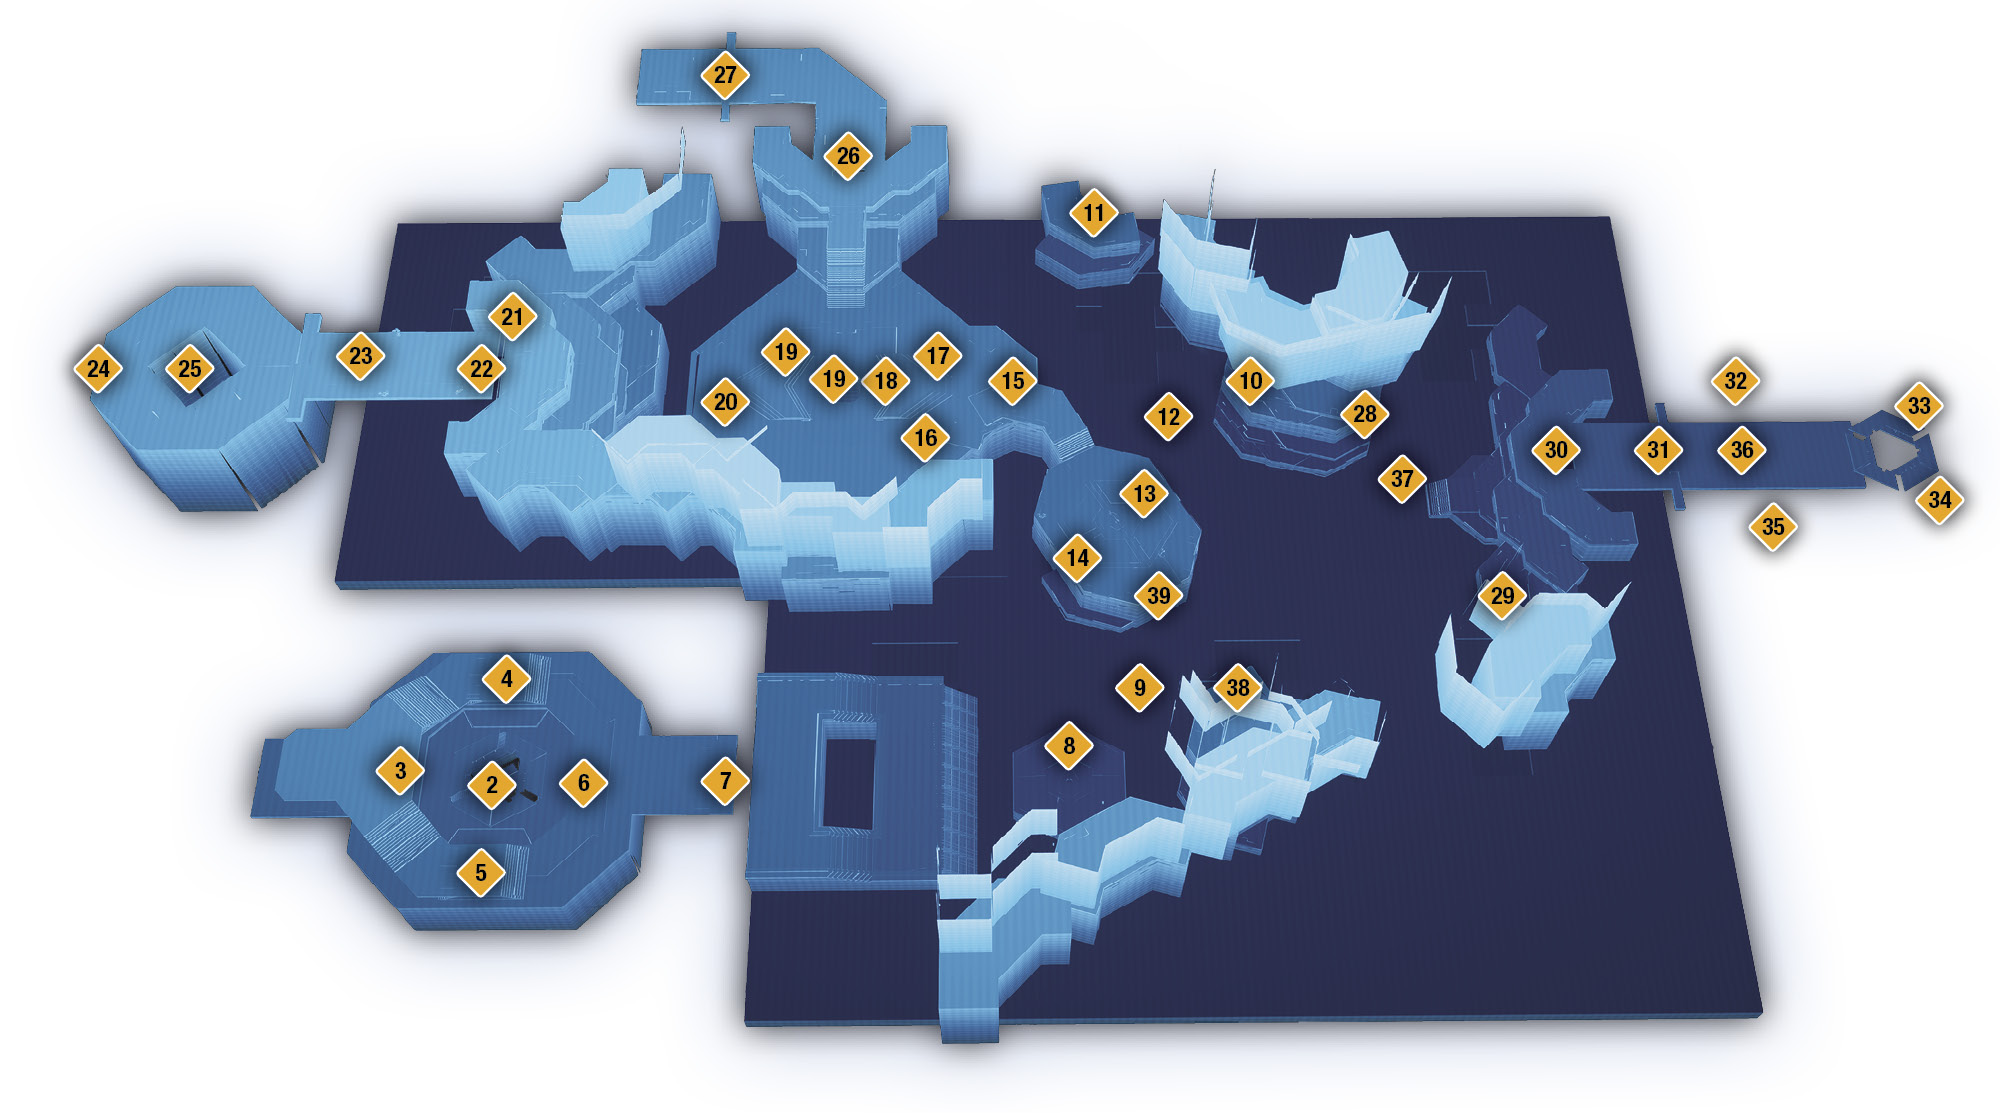
Once you’re on the lower floor (2), jump up to the platform in the back of the chamber and interface with the Remnant console (3). Three laser shields appear over three more Remnant consoles in the room (4)(5)(6).
Remove the Vault’s Lockdown
No puzzle in this room. Just activate all three consoles (4)(5)(6) to open the next door, allowing access to the main vault (7), where you’re greeted by Breachers. Blast them.
On the first low platform (8), find the next Remnant console to further this quest. Activate it to lower some pillars on your right that help you navigate through the floor of acid. A bridge over the acid (9) allows you to reach all the major stops in this vault.

Jump the acid to reach the northeast platforms, and activate the Remnant console (10). This raises more jumping pillars that lead to a secret container door (11). Jump to the raised pillar platform (12), then to the main platform (13). Note that the door here (14) remains locked until you activate the associated Remnant console (36). Head north and interface with another console (15) near the clearing. This console shoots three lights out across the room, targeting two shields (16)(17), and a Remnant shield charger (18). Defeat the Nullifiers and Assemblers here.

There’s a container in the hole in the middle of the floor (19), and a Remnant console (20) that turns a turret on the enemies. Interface with the console (21) on the right side of the locked door (22) to unlock it. A console (23) on the right before you enter the vault turns on a green friendly shield to help protect you while you battle the Remnant.
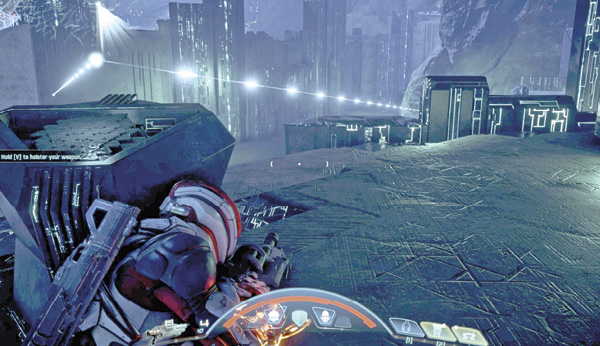
Inside you find a Destroyer, an Assembler, and a Nullifier. A Remnant console (24) in the back of the room turns a turret friendly and helps you defeat the constructs. Climb to the top of the large block pillars in the middle of the room and activate the console there to initiate a Remnant Decryption Puzzle. Finish it, then run back out to the platforms (22). The door to the north (26) is now unlocked and leads to a little puzzle that opens a container room door (27).
Glyph Door Puzzle
Remnant Data Core
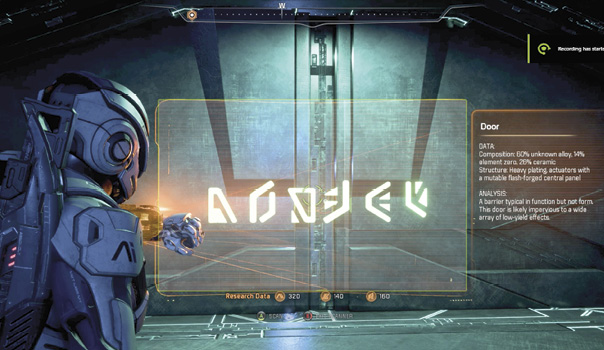
Defeat the bots and scan the glyph order on the door to get it in your head. Or use the accompanying screenshot to refresh your memory. Each of the six consoles has one of these symbols over it. Activate them in the order displayed on the door to unlocked it, and grab the contents from the container inside. Here is the order: (A) (B) (C) (D) (E) (F). Inside is the data core for “Task: Remnant Data Cores.”
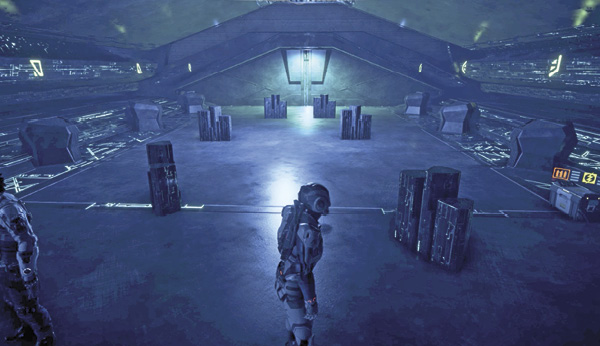
Back on Track
Head all the way back to the second console (10) you interacted with, and take a running leap off the end of that ledge (29) to make it down to some acid-floor platforms. Head to the right side of the island and use the Remnant console there (29) to unlock the door (30).
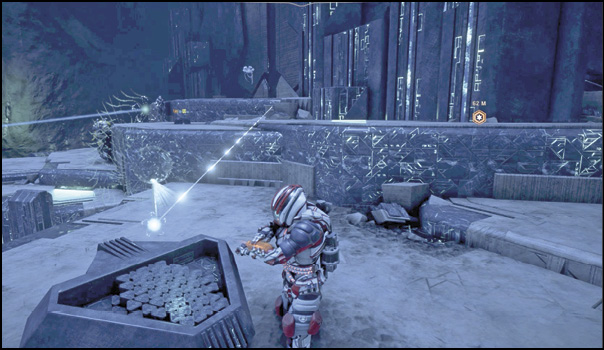
and Exit the Vault
In the purification chamber, you find five Remnant consoles (31)(32)(33)(34)(35) that control shields and lasers aimed at the purification field (36)—marked by the navpoint.
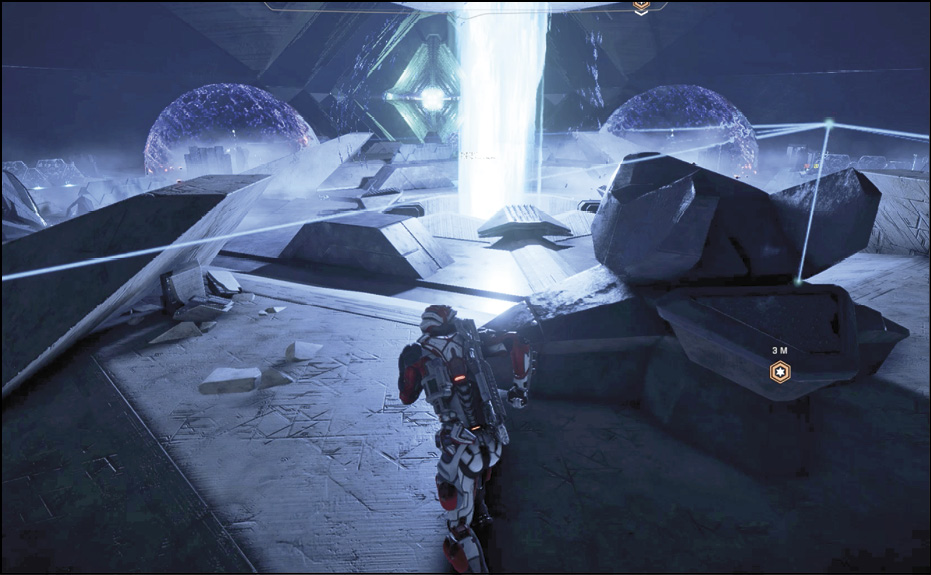
Activate all the consoles and defeat all the Remnant Observers, Nullifiers, and Assemblers. Once the coast is clear, activate the purification field (36) and run to console (29) to put the jump pillars (37) back. Activate the console (10) that raises pillars that allow you to access the main platform (13) again. The laser grid over the container room (14) is now gone. Loot the container.
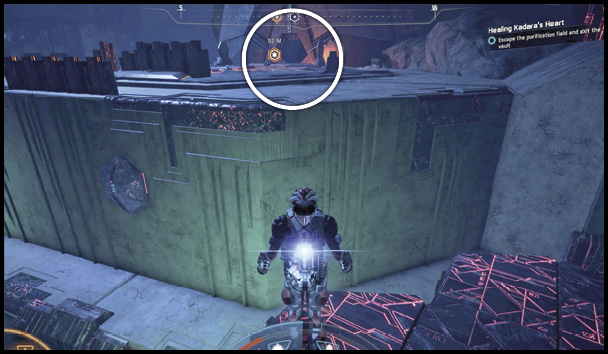
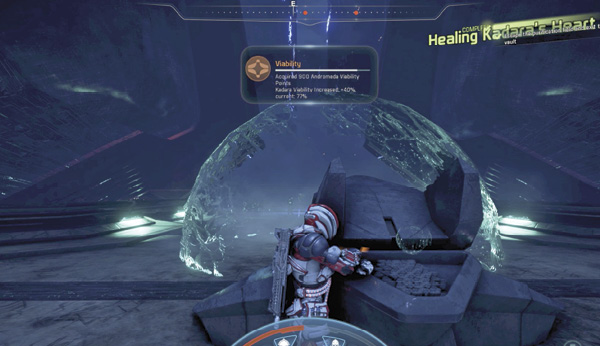
Dash south across the platform and jump to the acid-floor platform (9) to reach the console (8) there. Activate it to raise the tall jump pillars that allow access to ledges on your right. Run across the sensory bridge to reach the top of another platform (39). You can get into the container room (14) on your left. Afterward, double back along the platforms below (9)(8), and remember to shut the door behind you on your way out to stop the field. Use one of the Remnant consoles (6) to do this. Then vacate the vault through the Gravity Well (2). You earn massive amounts of AVP and +40% Kadara Viability.