Mass Effect: Andromeda Collector's Edition Guide Secondary Ops
The Flophouse
Mission Type: Heleus Assignment: Elaaden
Prerequisite: Land on Elaaden
Start Location: Elaaden
Unlocking: Talk to the injured krogan at New Tuchanka, or approach the flophouse
Investigate the Flophouse
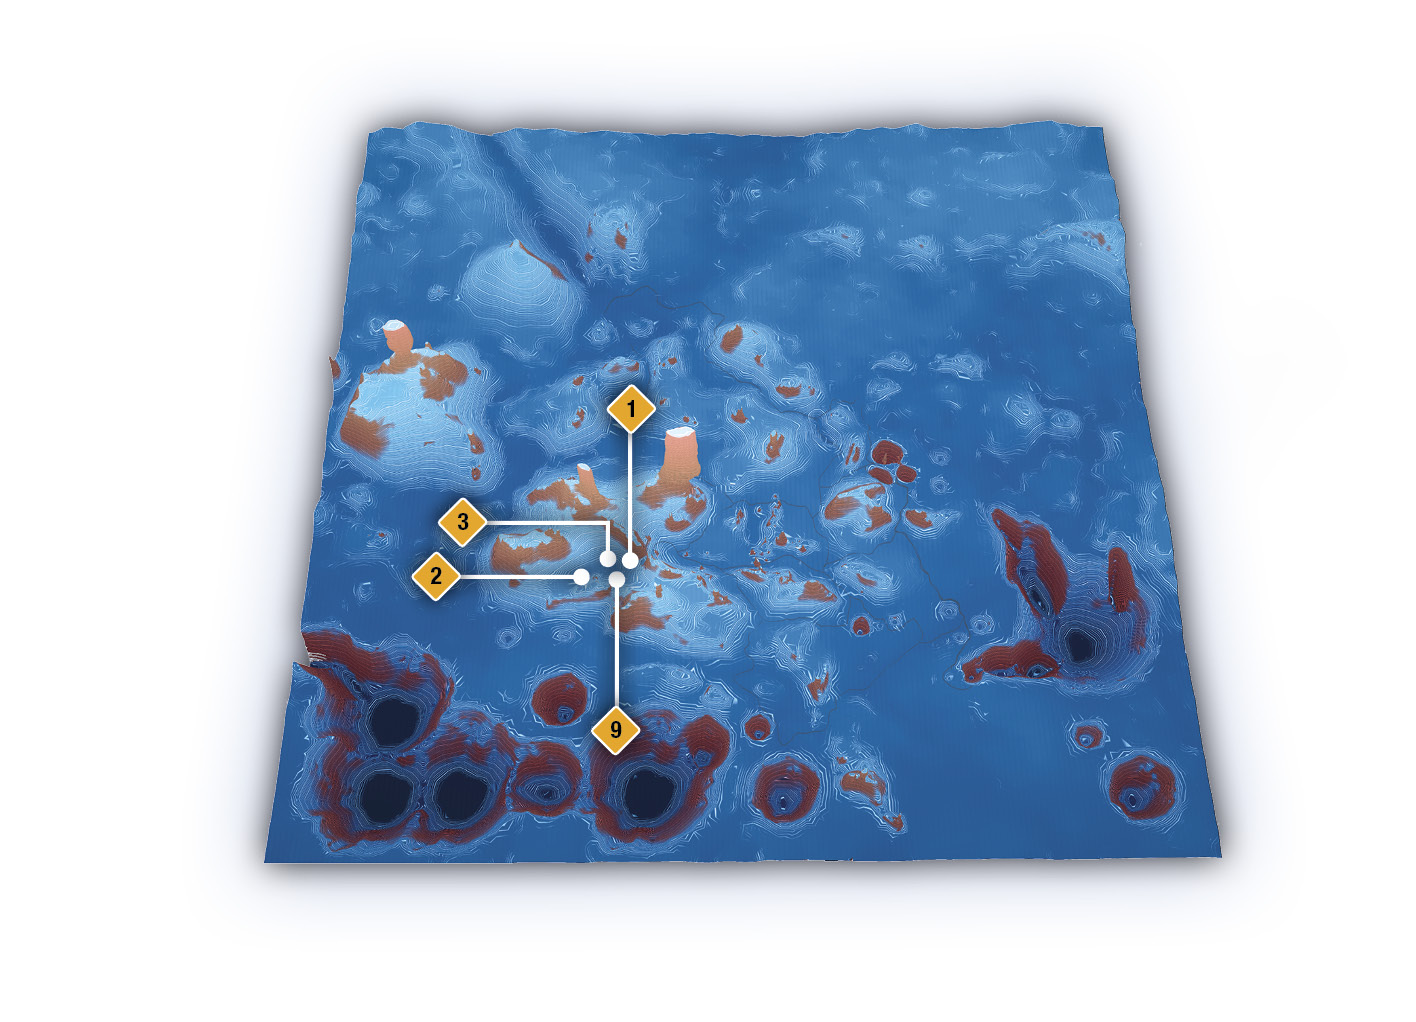
Elaaden: Scavenger Flophouse (“Misery”)
Nakmor scouts have reported that many of Elaaden’s scavengers take refuge in a flophouse hidden in a canyon. A concentrated population of troublemakers might be cause for concern.
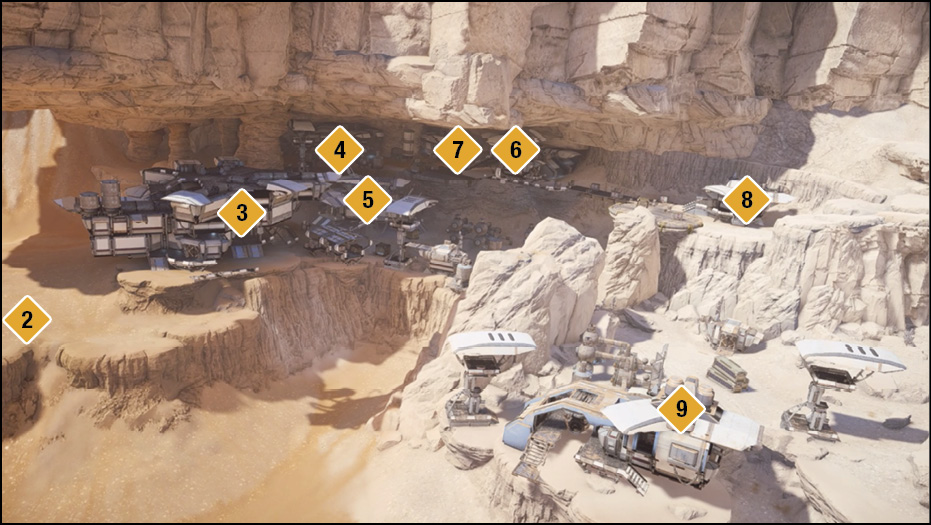
Approach the scavenger flophouse from either the narrow gully doorway (1) or the west plateau (2), where you have a wider view of the camp. Entering from the west places you close to the command center for the next objective.
Enter the Command Center
When you try to enter the command center (3), you run into strong scavenger resistance, and they lock you out of the building. You face Raiders, Agents, and Anarchists, as well as Adhi. The alarm is triggered, and a big battle lies ahead. You’re now tasked with shutting the alarm down to keep the enemies from deploying fresh troops.

Optional: Disable All Three Security Terminals
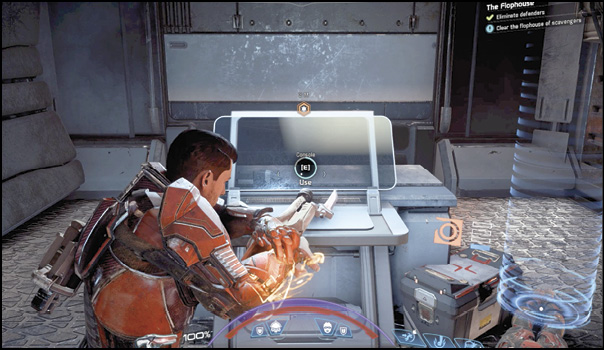
Before you challenge yourself to an even bigger battle than what you’re dealing with right now—and since you’re going in the same direction—clear out the building (4) in the back of the cavern and activate the security terminal inside. Look for the glowing green terminals to interact with. This is an optional objective; disabling all three security terminals allows access inside the currently locked storage room (7).
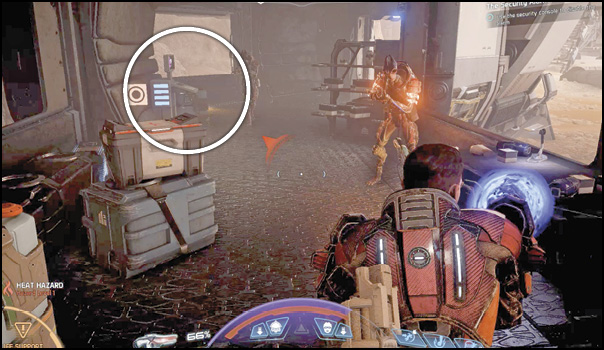
Leave the building, head south, and jump down to the building on the next land-ledge below. Enter the top floor of this building (5) and interact with the glowing green terminal to disable the second security terminal.
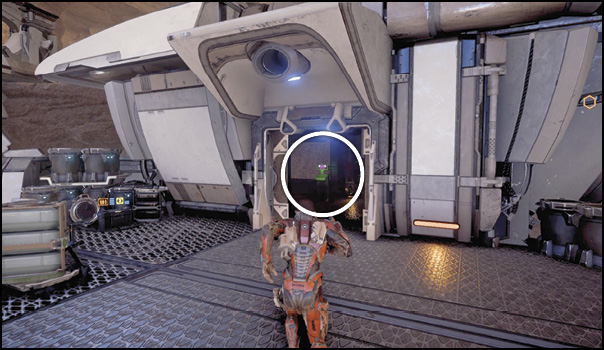
Jump up on the rooftop of this building and get back to the top cavern pathway. Head east and enter the second level of another building (6). Deactivate the security terminal inside. If this is the third terminal activated, the storage room (7) unlocks.
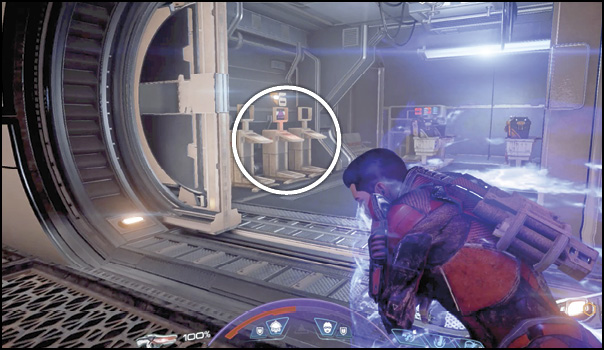
Optional: Access the Secure Storage Room
Enter the storage room (7) after disabling all three security terminals (4)(5)(6). Inside is a plethora of loot containers and a couple large pieces of equipment to scan for data.

Use the Security Console to Disable the Alarm
On the cavern pathway level, enter the farthest building to the east (8) to begin the battle to disable the alarm. Hack the console behind the counter on the right as you enter.
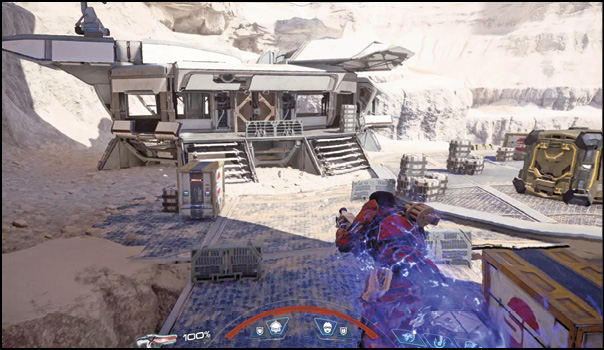
Hold Your Ground Until Security Is Hacked
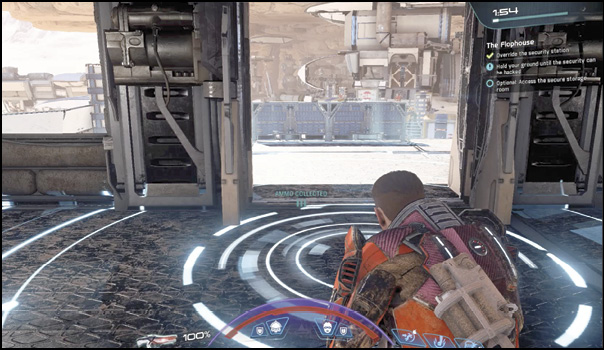
Hacking the console in the security building (8) starts a two minute clock and generates a hacking-battle target zone you must remain within to keep the clock moving. If you step out of the ring (which extends out onto the front porch), the clock pauses. Use the counters, the doorjambs, and the railing out on the porch for cover. There are a few ammo and health crates nearby to keep you loaded. Expect the same types of enemies you saw in the flophouse, with the addition of some Sharpshooters and a Berserker.
Clear Out the Command Center
After the security hack is complete, return to the command center (3) and breach the entry points. Inside on the first floor are Raiders and an Anarchist.
Clear the room before heading up the stairs to the second level so they don’t follow you and add to the resistance upstairs.

Defeat the Leader of the Flophouse
Eliminate Defenders
Strogjaw Grog, the leader of the flophouse, is on the second floor of the command center (3). He’s a krogan Berserker, and Agents, Raiders, and Pariahs stand by to protect him. Since this is tight-quarters fighting, use explosives to soften your targets. Direct your team to target one enemy while you work on another. Avoid Strogjaw while you finish everyone else off, then work on him last. Scan the bodies of the fallen for Research Data.

Clear the Flophouse of Scavengers
Use the console on the top-level balcony of the second floor to disable alarms and keep reinforcements from arriving. This clears the flophouse of scavengers. You earn massive AVP and +10% Elaaden Viability for completing this quest. Scour the flophouse area for containers.