
Mass Effect: Andromeda Collector's Edition Guide Secondary Ops
Nakmor Drack: A Future for Our People
Mission Type: Allies and Relationships
Prerequisite: Complete “Nakmor Drack: Krogan Betrayal”
Start Location: Tempest
Unlocking: Speak to Drack
Speak to Drack on the Tempest
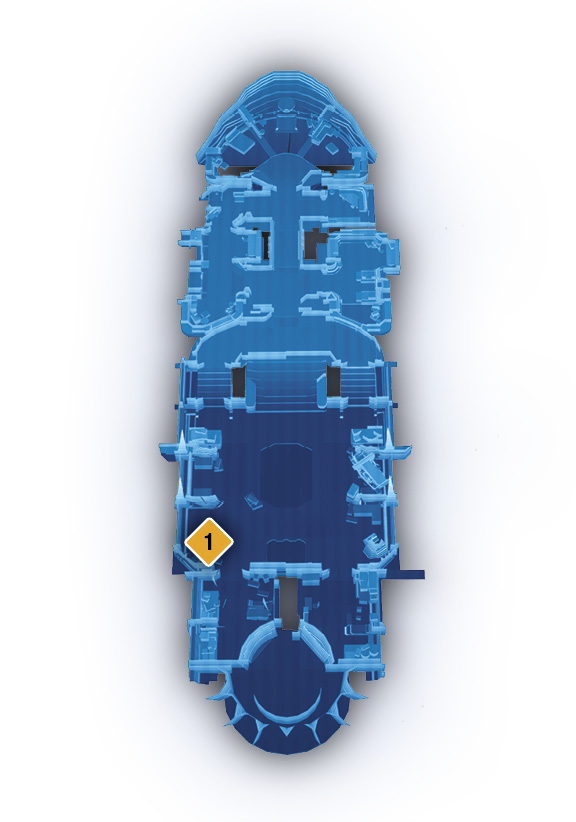
Tempest: Galley
Speak to Drack (1) in the Nexus galley to complete “Nakmor Drack: Krogan Betrayal.” You were going to talk about Spender and that you’re hacking his scanner, but Drack pulls you into another mission—one that will save many krogan babies. He needs your help getting back the stolen seed vault. This continues the Spender quest. The exile smuggler known as Aroane is working with Spender to steal the transport from the krogan. Recover this seed vault transport along with the evidence found in Spender’s apartment to nail the corrupt Nexus politician to the wall.
Speak with Hark atthe Greenhouse
Elaaden
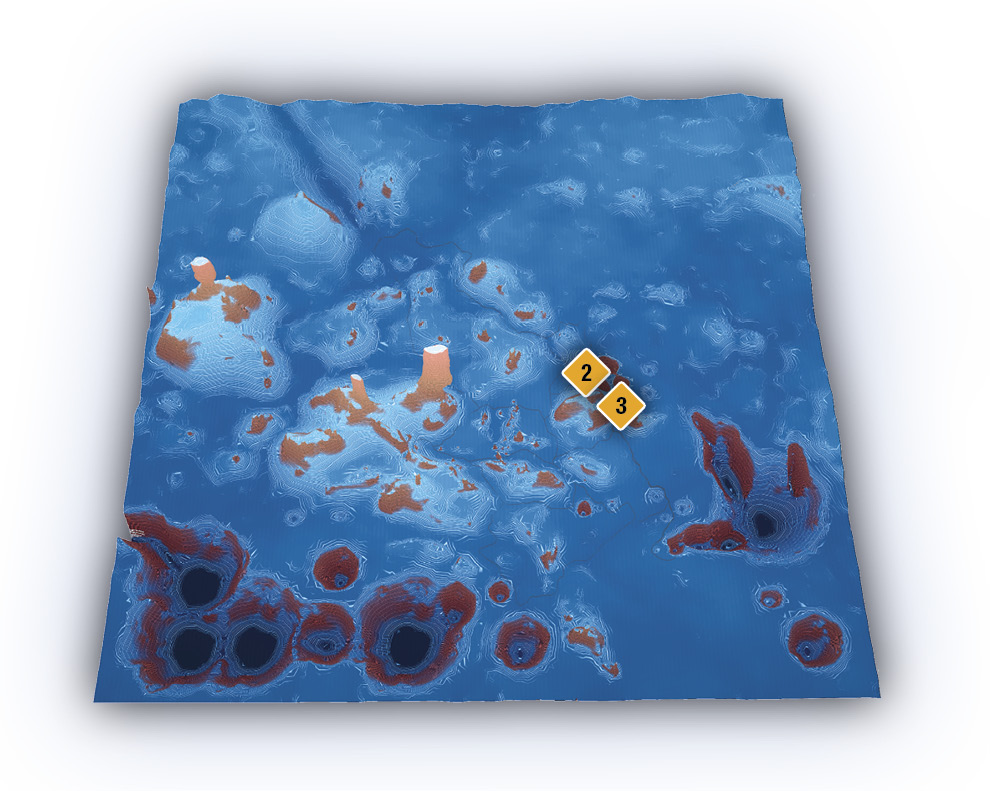
You land at the Initiative outpost (2) on Elaaden. Enter the New Tuchanka krogan base (go to your neighbors for sugar) (3).
Krogan Colony
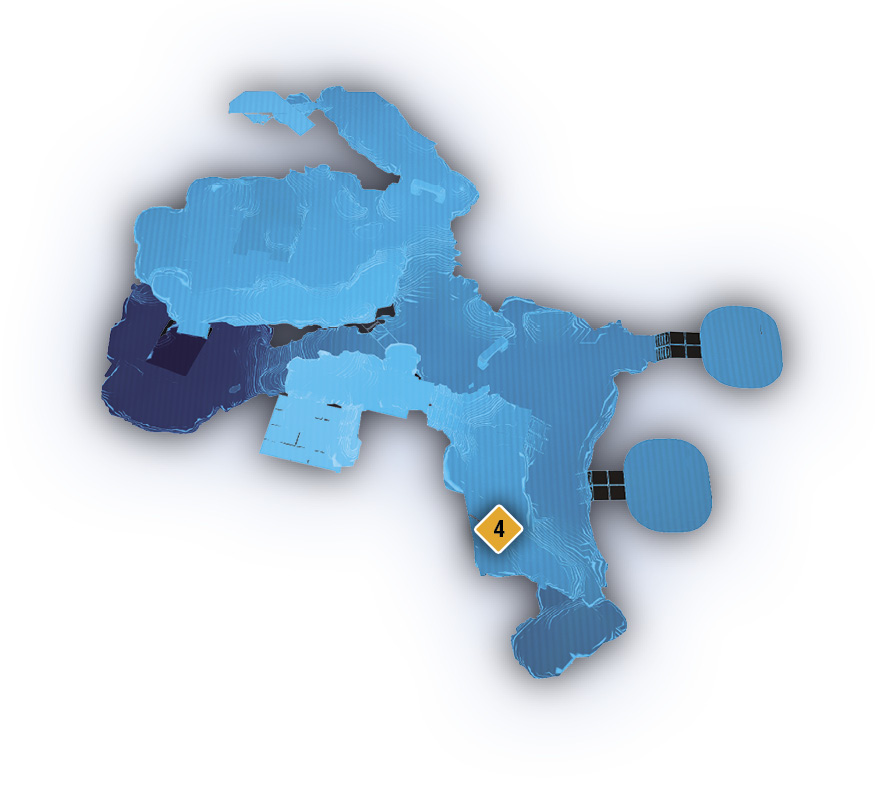
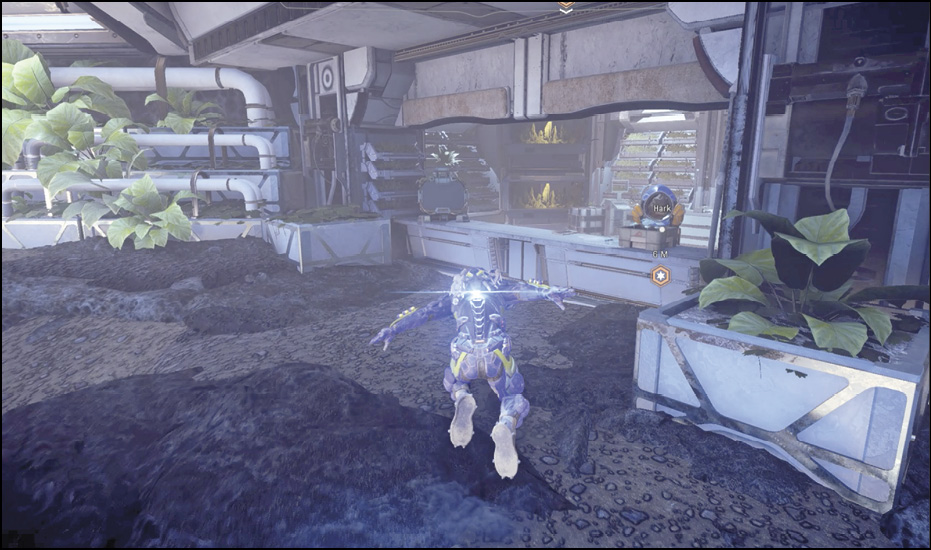
Head to the lowest levels of the krogan colony base until you reach the greenhouse (4). Speak to Hark behind the counter. He tracked the stolen transport to one of Elaaden’s moons. Morda thinks Vorn took the transport for a sample run, and Hark didn’t tell her otherwise.
Reach the Krogan Transport
Kadara’s Moon
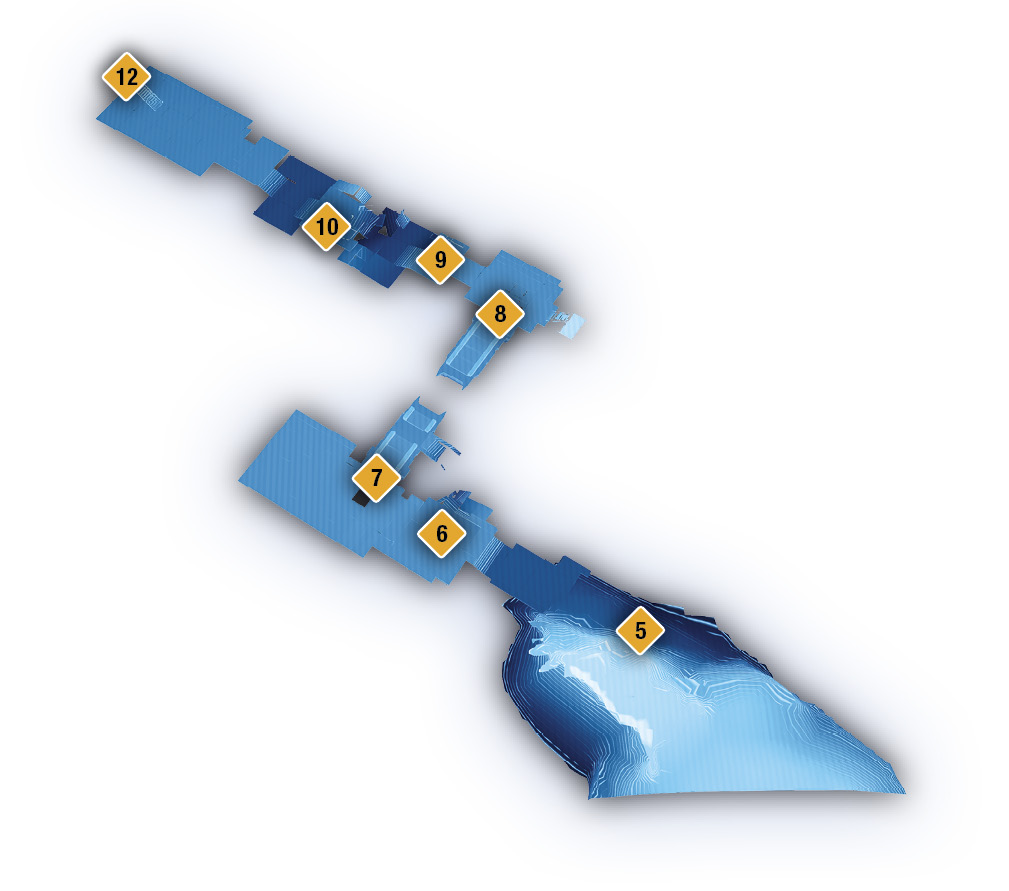
You start (5) on the moon just outside a large complex. Begin pushing into the building. Defeat the Raiders on the porch (6) and inside the large hangar-like entrance, then take the hallway (7) heading toward the navpoint. Open the door at the end of the hallway (8).
Aroane and his Raiders see you coming, and your team explains Spender’s role in getting the codes to the transport. Aroane takes off running.
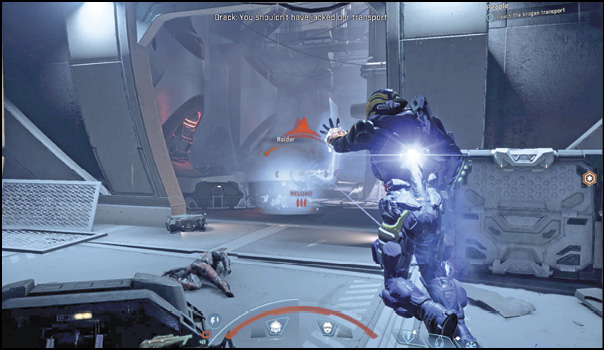
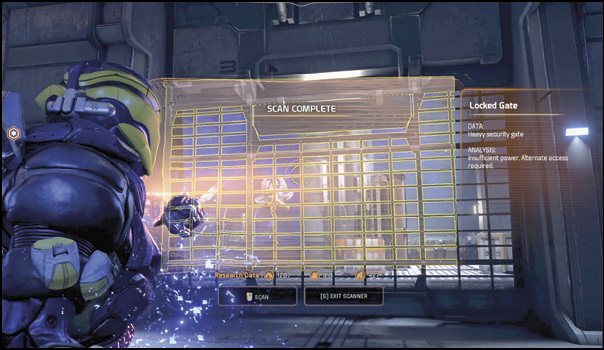
Defeat the Raiders in the room (9) and watch for the Sharpshooter (10) in the crow’s nest up in the top-left side of the structure. When you past under his tall platform, you start confronting Adhi and a Pariah with more Raiders. Once they’re dead, head up the stairs (10) and defeat Raiders on the other side of the locked gate (11). Scan the gate.
Take the Lower Route
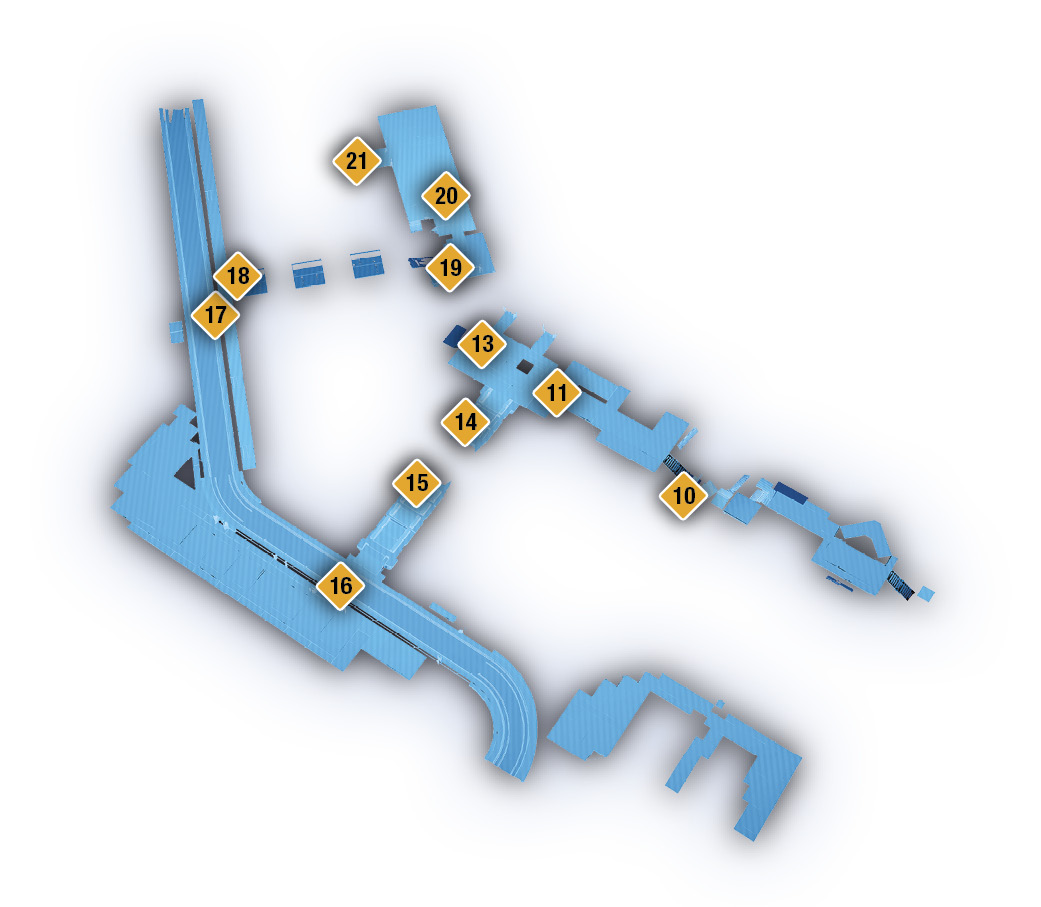
Head back down the stairs (10) and continue to defeat Raiders and Sharpshooters to get to the indoor stairwell (12). Climb the stairs and enter the room above (13). This is the same room where you attacked Raiders through the locked gate. Follow the navpoint around the corner, and climb the piles of crates and equipment at the end of the hallway (14).
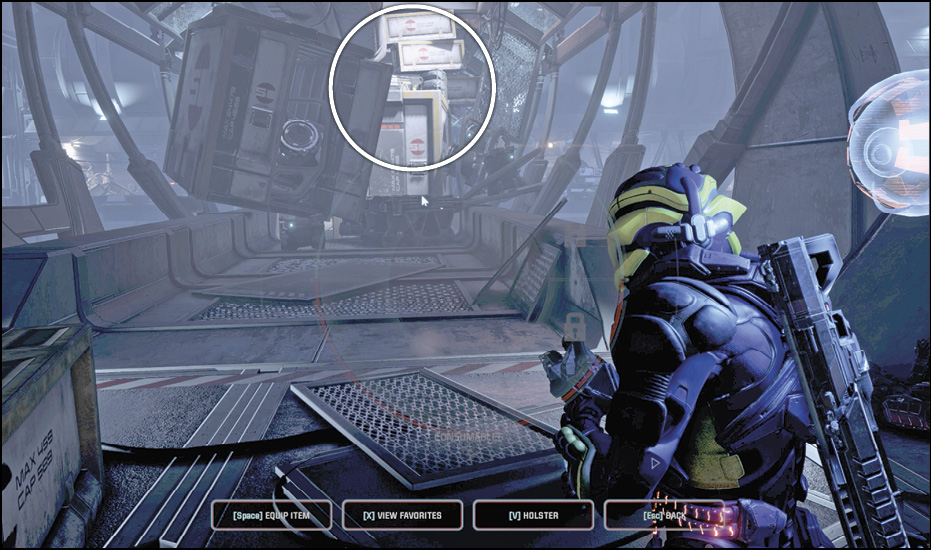
You’re now on a third-level catwalk of the larger facility, and the next navpoint can be seen to your right as you run to a hole in the grate flooring. Drop through to get back down (15) to the second level (clearing the debris in the same hallway).
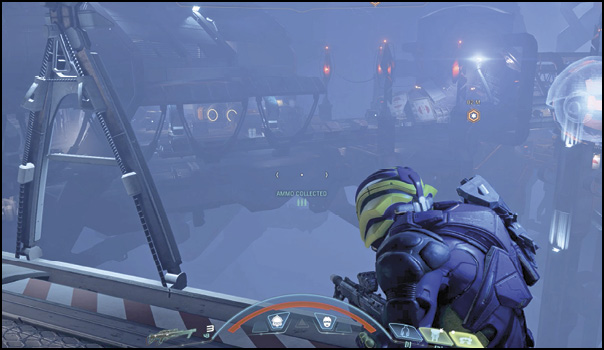
In the tram tunnel (16), defeat the Adhi behind gates and in the tunnels, along with the Raiders, a Saboteur, and Sharpshooters. Follow the navpoint to end up at another crate obstruction (17).

Lift the rubble at the Lift Rubble prompt near the gap at the bottom of the pile and in the middle of the tracks. Once you’re through, you hear Vorn on comms. He was on the ship doing inventory when the pirates stole it. It happened so quickly he couldn’t warn anyone. He says they have him locked up in a container.
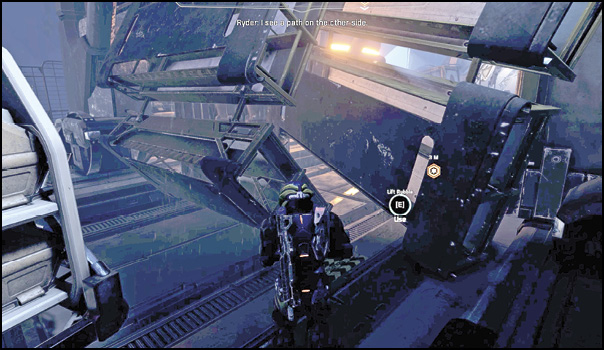
During the same cutscene, you and Drack see the dropship getting ready to take off, securing Aroane’s escape with the seed vault. Drack must decide whether to retrieve the seed vault or save Vorn. He goes for Vorn.
Jump Across the Grates
You regain control on the rails. Drop down off the side of the rails onto a lower grate platform (18), then jump across the gaps to make it to the east-side rails (19). Run into the open building and defeat the Raiders and Sharpshooter inside (20). Find the exterior landing (21) through an opening on the left; take the stairs up to the next floor (22).

Rescue Vorn
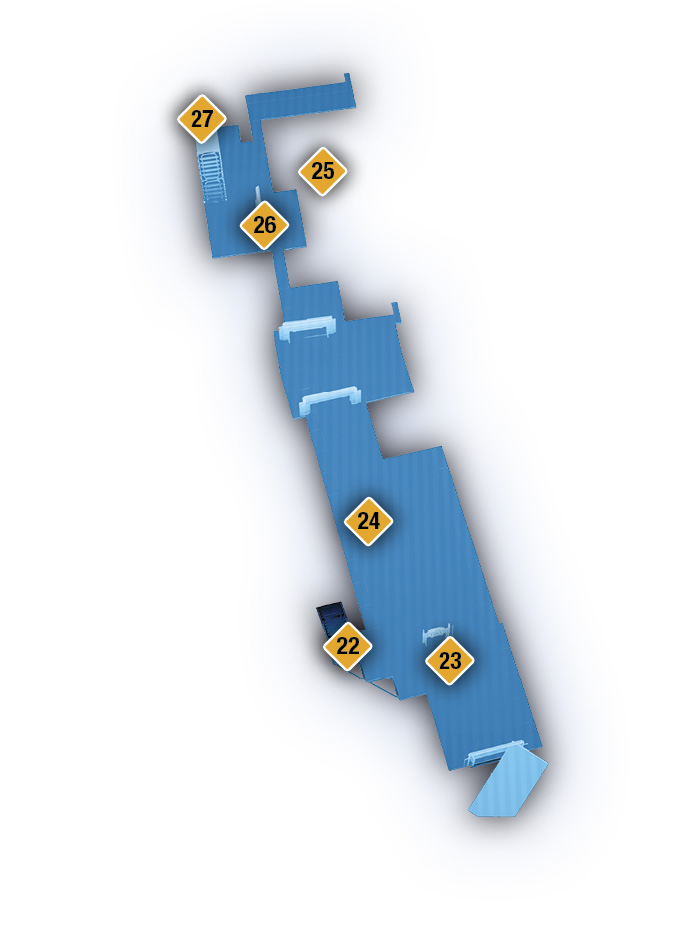
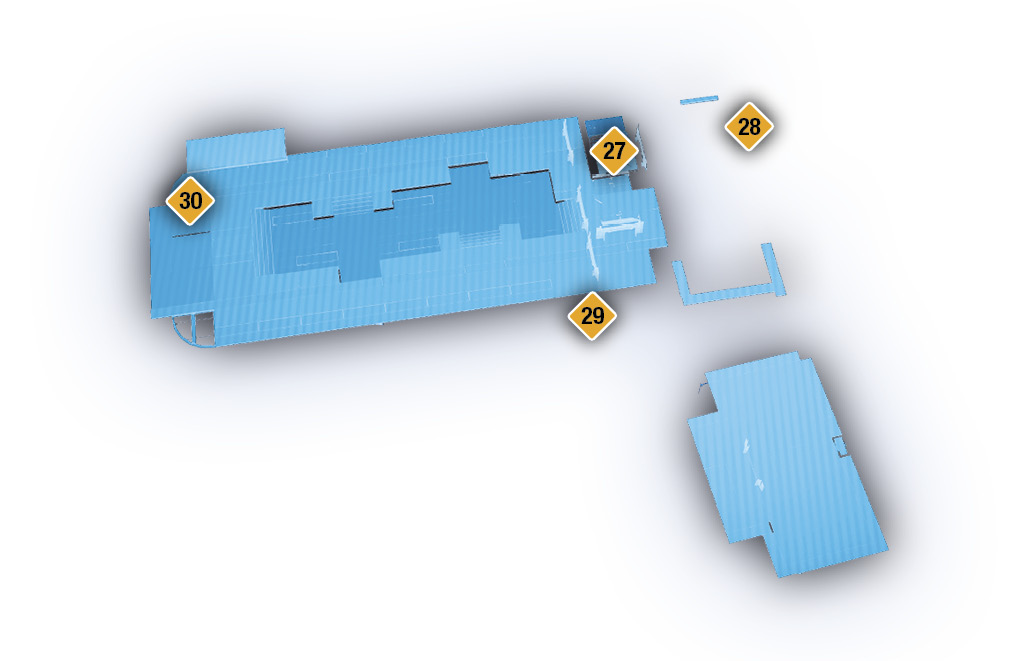
Open the large door (23) on the left at the top of the stairs. You catch up to Aroane in a large warehouse. He screams that he’s going to destroy everything you care about. When control returns to you (24), you find yourself in the middle of the room. Get to cover or just start annihilating things. Here you face numerous Adhi, an Anarchist, and more Raiders. Deep in the back of the warehouse, you run into Sharpshooters.
The next navpoint (25) indicates something on the floor above. Open the door (26) and use the stairwell (27) to reach the next level up (28).
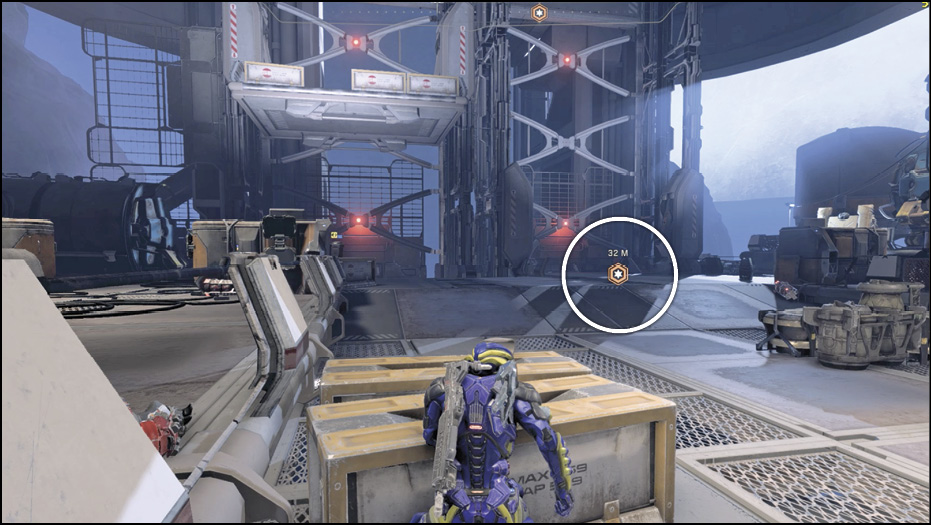
Push through into the room, where you can find Vorn in a container guarded by two Raiders. Take out the enemy and let Vorn out. After the conversation, during which Vorn takes a hit for Drack, Drack bursts through the nearby wall (29) and goes on a rampage. Help him defeat the enemies, or rush to the elevator switch (30) in the back-right corner and escape the battle to start an even bigger one above (31).
Secure the Krogan Transport
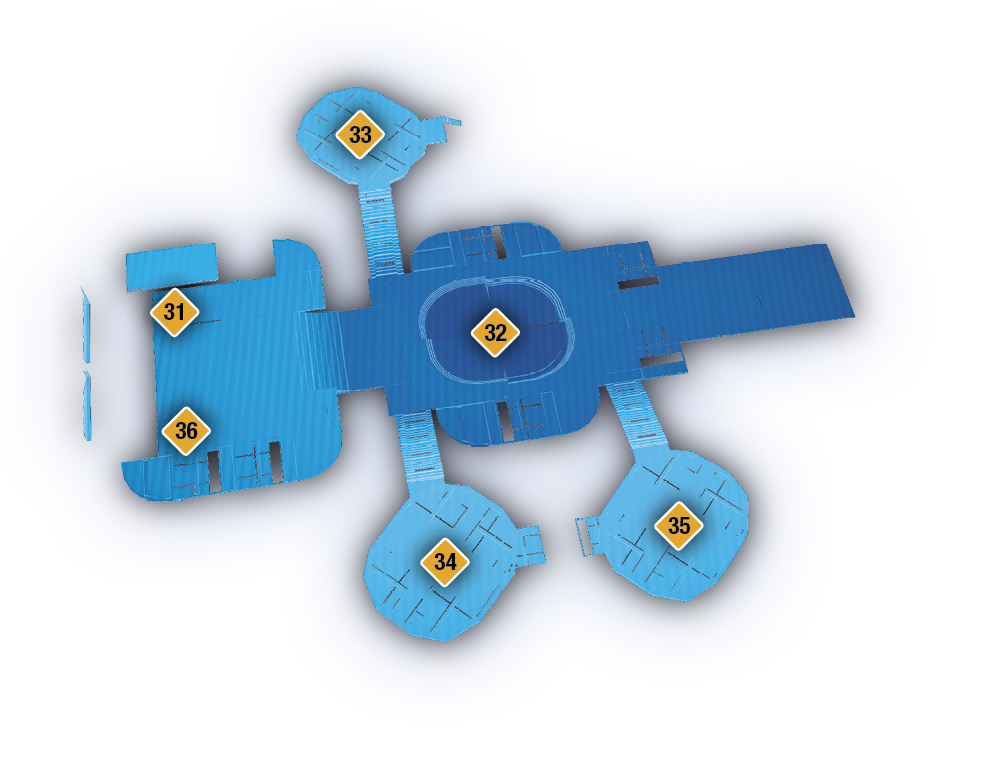
On the way up the lift, you see the transport ship warming up to leave. Vorn overrides the controls to keep the docking clamps shut. You start at the top of the lift (31). Head into the middle of the arena (32) to battle Raiders, Adhi, Sharpshooters, and a Pariah.
Once you take out that wave, a dropship delivers Raiders on either the middle platform or the single one on the left (33). Eliminate this wave as well, and look for others camping out on the other landing pads (34)(35). Sharpshooters like those positions.

Lastly, two Hydras arrive. Use your team and all the great cover provided by the arena to defeat them. Clear out all enemies to complete the objective. Time to release the docking clamps.
Release the Docking Clamps
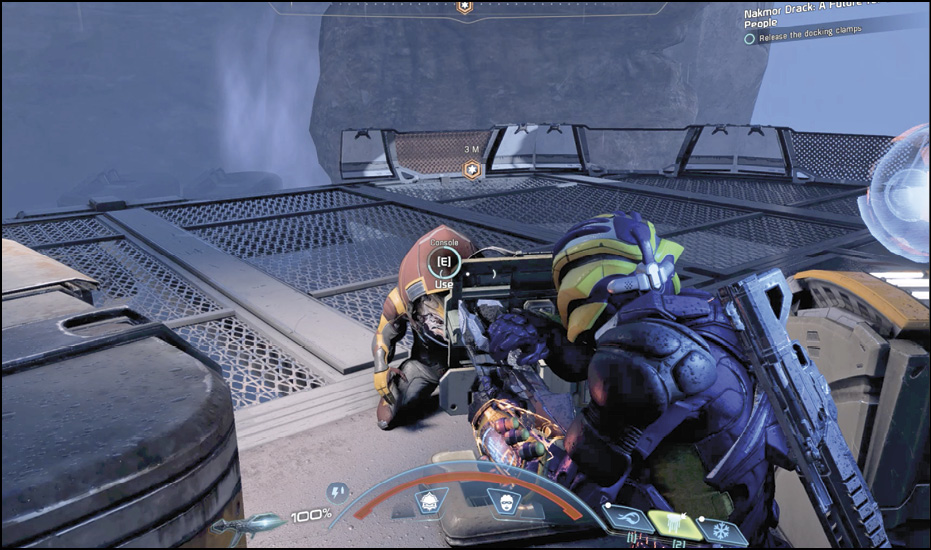
Once all the Raiders are toast, head to the console (36) that controls the docking clamps. You find Vorn hiding behind the controls. Use the console.
Aroane comes up behind Vorn and puts a gun to his head. Your conversation options all lead to Vorn pulling out a krogan root that inflicts a gas-bomb effect on all non-krogan. It puts Aroane on his butt, and Drack drags him to a ledge and hangs him over by his feet. You can choose to save him or let Drack drop him.
After sparing or dropping Aroane, you and Drack have a long conversation back on Kadara. Finish out the conversation discussing how Spender’s going to be nailed to a wall. Drack opens up to you at the end, and you earn his loyalty right there.
Return to Nexus Control
This objective completes when you run through the commons to get to the tram on your way to operations.
Review EvidenceAgainst Spender
Nexus Operations
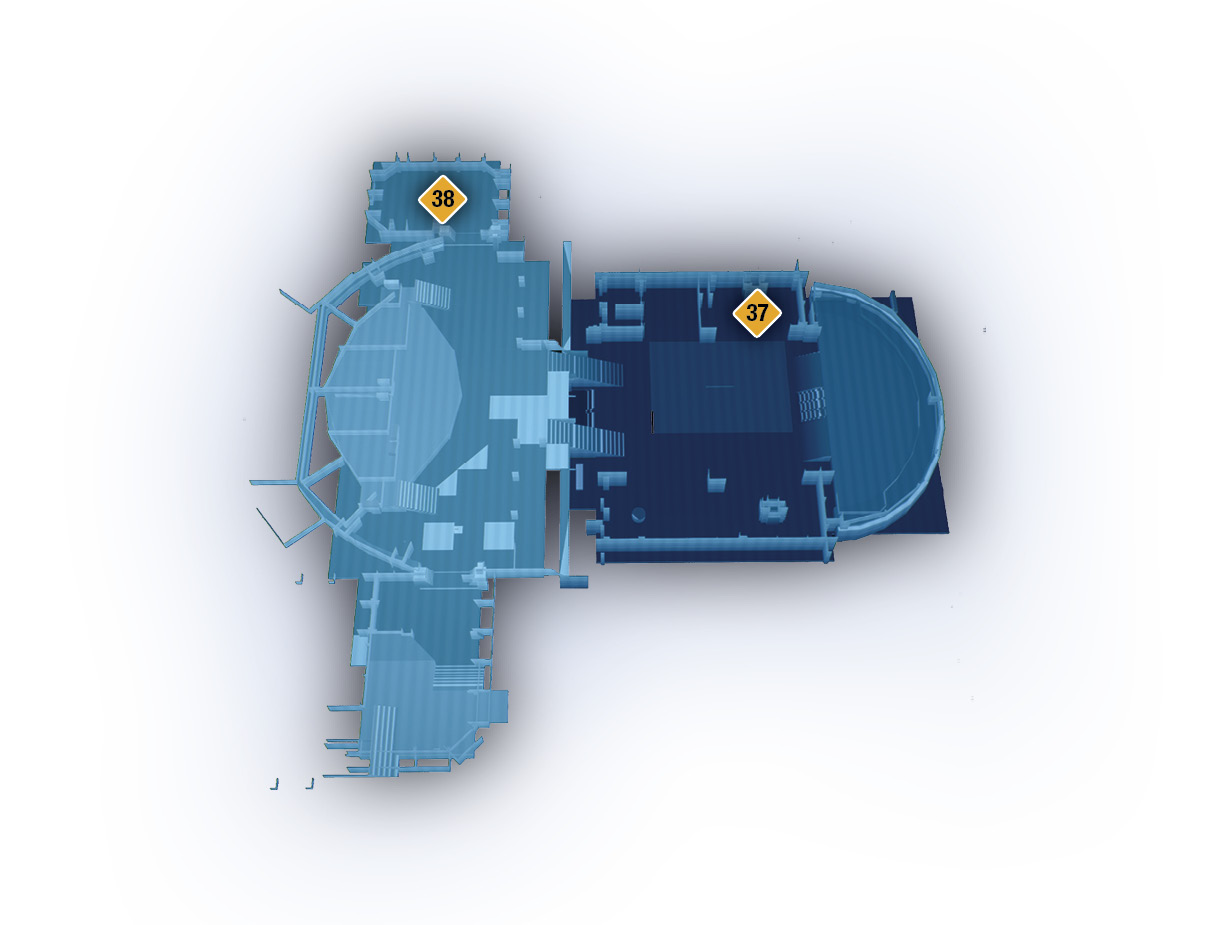
Enter operations and use the security footage console (37). Here you access the “Unscrambled Exchange” email. It’s from Spender, who’s written out…basically his confession to everything. The evidence is that bad.
Speak with Drack on the Nexus
Tesh’s Office
Head to Tesh’s Office (38) to talk to Drack. Drack asks if you’re ready to go deal with Spender. Choose “Yes” to progress the quest. No choice changes the outcome. You head to Spender in the same cutscene.
Deal with Spender
During the cutscene conversation, Spender first tries the “They were going to kill me” excuse. Eventually, after much backpedaling, Kandros plays the audio confession from Aroane. Spender loses his cool and shows his dislike for the krogan.
In a conversation option, you can put blame on Addison (depending on what you really think of her), or you can pin it on Spender alone. Finally, you get to choose whether to jail Spender or exile him. Drack thanks you for helping, and the quest ends.