
Mass Effect: Andromeda Collector's Edition Guide Priority Ops
Mission 5: The Journey to Meridian
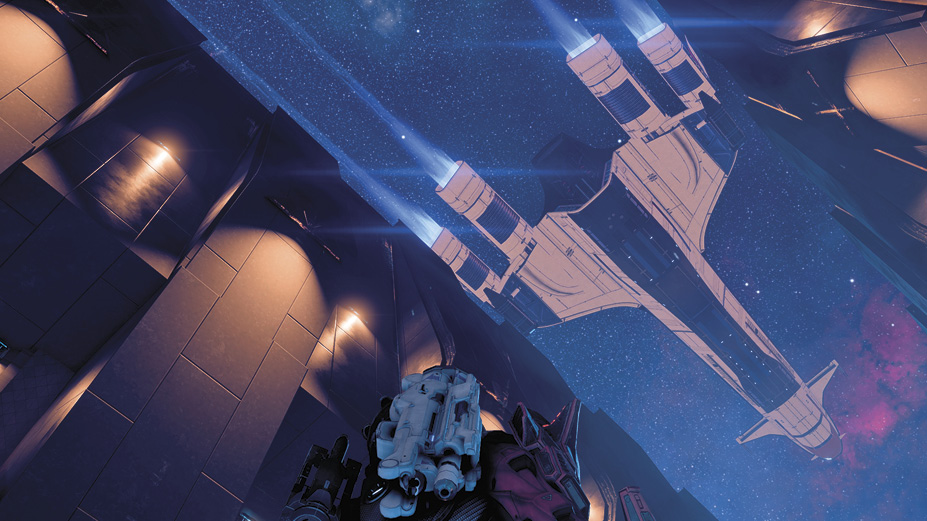
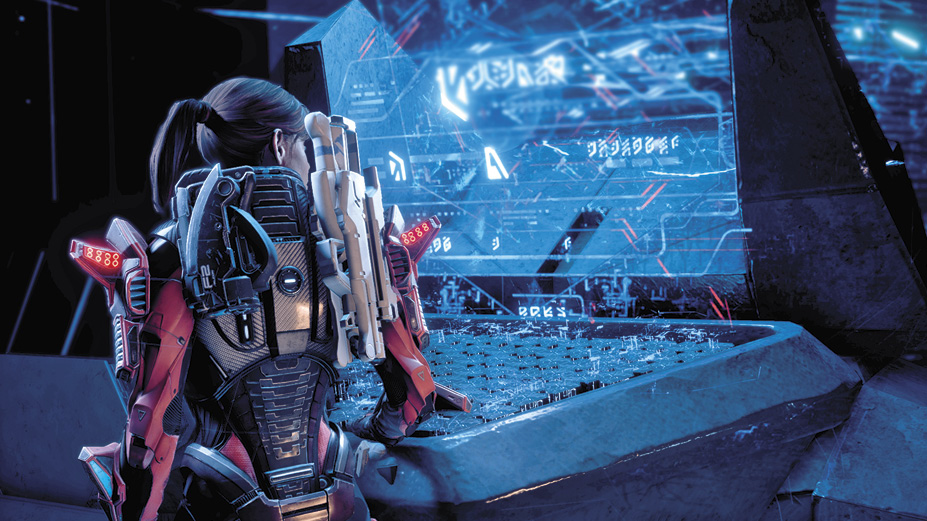
The Archon is heavily vested in a Remnant “city” called Meridian, but he doesn’t have the knowledge or the power to activate it himself. With this in mind, Ryder believes this to be the Initiative’s chance at eliminating the kett as a threat to the galaxy once and for all—by taking Meridian away from the Archon.
| Optionals Checklist | |
|---|---|
| 1. | Explore Elaaden, an entirely optional questing planet (For details, see the Secondary Ops chapter) |
| 2. | Revisit the major hubs, the Nexus and the Hyperion, to undertake and complete side quests |
| 3. | Activate vaults and shut down Architects |
| 4. | Raise planet Viability; at this point in the game, it’s possible to raise all five to 100% for a special reward |
| 5. | Complete “Know Your Enemy” on Voeld |
Meet with Nexus Leaders
The Nexus leaders don’t agree with Ryder’s plan in going after Meridian, fearing the risk of severe losses to the kett in an all-out war. However, the other Pathfinders trust Ryder and begin to make plans for a Meridian operation without the Initiative leaders.
Meanwhile, your brother/sister awakens from cryostasis. The way this scene plays out depends on whether you checked on your sibling during the mission “Ryder Family Secrets.” If you did, your choices concerning whether to be honest with your sibling while interfacing through SAM determine their responses to you here.
Operation Ghost Storm
First, integrate Ghost Storm technology with the Tempest by interacting with a console in the Tempest’s research center. Then start a crew meeting by using the Vidcon station. This mission can be started immediately after. Fly to Meridian using the Galaxy Map. Your destination is in the Civki system.
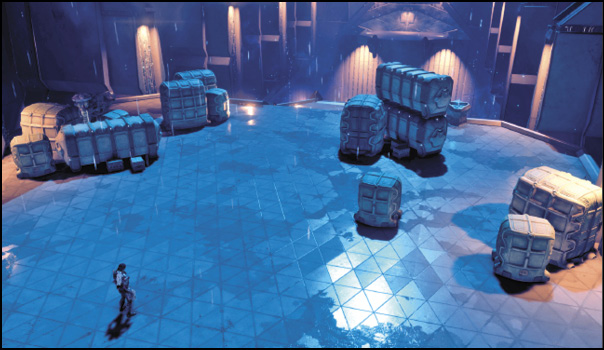
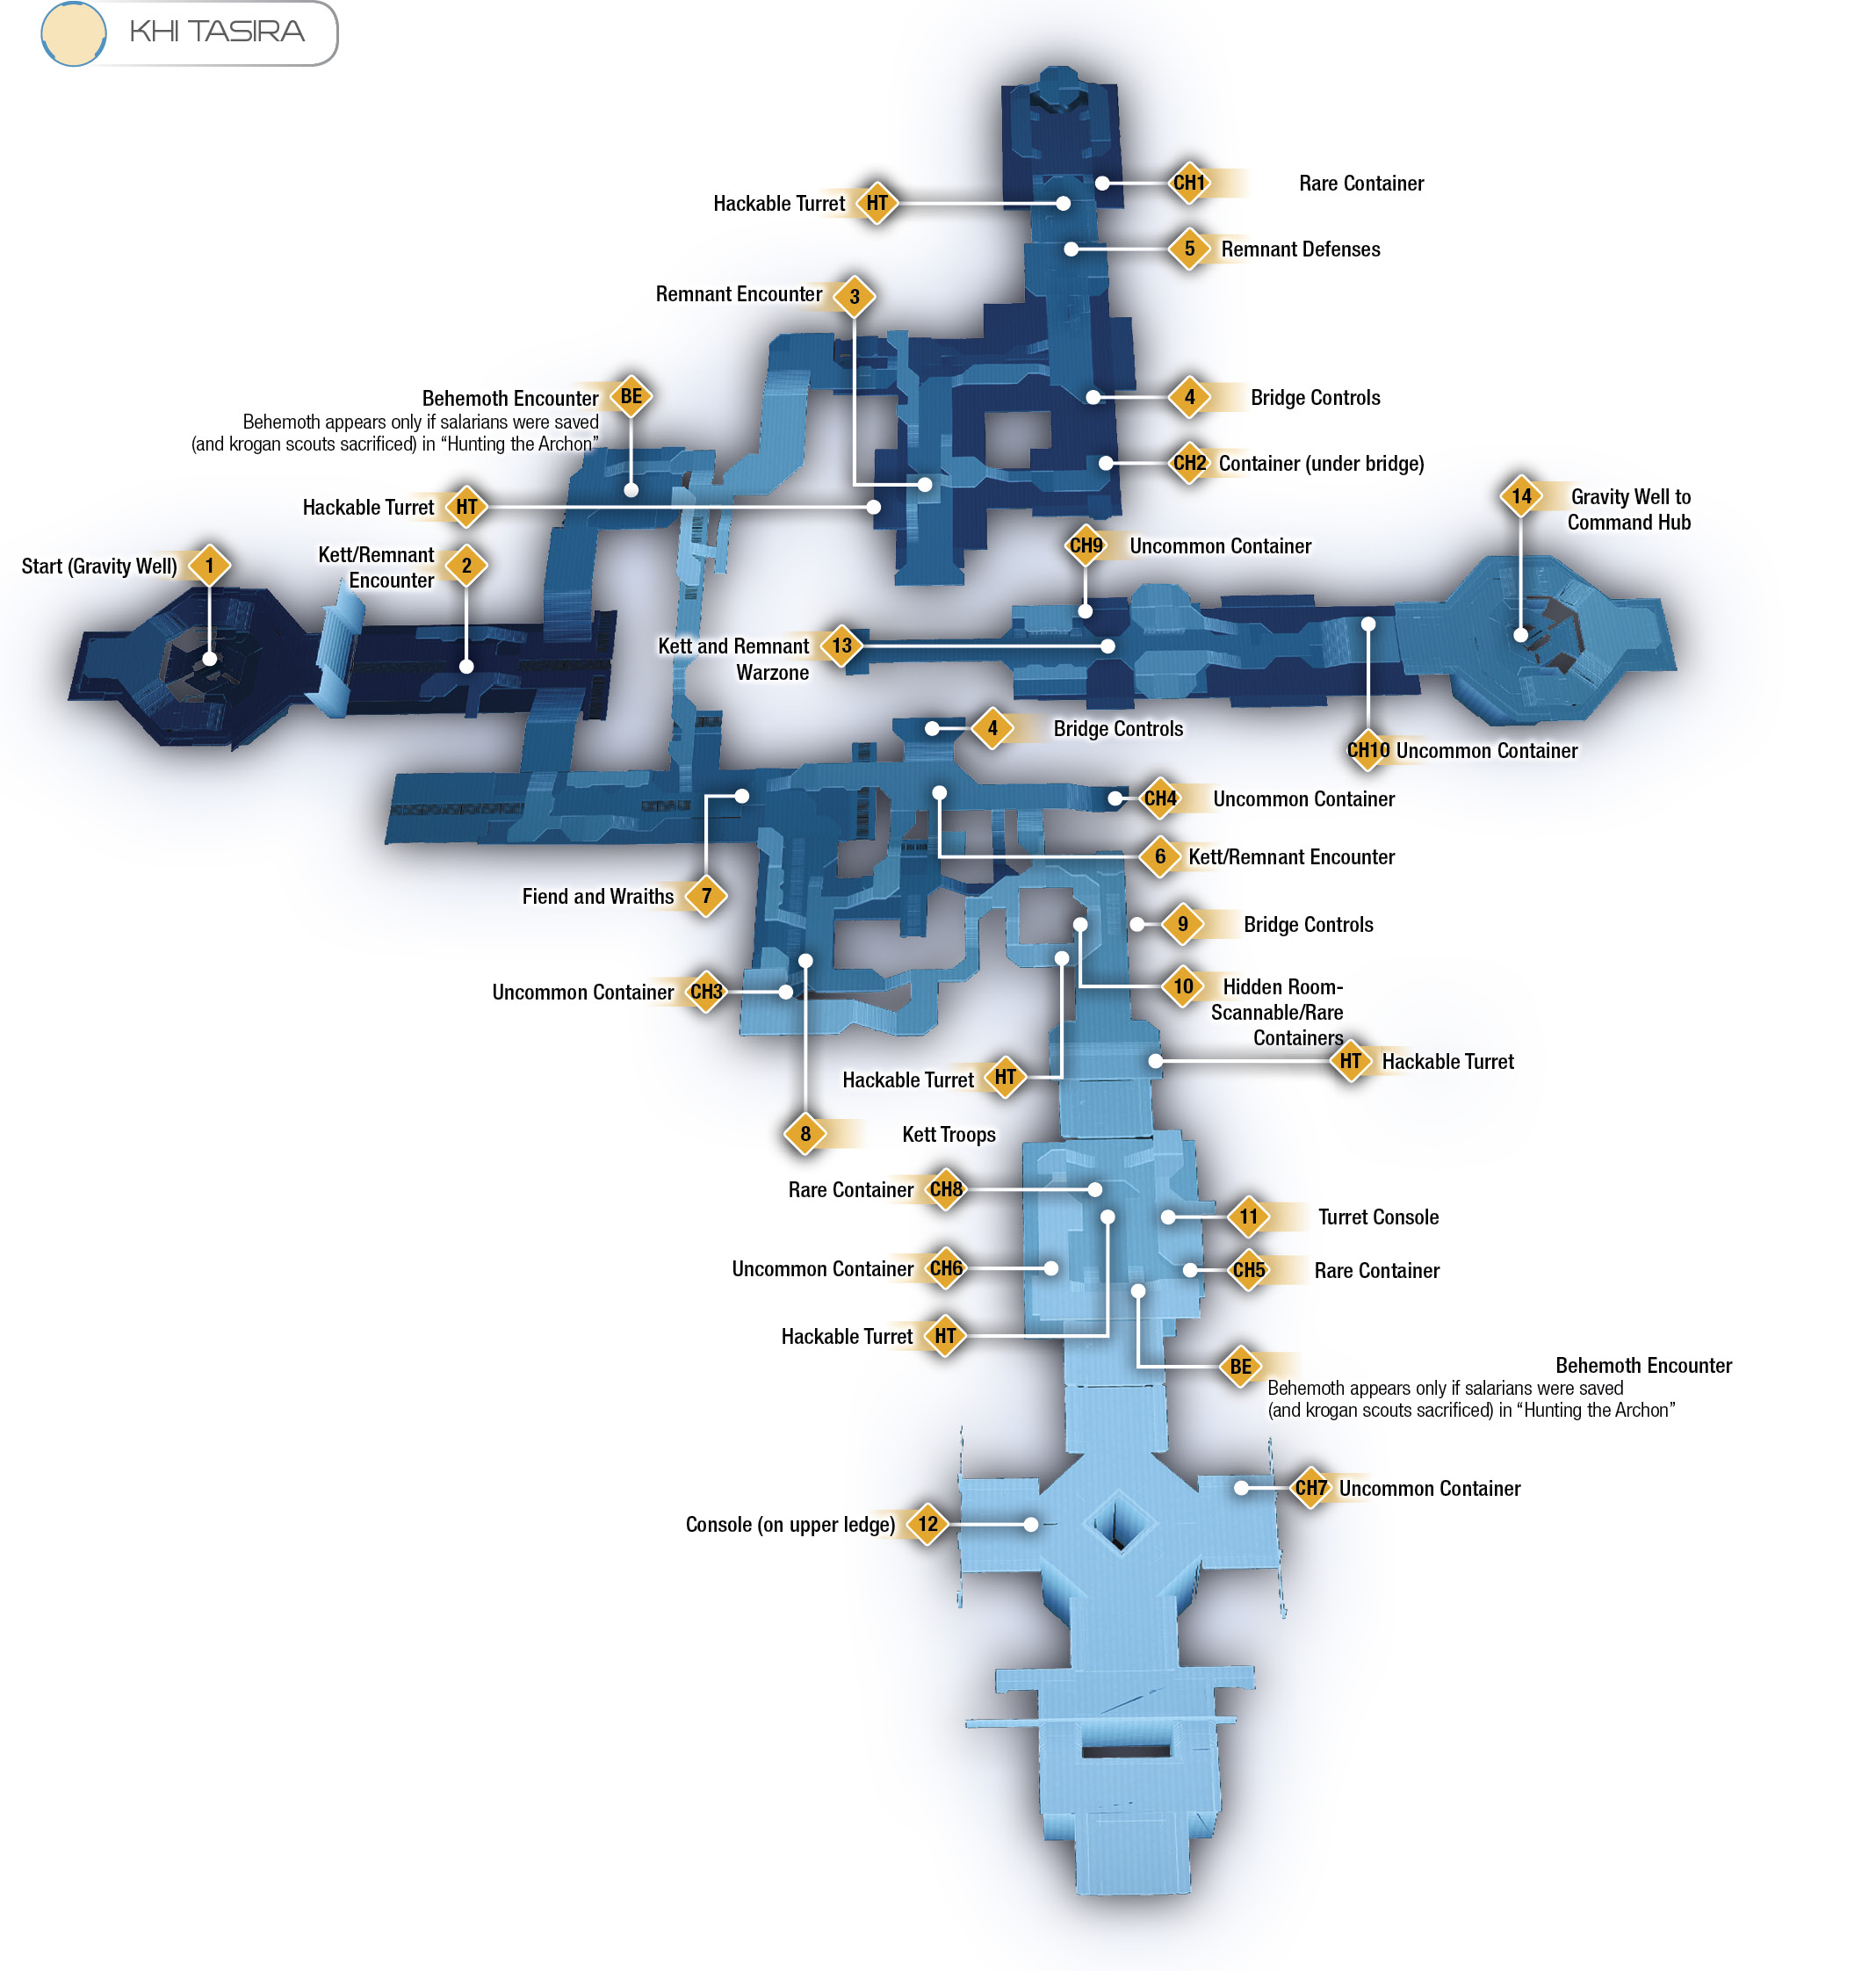
Upon landing in the Remnant city, find the console slightly east of your starting position to activate a bridge ahead.
Cross the bridge, open the door, then enter the room and interface with the console at the other end to trigger a cutscene featuring a view overlooking the colossal Remnant city. You are to investigate the two prominent towers in the city: one at the north end and one opposite, to the south. Both must be investigated. They can be visited in either order.
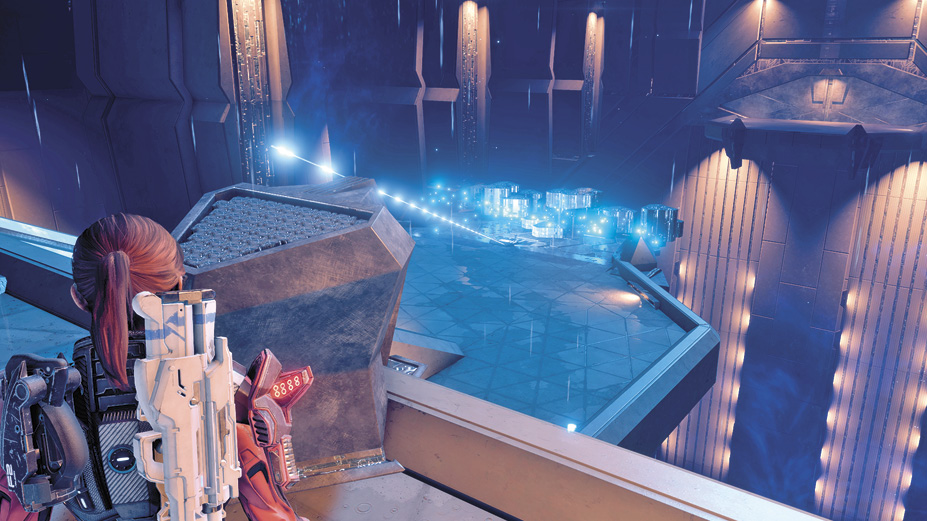
Use the Gravity Well to descend to the city’s ground level. Up on the west side of the room is a strange Remannt artifact you can scan for some Research Data.
Next, when you leave out of the gate to the east, you’re met by kett resistance, including Wraiths, Chosen, and Anointed. As usual, prioritize Wraiths and use cover to protect yourself against Anointed. After defeating the initial wave, a dropship arrives, deploying another wave of kett.
A couple of Observers join the fray as you cut through kett troops. Take them out with your anti-synthetic powers.
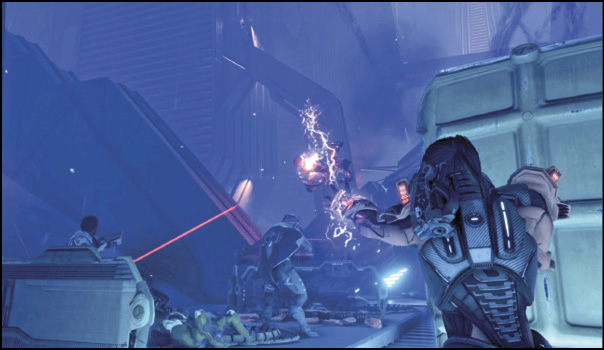
Continue east until you come to a divergence. You can use either path, since you need to interface with both Remnant consoles, north and south.
North Tower: Exploration Sector
Follow the platforms heading north and east until you reach a Scourge-devastated area with a broken platform you can jump down from. From here, keep going east, then north, while avoiding the Scourge energy pockets. If you take the route south toward the next point (3), Remnant Nullifiers, a hackable turret, Assemblers, and some Chosen appear, attacking you as well as each other. If you have Tactical Cloak, you can easily hack turrets to turn them into allies.
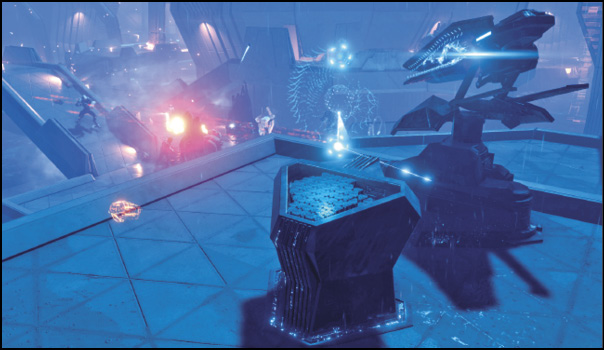
Defeat all hostiles, then activate the bridge (4) to link the north and south halves of the level. To the east is a giant, impassable barrier that can be disabled by activating both tower controls.
Make your way back northeast, through Scourge energy pockets, until you encounter another group of Remnant units, ranging from Assemblers to Nullifiers.
There’s another hackable turret at the far north end, so plan to interface with the console behind it to make this encounter much more manageable. Interface with the Remnant console behind the turret to open the large door to the north tower (Exploration Systems).
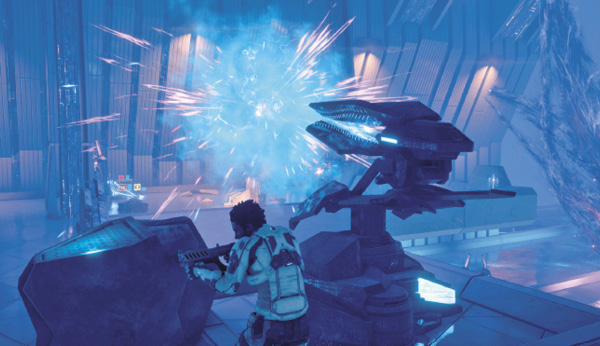
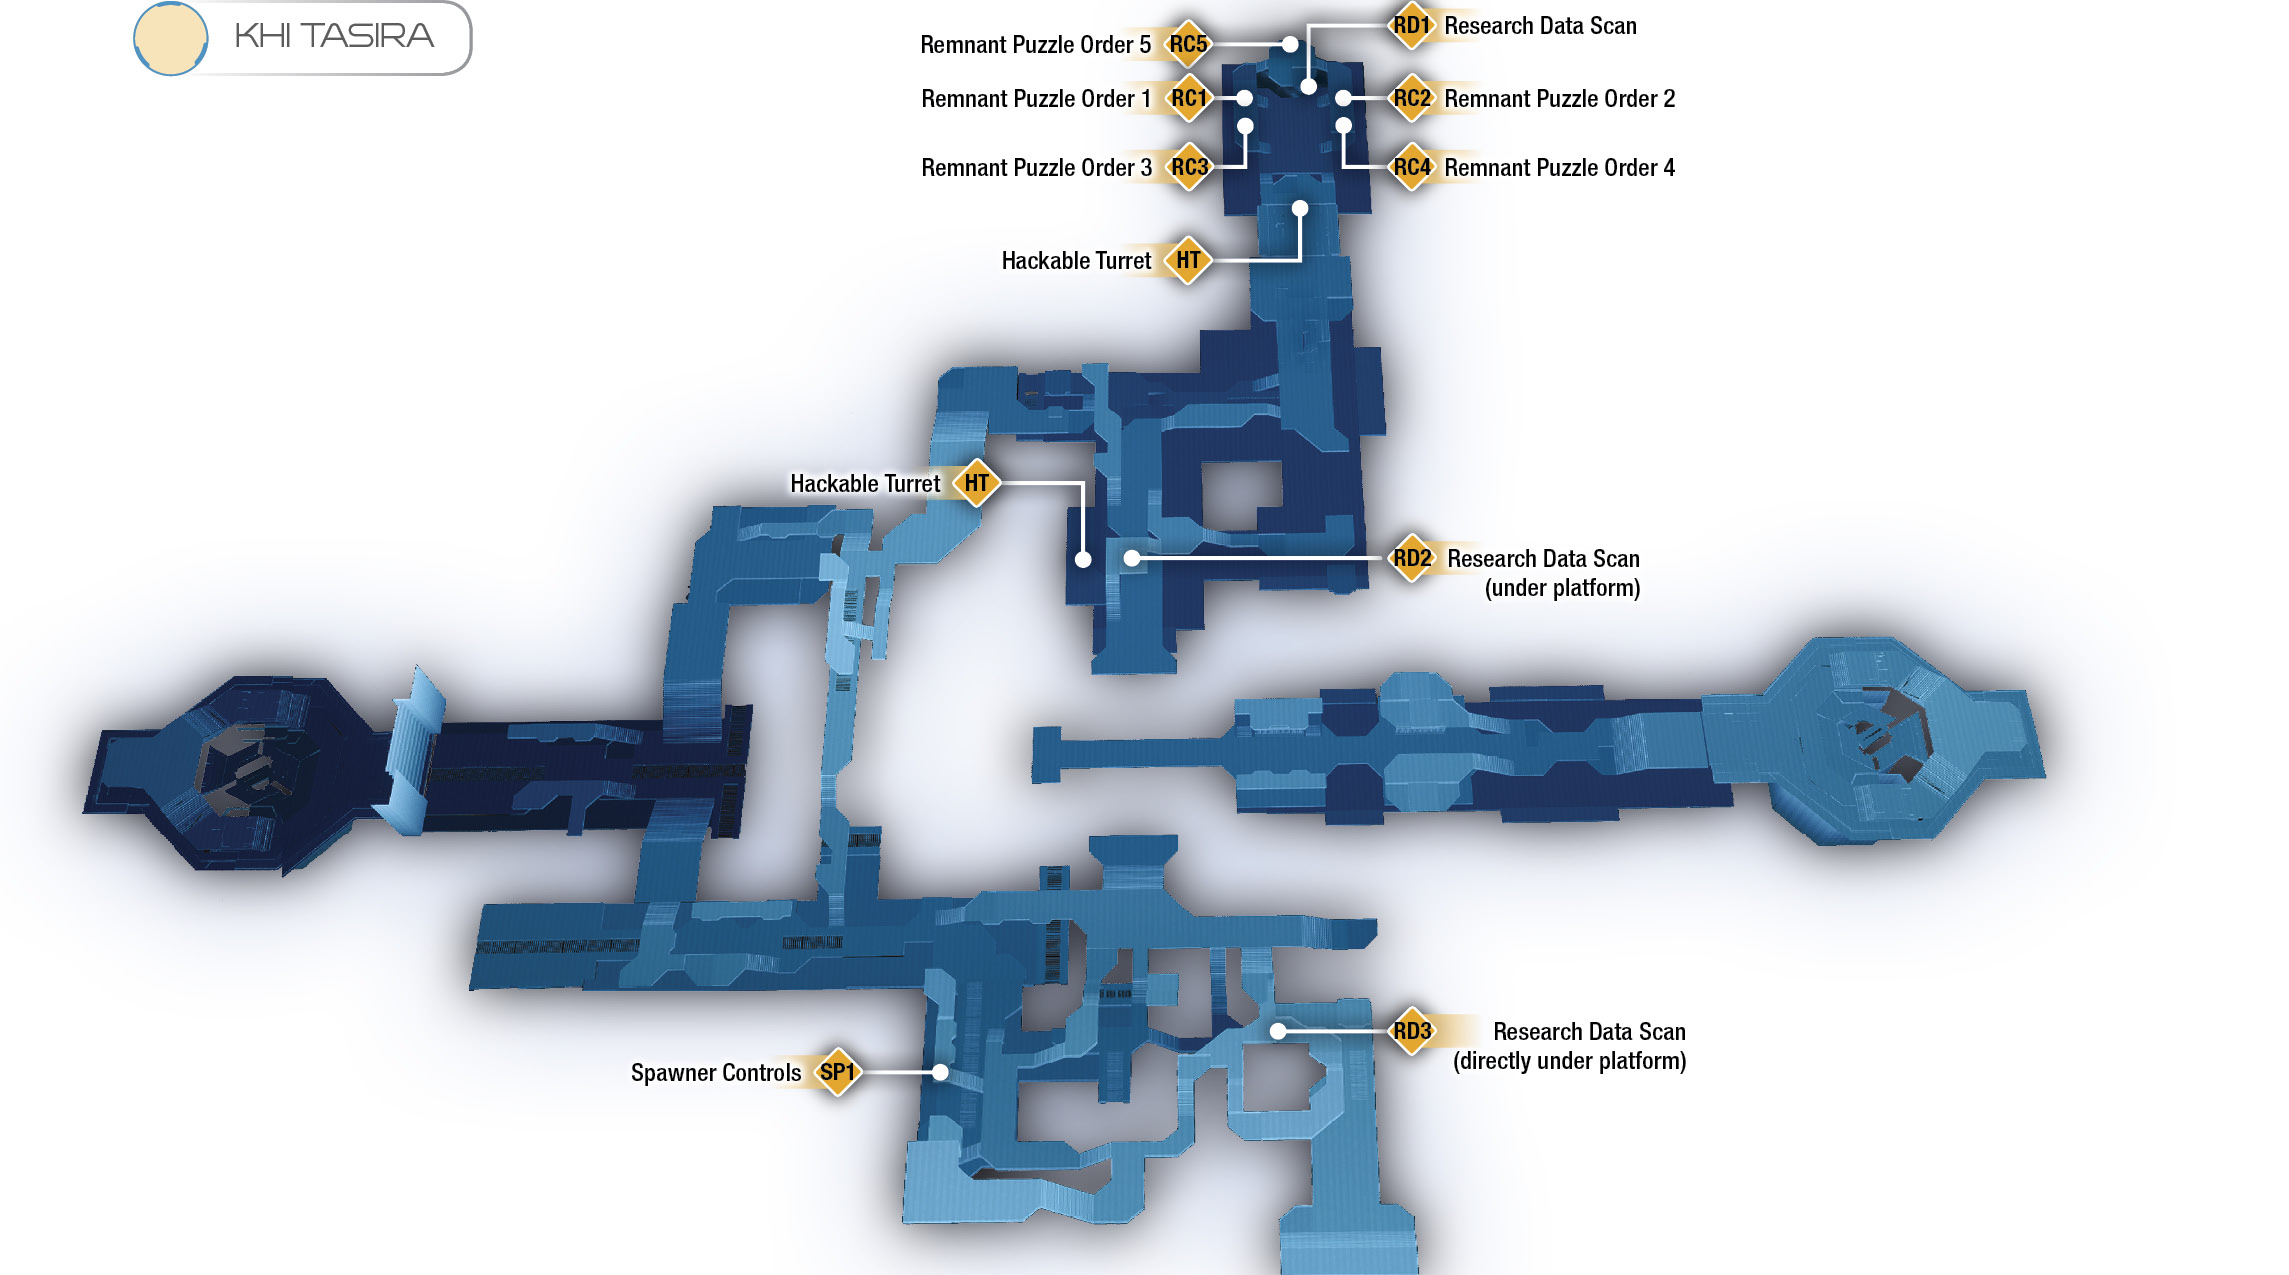
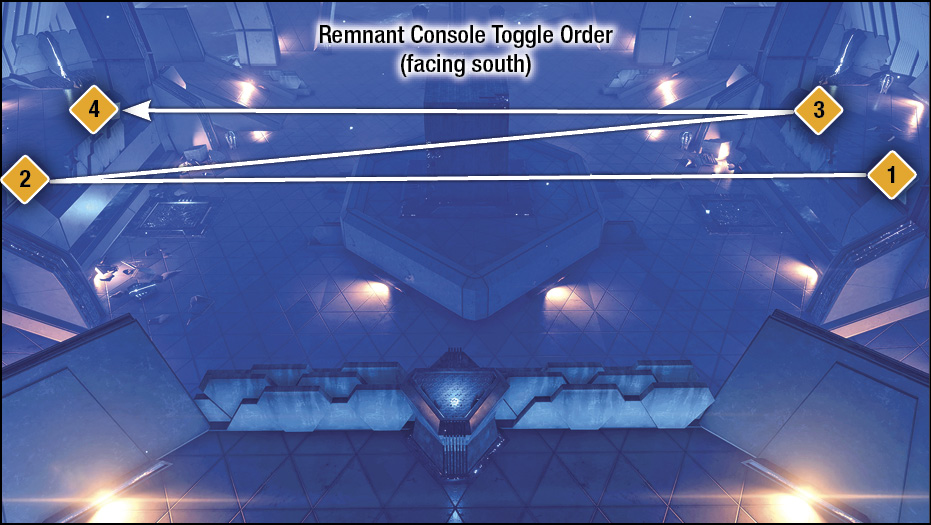
In Exploration Systems, there’s a rare Remnant container (CH1) you can search and a piece of Remnant tech (RD1) you can scan for 100 Research Data. Then climb up and interface with the console marked with the mission navpoint. Reroute the power to the console by interfacing with the four outer consoles in order—use your scanner to reveal clues for the correct sequence.
Complete the chain, then interface with the large console (RC5) to turn on the city’s flight control systems. This activates some sort of standby for Remnant aircraft, but also attracts the kett. To make matters worse, Remnant security is activated, with several units deployed to your location, including the heavy-duty Destroyer. Take cover and eliminate weaker enemies before you fully engage with the Destroyer. Use the many barricades and multi-level aspect to stay safe! For details on the Destroyer, see the Enemies chapter.
Boss Encounter—The Destroyer
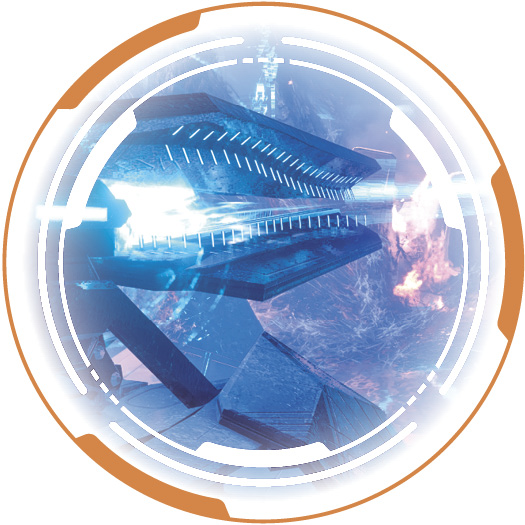
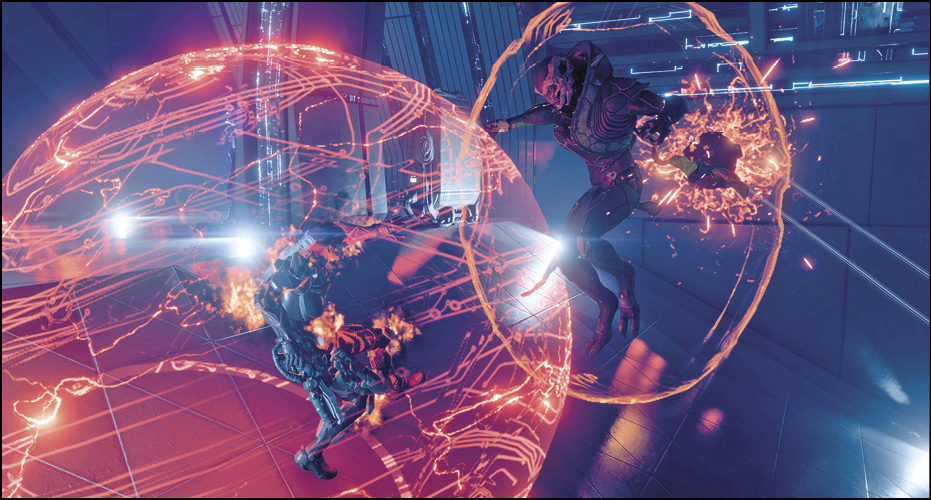
The Destroyer is a heavy-duty Remnant construct built to…well, destroy. It has several modes of attack, each suited to a certain range. It’s equipped with explosives to flush you out of cover, so you can’t stay in one spot for too long. In this particular encounter, use the outer walkways to stay mobile and safe. Take out all the Nullifiers and Assemblers by ordering your squadmates accordingly. When the Destroyer is alone, attack its turrets. They’re separate targets that, when destroyed, limit the Destroyer’s offensive capabilities, while enhancing its mobility. Destroying both turrets reduces the Destroyer’s maximum shields to 50%. From there, the Destroyer shouldn’t be too much of a threat as long as you’re actively avoiding its close-range energy domes and main cannon (listen to its wind-up sound, then evade out of the way!). Additionally, damage done to its turrets (as well as damage to its “open” cannon) counts as weak-point damage, so weak-point bonuses from Infiltrator profiles and Maverick armor apply.
Exit south, then head out to the south tower (if you haven’t activated it already). As you leave, more Remnant are deployed to attack you. If you hacked the turret here earlier, it’s still friendly, attacking hostiles.
Proceed directly south to bridge controls. Interface with the console to extend a bridge. Unfortunately, it’s broken. The bridge extends into the hazardous liquid, so use your jump-jets to get across. There’s a hidden container inside the ferrofluid here. It may take some platforming work to jump on the small island so you can get close enough to loot the container.
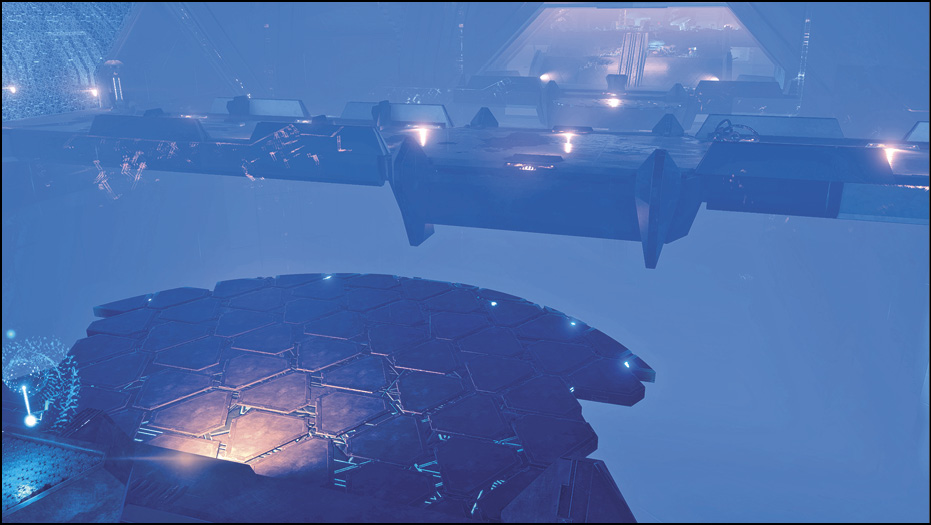
Continue on to the south tower. Along the way, defeat any kett and Remnant. There’s 100 Research Data you can earn, too (RD2)—underneath the walkway is some scannable Remnant tech. Now get to Core 17: Central.
If you’ve activated both tower systems, proceed east. Otherwise, south.
South Tower: Research Sector
Just to the south of Core 17: Central is an encounter with several kett and Remnant, including Observers, Chosen, and Destined. You can go through (7) to fight a Fiend and Wraiths and then head to an encounter (8) with kett infantry. Use Remnant spawner controls to summon friendly Observers to help you fight (SP1).
Loot enemies, containers, scannables (RD3), and mining nodes, then continue east.
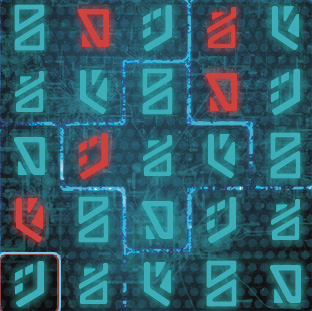
Next, there’s a “secret” room you can access by jumping down into an outcropping underneath the main platform (9). Beneath is the hidden room, locked by a Remnant Decryption Puzzle that you cannot override with a Remnant Decryption Key. It can be an exceptionally difficult puzzle to solve (see the following solution if you get stuck).
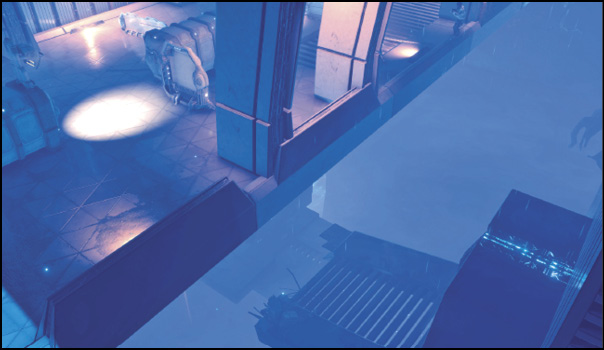
Solve the puzzle to open the door, scan the strange pod inside for bonus XP, then open the two rare Remnant containers. Jump on the roof of the hidden room, then jump back across to the eastern platform to get back up. Proceed to your destination in the south. You’re ambushed by several kett Wraiths and Chosen. They shouldn’t be too much of an issue; deal with them and open the door south to the research center.
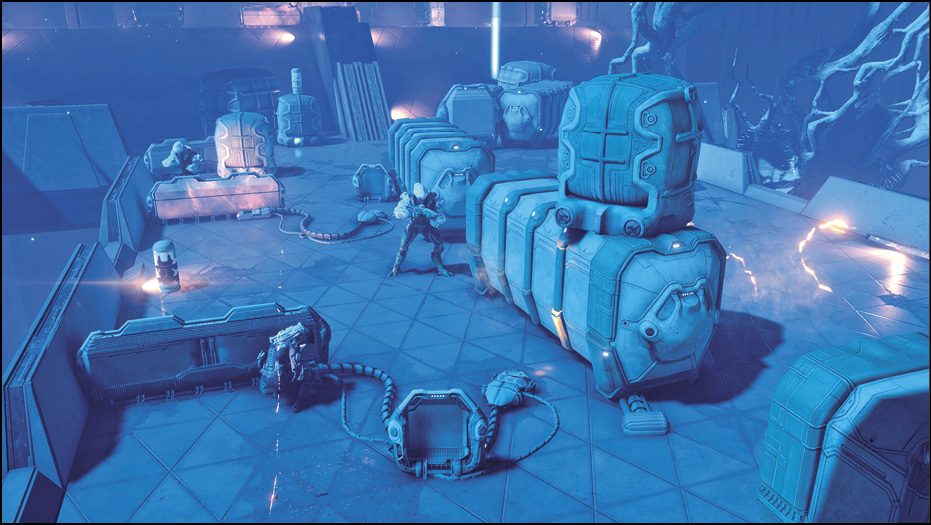
Chosen, Wraiths, and Destined await in the research center. This encounter can be frustrating due to how many Destined are there supporting their allies. To turn the tides, interface with the turret using the console (11) on the ledge to the east. Then, on the opposite platform, there’s a shield console that toggles damage barriers near the south door. It’s highly recommended that you at least activate the turret and use it to your advantage to defeat the first wave of kett. A second wave consisting of Anointed kett and Wraiths is deployed afterward. This can be a particularly troublesome combination, as the Wraiths aggressively jump through your cover defenses.
Defeat the kett, then loot containers and bodies in the area before proceeding south to the Archives. Interface with the Remnant console for a cutscene. The truth about the angara is revealed.
After the cutscene, two patrolling Observers appear. Destroy them (just to make the next part easier), then jump onto the central platform, facing west. There’s a Remnant console (12) on a high ledge to the west. You can perform an “air dash” to the ledge in order to access the console—sprint, jump forward, then evade toward the ledge while holding the Jump button to mantle up. Aim for the side of the console with your jump. Interface with it to open a large door to the east.
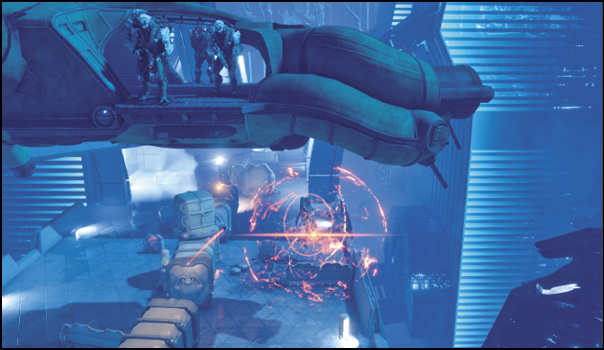
Enter the room to pick up some valuables: a Remnant data core, container, and a scannable data pattern. The room to the south contains a scannable tree for some Remnant Research Data. Upon leaving the Archives, you’re greeted by an Ascendant kett and a dropship with Anointed and Chosen, all waiting outside. Focus on the Anointed first, then the Chosen, saving the Ascendant for last.
Core 17: Central
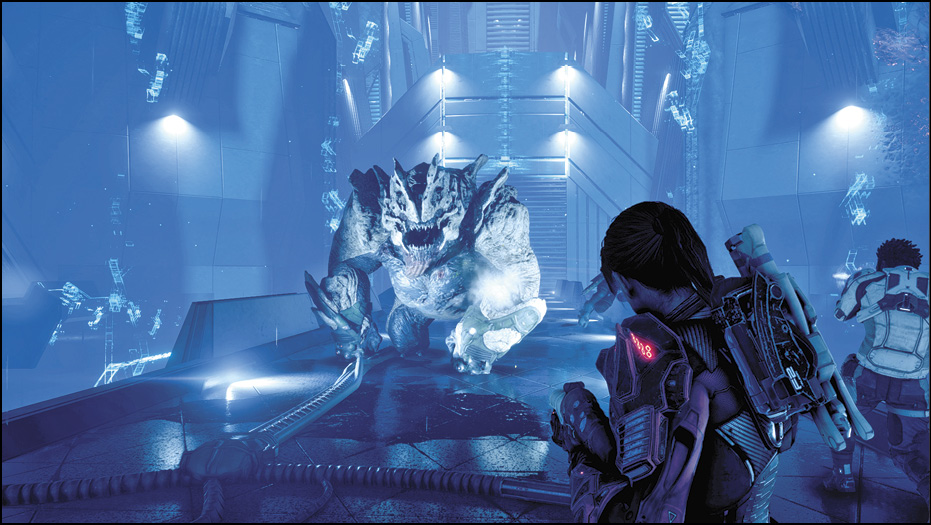
Return to the center of the city, to Core 17: Central, once you’ve visited both towers. There, you see a kett assault force, led by a giant Fiend, heading east into the Remnant structure. A large-scale battle ensures between the kett and the Remnant. You may have to take on the Fiend yourself, as the Destroyer is busy fighting the Chosen. To fight the Fiend on the narrow bridge, wait for it to charge you, then use your jump-jets to avoid it, while simultaneously turning around and firing at its exposed back.
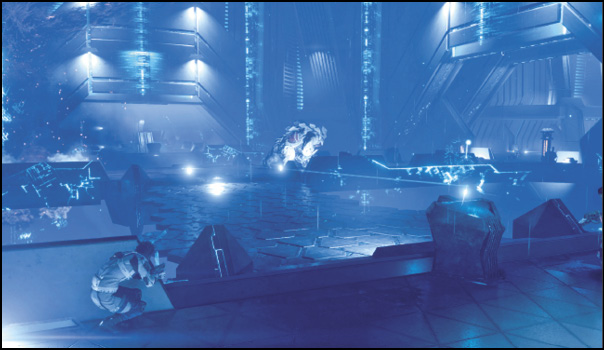
You should be safe from the Destroyer and other Remnant while kett remain, as the Remnant prefer to attack kett. Once the Fiend and Chosen are wiped out, watch out for the remaining Destroyer and Nullifiers.
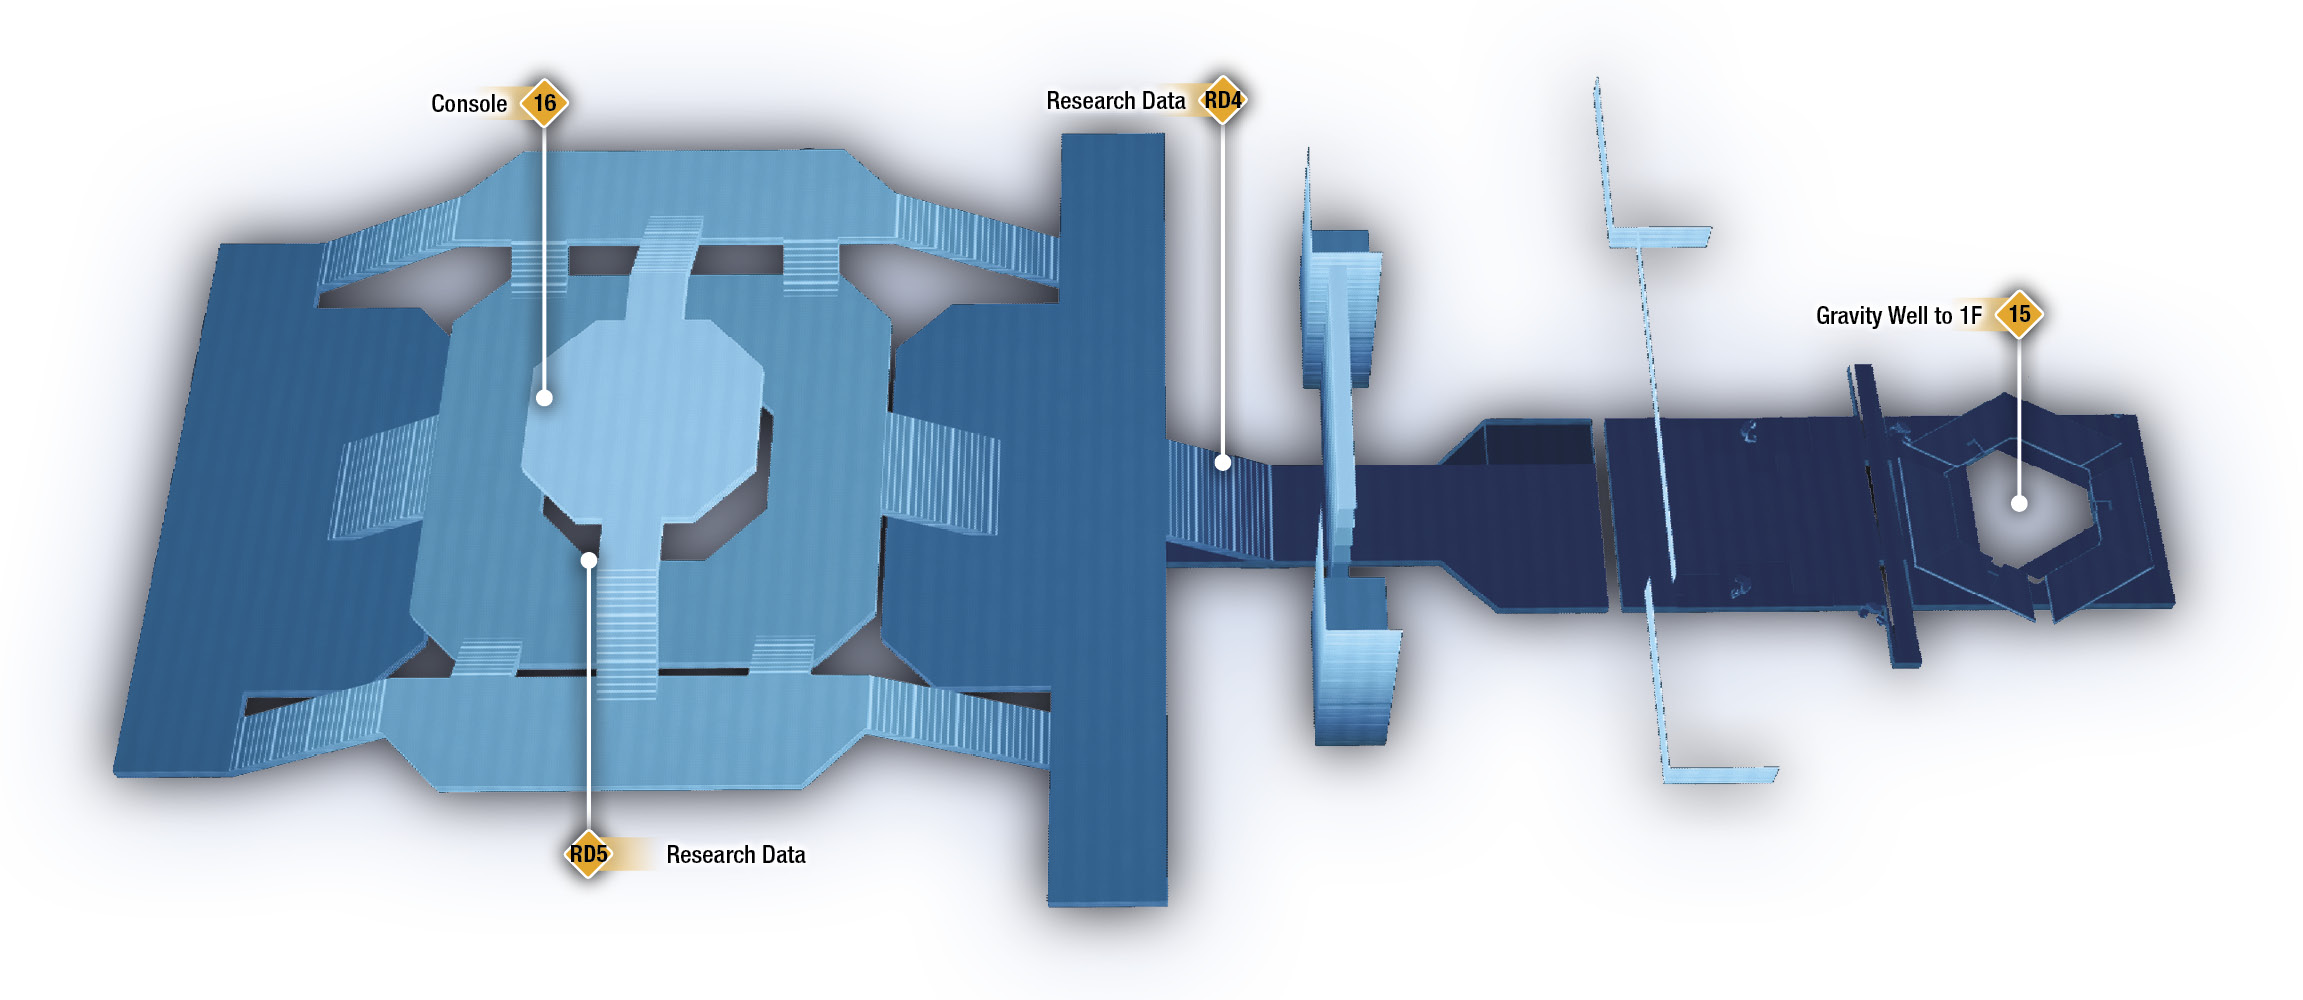
Defeat them using tactics and tips outlined in the “North Tower” section, then continue east. Take out all Assembler units in the way, then search nearby containers and exit to the far-east Gravity Well room. Activate the well to ascend the Remnant city’s command hub.
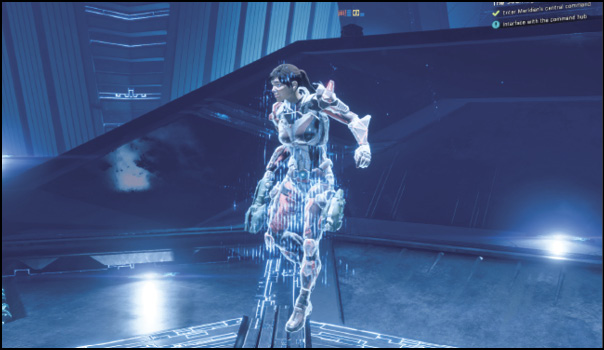
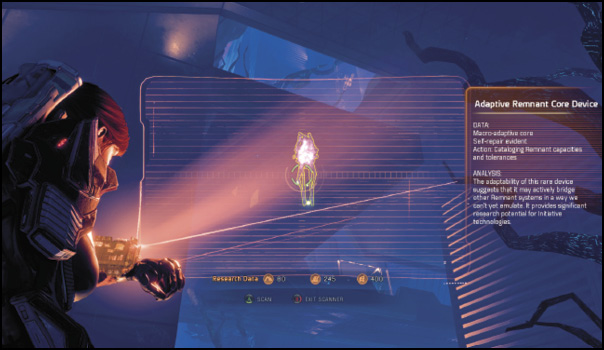
There are no enemies yet as you approach from the west to the Remnant console perched at the top of the facility. Before you interface with it, look for the hidden Adaptive Remnant Core Device(RD5) beneath the console platform. Scan it, then activate the console for a cutscene where you activate the Remnant city’s defenses to fend off the kett invasion fleet. A boss encounter soon follows.
Boss Encounter—The Archon’s Sword
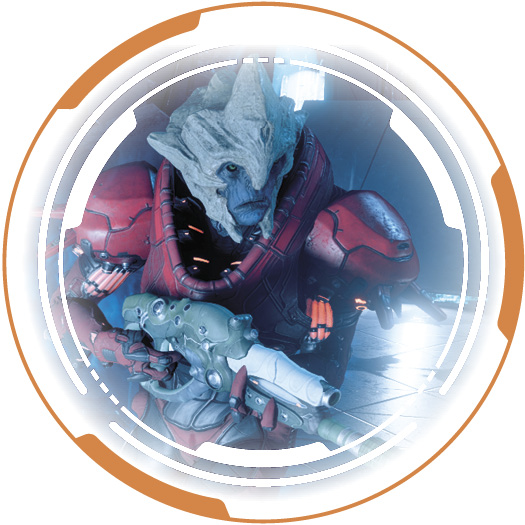
The Archon’s Sword is an amped-up Destined-type boss. Although he alone isn’t a particularly dangerous foe, this encounter is exceptionally difficult because of the sheer amount of waves of enemies you have to deal with. Similarly to the Cardinal encounter, the Archon’s Sword summons waves of enemies at certain points in the battle (generally, after his shields are depleted and he cloaks out of view).
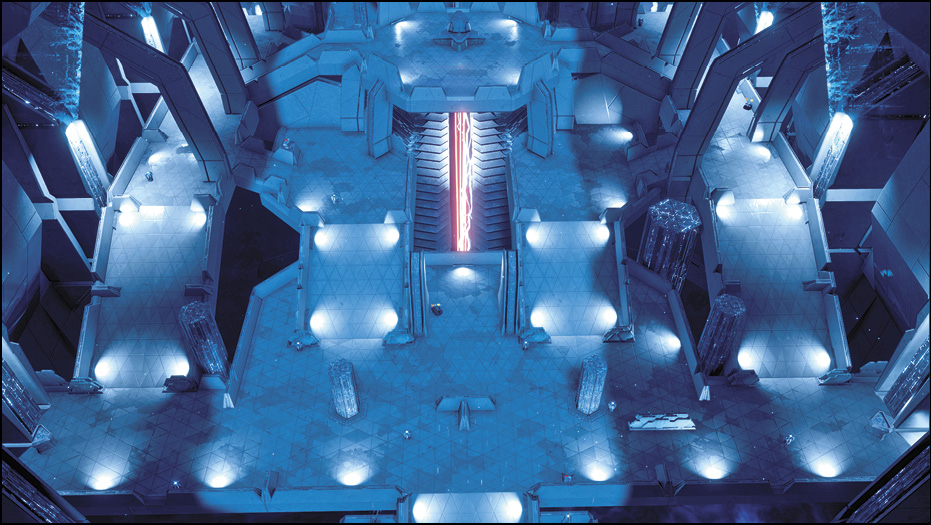
The name of the game here is survival. This encounter tests your multi-tasking maneuverability, especially on higher difficulties, as you need to be able to get away from Wraiths, hide from Anointed, and remove Chosen from the battlefield. Strong abilities for this encounter include Pull (with Radius upgrade), Singularity, Overload, and Tactical Cloak. Additionally, it’s highly recommended that you have several disruptor ammo consumables on hand in order to deplete shields from both the Anointed and the Archon’s Sword, which makes them vulnerable to Pull and other disabling biotic effects. Incendiary ammo is recommended for burning down the Fiend.
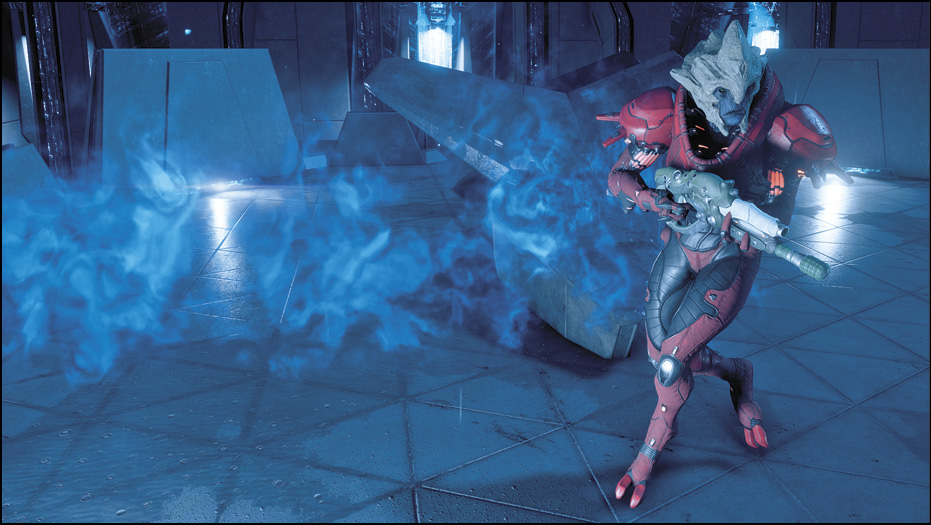
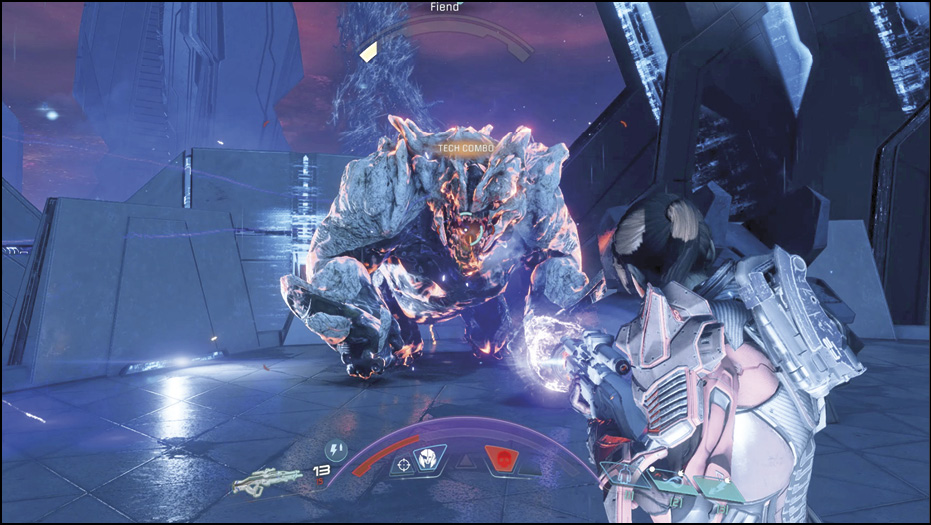
Keep high ground and cover as best as possible against the Anointed while using chokepoints to set up combo detonations, Omni Grenades, Pull, or a well-placed Singularity. The third wave of enemies includes a Fiend, which is likely the most difficult part of this encounter. Depending on how well-suited you are at dealing armor damage, it may be best to focus on other enemies (including the Archon’s Sword) before tackling the Fiend.
After finally defeating the Archon’s Sword, a cutscene plays out, concluding “The Journey to Meridian” and launching the final mission, “Meridian: The Way Home.”