
Mass Effect: Andromeda Collector's Edition Guide Priority Ops
Mission 1: Planetside
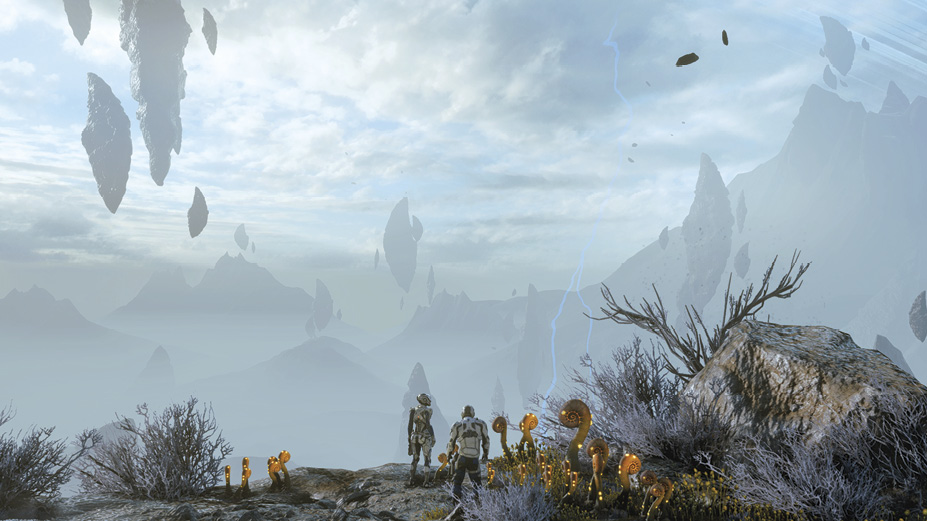
Separated from the rest of the shuttle passengers, Ryder and Liam find themselves in a precarious situation. Their priority is to find and confirm the status of the rest of the Pathfinder team, all while surviving the hostile and violent conditions of the planet.
| Action Checklist | |
|---|---|
| 1. | (Optional) Attempt to repair the Quantum Entanglement Communicator |
| 2. | (Optional) Test your weapon on a damaged fuel cell |
| 3. | Protect Fisher |
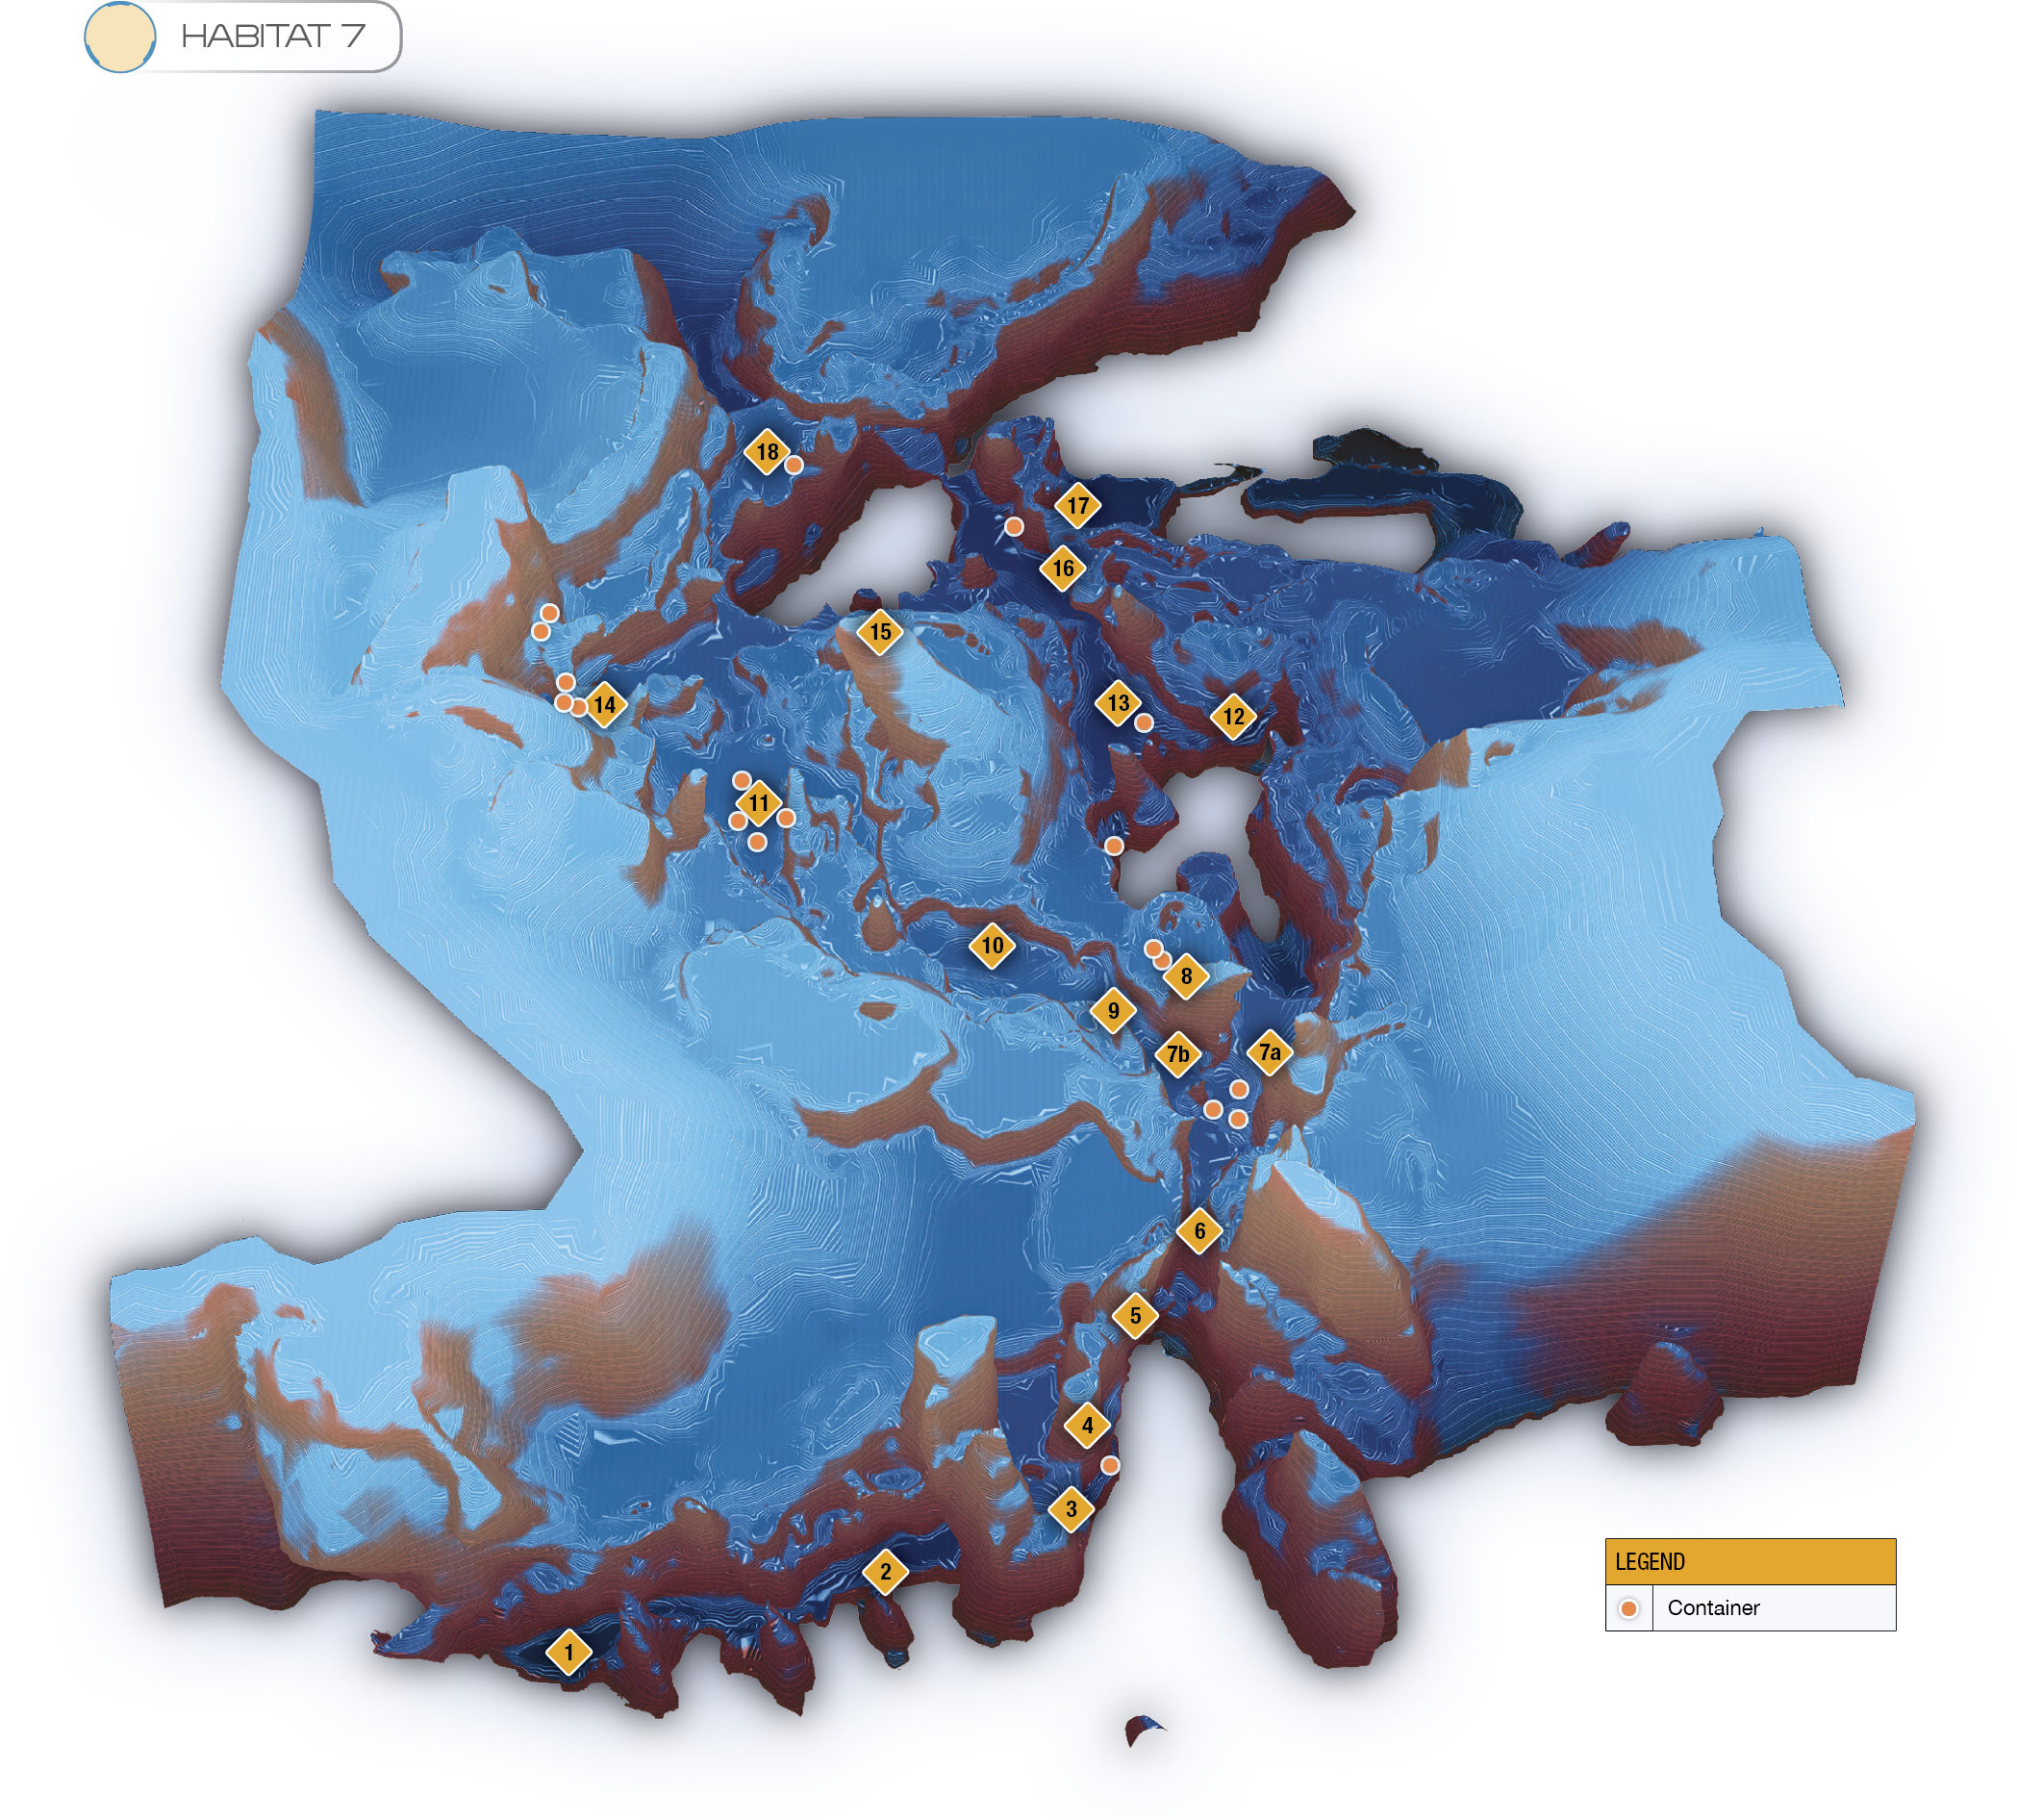
| LEGEND | |
|---|---|
| 1 | Start |
| 2 | Quantum Entanglement Communicator |
| 3 | Test Weapon on Damaged Cell |
| 4 | Hidden Alcove |
| 5 | Cliffs |
| 6 | First Contact (Fisher) |
| 7a | Kirkland + Alien Encounter |
| 7b | Kirkland + Alien Encounter (Alternate) |
| 8 | Observer “Robot” and Containers |
| 9 | Atmospheric Analyzer |
| 10 | Alien Building #1 |
| 11 | Shuttle Beta Aft Section (Ambush) |
| 12 | Plant Cave |
| 13 | Crashed Alien Ship |
| 14 | Alien Building #2 (Ambush) |
| 15 | Greer (Cave) |
| 16 | Ledge to Alien Base |
| 17 | One-way Door (West) |
| 18 | Investigate the Flares (Cora) |
First Contact
The first order of business is to locate the other members of the Pathfinder team. Hopefully, they’re all alive.
One of your duties as a Recon Specialist is to map the area, so your in-game map (accessed through the pause menu) is revealed as you progress and discover more of the area. You can also refer to the map provided in this section to make sure that you don’t miss anything. Your starting point is located at the southwest corner; your ultimate destination lies in the northern section of the explorable area.
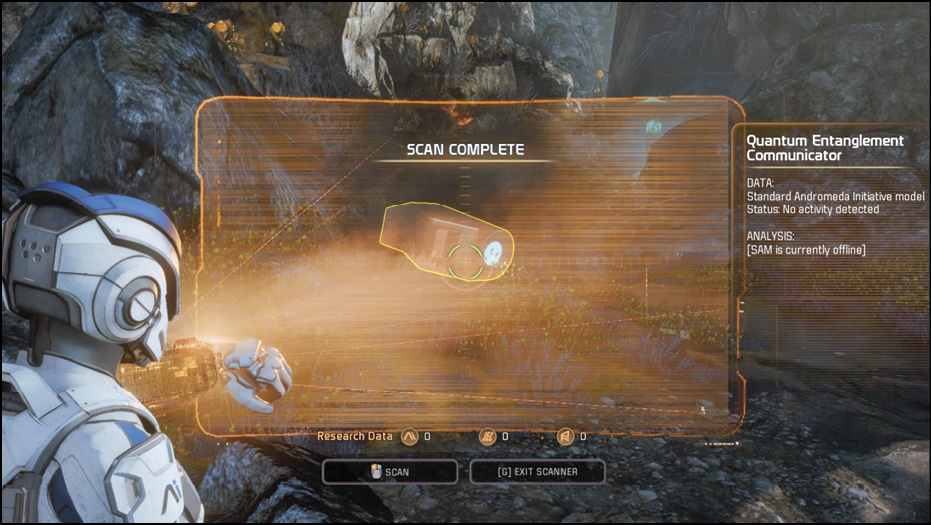
Before you head east from your “landing” zone, there are a couple of scannable objects in the area, including a broken piece of equipment called a Quantum Entanglement Communicator. You can scan it, but the scanner display reads “Analysis: [SAM is currently offline].” If you’re near the broken communicator, you can attempt to repair it by interacting with it. Unfortunately, Liam asserts that it’s beyond repair.
When you’re ready, continue east. When you encounter the low-altitude lightning storm a tutorial pop-up is shown, encouraging you to sprint past the hazardous area. Follow the instructions, quickly making your way to safety within the naturally formed shelter up ahead.
As you leave through the other end of the tunnel, an optional task is added to the mission tracker. You’re instructed to test your weapon on a damaged fuel cell, which seems to be causing a hazard as a result of the environment’s electrical inteference. Hold the Tight Aim button to draw and aim your M-3 Predator at the fuel cell, then press Fire to destroy it. Continue north to find an ammo crate up ahead. Touch it to restore any ammo you’ve used.
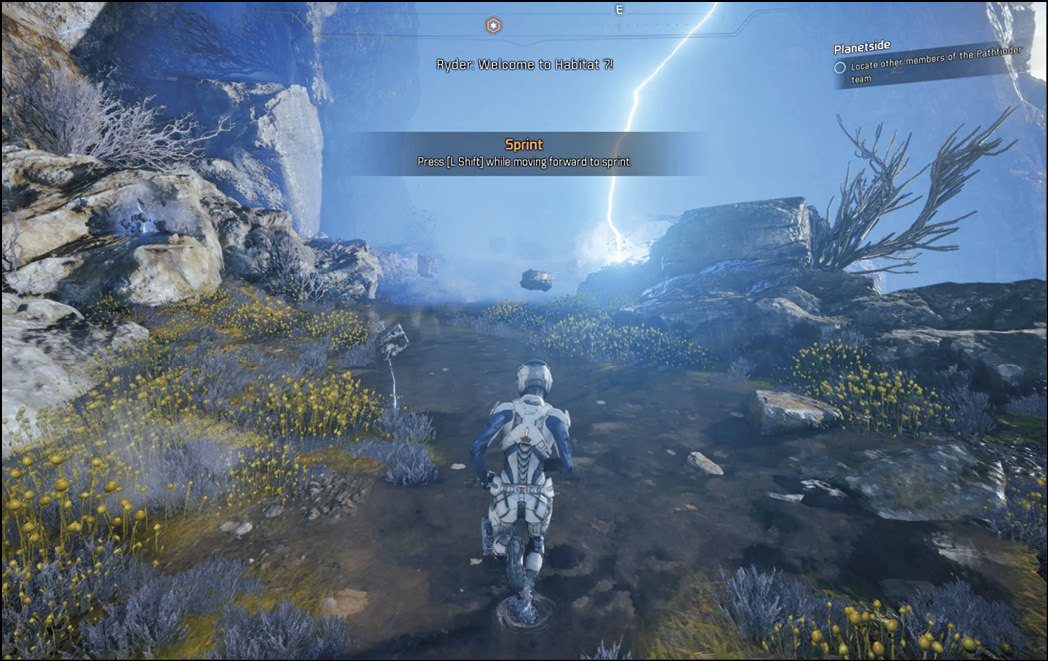
Continue north until you reach a ledge. Another tutorial text pop-up is displayed, explaining vault and mantle movement options. Walk up to the ledge and press the Vault button (command displayed under the Up arrow) to hop over.
To the left, there’s an inset into the mountain you can enter to scan a geological fault radiating high levels of energy.
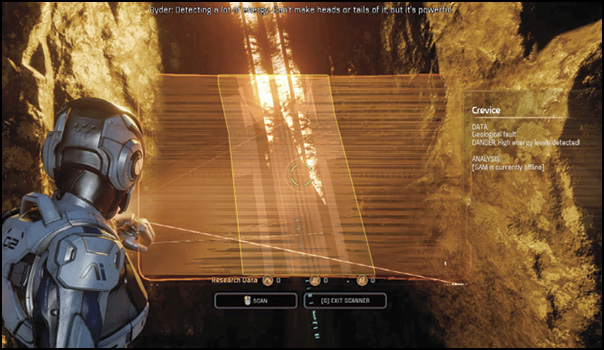
Alternatively, you can simply use your jump-jets to get over the ledge. Continue past another small ledge until you reach a taller ledge. You can’t vault over these, but you can use the mantle technique to boost yourself up. Pressing and holding the Jump button while moving forward executes a mantle if you’re next to a climbable ledge.
After you climb the ledge, continue onward until you reach a chasm and a cliff in the distance. Here, you need to clear the distance with a well-timed jump. To gain more jump distance get a running start by sprinting, then pressing and holding the Jump button, ensuring you either clear the jump or mantle up onto the ledge to safety. Don’t worry; if you don’t make the jump, the game doesn’t end—simply try again.
After clearing the first jump, there’s one more chasm to get past to the north. Use the sprint-and-jump technique to clear it safely.
There’s one more ledge to mantle up on, so proceed to the mission waypoint and climb it, triggering a cutscene.
Protect Fisher
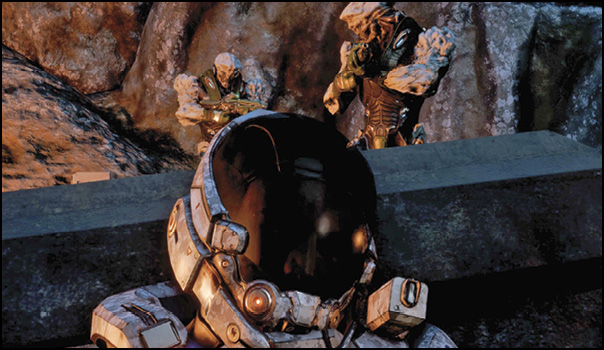
Here, choose to engage the aliens aggressively or passively—either way, they need to be dealt with by force, as they’re not interested in a peaceful resolution. Inch forward with your weapon holstered to keep the situation from escalating (eventually the aliens will attack you). Otherwise, go in guns blazing to get the jump on the aliens.
Fisher ends up surviving regardless, as the aliens seem to be more interested in putting you down than killing off Fisher. After eliminating the hostiles and successfully protecting Fisher, resupply at the health and ammo crates if necessary.
From this point on, there are several optional activities to cover; two have been added to your mission tracker. Scan the alien bodies to check off the optional task and for some extra dialogue regarding the composition of the alien lifeforms. Additionally, there’s a container close by you can open, containing 3 x Shield Capacitor I and 2 x Incendiary Ammo I.
| Habitat 7—Optional Action Checklist | |
|---|---|
| 1. | (Optional) Check on Kirkland |
| 2. | (Optional) Investigate the hidden alcove |
| 3. | (Optional) Explore the cave |
| 4. | (Optional) Investigate the crashed alien ship |
| 5. | (Optional) Visit the alien outpost |
| 6. | (Optional) Locate Greer |
| 7. | (Optional) Investigate the alien ruins |
| 8. | (Optional) Investigate Shuttle Beta Aft section |
Check on Kirkland
From here, continue through the northeast path to find Kirkland. Alternatively, you can take the northwest path, since you encounter Kirkland regardless of which direction you choose. You can complete all optional objectives either way.
As you approach the strange alien building, two more of the alien soldiers can be spotted threatening Kirkland, one of the lost Pathfinder crew. As he attempts to surrender, they murder him in cold blood. Avenge him. Use the barricades up ahead as cover to protect yourself from enemy fire while returning blind fire (or aimed fire, but at the risk of exposure).
After dealing with Kirkland’s murderers, inspect his body for a small cutscene. Then scan the intriguing alien structure nearby for Research Data and extra information. Additionally, examining Kirkland adds an M-8 Avenger Assault Rifle to your current loadout. You can use the Weapon Wheel menu to switch to your new assault rifle.
Discover the Observer—Hidden Alcove
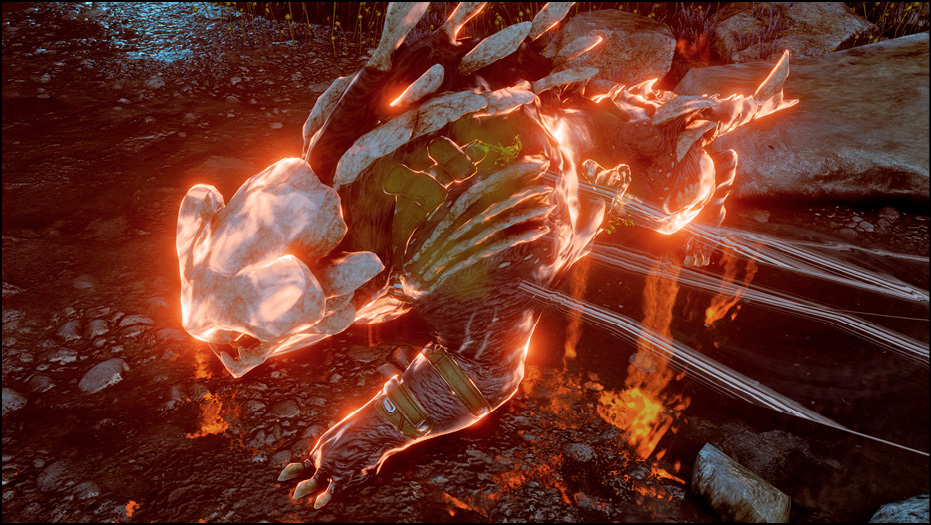
As you continue north by the alien structures, a strange roar is heard from up ahead. If you activate your scanner and begin inching forward, you can catch a glimpse of the beast, getting the jump on it before it attacks you.
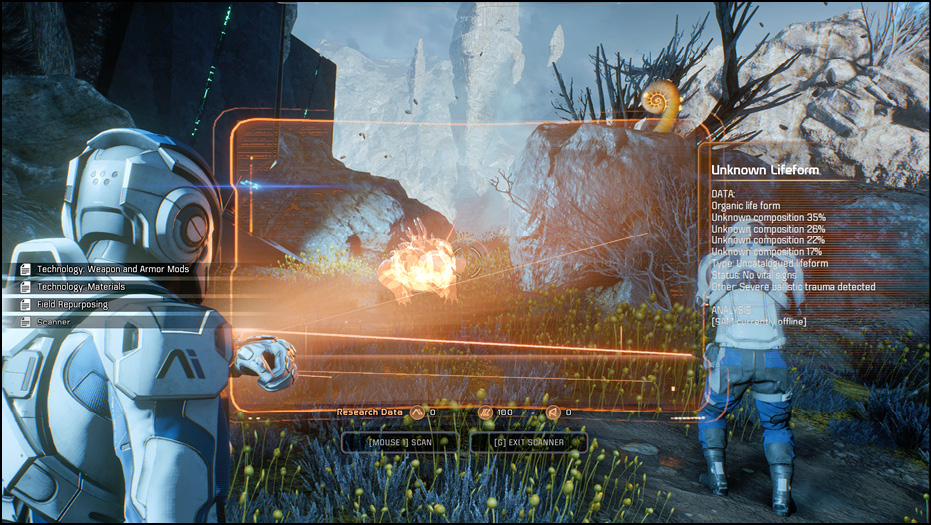
This alien “dog” naturally possesses a cloaking ability, so if you lose track of it, you can use your scanner to locate it (although it’s probably easier to reveal it by firing in its general direction and killing it!). After putting it down, scan its corpse for additional info on its ghosting ability.
Continue north—flares go up in the distance (press Camera Recenter to track). Must be an S.O.S. from the second shuttle.
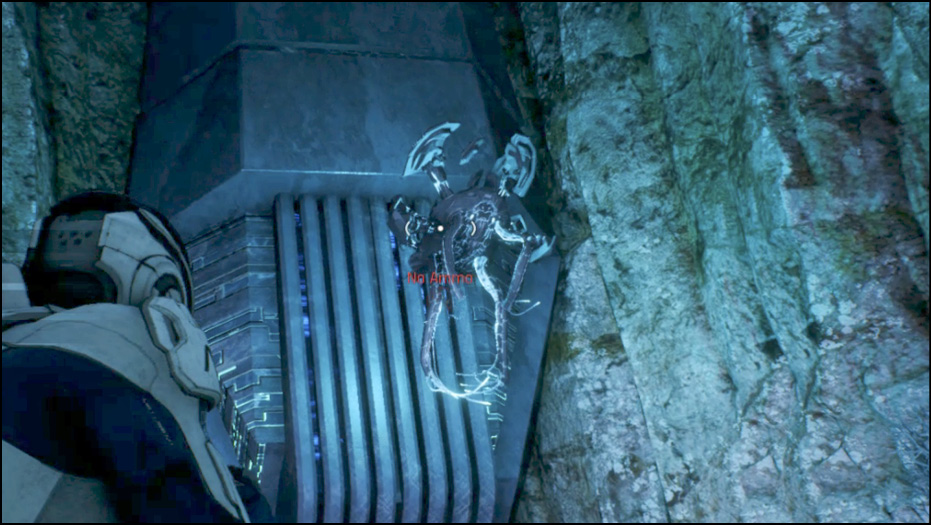
Keep making your way north until you see an enormous chasm and a couple of possible paths across. Stop and make a left here, going west. There’s a hidden alcove nearby (see “Hidden Alcove” on the map provided). Enter the alcove to catch a glimpse of a unique-looking synthetic being (perhaps observing you?). It’s not hostile and flies off shortly after being discovered. There are two large containers here to loot. Large containers like these usually carry high-value items!
Explore the Cave
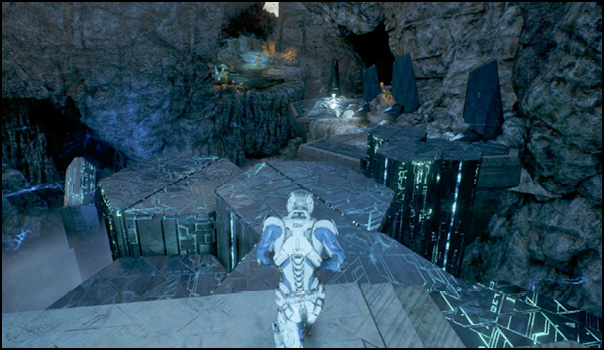
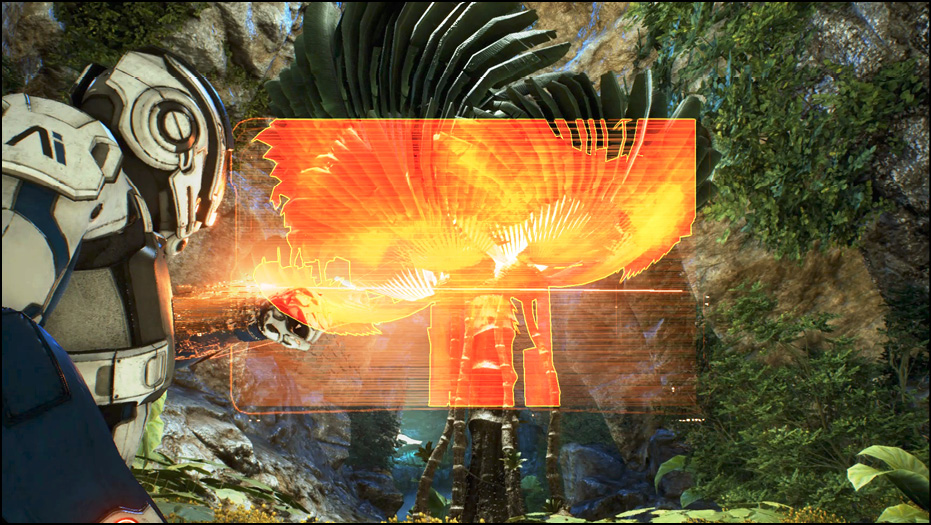
Turn around, exit the alcove, and head down to the seemingly bottomless chasm adorned with strange alien structures. Hug the east end while making your way down, using your jump-jets to get from platform to platform. Up ahead is a cave entrance immersed in green plant life. Enter the cave to investigate and fulfill the “Explore the cave” optional objective. This isolated area shows at least some promise of habitable life… Scan the giant plant in the center of the cave and then scan the trap on the ground nearby. Continue through the cave and exit through the other end, up the ledge.
Investigate the Crashed Alien Ship
Once back outside, make your way south. Red dots appear on your compass, alerting you of several enemies. It looks like the hostile aliens encountered earlier are in a similar situation as the Pathfinder crew—they appear to have crashed a ship on Habitat 7, too.
Before you engage, assess your surroundings and look for a cover spot to fire from safely. Not only do you have to defeat several alien soldiers but they can also sic one of their cloaking pets on you! Your priority should be to focus your fire on the animal first, then take out the soldiers when you’re safe in cover.
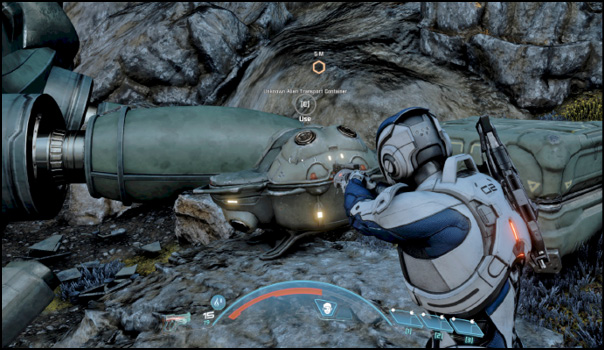
Nearby is an optional objective waypoint. Fulfill the objective by using the “Unknown Alien Transport Container.”
Visit Alien Outpost
Continue north, keeping an eye east. There’s a ledge in an inset here you can climb or mantle up on.
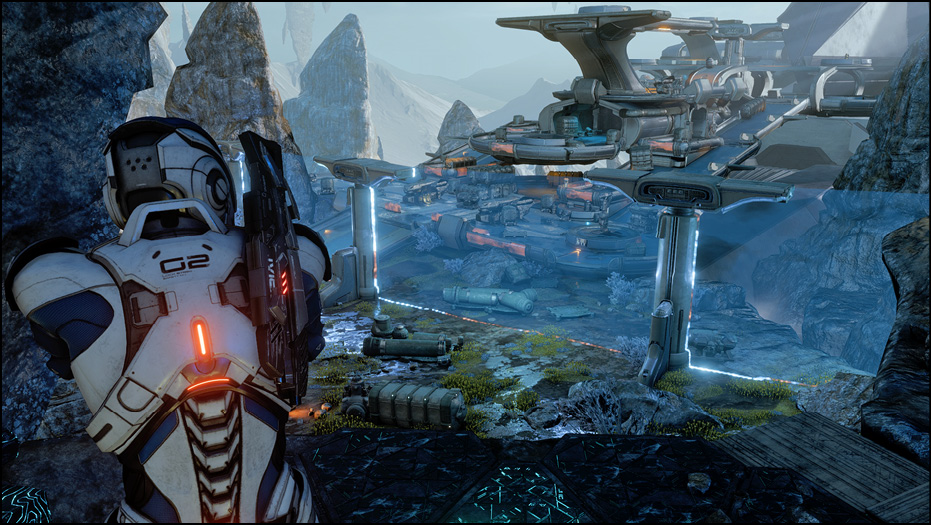
Although there isn’t much you can do here at the moment, thanks to the force fields guarding the alien base, exploring this part of the area early unlocks an extra bit of dialogue later. To return, head toward the giant circular-shaped door to the west. There’s a console in front of the door; activate it, then activate another console behind that door to leave.
If you want to explore the rest of Habitat 7, avoid heading toward the primary objective waypoint for now. Instead, travel southwest toward the optional waypoint marker, proceeding past what looks like a part of an alien ship.
Locate Greer
As you travel west, a rhythmic radio static can be heard. Find the source by using the Search Zone radar displayed below the compass. This radar appears whenever there’s a non-specific or uncertain objective close by, giving you clues to how close you are to a point of interest using a “hot or cold” system. As you get closer to the source, the radar’s signal increases.
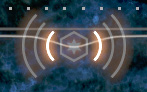
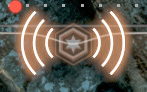
It seems the signal is coming from the cave here. Enter to find Greer being held hostage by those aliens. Unlike the situation with Kirkland, you can save Greer from his captors. These soldiers attack you on first sight, so feel free to draw first blood while their attention is on Greer, who’s desperately pleading for his life. Once the hostiles have been taken out, Ryder sends Greer to help Fisher back at the crash site. Your primary goal now is to find Alec Ryder’s shuttle.
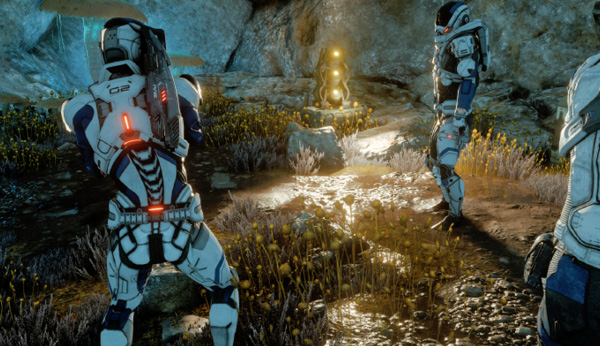
Investigate the Alien Ruins
Continue west from the cave until you reach another alien building. There’s a second level you can reach with the help of your jump-jets. Several dead alien bodies can be found up there (presumably as a result of the violent lightning storms). There’s a container near the back of the upper area—loot it, then return to ground level and enter the building.
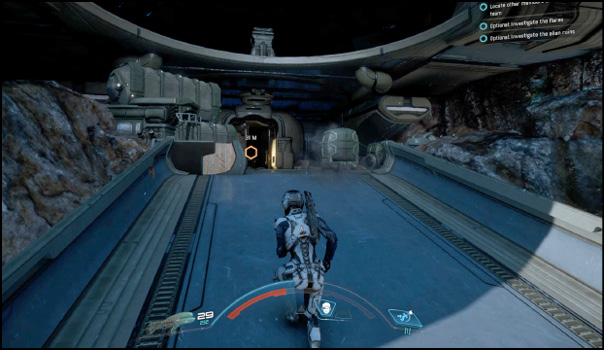
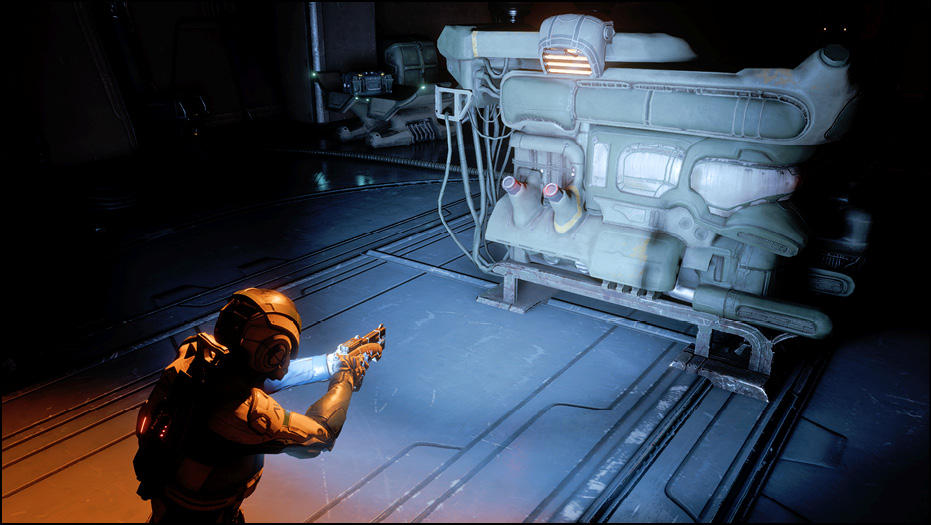
Enter the dark building and loot the small container in the middle of the large room. Then continue toward the back of the room (heading west), following the Search Zone radar hints. In the back room are several alien machines to scan; since you still don’t have access to SAM, they’re all a mystery. However, like us, aliens require power—activate the large device near the center of the room to power on the alien generator, which, in turn, powers on all the other alien tech in the vicinity. Before you leave this room, you can play with the alien tech in the generator room proving you did some exploring.
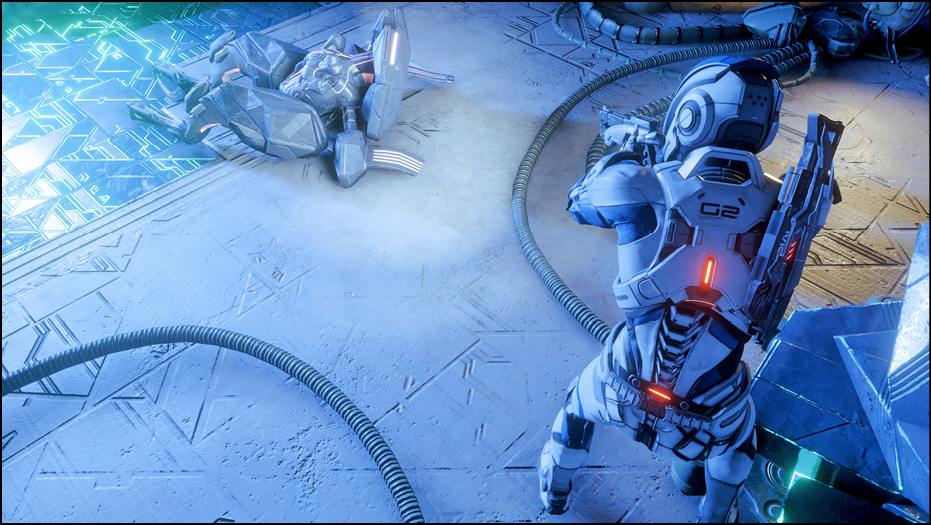
Next, return the way you entered. A previously closed door toward the north part of the large room has been unlocked as a result of the generator powering on. It looks like some kind of excavation and research site. Enter and loot the large containers for valuables, then go on to the back of the room. A bipedal synthetic awakens and attacks you. Fortunately, it’s weak and damaged, so you shouldn’t have much issue taking it out. Scanning the synthetic rewards you with 50 bonus Research Data.
Alien AmbushAlthough you weren’t met with much resistance inside the alien building, an entire squadron of them are waiting for you outside. Refill your ammo from the crates found in the large area of the building, then prepare for a shootout! |
Nothing left to do in this building. At the very least, you’ve discovered that the biological hostile aliens were deployed here to set up this lab. Alec would be impressed by your drive and initiative!
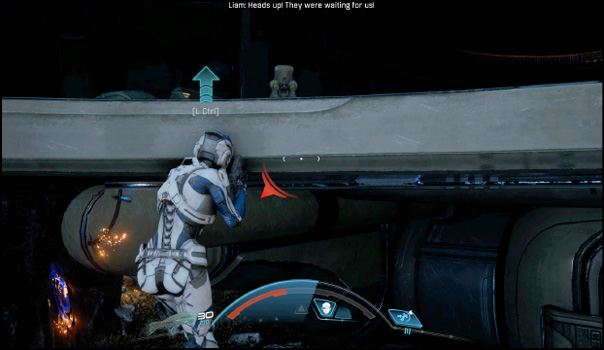
As you leave the building, more hostile aliens ambush you. They’ve brought more pets this time, so this encounter may be exceptionally difficult if you’re playing on Hardcore or Insanity. If you have consumables left, it’s advised that you use them here. Another strong tactic for this encounter is to immediately take the high ground by using your jump-jets to get to the upper floor behind you (where the dead alien bodies were discovered). Get to a safe position in cover and take out your aggressors. However, watch for the cover-flushing pups they send for you—there’s more than one this time, and they have no problem scaling up the building. Focus fire on these beasts first, using the Squadmate Order commands to give Liam direct commands if necessary.
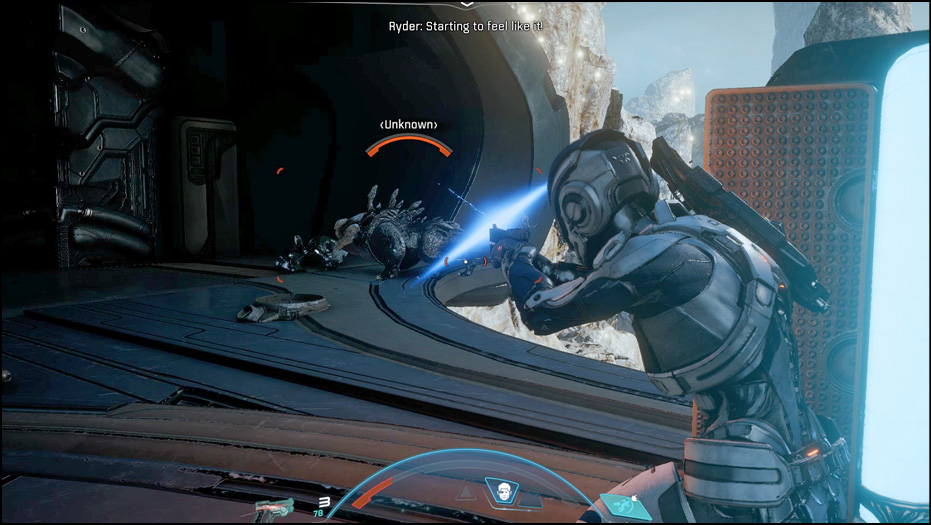
Investigate the Shuttle Beta Aft Section
Once you’ve successfully deflected the ambush, loot any remains left by the hostiles, then continue directly south from the alien building, heading back toward Fisher (“first contact” point). Along the way you find the other half of your shuttle.
Another Alien AmbushThe aliens have set a trap for anyone coming to check on the shuttle wreckage. If you get too close to the crash point, a group of hostiles reveals themselves. Get ready to execute a tactical retreat! |
Investigating the debris triggers yet another ambush by the hostile aliens—there really is no diplomacy with these guys.
This encounter can be a nightmare if you aren’t prepared. Not only are you surrounded, they have the jump on you. Your best bet is to retreat back north and find a corner to use as cover in order to limit your vulnerability to enemy fire. When you’re situated, handle your foes accordingly. As always, be wary as the hostiles unleash the hounds on you, compromising your cover. Use your ammo power-ups if you have any!
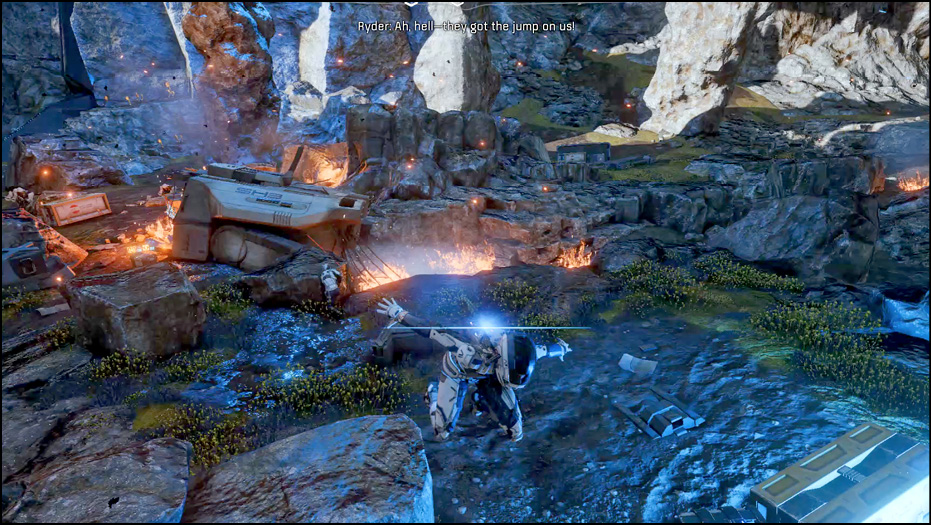
After surviving the ambush, you’re free to look around and salvage anything you can from the wreckage. There’s a flight recorder from the shuttle you can activate to listen to comms between Fisher and Alec Ryder before the crash. Be sure to check the large container nearby with potentially high-quality valuables before you leave the area.
Now there’s only one more minor optional task before the “point of no return” for this mission: continue south and east to finish the loop back to Fisher. On the way, there’s another squad of those biological hostiles next to another alien structure. It’s your turn to ambush them, so surprise them and take them out (this group isn’t nearly as difficult as the previous encounters).
Then continue traveling southeast until you reach a high ledge; jump and mantle up and make your way back to the “first contact” point. On the way, activate the atmospheric analyzer from the shuttle wreckage.
Point of No ReturnOnce you commit to the next segment of the Priority Ops on Habitat 7, you will be barred from the rest of the area due to extreme weather conditions. Make sure you’ve explored everything before proceeding. You are a Recon Specialist, after all. |
| Action Checklist | |
|---|---|
| 1. | Investigate the flares (locate the second shuttle) |
| 2. | Defend the Pathfinder team from hostile aliens |
| 3. | Locate Alec Ryder |
| 4. | Infiltrate the alien outpost |
| 5. | Defend Alec Ryder |
Now that you’ve accomplished everything there is to do before the break point on Habitat 7, it’s time to head toward the primary waypoint to the northwest (where the signal flares were launched earlier). There are two entry points to your destination (see the map provided). Enter through either side.
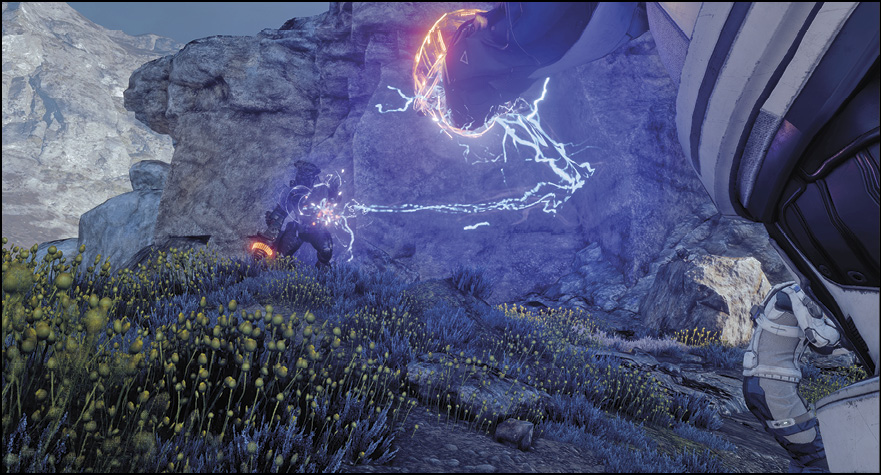
When you reach the ongoing skirmish, jump right in to defend Cora and the rest of the Pathfinder crew. Your enemies are to the north with a slight high-ground advantage behind cover, while Cora and her team are across from them behind their own safety of cover. You don’t want to be the only one out in the open, so join with Cora’s team immediately and set up to take out the initial wave of alien troops. Try not to put yourself into too much danger, though (charging into the alien’s side of cover may be unwise…).
Upon defeating the first squadron, you’re rewarded enough experience points for a Level Up. Press Pause to go into the menu to spend your skill points. There’s a relatively difficult battle coming up next with a shielded “heavy”-type enemy alien, so consider investing points into an ability that’s effective against shields, such as Overload or Energy Drain. Additionally, Liam can upgrade his Havoc Strike power now—a useful area-of-effect “ground pound” attack with an added stun effect on its victims.
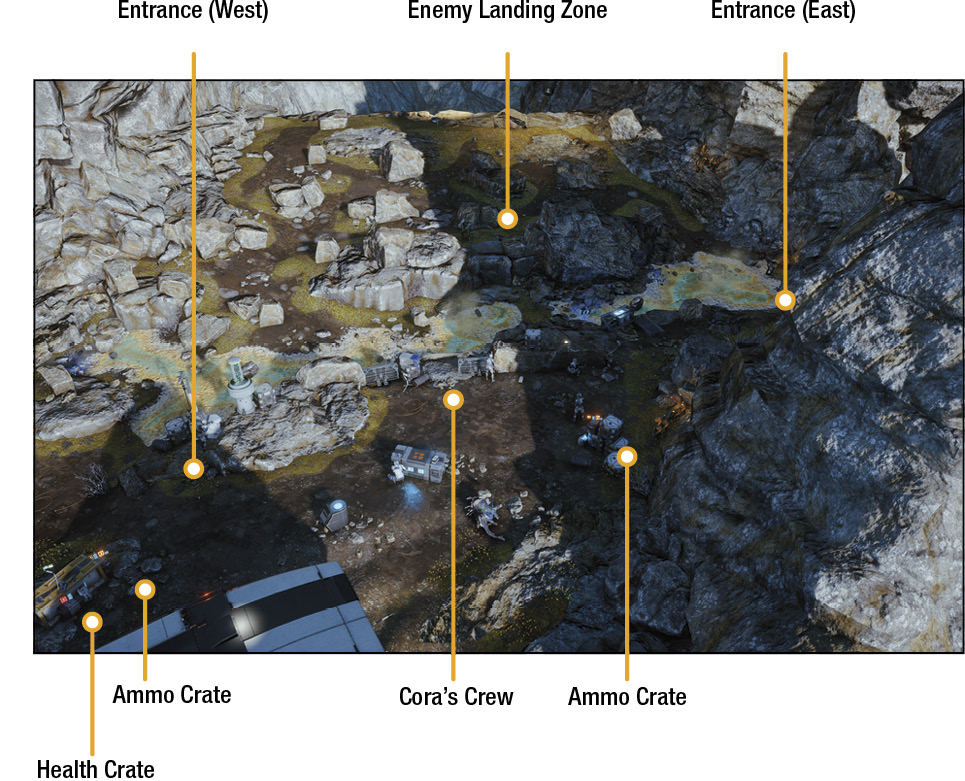
After you’ve spent your skill points, refill your ammo and then open the large container, east of Cora’s shuttle. When Cora notifies you of it, find and use the weapons cache in front of her shuttle to pick up an M-23 Katana Shotgun/Charger/Viper (depending on your Training History).
Get ready for another encounter, this time with a “heavy unknown” alien soldier added to the mix. This one features a layer of shielded health, conveyed by the blue bar above its red health bar.
Locate Alec Ryder
Now that you’ve ensured the safety of Cora and her shuttle crew, it’s time to find Alec. Cora has been added to your roster as well as to your active party, so feel free to spend her skill points now. It’s highly recommended that you give her at least one active power before your next major encounter with the aliens.
Most of Habitat 7 is inhospitable at this point due to the extreme lightning storms plaguing the planet. Follow the waypoint on your compass, heading southeast from Cora’s shuttle.
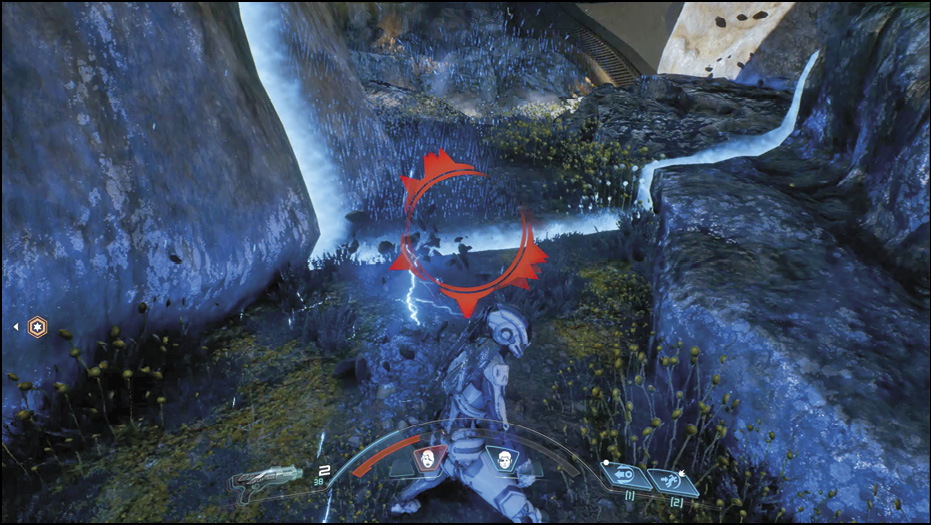
Your waypoint objective takes you to a cliff (which you may have explored prior).
Jump up and mantle the cliff to reunite with Alec, who’s set up and devised a plan to infiltrate the alien base with the ultimate goal of shutting the tower down, hopefully clearing up the violent lightning storms.
Follow Alec Ryder
Following the cutscene, your objective is simple: follow and support Alec Ryder as he fights his way through the alien outpost.
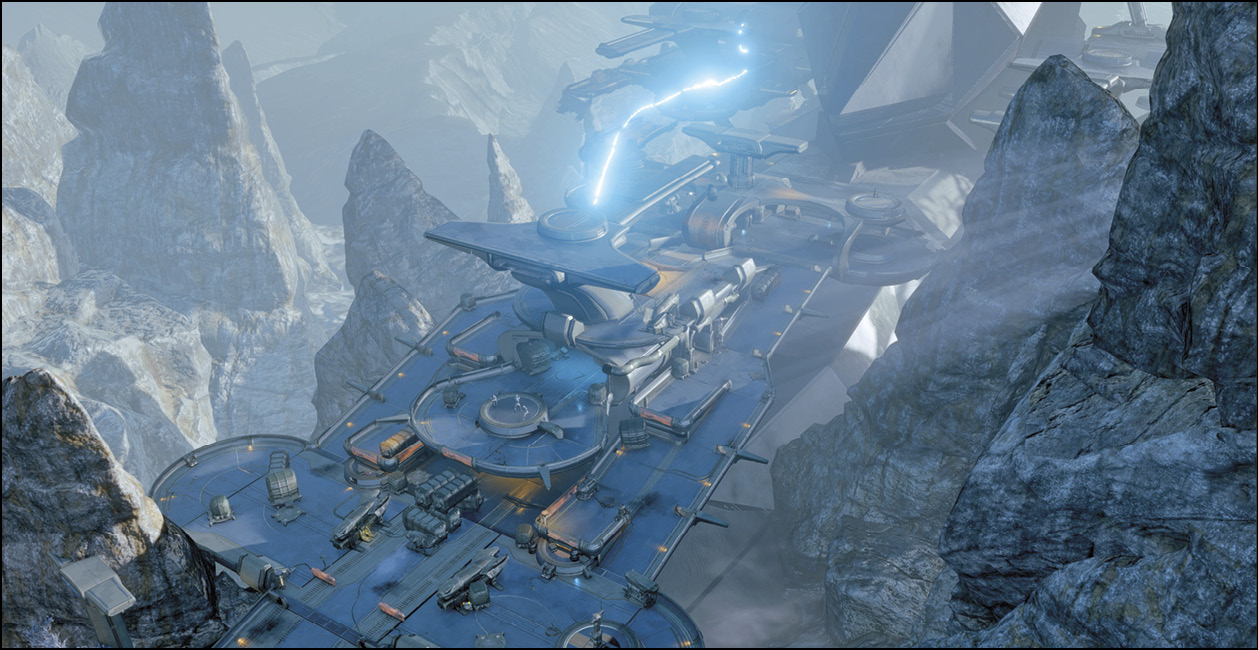
First, get to cover immediately, as your entrance wasn’t exactly inconspicuous. There are several points you can set up behind as you fight through the enemy front line. Inch your way forward, leaping from cover to cover whenever the path is clear.
Note, if you earlier failed to rescue Greer you now find his body in the outpost.
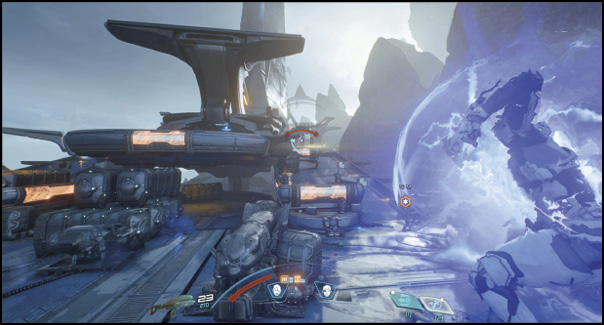
Ammo and health crates are located at the entrance of the base if you need them. Additionally, there’s an in-game map of the area if you need to find your bearings. Continue following Alec’s lead deeper into the facility. Failing to save Greer before the “point of no return” results in his death (you can find his body in the outpost here).
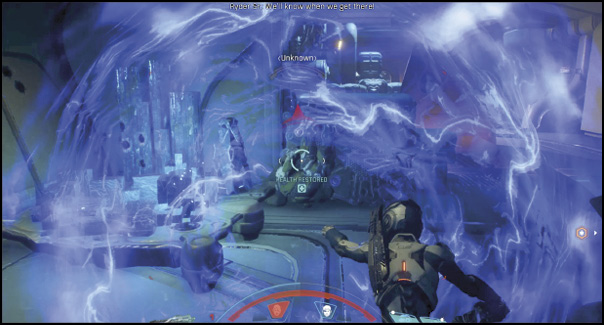
There’s a room on the second level, not too far from the entrance, that houses a small container as well as ammo and health crates. Follow Alec to the north part of the map, where there’s a gap in the base’s floor. Take out the enemies at the other end while Alec finds a way to open the door. Once it’s open decimate the defenses the aliens have formed inside, then enter the area.
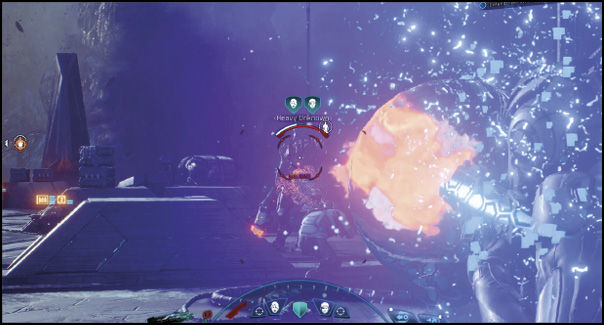
You can find two more small containers in the room, along with health and ammo crates. Continue westward up the ramp; as you approach the control center, you’re greeted by a few more alien troops, as well as one shielded “heavy unknown.”
Defend Alec Ryder
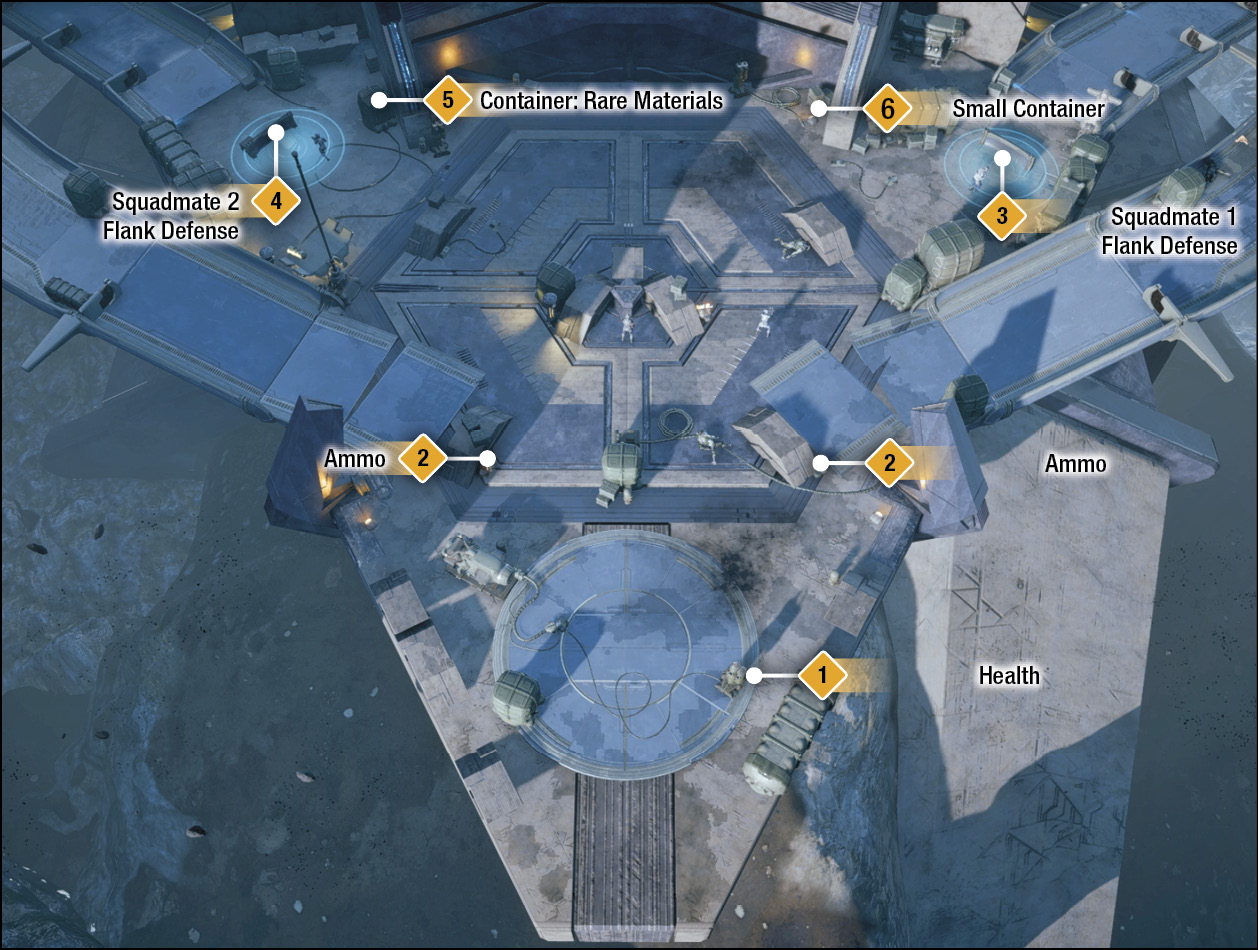
Secure the area, then prepare for a difficult defense phase. An optional task is added to your mission tracker, instructing you to set up a defensive formation against the flanking enemy soldiers. Tutorial text is also displayed with your assigned buttons (or keys) for ordering your squadmates. Use these commands and order one of each to the highlighted areas to fulfill the objective.
Once your defenses are set up, hostiles begin to assault from both ends, while Alec is busy decrypting the control center panel (unfortunately, he won’t be able to participate in combat). Try to stay close to Alec and your squadmates—venturing too far from the area can end in a game over, as Alec is vulnerable.
While you need to protect Alec at all costs, you also need to keep Liam and Cora from becoming overwhelmed. This may prove difficult, particularly on the higher difficulty settings. The heavy-unknown soldiers can be painful to take down, so hopefully you invested in Overload or Energy Drain!
If Cora or Liam gets knocked out, revive them immediately. Keep an eye on their health and whether or not they’re under heavy fire by checking their portraits underneath your own health bar.
If you’re taking too much damage or begin to run out of ammo, there are ammo and health crates near the control center. You’ll most likely need to make use of these. This is also an ideal time to use your ammo power-ups or other combat-boosting consumables.
When the decryption progress is finished, help Alec lift the door to complete the mission.