Mass Effect: Andromeda Collector's Edition Guide Secondary Ops
A Dying Planet
Mission Type: Heleus Assignment: Havarl
Prerequisite: Mission 3, complete “Helping Havarl’s Scientists”
Start Location: Havarl Angaran Headquarters
Unlocking: Talk to Kiiran Dals after saving her team from Remnant stasis.
Talk to Kiiran Dals about Havarl’s Problems
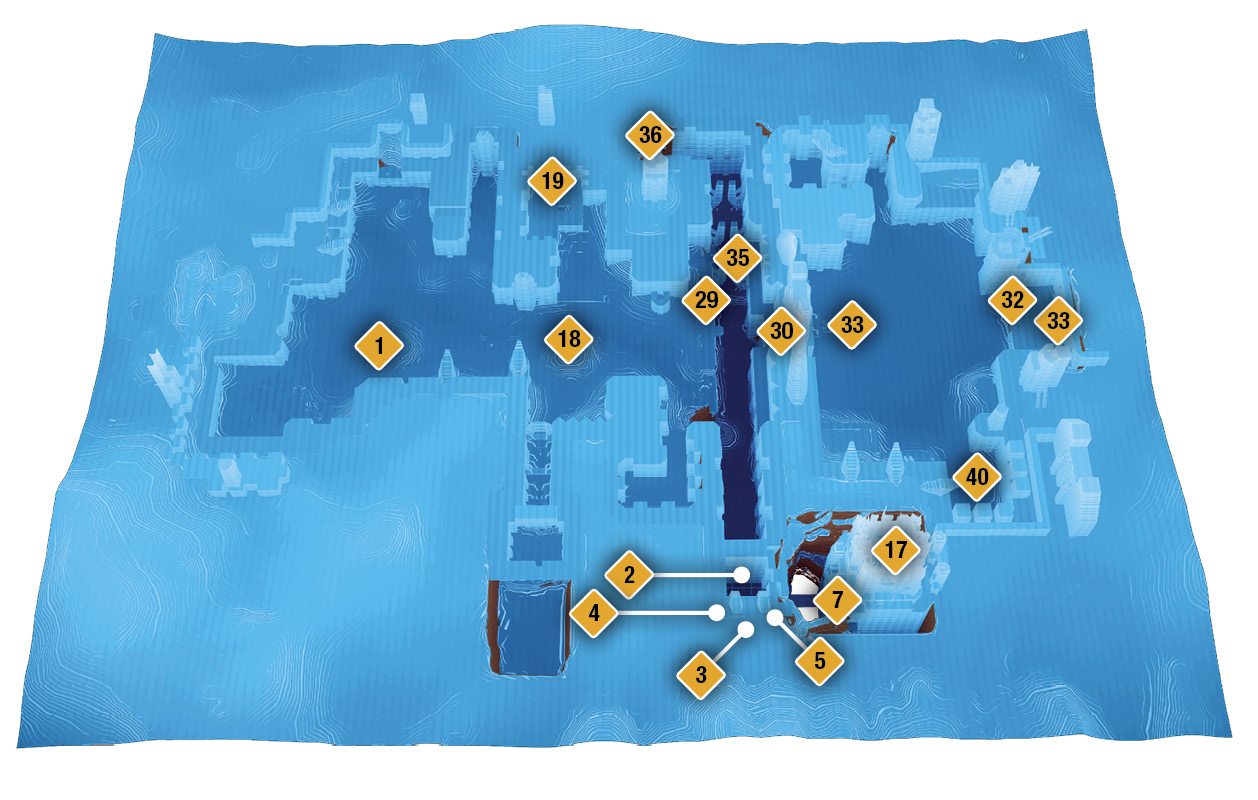
Havarl: Palaav Science Facility
This mission opens after “Helping Havarl’s Scientists.” You return to talk to Kiiran Dals (1) after saving her team from the Remnant monolith where they were frozen in a form of stasis. Talk to her a second time after unlocking this mission to get started. Kiiran talks about Havarl’s decline. Torvar tells you there’s a missing monolith—two instead of three. The broken system must now be restored by resetting and activating the vault.
Find the Entrance to Mithrava, the Sanctuary
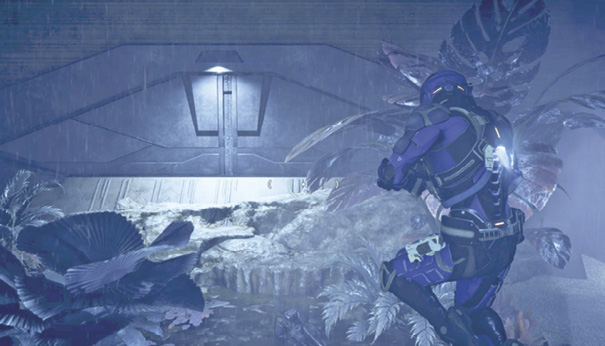
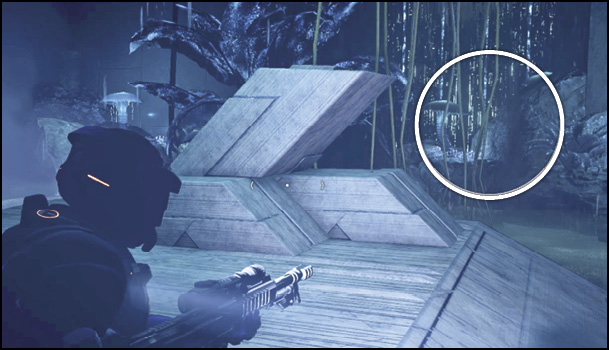
Head east into the Chasm of the Builders and then follow it south, jump-jetting over a wall of Remnant blocks. Keep following the water, battling Remnant along the way, heading south as far as you can go, until you reach a closed Remnant vault-like door. It’s unlocked. Enter the structure (2).
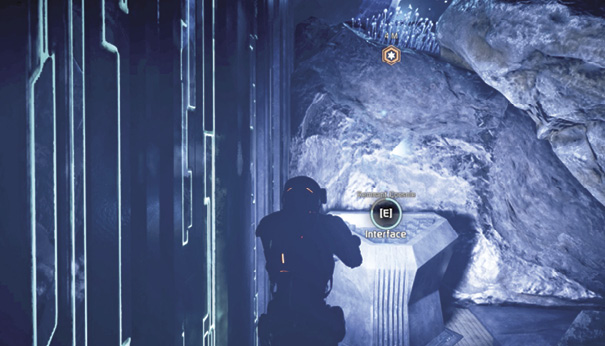
Head straight to the back wall that looks like a waterfall of green lights; this is at the end of a pond. The navpoint indicates a general area to your left, but you can use your scanner to uncover an unground conduit leading to a Remnant console. Climb over a pile of boulders here to find a small space below containing the console (3). Activate it.
Reach the Top of Mithrava
Head west in the tunnel to a Remnant platform (4) with a tall pillar. Jump to the top of the pillar and start jumping upward through the well, using the narrow ledge on each floor as a grip point to pull up to the next floor. There are four levels you must traverse to reach the top. Get to the top of each ledge, jump, and latch on to the next floor up across the well. Avoid using the Dash button for a higher jump; this makes it harder to grip the ledge above. Use regular jet jumps.
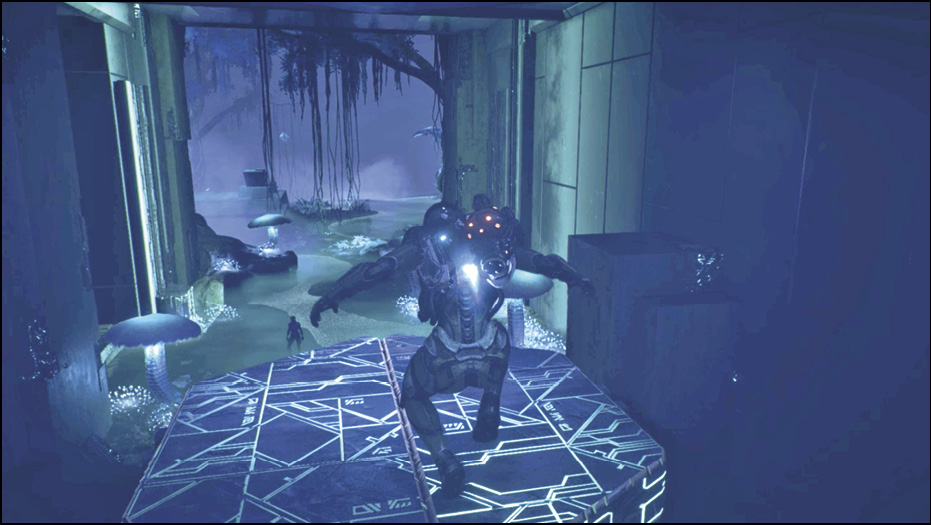
At the top, find a Gravity Well trigger. Interact with it to be levitated horizontally across the room you just left below. You enter a high tunnel (5) on the east side.
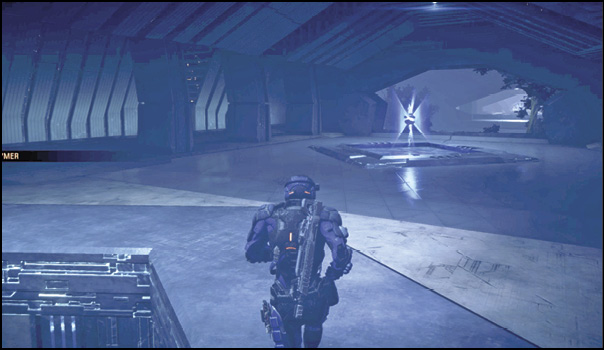
Run to the end of the bridge to another Gravity Well (6). Use this well to move up a few stories in the Mithrava structure. Exit the tunnel to an exterior ledge.
Mithrava Ascent: Tower Exterior Ledges
From the exterior (7), follow the ledge path to the right to reach a container prize at a dead end, though you must battle a Nullifer for it. Follow the ledge path left from the exterior to continue your trek to the top of Mithrava. Leap off the ledge where it drops at the left corner, and follow the path past a statue on the left. Defeat the Observer and Breachers, then look for a Remnant console (8) in a nook on the right near some glowing Remnant pillars.
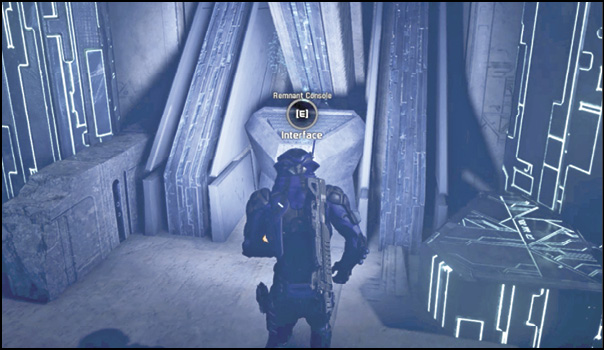
Interface with the console to lower a ledge above, making it possible to work your way up the platforms to reach a higher ledge. Begin by jumping up onto a ledge (9) protruding from a nook above the Remnant console. Leap across the walkway to reach the glowing Remnant pillars (10) on the other side. Jump from pillar to pillar to reach the ledge above (11).
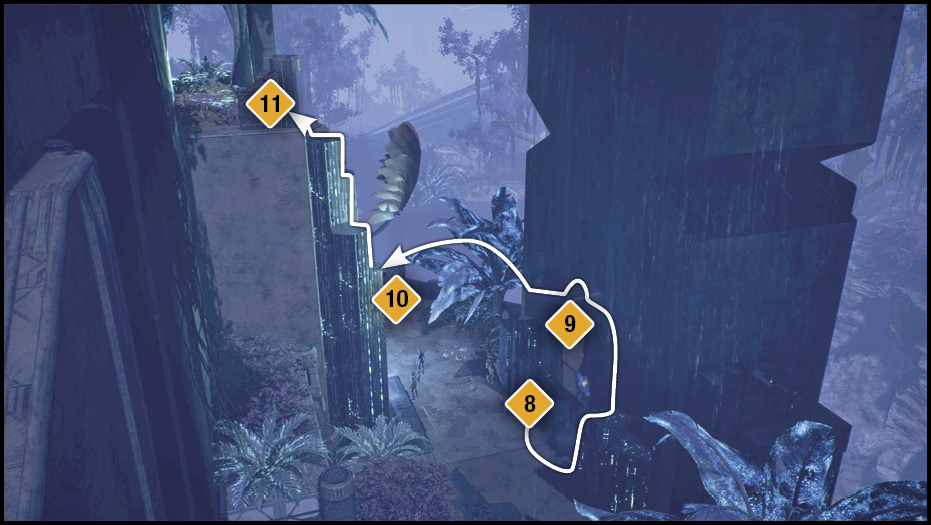
Follow the ledge around and drop down to a slightly lower ledge at the end to find and interface with another Remnant console (12). This creates a bridge that fills the gap between your ledge and the next. Cross the bridge.
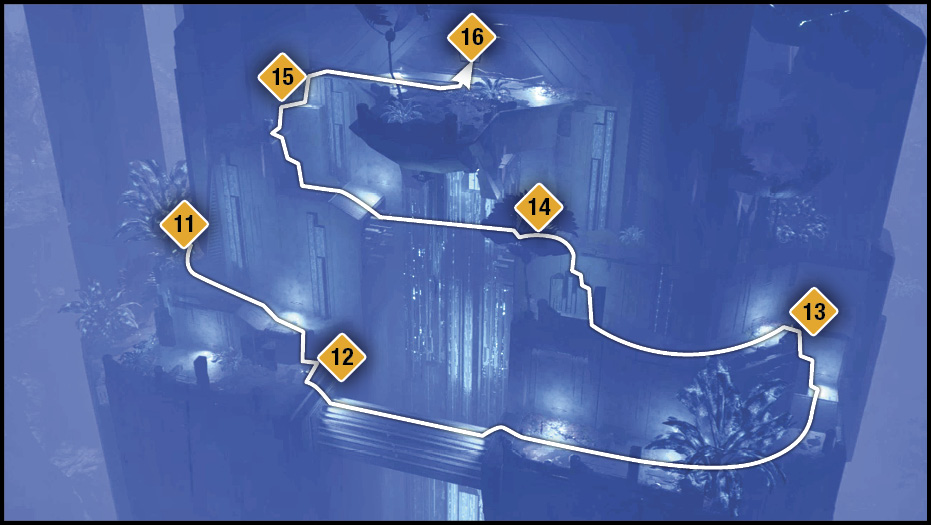
Follow the path around the left corner, defeat the Observer, and scale the platforms (13) to reach the next ledge up. Defeat the Breacher and follow this path to the end, where you can use Remnant pillars to reach another higher ledge after taking out the Observer hovering above. On the edge of this walkway is another Remnant console (14). Activate it to fill the nearby gap with a bridge.
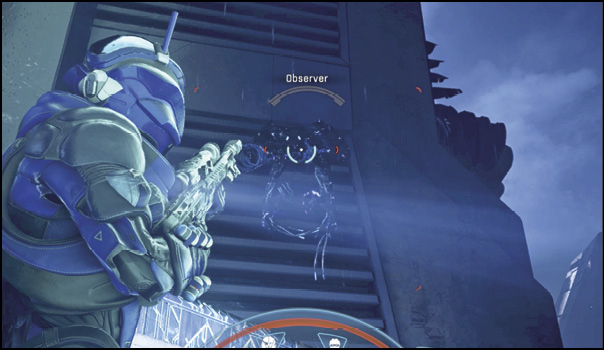
Cross the second bridge and head to the end of the pathway. Climb the Remnant pillars to reach another short ledge above. Here, pivot toward the wall (15) and scale the protrusions to reach the highest ledge, where a Remnant vault-like doorway (16) is located. Enter Mithrava Tower. Inside is a Gravity Well. Use it to ascend to the exterior top of Mithrava, where you find the angara.
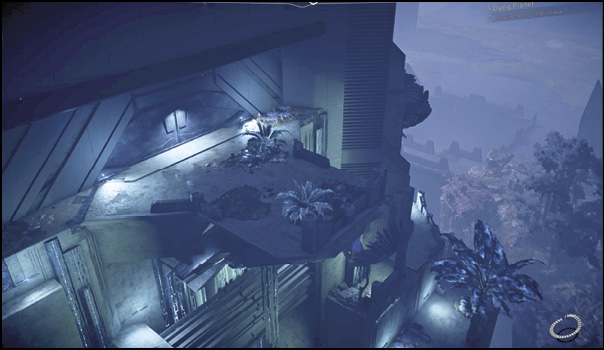
Top of Mithrava, the Sanctuary
First Sage Esmus
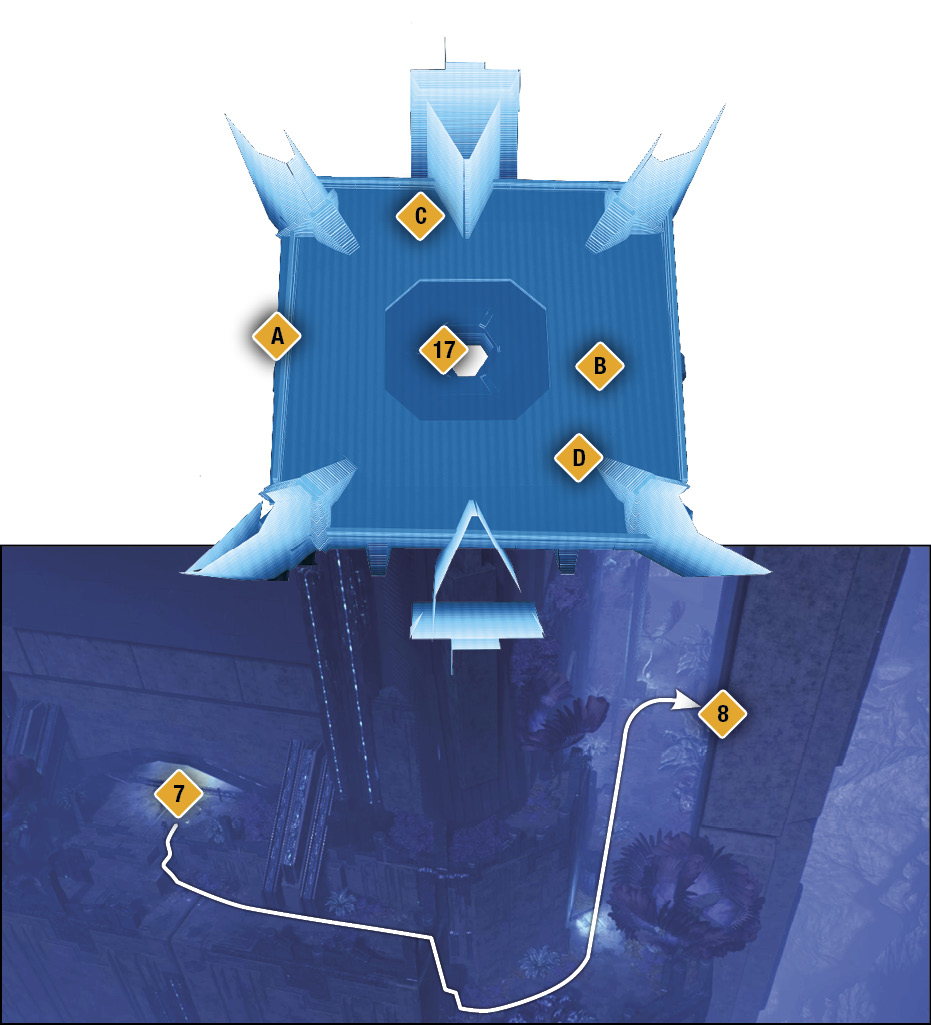
First Sage Esmus greets you with great shock and surprise that you made it to his highly secure sanctuary (17). Converse with him about Havarl and the missing monolith. He says the memory of that monolith has slipped from the angara’s grasp. They believe in reincarnation and that the memory of the monolith could be passed on to an angara reincarnated from Zorai—the one with knowledge of the monolith. It’s worth a shot to find this angara, but it’ll be difficult; he’s a Roekaar.
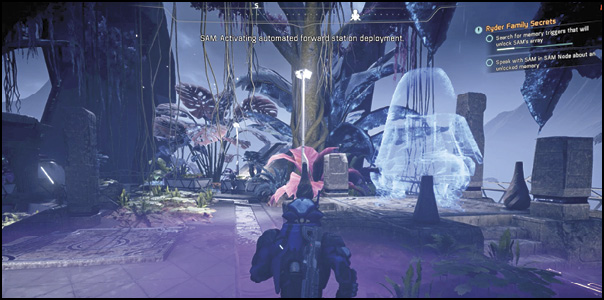
Wander around the top of the tower, opening crates, scanning new objects, and speaking with the inhabitants. Make sure to activate the forward station (A) so you don’t have to make that tower climb again later. You can also find a memory trigger up here (B).
Go to the Location Esmus Mentioned
Remnant Abyss
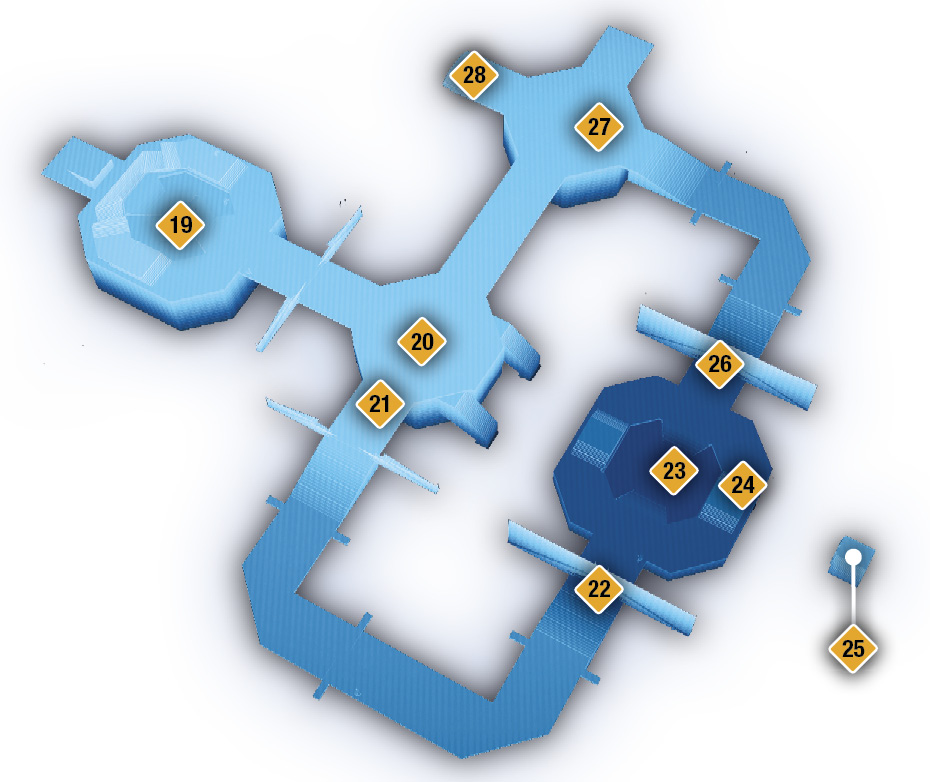
Access your map and use the forward station (18) in the middle of Havarl to fast travel somewhat close to your destination navpoint (19). Head north to reach the Remnant vault at the top of some Remnant ramps in the Remnant abyss. Notice the next navpoint appears to the east when you reach the vault. You must enter the vault to reach Esmus’s location (28).
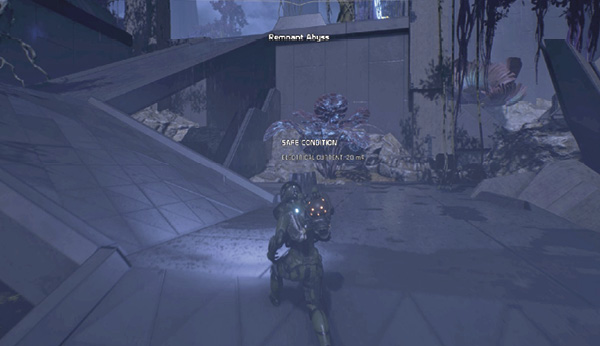
Locate Zorai’s Heirloom
Remnant Vault
Head to the end of the room and use the Gravity Well (19) to reach the lower vault. Exit the first subterranean chamber through the only door below (it’s unlocked). Upon exploration of the next chamber (20), you discover the only thing to do is interact with the Remnant console in the middle of the room. The console emits five blue lasers, unlocking a door to the left and right and dropping a wall in front of you that reveals a force field.
Remnant Attack
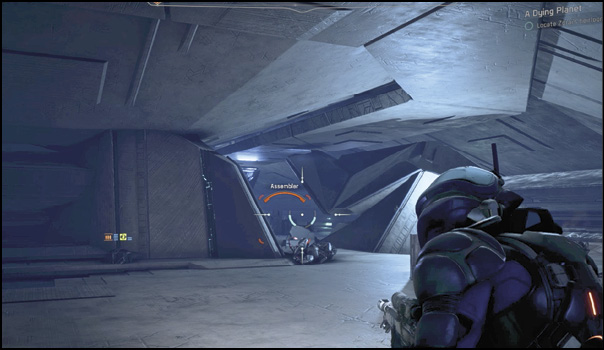
Interacting with the console lowers a wall that reveals an impenetrable window with a view to the rest of the vault. It also releases a few Remnant into the room. Defeat the Assemblers, Observers, and Breachers. The way out of the room is through a doorway on the right (21). Defeat the Observers along the way and the Assemblers at the end of this tunnel, and continue down a slope to another doorway (22).
Remnant Destroyer Chamber
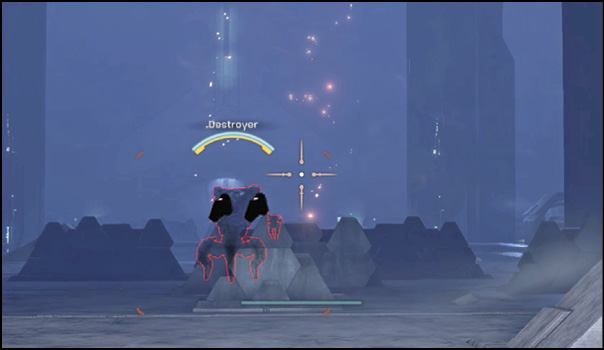
Take cover as soon as you enter the next chamber (23); a Remnant turret is pointed in your direction, and you soon discover a bigger threat—a Destroyer. Concentrate your attack on the Destroyer, and have your team help you or target the turret. Once the Destroyer is dealt with, take out the Assemblers and any other Remnant bots around.
Head to the right side of this chamber to find a Remnant console (24). Activate it to create a bridge to the next doorway. Through the doorways is a small room (25) with a nice prize inside the container. Take it and head back across the bridge into the main chamber.
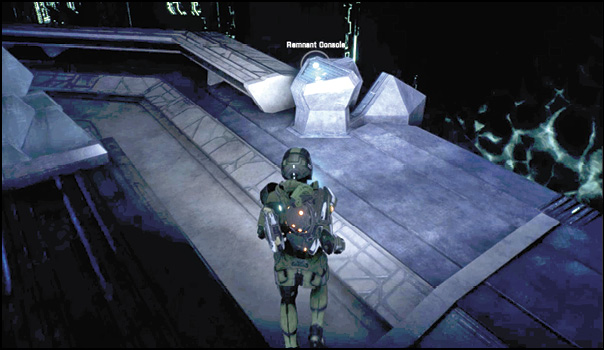
Remnant Nullifier Chamber
Open the uninspected door (26). The hallway slopes up and leads to another chamber (27), where Remnant Assemblers and a Nullifier are ready to gun you down.
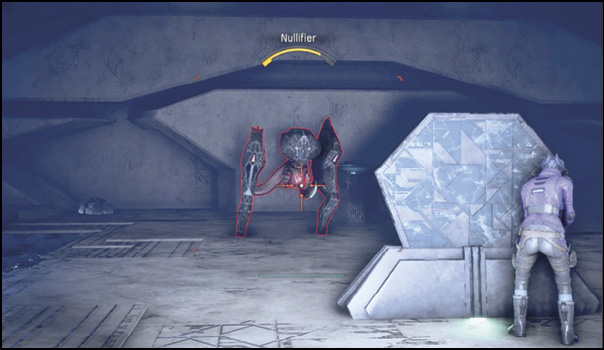
Take them out and use the Remnant console to turn on the lasers to open the next door, which also releases more Remnant, including another Nullifier. Eliminate them, utilizing the many cover objects around. Before you leave, jump up to the top of the tall square pillar in the middle of the room to open a container there.
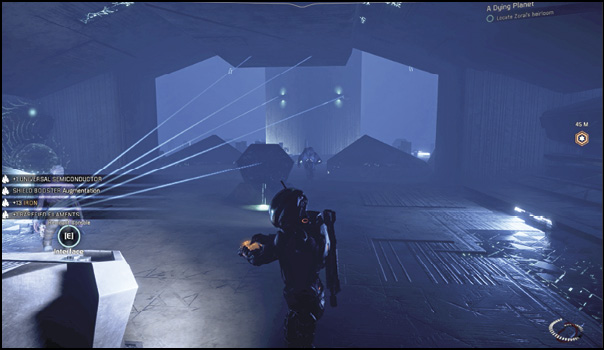
Head toward the navpoint (28) to reach the next doorway. Hack the door open. Inside the room is a pile of ancient remains. This is what you came for.
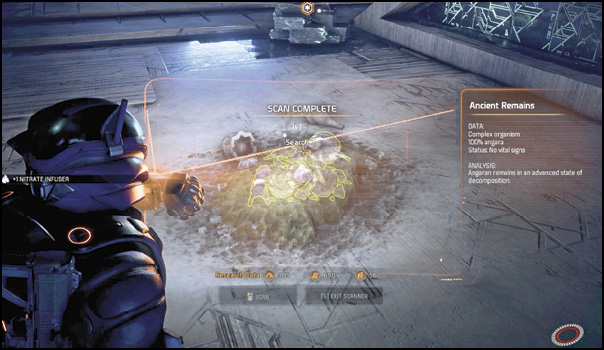
Approach the pile and scan it, then search the remains to acquire Zorai’s heirloom—a gauntlet. Also examine the ancient data drive next to the heirloom to research some history of the gauntlet. Scan the Remnant core device in the room and raid the containers before you exit (19) via the Gravity Well.
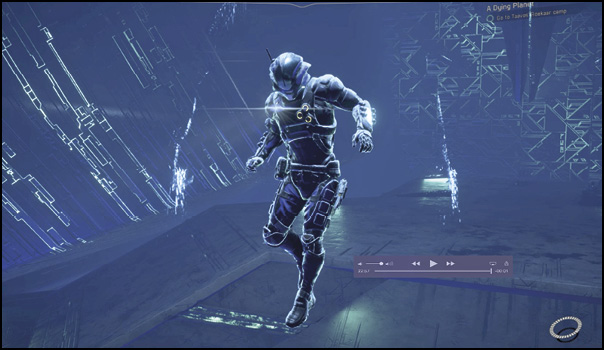
Go to Taavos’ Roekaar camp
Chasm of the Builders
After exiting the Remnant vault, head to the Chasm of the Builders (29). When you arrive, the bridge extends and the Raiders guarding it attack. Eliminate the Raiders. During the battle, be on the lookout for a few Challyrion and Shemrys; they tend to sneak up and flank you during this fight. Scan the bridge for the Research Data when you have a chance.
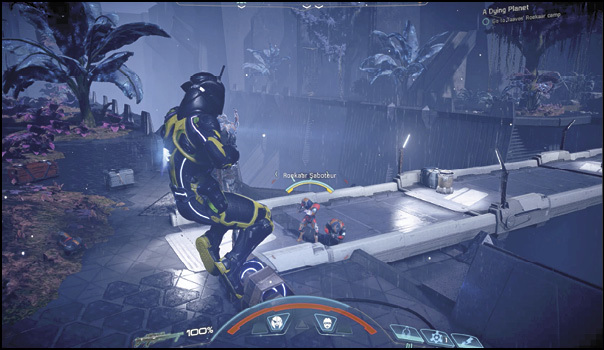
Use cover as you work your way across the long bridge. As you approach the opposite end, Adhi and Roekaar Sharpshooters attack from the multi-story platform (30). A good tactic is to rush up the stairs to the Sharpshooters and perform melee attacks on them.
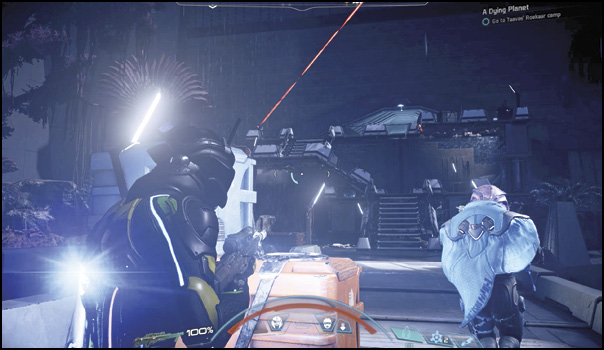
At the end of a covered tunnel at the top of the bridge platform, you reach an unlocked Remnant door. Go through to discover the ancient courtyard. A forward station (31) is called down when you reach the end of next platform. While you have the higher ground, use ranged attacks on wildlife and Remnant out in the courtyard, and watch out for a charging Eiroch. Run north through the courtyard, defeating wildlife and Remnant until you reach another multi-story platform. This is the Roekaar camp (32) in Old Pelaav.
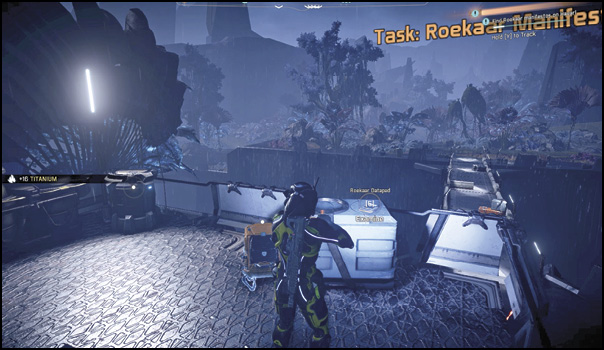
Defeat the Roekaar at Their Camp
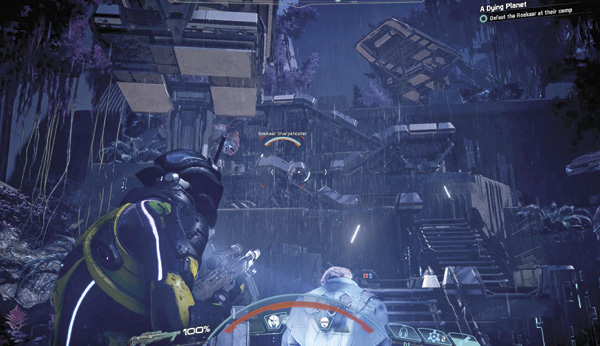
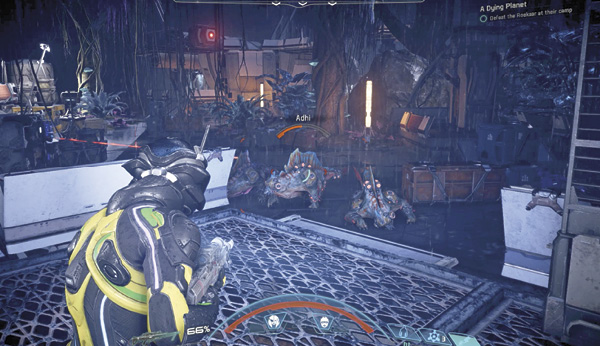
Shoot the Roekaar on the stairs from the courtyard, then rush up the stairs and fight the remaining Roekaar Sharpshooters and Raiders at close range. Fight your way up the stairs through the Roekaar and their trained attack Adhi. On the top level, hunt down the rest of the Adhi and rush the remaining Sharpshooter. Watch the radar and use it to clear the camp of hostiles.
Find Taavos
Old Pelaav
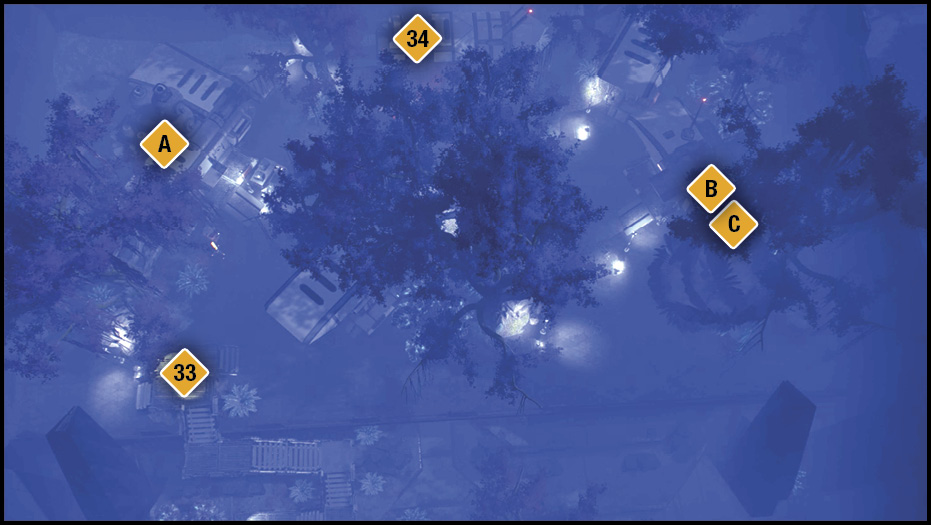
At Old Pelaav (33), head into the first building on the left (A) to find a Roekaar datapad that helps along the “Roekaar Manifesto” task. There’s another datapad (labeled “Hope”) in the building to the far right (C).
In this same building, you can also progress the “A Lost Sister” (B) mission. Enter the building in the middle back of the area and speak to Taavos (34). During the conversation, you convince him to help you recover the lost memories of the Remnant monolith using the gauntlet heirloom you found in the vault. He reluctantly agrees to help.
Meet Taavos at the Entrance to the Lost Monolith
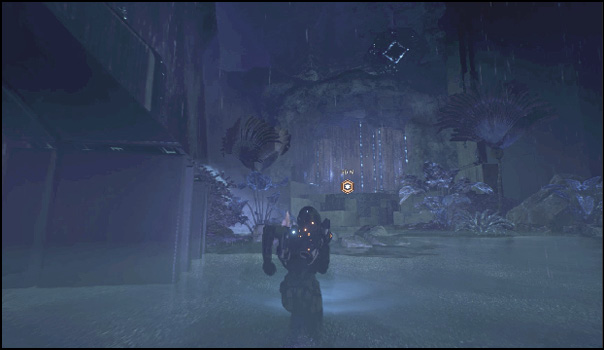
If you’ve been working on the “A Lost Sister” mission, now is a good time to fast travel back to Mithrava Sanctuary to finish it. From there, fast travel to the north chasm station (35). Leap down into the water, defeat the wildlife, and follow the chasm north to the end. As it bends west, follow the navpoint up to the Remnant platform to meet Taavos (36), who’s there waiting for you.
Accompany Taavos to the Monolith
Buried Cave
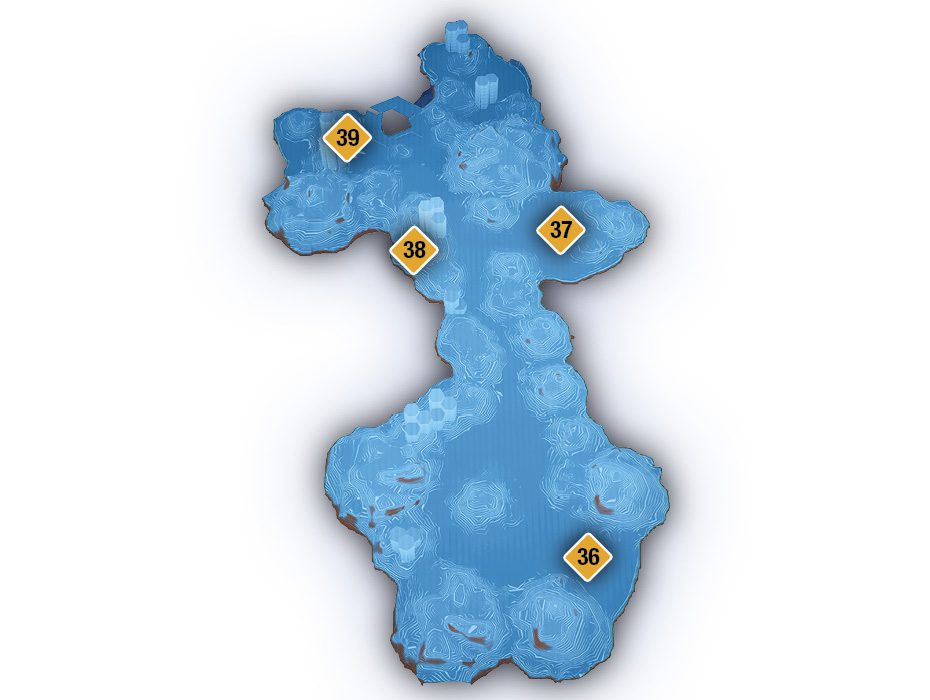
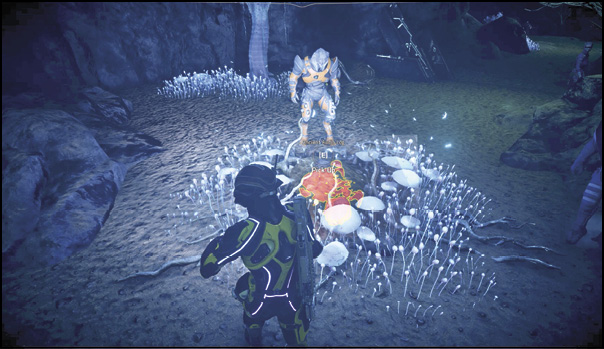
Oddly, Taavos is starting to remember sites he’s never been to in his lifetime. The Remnant pillars drop, revealing a tunnel behind them. Simply let Taavos be your guide through the caves; he’s tagged with the navpoint. When he takes a right into a dead-end area, look on the ground, play the audio log, and then notice the remains on the ground (37).
Examine the Remains
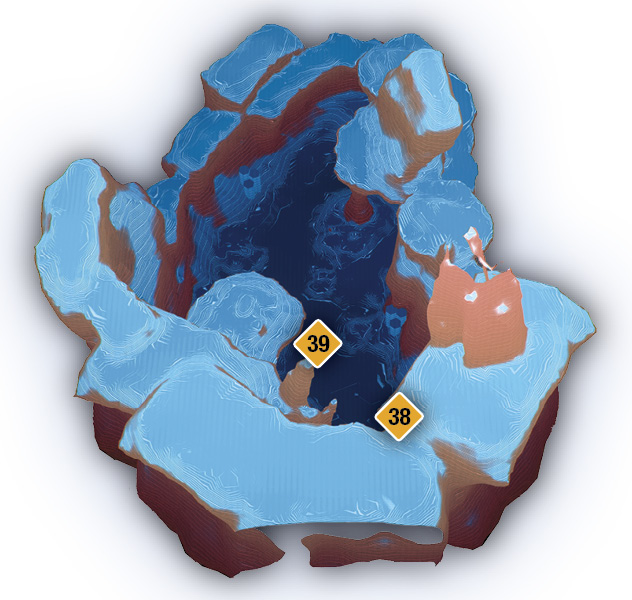
The audio is from Zorai, who talks about working with the Remnant machines. Her remains lie next to the audio log. Scan them (37) to get a positive match on Zorai’s identity. She died before she got to the third monolith. Follow Taavos out of the side cave and continue northward. A Remnant wall drops as he approaches, revealing the end of the tunnel and a Gravity Well (38).
Activate Havarl’s Third Monolith
The Forgotten Depths
Use the Gravity Well to be gently lowered to the bottom level of the cave. Follow the navpoint to a Remnant console (39) a few yards away from the Gravity Well.
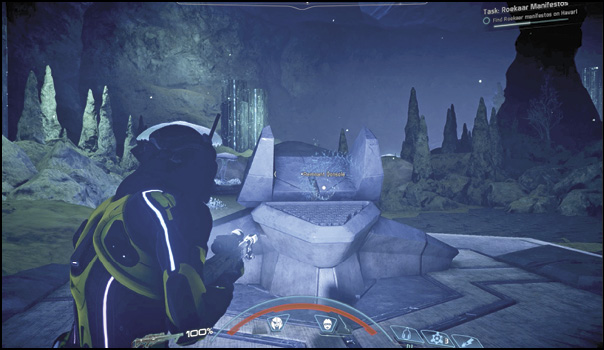
Place your hand on the Remnant console and activate the third monolith. Afterward, make sure to search the Forgotten Depths for a memory trigger for “Ryder Family Secrets.”
Find and Activate Havarl’s Vault
Back on the Surface
Taavos, channeling Zorai, thanks you for doing what she could not. He says he’s going to stay behind and be alone in his thoughts while you leave to seek the vault entrance. Retrace your steps out of the cave, using the Gravity Well (38) to get back to the entrance (36). Once out of the cave, access your map to find a Remnant vault icon (40) plotted not far from Mithrava, in the ancient courtyard. Use the forward station (31) in the courtyard as a shortcut from the buried cave entrance.
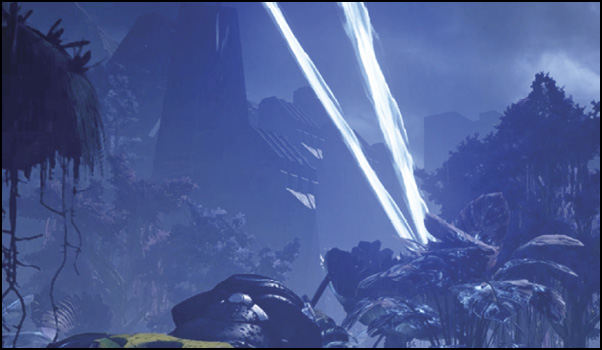
The vault is impossible not to notice when you reach the courtyard. Bright beams of light fill the night sky, all originating from the Remnant vault to the south. Enter the vault and take the Gravity Well down into its depths.
Turn on Emergency Power
Remnant Vault
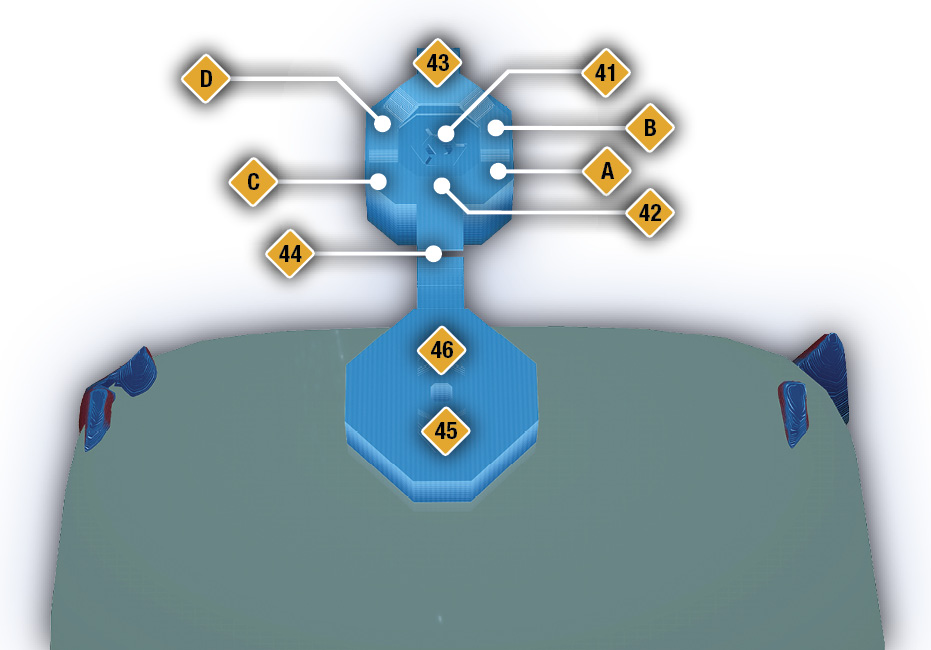
You land on the bottom floor (41) of the vault facing the Remnant power console (42) you need to activate. On the opposite ledge (43) is another console, a turret, and an Observer Replication Control that can be scanned (below this ledge is a container secured by a force field). Analysis says you can use the device to invert the Remnant’s perception of threats. Sounds good, but nothing works until you interface with the power console (42). Once you turn it on, prepare for a battle with a few Observers that spawn on the opposite side of the room.
Lift the Lockdown on the Vault
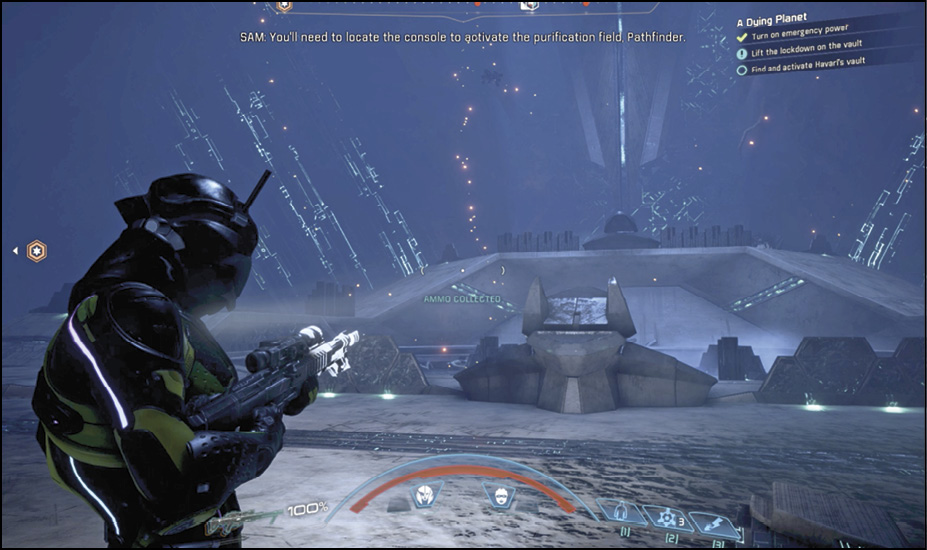
Turning on the power starts up four other consoles around the room that all shoot blue lasers at the large locked doorway (44). The key to unlock the door is to turn each laser white. To do this, the consoles must be activated in a particular order, revealed by the number of glowing blue orbs above each. Activate them in the following order: (A), (B), (C), then (D). Fiddling with them in any other order calls more Remnant to attack. The power to the turret is also active, so turn the turret (43) on and have it fight for you against the Remnant.
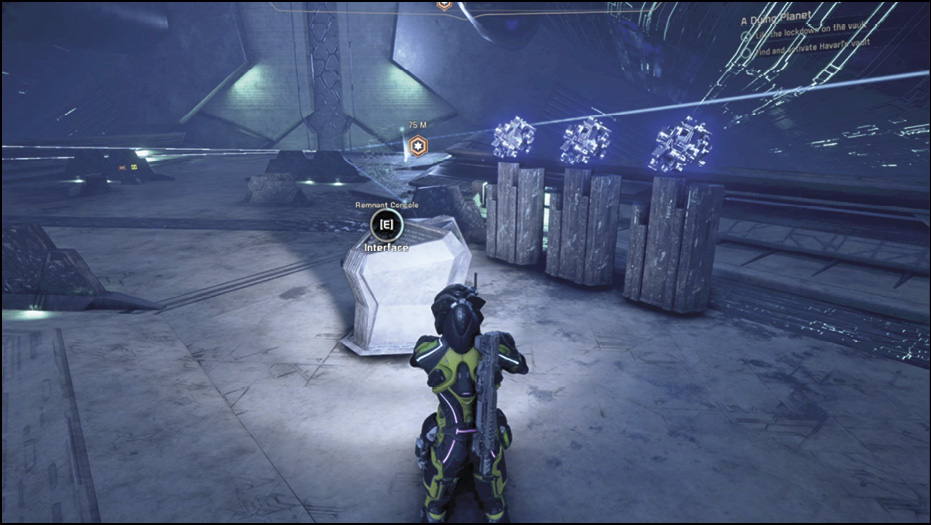
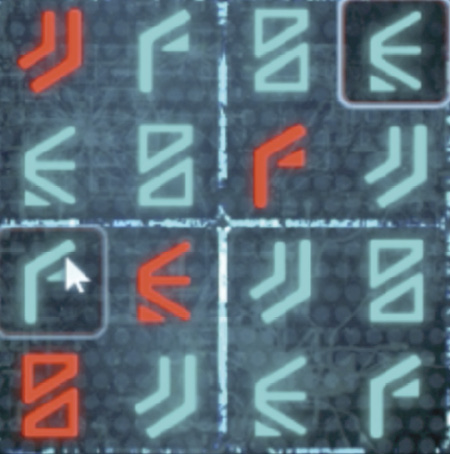
When the correct control sequence is achieved and all four consoles are shooting white laser beams, the large purification chamber door (44) opens. Raid the containers in the next chamber before you lift the lockdown using the purification console. Notice the second Remnant console in this chamber (45). Solve the Remnant glyph puzzle associated with it using our shot of the solution. This lowers the force field under the platform (43) in the previous room, allowing you to reach the container.
Escape the Purification Field and Exit the Vault
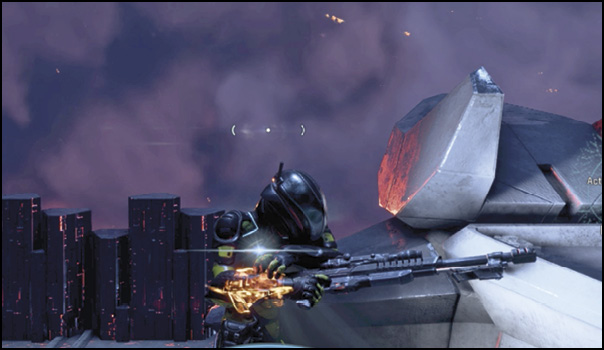
Activate the purification field console (46). This is the smallest vault in the game, and escaping this purification field is a walk in the park—or rather, a jog to the Gravity Well chamber in the next room. Run to the doorway (44), which is closed but opens after a few scary moments of waiting and fending off Remnant. Run to the back platform and interact with the activation console (43). This shuts the door on the large red death cloud in the next room. Make sure to raid the container under the platform before you leave. You earn 900 AVP.
Return to Kiiran Dals
Speak to Kiiran (1) to complete the mission. She, Taavos, and Sage Esmus praise you until you can do nothing but joke about the party atmosphere the situation has turned into. You earn more AVP.