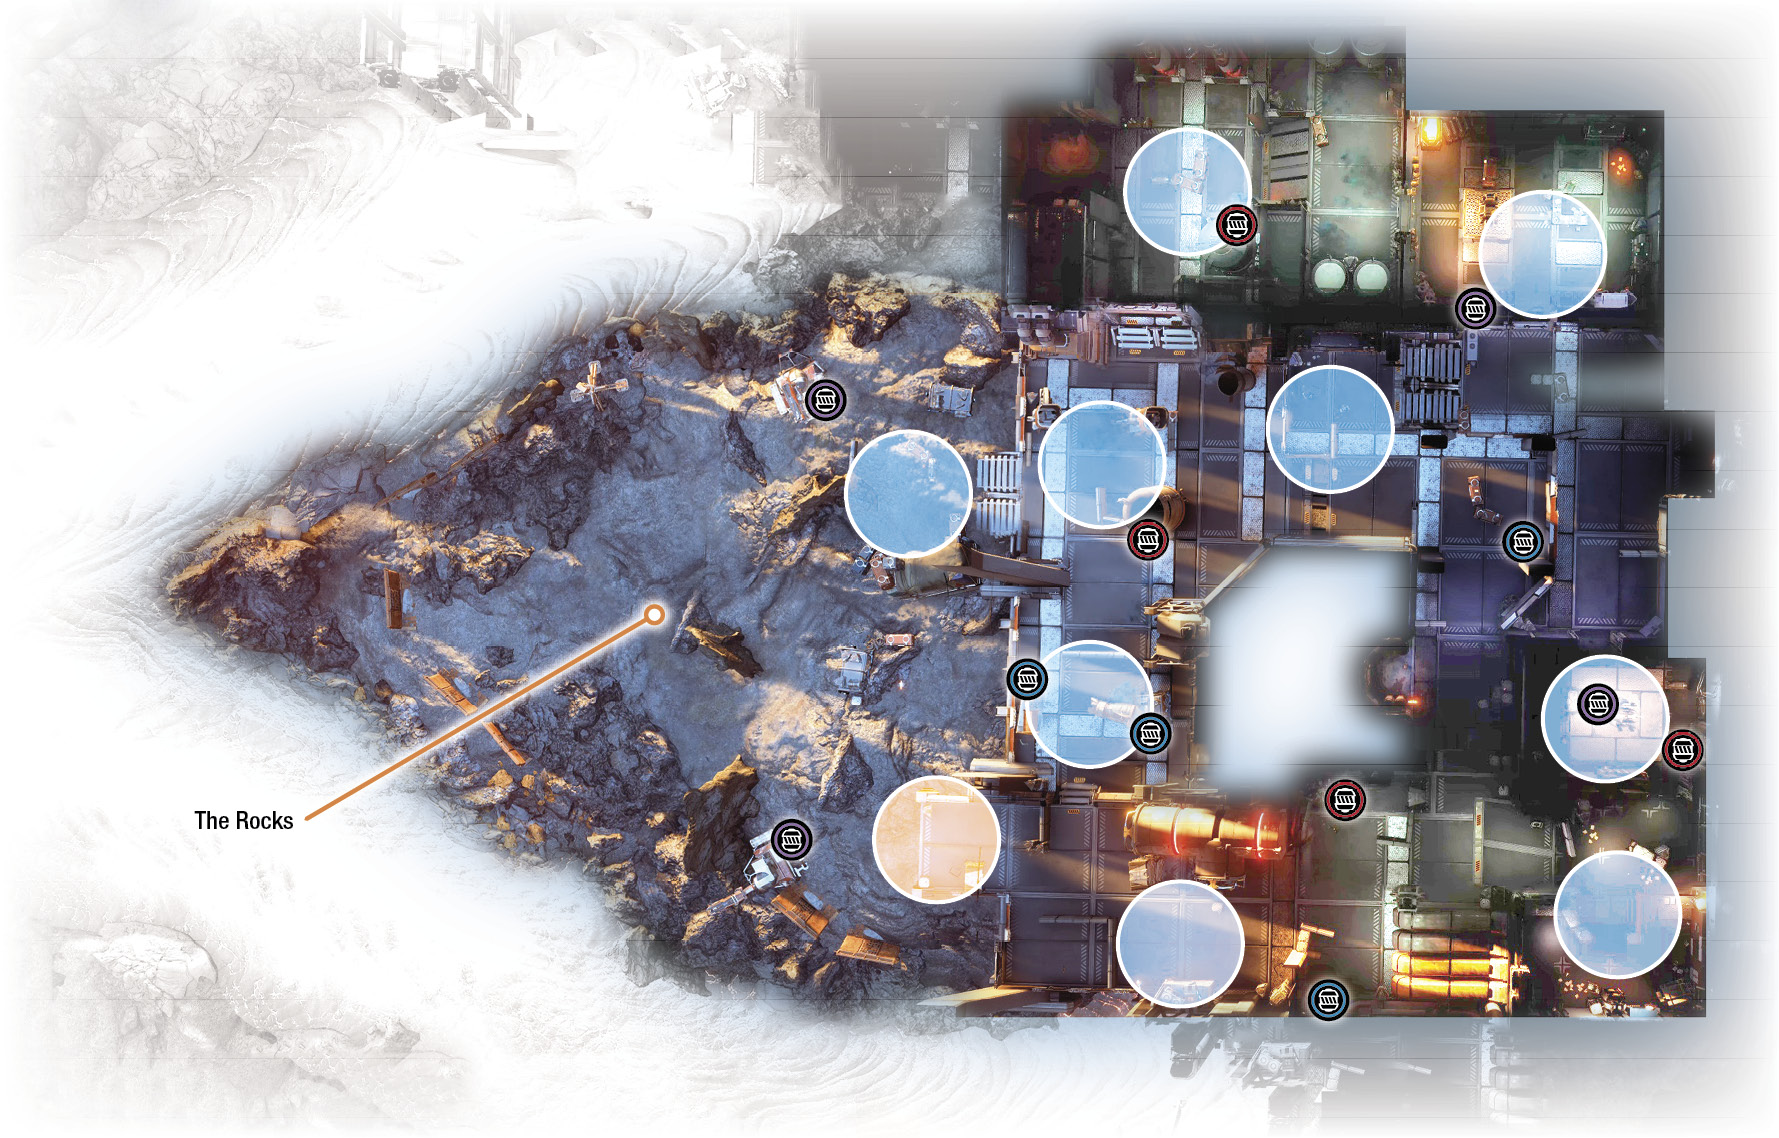
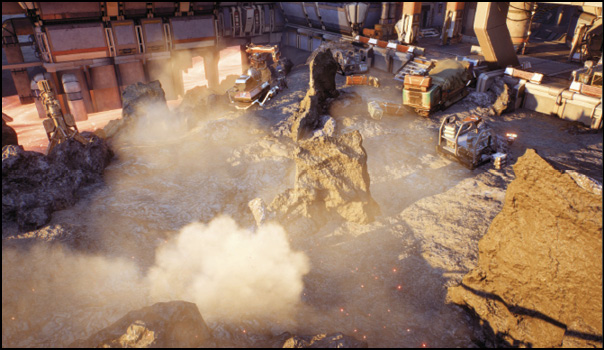
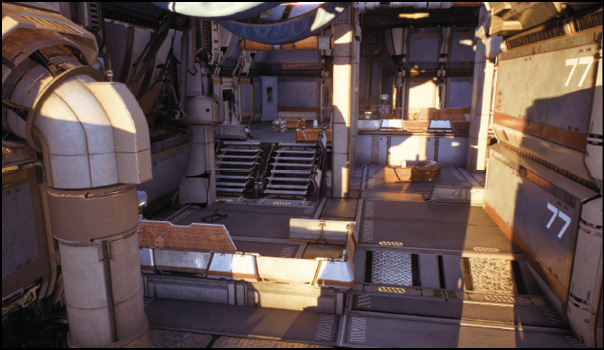
A lava field isn’t the likeliest place for an industrial outpost, but Outlaws built a facility here to harness its massive amounts of geothermal energy. This power then fuels advanced factories that create experimental weapons and incendiary munitions.
Strategic Points
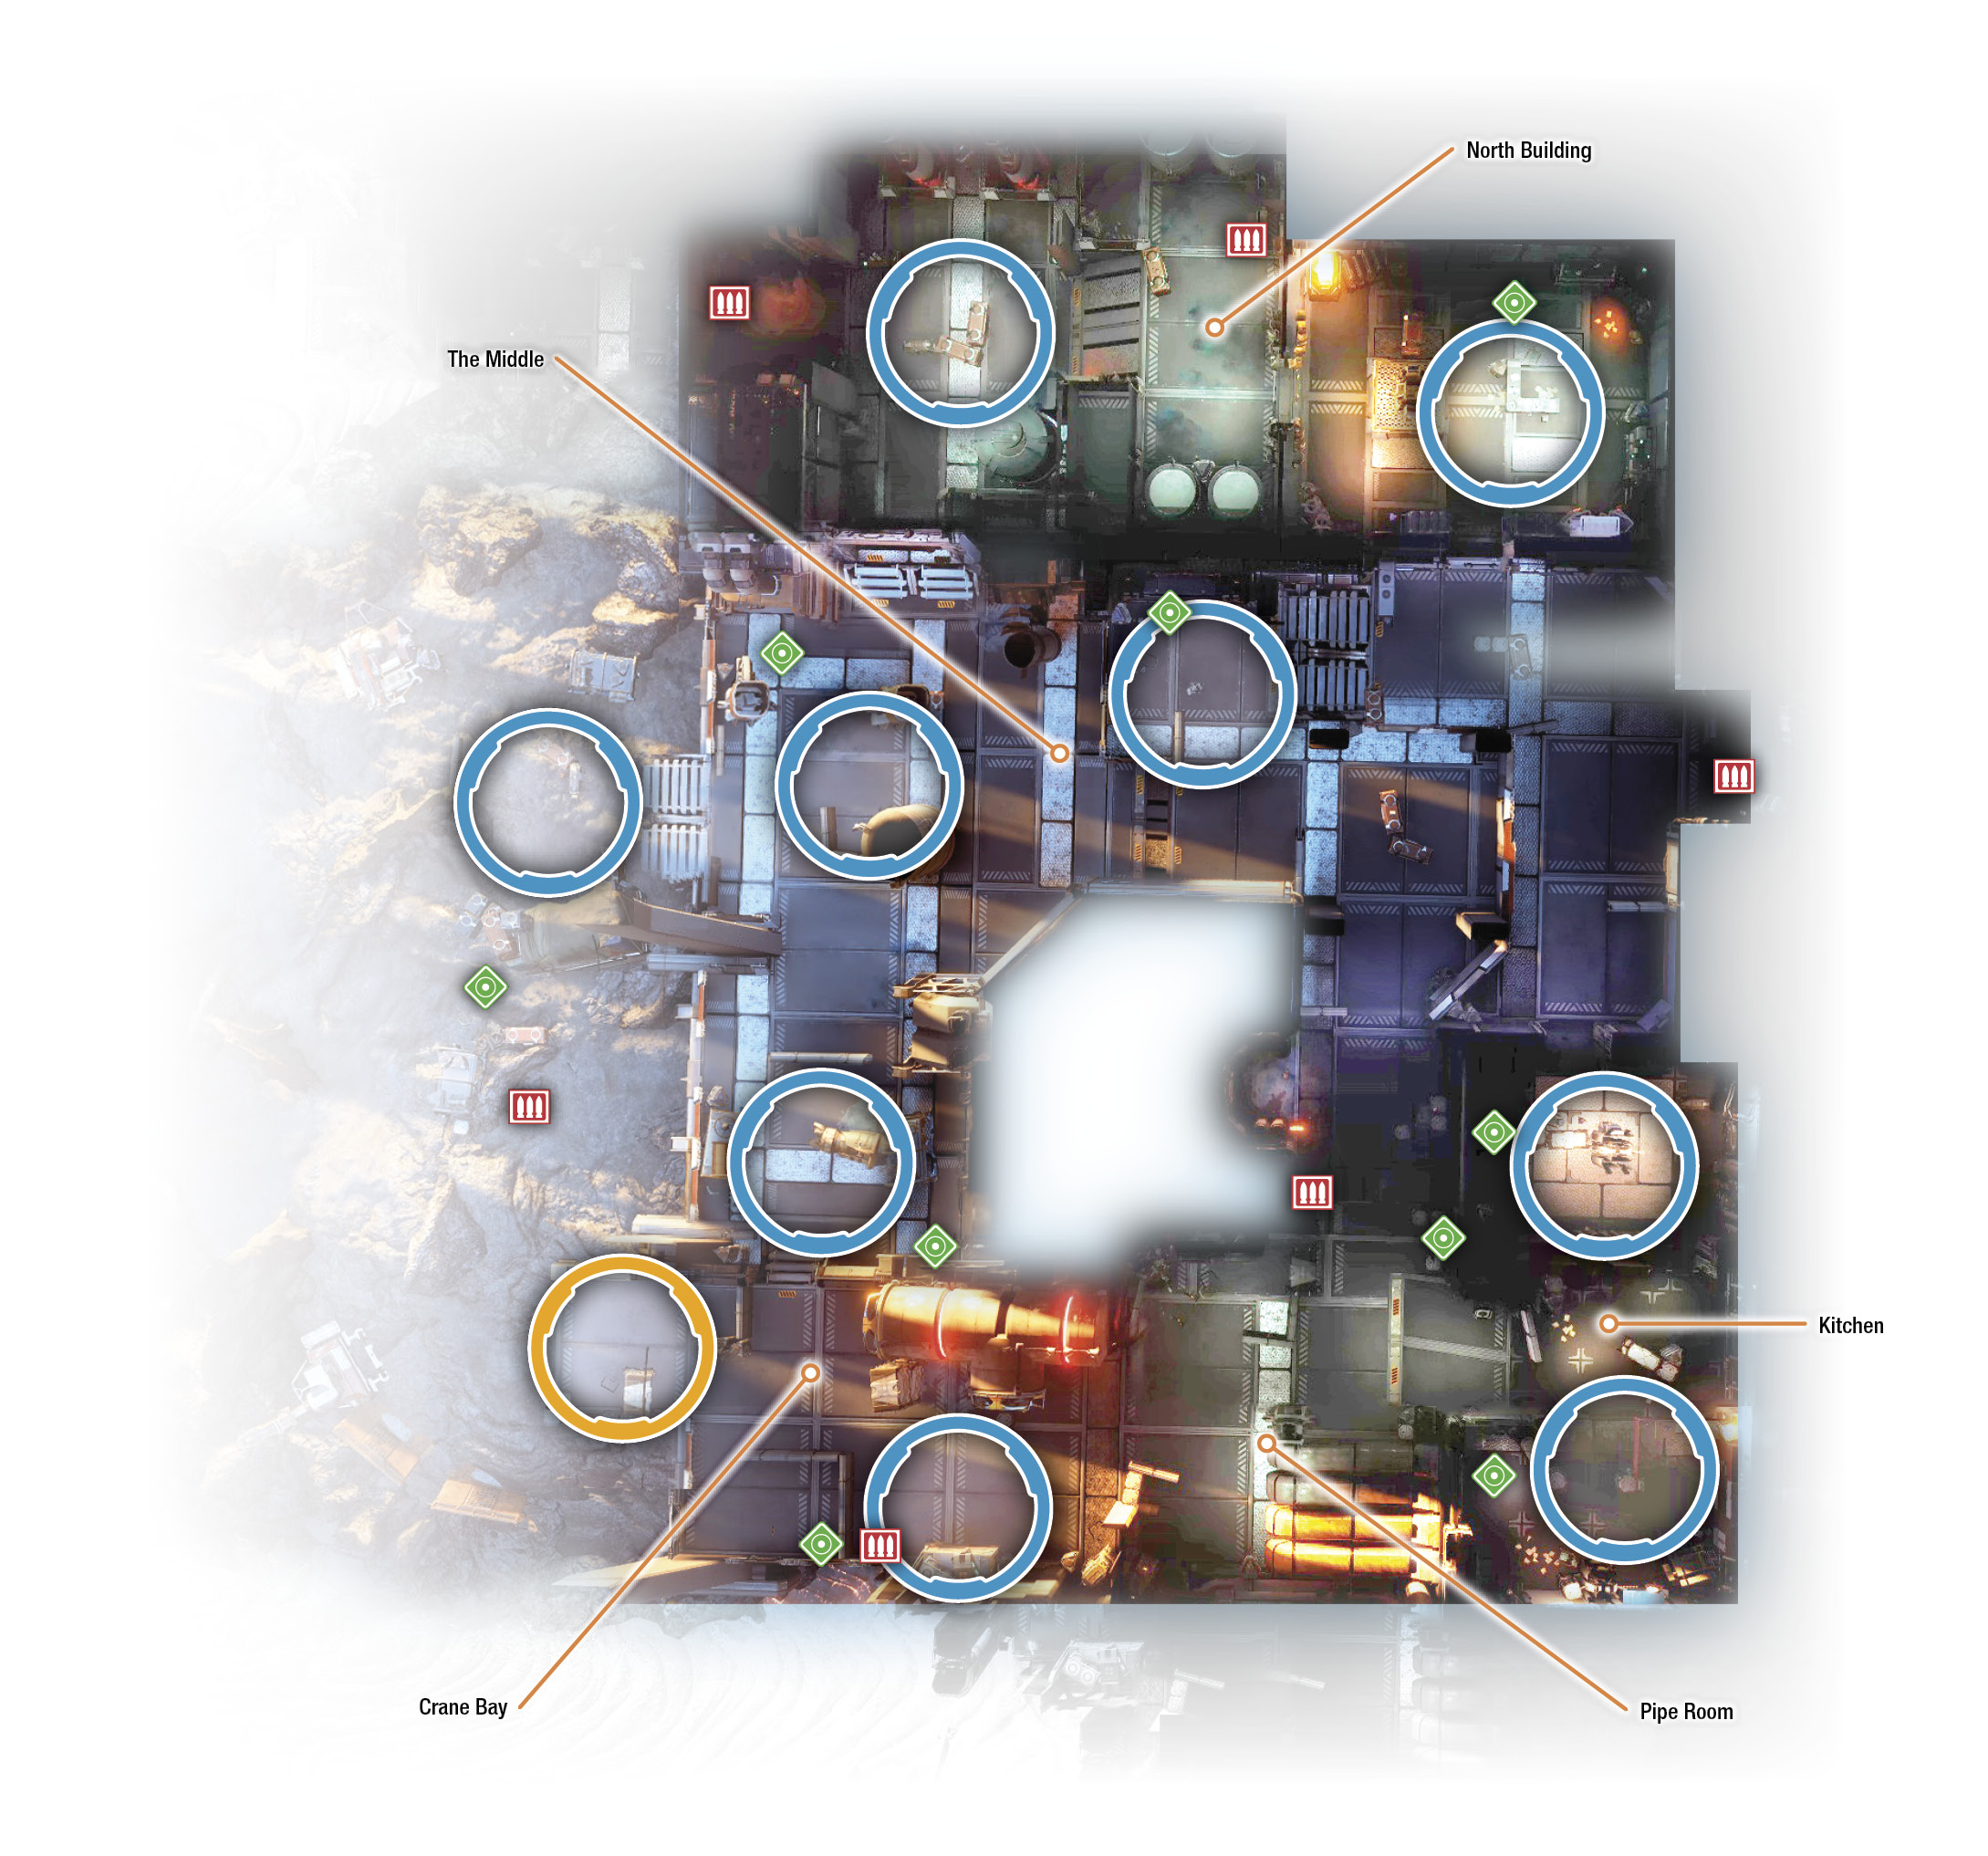
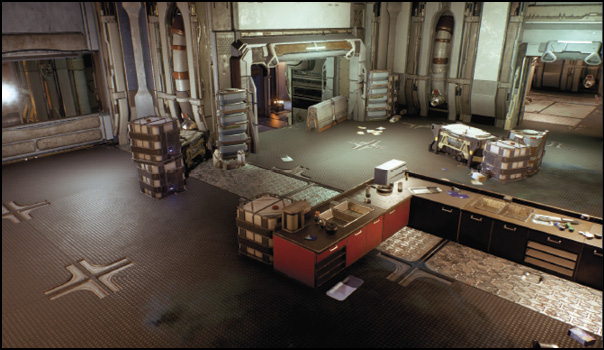
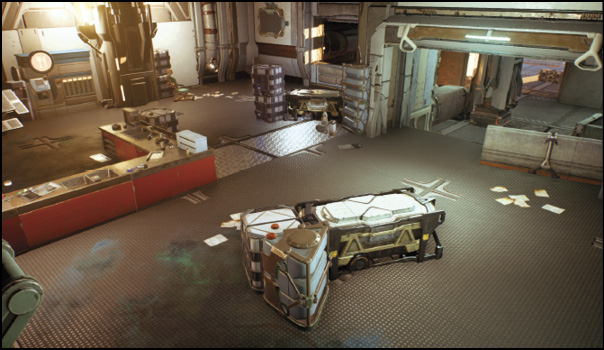
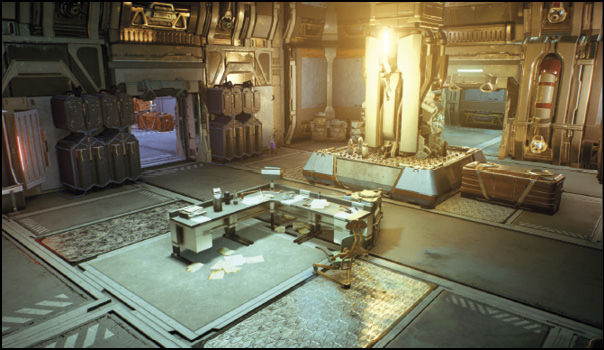
Kitchen: The kitchen is the best defensive position for a full team of players. It provides ample cover, great lines of sight, and quick access to two nearby ammo crates—one in the pipe room and one in the middle of the map.
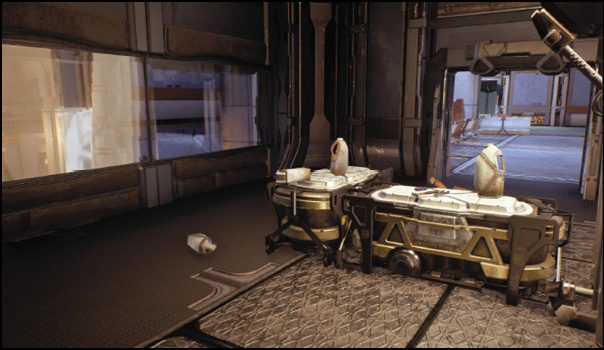
Two rooms make up the kitchen area—a small office to the north, facing the middle, and the main kitchen.Defending the north entrance from the office can be difficult if enemies start pouring through the window that faces out toward the pipe room. Keeping the office and the window secure is imperative for maintaining clear access to the two ammo crates. If you’re getting overrun, the kitchen counter provides ample cover against the north entrance.Use a team of two players to defend the west entrance to the kitchen from the pipe room. Have one player guard the ramp from behind the small barricade, while the other takes cover at the window, looking through the pipe room into the crane bay. When guarding the window, make use of a sniper rifle to clear out enemies behind the far cover and deal damage to heavy enemies as they slowly advance to the kitchen.
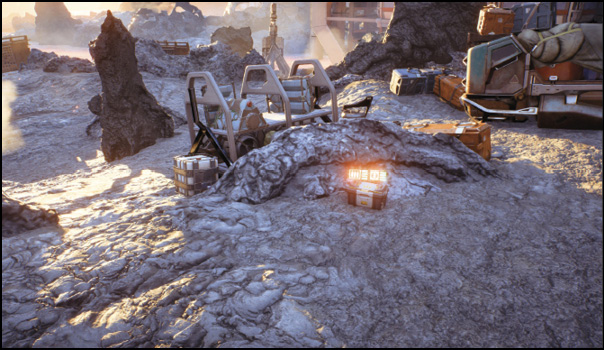
The Rocks: This is where your mission begins and where your extraction point is on the seventh wave.
An ammo crate is tucked away behind a large piece of cover and small pile of rocks, just south of the stairway leading into the middle.If traversing through the rocks, avoid heading west toward the lava. Fighting your way back through to the middle from the far ends of the rocks isn’t an easy task; enemies can surround you, forcing you to take cover and move slowly through the field of rocks and small bits of supply available for cover.
North Building: The largest building on the map, the north building features a small patch of high ground. Aside from the window, it has only two entrances to guard.
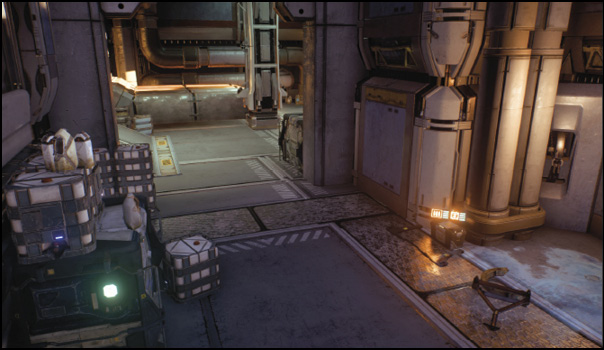
Put one player in the window, preferably with a long-range weapon to snipe enemies in the crane bay and the rocks as they advance. A single teammate in the piece of L-shaped cover facing the west door should be able to hold off any enemies the sniper doesn’t pick off.The other two players should head to the east side of the building, using the desk and the base of the support to provide cover against the east entrance. One player from the east room should “float” between both objectives as pressure increases at each entrance.At the top of the ramp between the two rooms inside the north building is an ammo crate. Communicate with your team to prevent enemies from sneaking in behind you while you reload!
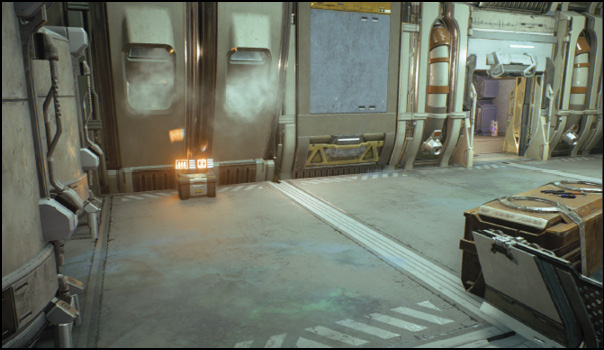
Pipe Room: The pipe room is home to an ammo pack and a decent amount of cover.
Most of this cover is good for short-term protection. Be aware that it leaves you open to attacks from its rear flanks. Use this area mainly to get to the kitchen or as a means to obtain ammo when moving to or from the middle.
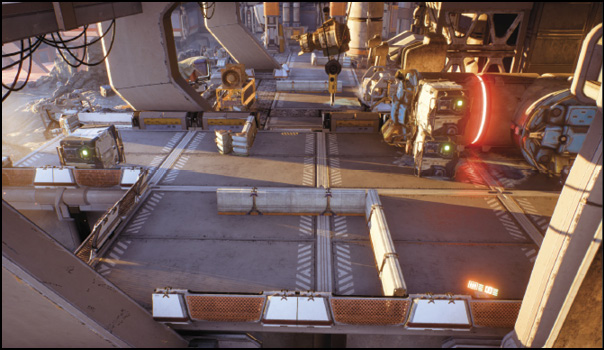
Crane Bay: The crane bay is an L-shaped area featuring a large crane system for hauling objects into the firebase. A nice patch of cover near the ammo crate on the south side of the base allows you brief security while you fend off any pursuing enemies.
The main issue with this defensive position is the exposed flank to the west that allows enemies to quickly jump up to your level and attack. The cover doesn’t provide much protection. Use the crane bay as a transition point to kill off a few enemies and resupply before heading into the kitchen, a much more defensible point.
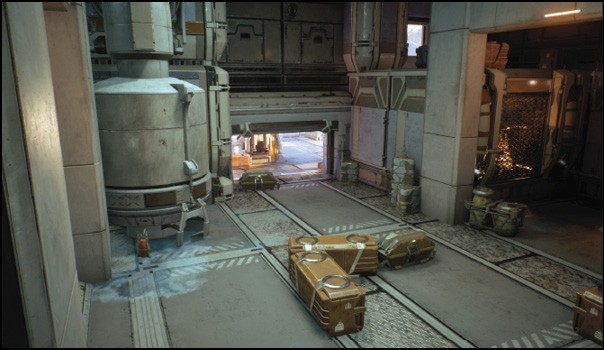
The Middle: The north and south areas of the map all dump into a center section that features three levels of elevation.
Use the elevation levels in conjunction with your jump-jets to quickly put distance between you and your enemies. At the east side of the middle, a small corner carved into the dead end contains an ammo pack shielded by a small patch of low cover.