
Mass Effect: Andromeda Collector's Edition Guide Multiplayer Multiplayer Basics
Waves and Objectives
Each Multiplayer game is broken down into seven waves that follow the same format. Waves 1, 2, 4, and 5 are survival waves. Waves 3 and 6 are each one of four possible objective waves, and the seventh and last wave is the extraction wave.
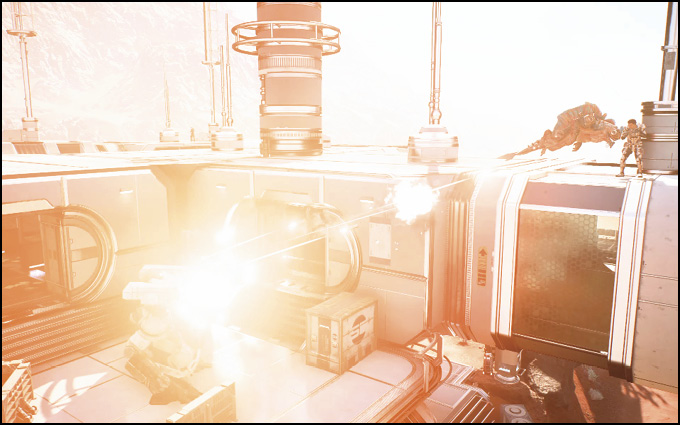
Strike team missions and other special missions contain different wave counts, modifiers, and wave structures. This stays consistent to the mission but doesn’t match the standard Multiplayer format.
Objective waves award bonuses, depending on the speed of completion. These rewards are displayed with a three-star system on the screen: one star for bronze, two stars for silver, and three stars for gold, each with increasing XP bonuses.
Survival waves are completed by killing all enemies in the wave—each level increases the amount of enemies. Once you’ve killed all the enemies, the next wave begins.
Assassination
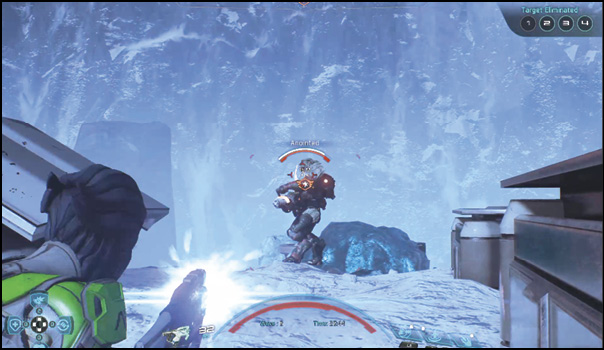
Eliminate four specific sequential enemies. Only one target is visible at a time. Once the fourth target has been eliminated, kill the remaining enemies to finish the round. Each kill adds time to the timer.
Expanded Strategy
Splitting up into teams of two is a great way to take down assassination targets. Try to sit at opposite corners of the map; this forces the AI to split up and makes the target much easier to eliminate since they will be further away from the rest of the enemies. Sniper rifles are incredibly useful for taking down targets. The target can be any unit that spawns into the map with the exception of the larger units like Hydra, Fiend, and Destroyer.
The assassination target does not receive any bonuses or abilities, so standard tactics and weak points can be used. Also, avoid running straight at an assassination target! Although this tactic may work at the Bronze difficulty, but the enemies will quickly mow you down at the Silver and Gold difficulties.
Defuse
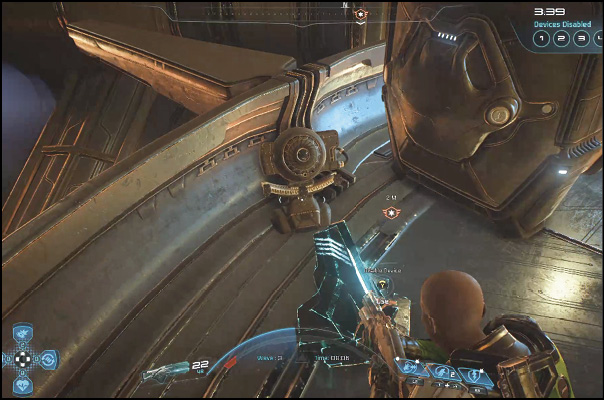
Deactivate four devices in the area before time runs out. Defusing a device adds a small amount to the timer. You can take damage while defusing a device, but melee attacks and ranged attacks that cause knockback stop your defusing progress. You lose progress quickly while you are being attacked, so eliminate the threat and get back to defusing. After the last device is defused, the timer stops. Eliminate the remaining enemies to end the round.
Expanded Strategy
Only one device appears on the map at a time, so focus on either defusing the objective or defending the teammate who is defusing it. These objectives can spawn at more than four places on each map in a random order, thus making it very difficult to predict their points. Note that the objective will NOT spawn at a point where it has previously spawned.
Let the teammate with the most health complete the objective as long as he/she doesn’t get hit by an attack that causes knockback. If this teammate can avoid taking a big hit, he/she will likely defuse the objective for the team.
Hack
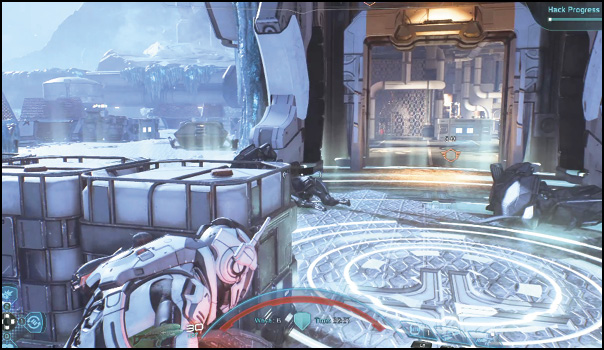
Hold down a specific area to complete the hack before the timer runs out—more players in the area increases the speed of the hack. Unlike Upload, only one area must be secured, and enemies entering the circle don’t stop the progress. After you’ve completed the hack, kill the remaining enemies to move on to the next wave.
Expanded Strategy
Keeping your squad inside the objective circle is the fastest way to capture the circle, but this also causes all enemies to focus directly on the area. This results in all enemy units will attempt to interfere with the hack. If just a single enemy enters the circle, the Hack will pause until the threat is removed. Position a couple of players sit in an area near the circle to pull some of the pressure from the main circle. This will help to prevent the enemy from entering the hack zone.
Large enemies should be easy to take down with a full crew, but a single player can choose to bait a large enemy away from the objective. By doing so, it will enable the rest of the team to take the objective with much less pressure, leaving the enemy to attack from a ranged position after the hack is complete.
Upload
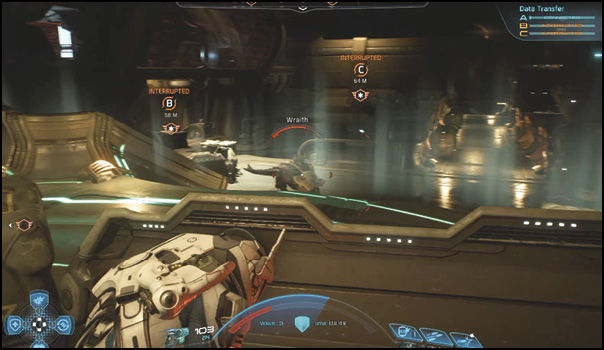
Hold three specific areas to complete the upload before the five-minute timer runs out. Enemies entering the area pause upload progress, and if a player abandons the circle, any progress slowly disappears. Once you’ve completed an upload, that area remains completed until the end of the round. No bonus time is awarded for completing an upload, so you must complete all uploads within the time provided. Each point takes 40 seconds to fully upload without any enemy interaction.
Expanded Strategy
When the objectives appear on the map, quickly look for any two objectives that are close to each other or share a sight line. This will allow you to split into teams of two and quickly capture two objectives with the full firepower of your team supporting each objective. After taking both objectives, move to the third and last objective and take over.
If you spot a single objective far away from the other objectives, you can scout over there. If you attempt this task alone, the majority of the enemies will likely focus on your teammates at the other objectives. This should provide enough time to take a single objective without too much of a fight.
Since objectives do not instantly lose progress, don’t be afraid to temporarily step off the objective to give your teammates an edge in the fight against the enemy waves. Being proactive and taking them out before you get overrun will pay off in the long run and could make the difference between completing the objective or dying a quick death.
Extraction Rescue
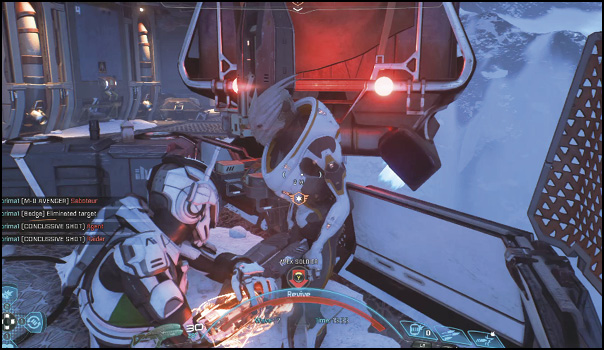
Quickly reach and revive a downed ally to start the timer. Once the ally is revived, a 60-second timer begins, and the ally immediately takes the shortest route to the extraction zone. Defend your ally and stay within the extraction zone to complete the objective. Failing to keep your ally alive or being outside the extraction zone when the timer runs out causes you to fail the wave and miss the extraction out of the level.
Extraction
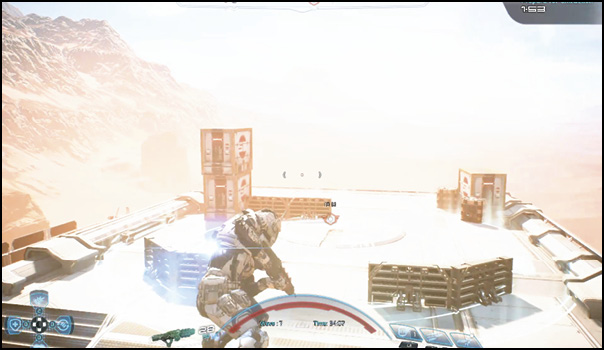
This is the last and final wave—survive and be inside the extraction area when the timer ends to successfully extract! Enemies continuously spawn until you’ve been extracted. Either hold down the extraction point for the full two minutes, or defend another point and make a run for the extraction at the last second. If you’re not in the extraction point when the timer runs out, you won’t be extracted, and your team misses out on the full extraction bonus.
Expanded Strategy
The extraction zone is generally NOT the best place to defend, as they tend to be at the edge of a map. So if for some reason you get overrun, there will be fewer options to retreat. Try to choose a good defensive point that is near the extraction, but not close enough to cause enemies to take cover in the point itself. The tricky part comes in timing the extraction so you end up in the zone with just a few seconds remaining.
When running to the extraction zone, choose routes that have multiple obstacles (preferably larger than the player) to help you avoid the incoming fire from the enemies as they chase you all the way back to the extraction.
You need at least one player alive in the extraction zone to complete the mission. If your team has nobody in the extraction when the timer runs out, you will fail the mission and miss out on the extraction bonus.
Each player on the team is awarded the extraction bonus even if they die during the mission. For example, if just one player extracts, all players are awarded the Single Extraction Bonus!
Difficulty
There are three difficulty levels. Each increase in difficulty grants higher rewards. There is no punishment for failing a mission, aside from missing out on bonus completion XP. This allows you to try out a harder difficulty level without fear of losing anything.

Bronze: Bronze difficulty is suited for characters of any level. Reward levels are moderate.

Silver: Silver is suited for medium-level characters. Reward levels are increased.

Gold: Gold difficulty is suited for high-level characters. Reward levels are maximized.
You gain XP faster by completing entire missions at the highest difficulty you can handle, so if you aren’t ready for increased difficulty, back off and play a few more rounds at a lower difficulty to level up your character. Boosters help you get through harder difficulty levels earlier, allowing you to buff your weapon and power damage as well as your shield strength.