Mass Effect: Andromeda Collector's Edition Guide Priority Ops
Mission 4: Hunting the Archon
Evfra, the leader of the angaran Resistance, reluctantly reveals that one of his own commanding officers helped the kett abduct Moshae Sjefa, though to what end is a mystery. Although disturbing, it may be the only lead to finding the Archon. The traitor, Vehn Terev, is confirmed to be in Kadara, home of Nexus exiles.
| Action Checklist | |
|---|---|
| 1. | (Optional) Explore Aya, undertake side quests |
| 2. | (Optional) Revisit Eos (now cleared of radiation) |
| 3. | Meet “Shena” at Kralla’s Song in Kadara Port |
| 4. | Interrogate Vehn Terev |
| 5. | Find the kett transponder on Kadara |
Deal with Vehn Terev
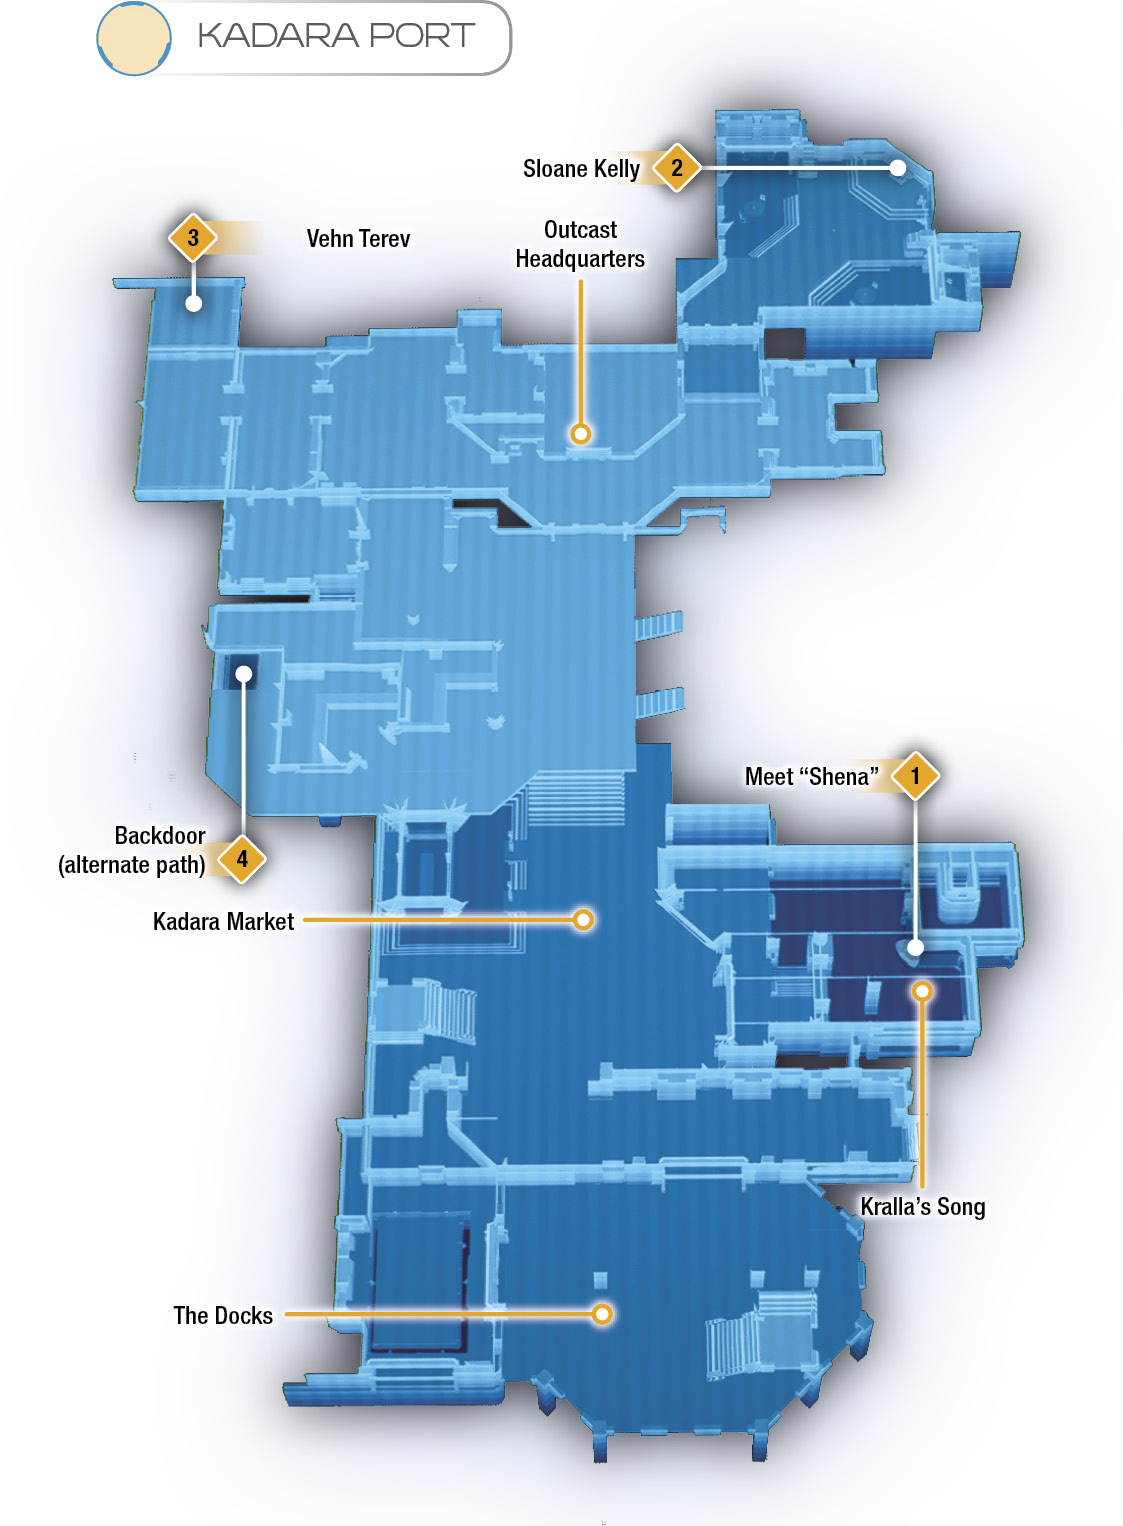
Set course to Kadara in the Govorkam system to start your hunt for Vehn Terev. Find and meet your contact, code name “Shena,” at a bar called Kralla’s Song. Reyes Vidal, the Resistance informant, reveals that the leader of the Outcasts has detained Vehn and is waiting to execute him.
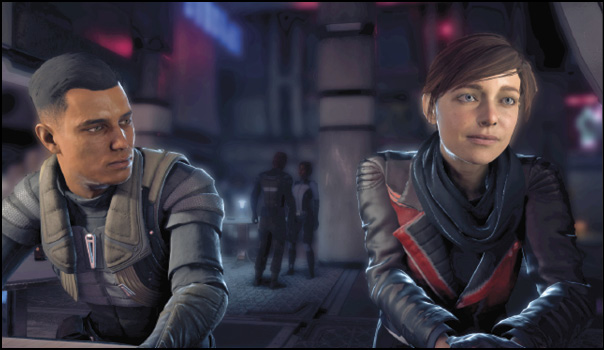
You need to convince this leader to help you. Visit Sloane Kelly at the Outcast Headquarters in the northeast corner of Kadara Port. A key choice is presented here when she asks you why you need to speak to Vehn. Although both generally result in the same outcome, they also determine Vehn’s ultimate fate:
Key Choice: The Traitor on Kadara Porta) Be honest with her and then refuse to let her kill Vehn -OR- simply say, “None of your business” (with an optional aggressive Narrative Action). Result: If you “fail” in convincing Sloane, you can meet with Reyes afterward, who gives you a back door to Vehn’s cell (behind the Armor Merchant’s shop). Vehn is then transferred from the Outcasts to the angaran Resistance. b) Be honest with her and agree to Vehn’s execution. Result: If you succeed and receive Sloane’s permission to question Vehn, you meet him directly, but he’s then scheduled to be executed by the Outcasts. |
Either way, Vehn gives up a lead: The kett contacted him through a transponder, and it can be used to triangulate the Archon’s location. The transponder is somewhere on Kadara, so it’s time to do some UNC exploration.
Find the Kett Transponder
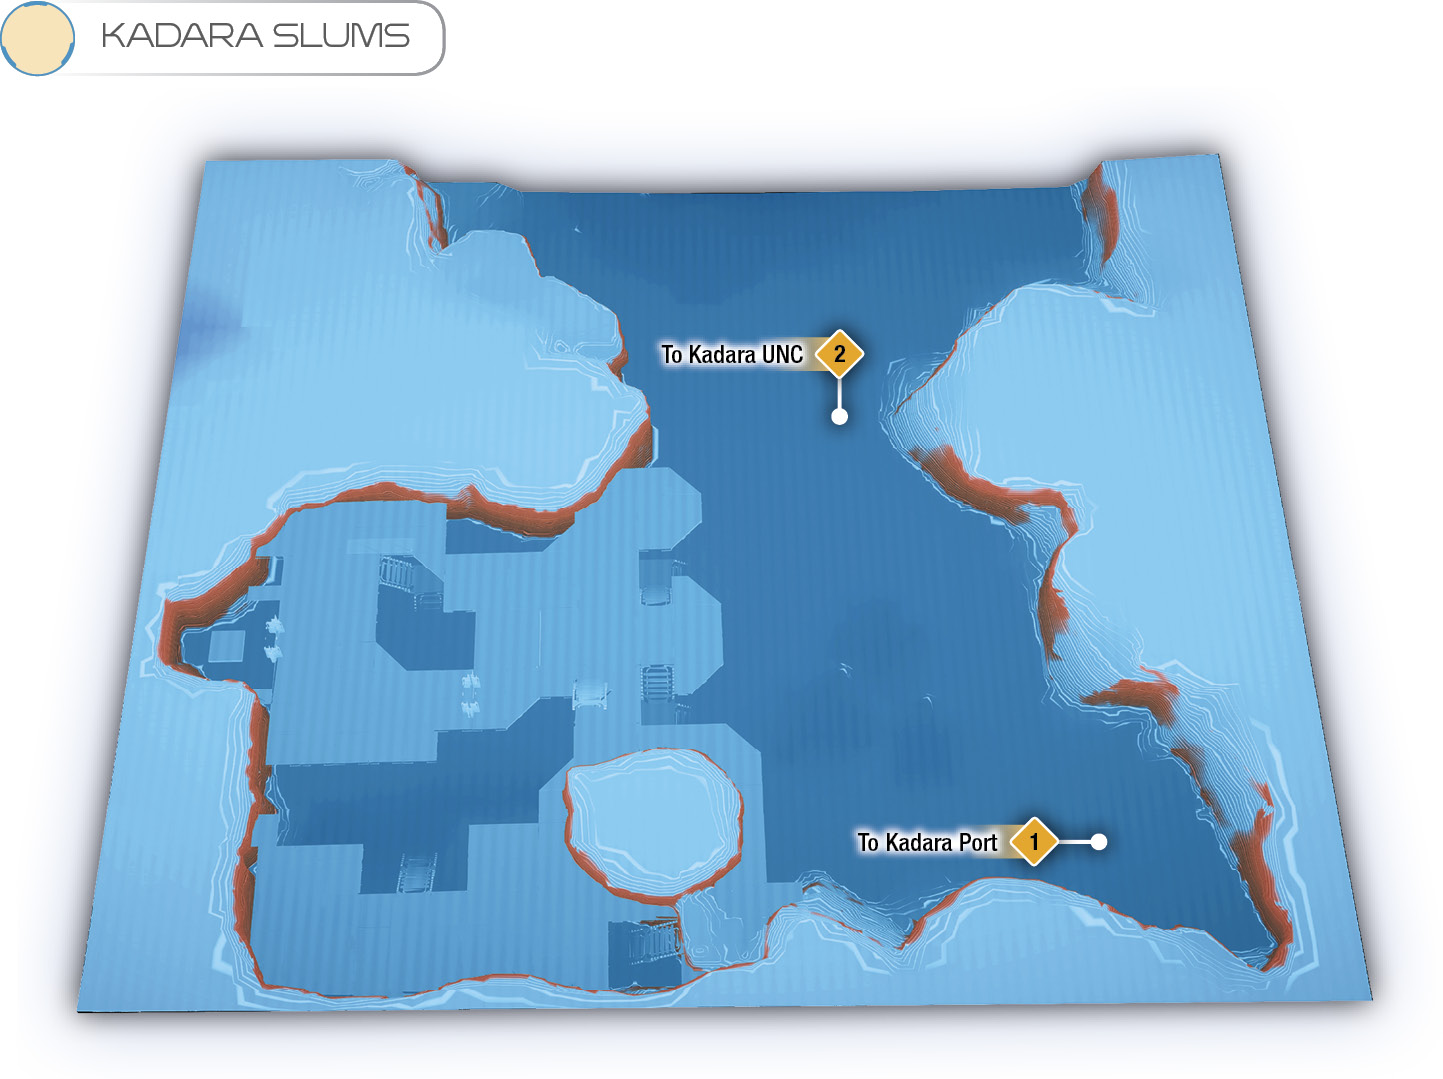
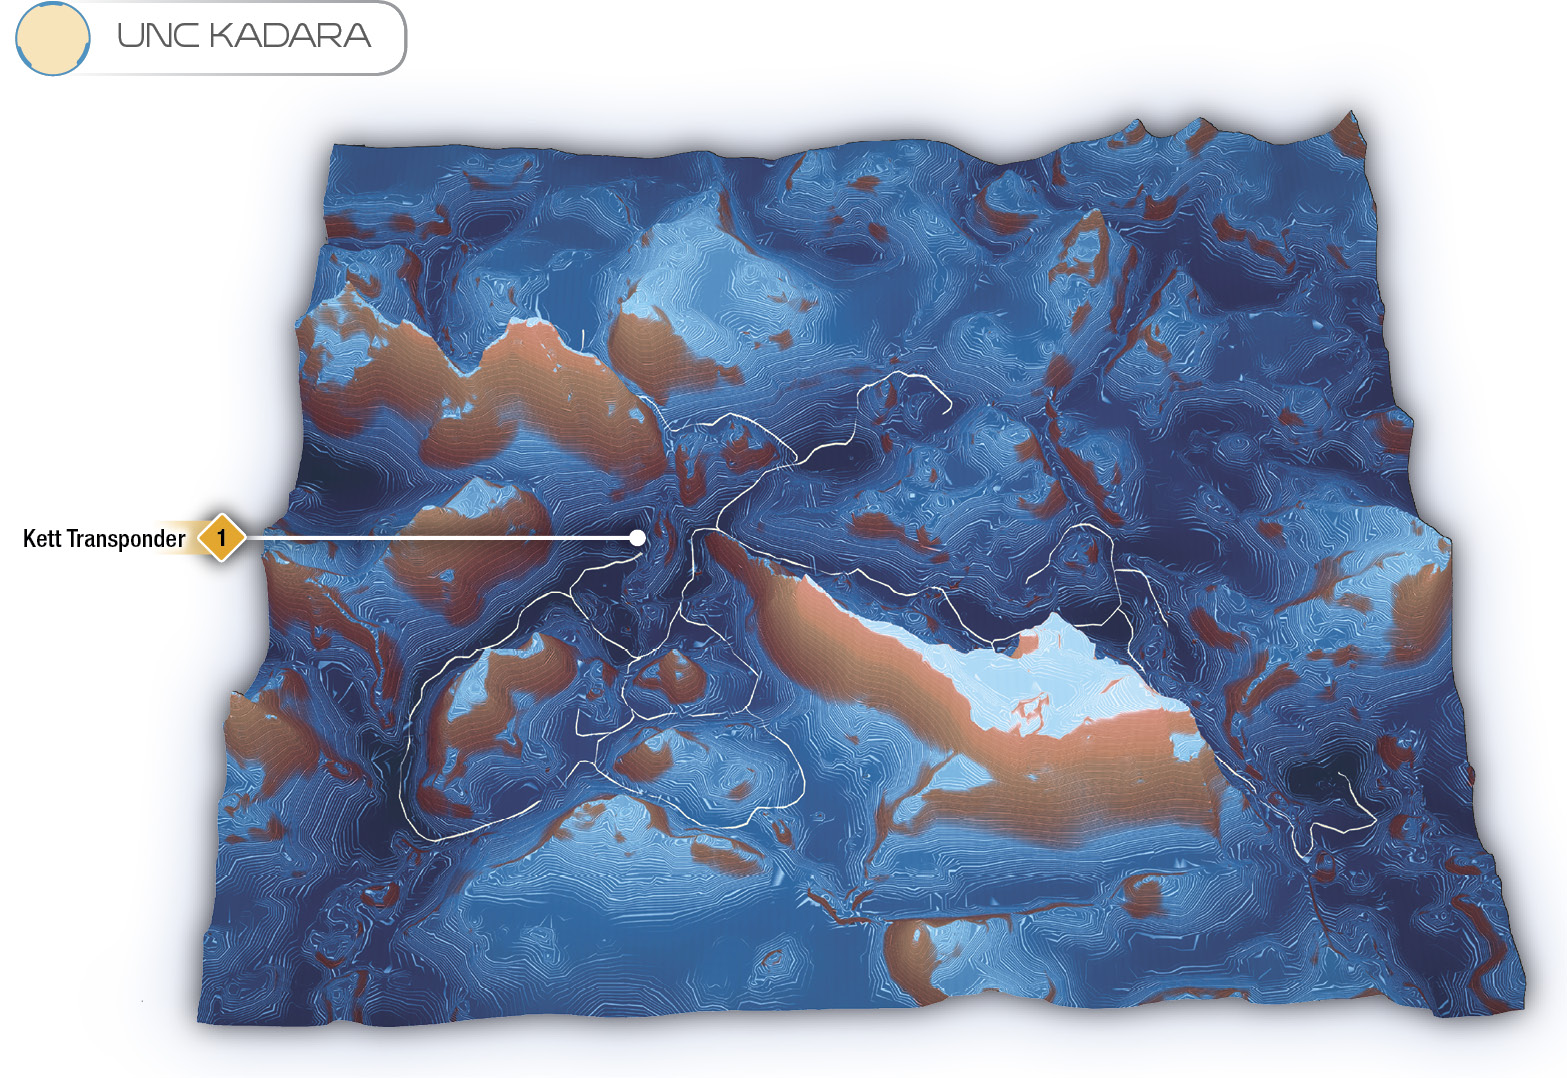
You can now exit Kadara Port to explore Kadara UNC by taking the lift from the docking area (south side). The lift transports you to the Kadara Slums, an even more degenerate side of Kadara. You can pick up side quests here, and you can meet up with Reyes Vidal again to start “A People Divided.” Leave to explore the rest of planet through the northeast building (or jump the fence).
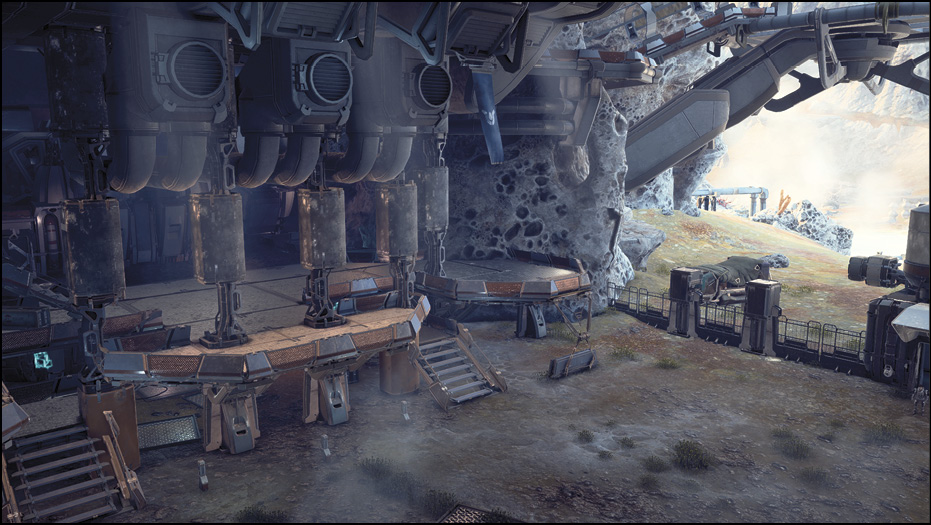
Call down the forward station nearby, then summon the Nomad using the terminal on the forward station. SAM debriefs you concerning Kadara’s environmental situation. Drive the Nomad to the navpoint for “Hunting the Archon,” located to the east in Sulfur Springs. Either use the roads marked on the map, or attempt to drive over the steep mountain with your all-wheel-drive mode. There’s also a merchant named Thrasia in Varren’s Scalp (you should see it on the way east), with a quest for you and a shop that sells unique Nomad paint jobs and a Tempest Trophy model.
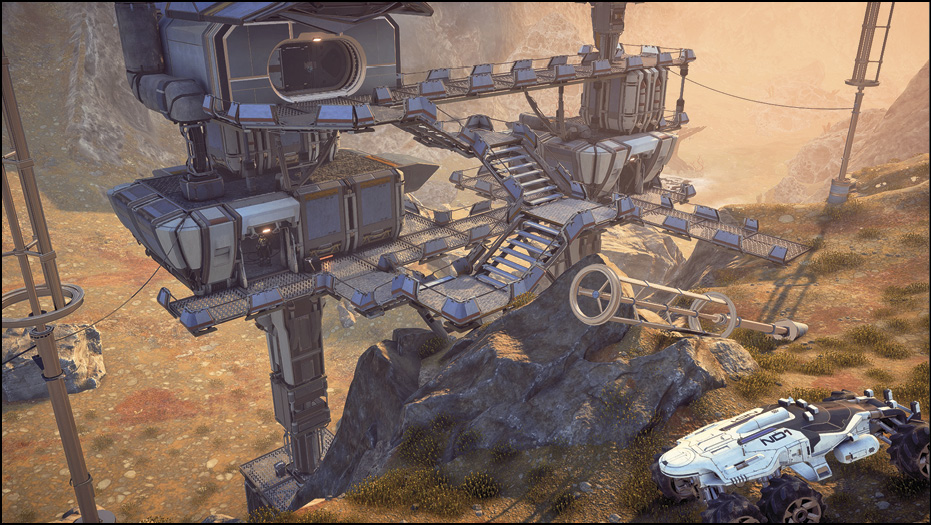
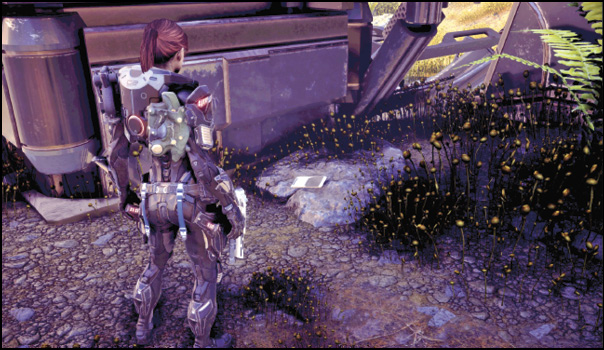
Once you’re at your destination in Sulfur Springs, look for a transponder under the building to the northwest.
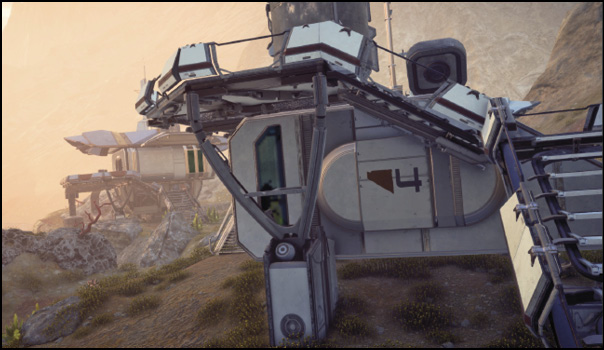
Pick up the transponder to complete this portion of the mission. While you’re here, you can complete objectives for “A People Divided” in another building close by. As far as your Priority Ops mission goes, that’s all there is to do on Kadara. If you want to stay on Kadara to help out the locals, continue with “A People Divided.” See the Secondary Ops chapter for details.
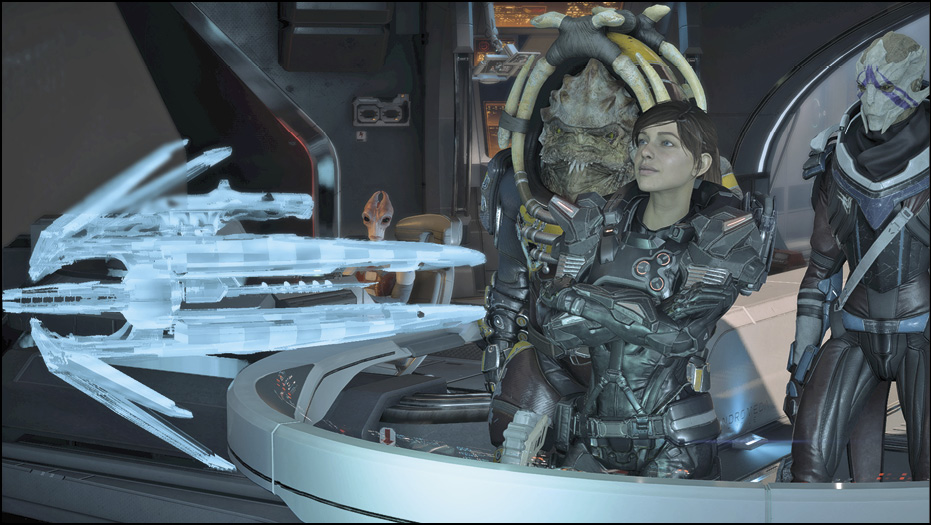
When you’re ready, return to the Tempest. A cutscene triggers, with Drack calling an emergency meeting. Apparently, there’s krogan unrest on the planet Elaaden. The squad debate whether problems on Elaaden warrant your immediate attention (you’re in the middle of hunting the Archon, after all). Two new Priority Ops missions are added to the journal: “H-047C: A New World” and “Elaaden: A New World.” You complete these “missions” just by traveling to the associated locations, so completion isn’t exactly imperative.

The Salarian Ark
Speak to Gil (if you haven’t already). He triangulates the location of a kett flagship, the Verakan, revealing the Tafeno system. Set a course for it, then take flight to the flagship, which is “connected” to Ark Paarchero, the salarian ark. That’s one mystery solved. Time to find out what exactly happened inside. Prepare to deploy. You can take any two squadmates with you on this mission, but it’s recommended that you’re fully prepared with consumables and your best equipment. Expect to meet heavy kett resistance. Additionally, you can take Drack for some unique dialogue near the end of the operation.
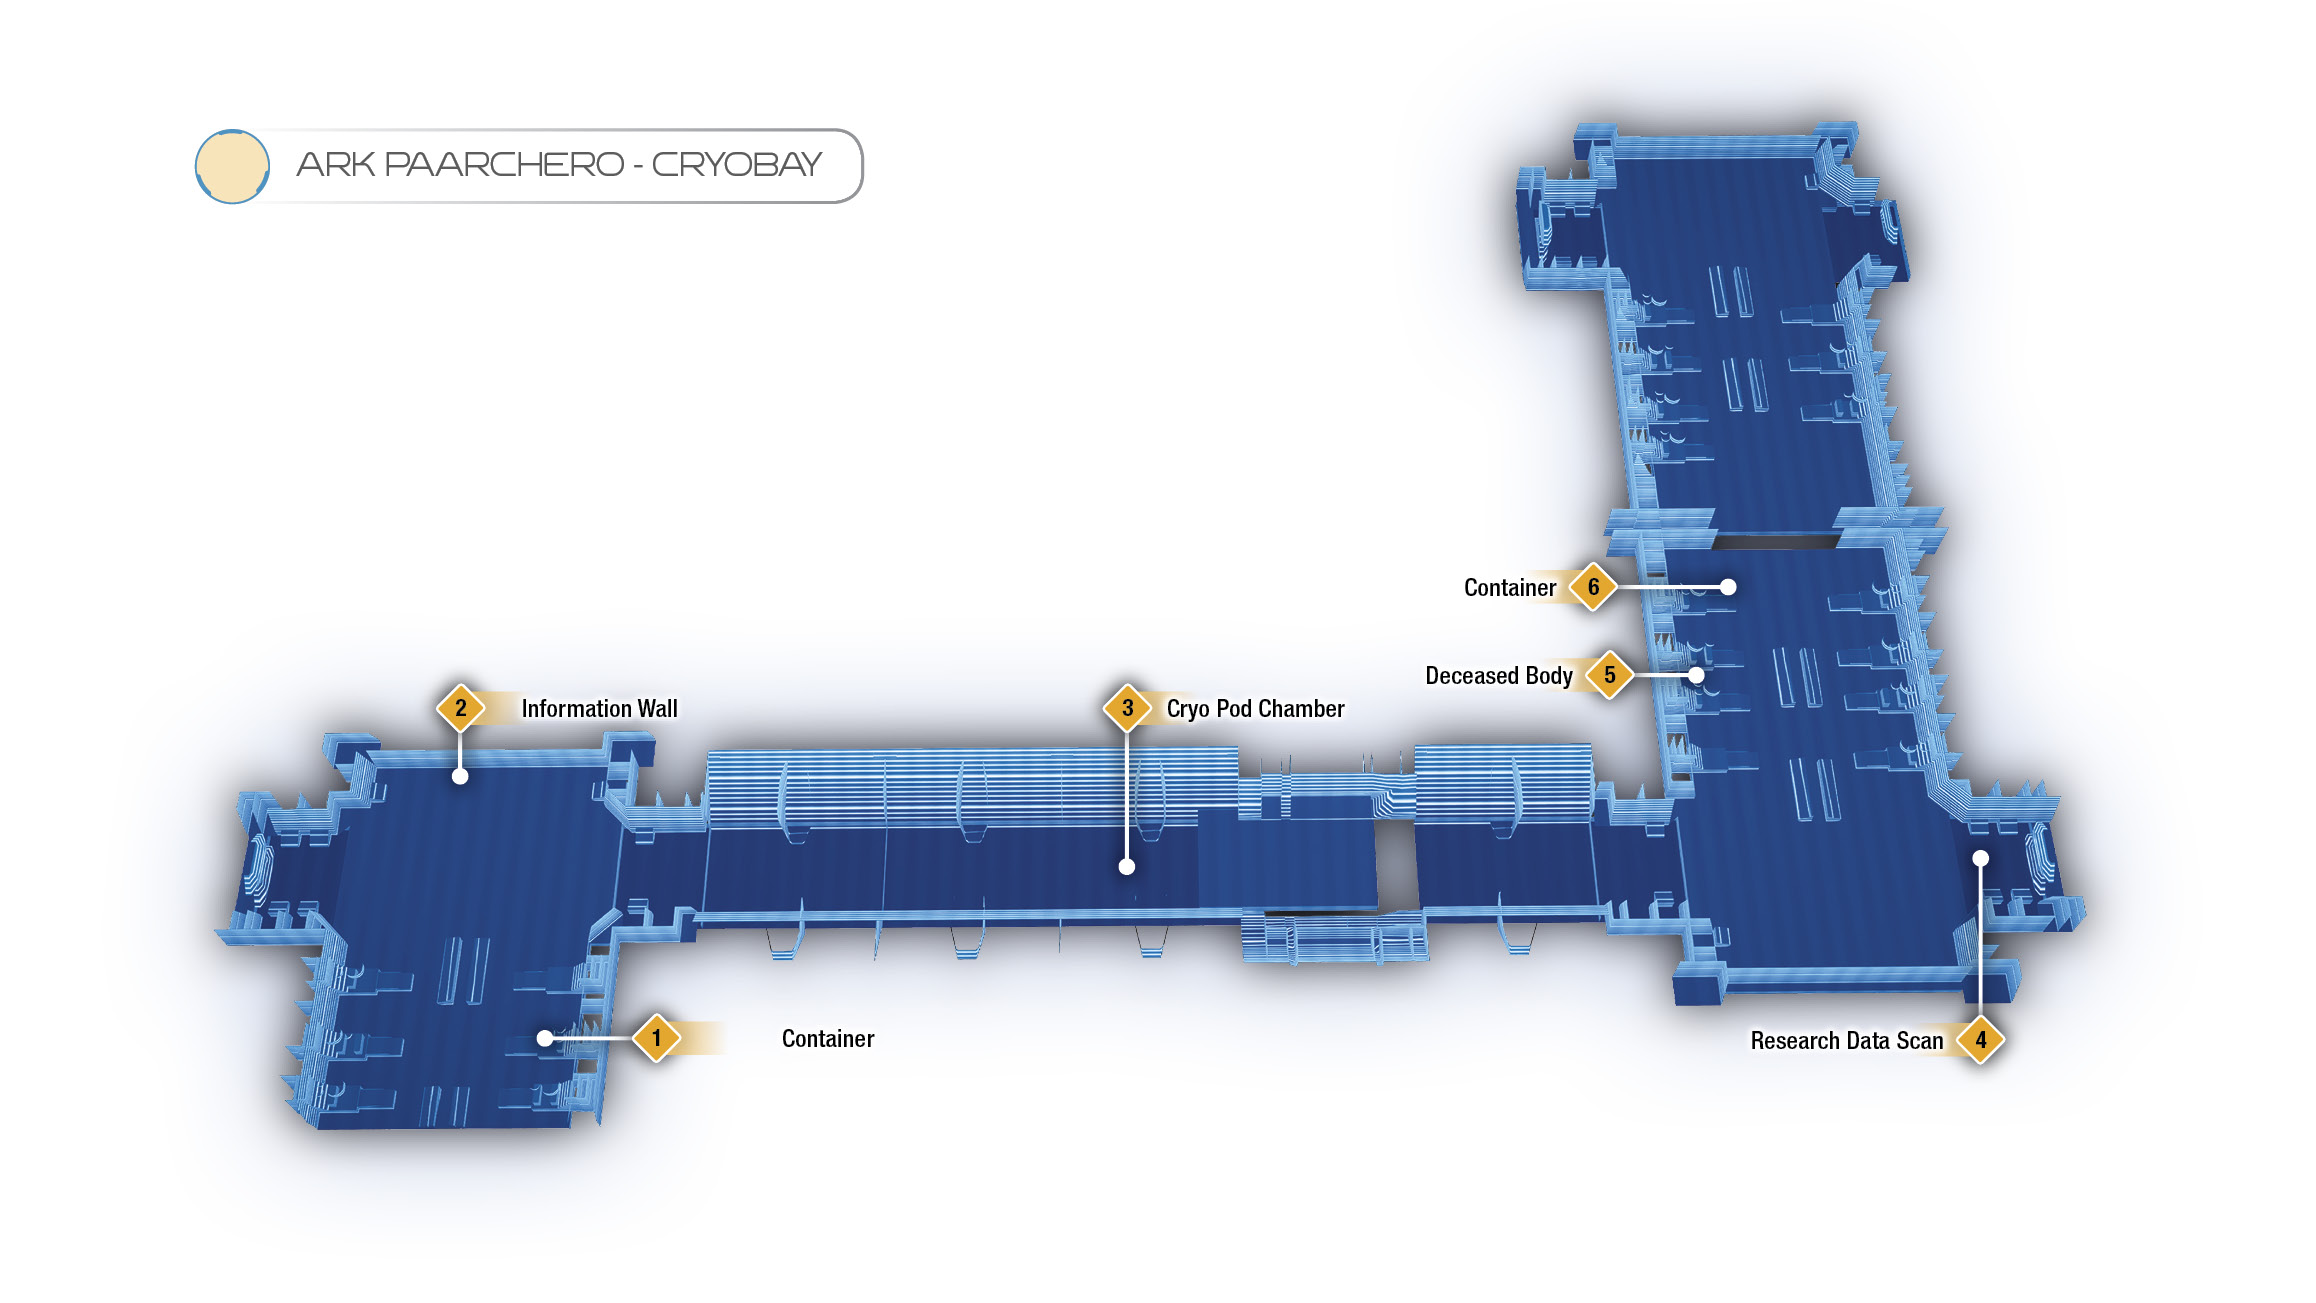
You arrive on the ark’s cryobay (it should look familiar to you). Read the datapad nearby for extra information regarding the ark’s predicament. Search the container just east of the datapad, then use the console by the Information Wall to the north.
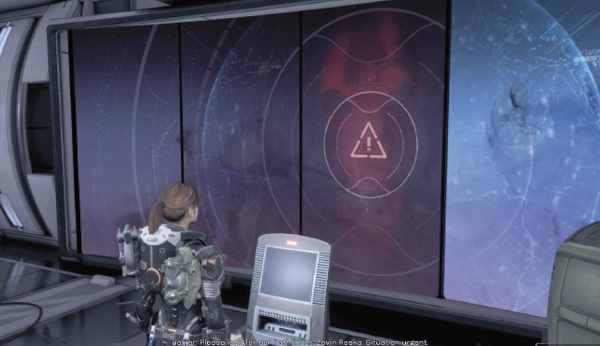
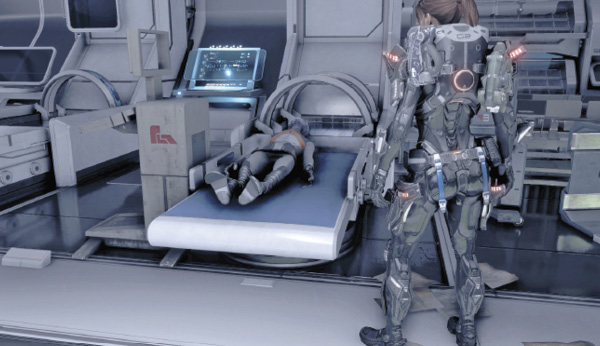
Salarian ingenuity: They’ve encrypted a distress message into the panel. You’re to find the salarian Pathfinder. Head into and through the cryo pod chamber. Scan the kett tech and proceed through to the Medbay at the other end. Near the entrance to the medbay is an Adapted Initiative Core Tech you scan for 100 Milky Way Research Data. Then find a salarian body on one of the beds on the west side of the room. Scan the body, then use the terminal next to the bed.
Loot the container up ahead and then access the medical terminal at the other end of the room to the south. It seems the salarian Pathfinder’s been playing dead. Look for her in the cryo pod chamber. Scan the cryo pods marked with your navpoint, then access the cryo pod control console nearby to revive Pathfinder Raeka from stasis.
It’s time to infiltrate the kett flagship through the transfer tether connected to the Paarchero.
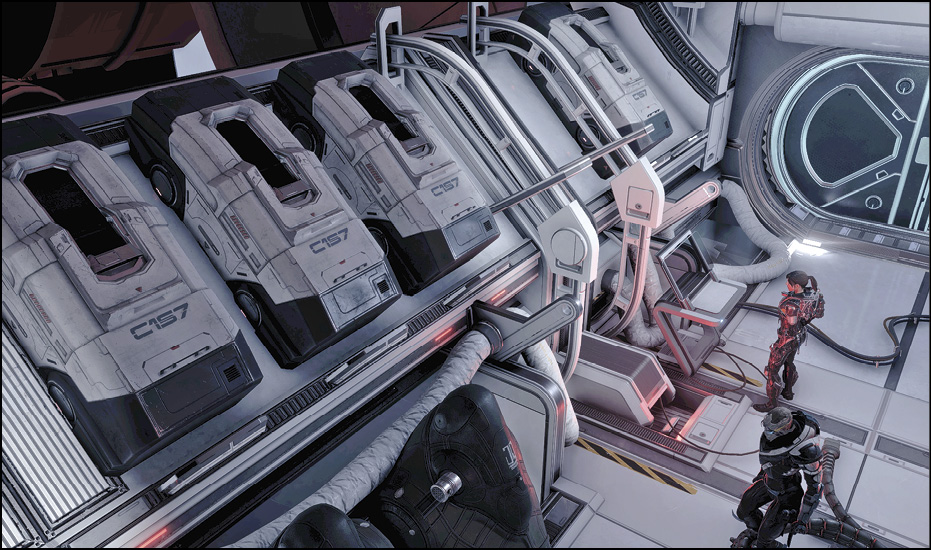
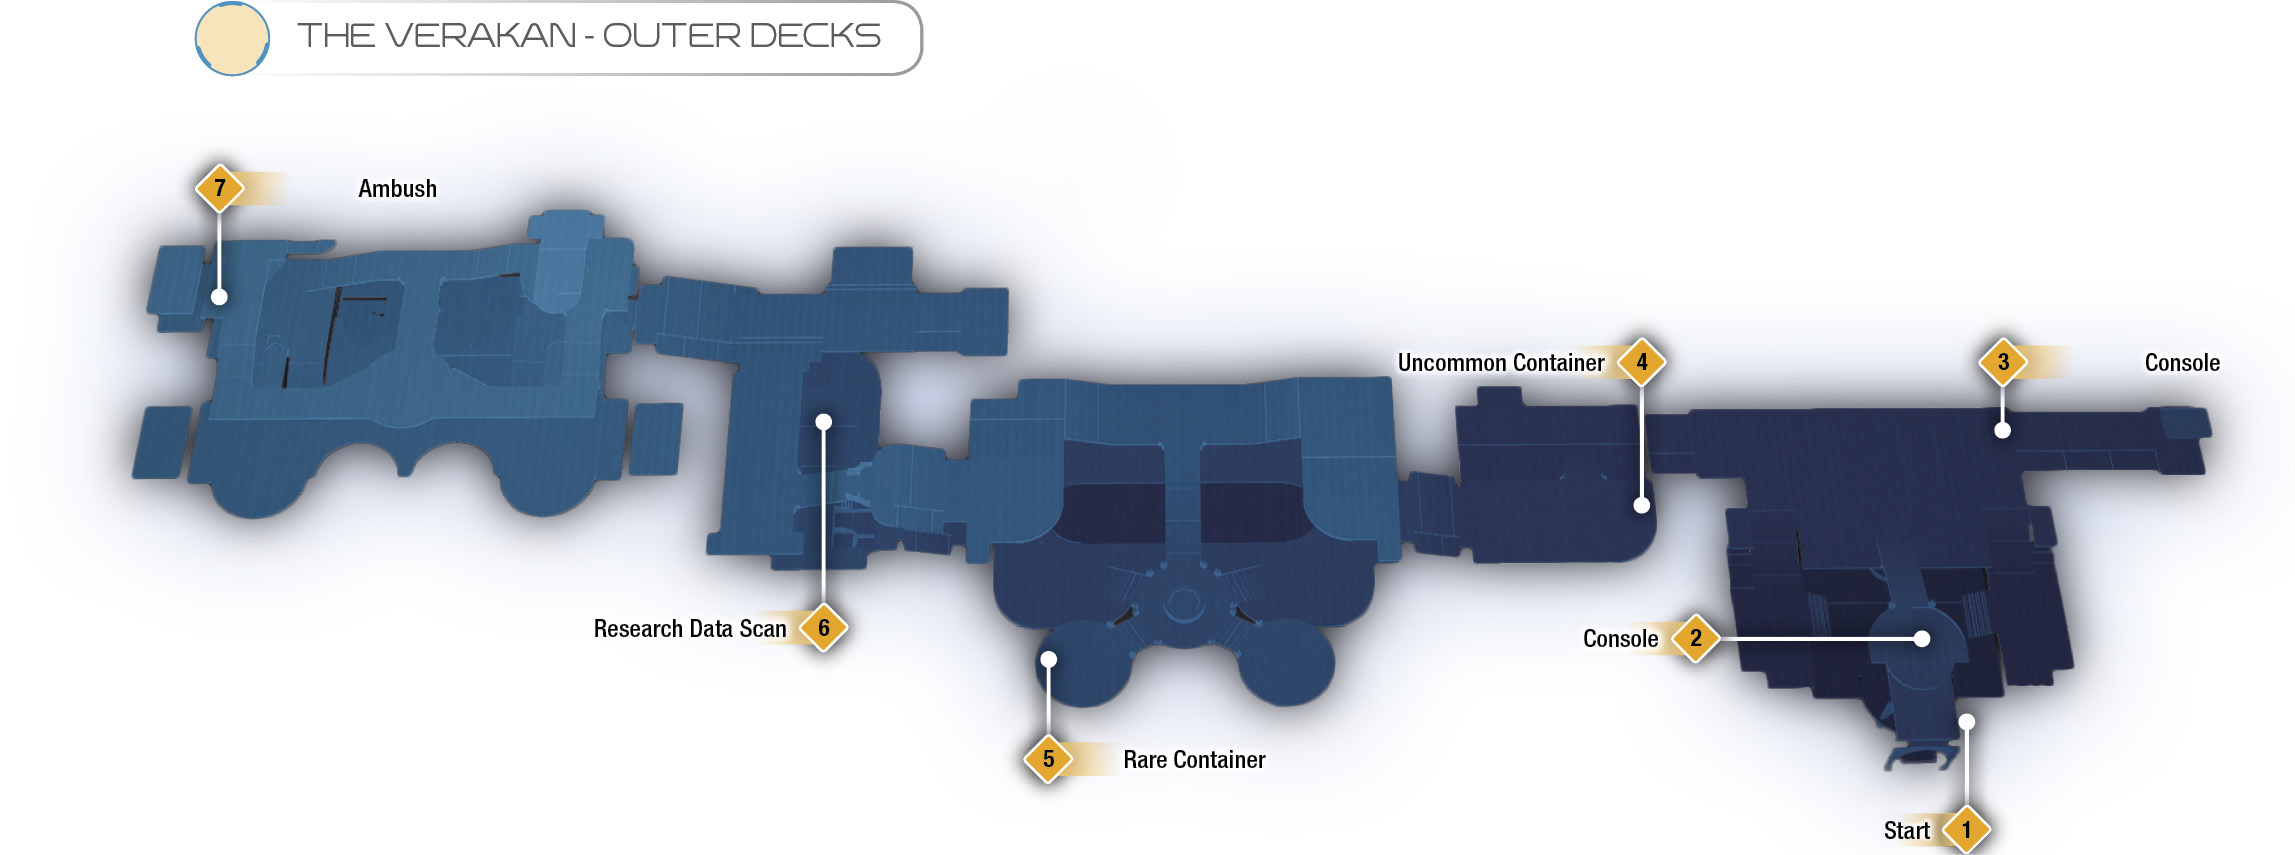
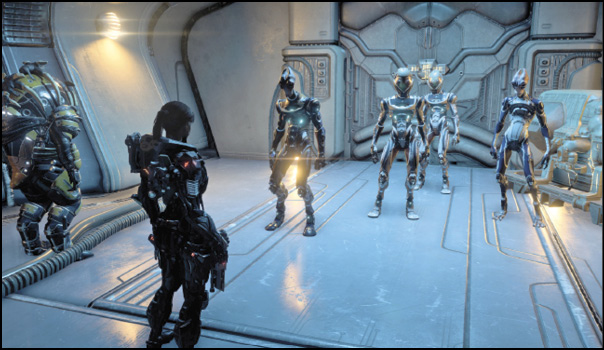
The kett are ready for your arrival; they attack almost as soon as you enter. The first wave of enemies consists of several Chosen kett, followed by Destined and a few more Chosen in a second wave. Eliminate the threat, then activate the console on the second level to patch SAM into the ship’s systems. With SAM in the systems, unlock a side door for the salarian Pathfinder—she’ll assist with a subterfuge operation. Loot any containers in the area, then continue through the west door.
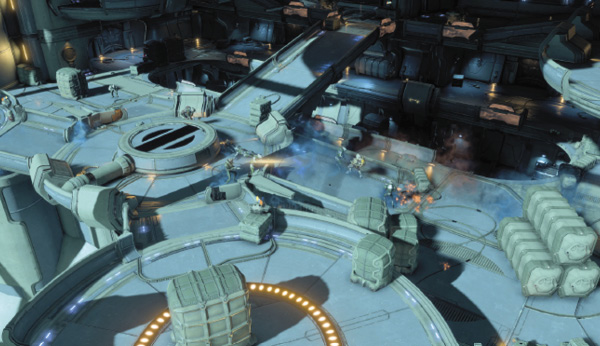
The hangar area is filled with kett troops. This multi-level war zone includes a combination of Destined, Chosen, and Anointed kett soldiers. No Wraiths here, so stay in cover. Jump up and down levels if you need to retreat to restore shields. The Anointed, as always, should be your number one priority, followed by Chosen, and then the Destined. Hopefully, you have a strong combination of tech and biotic powers by now (Overload and Pull, for example).
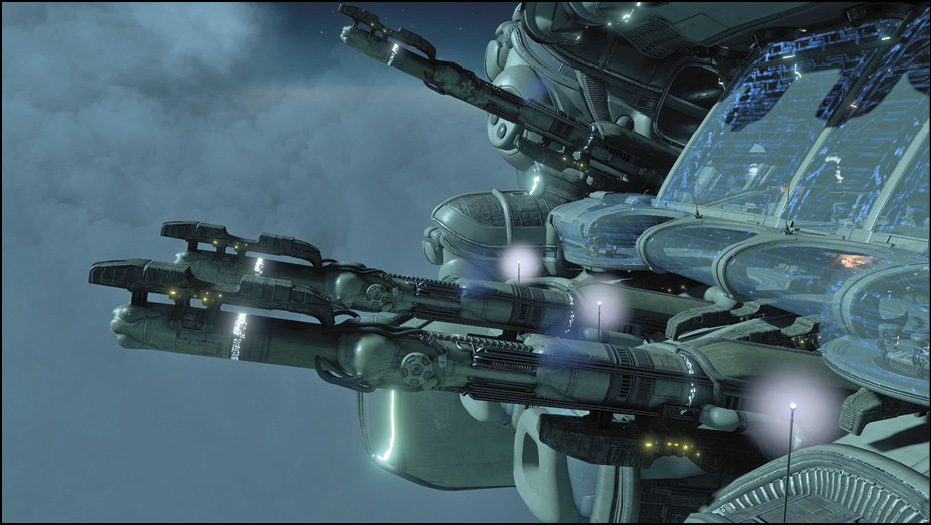
Continue west into the outer decks—nothing much here aside from a scannable kett encryption tech in the lower level. Scan it, then jump up to the second level and go through the door to the north. Make a left through another door, traverse a hallway, and enter the gun battery area. Travel west through the area, all the way to the door at the other end. It’s mysteriously quiet here…
The kett love their ambushes—Destined, Anointed, and Chosen soldiers arrive in search of you. You can get the jump on them if you’re careful. Like the hangar, this large, open arena provides plenty of space for you to maneuver, so use the various levels to your advantage.
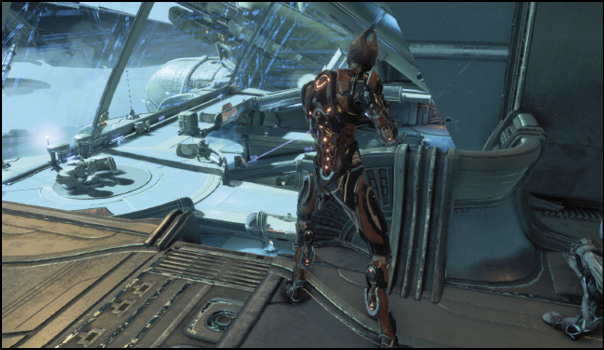
After the initial waves, the salarian Pathfinder’s ragtag crew show up on a platform up above, providing overwatch cover. However, the kett begin to deploy their Wraiths. Prioritize them accordingly.
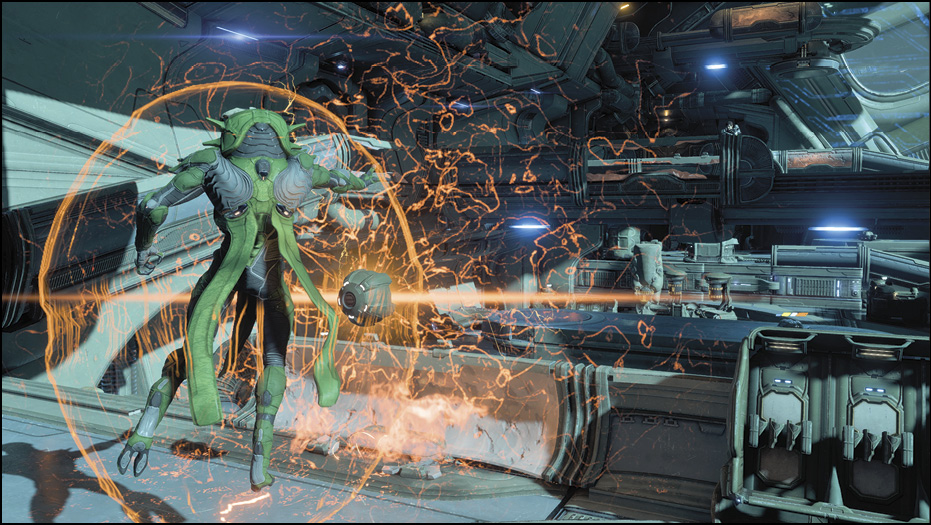
After a certain period of time, the salarians are forced to retreat. The encounter ramps up as an Ascendant joins the fray. Take out all weaker enemies, then focus your efforts on the Ascendant. This encounter is similar to the one with the Cardinal, except this Ascendant does not summon waves of kett. Simply destroy its orb to reveal its vulnerable body, and then attack with headshots or power combos.
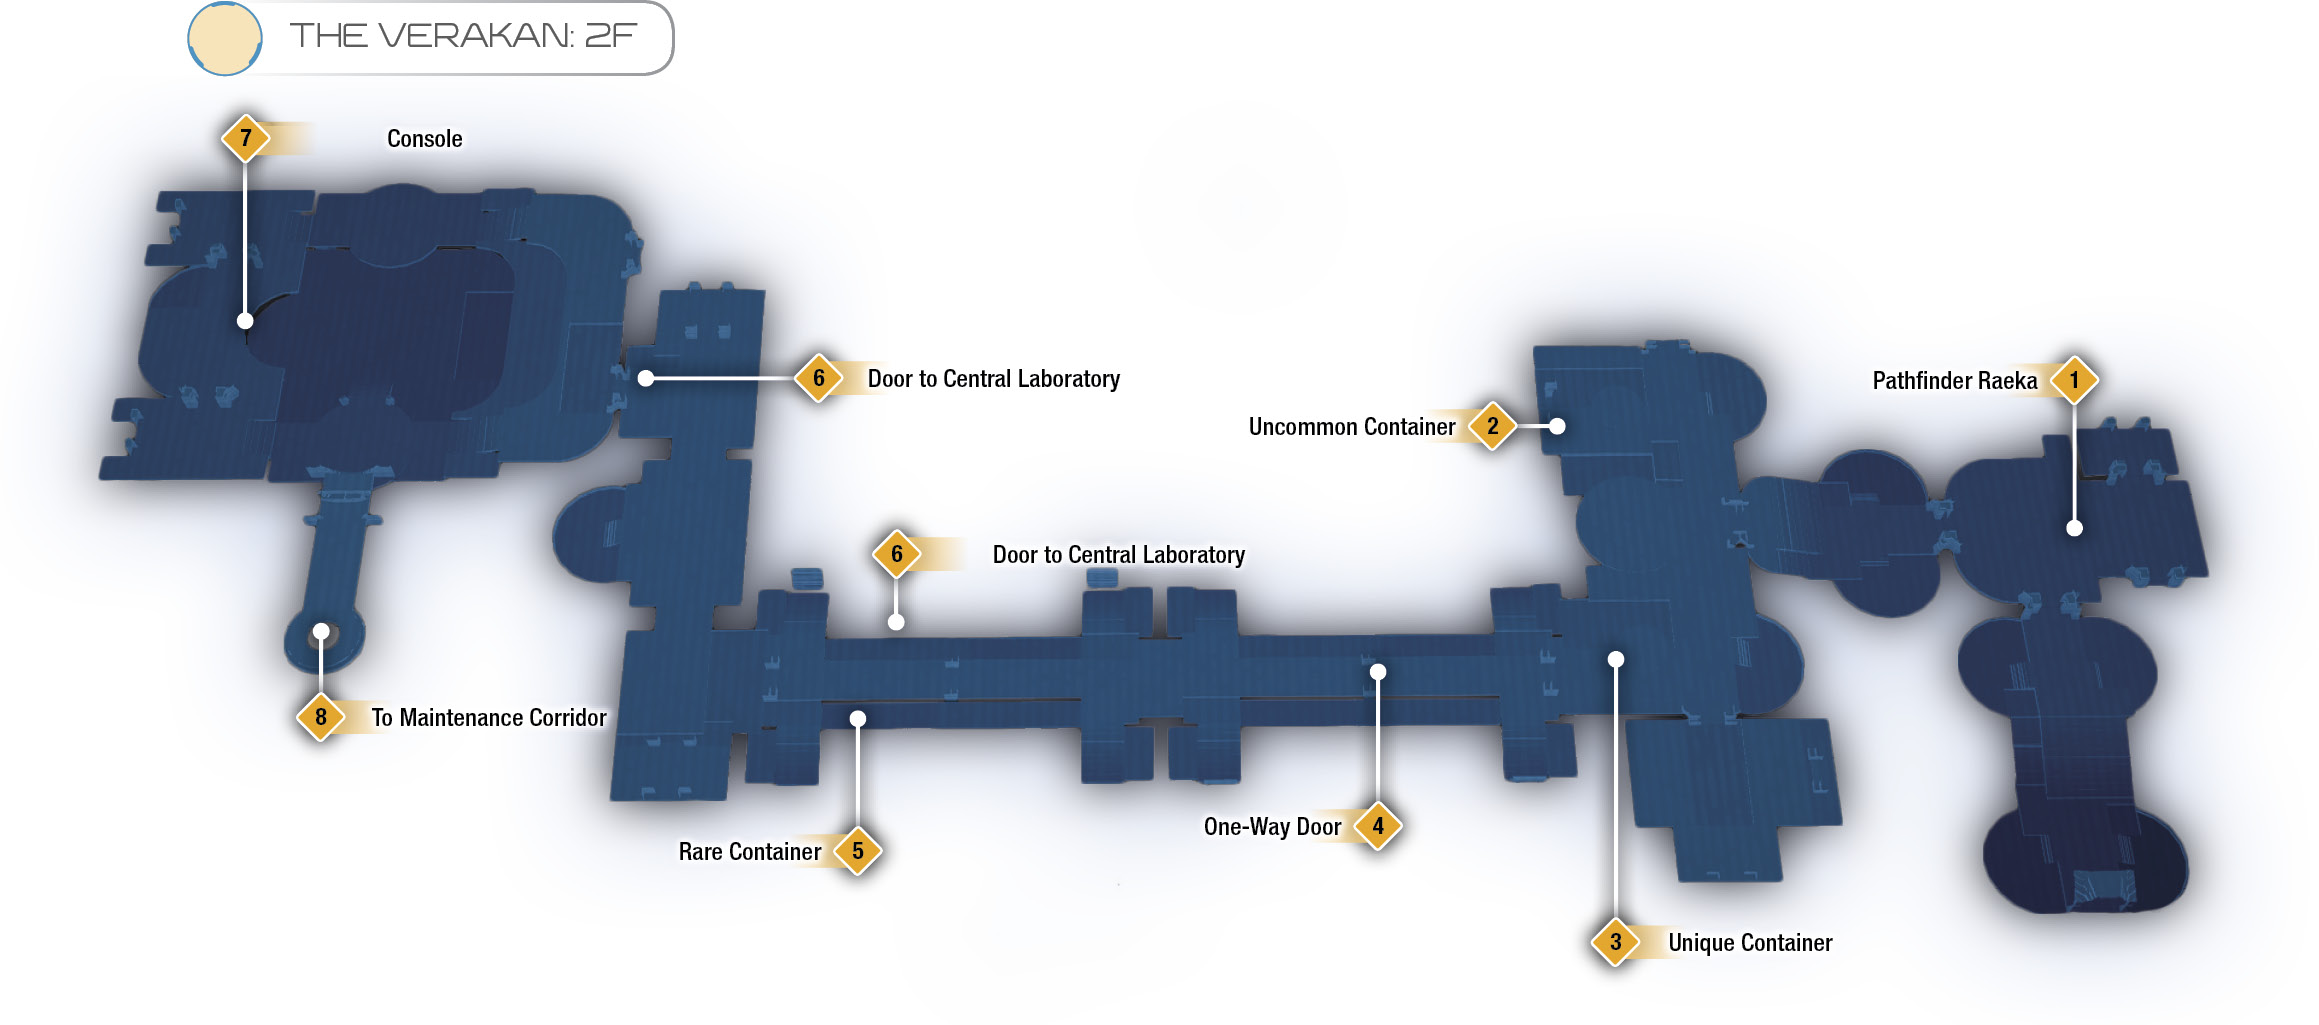
Finish off the Ascendant and loot everything in the area before heading out north from the upper level and into the inner decks of the Verakan. Up ahead, in a dark room, you rendezvous with Pathfinder Raeka. Have SAM help her override a door by interfacing with the console nearby. Continue through the door to the west. Along the way are a couple of containers to search. Take the kett weaponry, then proceed south—the door is locked off by the kett. SAM directs you to the west door, but it’s also locked. Scan the nearby panel, then use the console and answer, “We’re extra security,” to translate your English to kett.
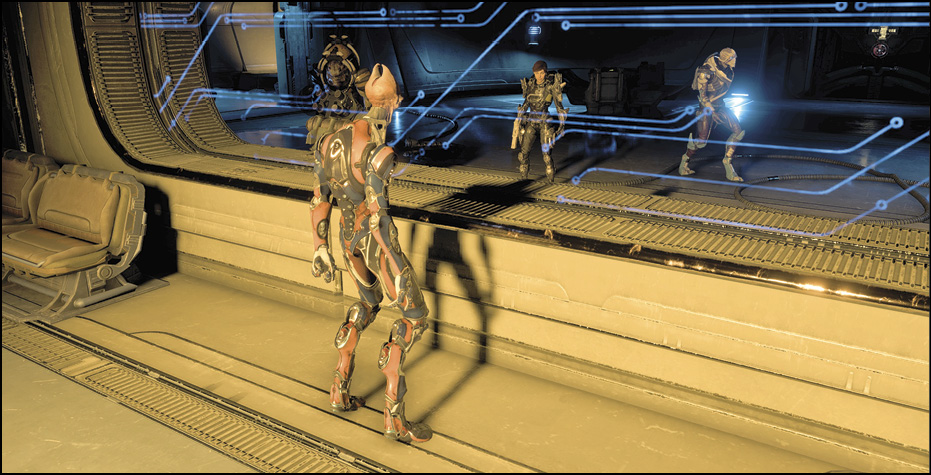
Enter the laboratory. There are several enemies in the area. When you approach, they retreat from the lab (to set up an ambush, of course). Explore Laboratory 16; activate various consoles to toggle nearby machinery. Get ready for an ambush as you proceed west. In the next half of the lab, jump down to the lower level near the south end. Then continue west and loot the rare container. Up ahead you can witness the kett performing experiments.
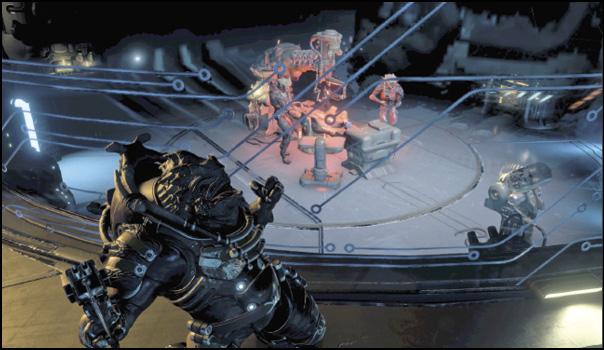
Nothing else you can do here, so leave through the west exit. Chosen and Anointed kett in this hallway set up a defensive position while sending their Wraiths after you. Put down the Wraiths promptly, then take out the rest of the kett within the safety of cover. Exit through the northwest door to trigger a cutscene in the central laboratory.
Thanks to SAM (for killing and reviving you), you break free from the Archon’s detainment device. In this lab, you can listen to audio recordings of the Archon and Primus interrogating their prisoners. Your main objective is to get into the control room in the west, where you can listen to the Archon’s summaries of Milky Way species he’s encountered and captured. Activate the console, revealing a hatchway exit south of the central laboratory.
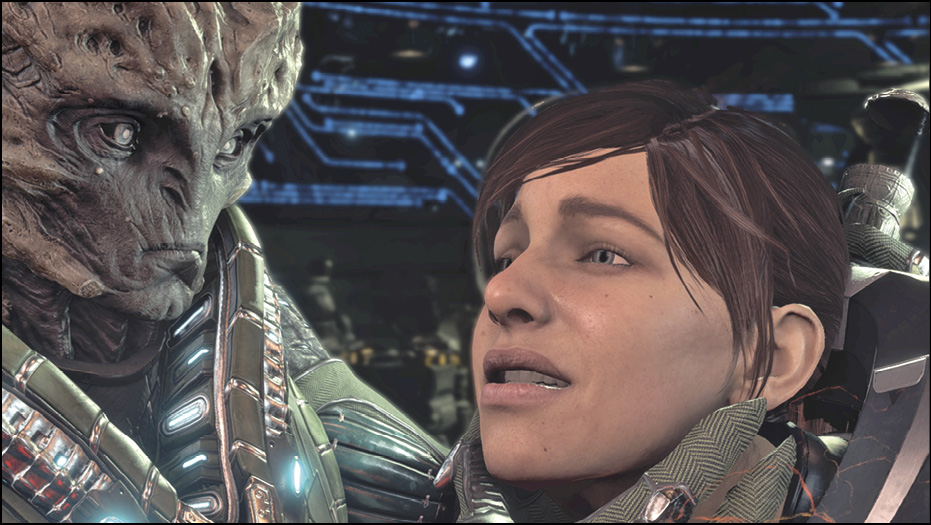
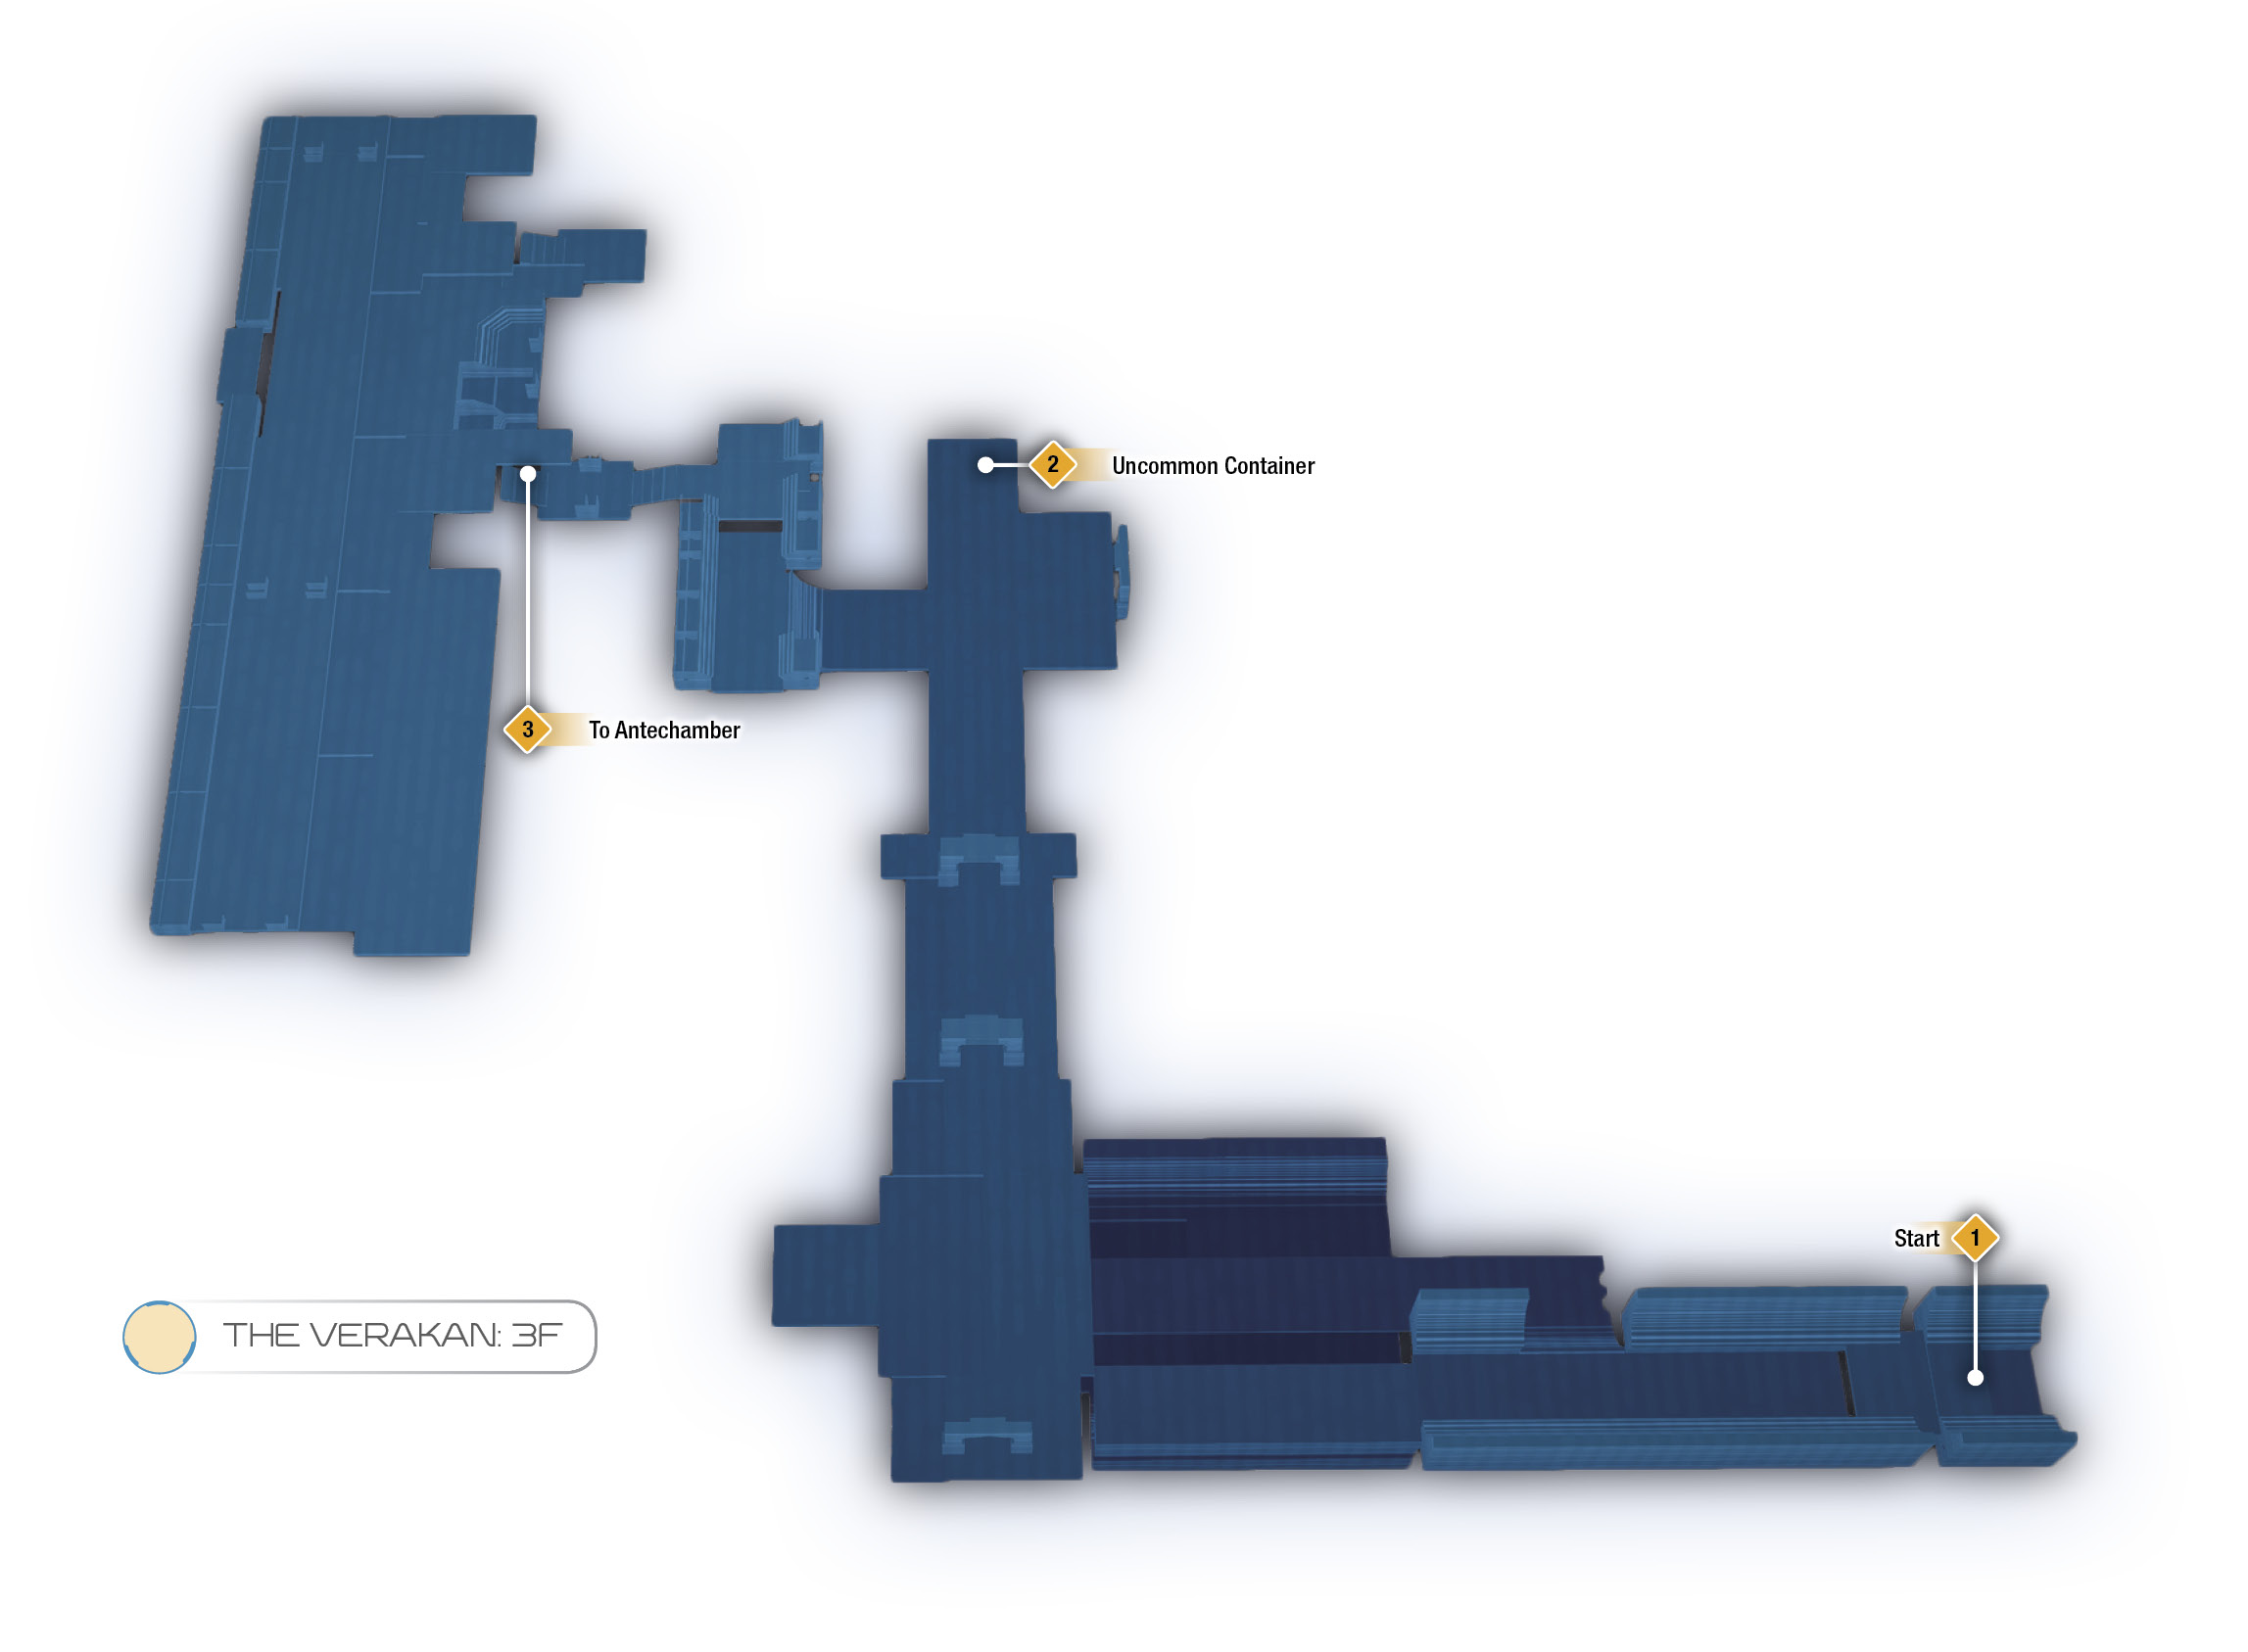
Jump down into the Maintenance Corridor and make your way through while searching the kett’s common containers for items. At the north end, a Wraith awaits. Put it down and search the large container behind it, before proceeding west. Jump up and through an opening to your right, then take a left, which leads into the Antechamber. Open the west door to trigger a cutscene where you discover krogan specimens undergoing exaltation experimentation.
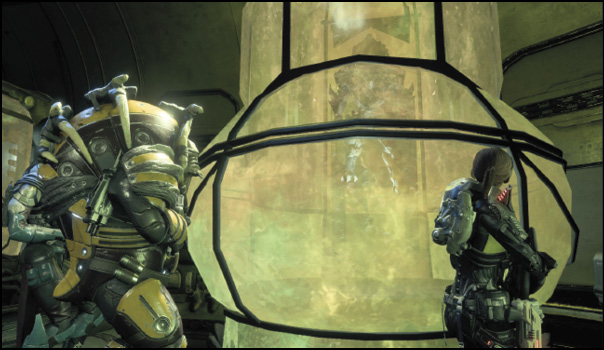
You finally arrive at the Archon’s chamber. It’s decorated with Remnant tech, which you can scan for the corresponding Research Data.
At the end of the room is a Remnant relic. Scan it, then examine it. A Behemoth is sent into the chamber.
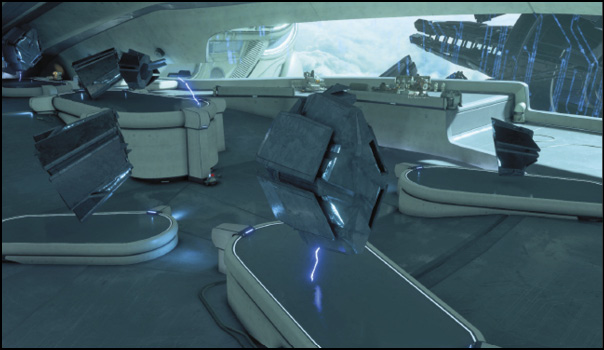
Boss Encounter—Behemoth
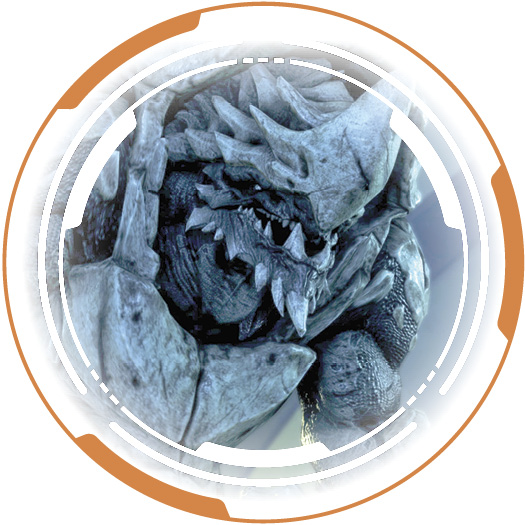
This boss is an exalted krogan. The Behemoth is equipped with an electrical-field-generating firearm and has a high amount of armored health. Its gun’s projectile is unique in that, upon reaching its destination, it explodes into a persistent damage field; anything it touches takes constant damage. The Behemoth can also charge into melee range with a devastating shoulder attack. As it has armored health, it’s not susceptible to most biotic effects, but it’s weak to fire and ice effects.
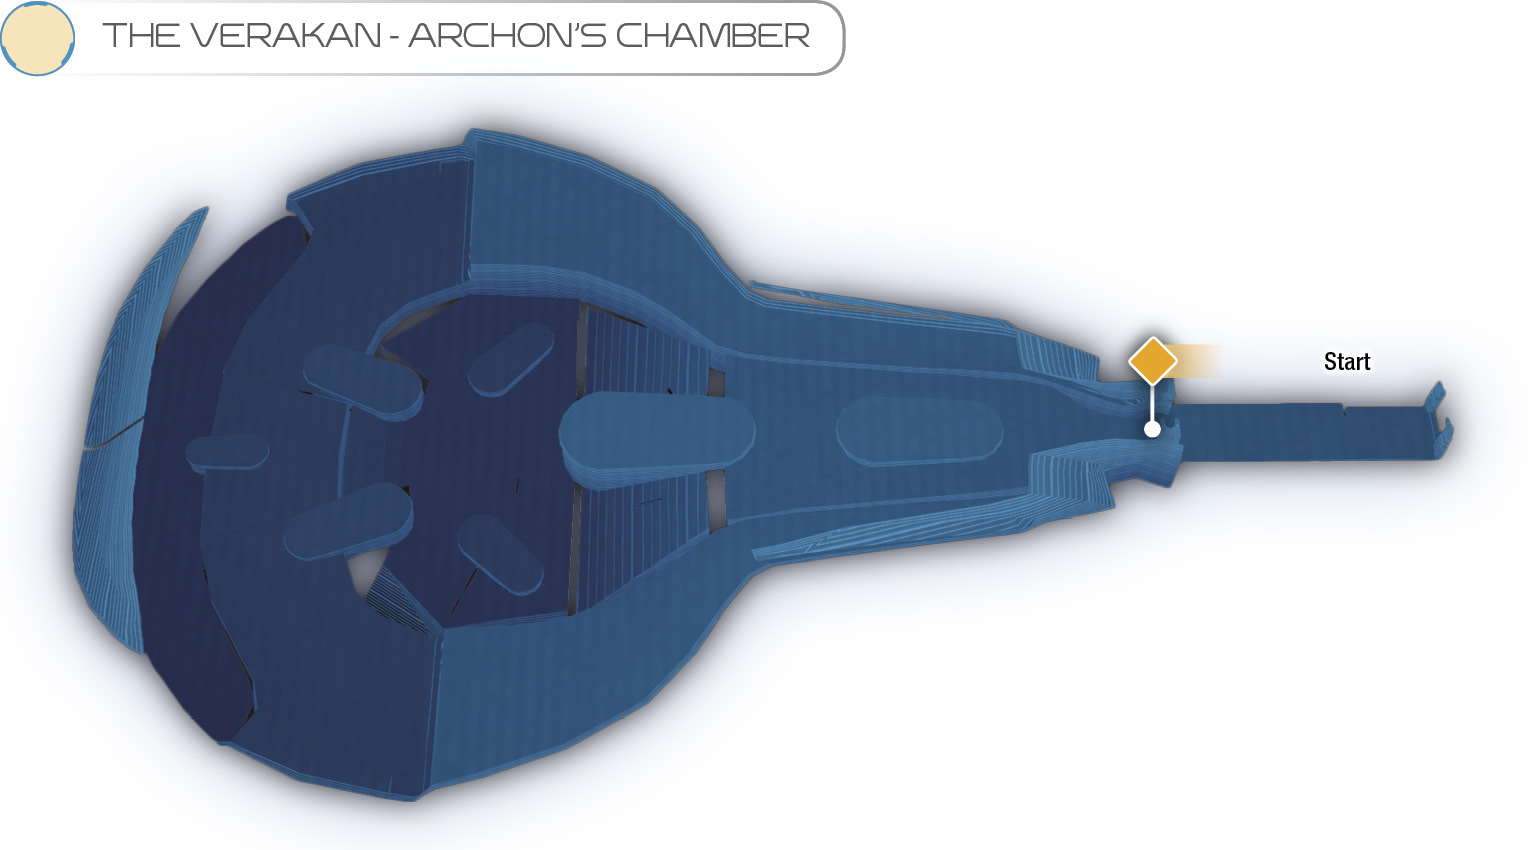
Watch out for the electrical spheres generated by its gun. Whenever your powers are recharging, shoot at its head (weak point). You can also “kneecap” the Behemoth briefly by firing at its legs and slowing it down.
Once you’ve whittled the Behemoth’s health down to around 60%, a wave of Chosen kett swarm into the chamber. With the help of your squadmates, focus fire on the kett, then start working on the Behemoth again.
At 30% health, the Behemoth goes into a berserked rage, regaining around 30% of its health and gaining immunity to freeze and stun effects. Additionally, another wave of kett arrives. This group presents a much more difficult challenge, consisting of a combination of Destined and Chosen. Deal with the kett while keeping an eye out for the Behemoth’s charge attack. After eliminating this wave of kett, finish off the Behemoth.
For more on Behemoths, see the Enemies chapter.
After defeating the Behemoth and exiting the chamber, a cutscene triggers, and you have to make a key choice:
KEY CHOICE: Battle on the Archon’s Flagshipa) Save the to-be-exalted krogan scouts on board. b) Save the salarian Pathfinder. (Your choice here determines who can/will support you in future events.) The escape phase after this choice isn’t affected too much (gameplay-wise). In both scenarios, you have to escape through a laboratory by defeating several waves of kett. If you choose to save the krogan, Birtak joins. If you choose to save the salarians, you meet with Pathfinder Raeka, who joins you in the fight. If Drack is with you when you make this decision, he’s not afraid to voice his displeasure (considering krogan and salarian history). |
After the cutscene, you start at the east end of the map. Every kind of kett soldier you’ve encountered thus far swarms into the area. Immediately get into a fortified defensive position behind cover, then prioritize Wraiths, Chosen, Anointed, then Destined. When you wipe out the first wave, a door to the next section of the lab opens, letting in the next wave. Consider staying in the first room and opting for long-range attacks, taking out enemies as they funnel in through the narrow doorway.
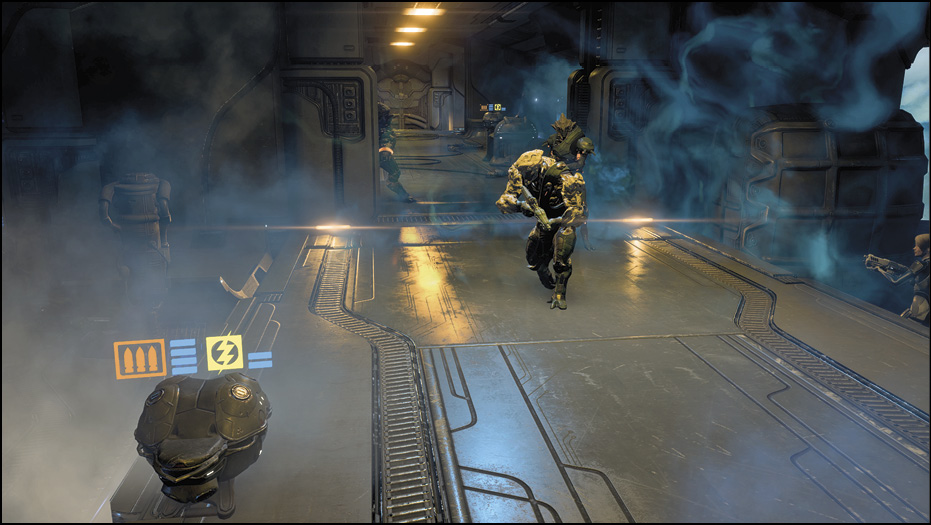
When you get to the final, larger room, you have to defeat an Ascendant in addition to more grunts. As with the Cardinal, stay on the move and dish out damage with weak-point bonuses and fire/tech combos.
Defeating the Ascendant and kett allows you to activate the console, triggering an escape and a wrap-up cutscene touching on the results of your decision. This concludes “Hunting the Archon” and kicks off “The Journey to Meridian.”