Mass Effect: Andromeda Collector's Edition Guide Secondary Ops
Remove the Heart
Mission Type: Heleus Assignment: Voeld
Prerequisite: Complete “Meet the Family”
Start Location: Voeld
Unlocking: Complete the mission “Meet the Family”
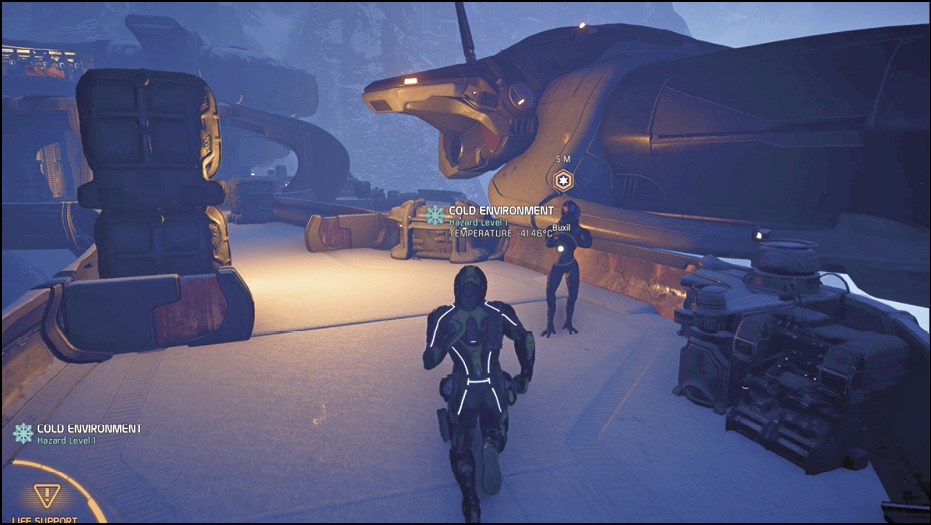
Speak to Buxil
Voeld: Texhiix
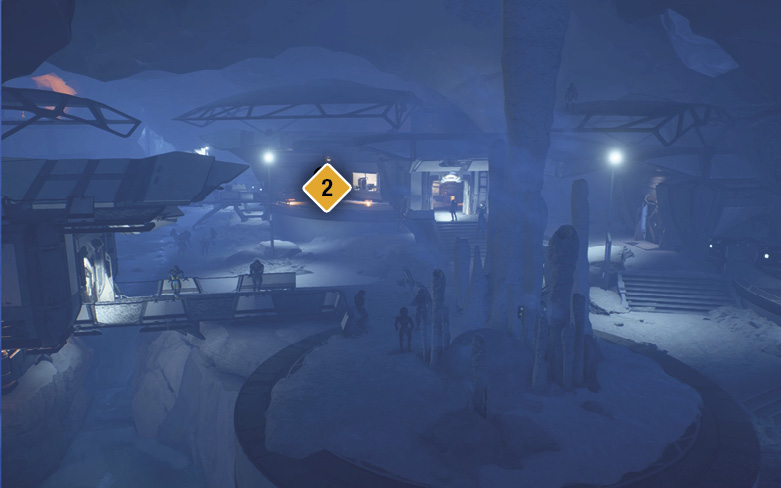
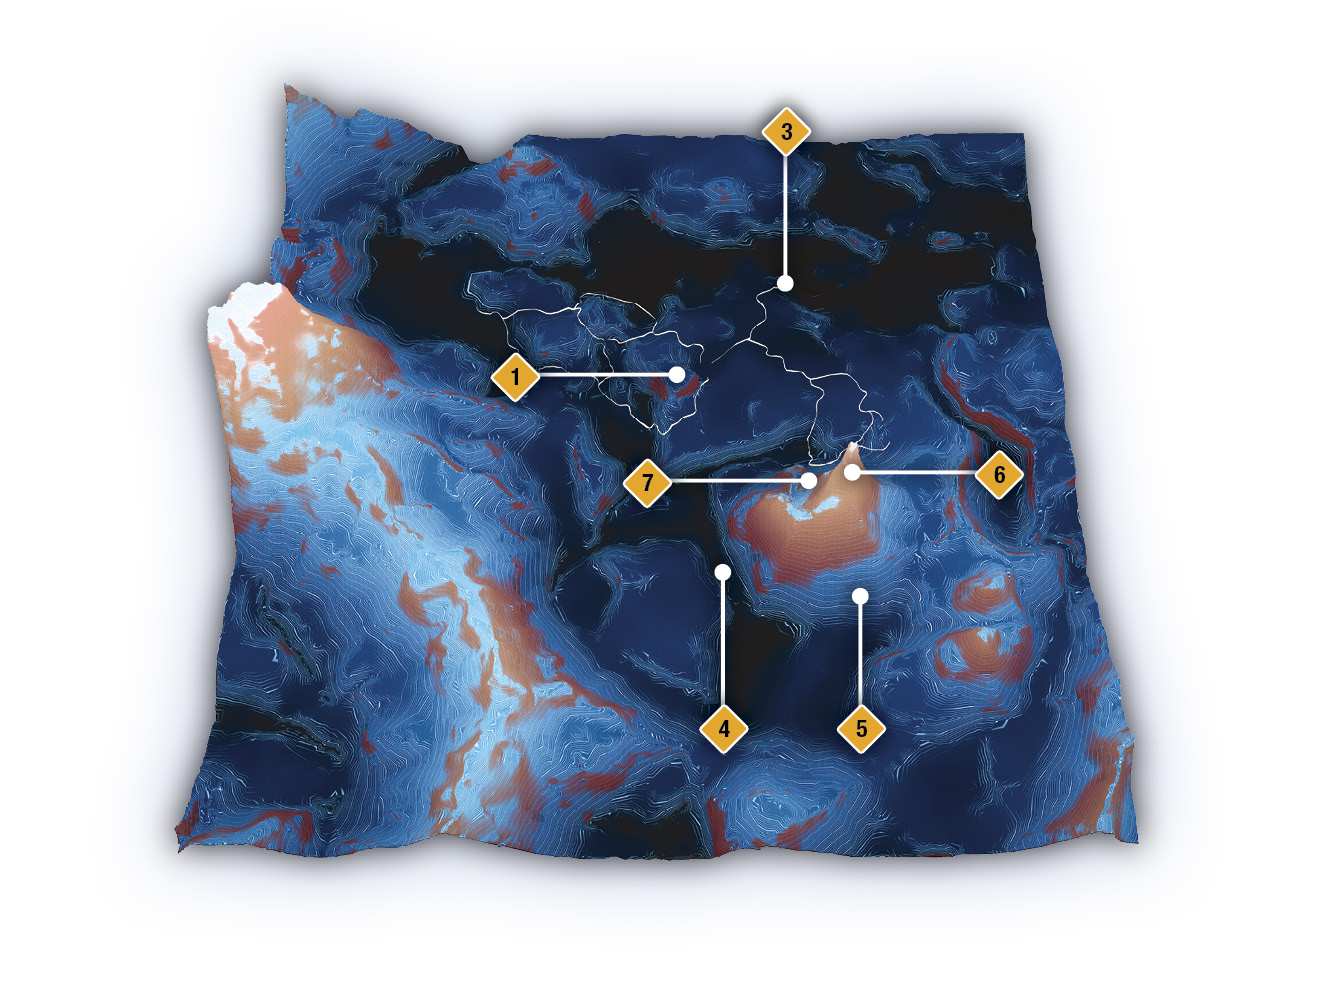
Enter the angaran daar of Techiix (1). Find Buxil (2), Niilj’s sister, in the second building on the right. When you speak to her to complete the mission “Meet the Family,” you also start this mission. She sends you a navpoint for a side entrance to a kett facility that has door locks with a constantly changing code.
Optional: Observe the Kett Shield
Ja Niihk
Rescued angara have discovered that the kett operations station on the mountain controls all kett coordinations for the planet, as well as providing power to the shield that blocks access to the angaran city of Ja Niihk—the frozen dig site. Re-enter the Nomad and drive northeast until you come to the large kett shield (3) that encapsulates Ja Niihk. Get too close, and the defenses attack: turrets and kett soldiers. Just getting near the base fulfills this optional task, so drive away to avoid damage. You need to find a way to bring the shield down before you can enter this base. Head north and call in a forward station if you haven’t done so already.
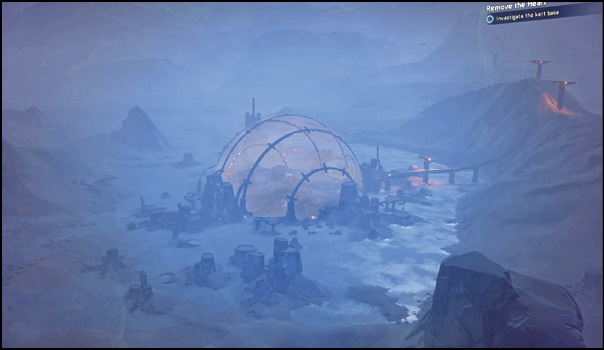
Investigate the Kett Base
Kett Command TOC
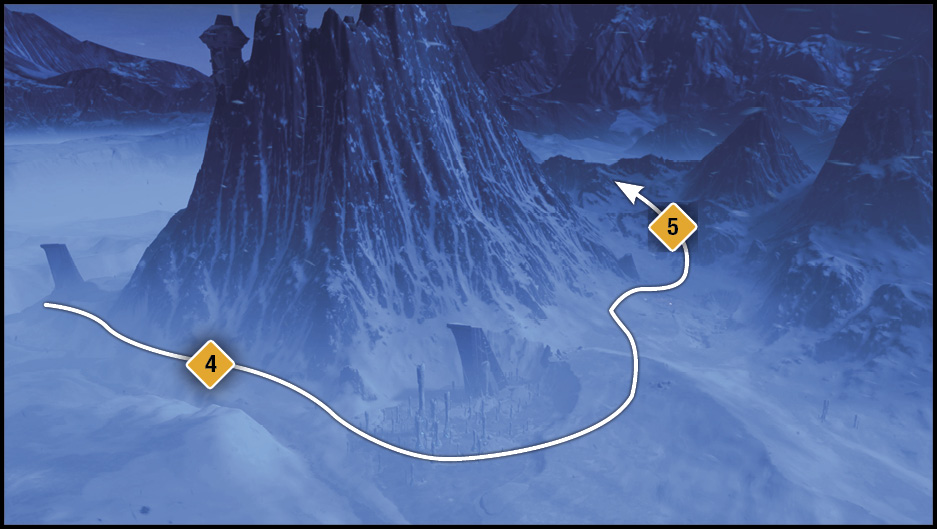
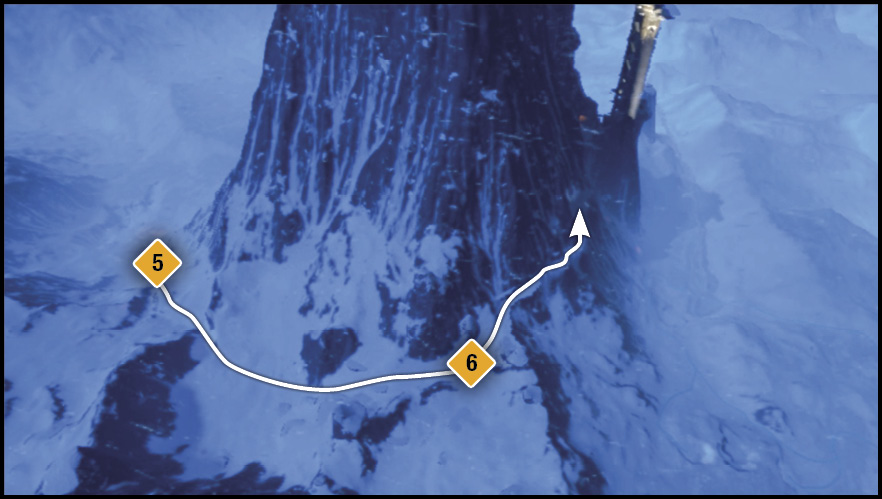
Drive the Nomad to the valley on the west side of the large mountain. When you reach the navpoint (4), you’re directed to a pathway up the mountain along the south side. Follow the navpoint (5) to a kett holding site, where you can choose to rescue more captured angara.
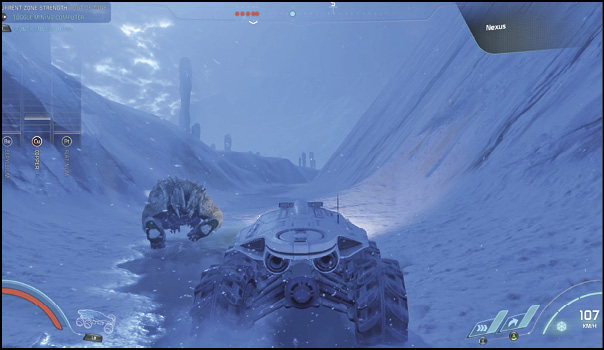
Continue north around the mountain, making your way up the side when possible. Check your map when a new navpoint (6) appears. Follow the narrow road running along the north side of the mountain.
Kett Mountain Base Side Entrance
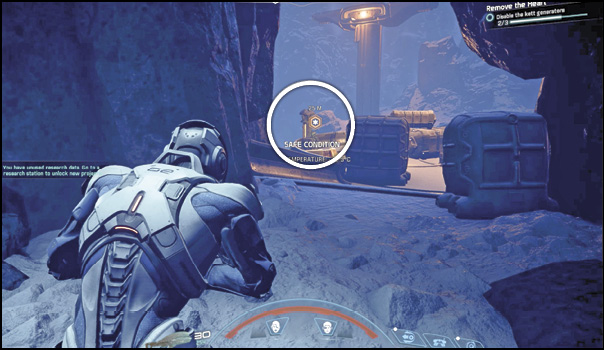
At the end of the narrow road, stop the Nomad at the mouth of the cave. This is the side entrance (7) inside the Kett command center. Exit the Nomad ready for a fight. Take cover behind the first crates you come to and start attacking the Anointed and Chosen inside the cave.
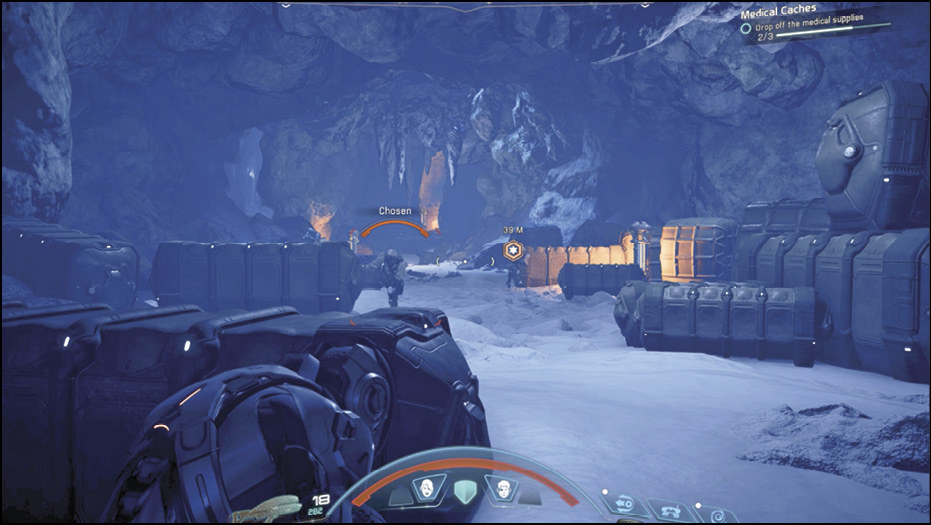
Find the final medical cache container on the right side of the entry tunnel for the “Medical Cache” mission. There’s also a dead angara lying beside it. He didn’t get the supplies he needed. Continue fighting through the cave until you come to a higher ledge. Just beyond is a kett shield, plus a few more Chosen, an Anointed, and a Destined to battle. When the enemies are dead, approach the shield to complete the current objective.
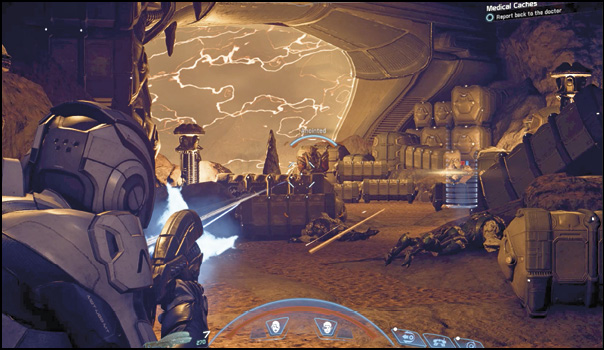
Disable the Kett Base Shield
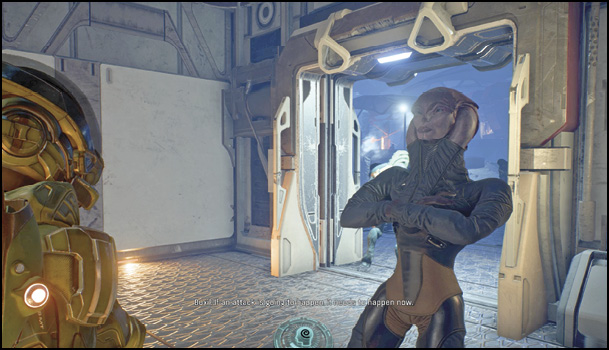
After the enemy has been eliminated, you automatically call Buxil on comms and tell her you’re at the entrance of the base. You ask if she’s decrypted the code for the shields. Scan, then use the kett computer console on the right side of the shield to enter the code and bring the shield down.
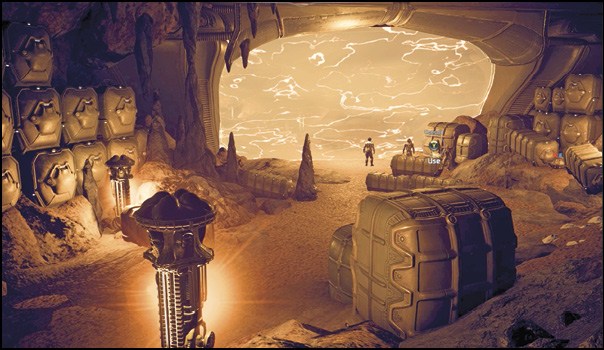
Investigate the Kett Base
Follow the heat lamps through the cave. They not only keep you warm but also light the way. Stop just short of the next clearing, take cover, and begin your assault on the Anointed and Wraiths ahead. Jump up onto the ledge in the back of the cave where another heat lamp is located, then turn to the right to find a narrow tunnel leading out of the area. Follow this tunnel.
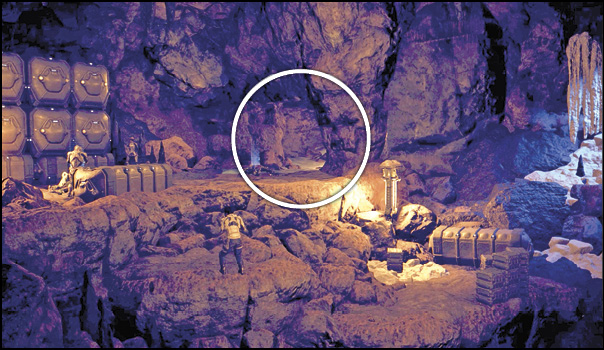
The Bridge
Continue through the cave and defeat the kett in the next clearing. The cave opens to the exterior mountain (8), where a bridge can be seen in the distance. Use cover and a ranged weapon to defeat the Chosen on the other side of the bridge (9).
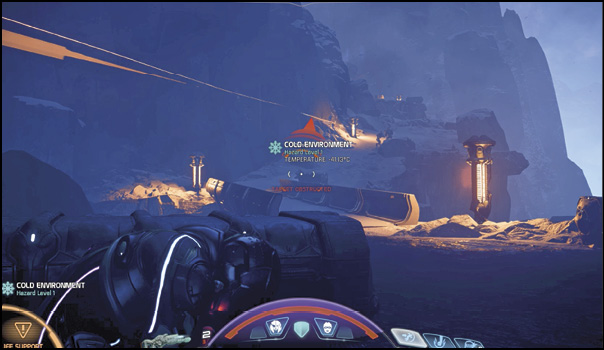
As you make your way up the pathway to the left, take cover around the large heat lamp (10). The command center can be seen just ahead. SAM recommends that you head toward the primary tower, as it appears to be the core of the base. Move in closer to the base and attack the Destined and Chosen while searching for the next cover opportunity.
Kett Base: Exterior
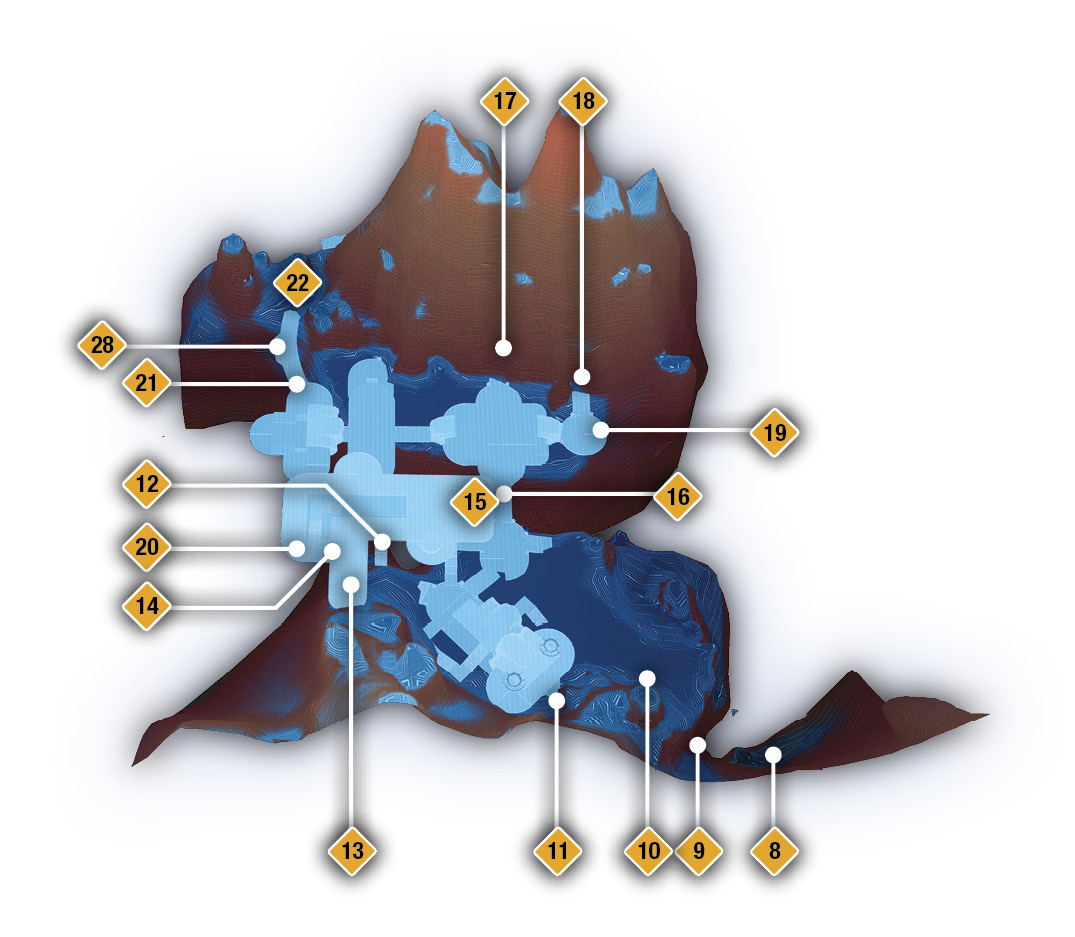
If you entered the secret supply room (11), exit through the same window and get to the top of the building to gain the height advantage on the enemies below. You can also use the front, second-level balcony, which offers cover as a good sniping location. Pick the enemy off and then make your way into the central building (12).
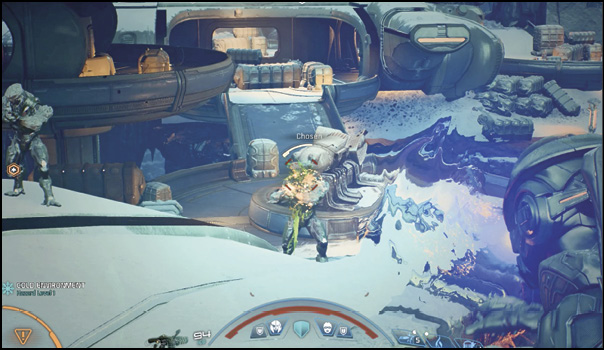
Instead of investigating the console (13), you’re directed to visit the second floor, which forms a protective force field upon your approach. Wander the first floor just below it to trigger the lockdown. This also places you close to one of the three kett generators you need to deactivate.
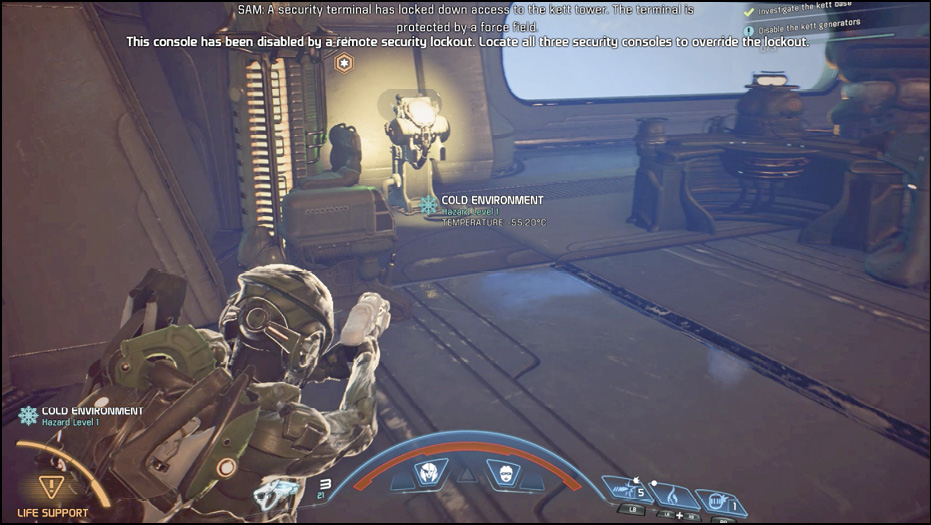
Disable the Three Kett Generators
When near (or on the floor beneath) the security terminal (13), SAM informs you that it has locked down access to the kett tower. The terminal is protected by a force field. You must locate and disable the three generators to override the lockdown. Of course, you must battle through a few dropship loads of kett as well.
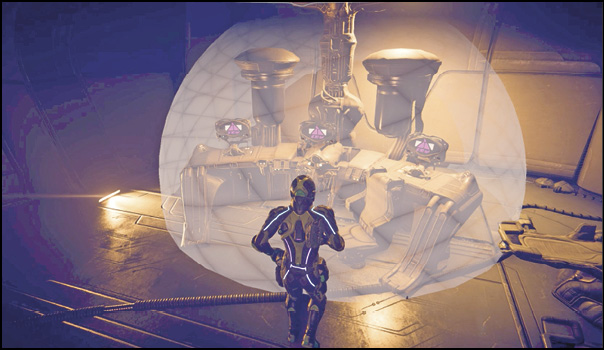
Kett Generator 1
The nearest generator (14) is in the same building (12) on the first floor on the left end. If you’re using the provided strategy, the generator is beside you. Deactivate it. Two more to go.
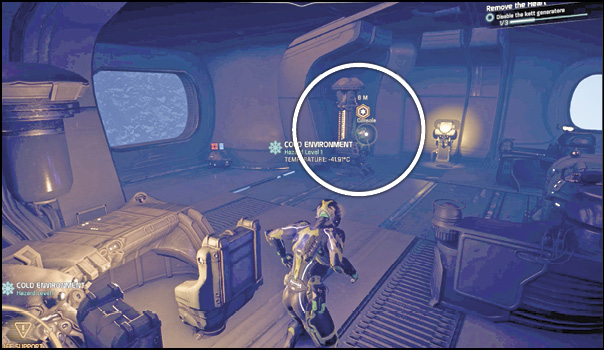
Kett Generator 2
SAM has marked the location of the generators with navpoints. The next closest generator (17) is in a cave in the north mountainside. Take the most direct route there by sprinting through the central building’s first floor and leaping out of the east window (15) down to the walkway (16) of the next building to the east. Sprint through this structure and enter the cave behind it. Kill any nearby kett, then deactivate the generator.
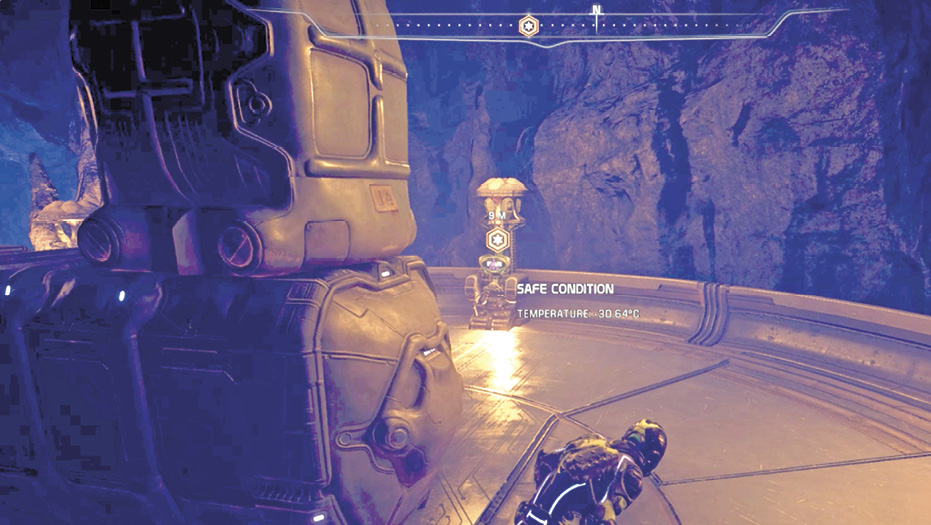
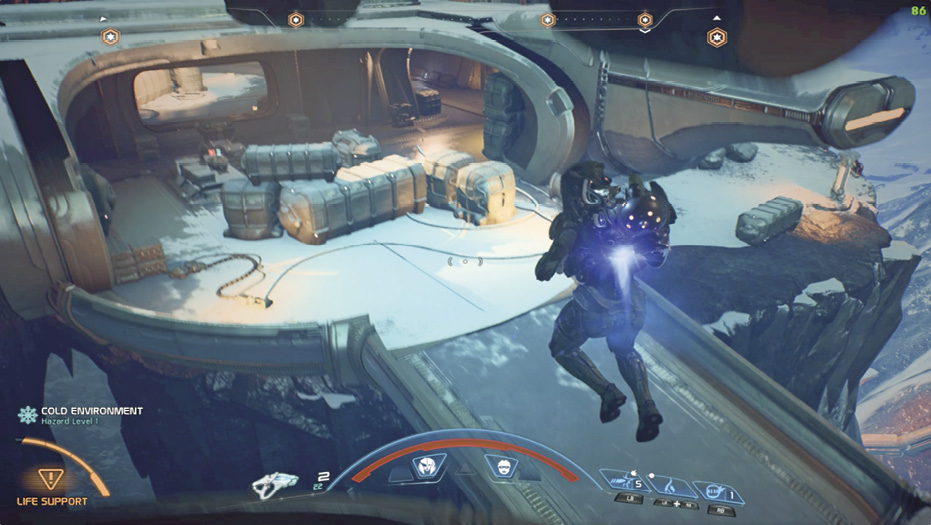
Kett Generator 3
From the second kett generator (17), pivot and exit the cave through the east tunnel (18). This takes you right to the balcony where the generator (19) is located.
Destroy the Kett Security Terminal
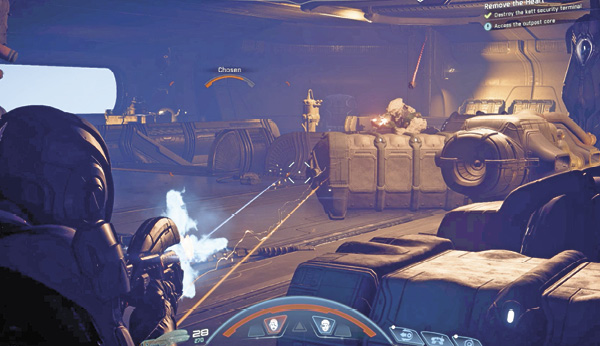
With the generators destroyed, the force field around the security terminal (13) shuts down. The terminal is on the second floor of the central building. Head up and sabotage it. Take cover and hold your ground as a squad of various kett locate and attack you.
Access the Outpost Core
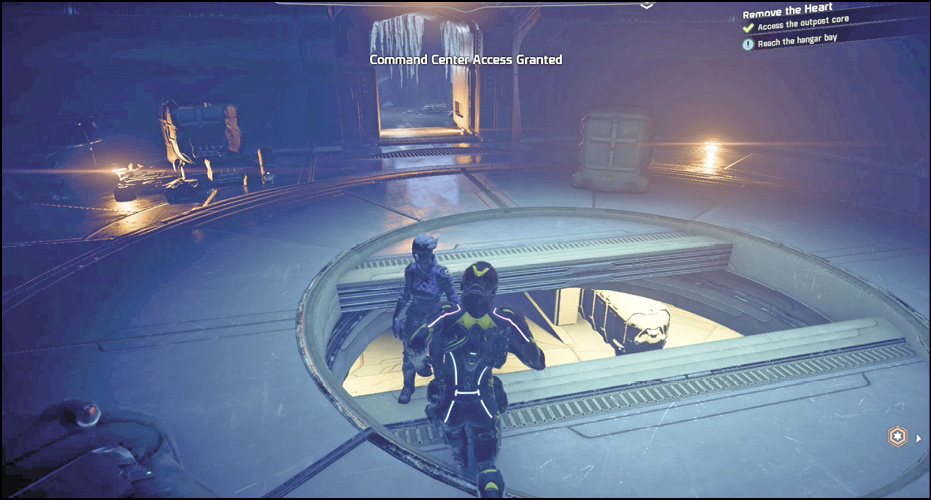
Follow the northern walkway (21) to enter the cave (22), defeating the few Chosen along the way. Interact with the console that faces the entrance. This opens the circular access area in the floor next to the console. Below is the outpost core.
Reach the Hangar Bay
Kett Base: Interior
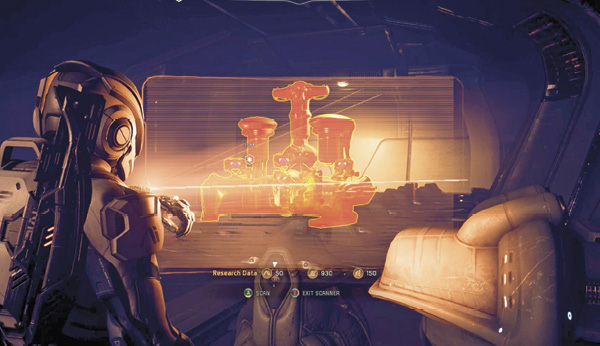
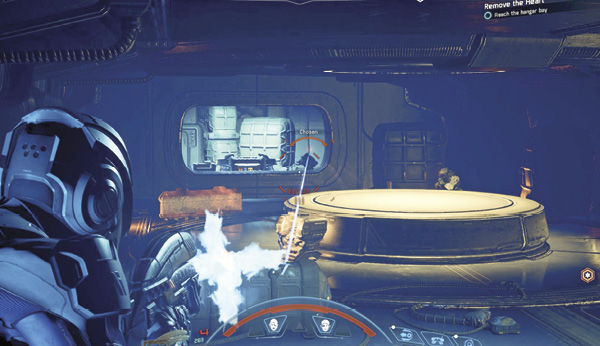
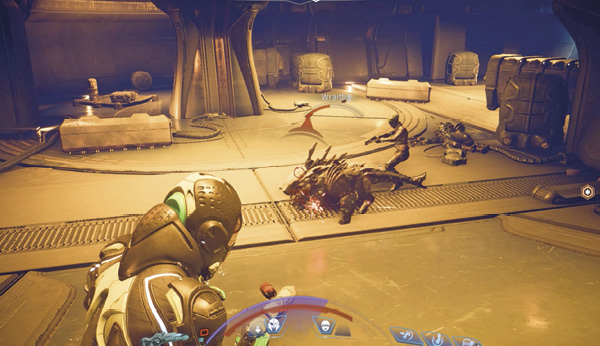
Drop down through the opening in the floor and use the ammo cache to resupply your weapons. Defeat the kett and Wraiths in the connecting room. Scan the kett hangar machinery along the left wall. Hop through the window at the end of the room to access a container and more ammo and health. Continue downward, following the ramps and defeating more Wraiths and an Anointed. Open the door at the end of the hallway, descend the stairs into a small room below, and open the next door to find the hangar bay.
Destroy All Three Hangar Platforms
Hangar Bay
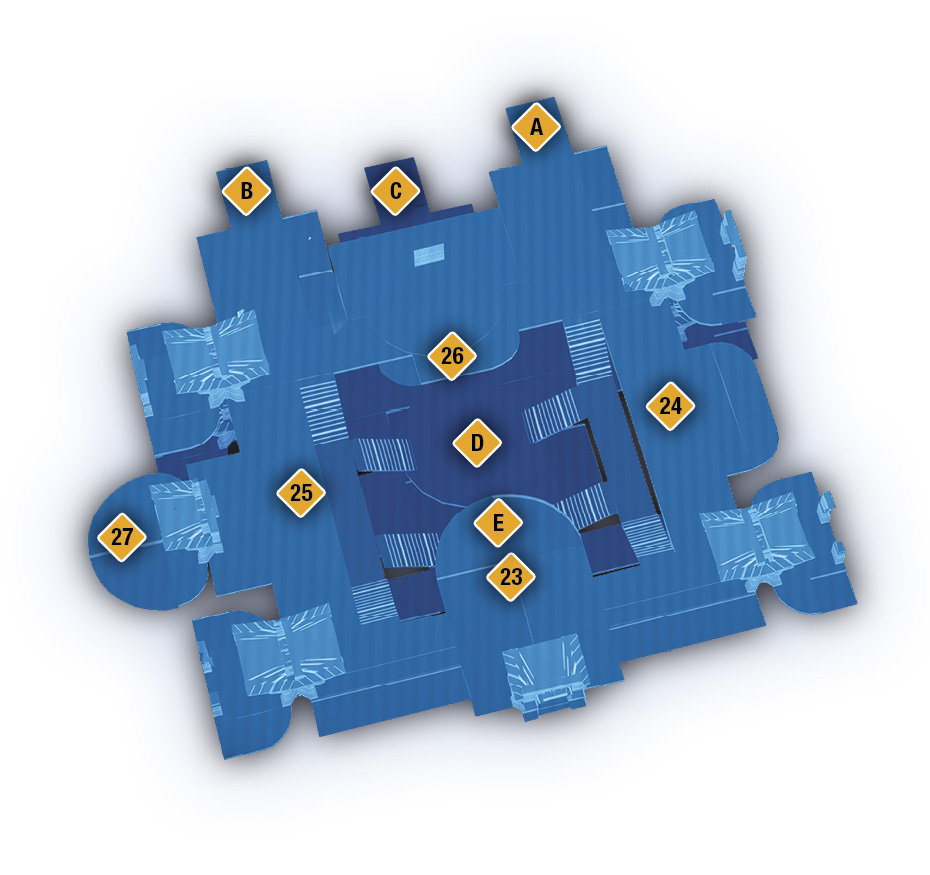
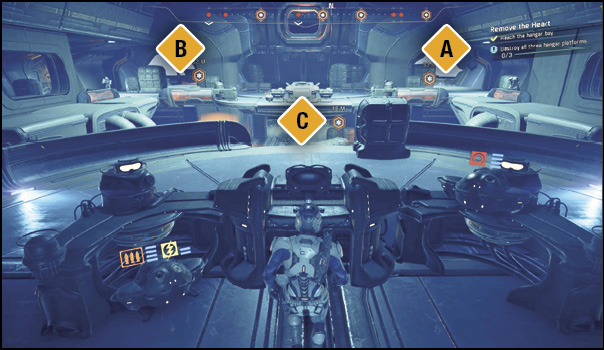
Inside the subterranean hangar bay, you’re confronted by wave after wave of every type of kett in existence. The best tactic is to destroy each of the three platforms (A) as quickly as possible. We find that sprinting to each of the navpoints—while using cover along the way—makes this challenge easier.
Hangar Sabotage Attempt
First, take cover behind the first console (23) you reach (you enter the room on a second level). Notice you can see the three hangars (A) outside, dead ahead. There are navpoints at each console near each hangar passage. There are two hangars on the second level and one on the lower level.
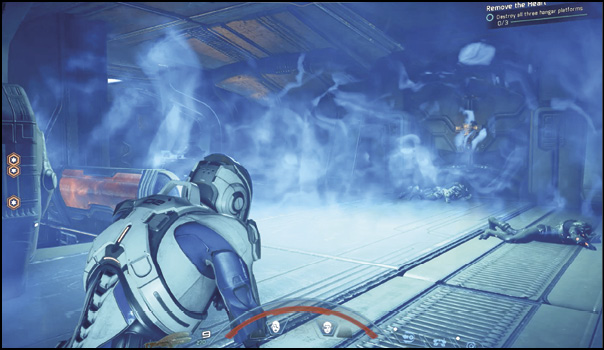
Defeat the Chosen that enter the room to the right, and then sprint through the
rightmost hallway (24), remaining on the second level; this helps you avoid most of the kett. Dash to the hangar console (A) and Quickly sabotage it. You discover the controls are locked and the sabotage didn’t work. Take cover behind a nearby large container and defeat the immediate kett threat.
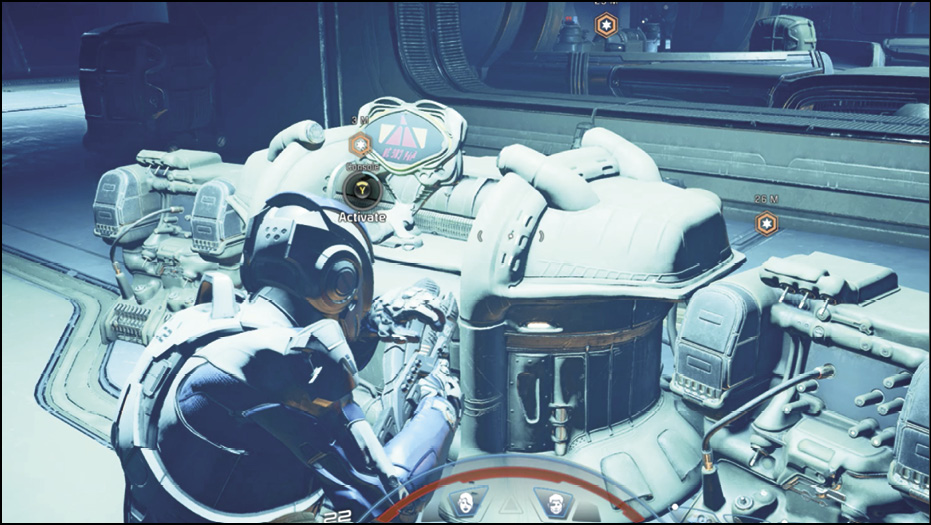
Find and Activate Three Override Terminals
There are six override terminals in the room—four on the second floor and two in the middle of the lower floor. There’s one where you entered the room (23) and one in the middle of each outer hallway (24) and (25), and then one (26) on the balcony on the hangar side of the room. Don’t use the two on the first floor (E) unless you end up down there while avoiding enemy attacks. Activating a single override terminal allows you to sabotage one hangar console. You must activate any one of the override terminals, go sabotage a hangar, and repeat until all three hangars are destroyed.
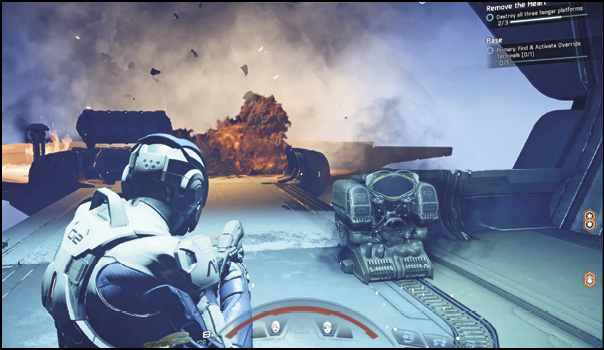
We suggest the following route:
- Attempt to sabotage (A)
- Override terminal (24), destroy hangar (A)
- Override terminal (25), destroy hangar
- Override terminal (26), destroy hangar (leap down to the first floor)
With this done, the Commander shows up to the battle.
Eliminate the Commander
A single Ascendant appears in the hangar bay. You must eliminate him. You’ve done this before. Use cover and focus the entire team’s attacks on the Ascendant’s Orb until the energy is drained and his shield drops. Then focus all attacks on the Ascendant. If you can’t kill him in the first round, repeat until he ceases to exist.
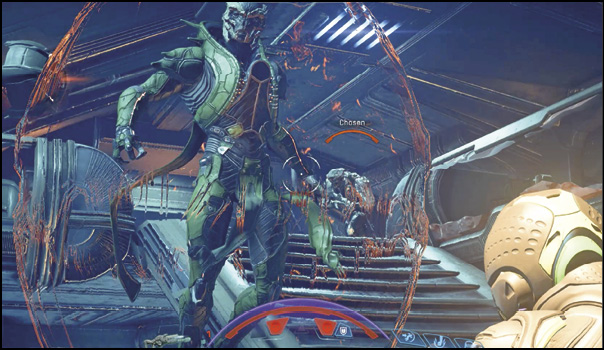
Clear out the Remaining Defenders
After defeating the Ascendant, you’re tasked to clear the room before accessing the next objective. Use the radar to hunt down the remaining enemies in the room in case they’re being evasive.
Access the Elevator to the Zenith Room
Once all enemies are defeated, enter the elevator shaft (27) on the left side of the second floor (left as you originally entered). The elevator takes you up one level to the Zenith Room.
Disable the Outpost
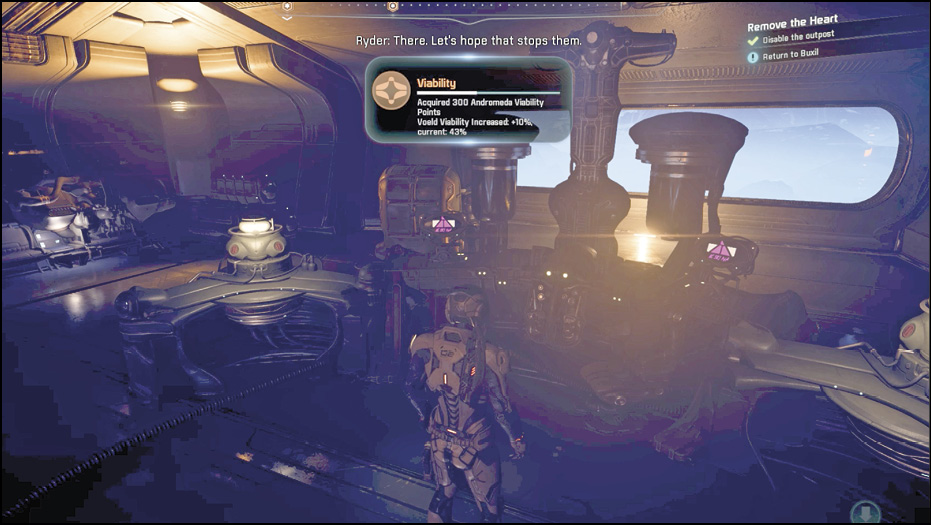
Raid the Zenith Room of its containers and activate the console in the middle to disable the outpost. You acquire 300 AVP and increase Voeld’s Viability by 10%.
Return to Buxil
Re-enter the elevator, and the next stop is the cave entrance to the base where you dropped through the circular opening (22) in the floor to reach the hangar bay. Exit the room through the doorway on the right to reach the exterior walkway, where you find Buxil (28).
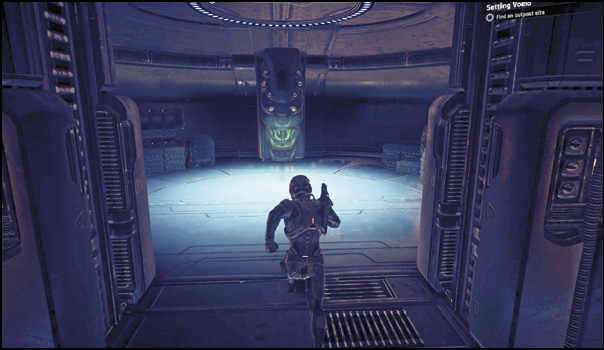
Talk to him, and he thanks you for your help, adding that destroying the kett command center and systems leaves the rest of the kett vulnerable. He informs you that the shield around Ja Niihk has fallen, which means you can go tackle that base. You can agree to help now or wait until later. Agreeing unlocks the mission “Uncovering the Past,” where you’re tasked with exploring the ice cave that is now accessible through Ja Niihk. You earn 950 XP for completing this mission, plus the Viability earned for disabling the outpost.